


Frame for walls & Furniture
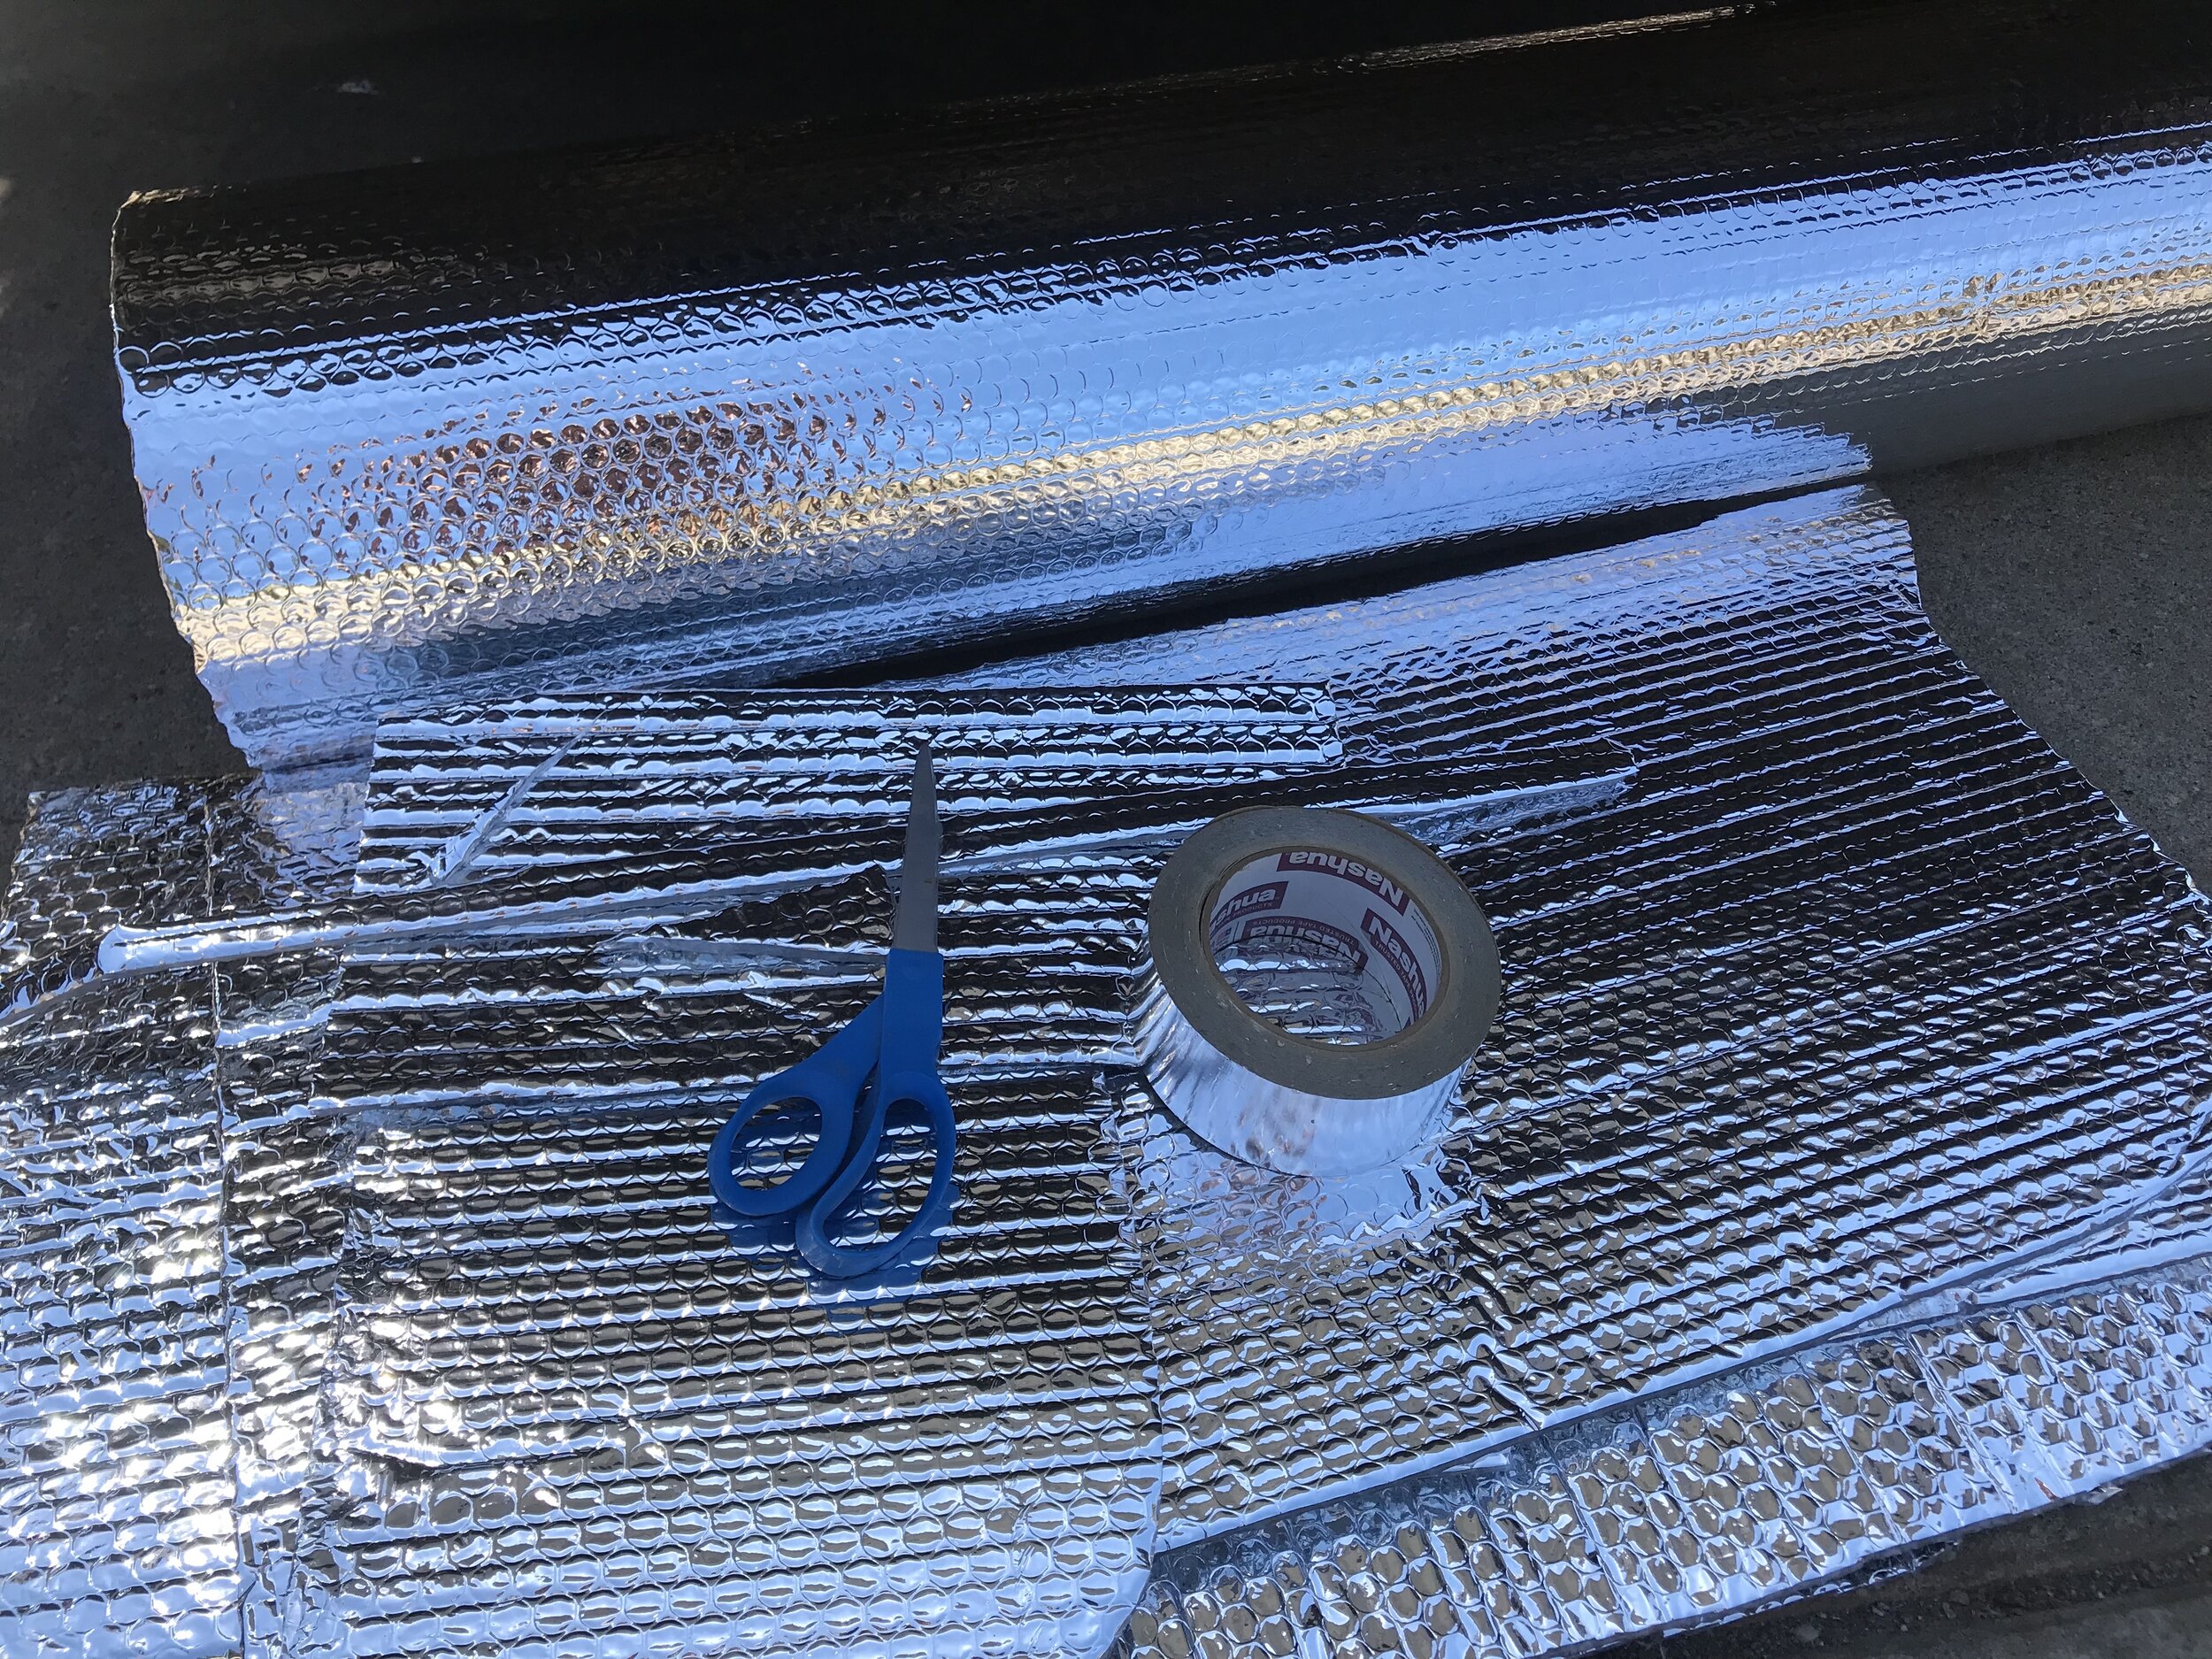
Now that you have all the insulation, wiring, and other ground work done, you can start framing.
This will get your van prepared to attach all the furniture, walls, and ceiling. You want to frame out your van so that you have anchor points for these things, because you want as little screws going into metal as possible. So, what we are going to do here is attach the furring strips to the walls. That way, you can screw as many times as you need into the furring strip framing. We have an easy 3 step framing process here to make sure that you don’t send any screws through the outside of your van. (#1 question we get on the early build stages, “how do you attach the walls without sending a screw through the outside of your van,” in a DIY Van build?)

In this blog post, we breakdown in three steps how to frame out your van to get ready for the van build magic. It’s time to start making this empty shell feel like a home. Let
Ceiling
In your framing, you should have framed for a ceiling with furring strips along the roof ribs. That is where your ceiling will attach. We have seen people do it with strips of ply, as well, just so that you have a little more head room.
Our favorite is the Tongue and Grove and we like to mix up the colors. We have mixed up the brands to get different types of wood. It worked out for the most part, but we wouldn’t do it that way again because some of the sizes might be “the same”, but their actual sizes aren’t the same. It made it harder and harder for them to line up as we went on.

We really like the mix and match paneling look for the ceiling. On our T1N Build, we just bought the cedar planks from Home Depot and we stained them different colors. That way we know they all groove together nicely.

Walls
There are lots of different types of walls, but we like to use the 4’x8’ ply sheets. The walls go up fast and you’re done with the job in 1-2 hours tops. We’ve also used some tongue and groove, throughout the van, walls and ceilings.
Youtube Tutorials:
If you learn best by watching someone else explain and do it. Then, our YouTube videos are definitely for you! Check these out!
In this video, we show you the first steps of van builds. Find out how to frame your van, install your fan, ceiling, and puck lighting. Watch the whole van series here!
In this episode, we show you how to frame out your van with minimal tools. Any DIY Kook can follow this!
This episode is from our budget build series. We show you how to insulate, frame, and add walls. If you are on a money and time budget, this series shows you how to get most of the things you need locally and on a budget.

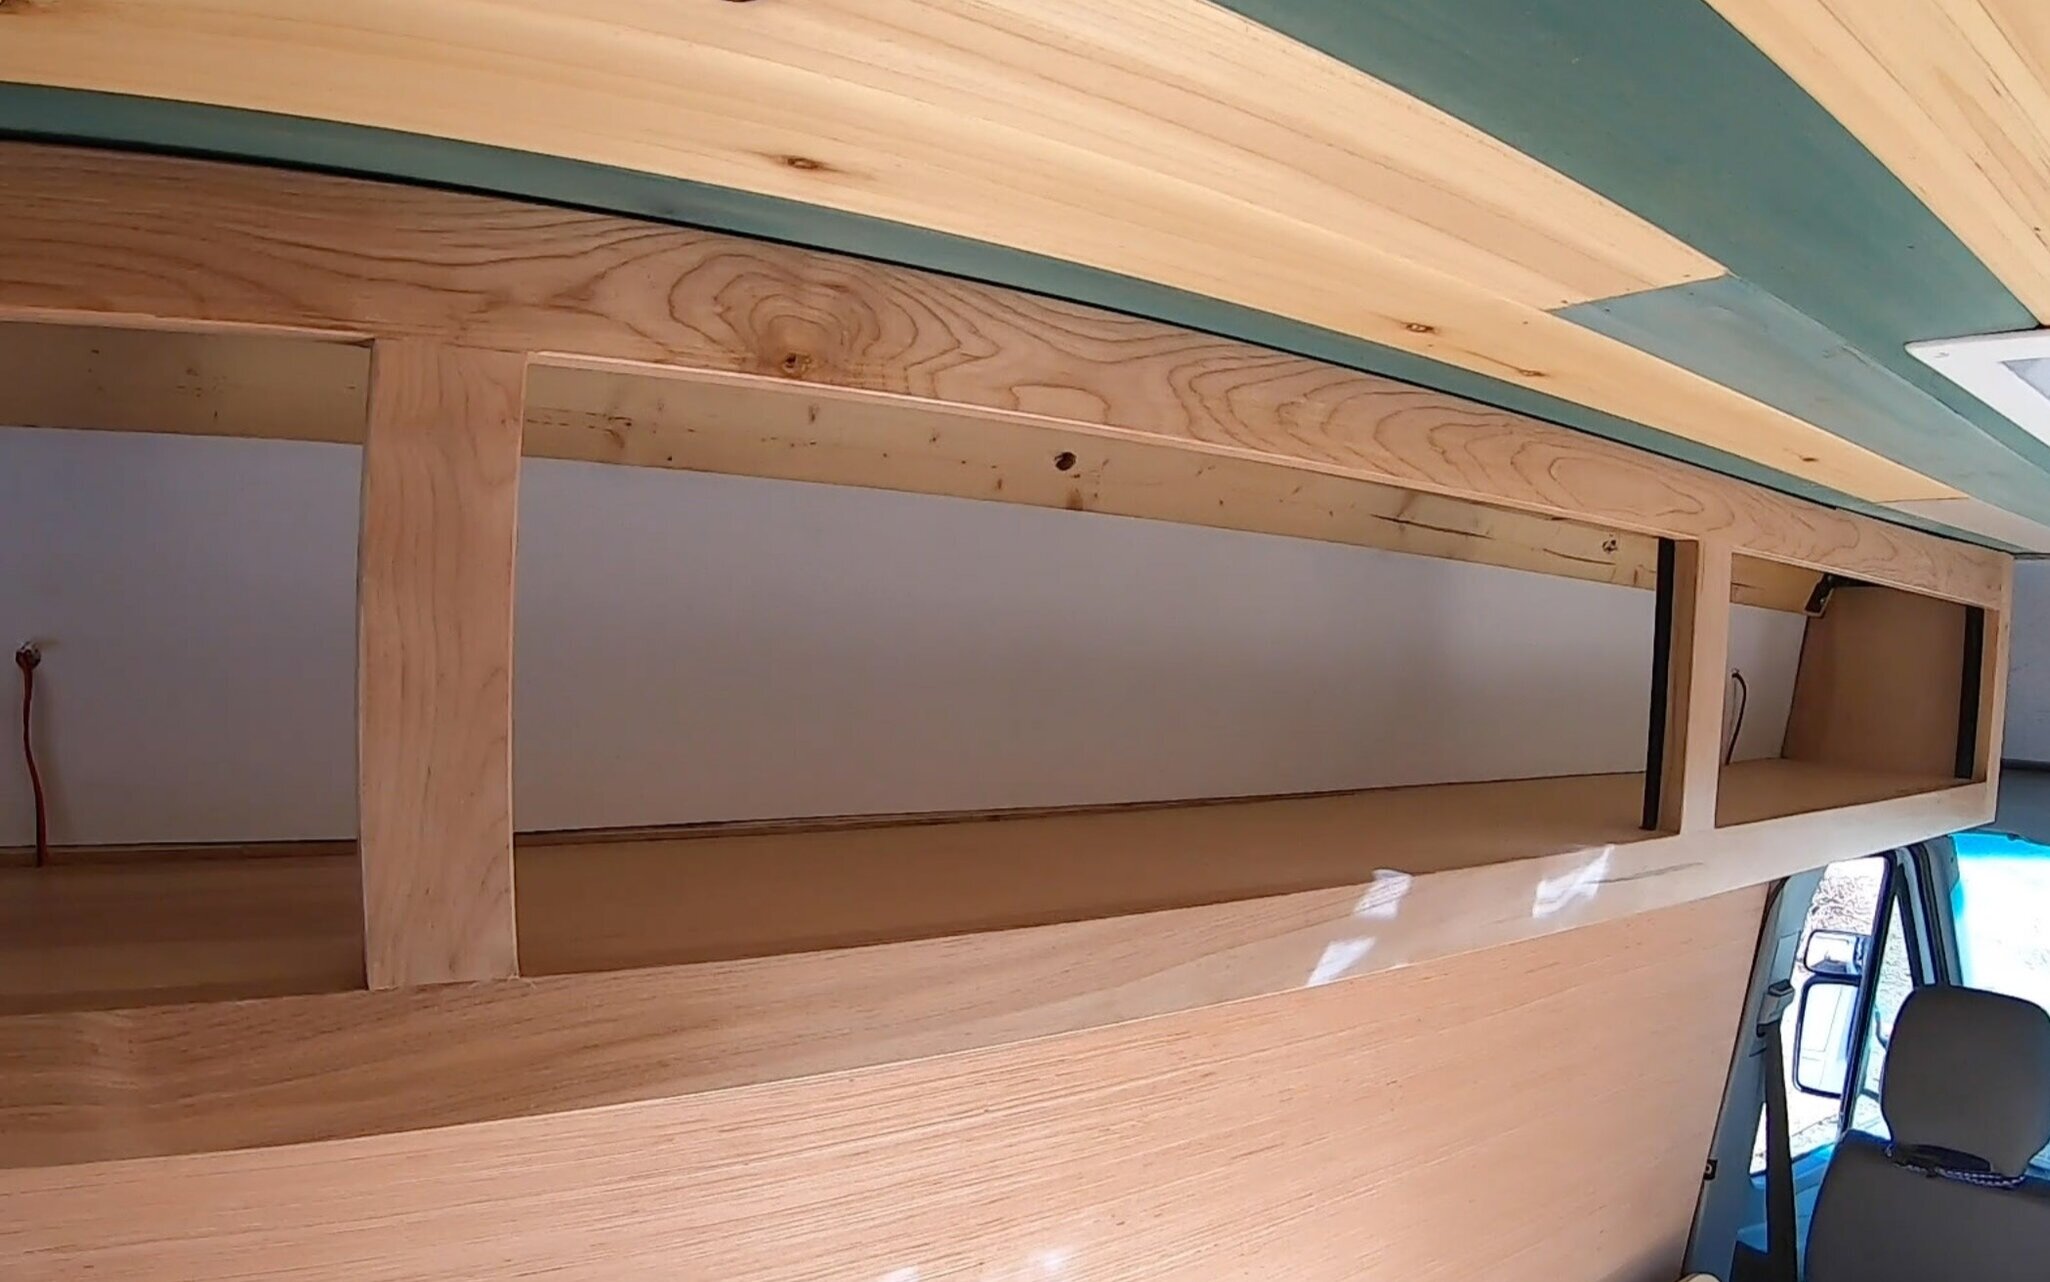
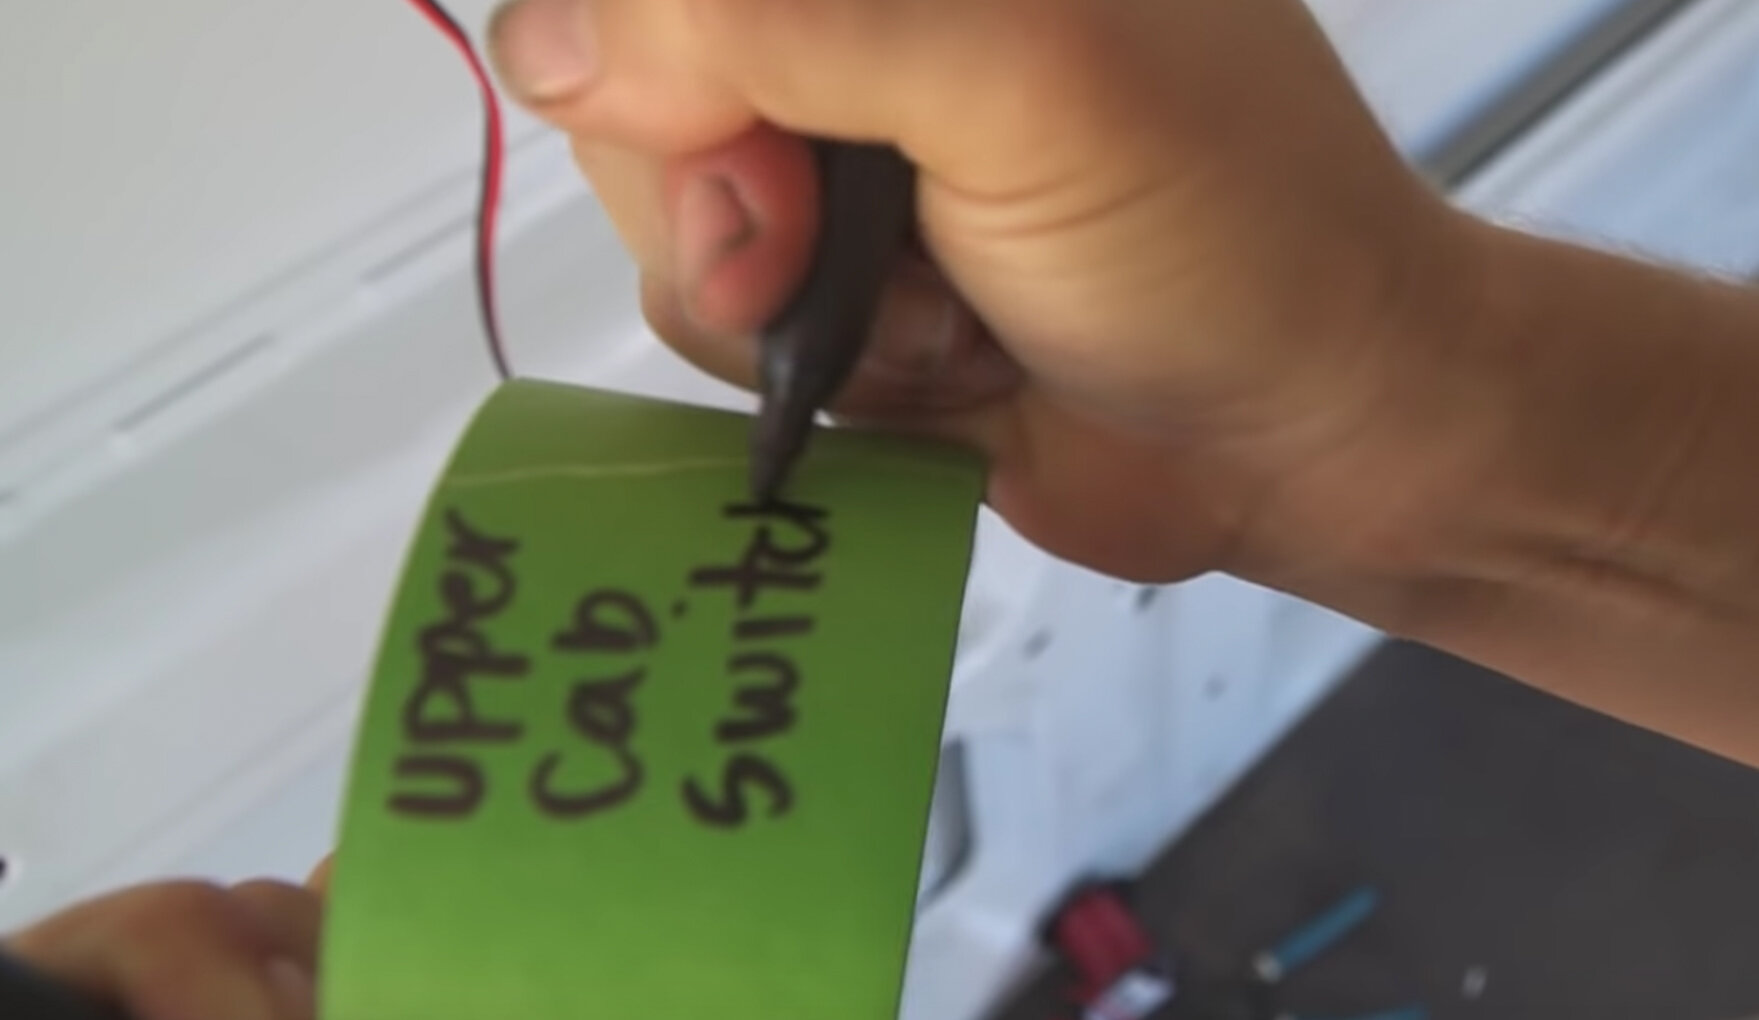
A 4’x8’ sheet won’t span the whole wall. We leave the bottom and the top open below, because we know that there are going to be upper cabinets and lower cabinets. They would all be covered. We used a different material for the upper cabinet backings that are flexible to maximize the storage space and for easy access to the wiring if we needed to check some wiring. We talk more about it here.

Framing out the Furniture
Once you have the walls and the ceilings on, you can start framing out the furniture.
Since the van is curved and doesn’t have straight and square areas to build from, framing the furniture can be difficult, at first. But don’t worry kookz! We’ve got you covered with some simple and easy to follow blog posts & YouTube videos on how to build out each part of your furniture.
Building around your biggest items first
The best part about vanlife is you always have everything you need all the time. You’re like a turtle, your house and all your things inside are with you where ever you go. So, you are going to need storage for all those everyday items.
We started with our biggest items that we were bringing into the van, our bikes, and meshed it with our other biggest item, our bed. We wanted the bikes inside to avoid the weather and theft paranoia. We maximized the living space by building a slide out bed that also housed our bikes and camping gear in the garage area.
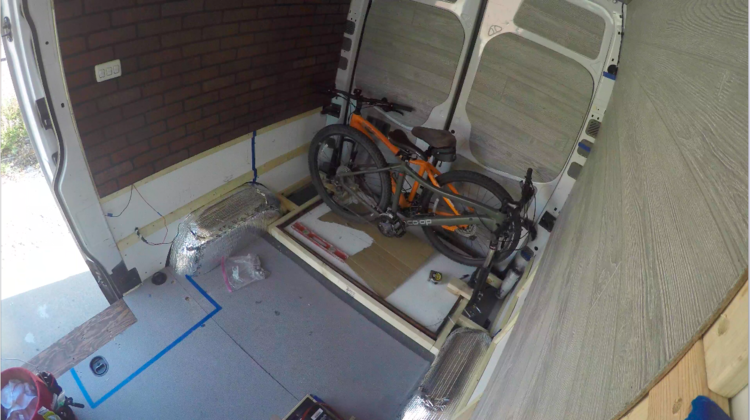
On top of knowing that we wanted the bikes inside the van, we knew we wanted to maximize the countertop space because we love to cook. We cook every meal and never eat out because you really have no excuse when you have a traveling kitchen.
Cabinets
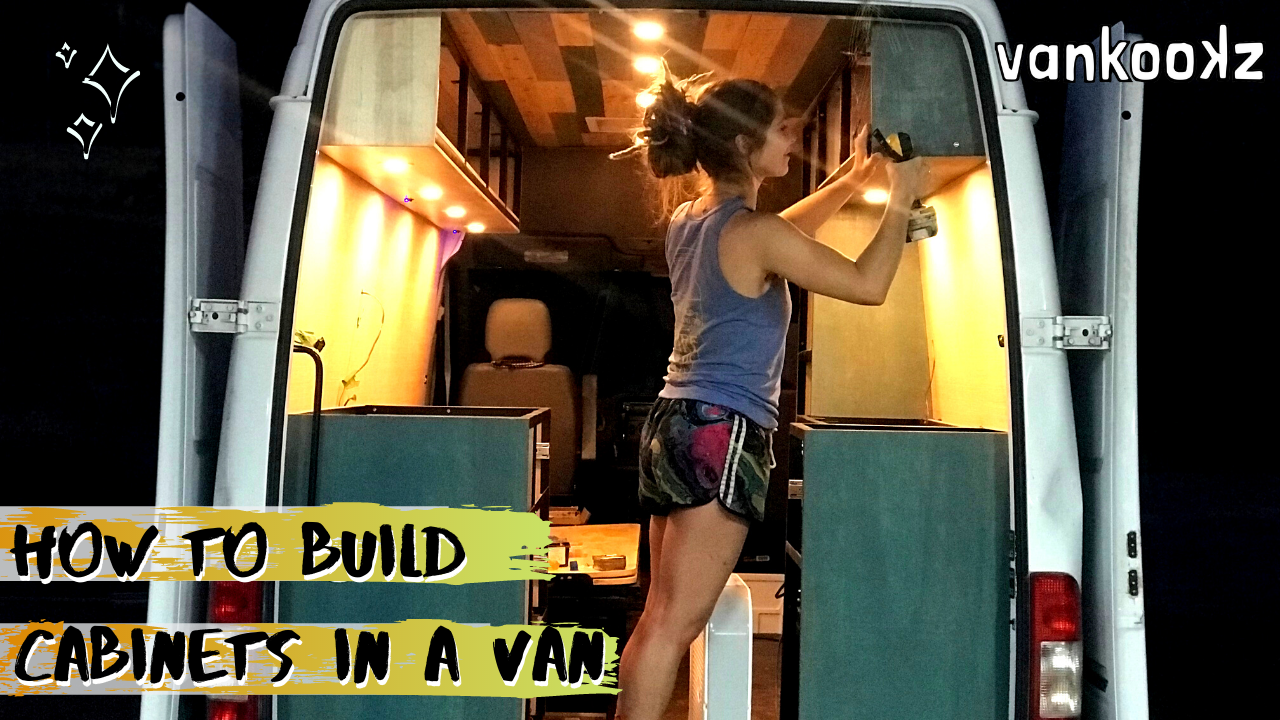
After the big ticket items were out of the way, we moved on to the kitchen and cabinet building for all the fun things we would need to store in our traveling home.
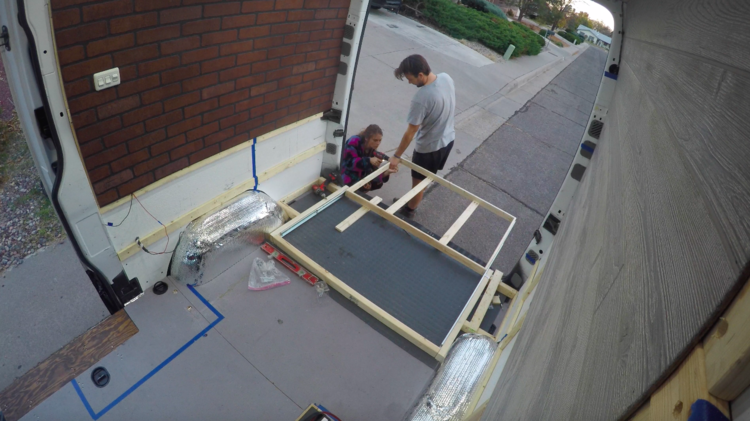
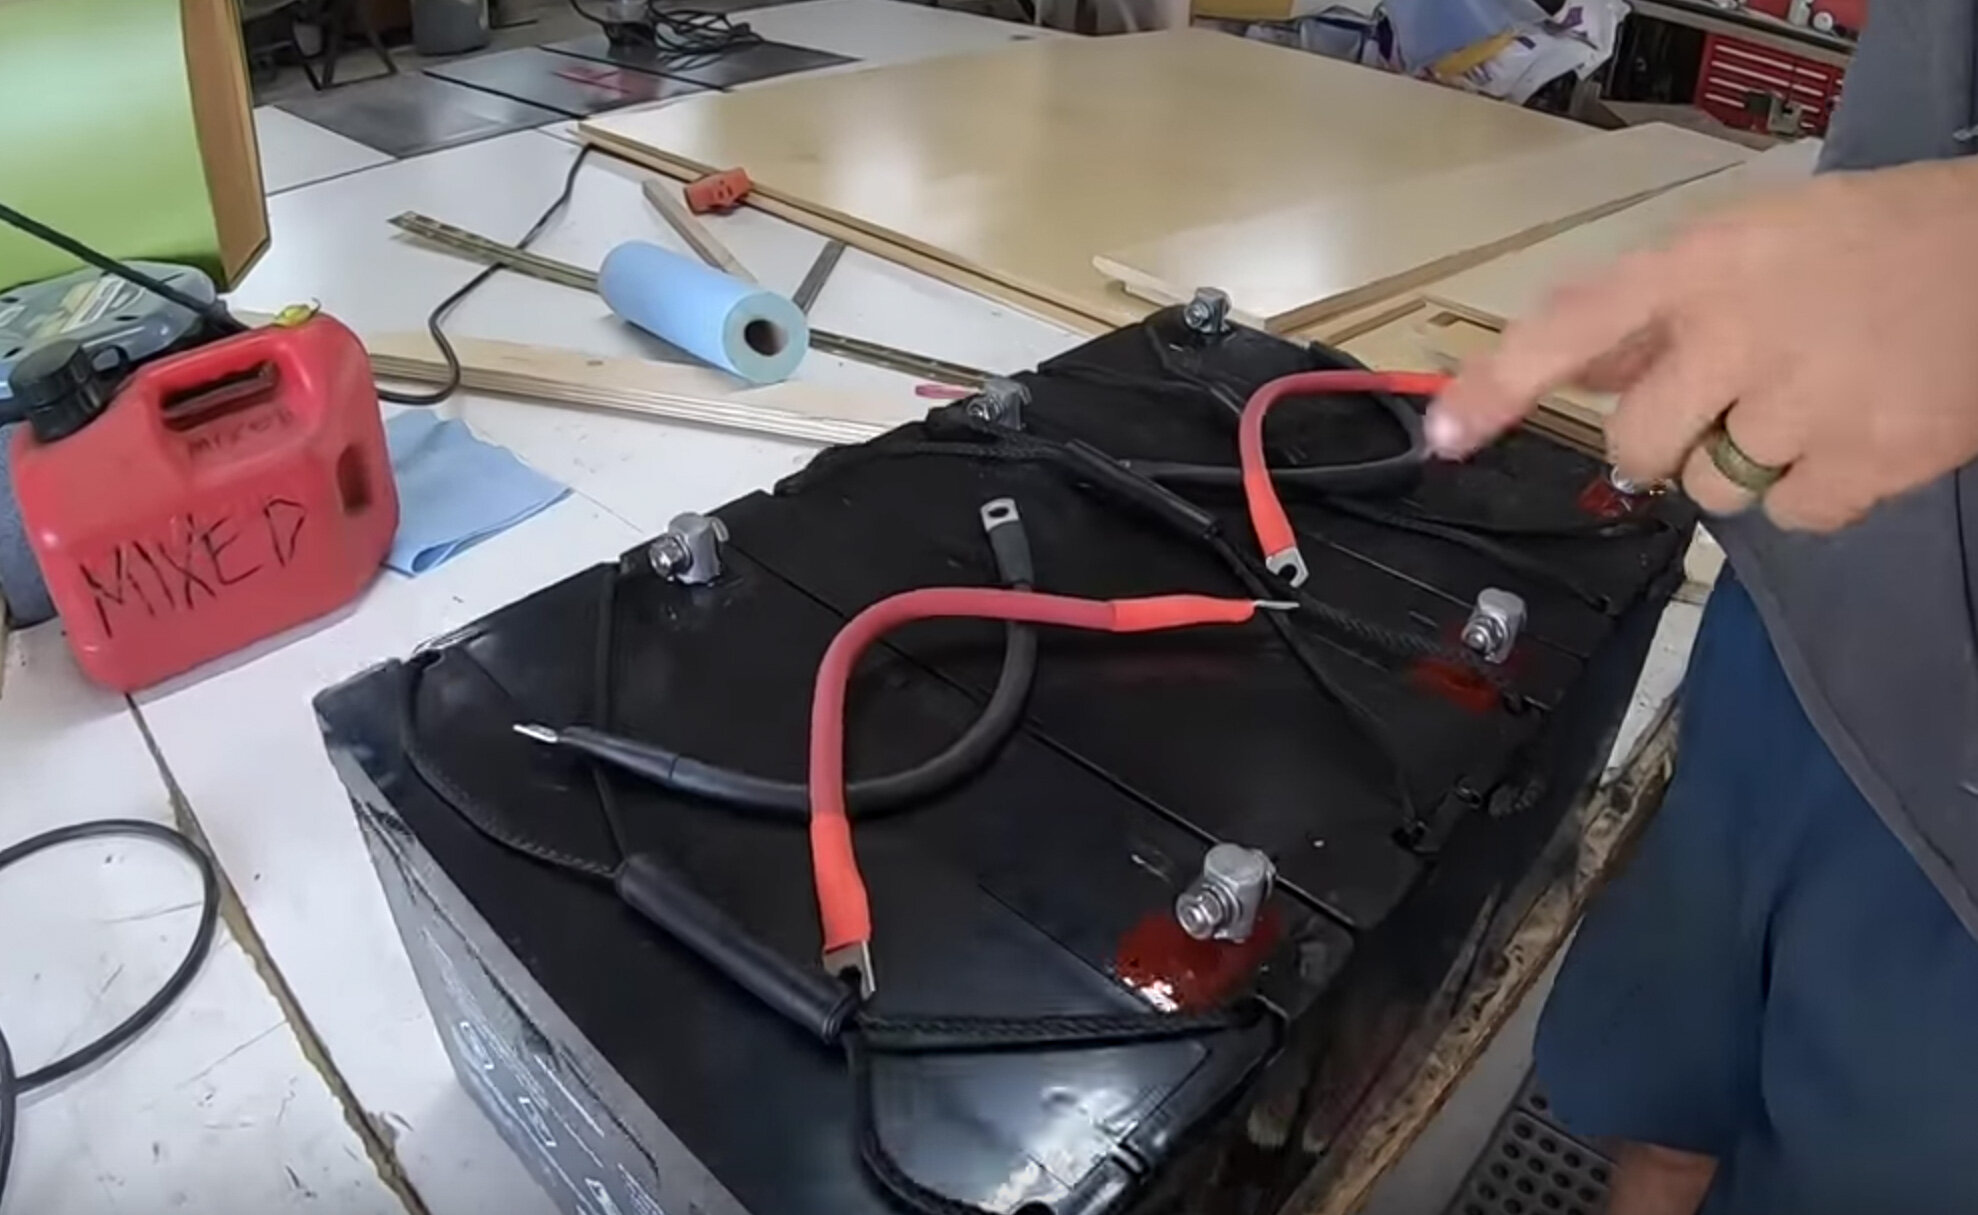
The width of the cabinets were dependent on size of the sink and water containers on one side, and the fridge and toilet on the other. So we placed the fridge, toilet, batteries where they would respectively go and we we taped some painters tape, blocking off the cabinets that would soon house them on the floor. That way we could have some reference point for measurements.
Once we had some reference points marked off with tape, we started framing for some cabinetry.
We've built cabinet frames both inside the van and in the shop. Having a shop is awesome! There are some workspaces out there for around $50 a month to use a shared workspace shop, in some cities (some even have classes). But, if you don’t have access to a shop, not to worry, we show you kookz how to make your build look professional, even if you are working with minimal tools.
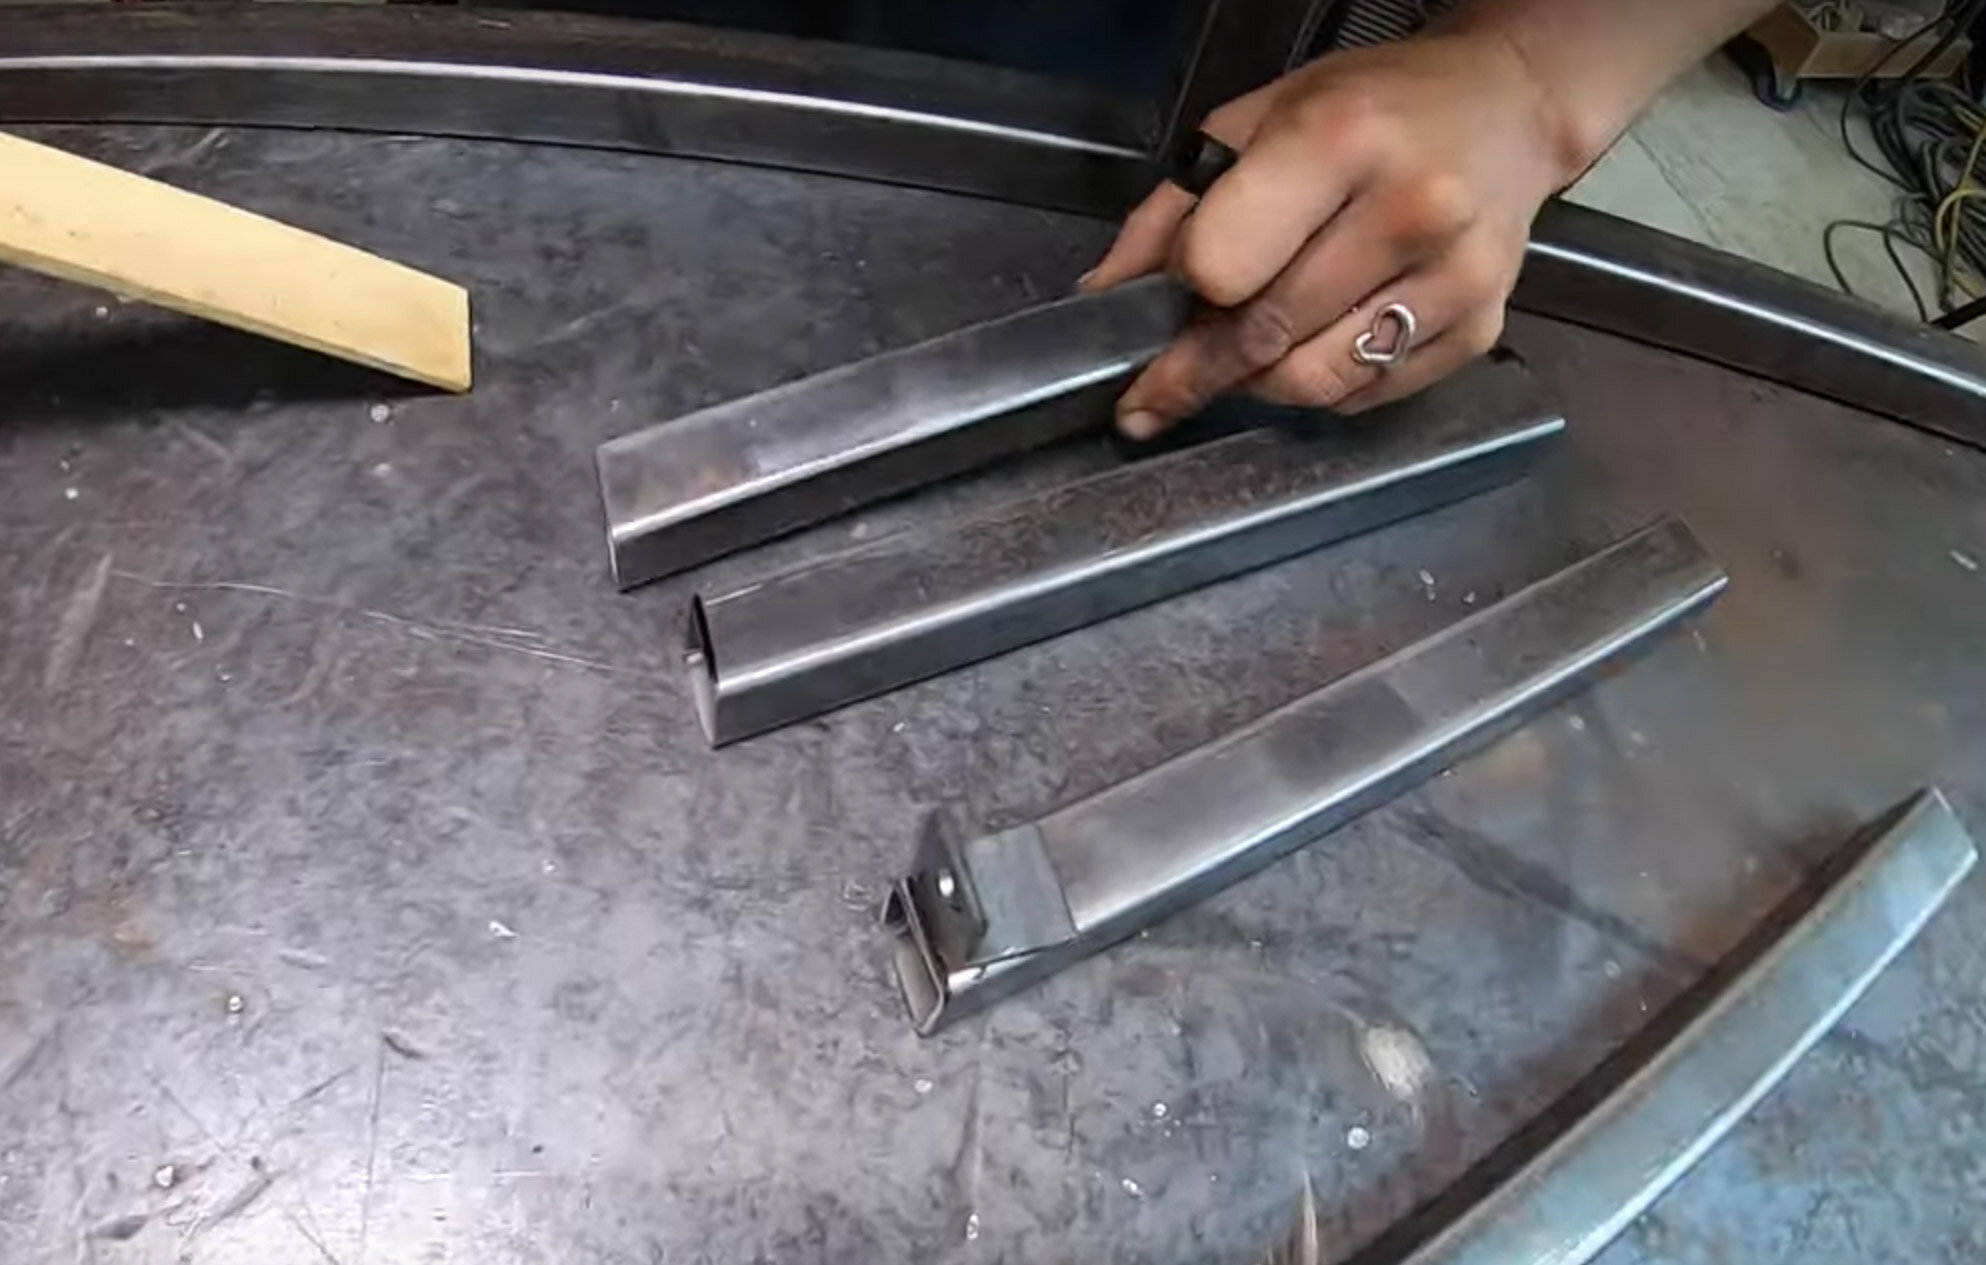
We have worked with wood and metal in the van and there are perks to both. The metal keeps the build strong and sturdy without the weight of wood, which means it takes far less material to be structurally sound, which means less weight. Also with metal, if you cut something too short, you can always weld it back on and recut it! If you cut a piece of wood too short, you have to get a new piece of wood.

Here in this blog post, we show you how to frame out every piece of furniture with metal, in our T1N Campervan Conversion. We also have an entire Youtube Build series here.
In our first full build, we show you how us two Kookz figure out how to build cabinets out of wood. If we can do this build, with no prior skills, you can do it! This build was Dani’s first time picking up a power tool, now she can weld! So you kookz got this! Think of all the life skills you’ll gain!

Once you have your cabinets framed and the sides to match the curves, you can move on to the cabinet fronts for minimal builds, or you can take it one step further and add some professional face frames. We skipped face frames in our first build. But on the facelift, we added these and what a world of difference it makes to the finished look!

In this blog post we teach you how to Build Cabinets in a Van and match the curve of the van, every time. Professional cabinet builders don’t even realize how pesky van curves can be. We show you how to make templates out of your Amazon boxes so that you aren’t wasting wood, like a pro.

Above is a link to our YouTube video walking you through how to measure, account for material needed, organize your cut list, and make professional face frames. Accompany that info with our written blog here.


96 Pages of Diagrams and step-by-step instructions on how to Frame Your Van, Install Walls, Ceiling, and Floors. Getting the van ready to build out with the first few steps of the project. This EBook takes you through everything you need to know in order to get your van ready for the next steps and on the road.