After you have built all your cabinet frames and have them securely installed into your rig, it’s now time to cover up the sides to all the cabinets and get them looking professional. This process is called scribing and if you put in the time here your results will look amazing.
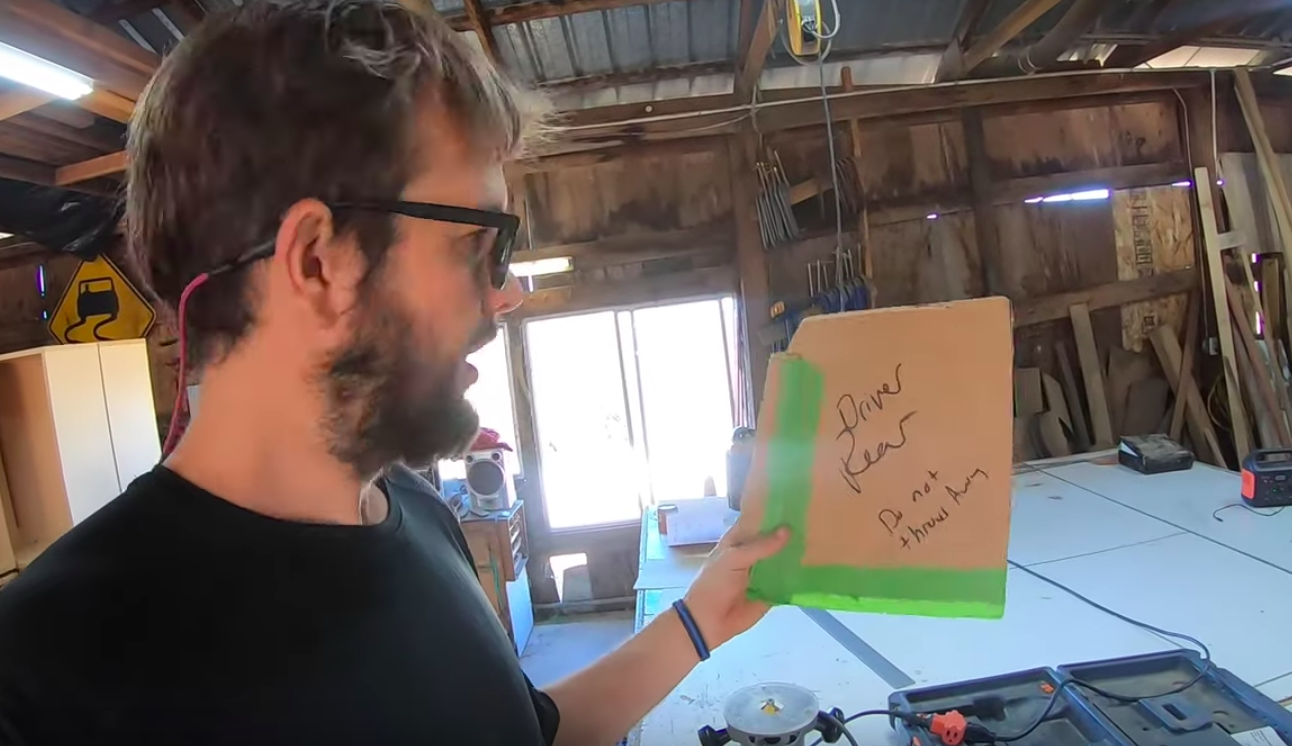
To start, what you will need for this task is some Ram Board or cardboard to make stencils of all your cabinet sides. We used a razor and a large T-Square to cut them all. From here, you will want to trace all these stencils to MDF particle panel, which is a thin particle board. It’s best to have your cardboard stencils be more on the larger size. So when you go to scribe the sides of the MDF, you won’t cut the stencil to small.
What you’ll do here is take the particle panel and place it on the side of the cabinet you need to cover. You will want your particle board to be a little longer and taller than your desired size of the cabinet side because you are going to scribe it down to size.

To do this, you need to hold your marker or pencil in your hand. I like to have the outside of my hand touching the van wall, as I drag the pen down to trace the curve of the van onto the particle panel.

From our quick “How to build a shelf in a Van” video on our YouTube channel. This video is great if you have been fighting with those van curves. This will show you how to conquer those curves for good!
Now, you’ll want to cut the particle panel with a jigsaw, you’ll want to cut a few 1/16”ths of an inch before the line to leave some of the line. This will allow you to get the scribed side perfect with your sander.

Once you’ve made the cut, take your sander and sand down to your line. The sander allows you to be more precise than the saw.

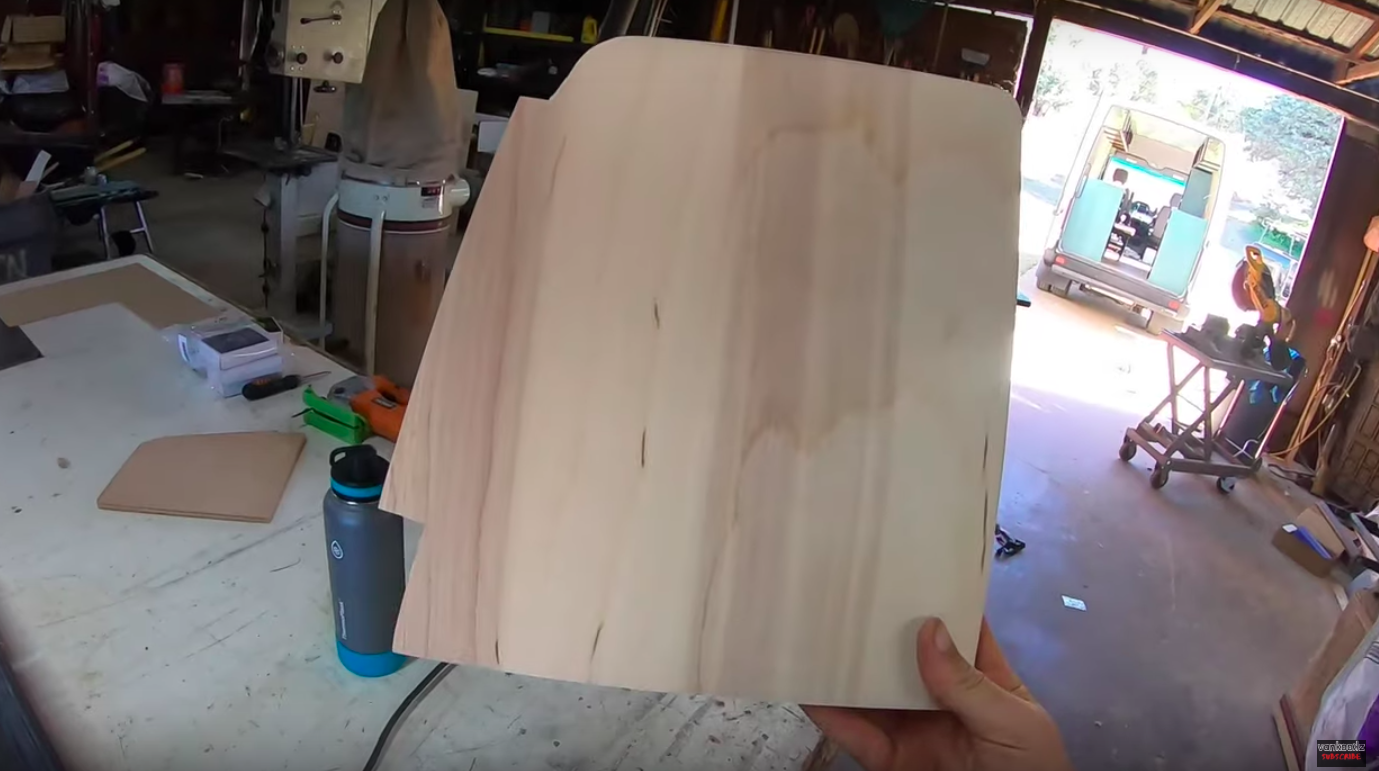
Now that you have your particle panel templates perfect, you will want to transfer them to your plywood or whatever material you’re using for your cabinet sides. This is the exact same process as you did with the cardboard to particle panel. You’ll just want to be careful now to get it perfect.

Once you’ve scribed, cut, and sanded your side panels, you’ll now need to paint or stain them before you install to make your life easier. We went with a nice turquoise/teal stain for most of our cabinets and left our uppers natural with a polyurethane clear stain. We highly recommend using a sealer, as well here, to help protect the stain from water and any potential vancidents.
Now, you’ll want to attach your sides to your cabinets. If you welded all your frames like us, you’ll need to drill plenty of holes before hand to attach all the sides. With wood, it’s simple. Just screw the sides onto your frames.
This step requires a lot of patience, we highly recommend using the particle panel after the cardboard. This was our first time doing this, we would usually just go off the cardboard but the partial panel is more rigid and allows you to get a perfect fit on all your cabinets. It’s an extra step in the process but it is worth it.