Step 7 Framing

Building a Sofa Bed in Your Van Conversion

As per any tiny space, you will need some type of multifunctional furniture in your new home.  Our most complex task was designing a couch that could also be a full size bed and still have ample drawer storage underneath.  

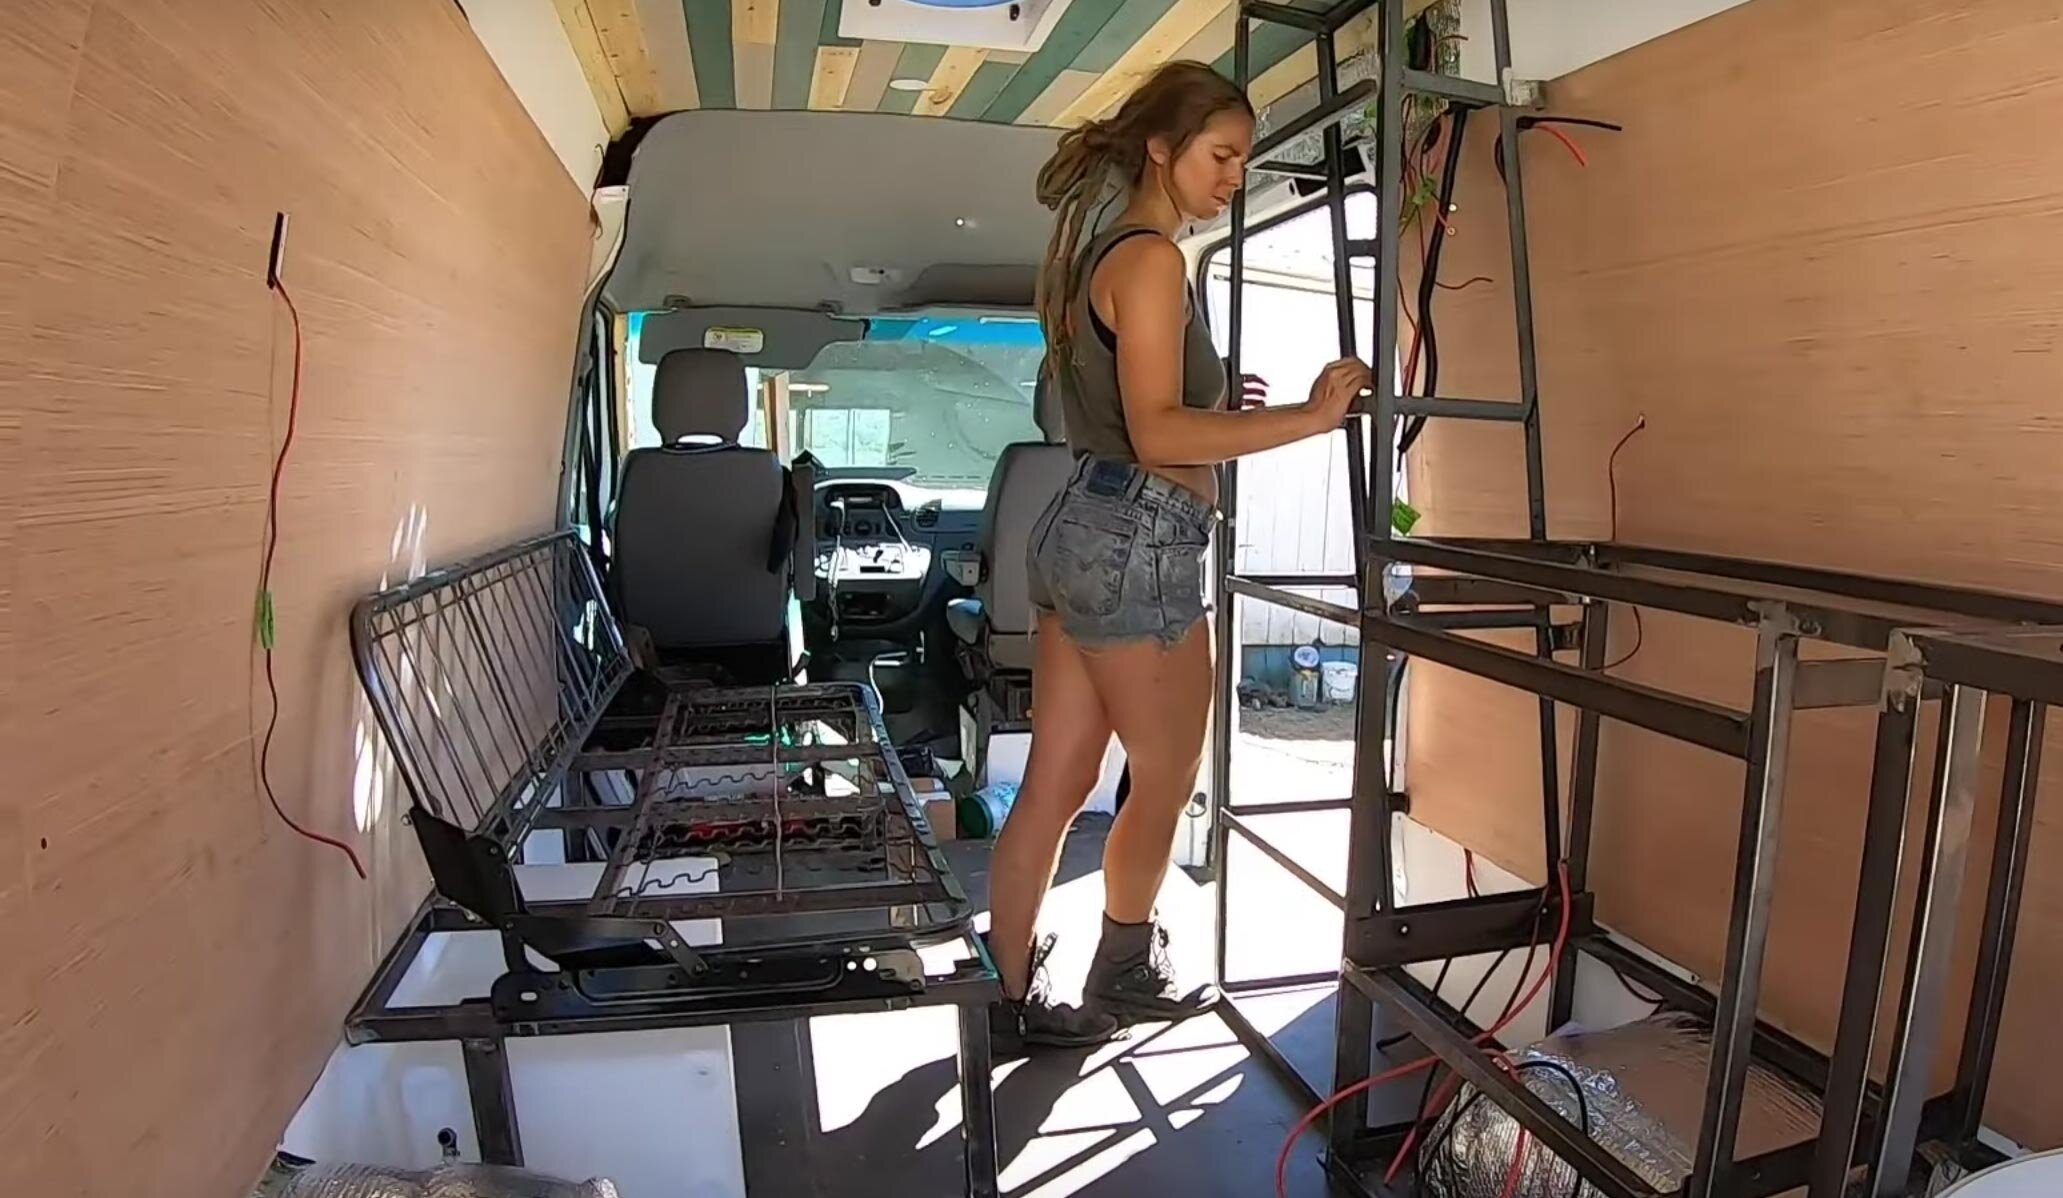
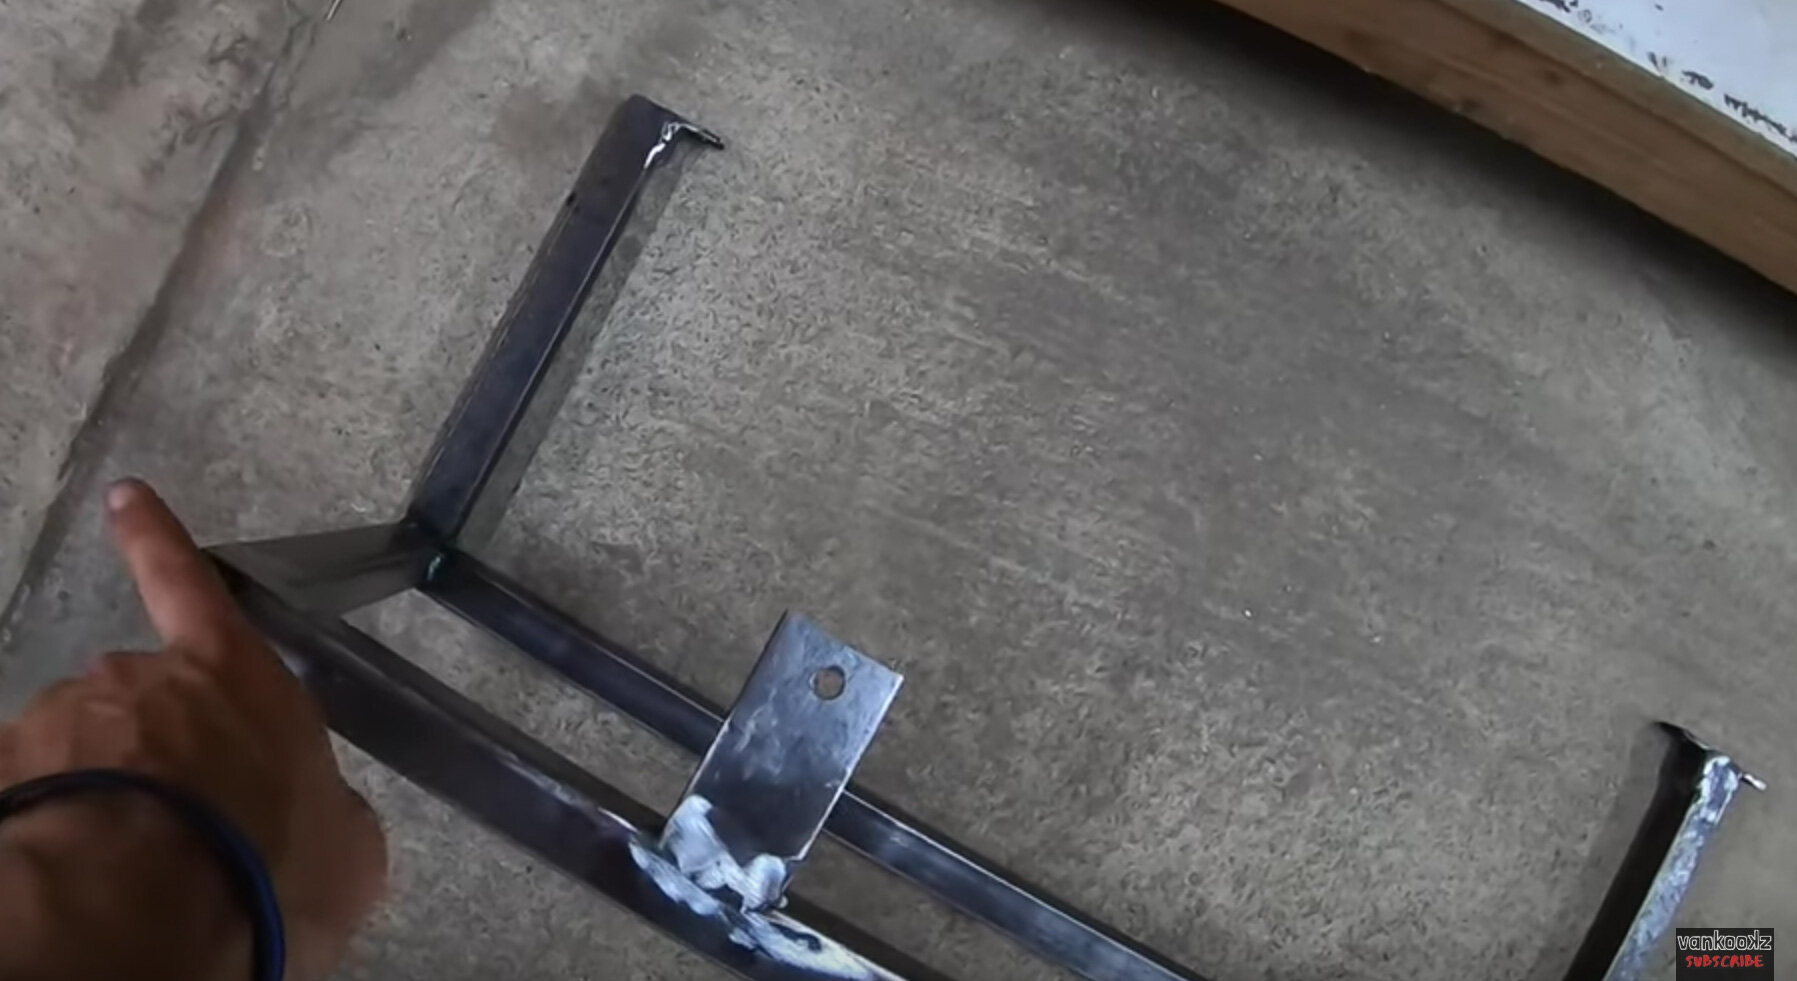
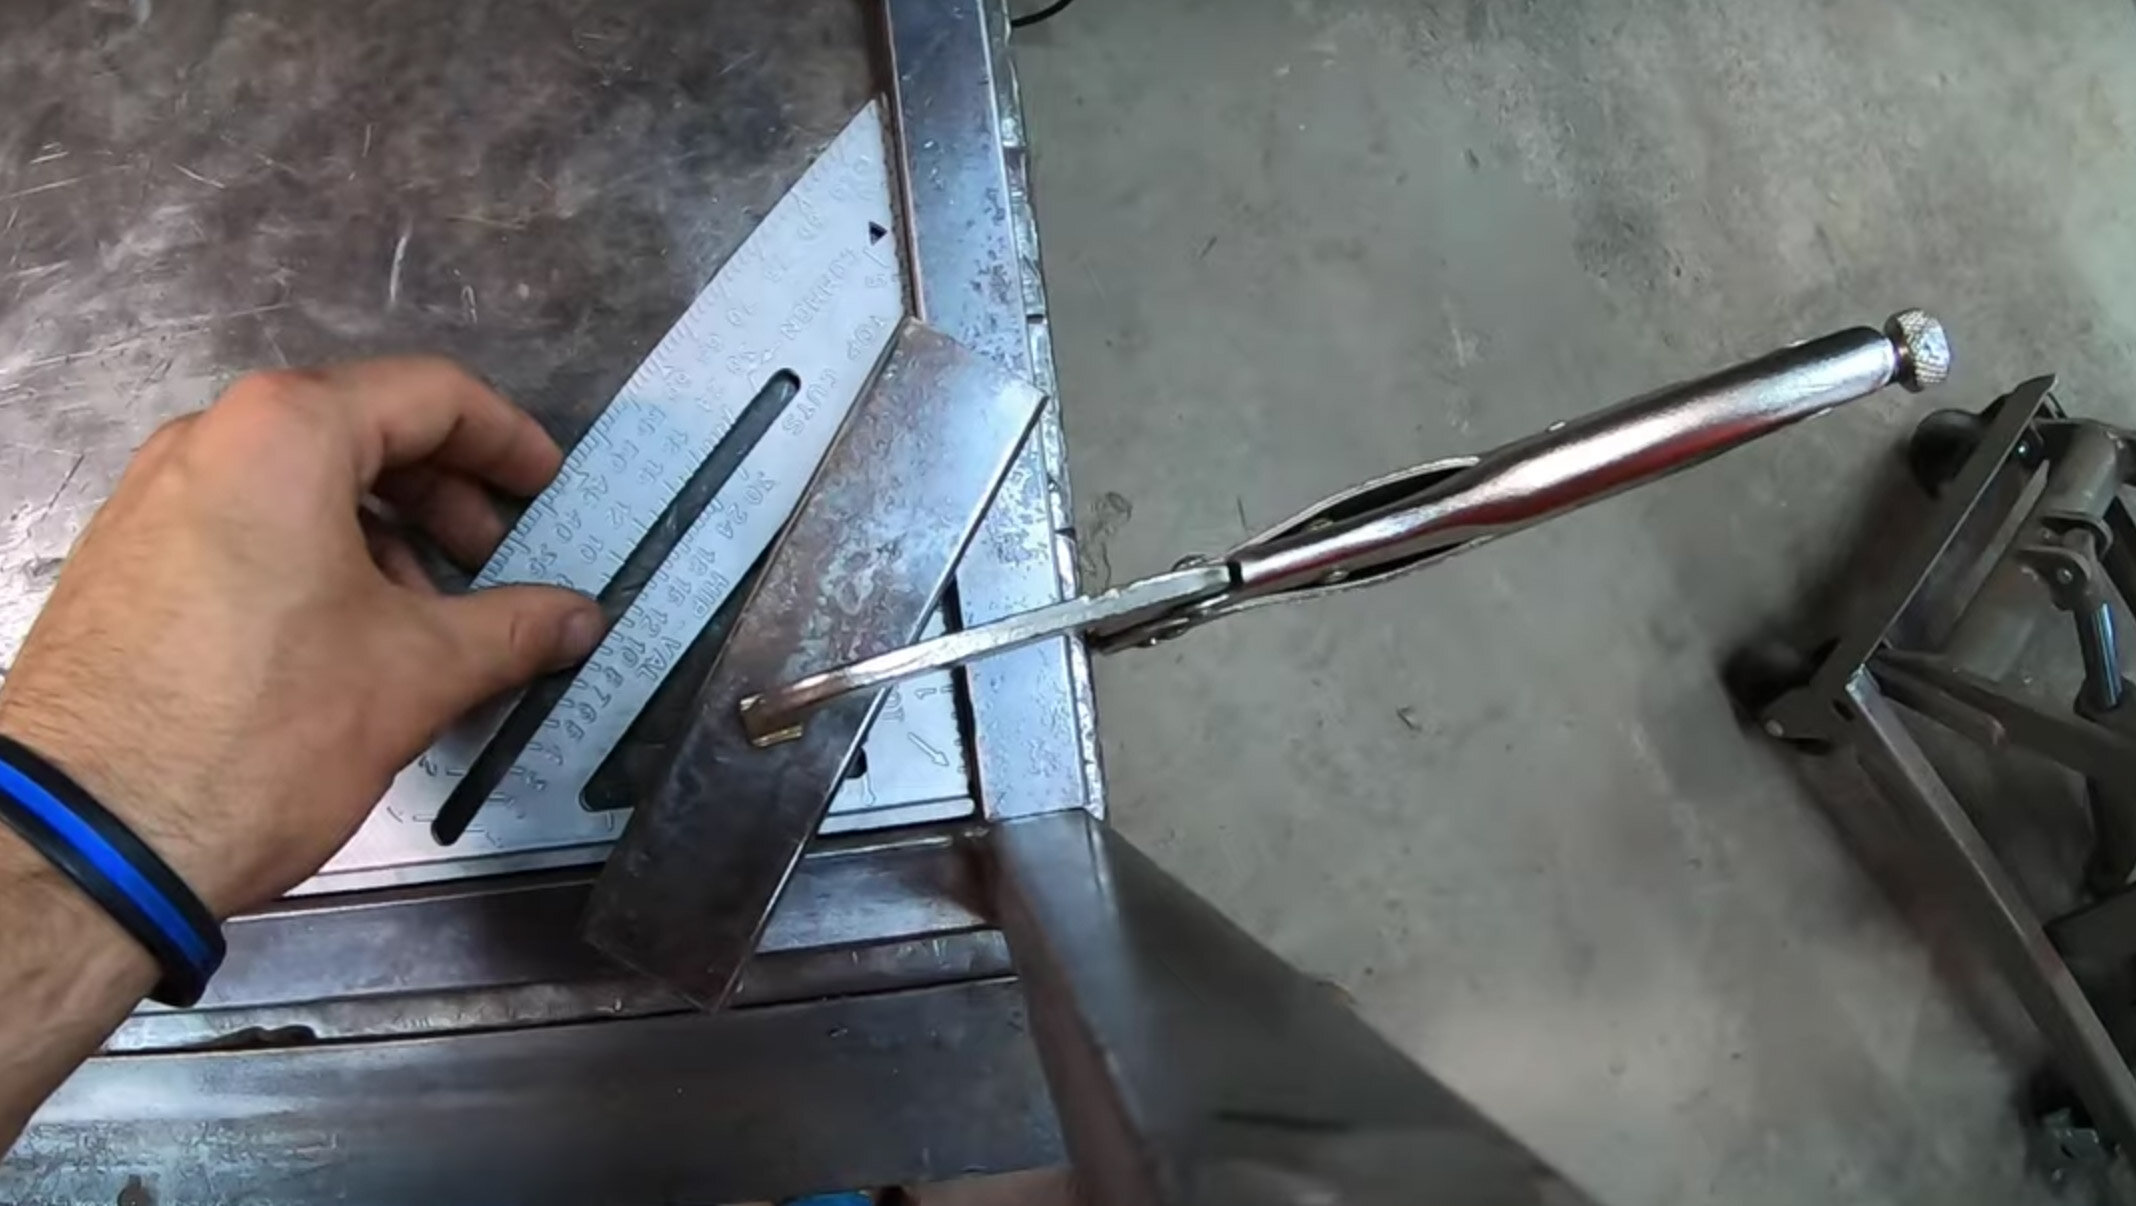
This was the first piece of furniture were build because we know the van would have to morph around the space that this took up.  The first problem to solve was how to get the bed to go from a couch to a full size bed.  We knew we need some type of bed hinge like one you would find on a futon.  So we went to an RV junkyard and found a “rock and roll” bed hinge similar to this product. (https://amzn.to/2SEZz0L)  

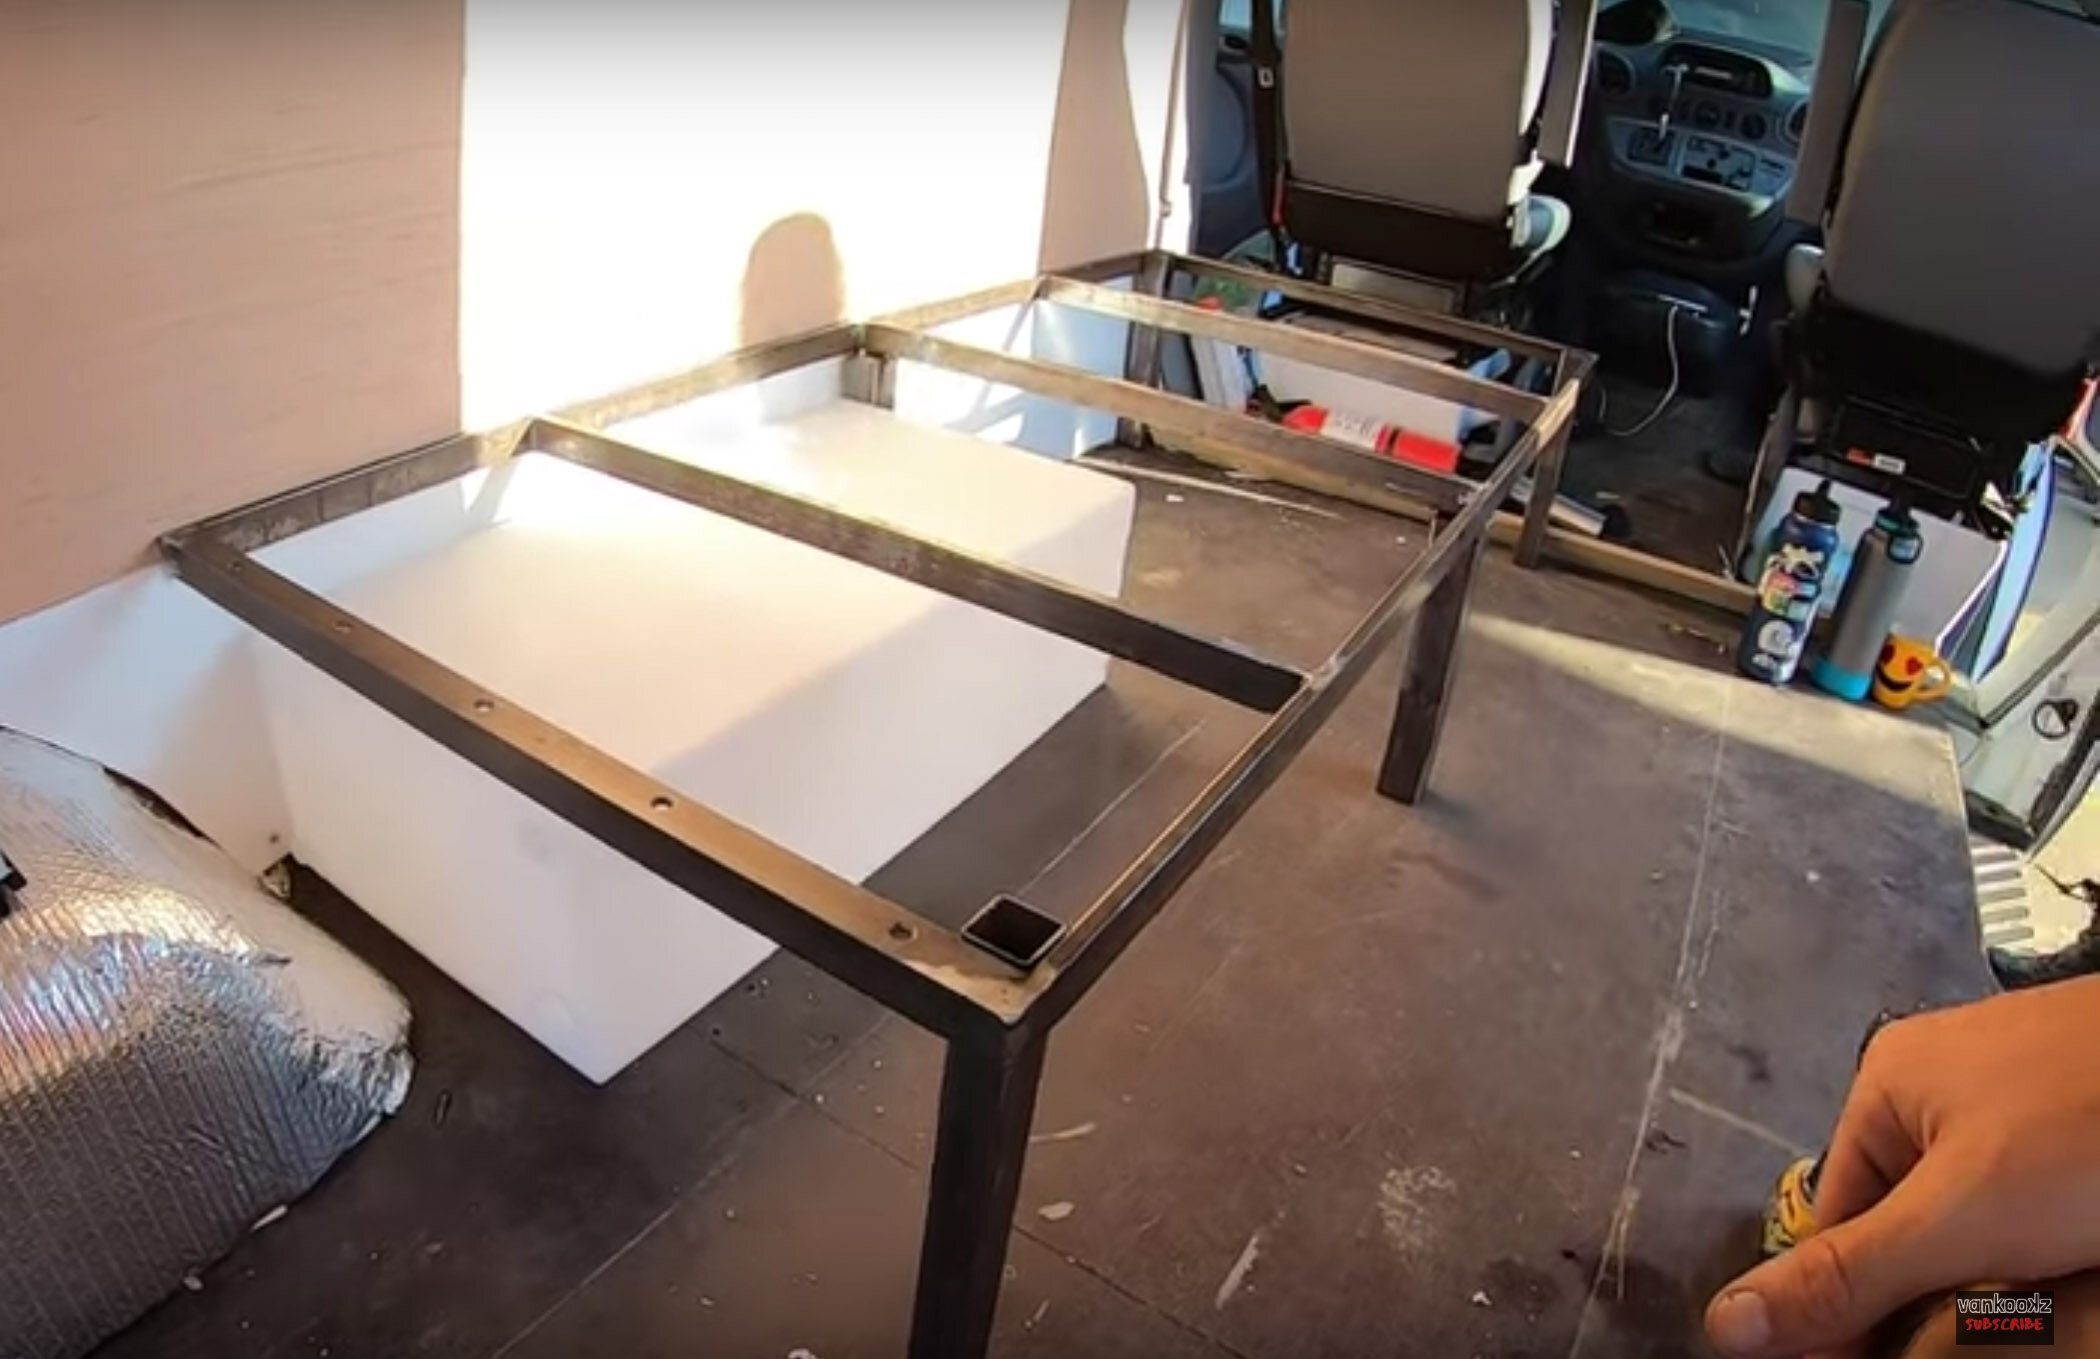
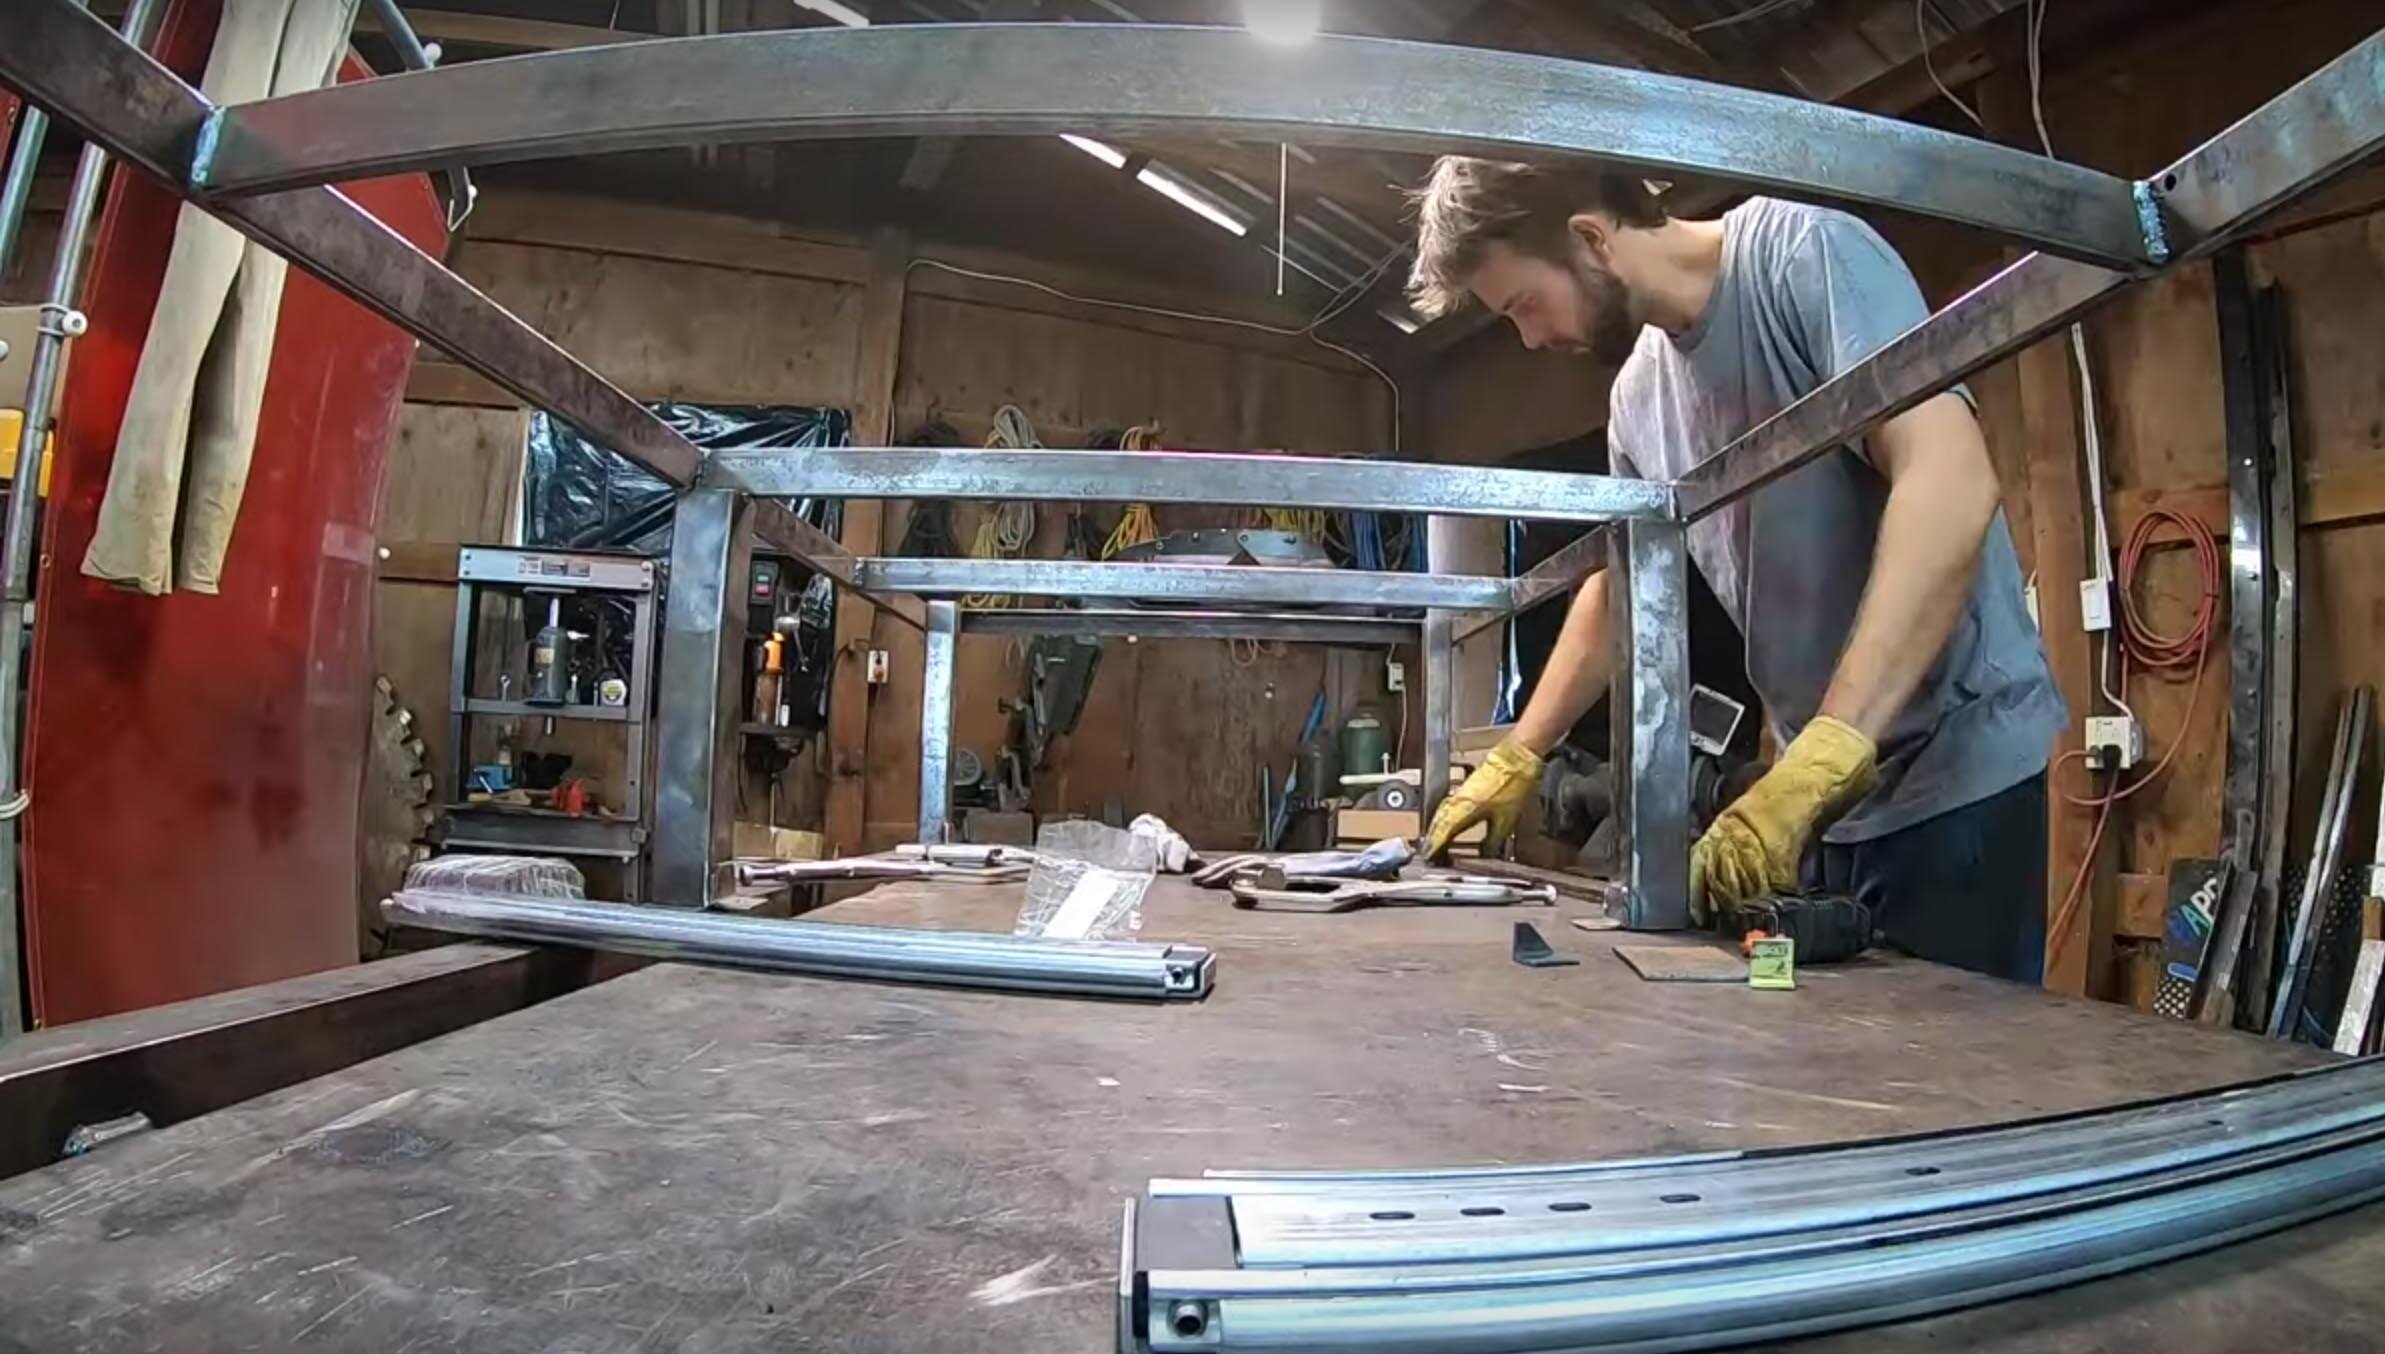
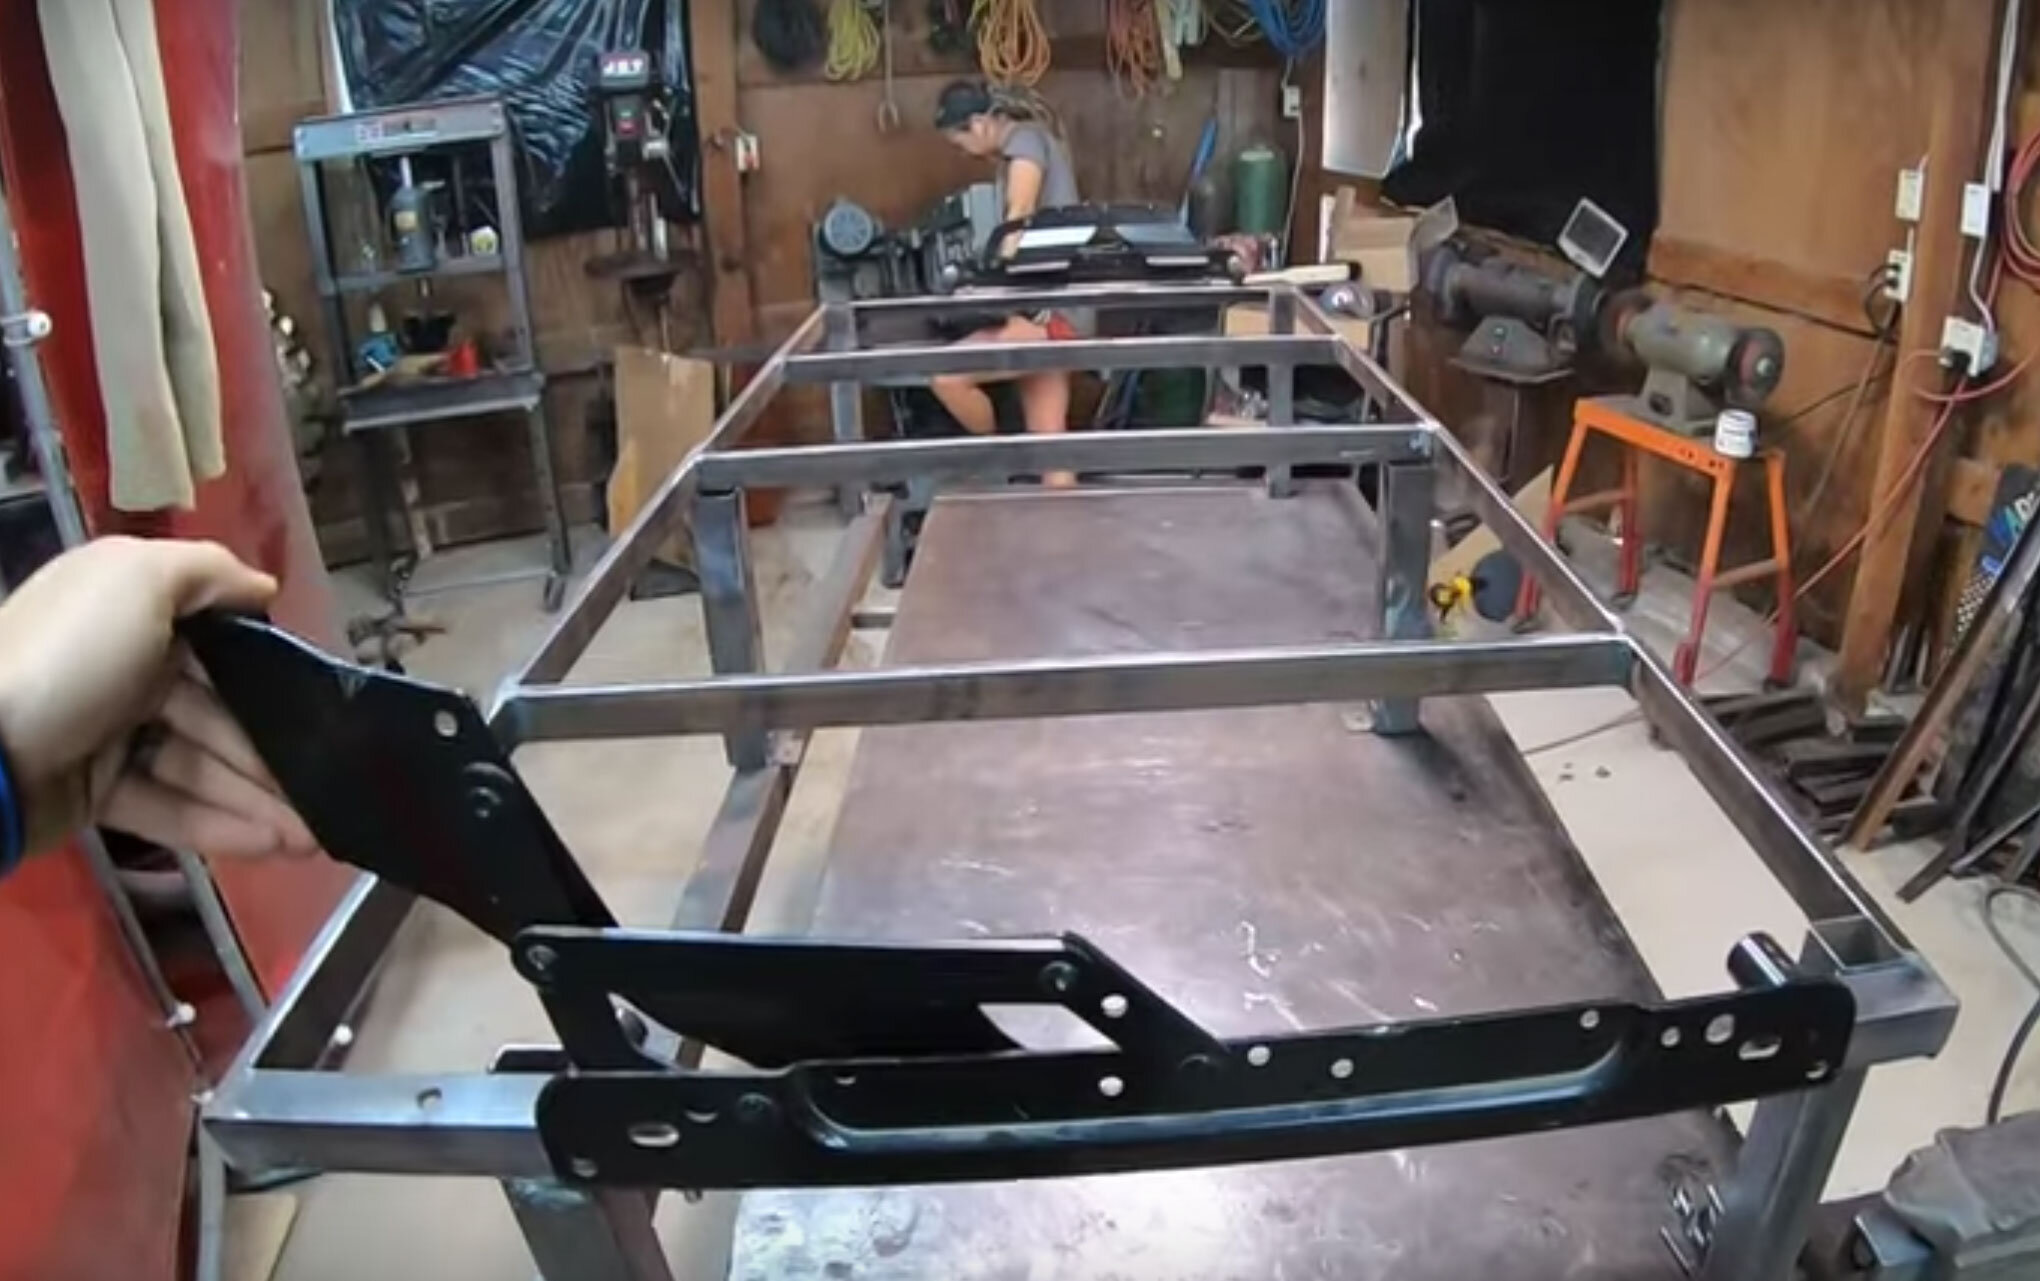
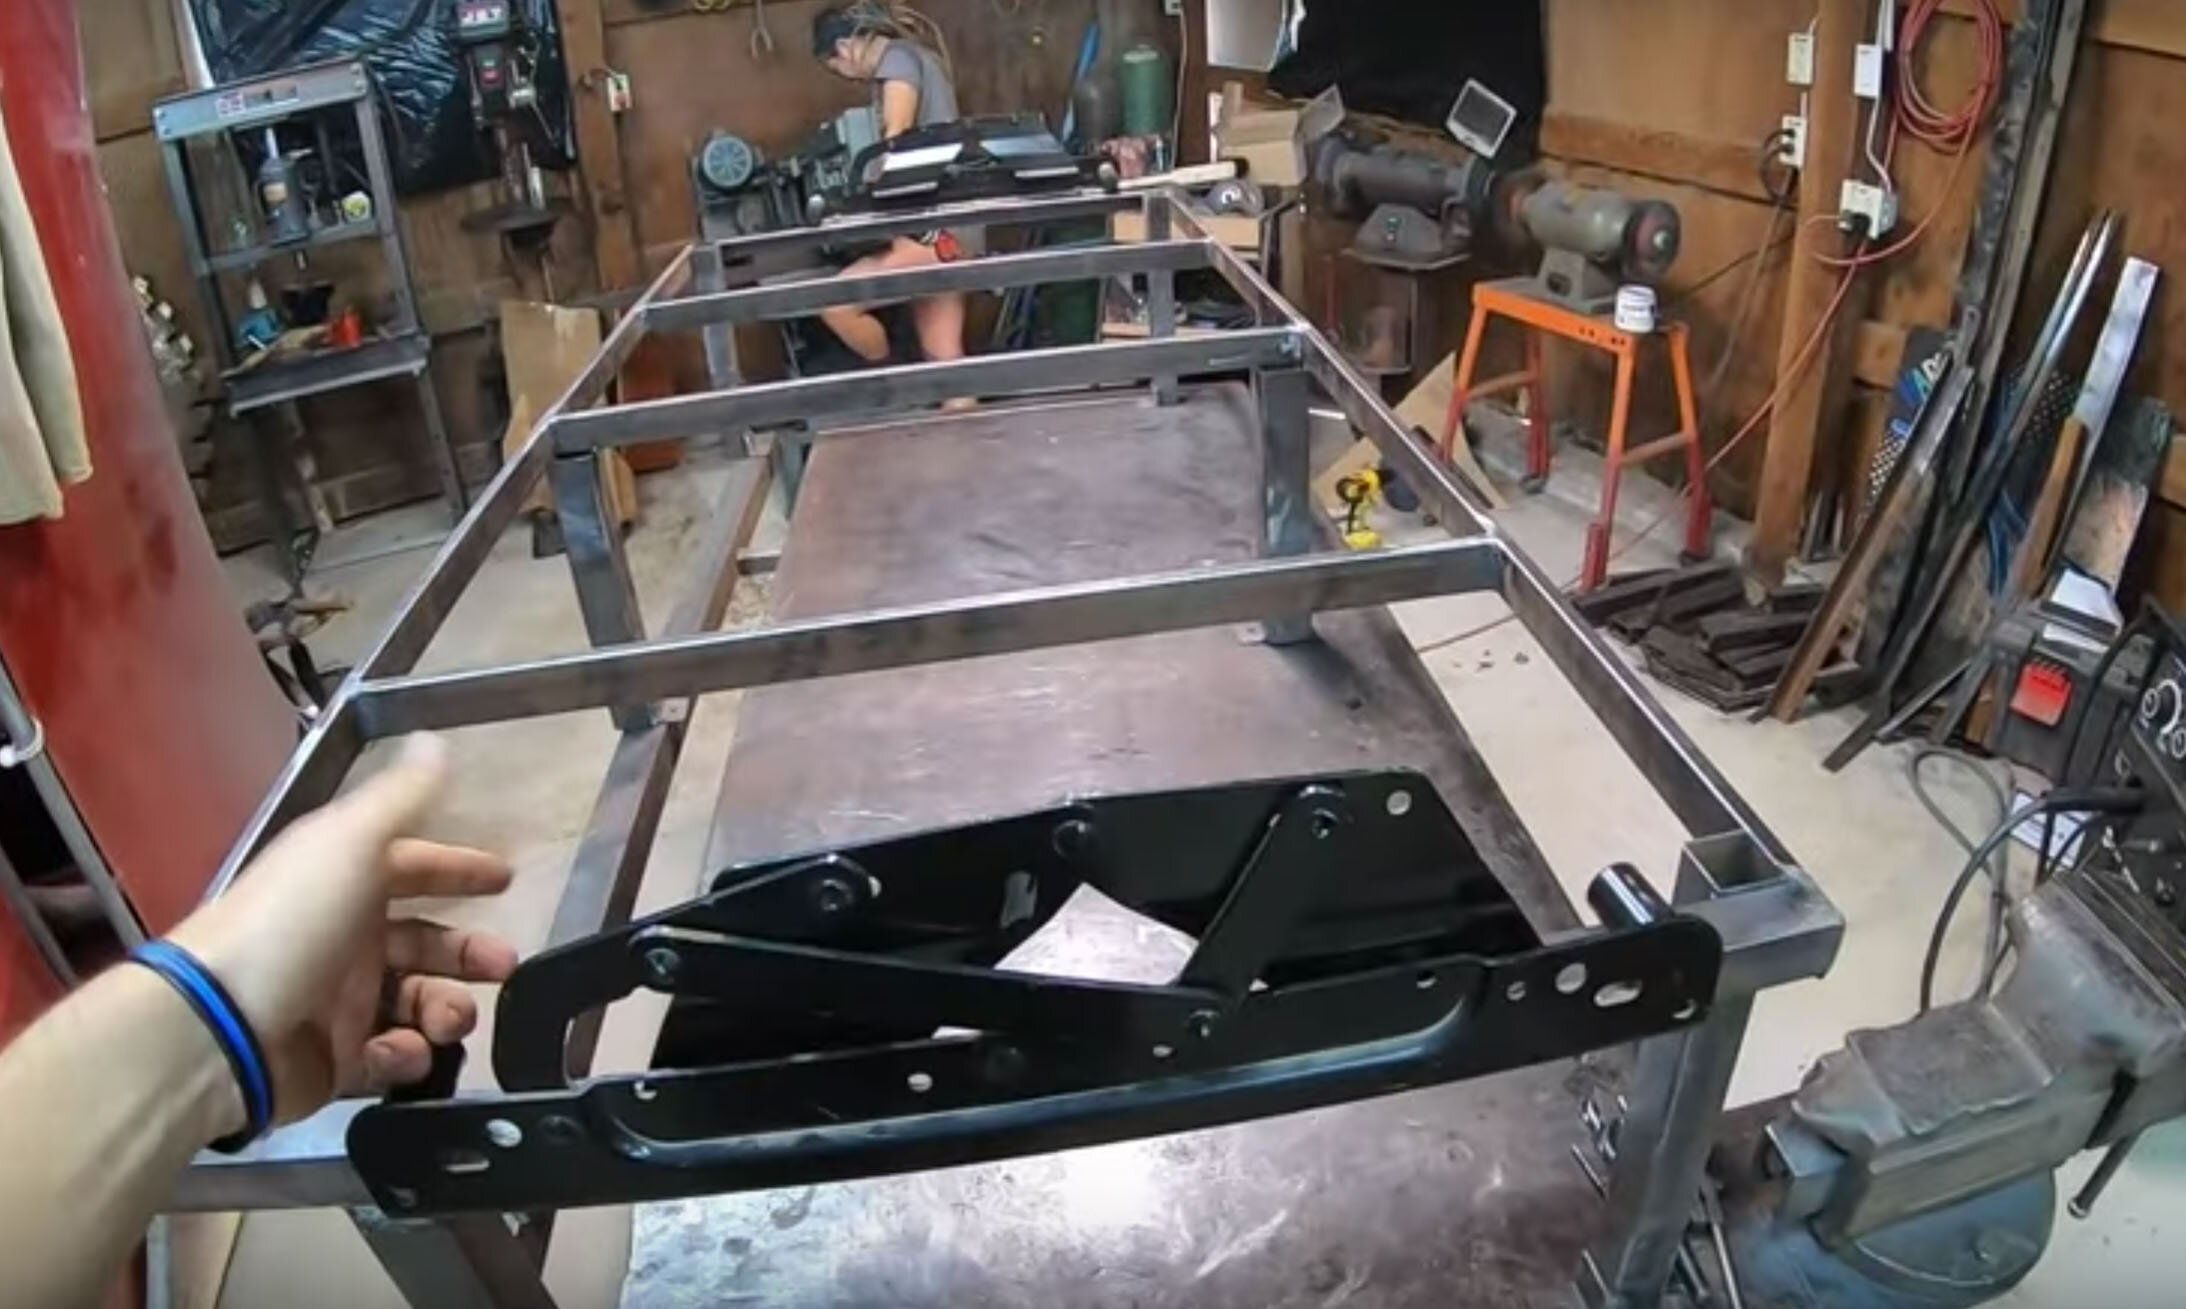
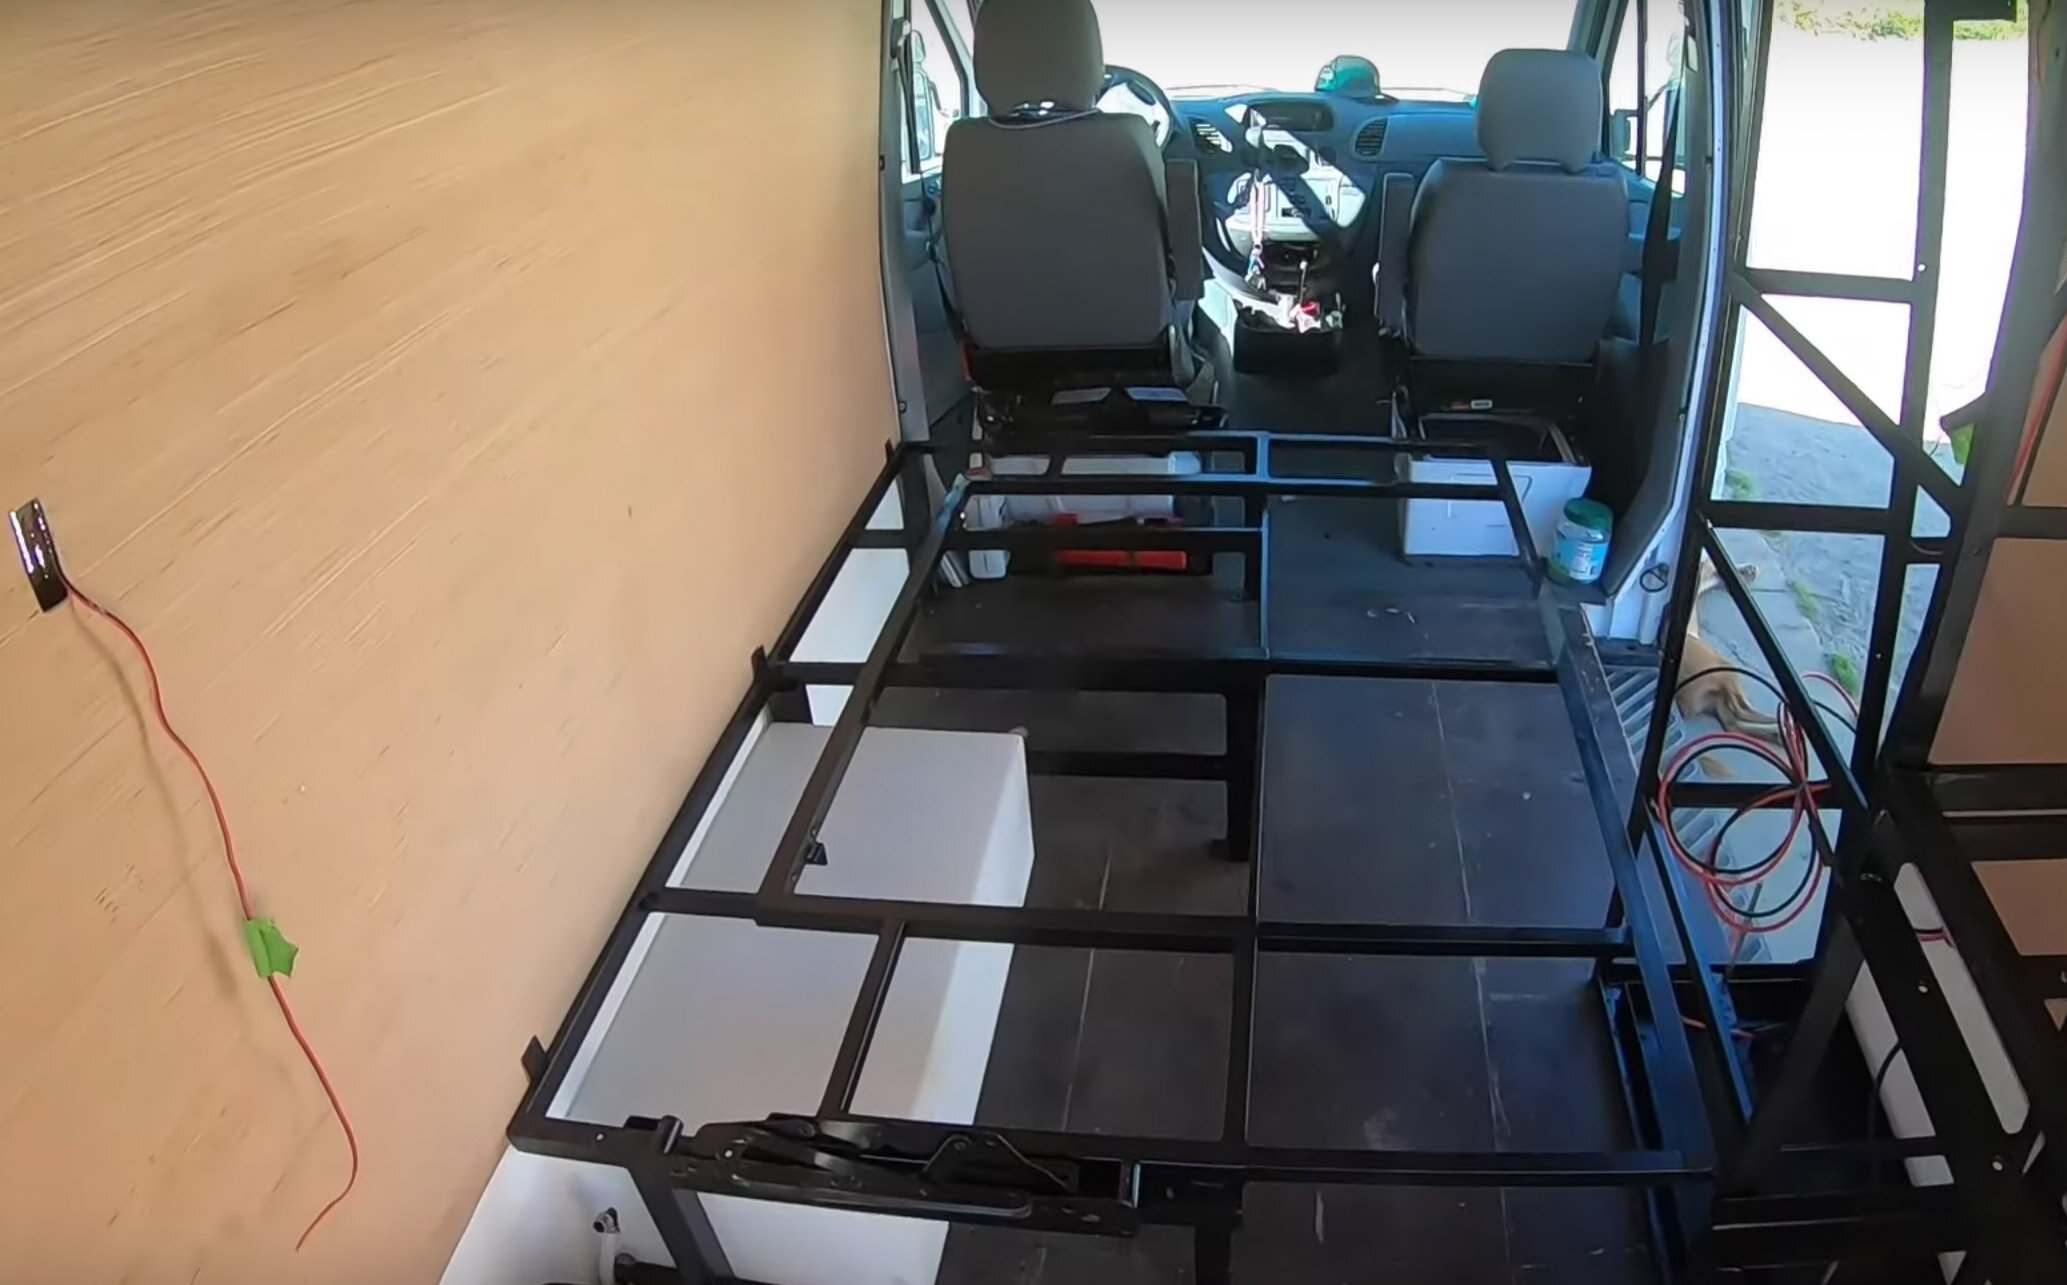
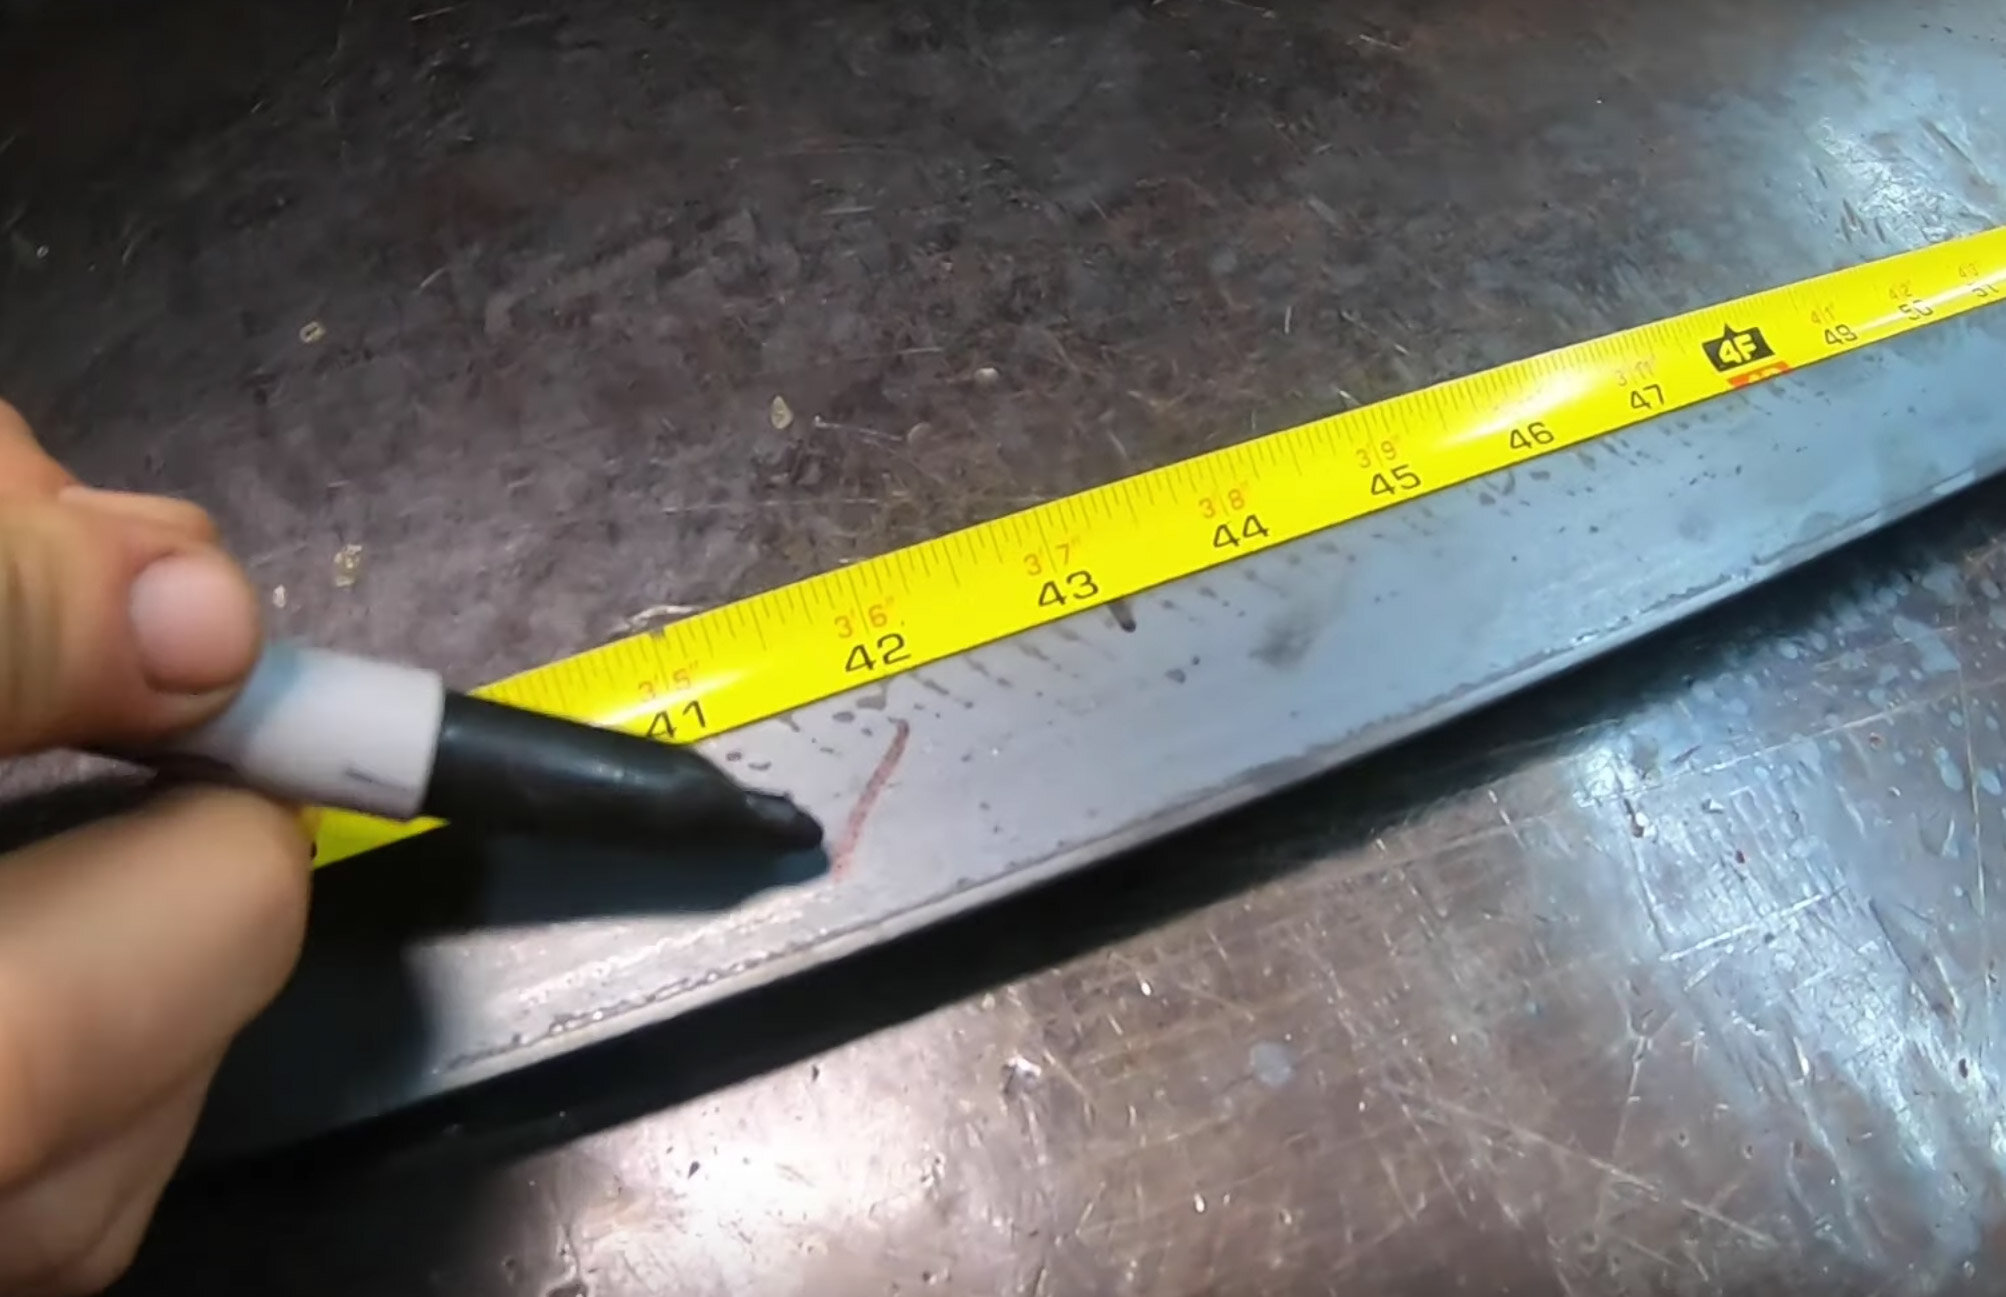
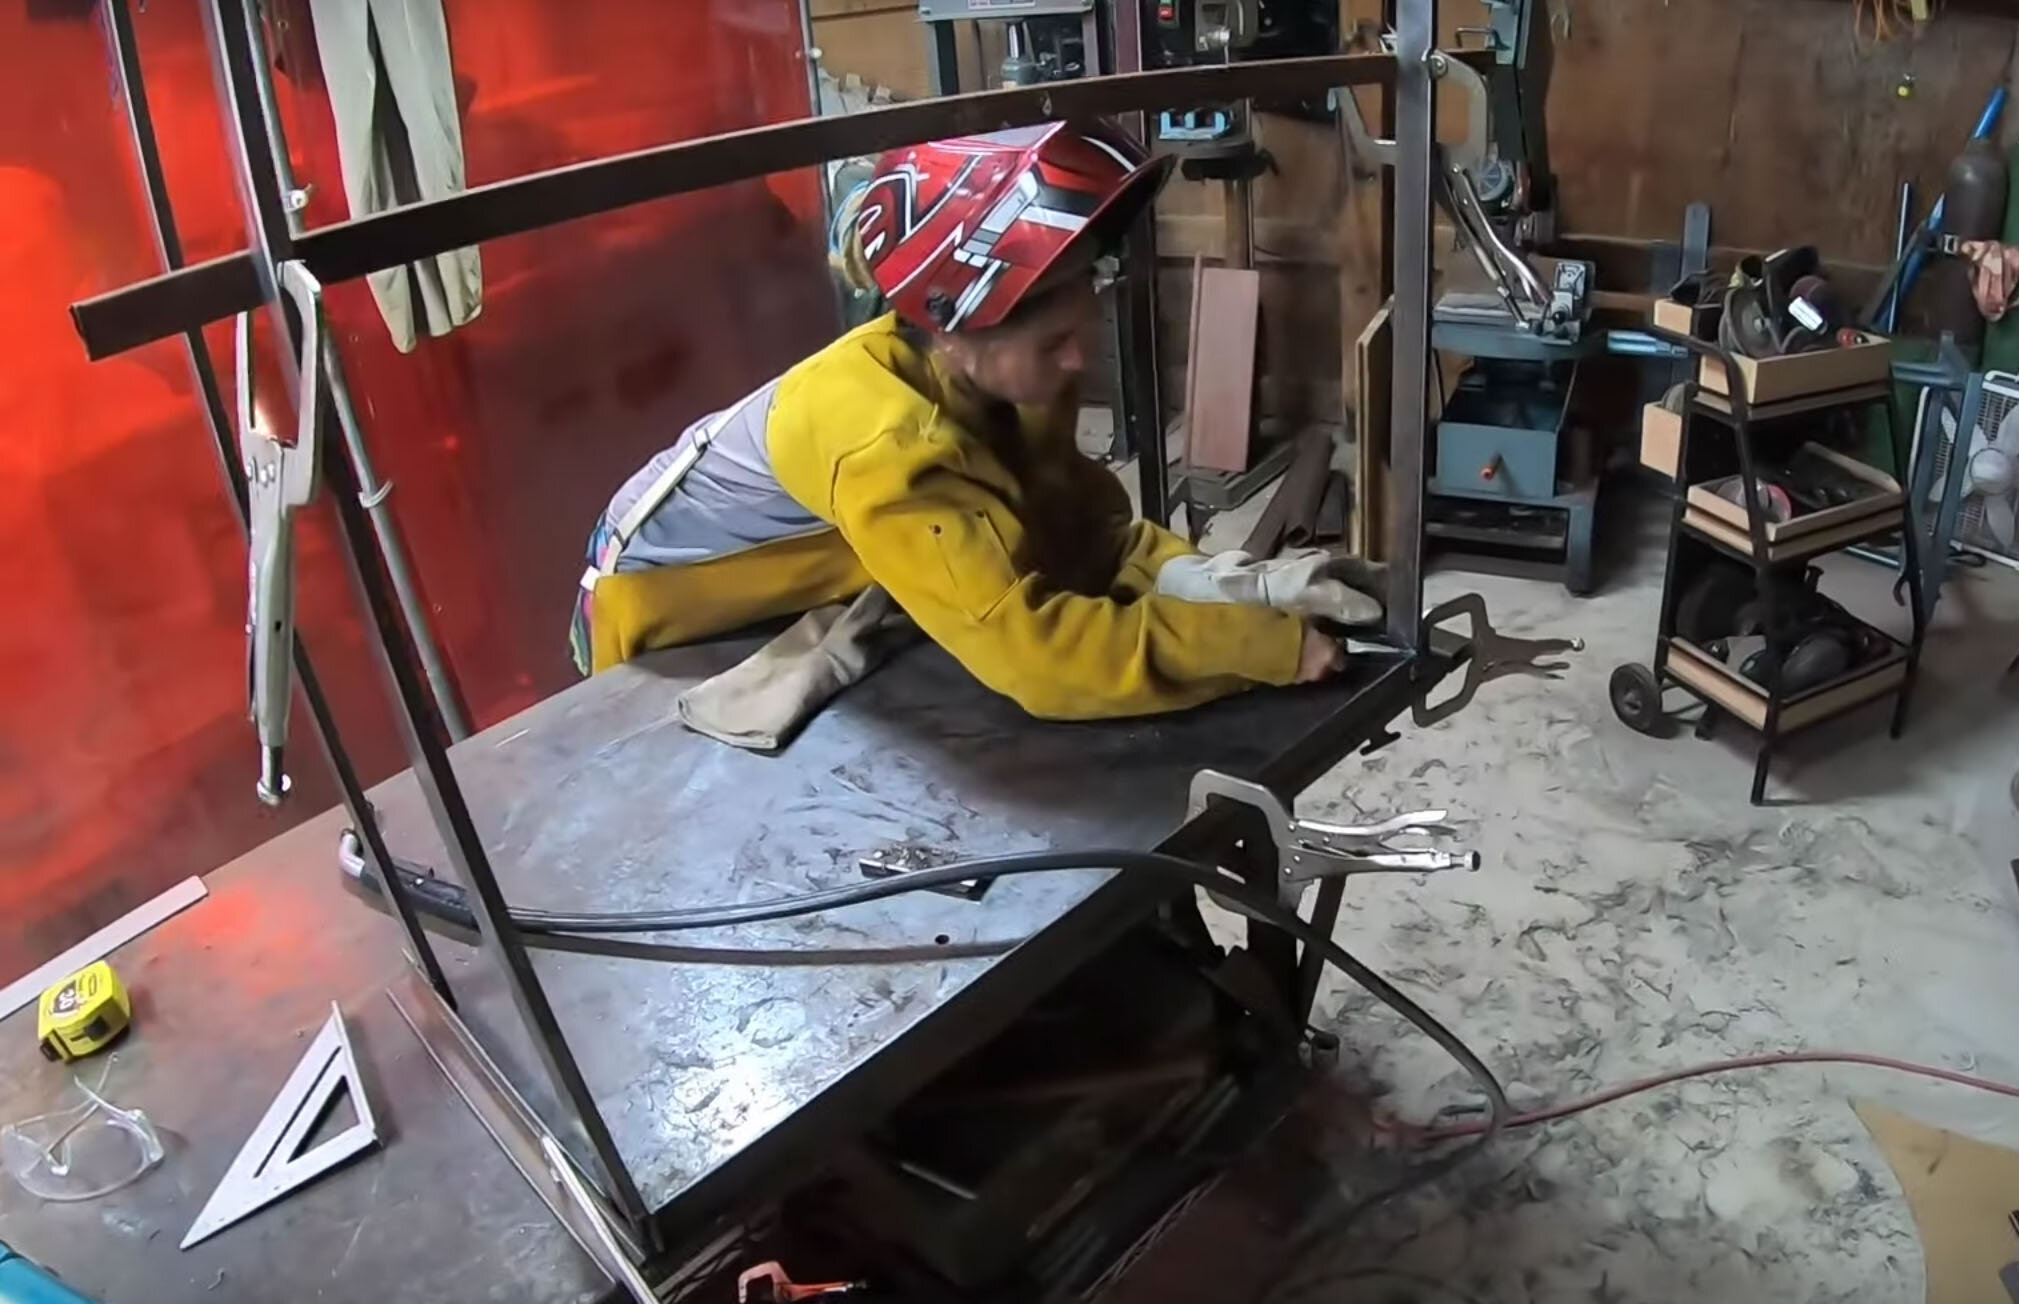
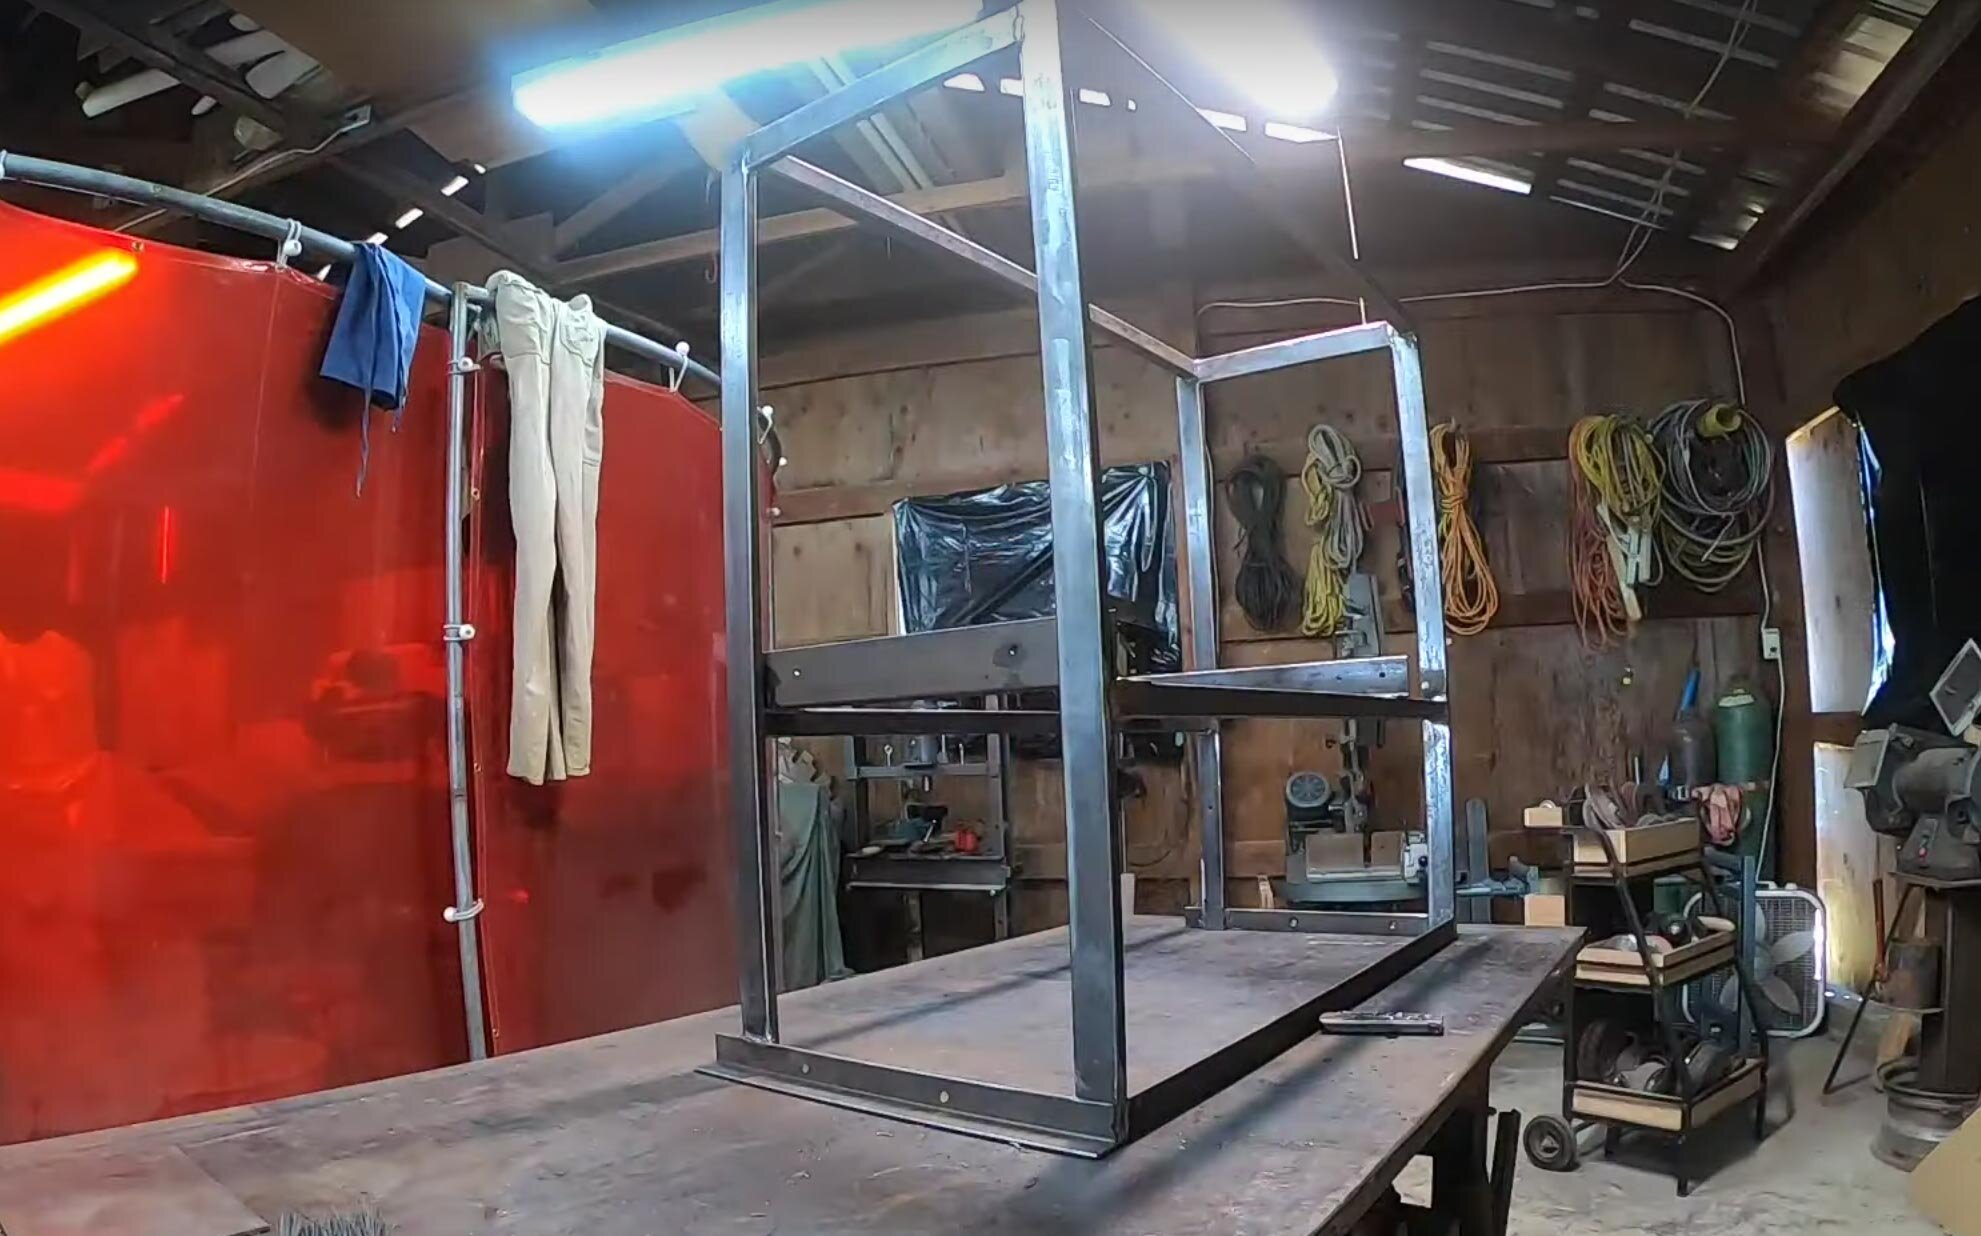
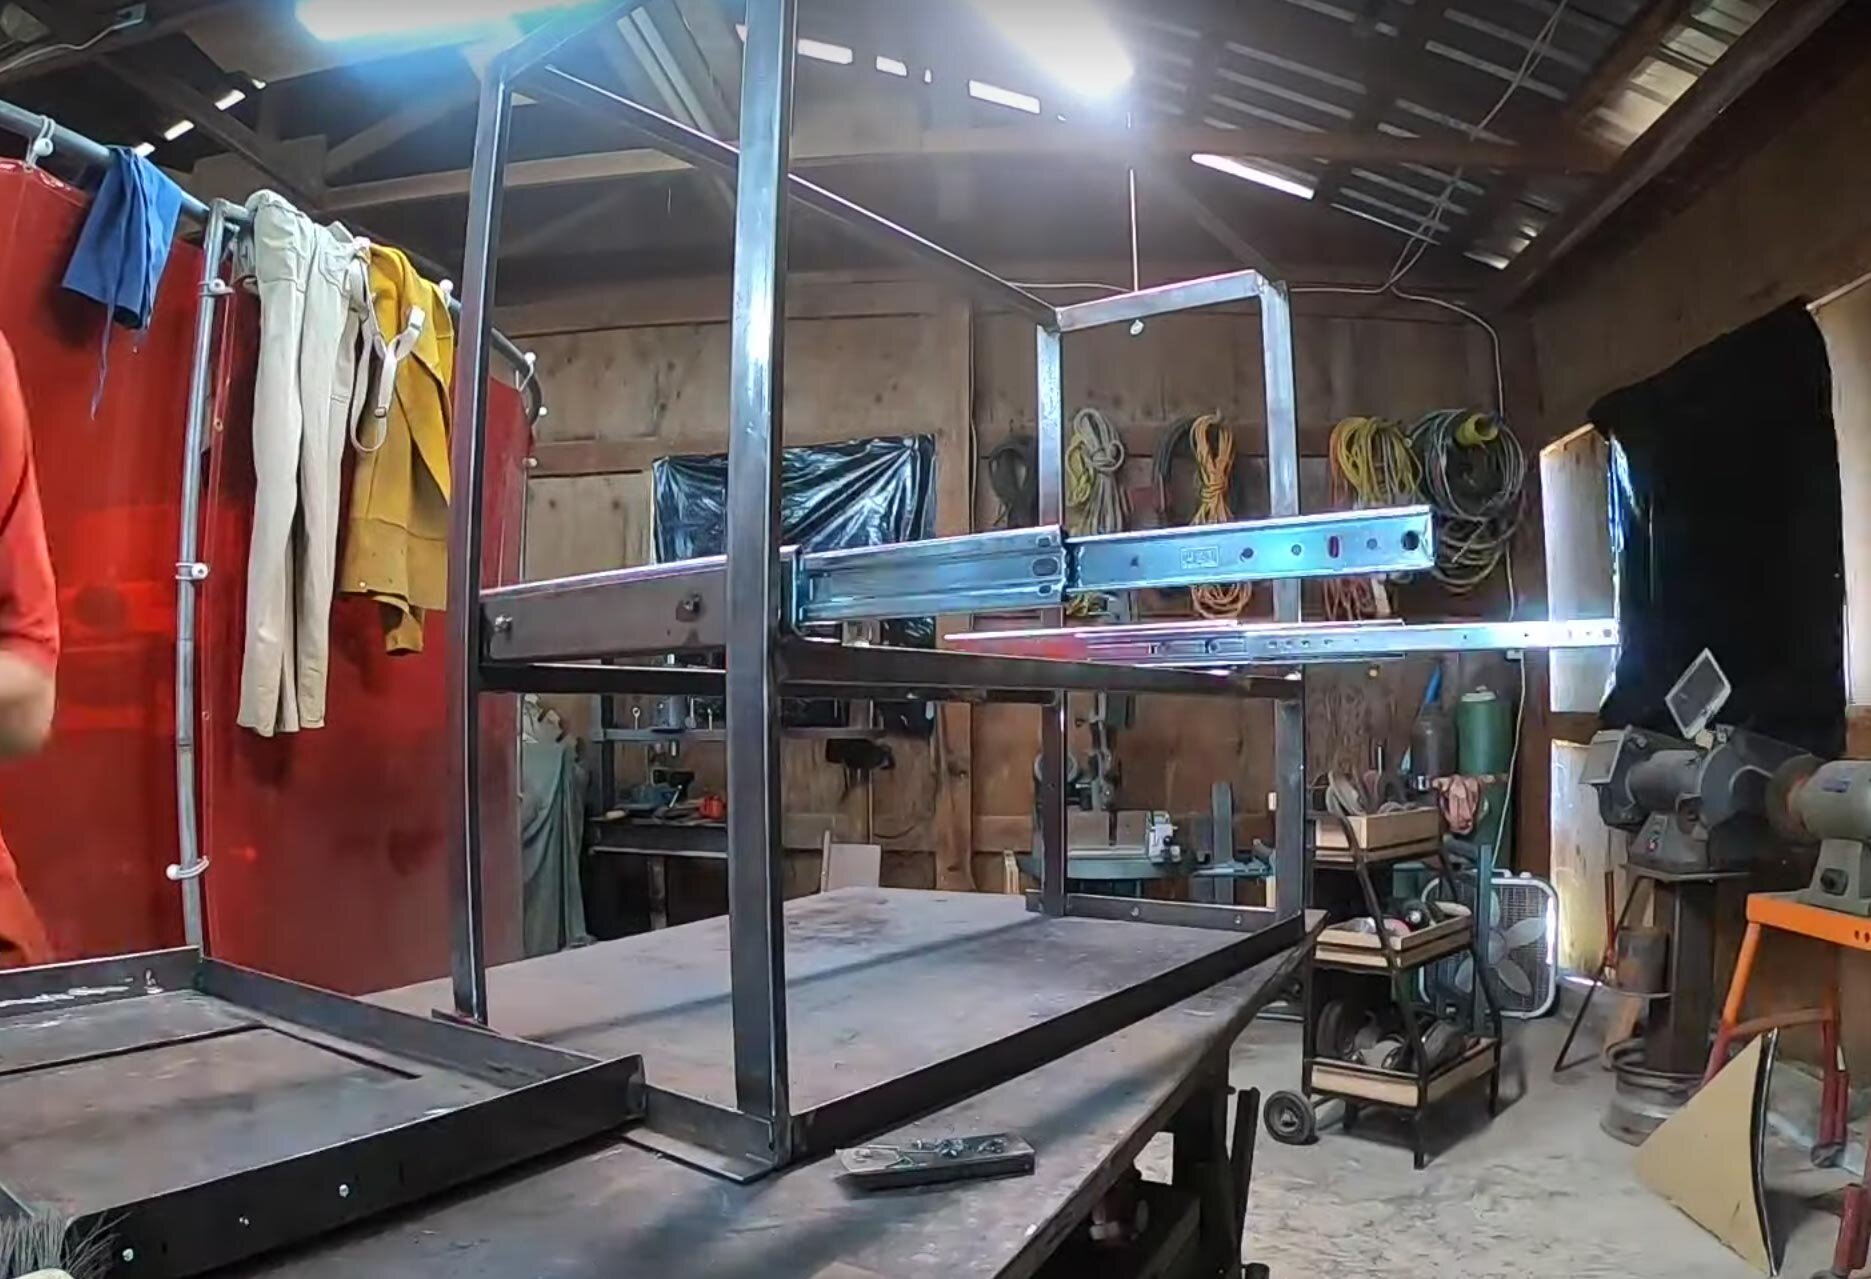
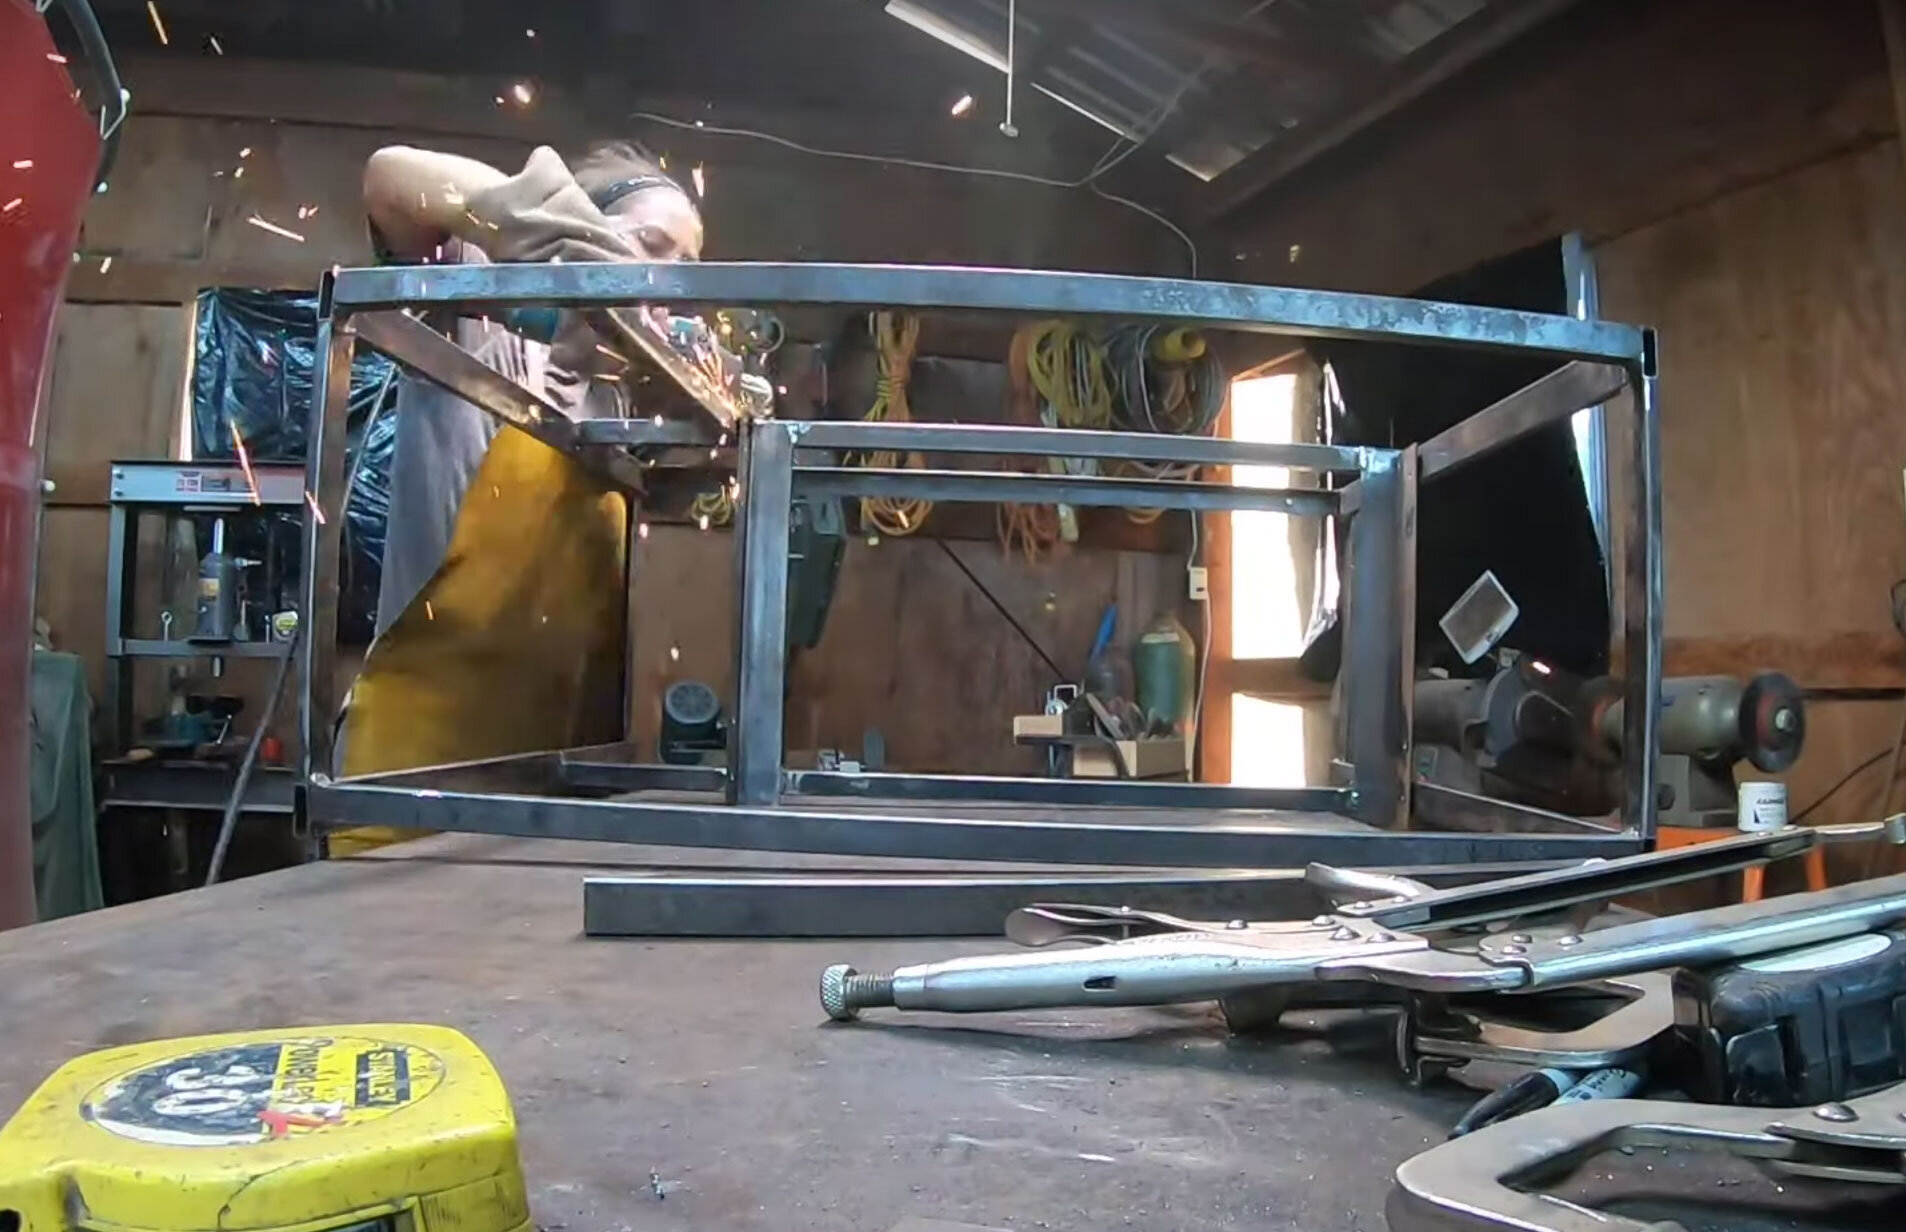
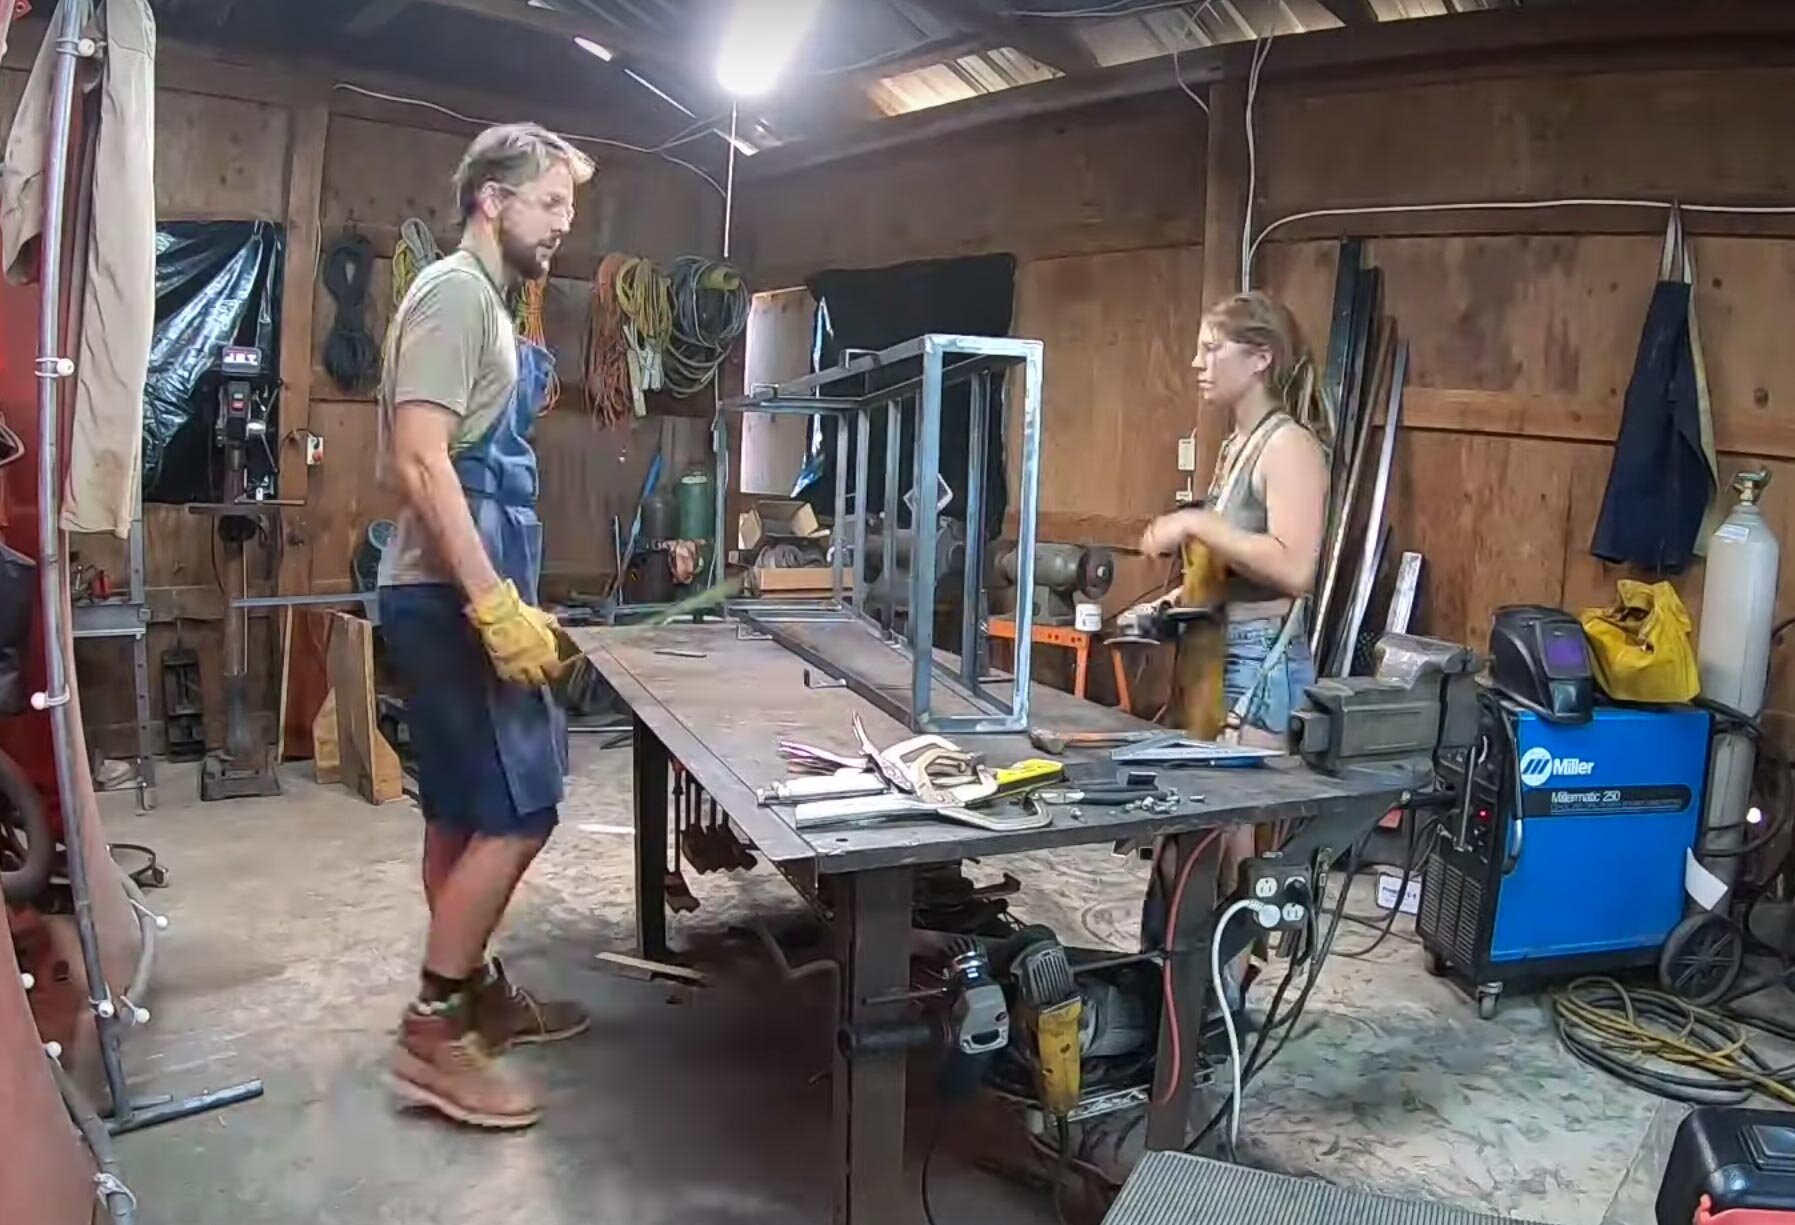
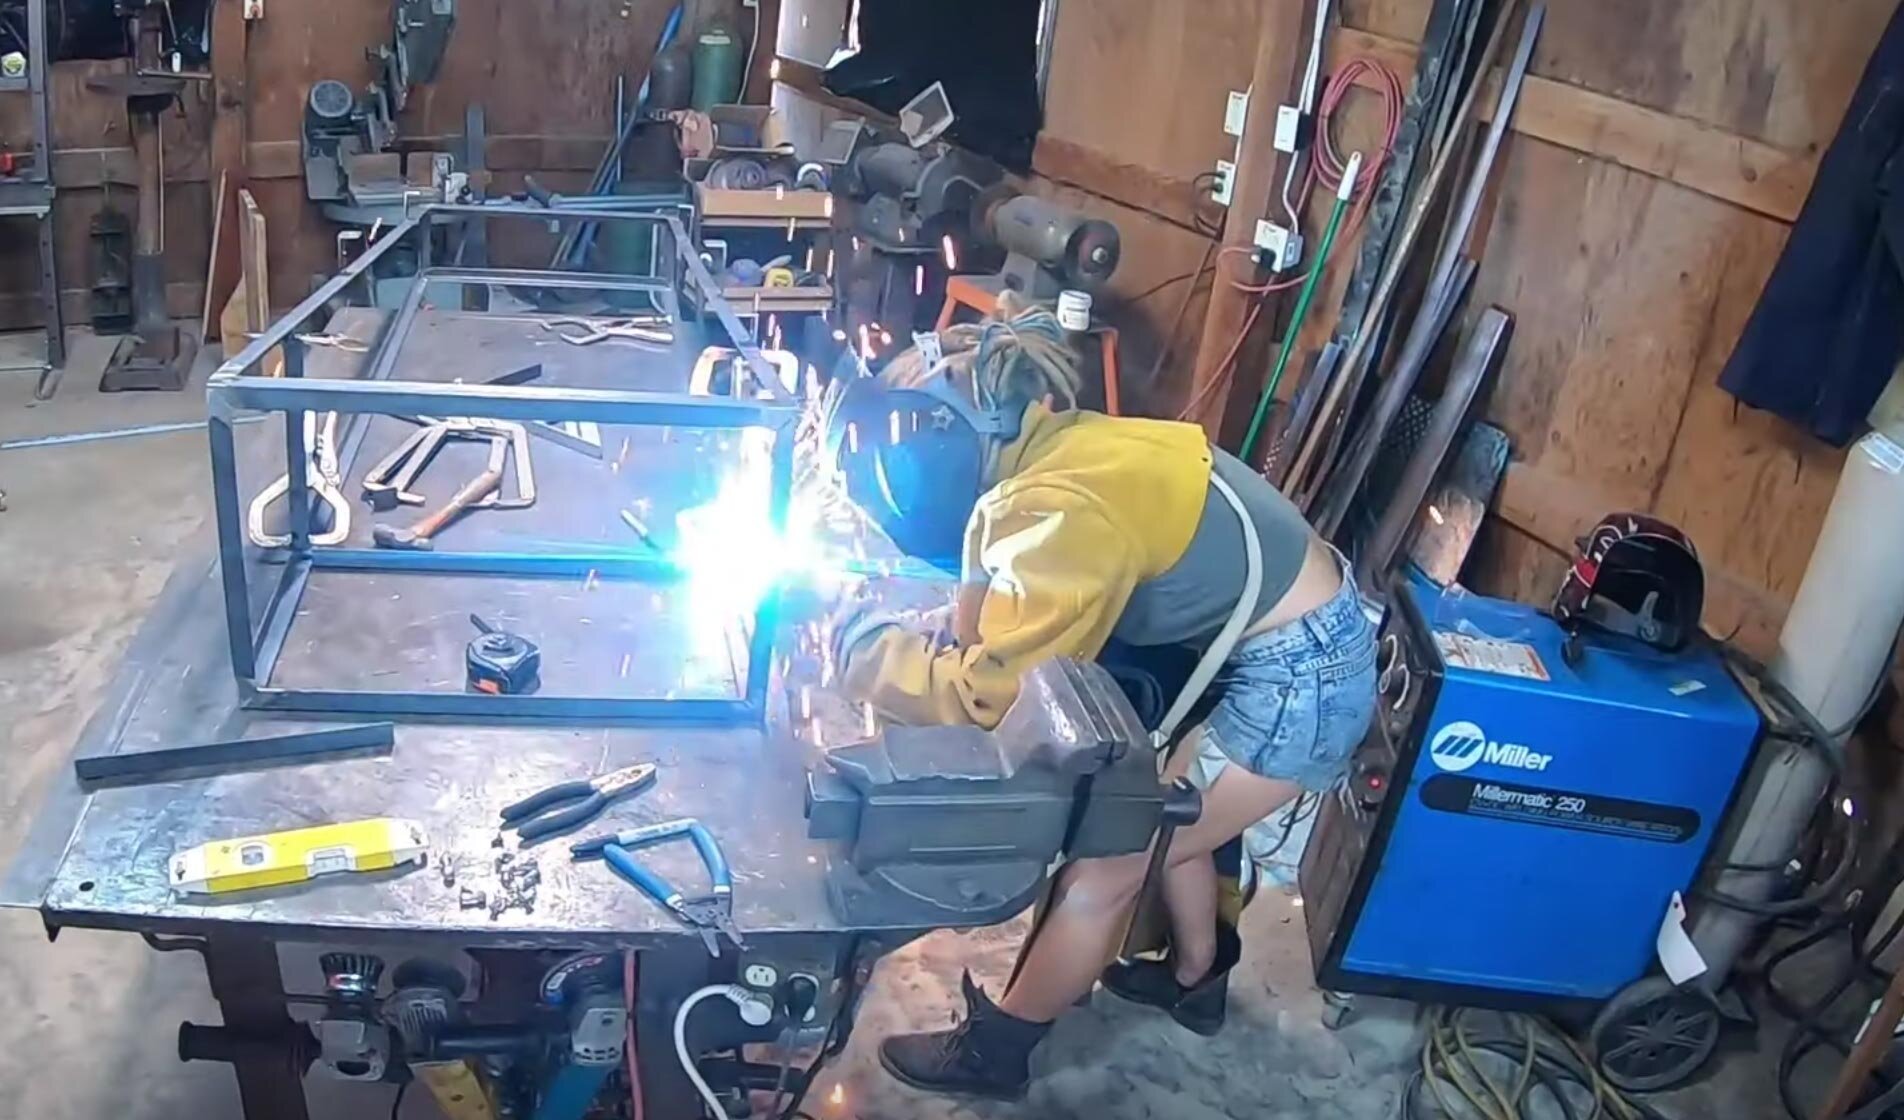
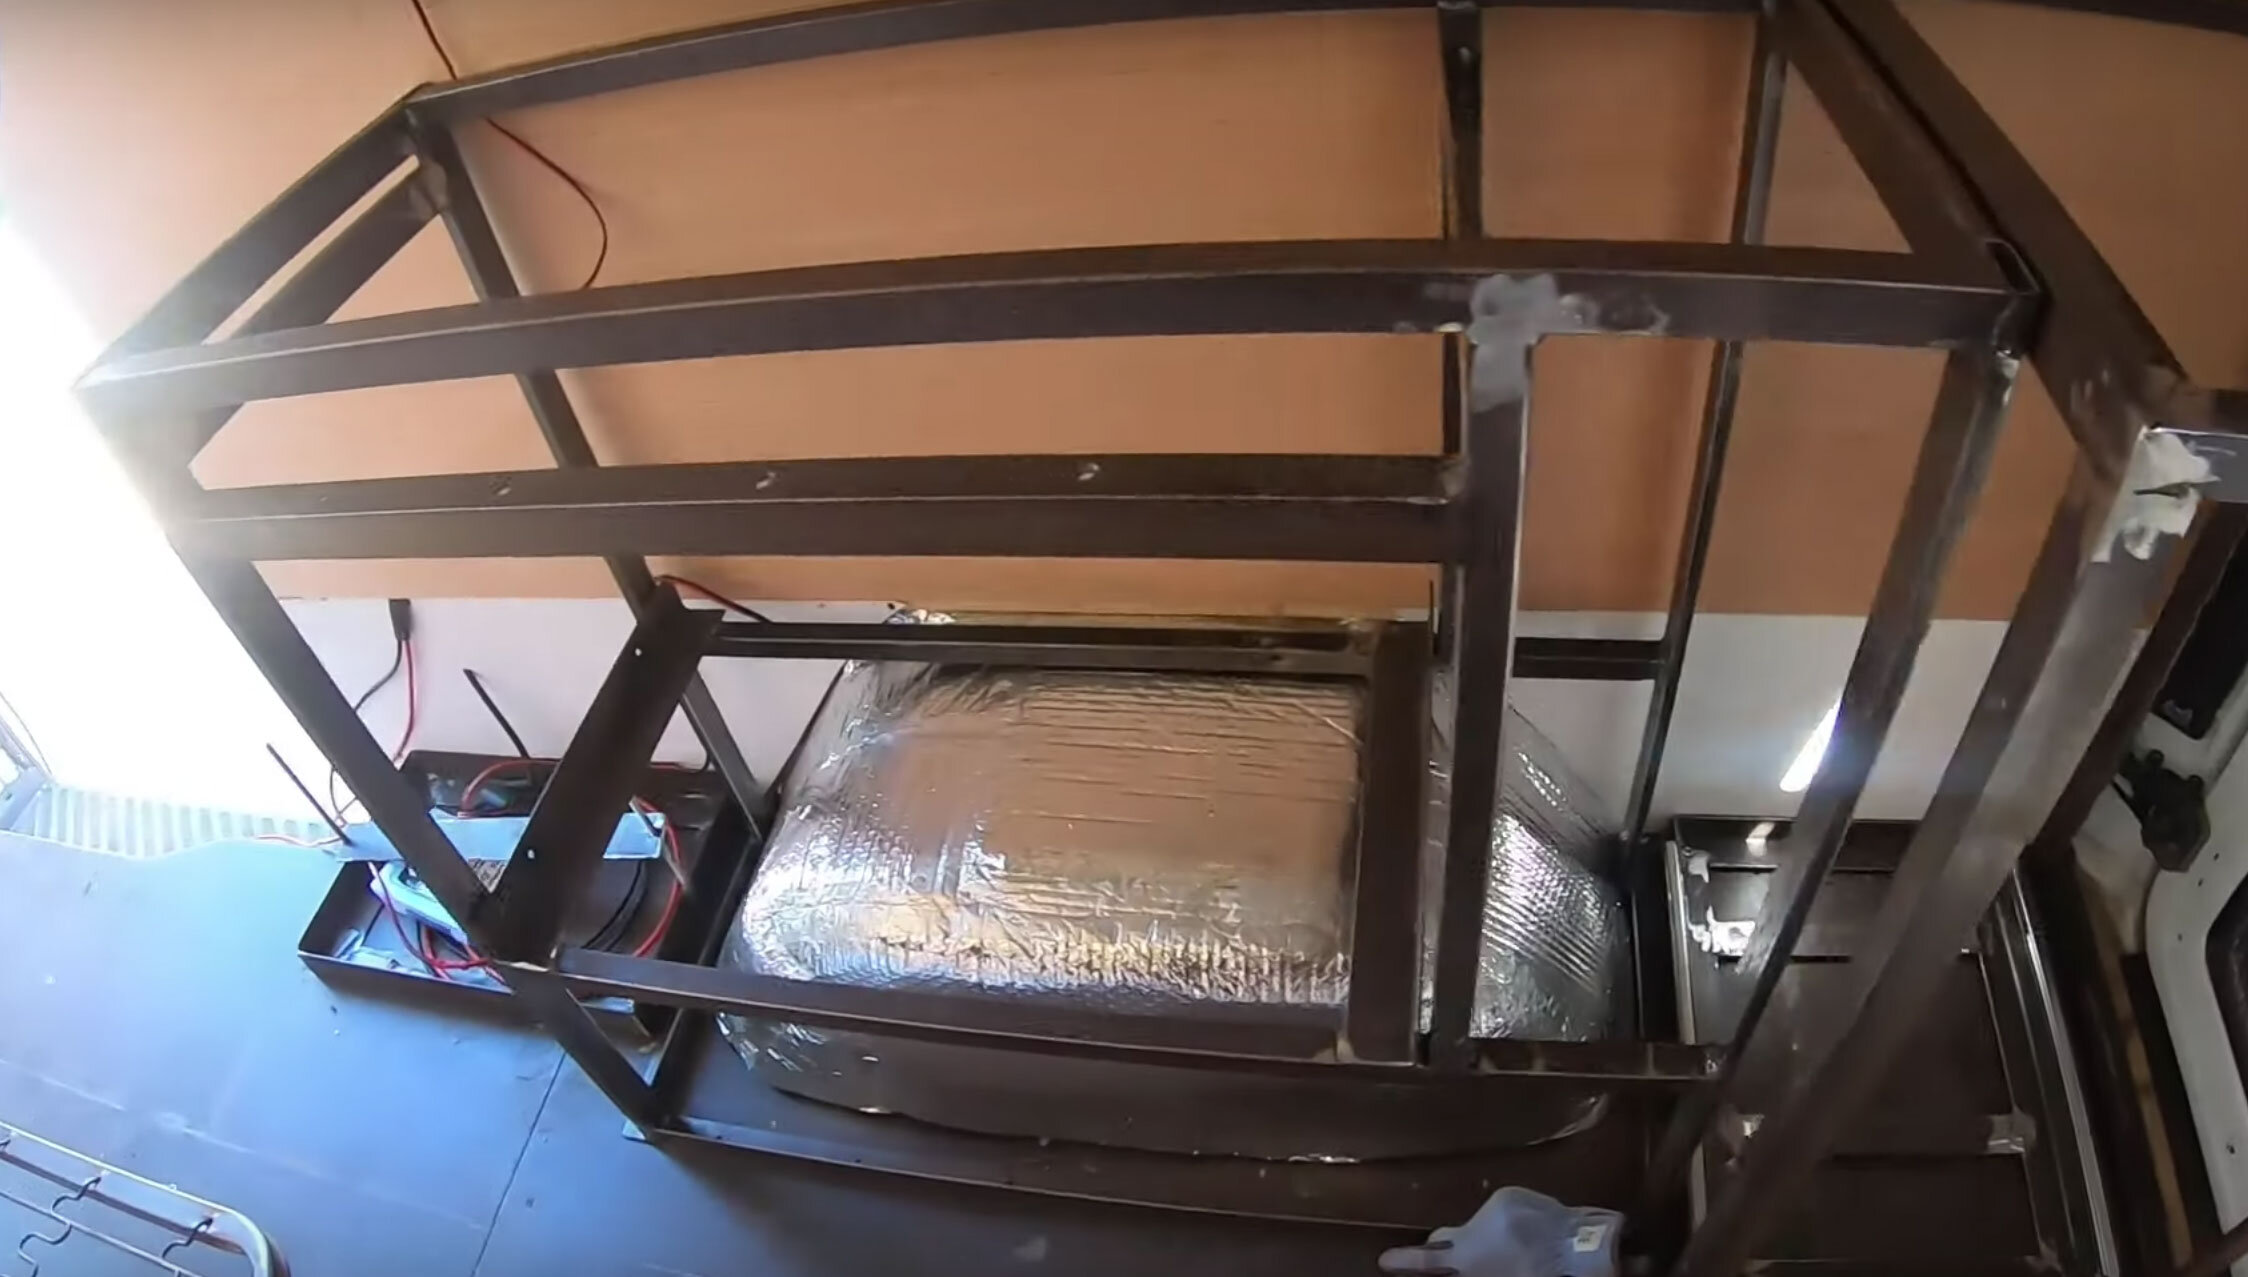
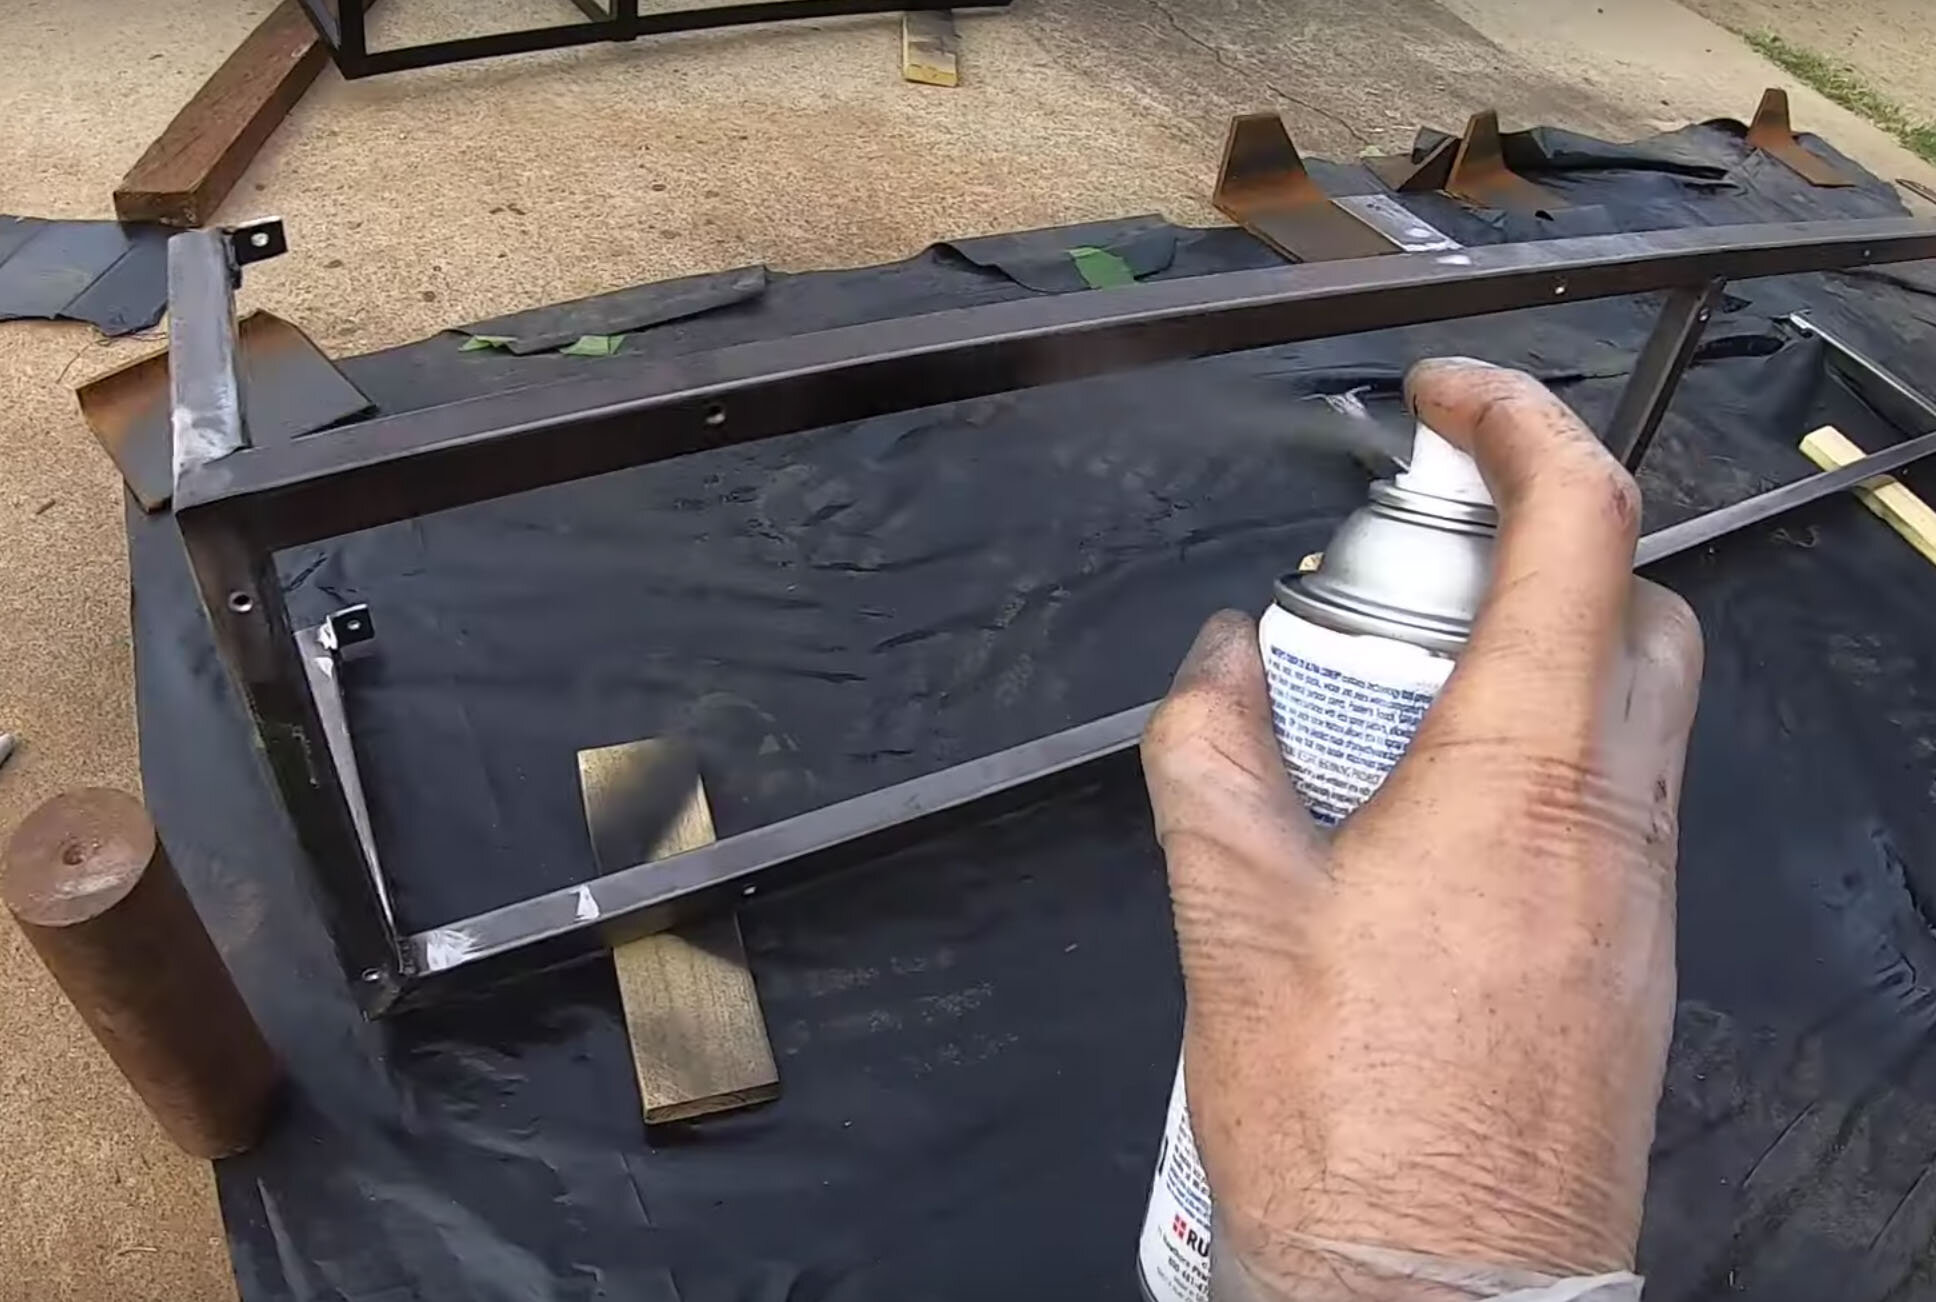
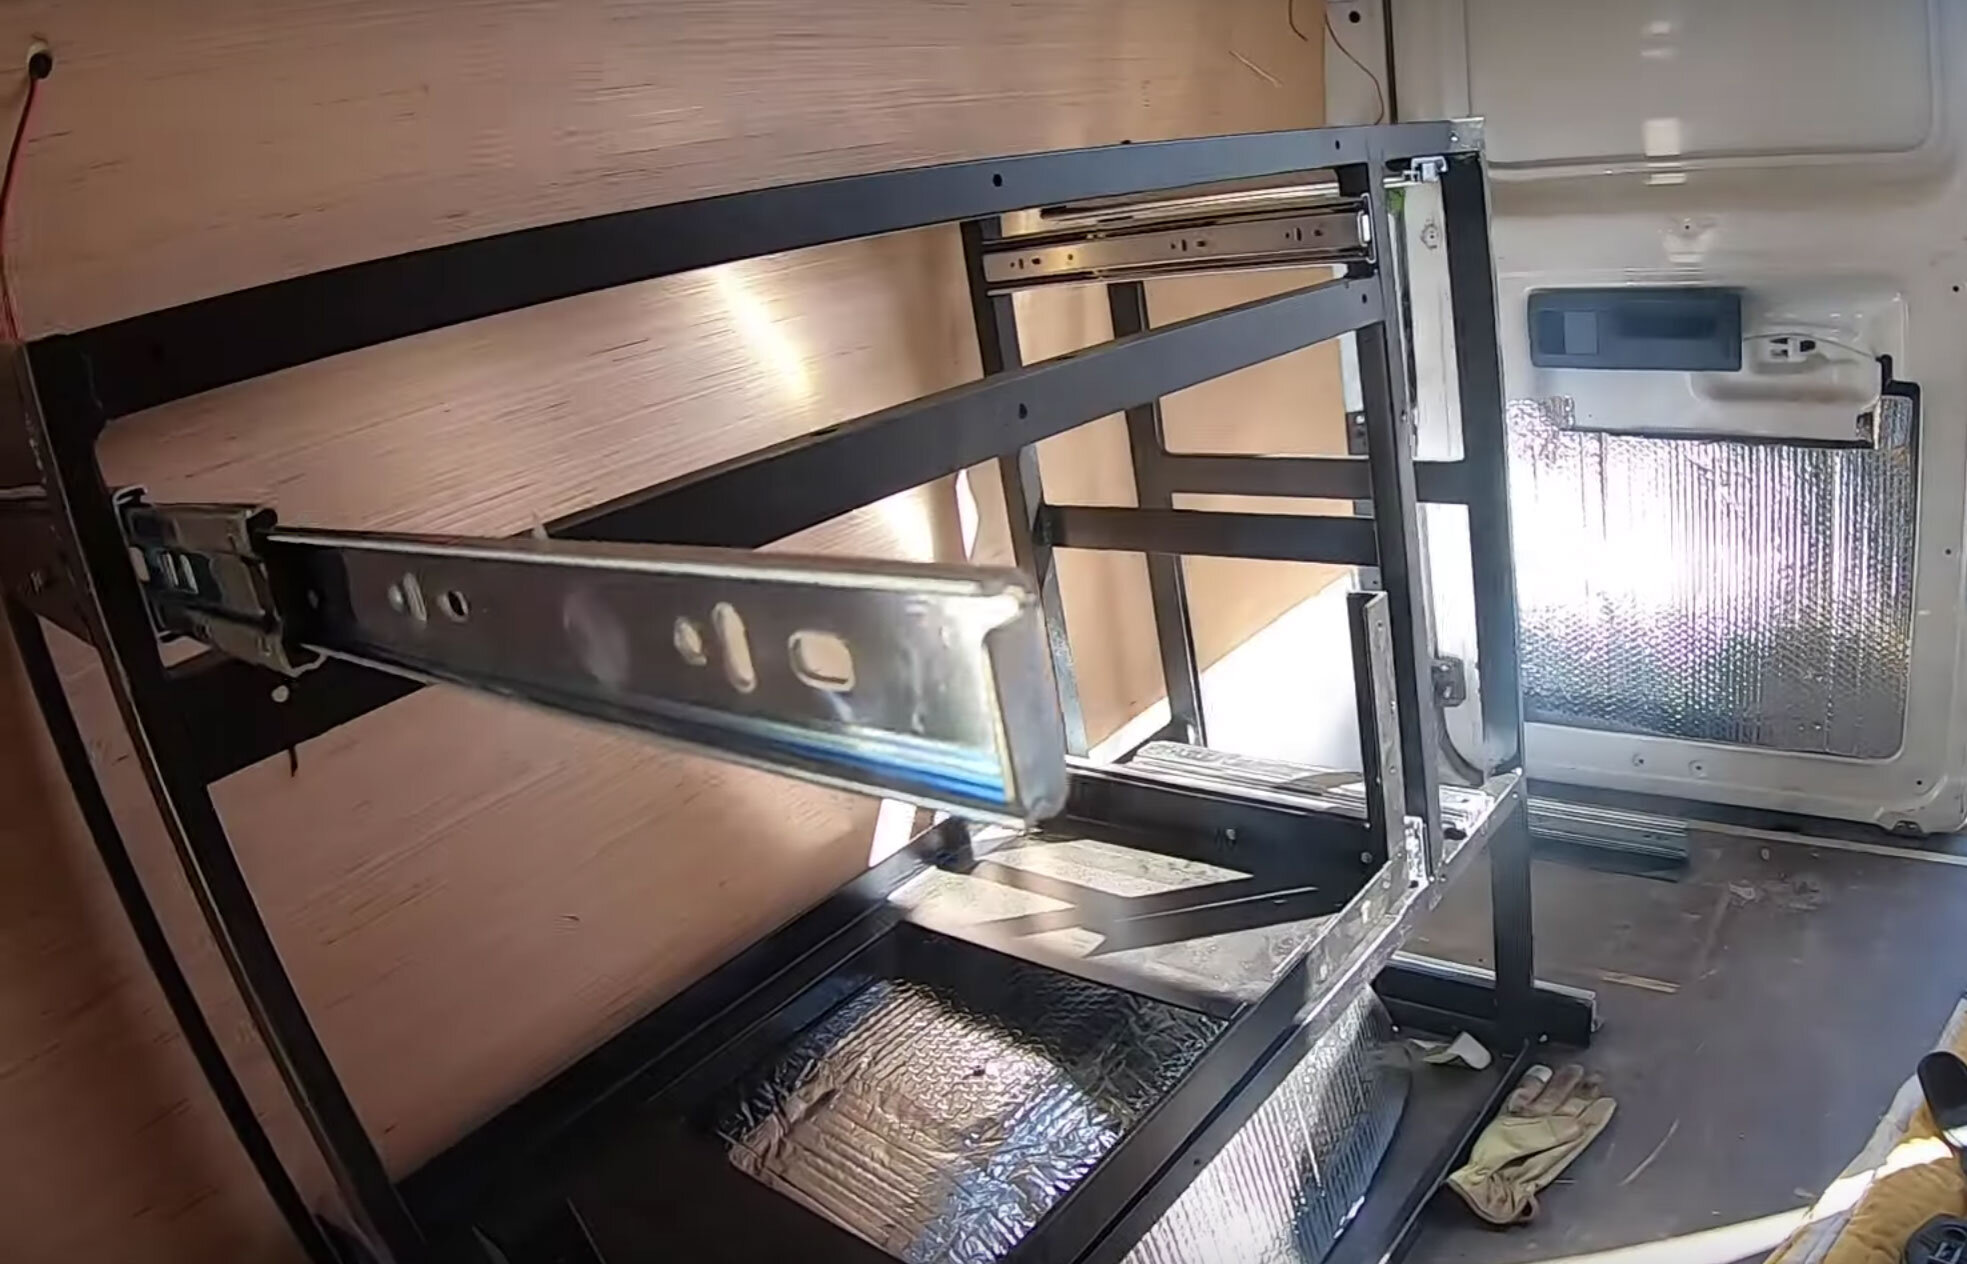
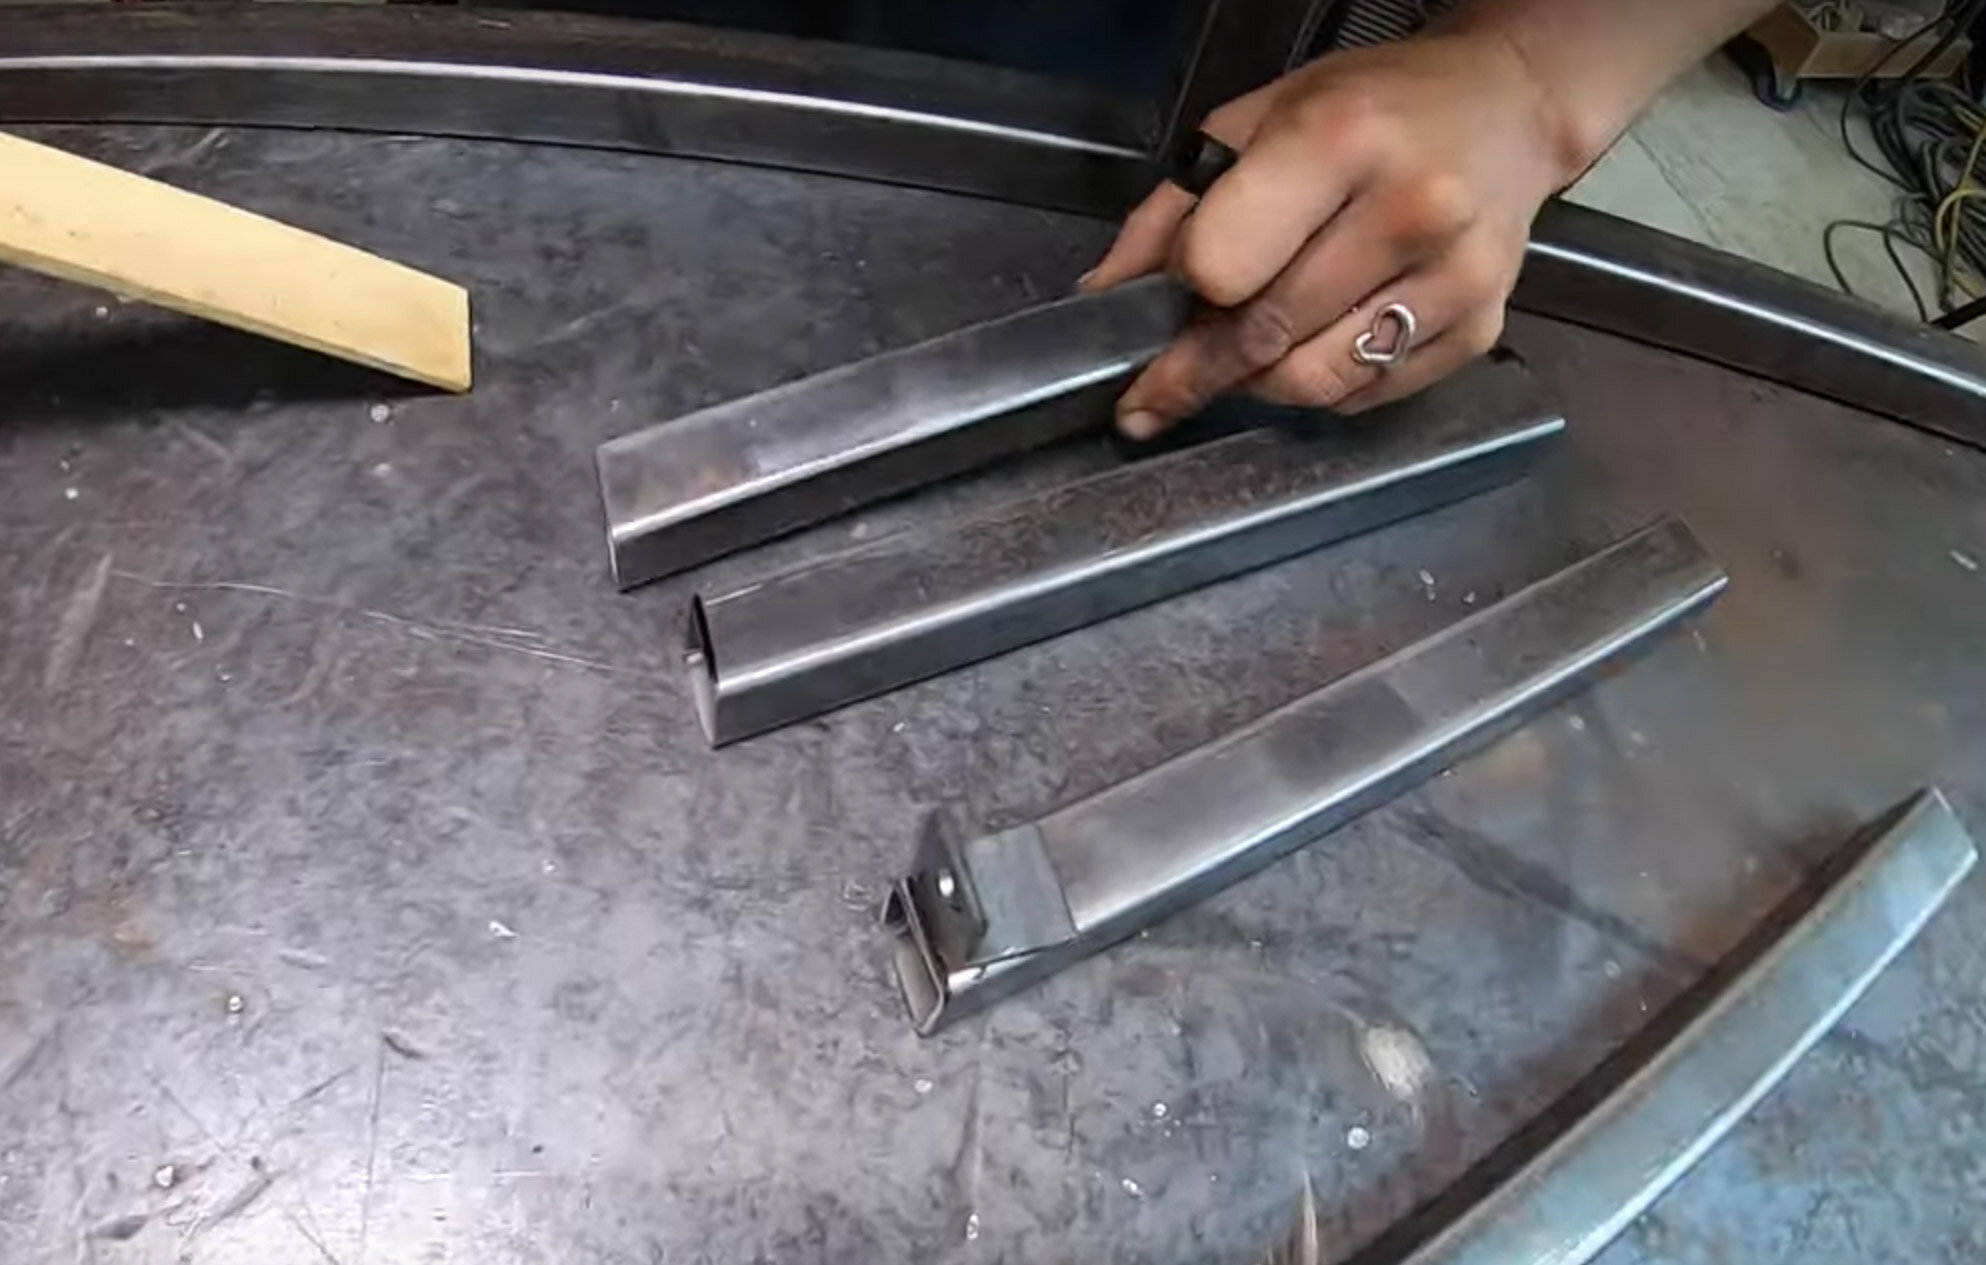
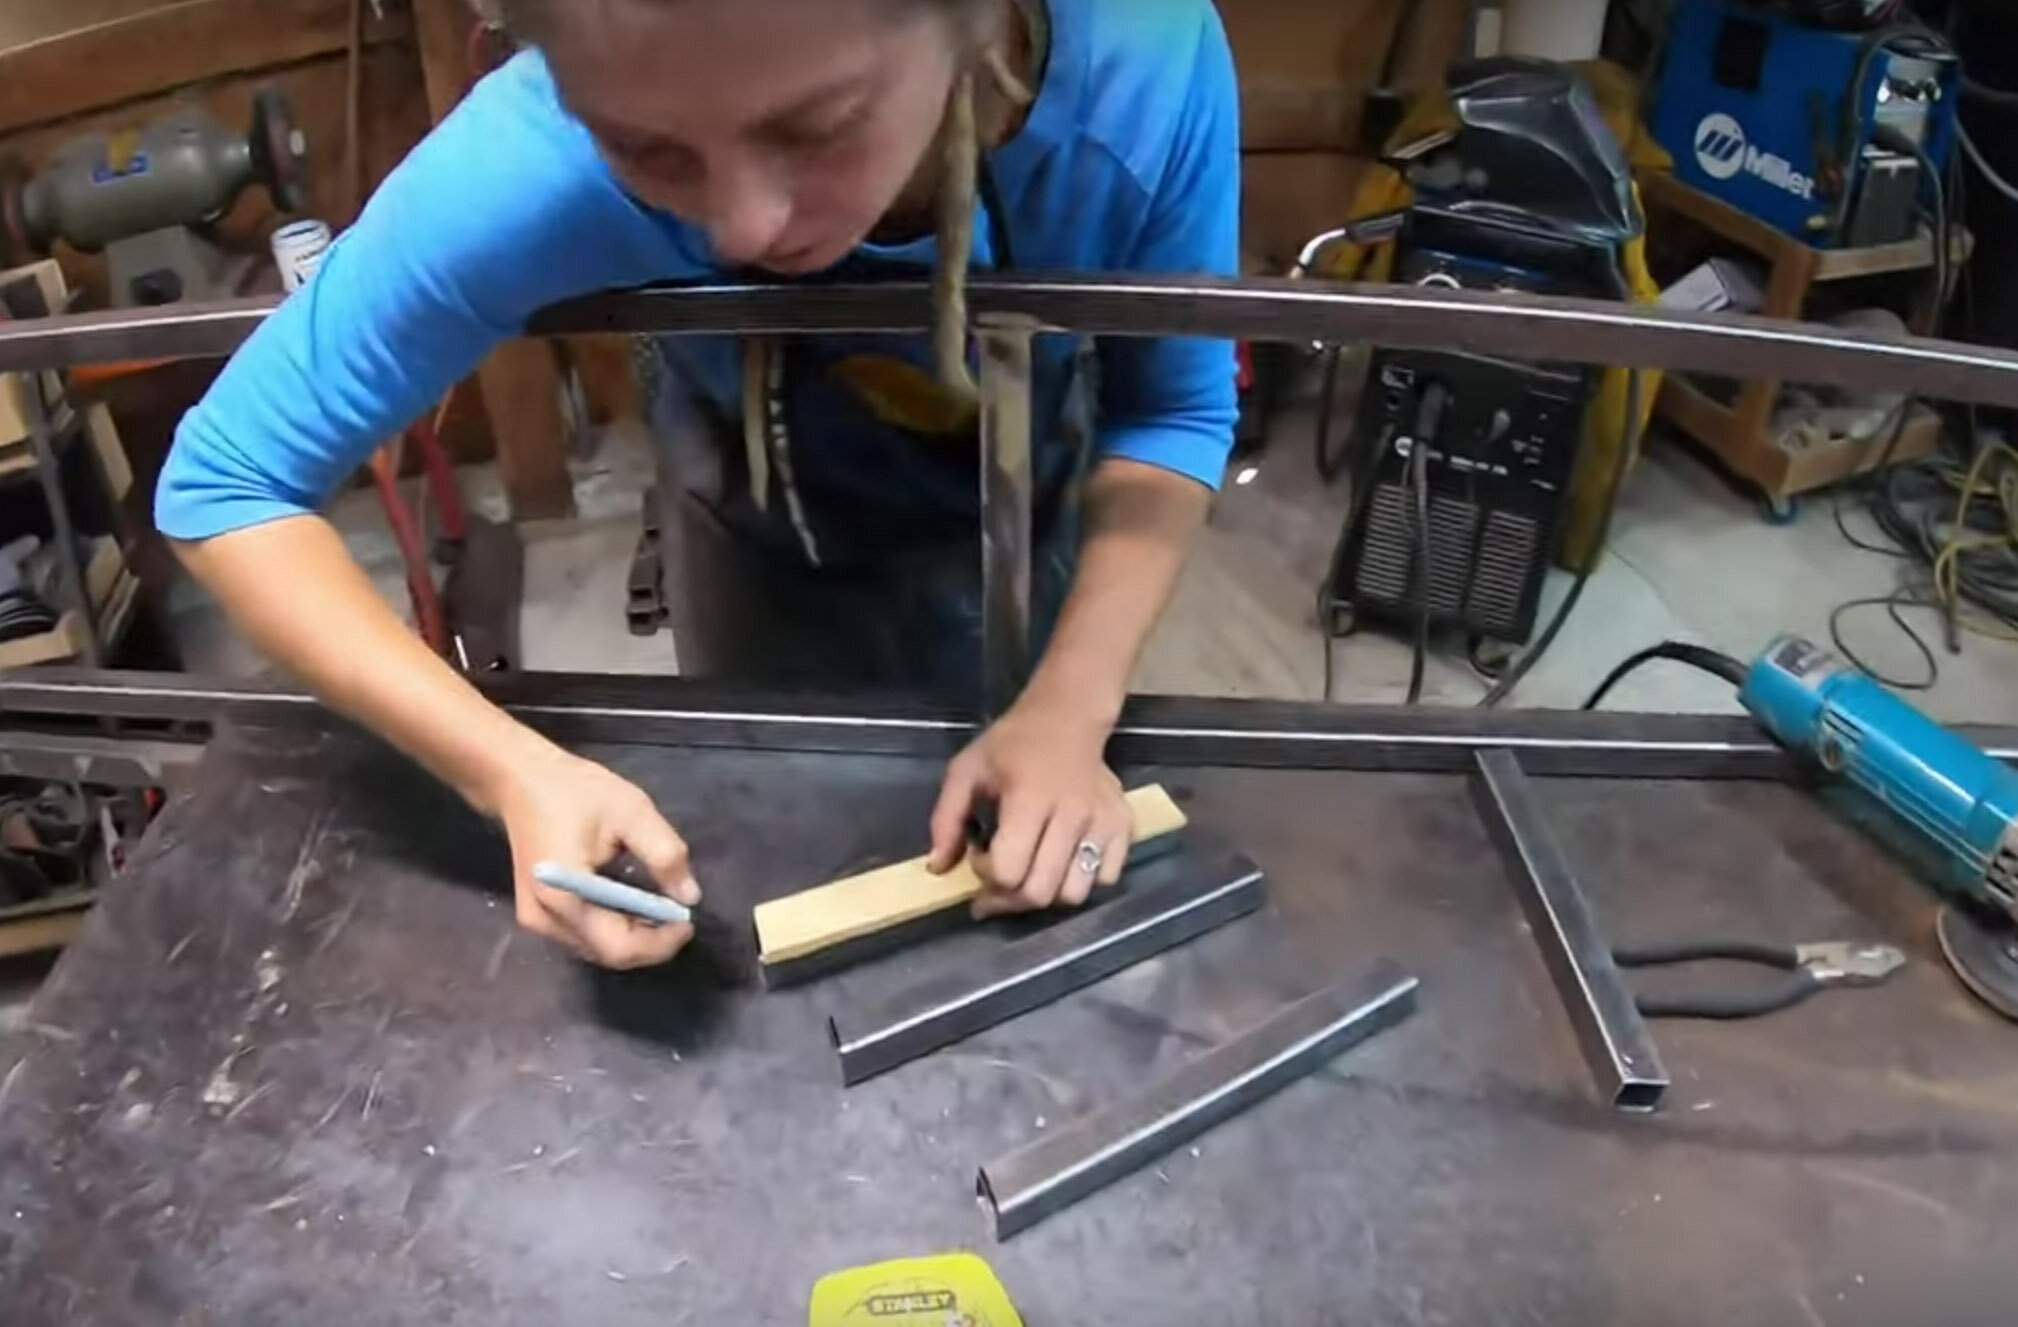
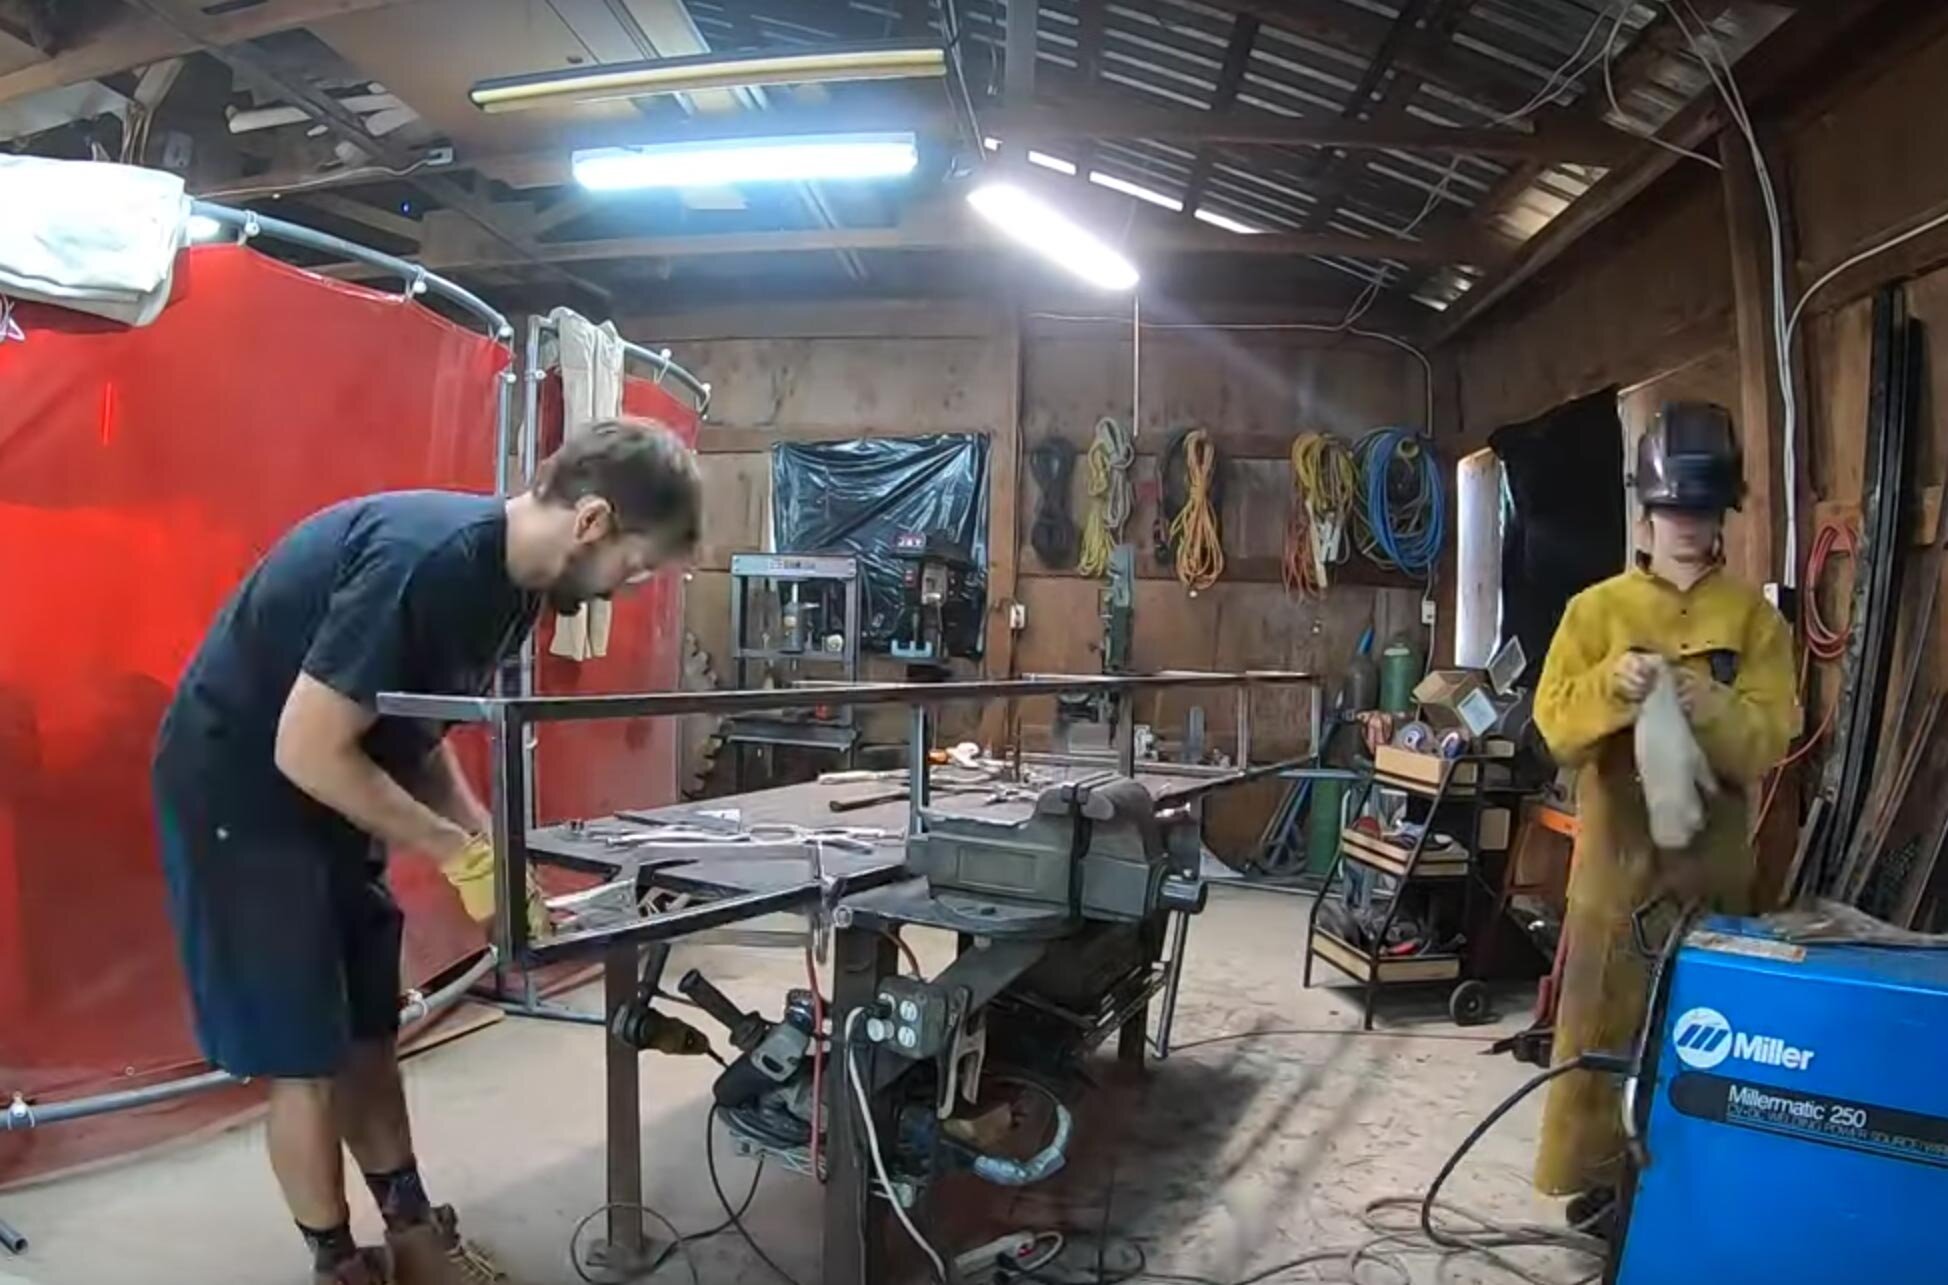
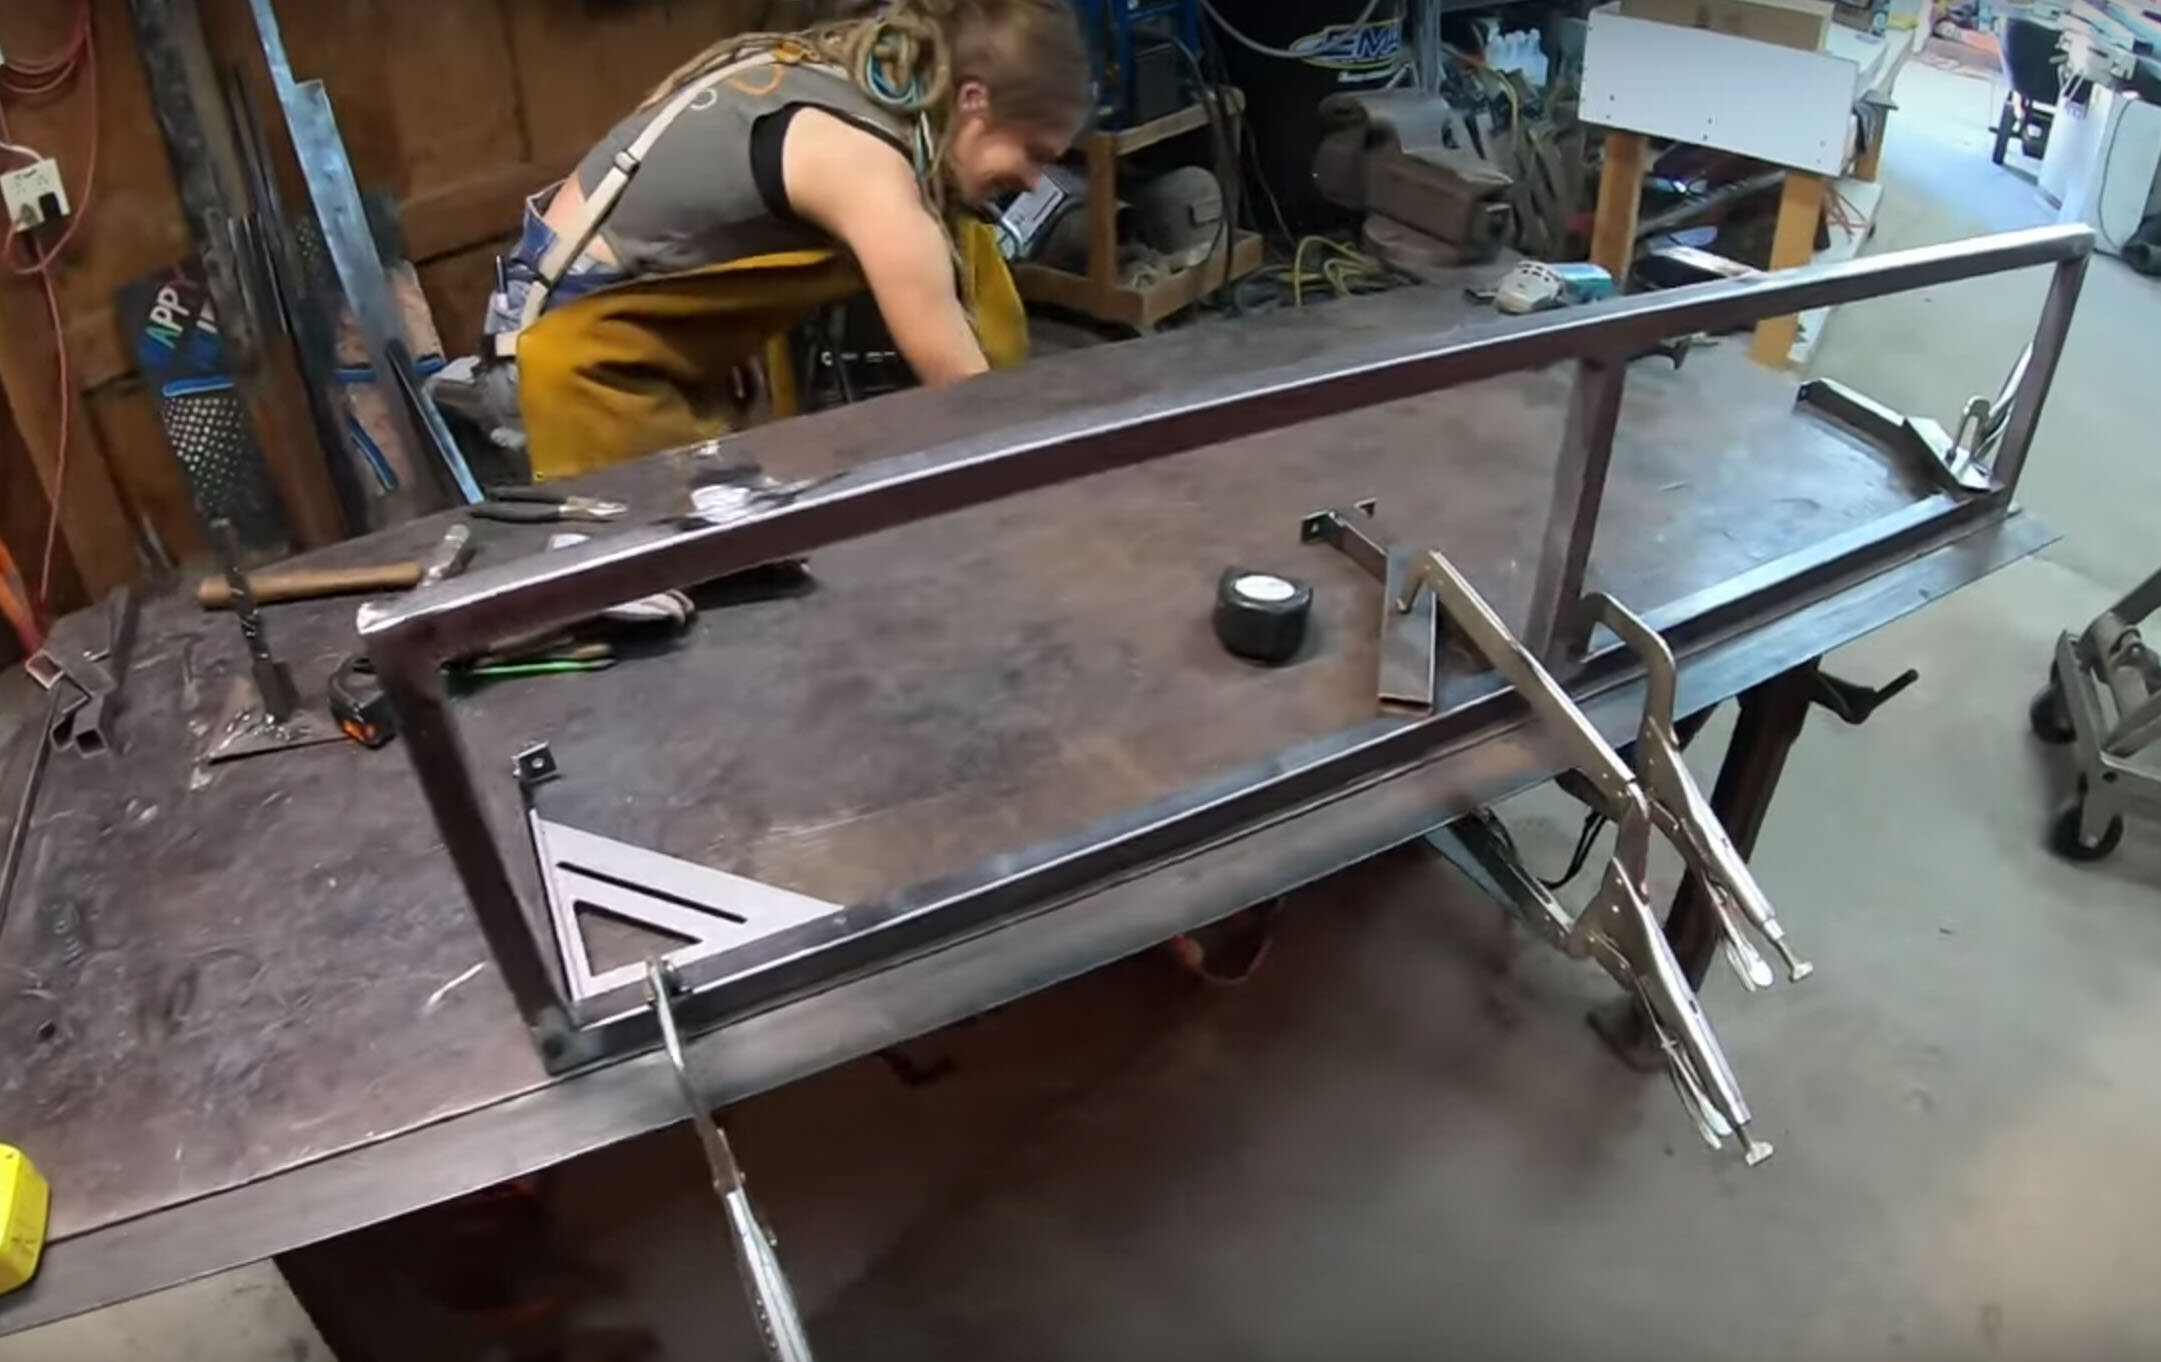
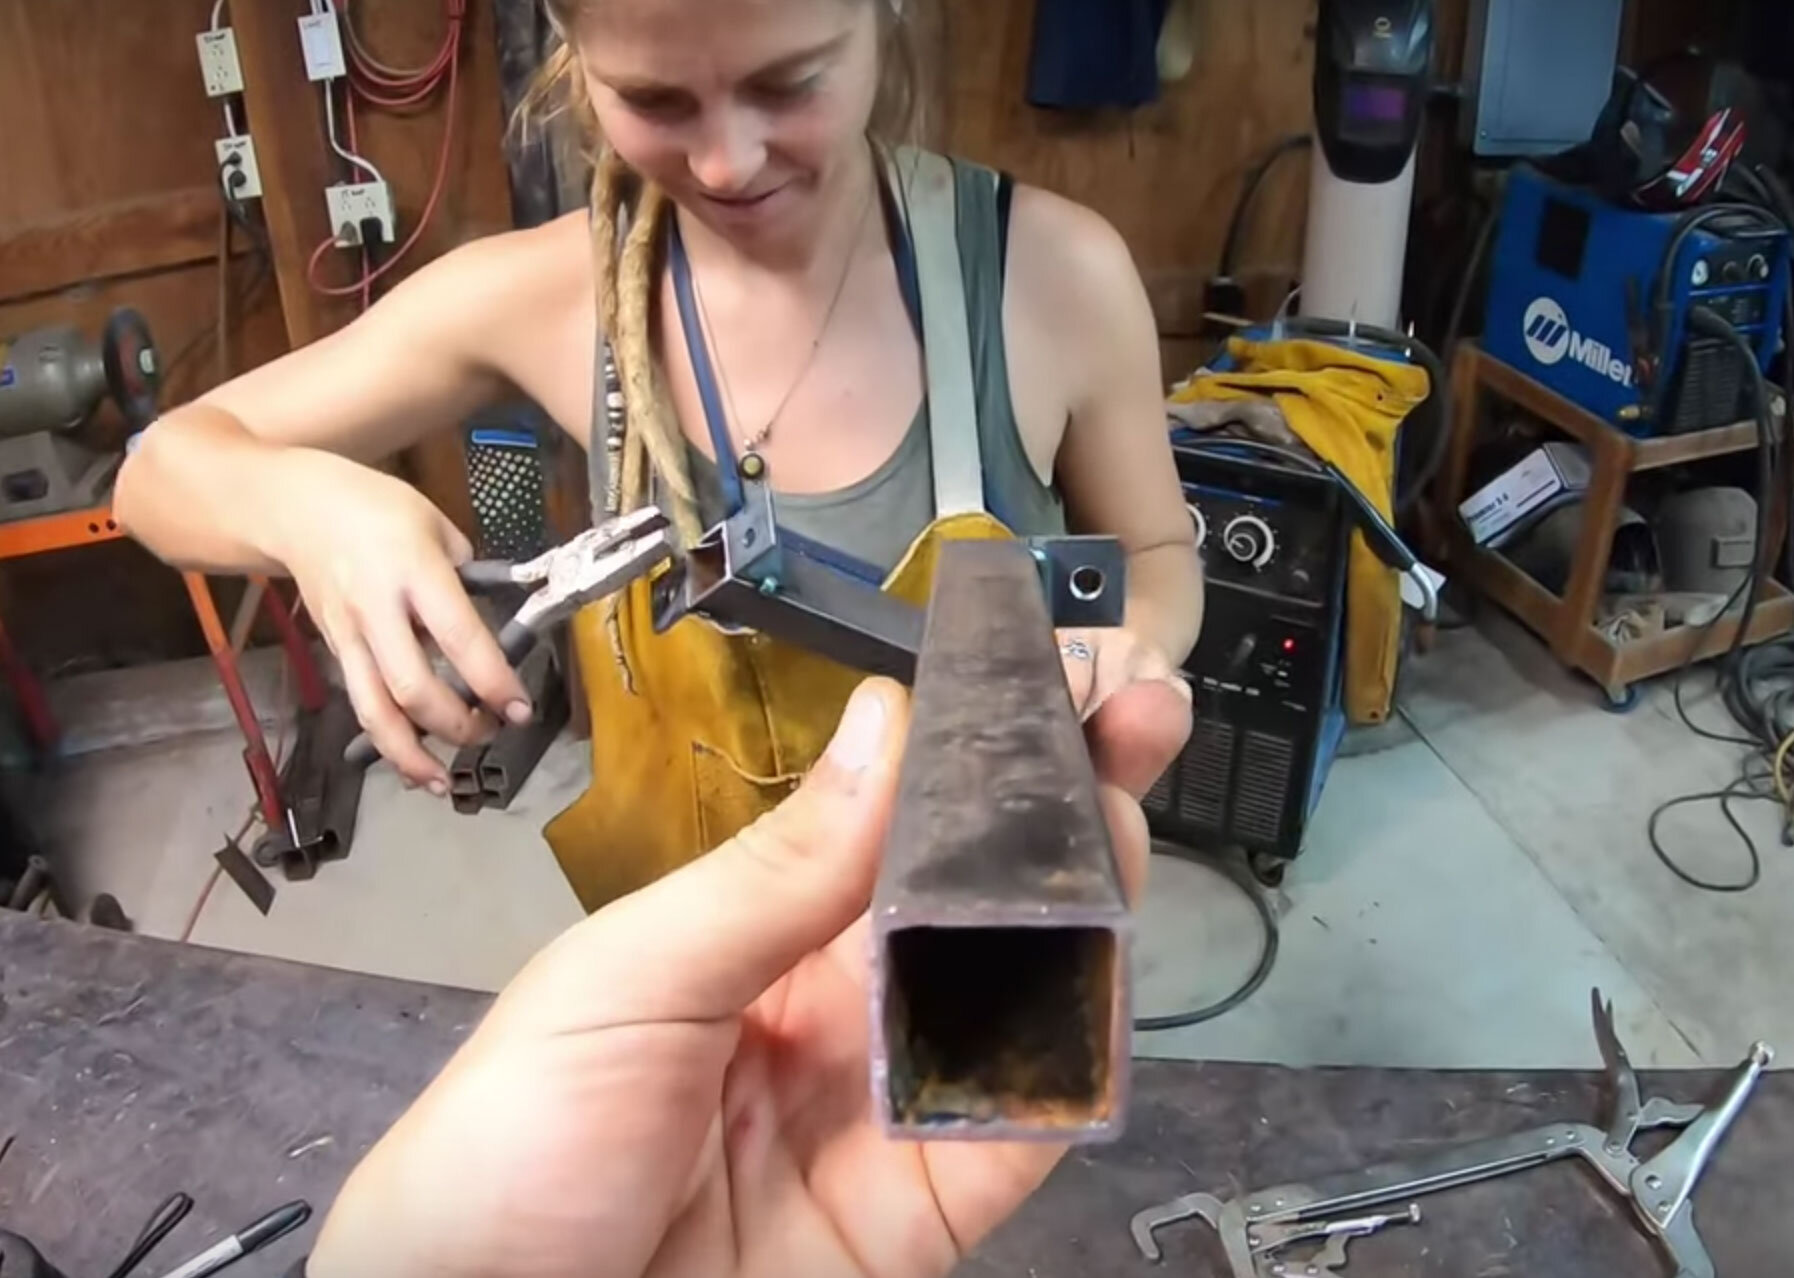
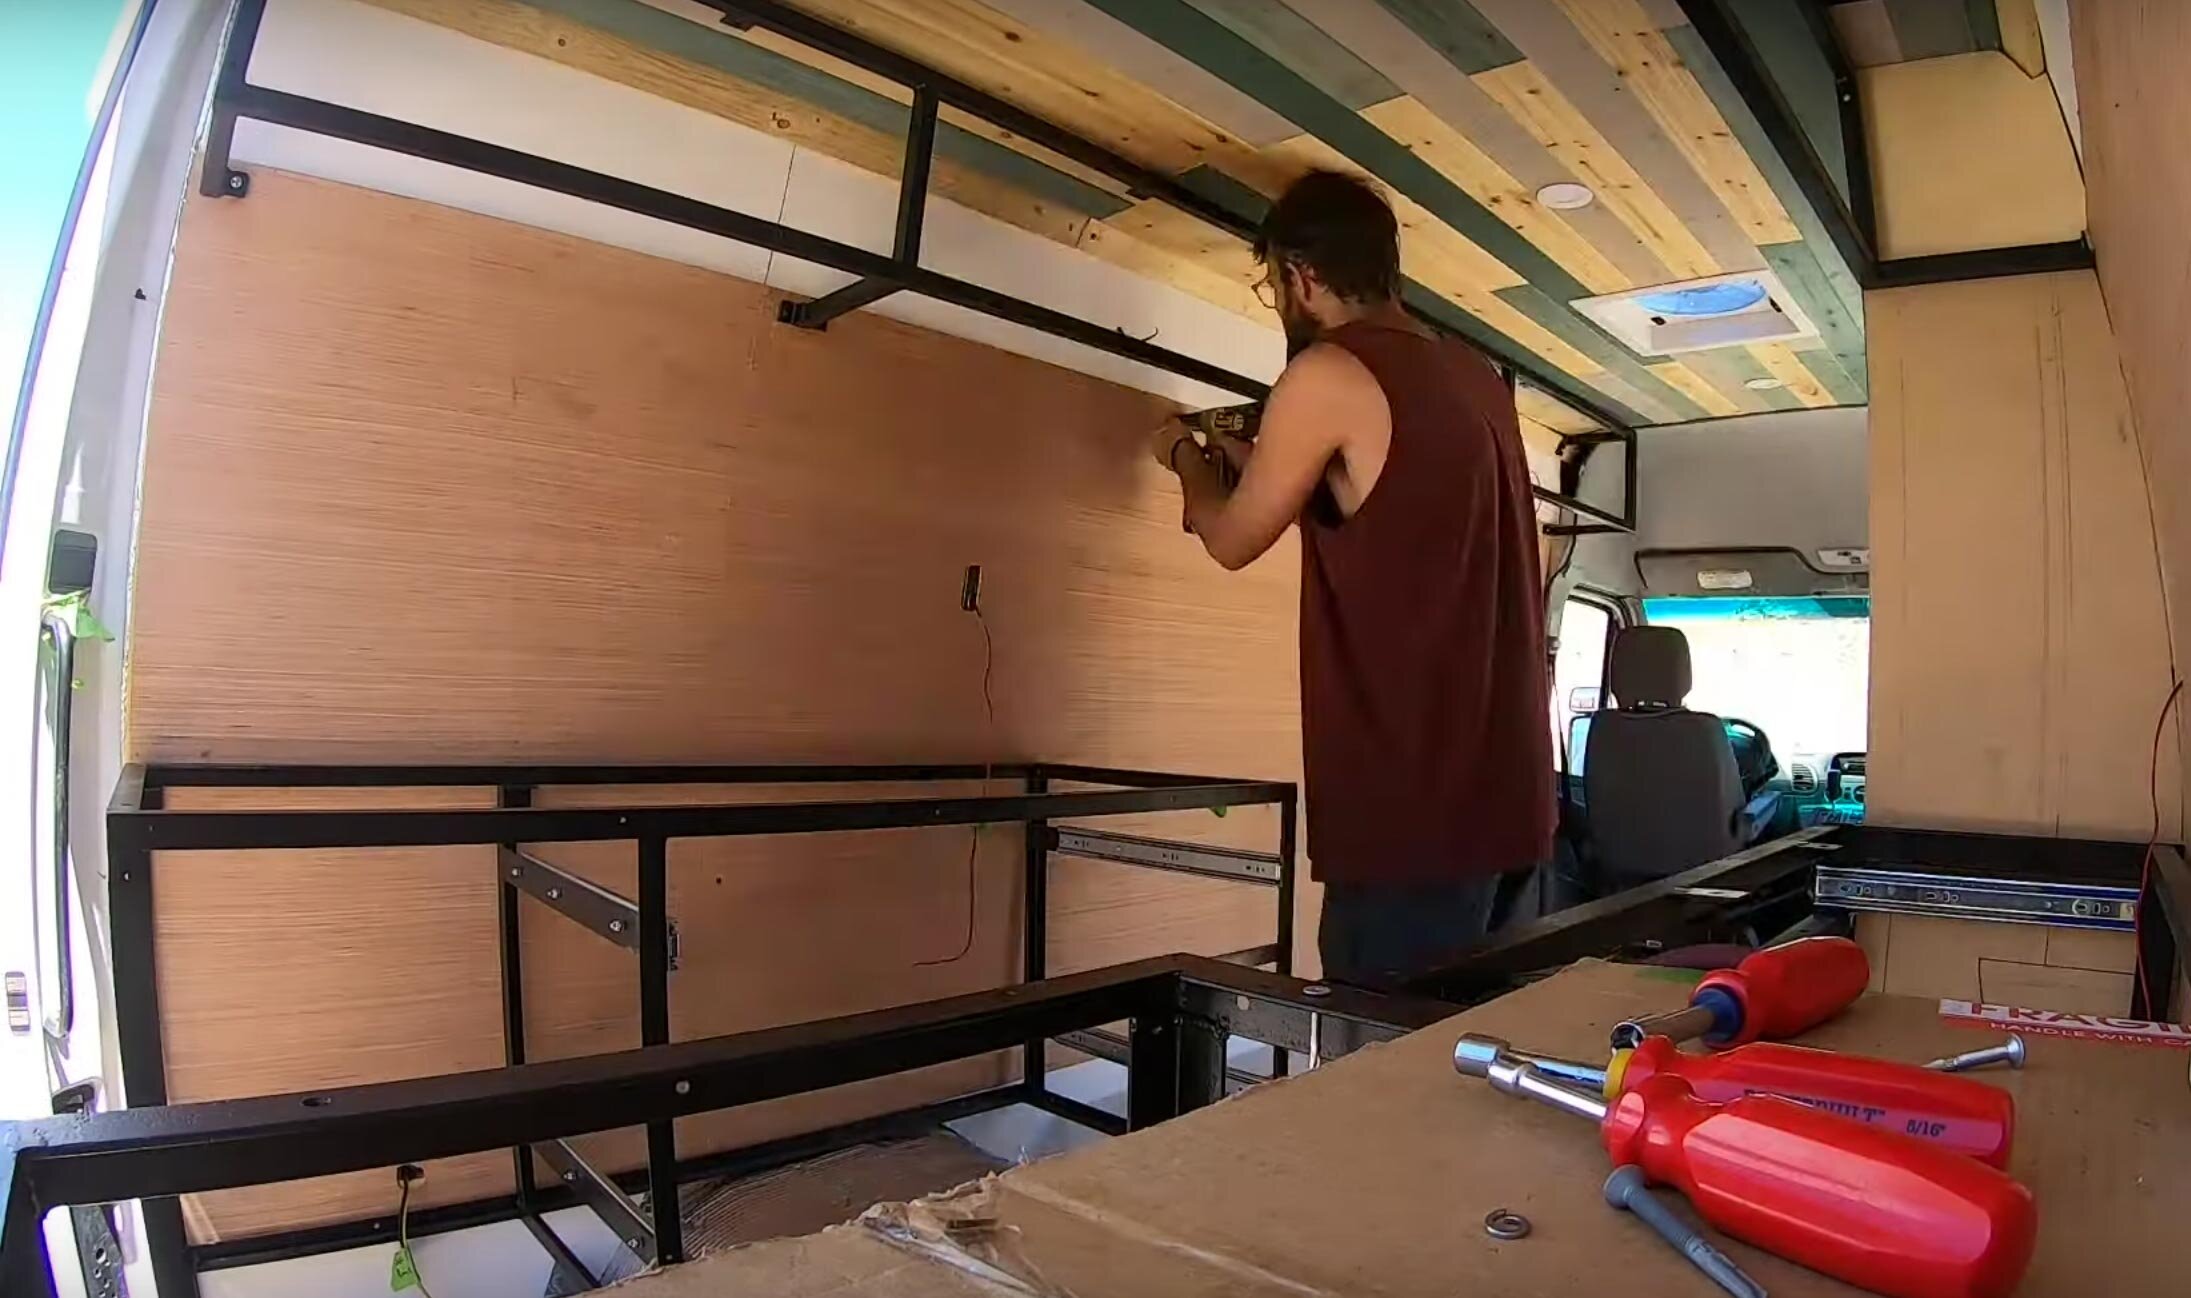
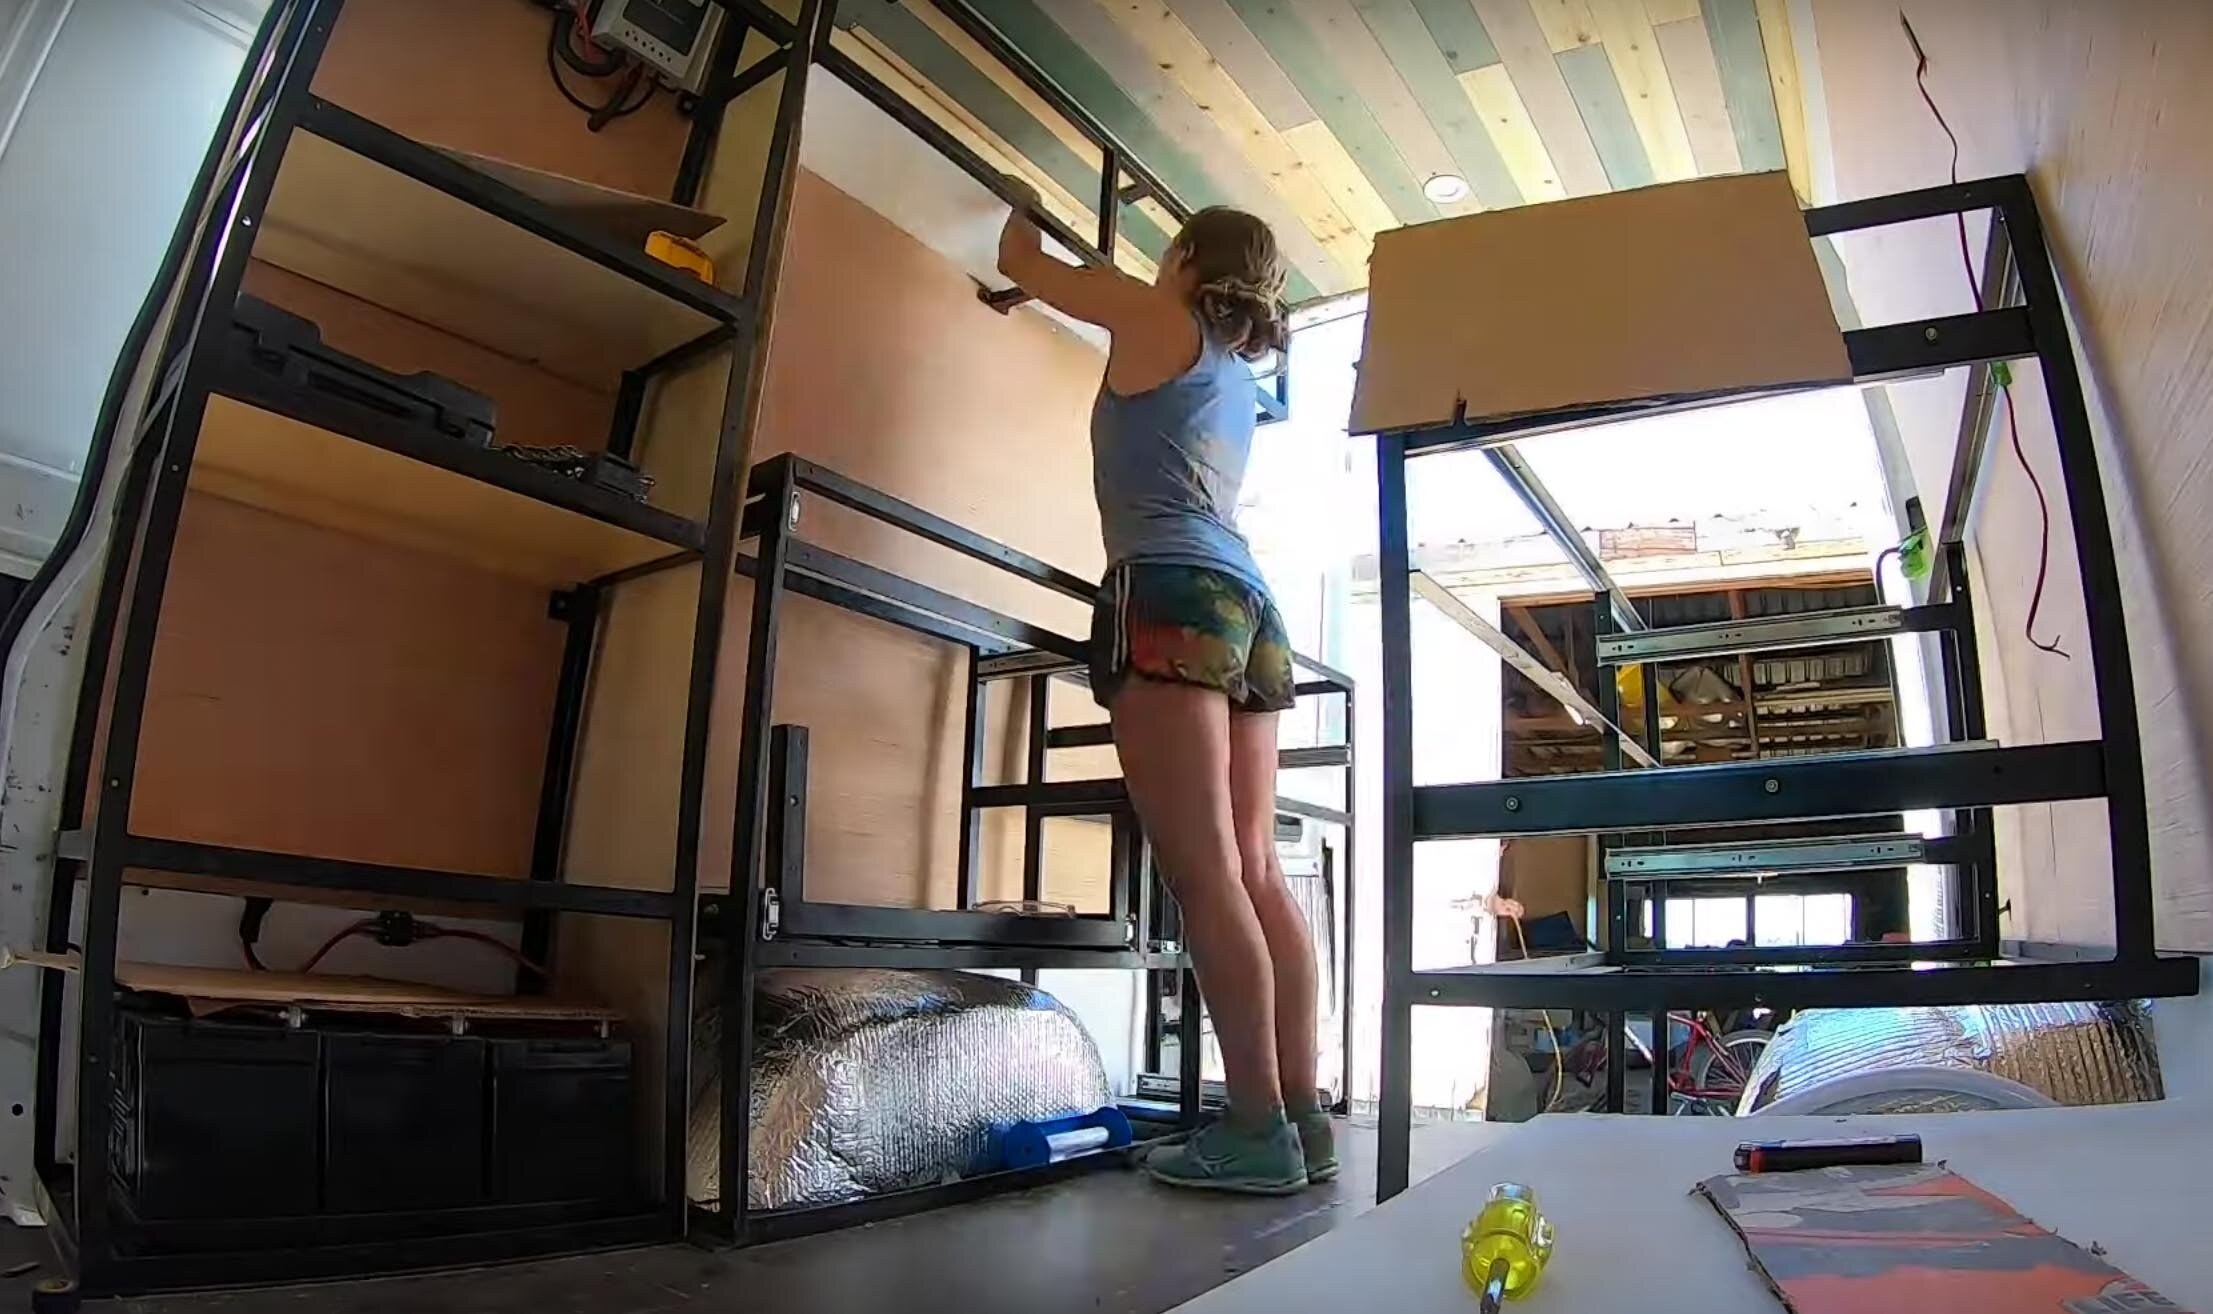
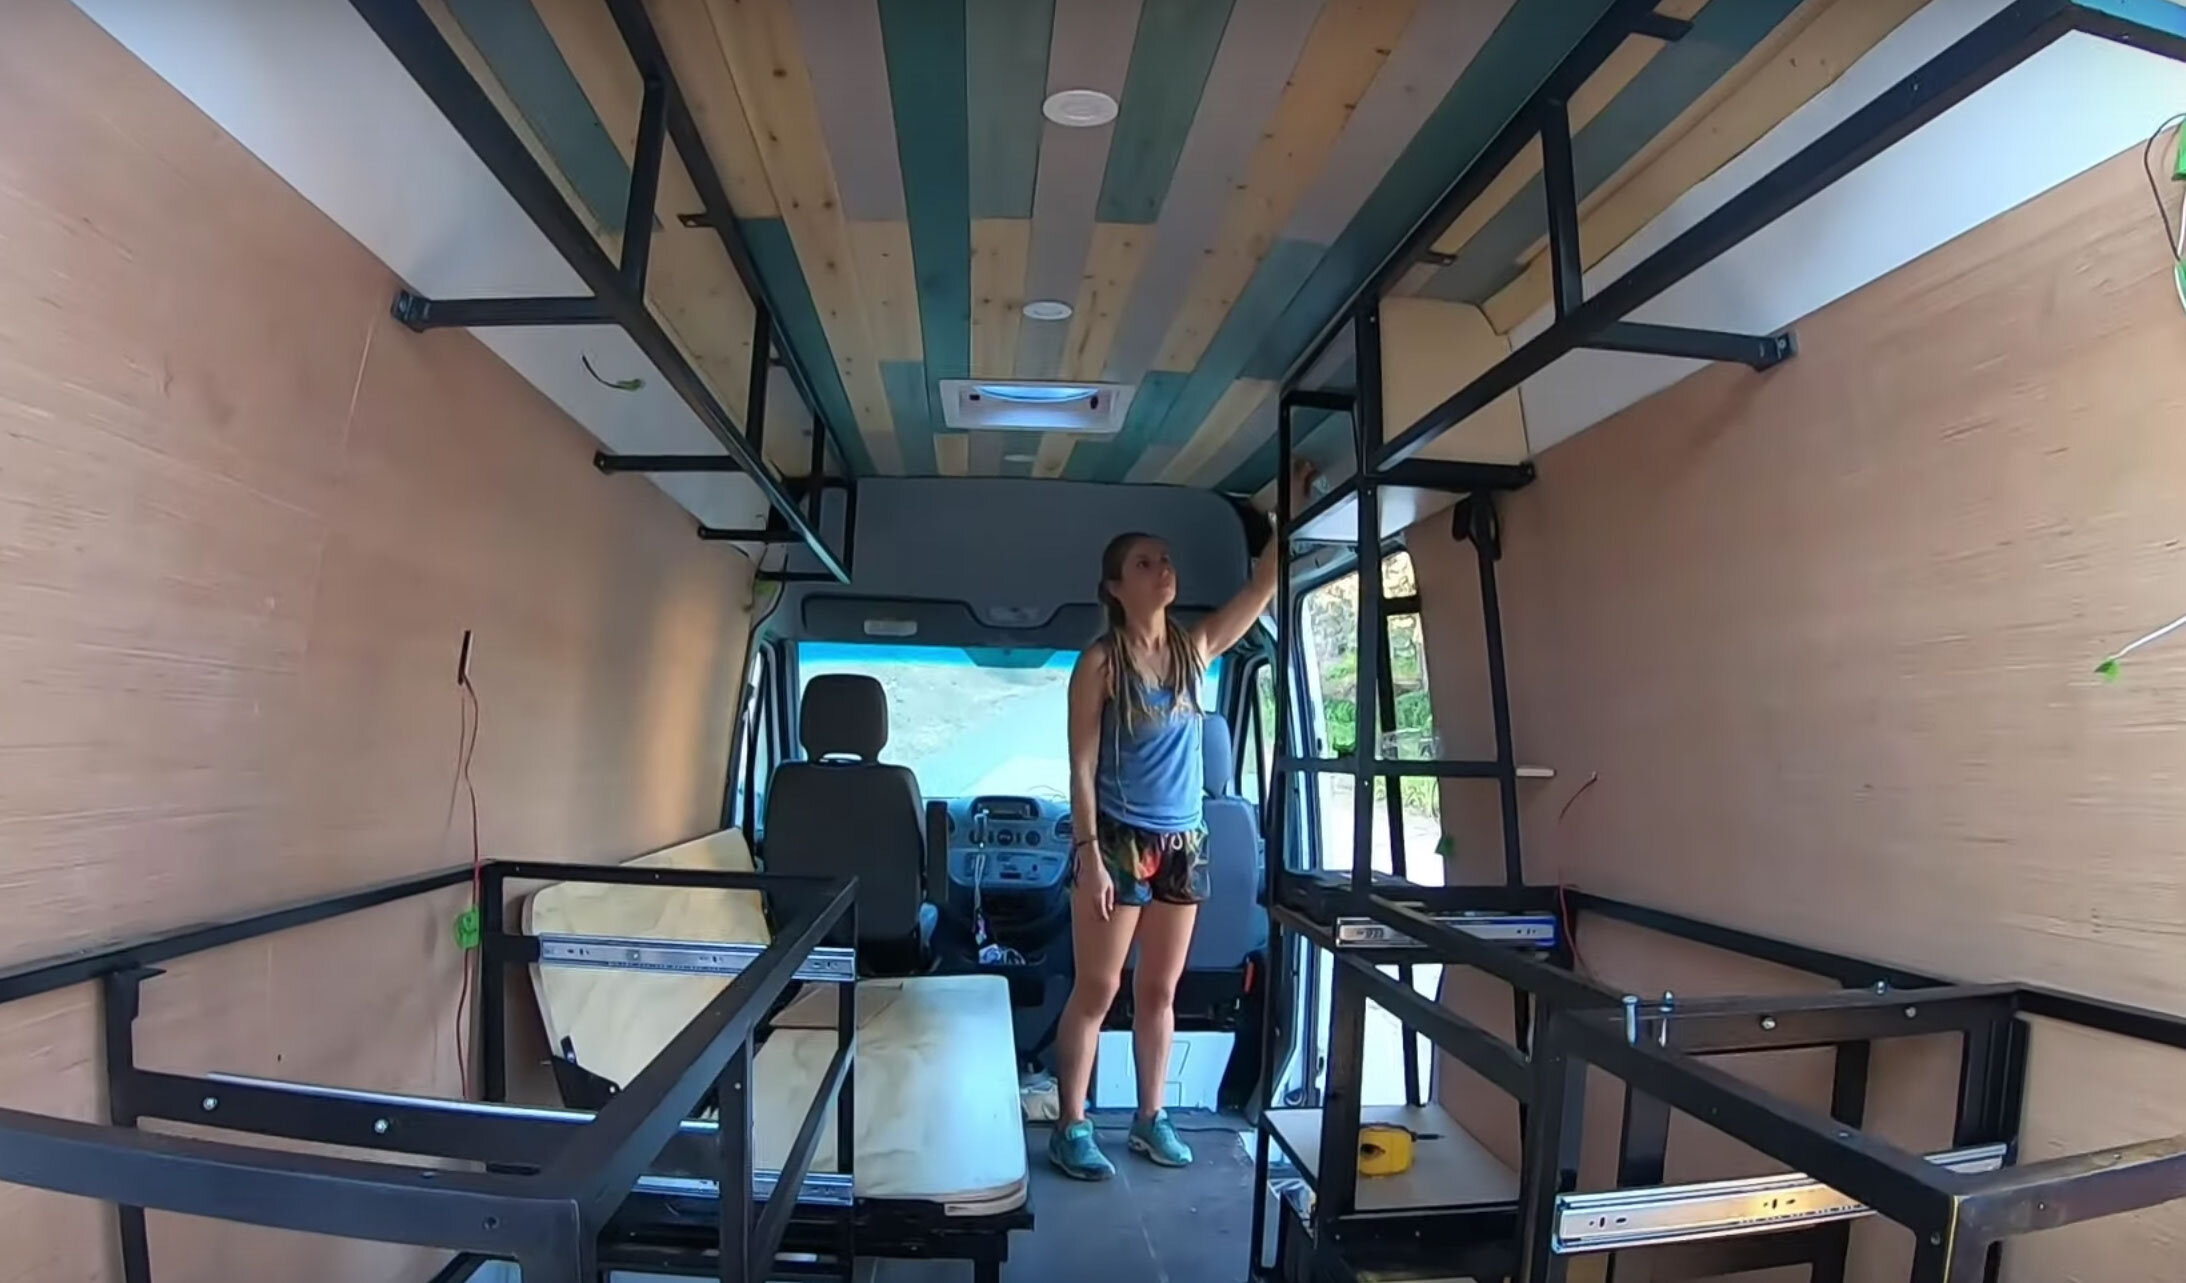
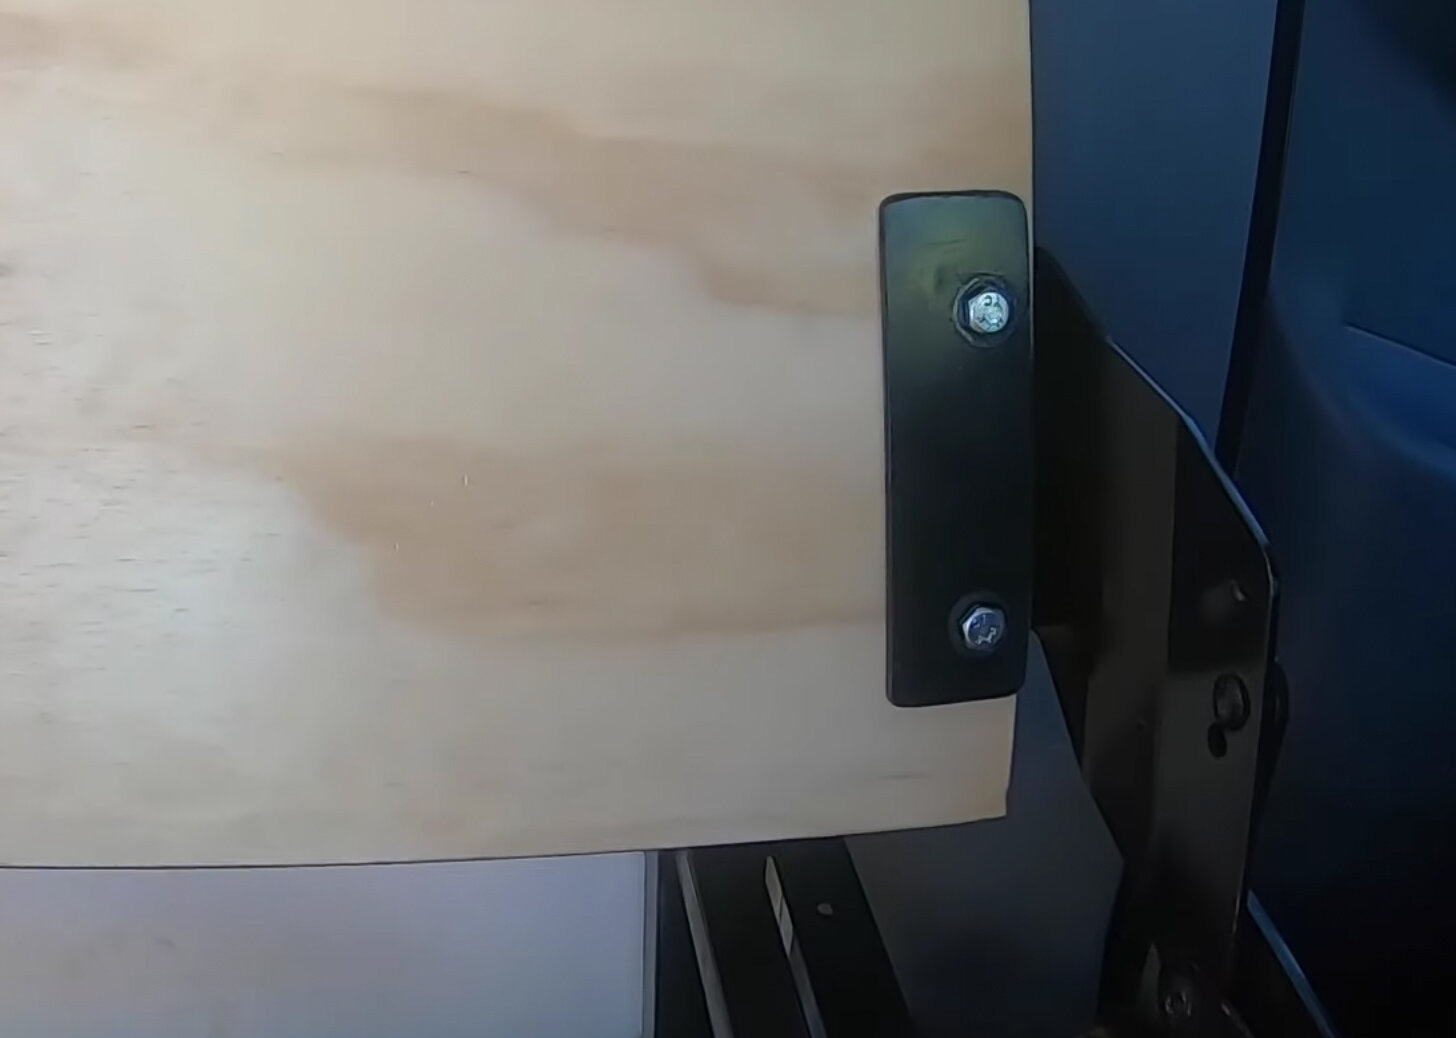
After finding the proper hinge, we welded the base and legs of the bed.  The hinges were then bolted onto the edge of the frame and tested multiple times.  Once we realized that it was going to work, we needed to design a way that the couch/bed could pull out to accommodate the full size mattress, when it goes into “bed mode”.  What we needed was over a foot of additional support for under the mattress, once it was converted into “bed mode”.  We designed a pull out frame under the couch frame that you could pull out to get the additional support you needed.  

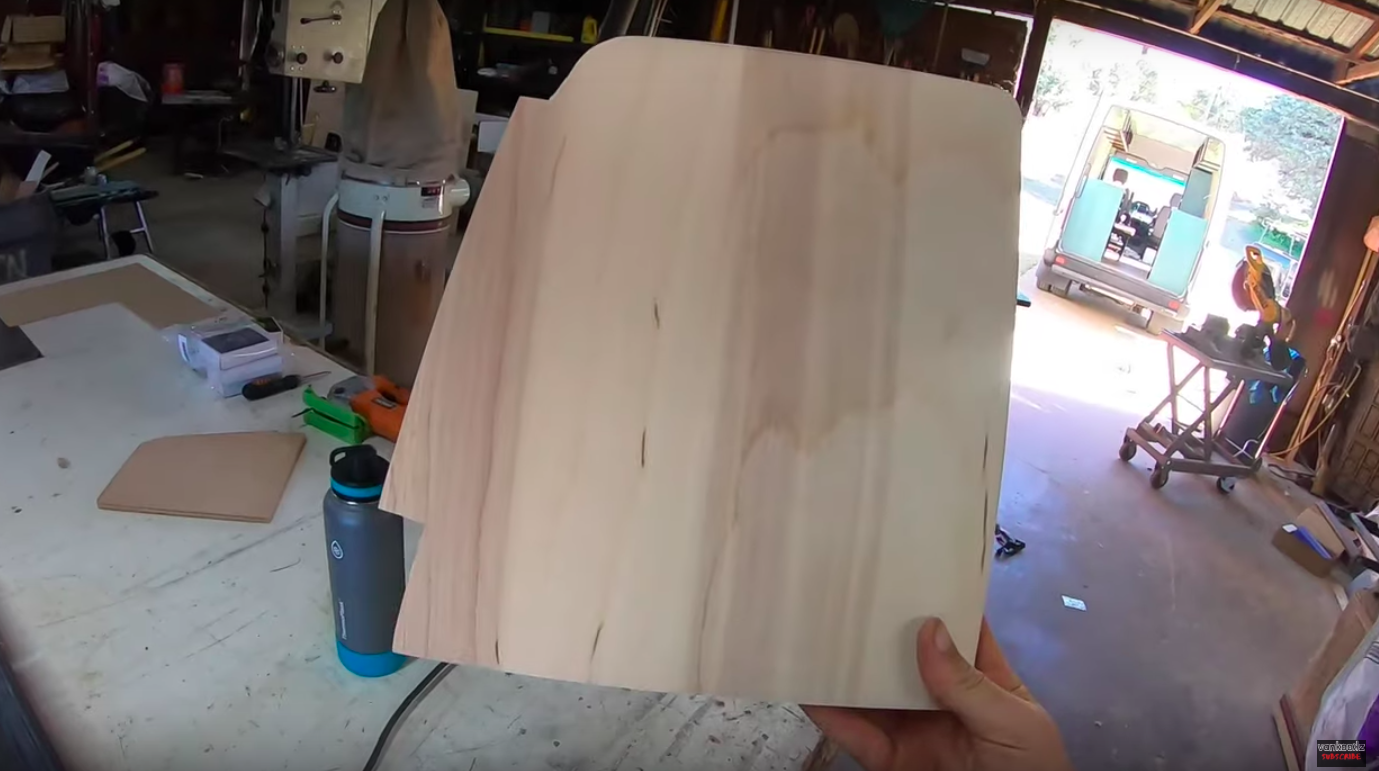
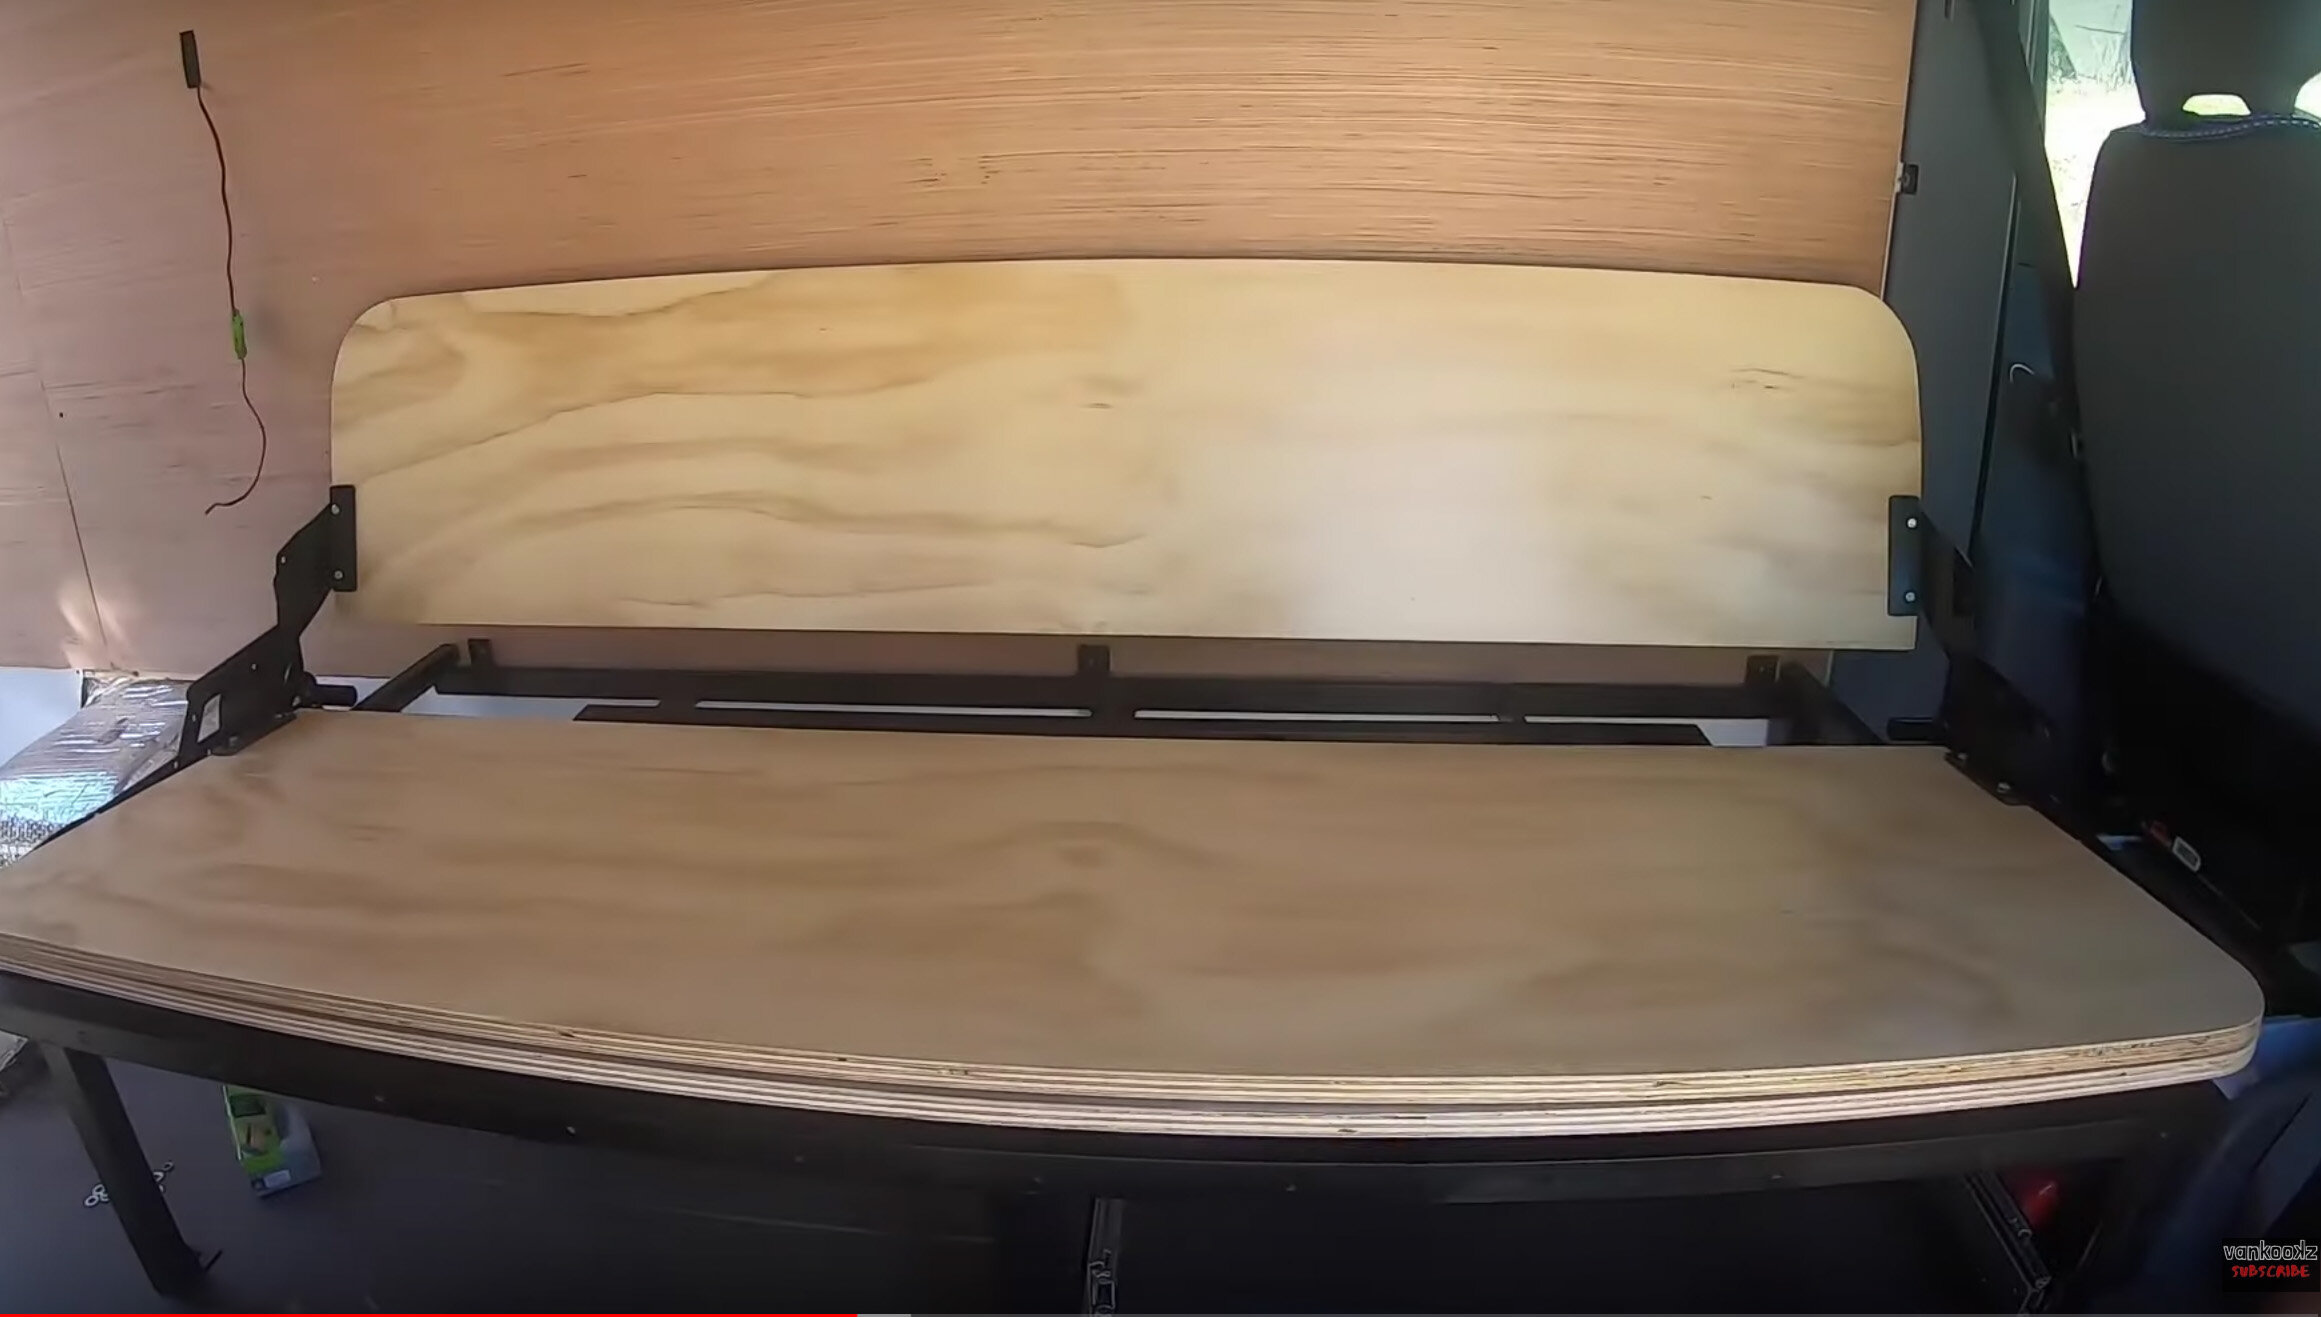
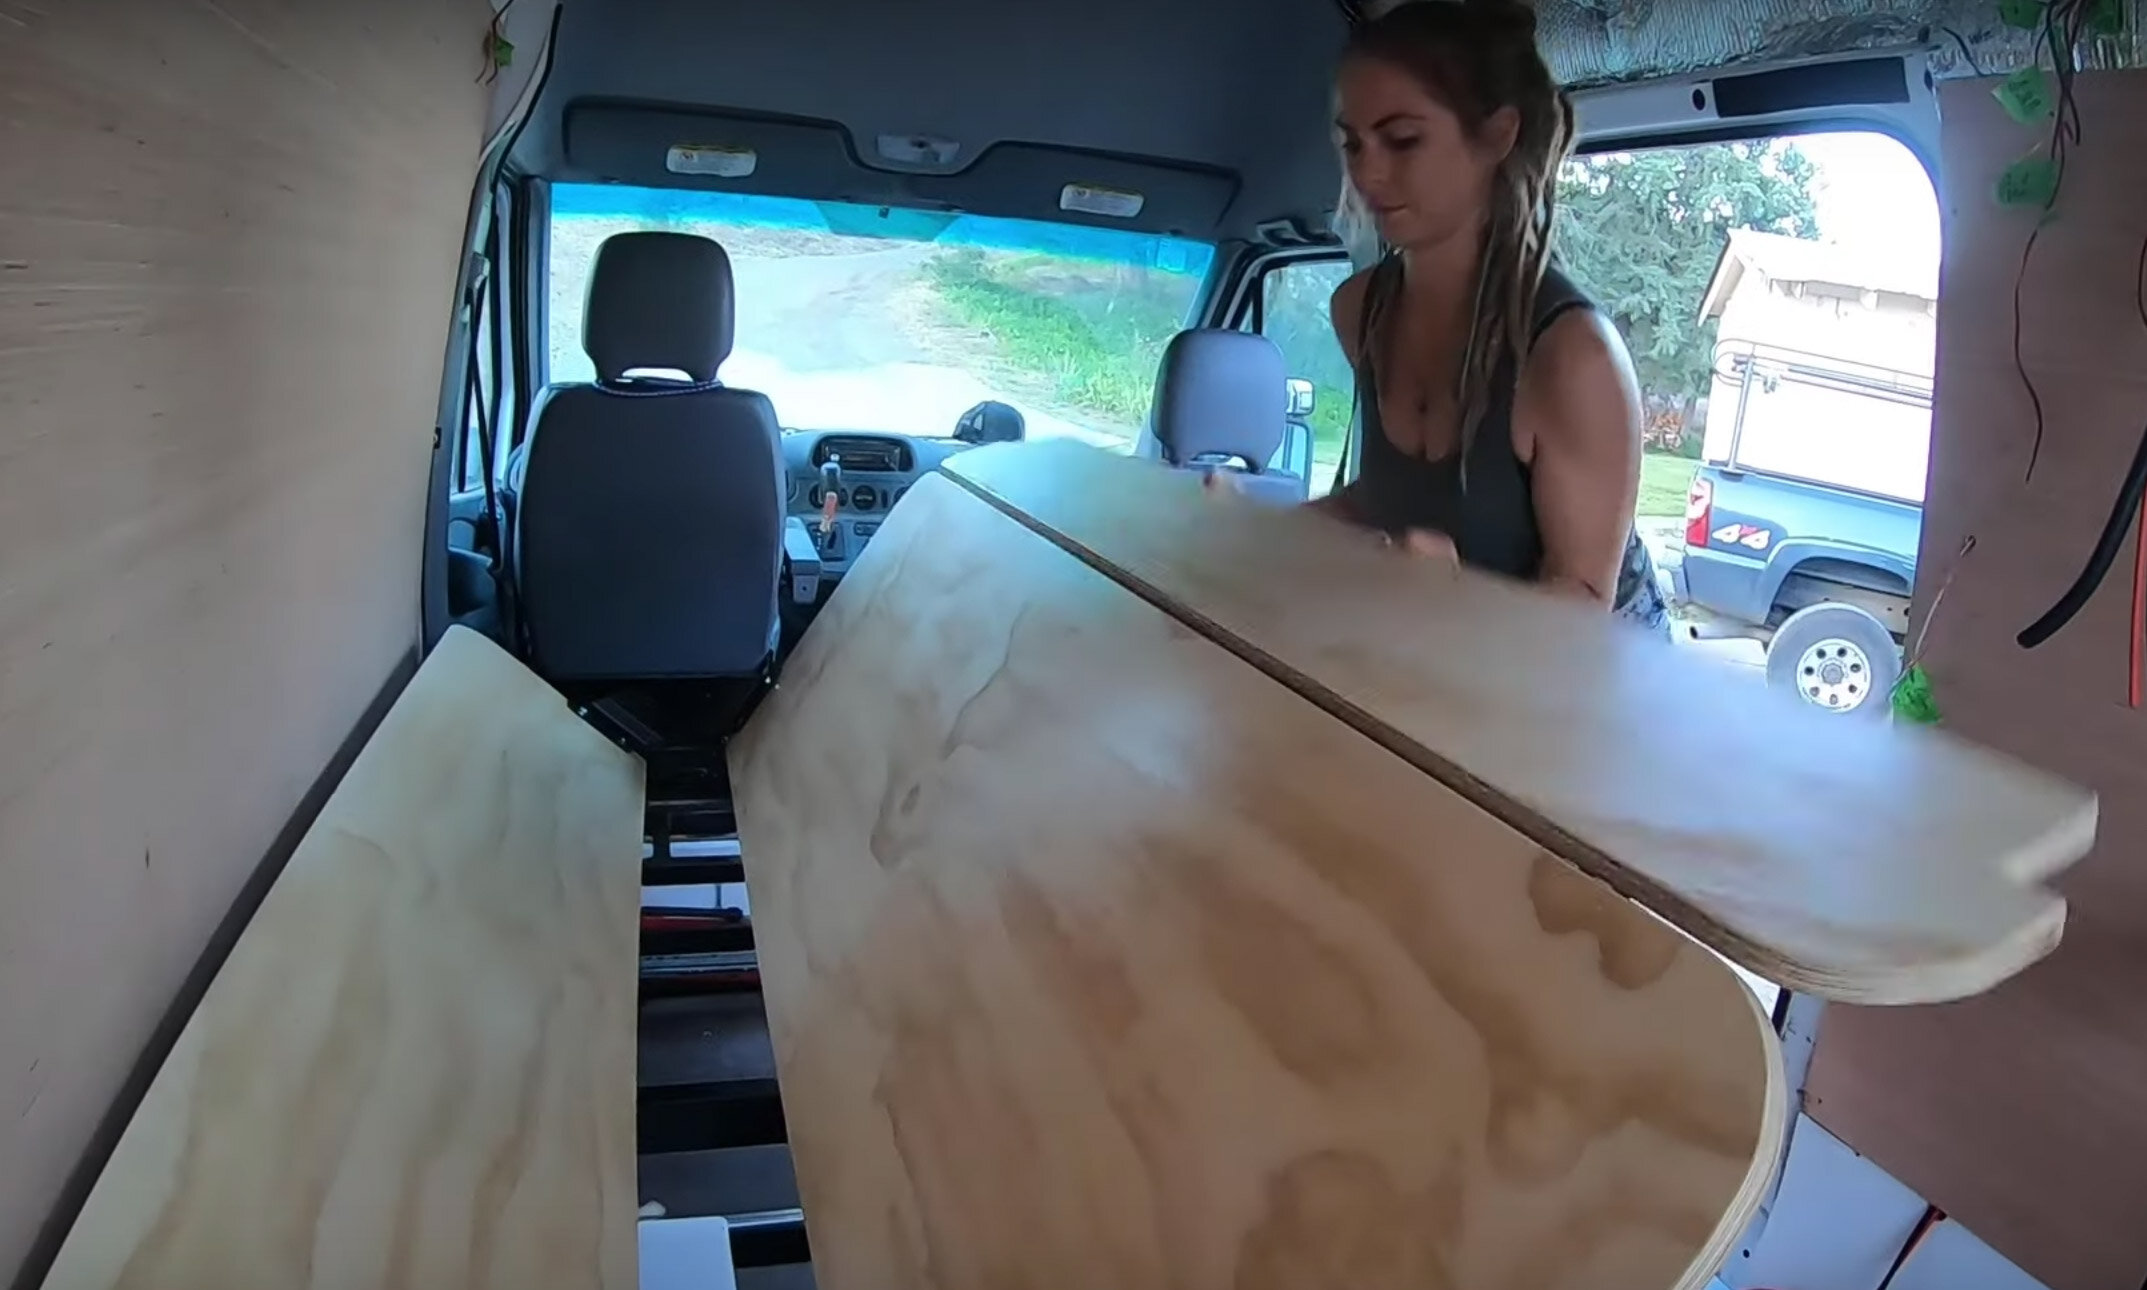
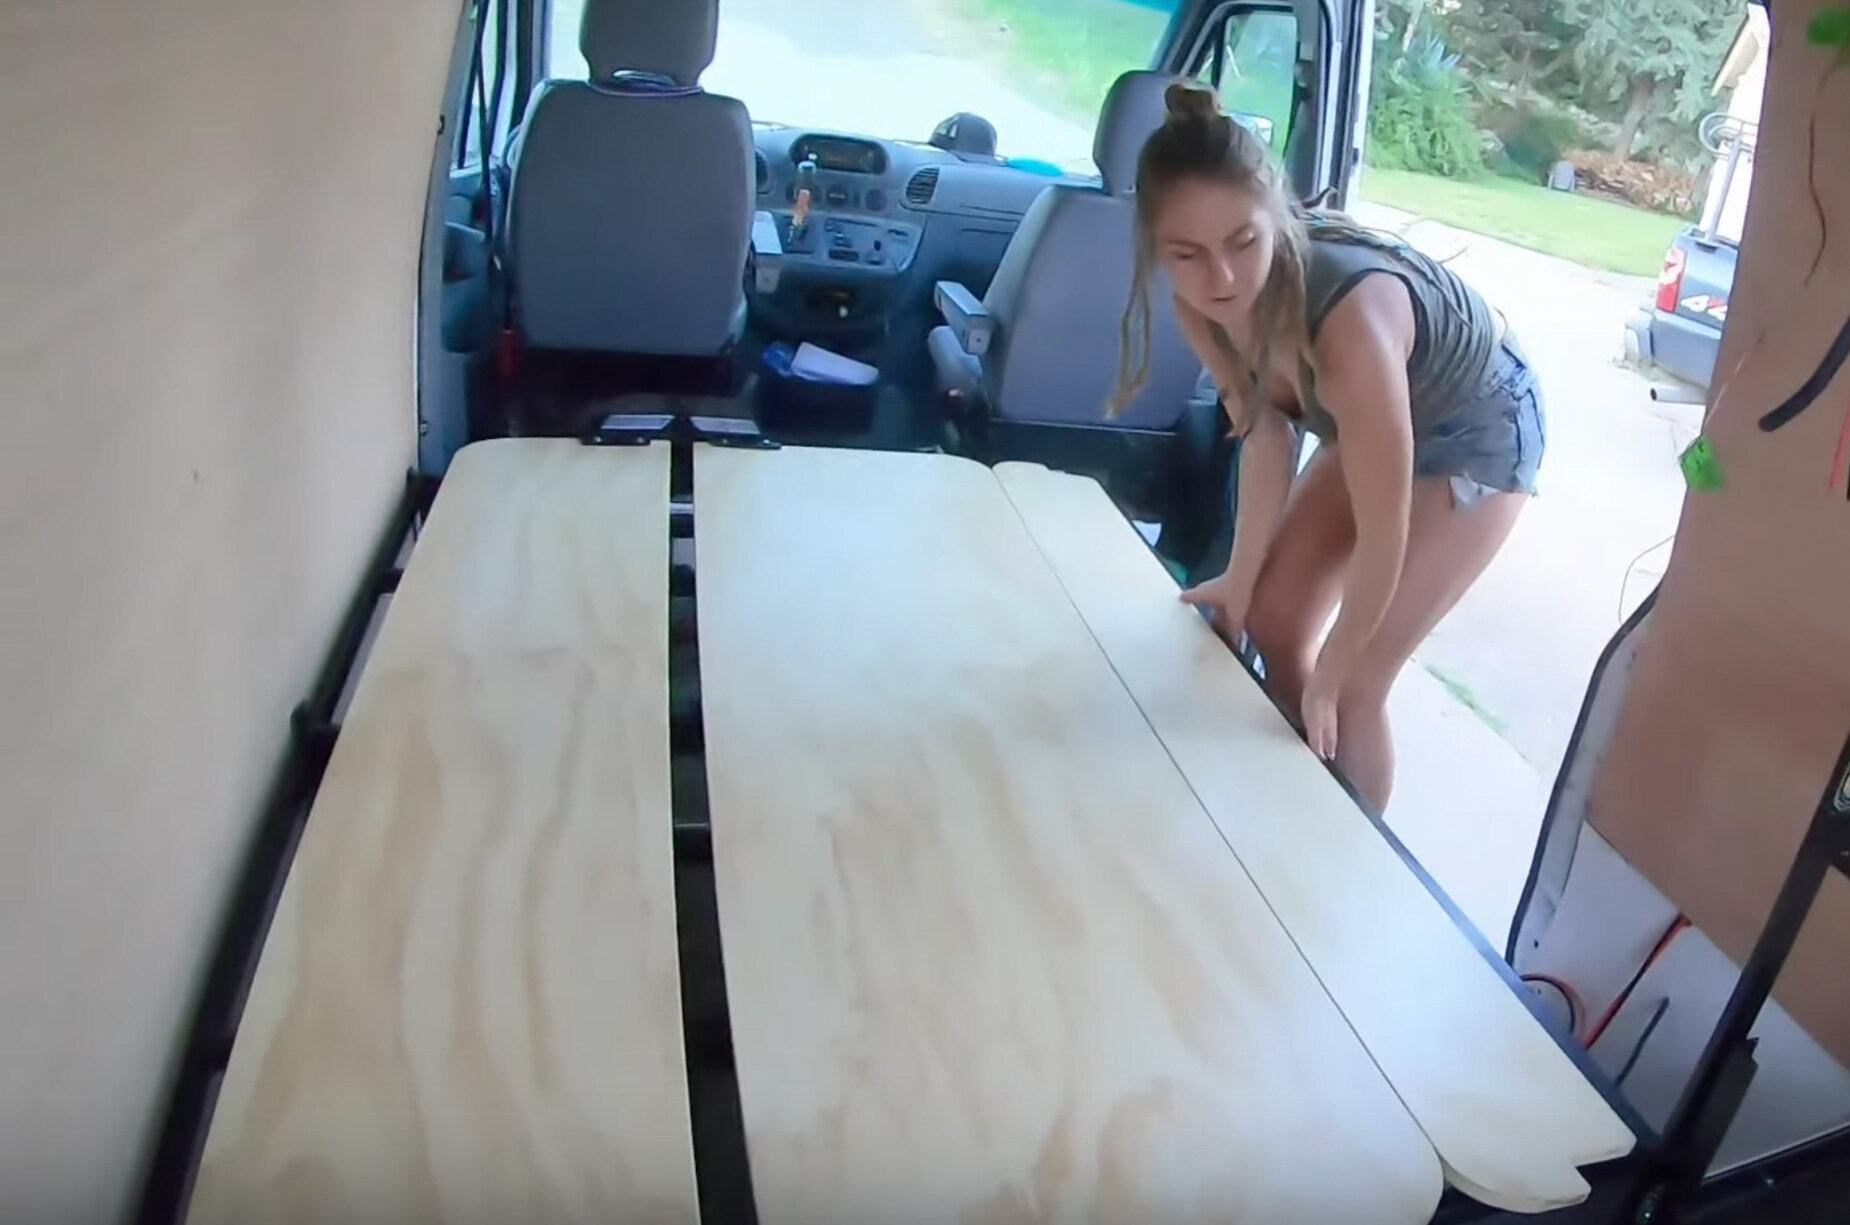
Now, we needed a frame to hold it all together.  We were able to use 3/4” plywood and cut it to size of the bed frame with an additional piece that would be piano hinged to the base. So that way, it could support the mattress on the additional pull out slats we added. (See Photos)  

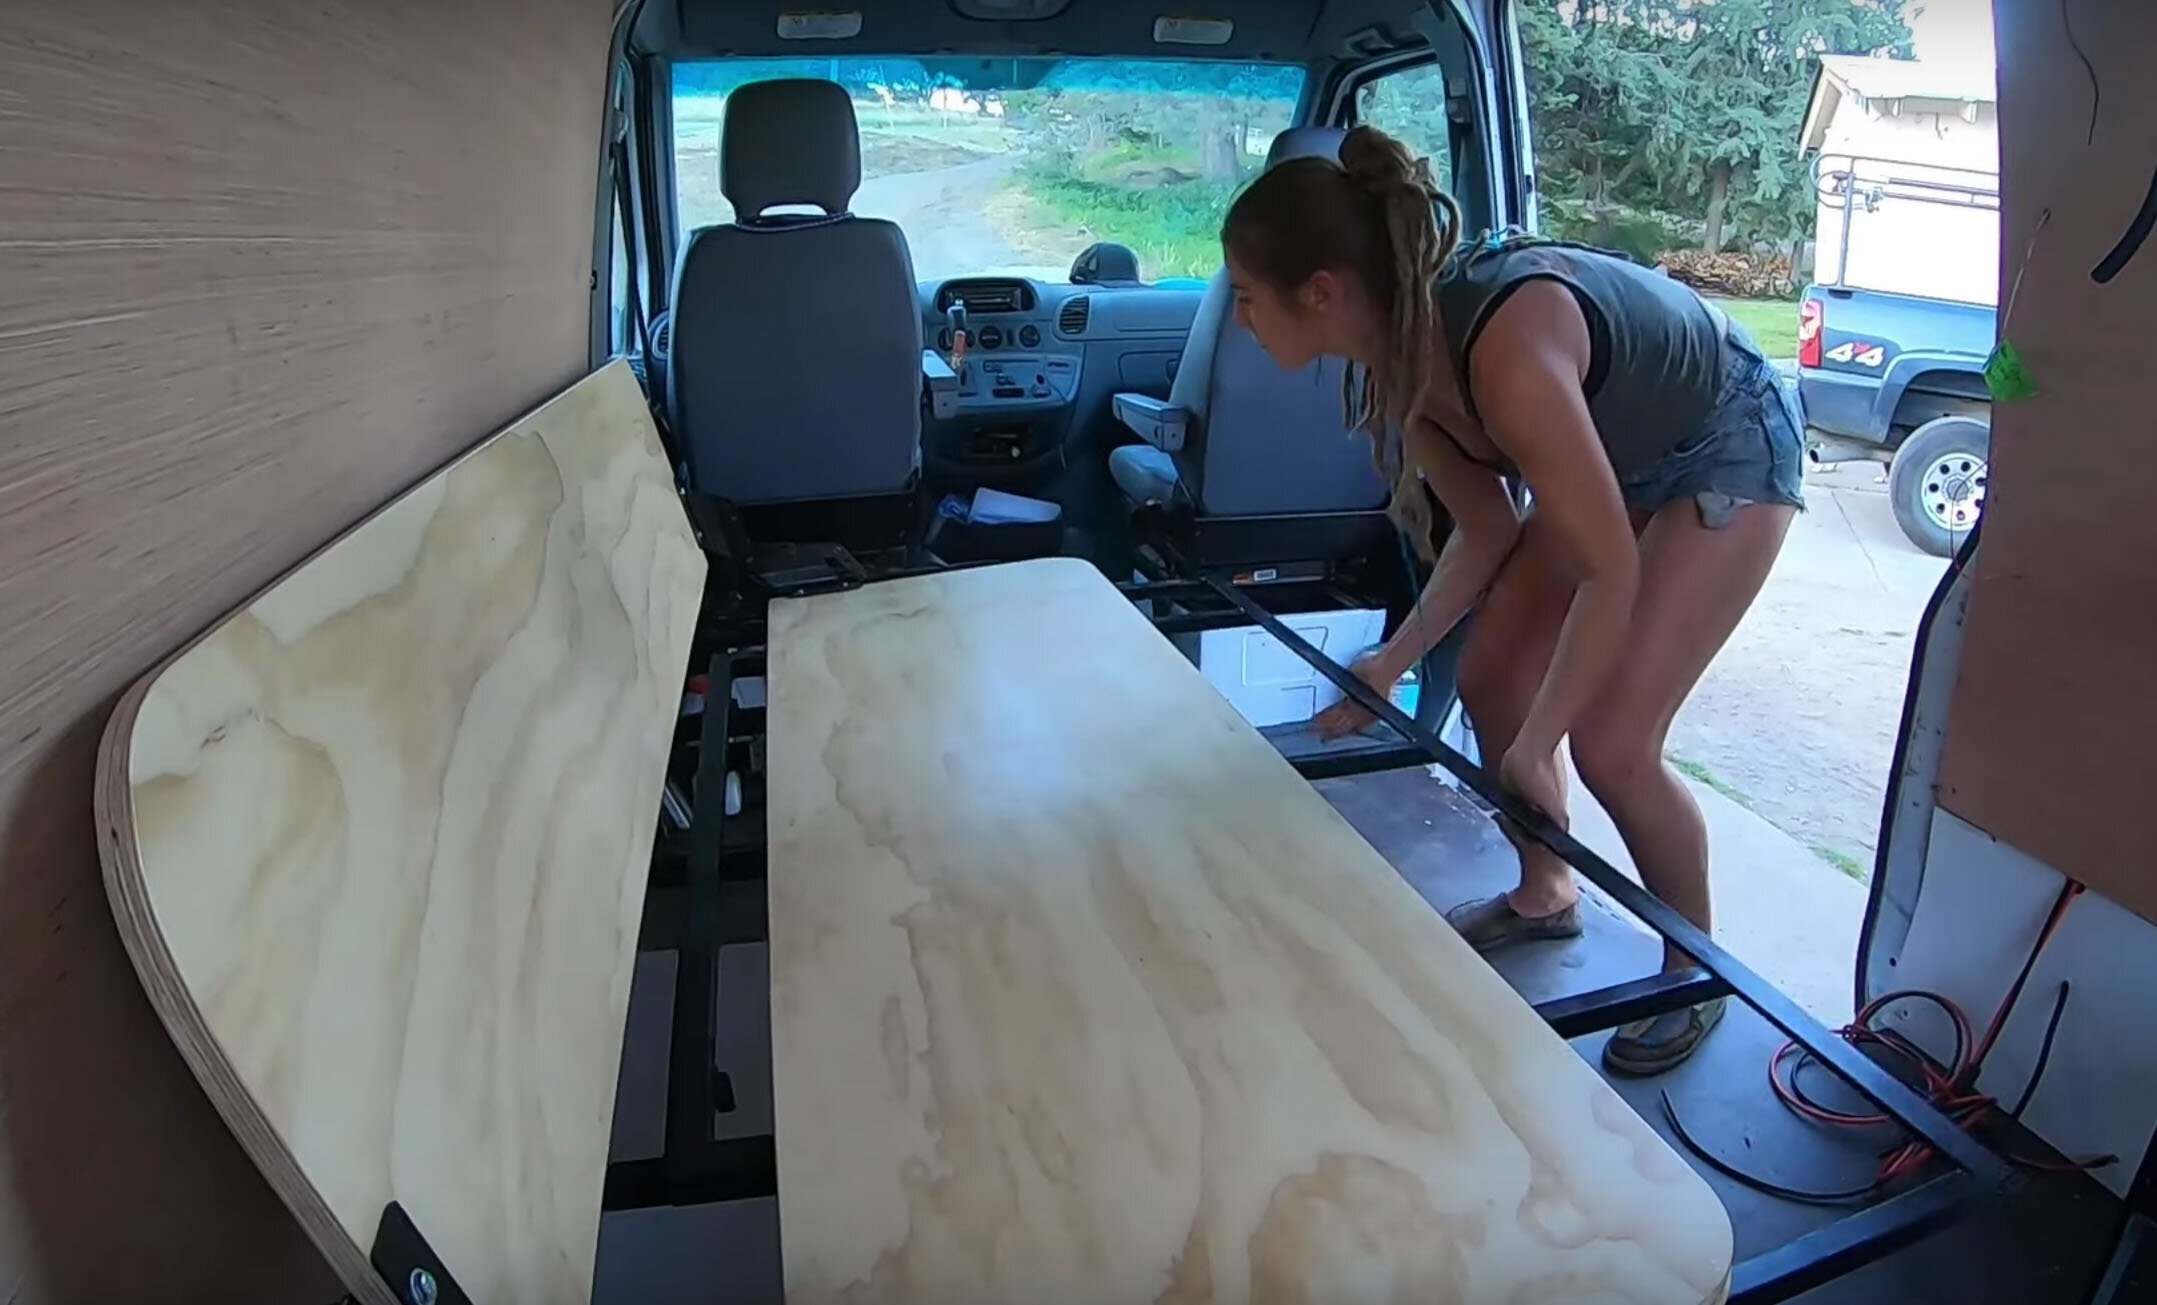
Once the bed frame was in and working, we needed to get a mattress on the bed to see how easy it was to use this design.  We found the perfect mattress at IKEA and after some alterations it fit perfectly to our bed frame.  After some trial and error and many alterations on the sewing machine, we got the mattress to fit perfectly and is very comfortable in both “couch mode” and “bed mode”.  

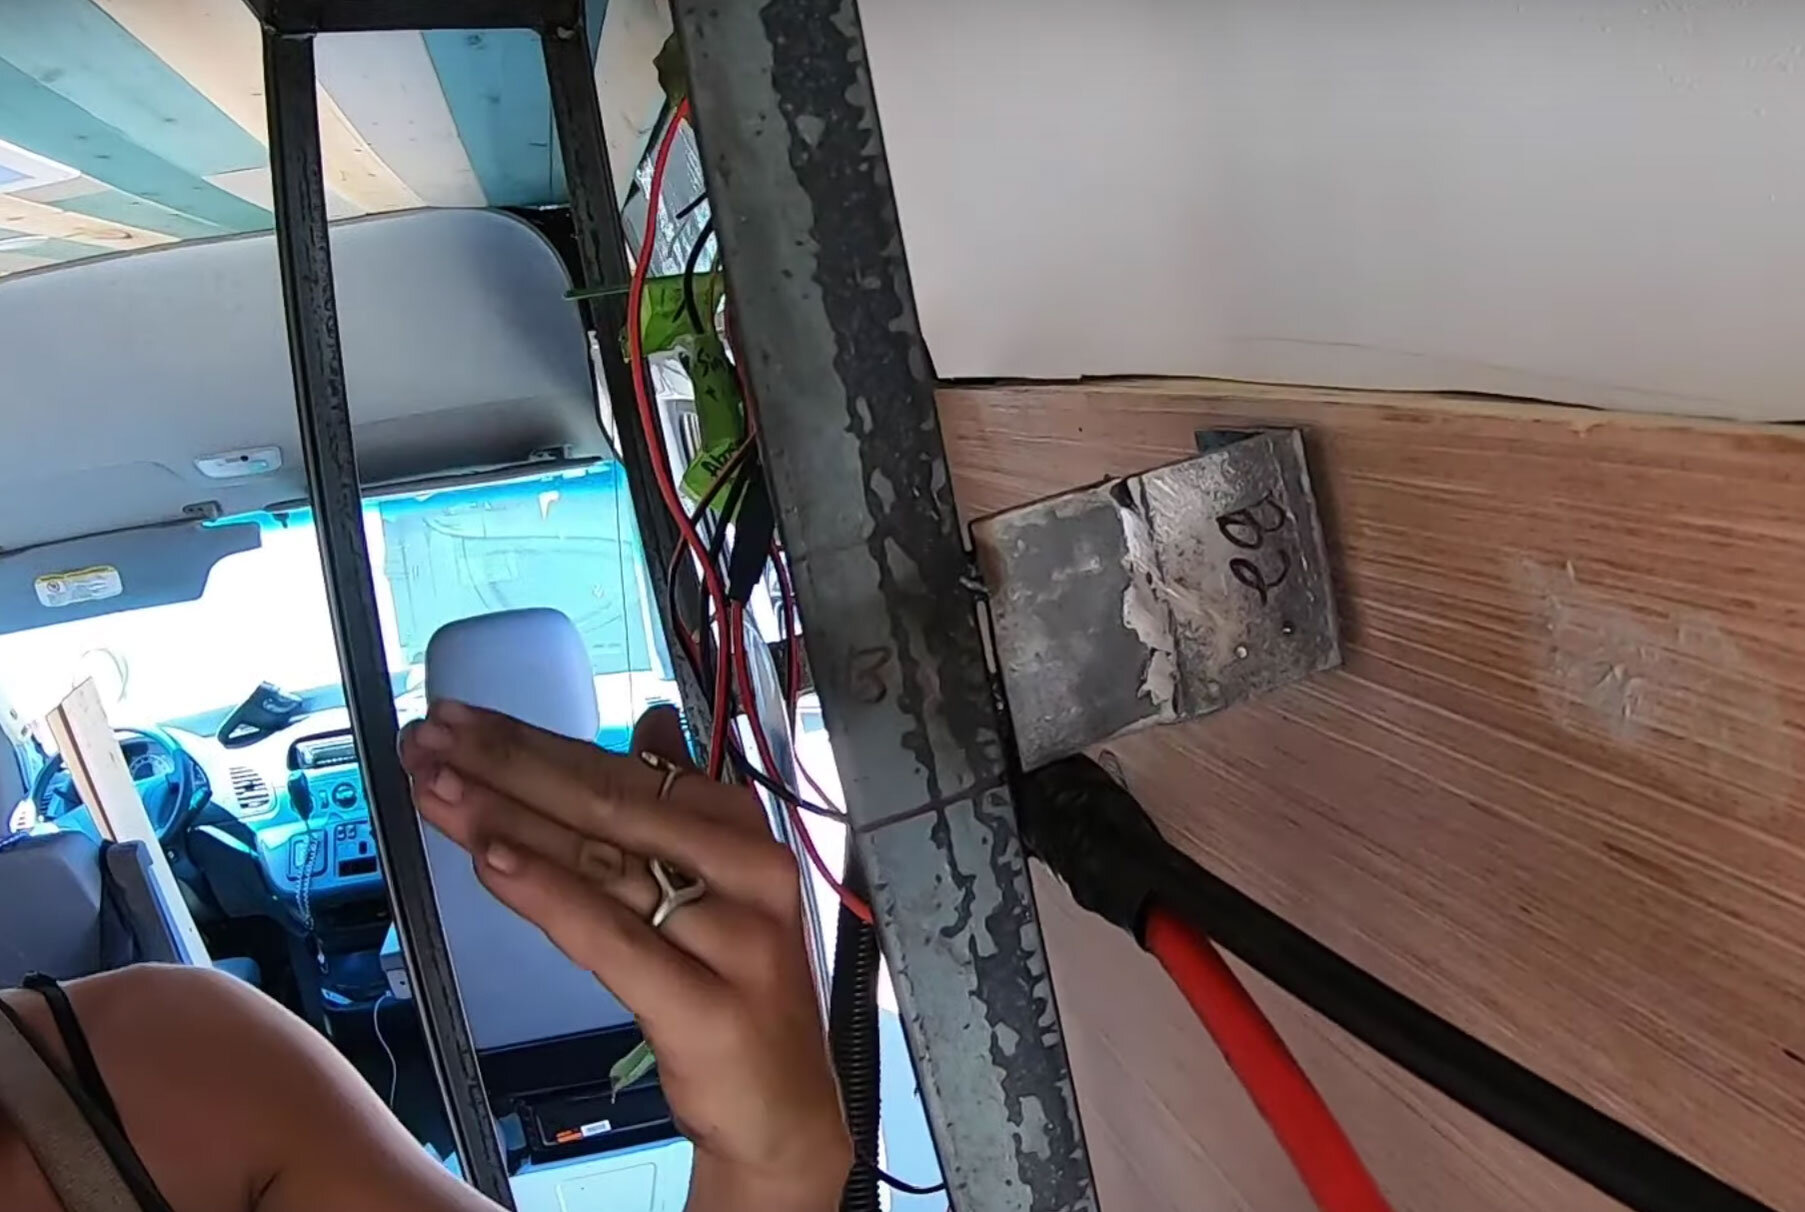
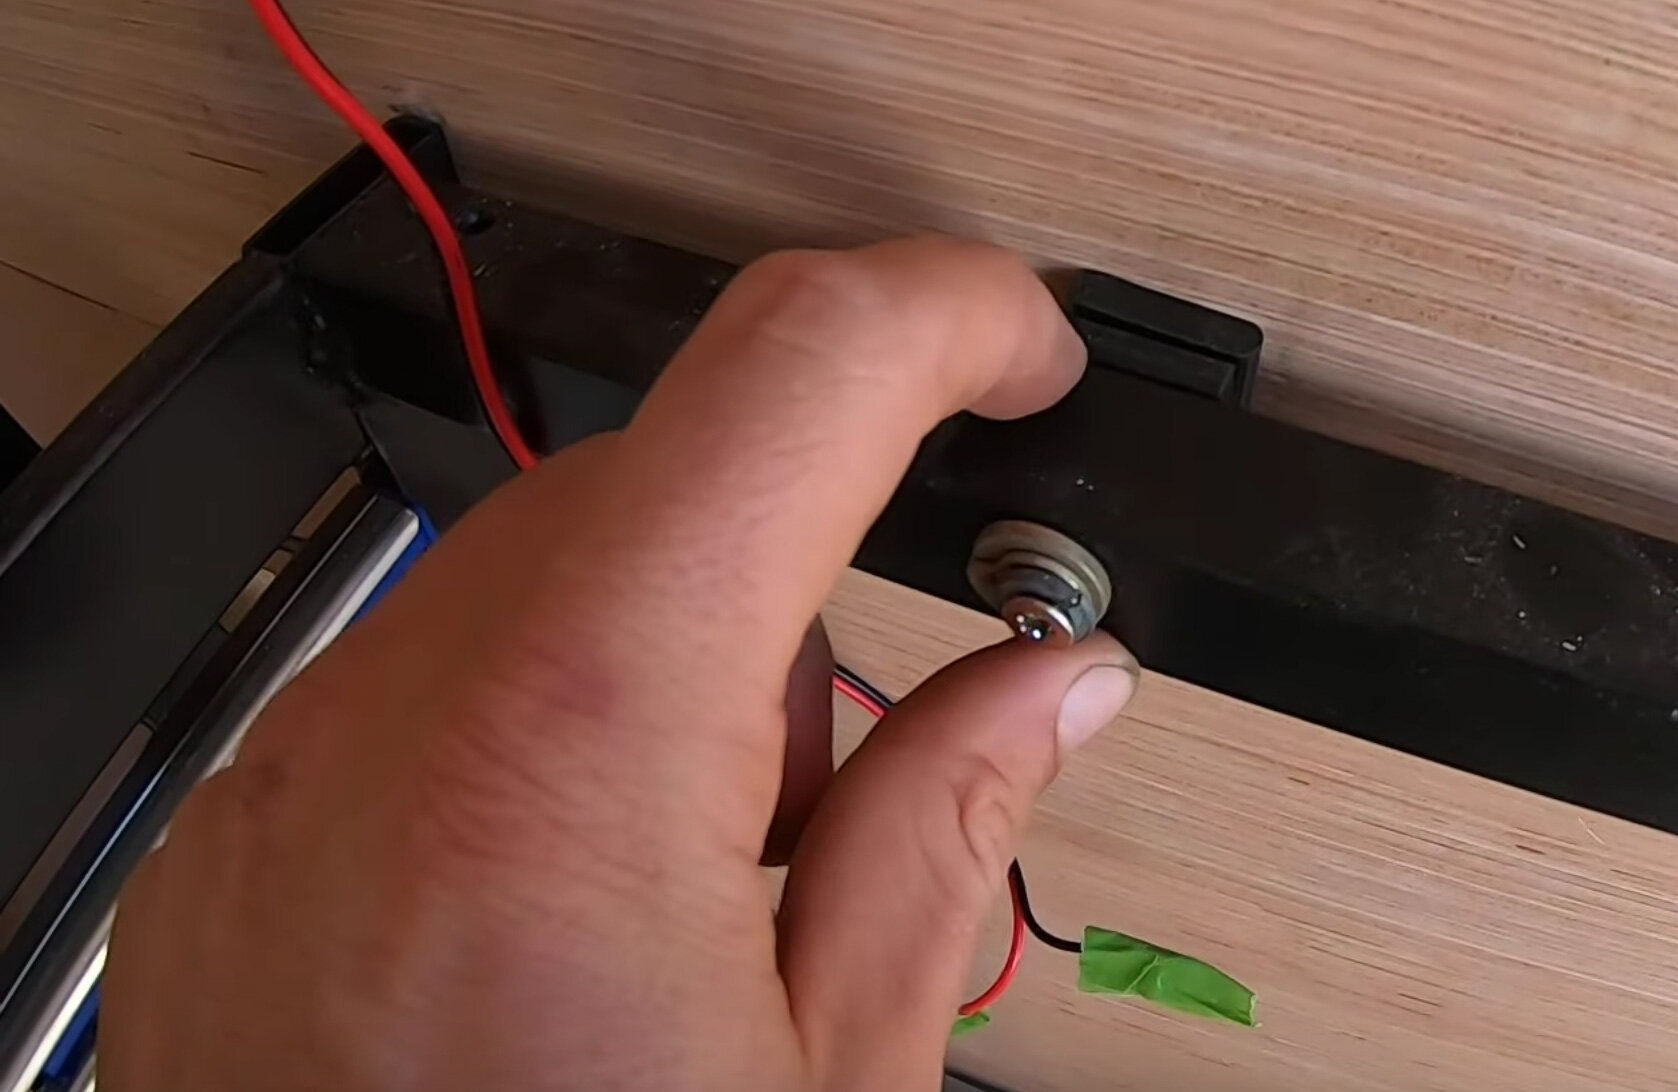
We successfully designed a functional couch/bed and now we needed to add storage underneath the frame.  We installed two heavy duty drawers frames and built out two large and deep drawers, out of a nice refinished birch to give it a professional look.  We also use the bed to store our 26 gallon fresh water tank underneath.  We were extremely pleased with how this multifunctional bed turned out and that most of all it was both comfortable and functional.

Building Cabinet Frames in Your DIY Van Conversion

This can be one of the more daunting tasks but you will be amazed by what you can do with your creativity here.  Get your measuring tape out because you will be using it a lot in this step.

We've built cabinet frames both inside the van and in the shop and we've realized it’s a bit easier to build all the frames outside of the van.  We also wanted to make all the framing out of steel. So that way, it will be extremely durable and will be able to take all the vibrations that the van will be provided along the journey.  

Welding all the frames was an arduous task and we would probably not do it again simply because working with wood is so much easier and quicker.  With that being said, if you’re up to the challenge we think that the steel frames are more lightweight than wood because they require so much less material and are much stronger than the wood framing.  Welding all the cabinet frames took us much longer than anticipated, but the result is so much cleaner and stronger. So, it was worth every second.  

Building and framing cabinets in a van conversion sprinter van diy--22.jpg

After measuring space and drawing it out many times, we were ready to make our first frames.  On the van's floor, we use masking tape to tape out the size of all cabinet bases to get an idea of how much space we will have. We measure the sizes between the tape and sketch up some drawings. Then, we always start with the cabinets' base and build them up from there, always referring to our drawings as we go.  You will need to account for building in a curved structure, so most times, the base dimensions will be much different from the top dimensions.  This is where your drawings and measurements need to be on point, or you'll be reworking some of your masterpieces. 

You will also want to become best friends with your T-Square to make sure every aspect of your framing is square.  If not, you will have some difficulties getting your drawers to slide smooth or having a level countertop.  

We like to start with our largest cabinets, first. Then, do all the smaller upper cabinets later. So that way, we can see what the dimensions of the upper cabinets need to be to still have headroom and ample space to feel comfortable.  Since there is no right or wrong way to build a van, you’ll notice it’s very ambiguous to choose dimensions for some of these cabinets.  Not all builds are alike. Sometimes, you gotta bend the rules a bit to make something fit.  That’s why it’s easiest to build large items, first, like beds and tall cabinets. Then, work around them, while making countless drawings, to get your space perfect for you.  

Once everything is framed and fits into the van perfectly and you are happy with your frames. It’s much easier to paint the cabinet frames now, outside of the van, compared to when they are installed inside the van. Since we welded all of our frames, we first needed to clean all the metal with acetone before we spray painted everything black. Painting the steel frames is very crucial otherwise all the frames will rust and not look very nice as a finished product.

Once your cabinets are all framed up, you’ll need to secure them to the van walls.  This is where your original layout design will payoff.  Hopefully you framed your wall up so that everything can be easily attached to the framing, securely. You'll want to screw in the base to the van floor and the backs of the cabinets to the framing behind your walls. 

After you have all your framing installed in the van, you will really feel accomplished and your van will really start to take shape here.  The sky’s the limit for creativity in your van build. Just remember to do what works best for you and your space. 

Building Metal DIY Upper Cabinets in Your Van Conversion

Once you got all the lower cabinets framed out, it’s time to start on the upper cabinets.  The best way to start this project is by taking your measurements and drawing out what you your cabinets to look like.  We used a steel framing and wanted it to be very minimal, light, and strong.  

When starting the design and build process, you need to take into account how your cabinets will attach to your wall.  If you’ve been following our protocol then, you will have already framed the van according to your how your cabinets will attach to the wall.  We really want to stress the importance of having strong anchor points and positive connections (no gap between wall and frame) at each point.  

We welded up a frame out of 1/2” square steel, with a very straight forward design.  We first welded the cabinet openings, where the door will be.  We kept the size of each door consistent and figured this out by dividing our total measurement by the number of doors we wanted.  Once we had a nice face frame, we then welded on our anchor points.  We also accounted for where our upper cabinet meets the ceiling framing and added additional anchor points along the top of the framing.  We kept a very basic design, with two anchor points, one on top and where the furring strips along the wall were and it worked great. 

Once we attached the frames to the walls, with a positive connection at every point, we test the strength of the anchors with some weight, Dani could literally hang off the upper cabinet they were so secure.  

From here, we will move onto scribing the sides for all the cabinets and then on to face frames.

How to build cabinets in a van - Match the curve of the van every time

After you have built all your cabinet frames and have them securely installed into your rig, it’s now time to cover up the sides to all the cabinets and get them looking professional.  This process is called scribing and if you put in the time here your results will look amazing. 

To start, what you will need for this task is some Ram Board or cardboard to make stencils of all your cabinet sides.  We used a razor and a large T-Square to cut them all.  From here, you will want to trace all these stencils to MDF particle panel, which is a thin particle board.  It’s best to have your cardboard stencils be more on the larger size. So when you go to scribe the sides of the MDF, you won’t cut the stencil to small.  

What you’ll do here is take the particle panel and place it on the side of the cabinet you need to cover. You will want your particle board to be a little longer and taller than your desired size of the cabinet side because you are going to scribe it down to size.

Screen Shot 2020-03-18 at 3.22.00 PM.png

To do this, you need to hold your marker or pencil in your hand. I like to have the outside of my hand touching the van wall, as I drag the pen down to trace the curve of the van onto the particle panel.

From our quick “How to build a shelf in a Van” video on our YouTube channel. This video is great if you have been fighting with those van curves. This will show you how to conquer those curves for good!

From our quick “How to build a shelf in a Van” video on our YouTube channel. This video is great if you have been fighting with those van curves. This will show you how to conquer those curves for good!

Now, you’ll want to cut the particle panel with a jigsaw, you’ll want to cut a few 1/16”ths of an inch before the line to leave some of the line.  This will allow you to get the scribed side perfect with your sander. 

How to build a cabinet in a van

Once you’ve made the cut, take your sander and sand down to your line. The sander allows you to be more precise than the saw.   

Building van cabinets

Now that you have your particle panel templates perfect, you will want to transfer them to your plywood or whatever material you’re using for your cabinet sides.  This is the exact same process as you did with the cardboard to particle panel. You’ll just want to be careful now to get it perfect.

building van cabinets

Once you’ve scribed, cut, and sanded your side panels, you’ll now need to paint or stain them before you install to make your life easier.  We went with a nice turquoise/teal stain for most of our cabinets and left our uppers natural with a polyurethane clear stain. We highly recommend using a sealer, as well here, to help protect the stain from water and any potential vancidents.  

Now, you’ll want to attach your sides to your cabinets.  If you welded all your frames like us, you’ll need to drill plenty of holes before hand to attach all the sides.  With wood, it’s simple. Just screw the sides onto your frames.  

This step requires a lot of patience, we highly recommend using the particle panel after the cardboard.  This was our first time doing this, we would usually just go off the cardboard but the partial panel is more rigid and allows you to get a perfect fit on all your cabinets.  It’s an extra step in the process but it is worth it.  

Framing and Installing Interior Wall and Tonge and Groove Cieling in a DIY Van Conversion.

The number one most asked question in every van project is. How do I attach my wall to the van? We are here to help you get through this. You’ll have a professional look once you are done here.