
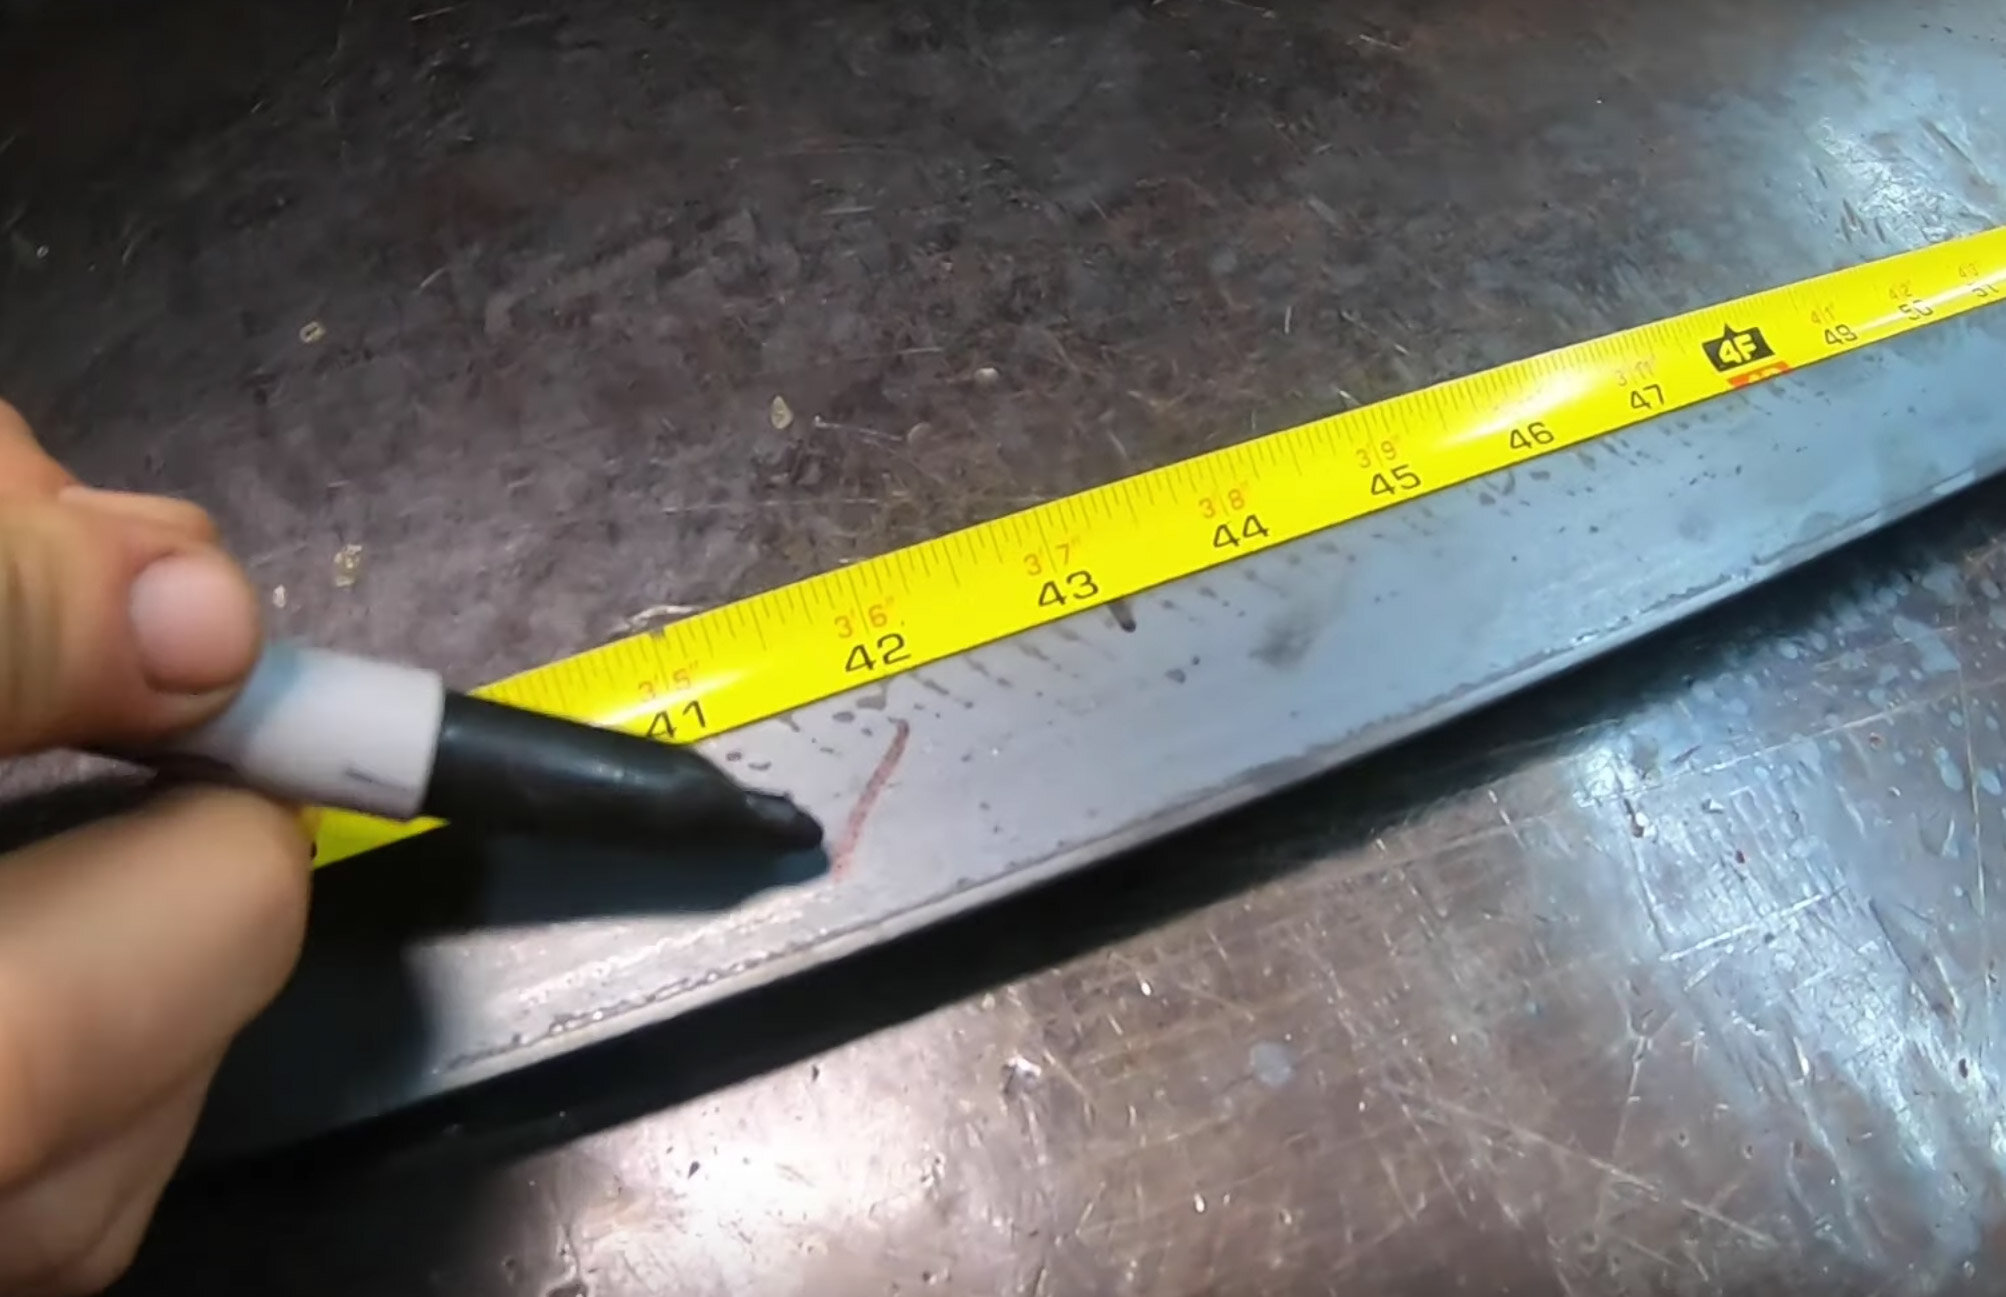
This can be one of the more daunting tasks but you will be amazed by what you can do with your creativity here. Get your measuring tape out because you will be using it a lot in this step.
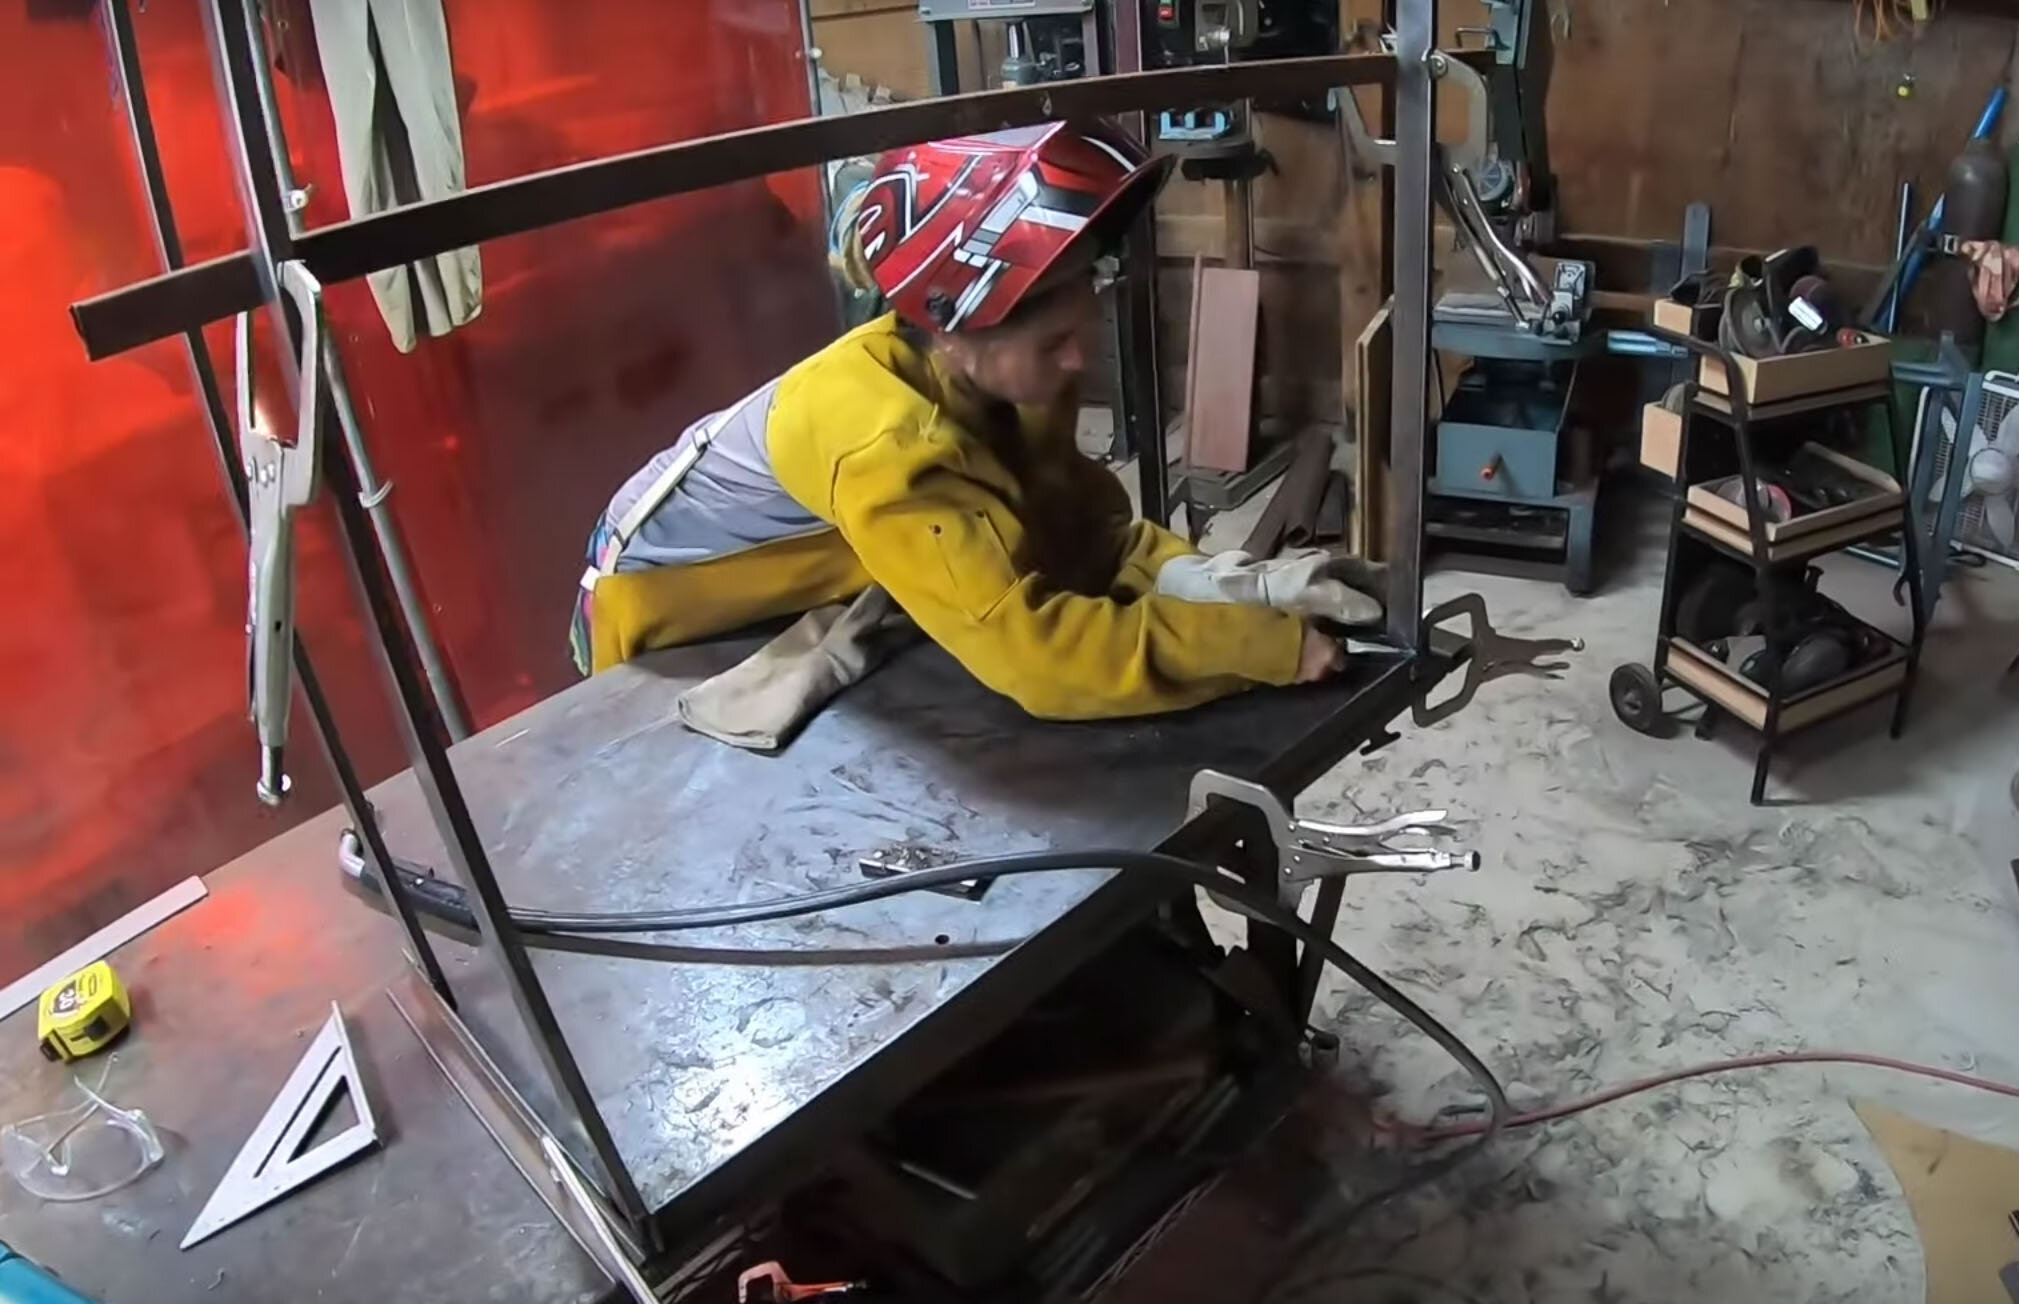
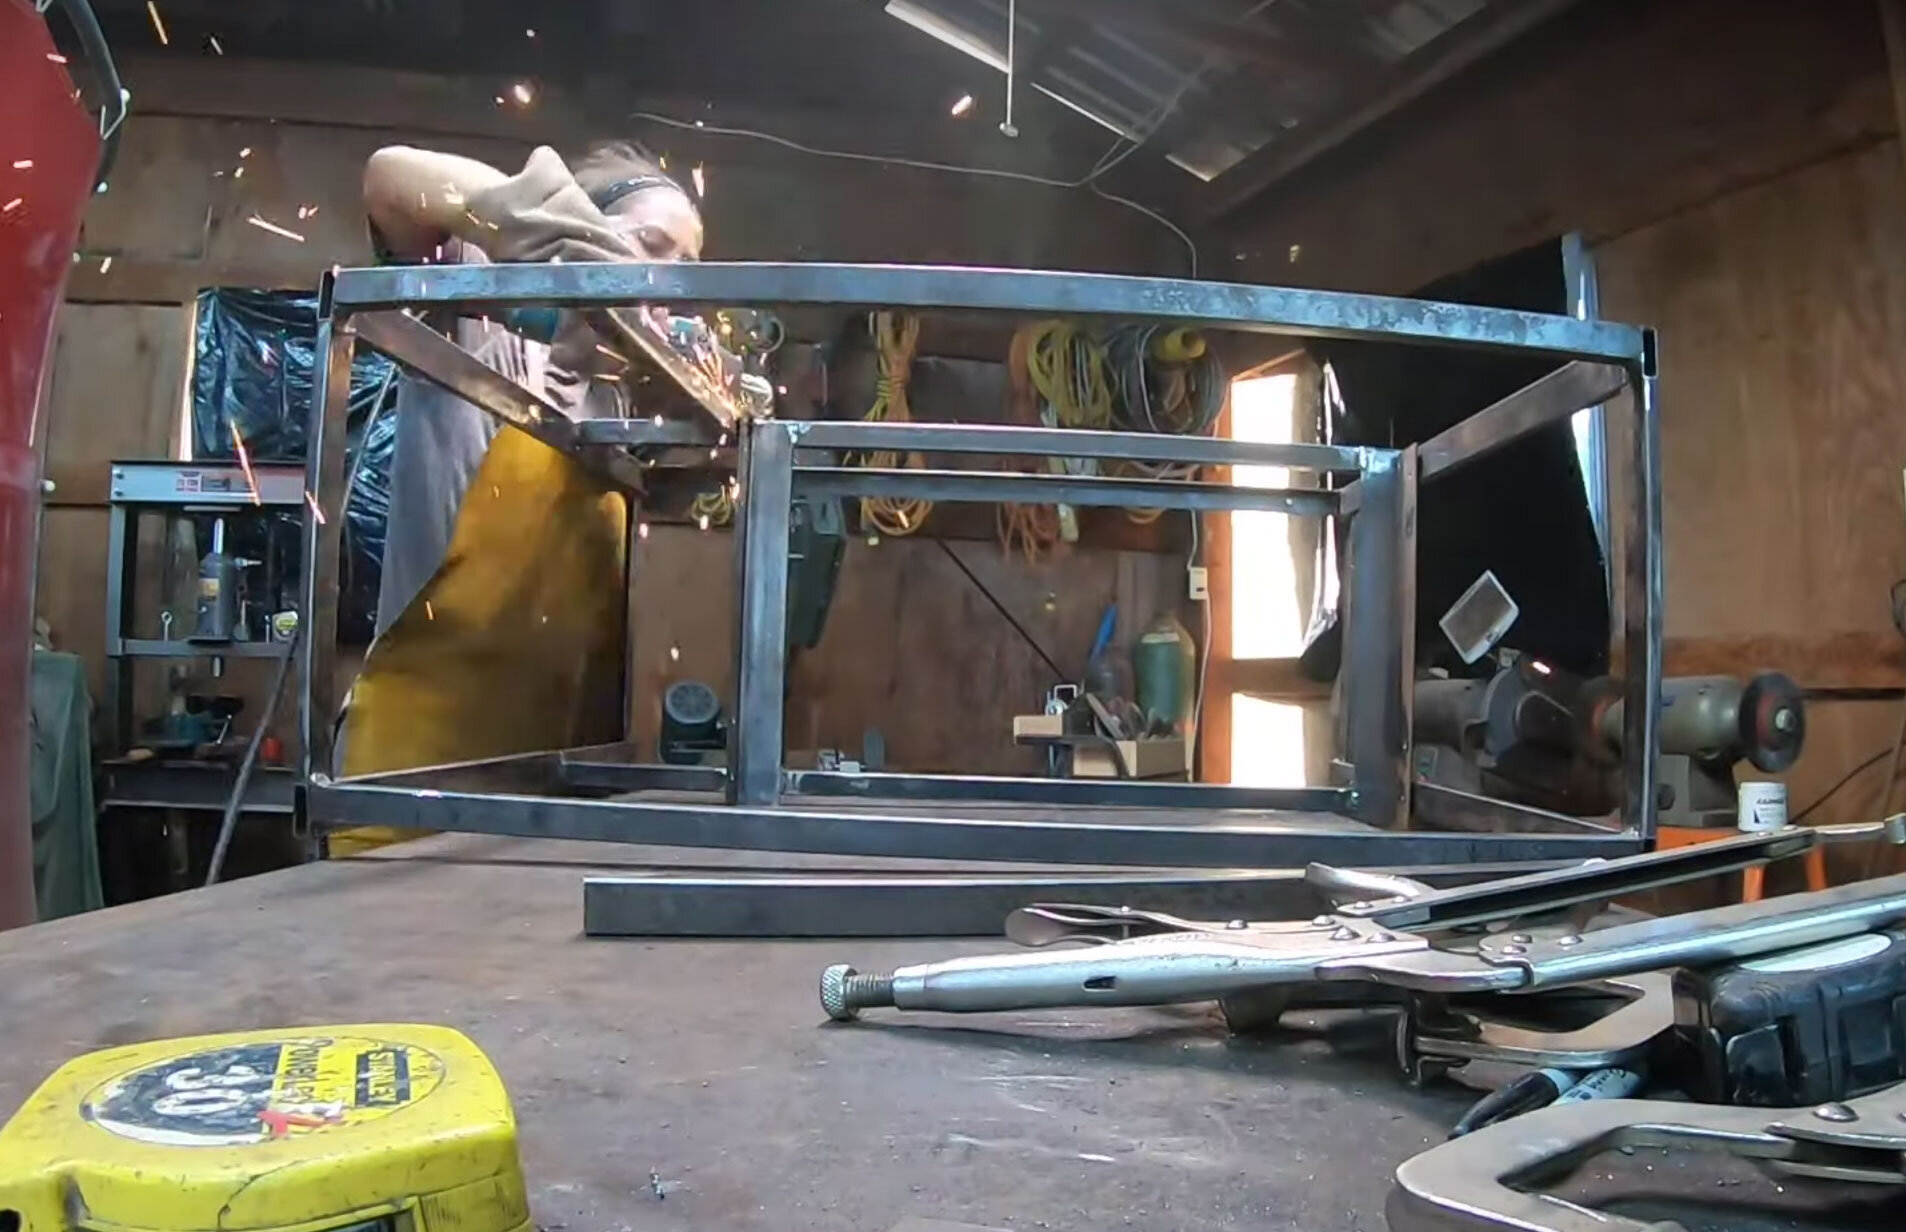
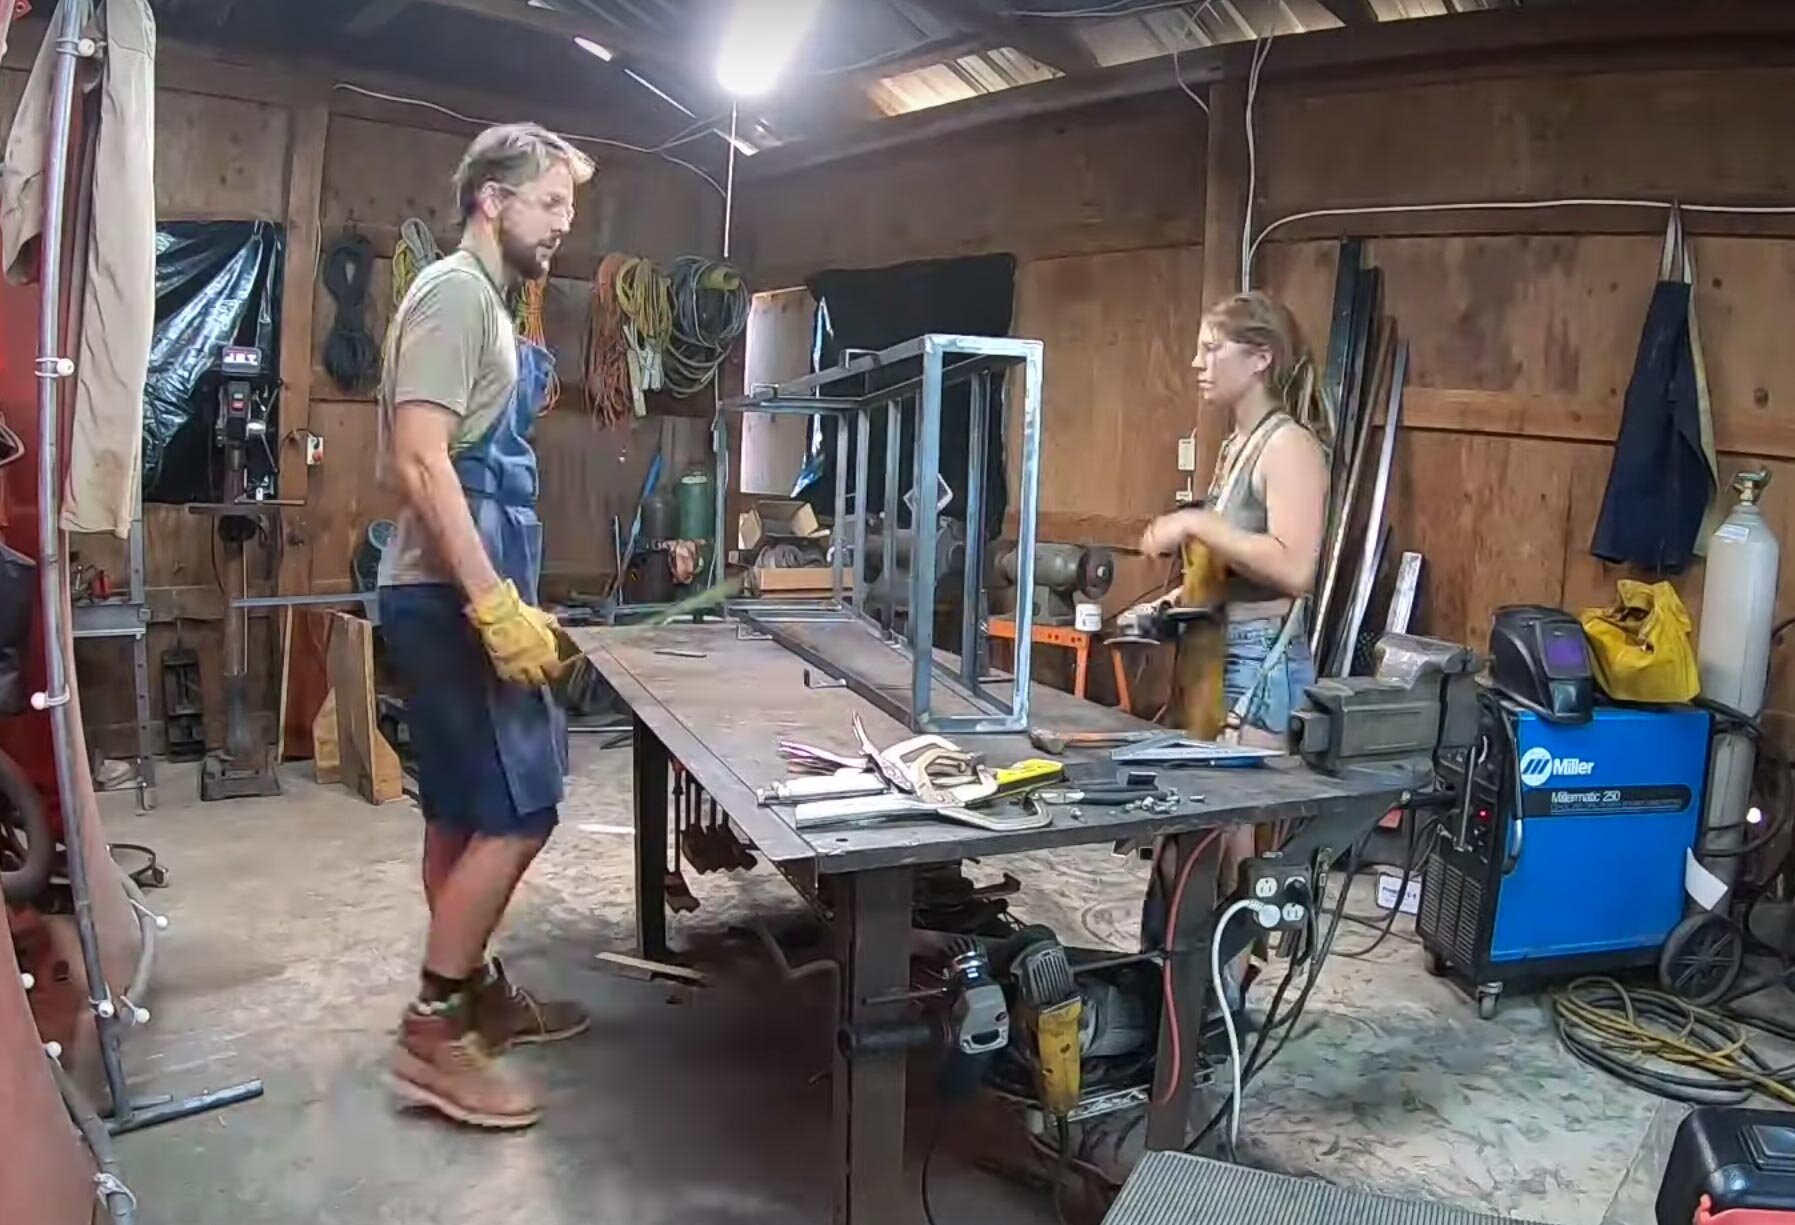
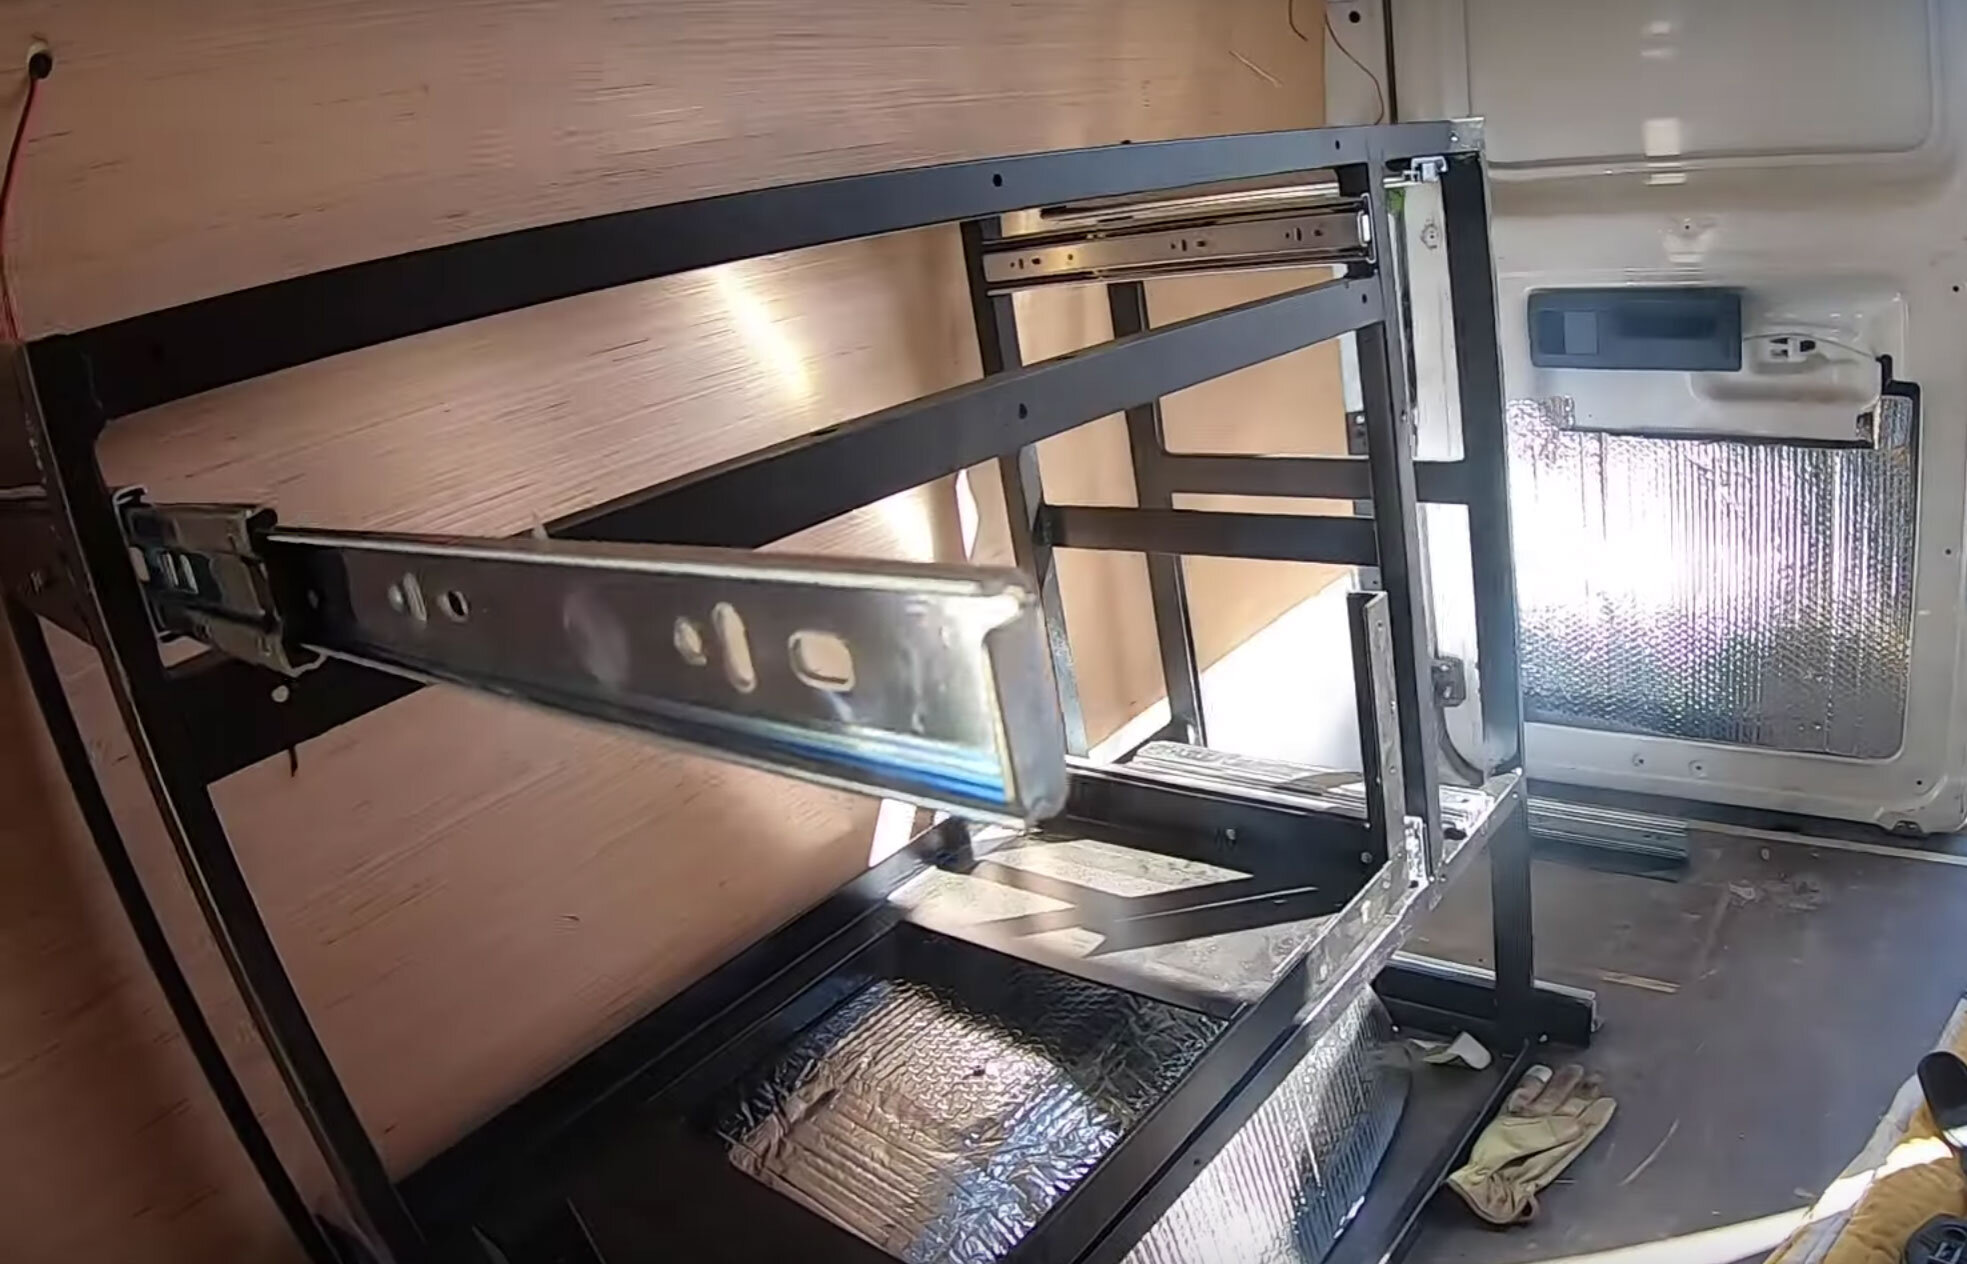
We've built cabinet frames both inside the van and in the shop and we've realized it’s a bit easier to build all the frames outside of the van. We also wanted to make all the framing out of steel. So that way, it will be extremely durable and will be able to take all the vibrations that the van will be provided along the journey.
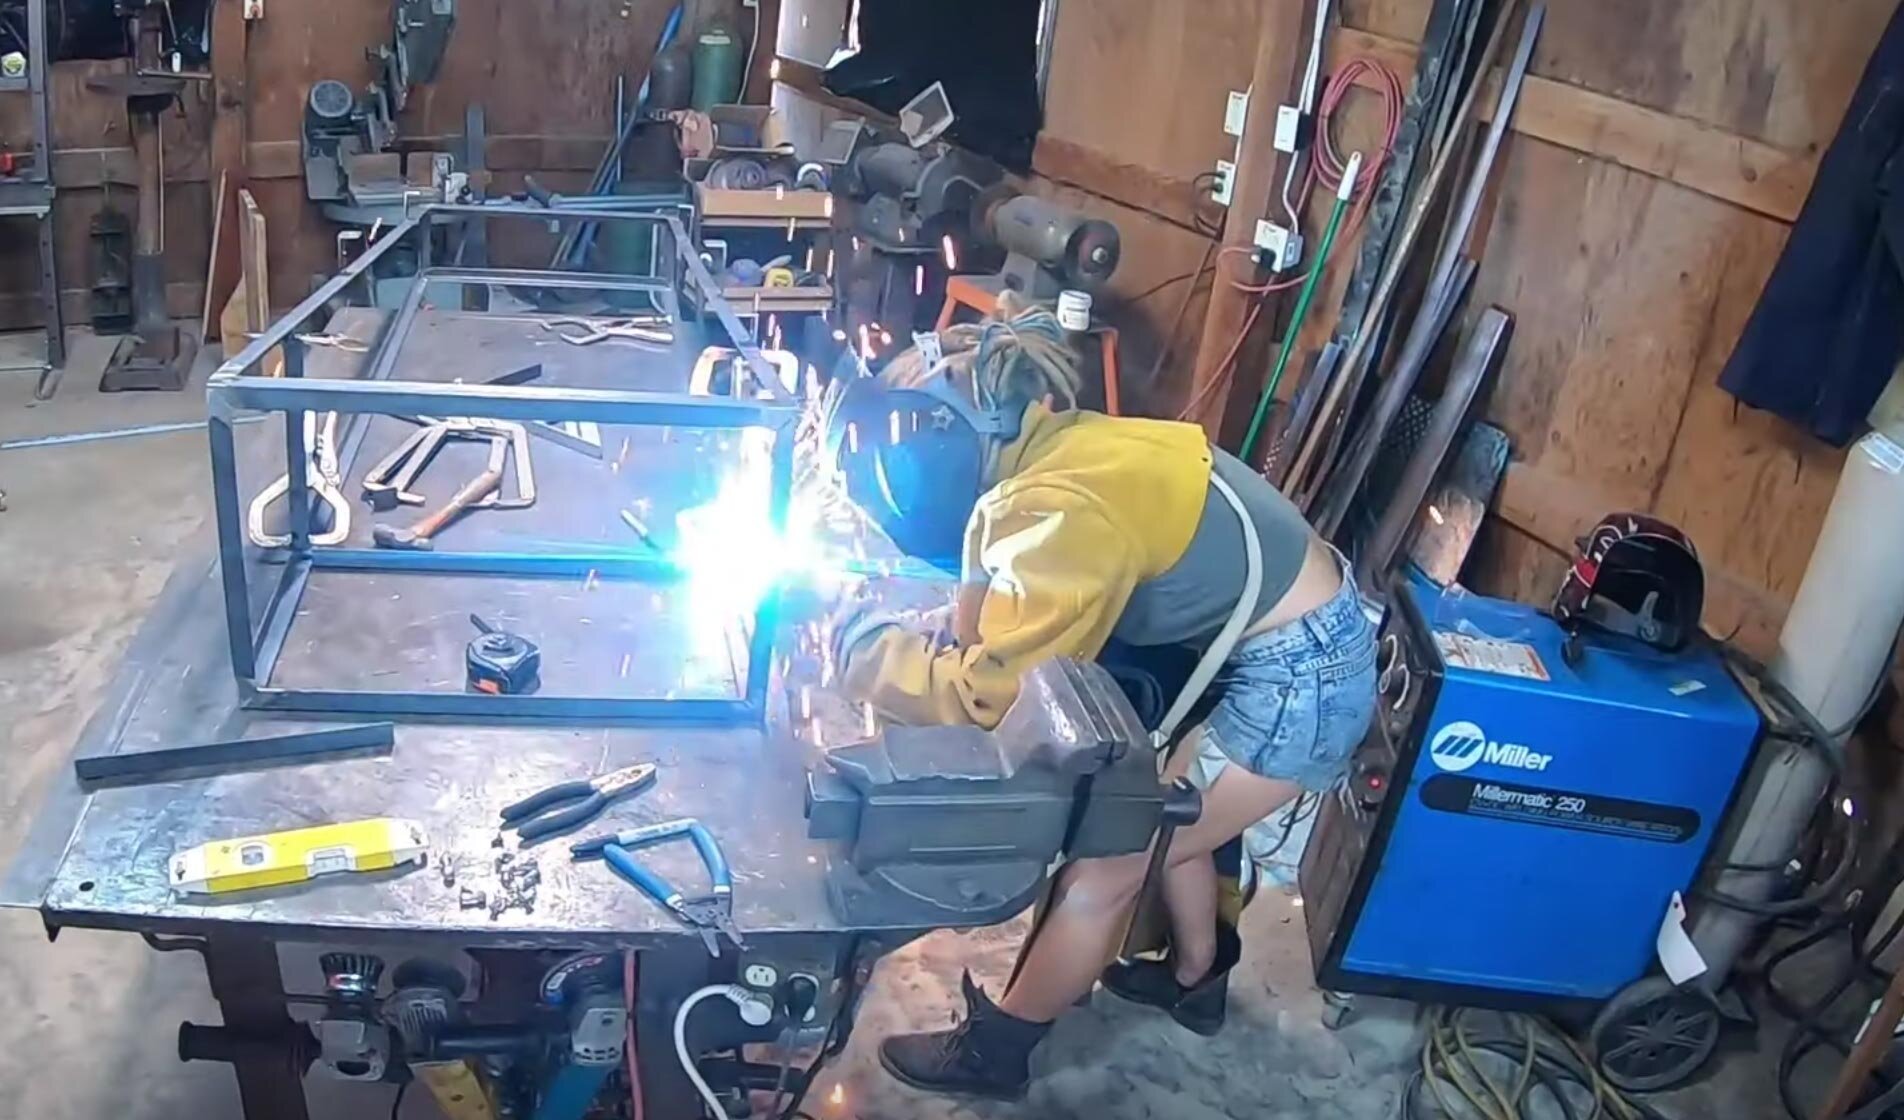
Welding all the frames was an arduous task and we would probably not do it again simply because working with wood is so much easier and quicker. With that being said, if you’re up to the challenge we think that the steel frames are more lightweight than wood because they require so much less material and are much stronger than the wood framing. Welding all the cabinet frames took us much longer than anticipated, but the result is so much cleaner and stronger. So, it was worth every second.

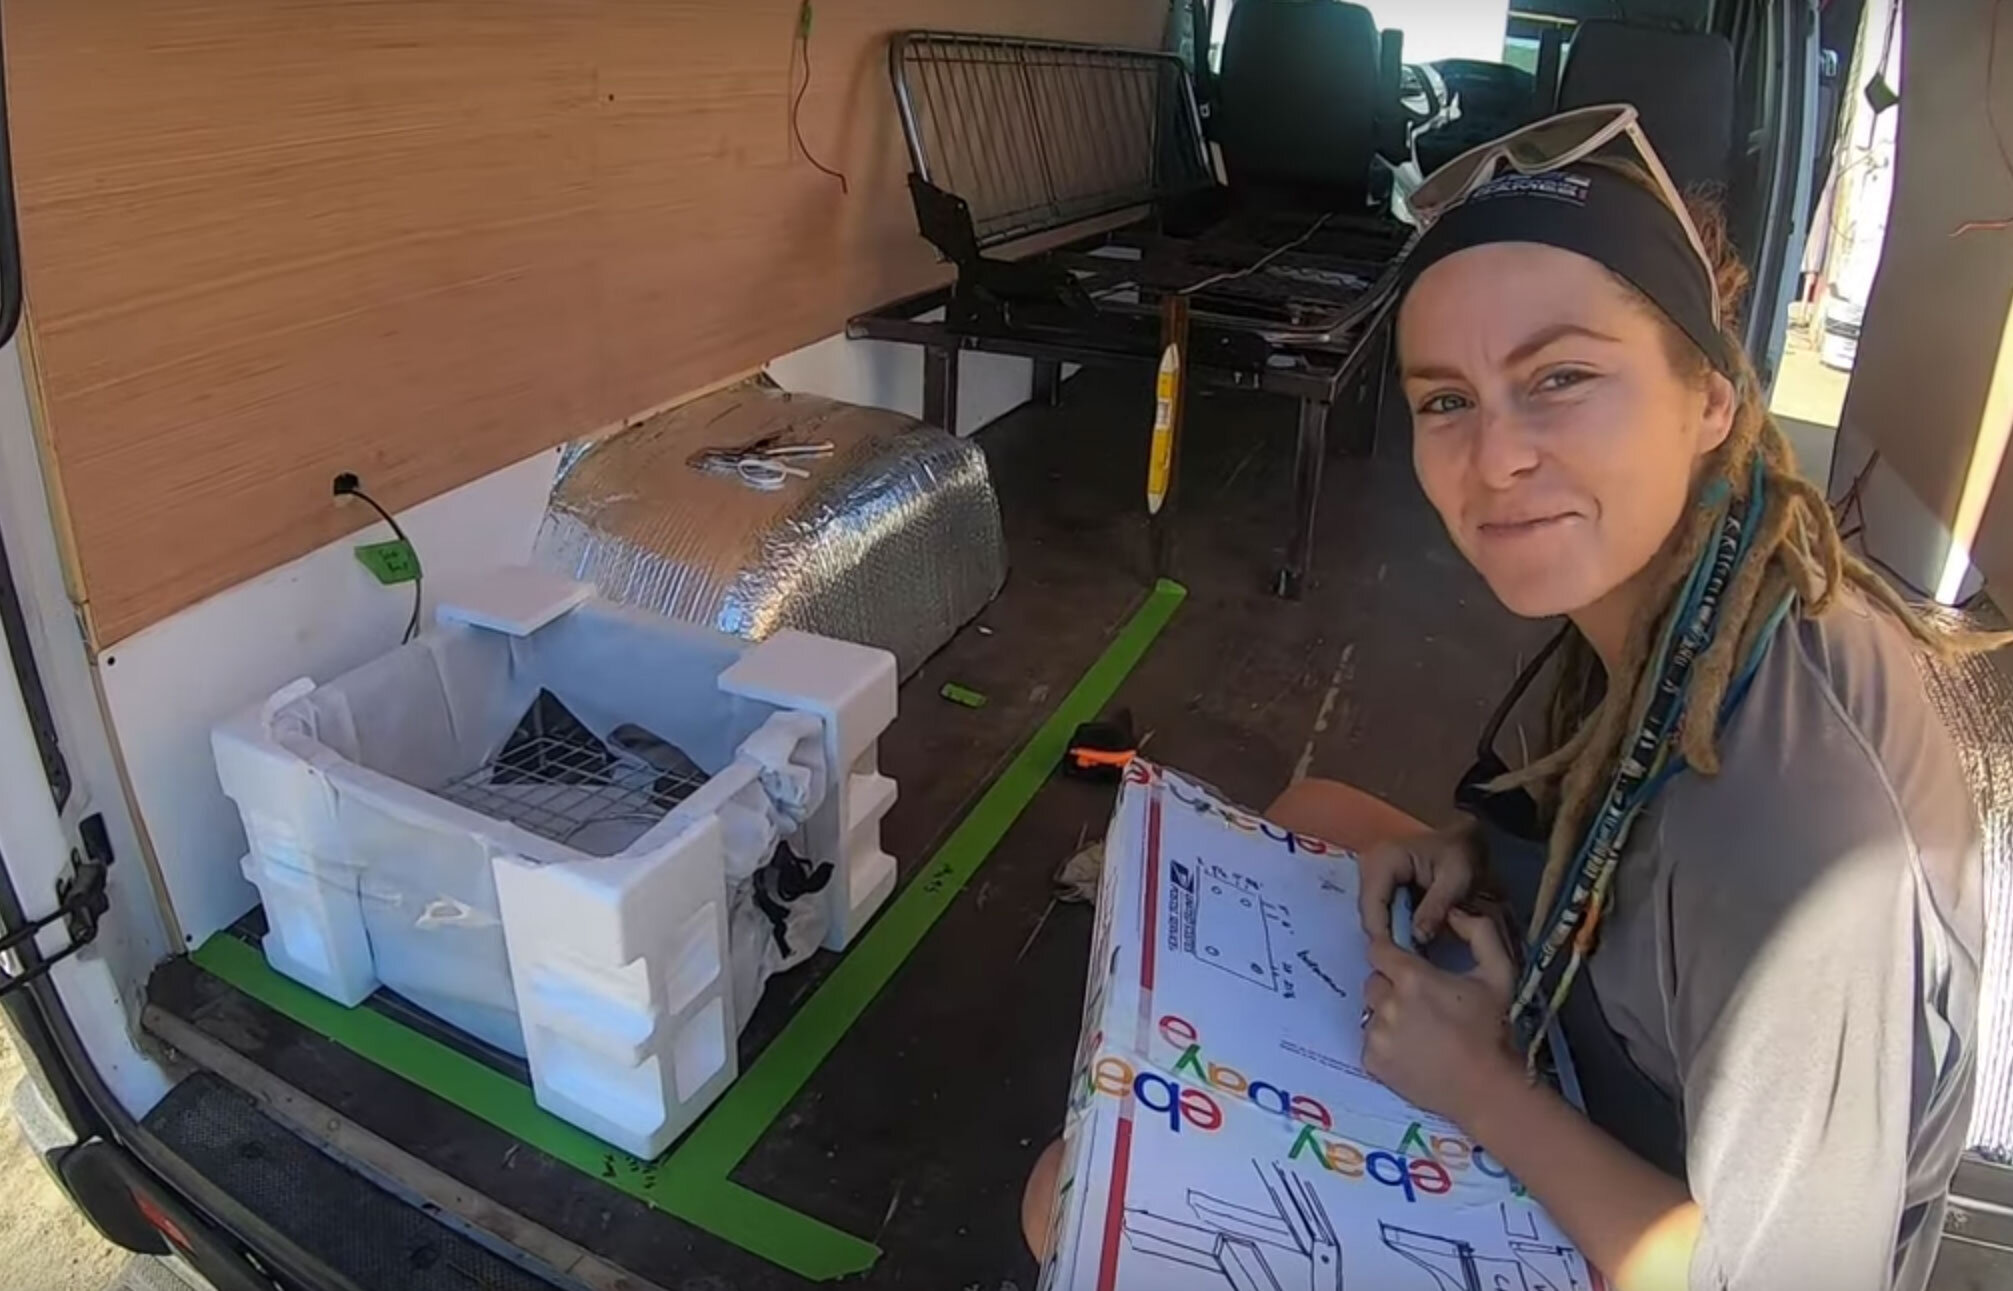
After measuring space and drawing it out many times, we were ready to make our first frames. On the van's floor, we use masking tape to tape out the size of all cabinet bases to get an idea of how much space we will have. We measure the sizes between the tape and sketch up some drawings. Then, we always start with the cabinets' base and build them up from there, always referring to our drawings as we go. You will need to account for building in a curved structure, so most times, the base dimensions will be much different from the top dimensions. This is where your drawings and measurements need to be on point, or you'll be reworking some of your masterpieces.
You will also want to become best friends with your T-Square to make sure every aspect of your framing is square. If not, you will have some difficulties getting your drawers to slide smooth or having a level countertop.
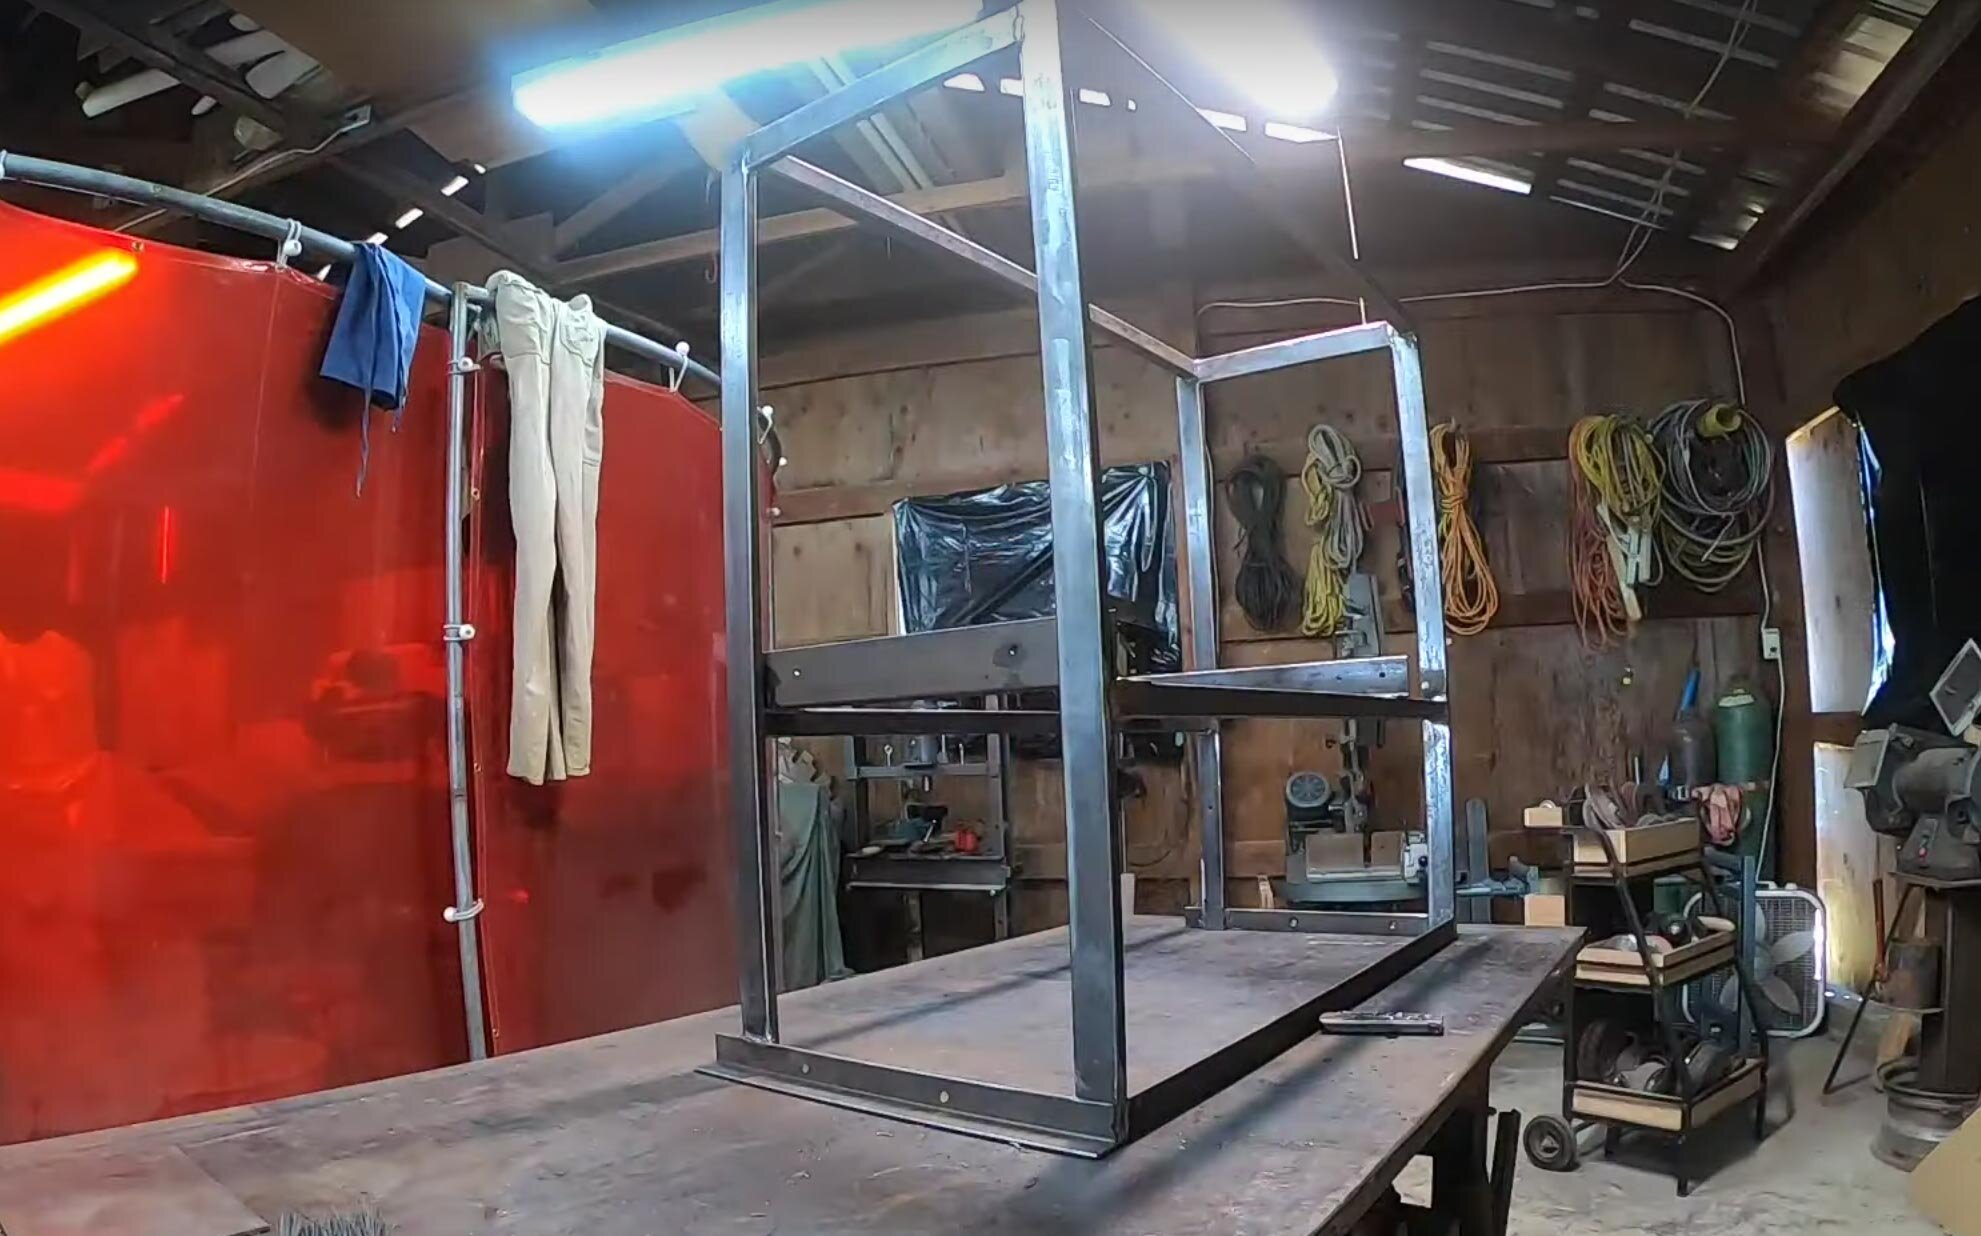
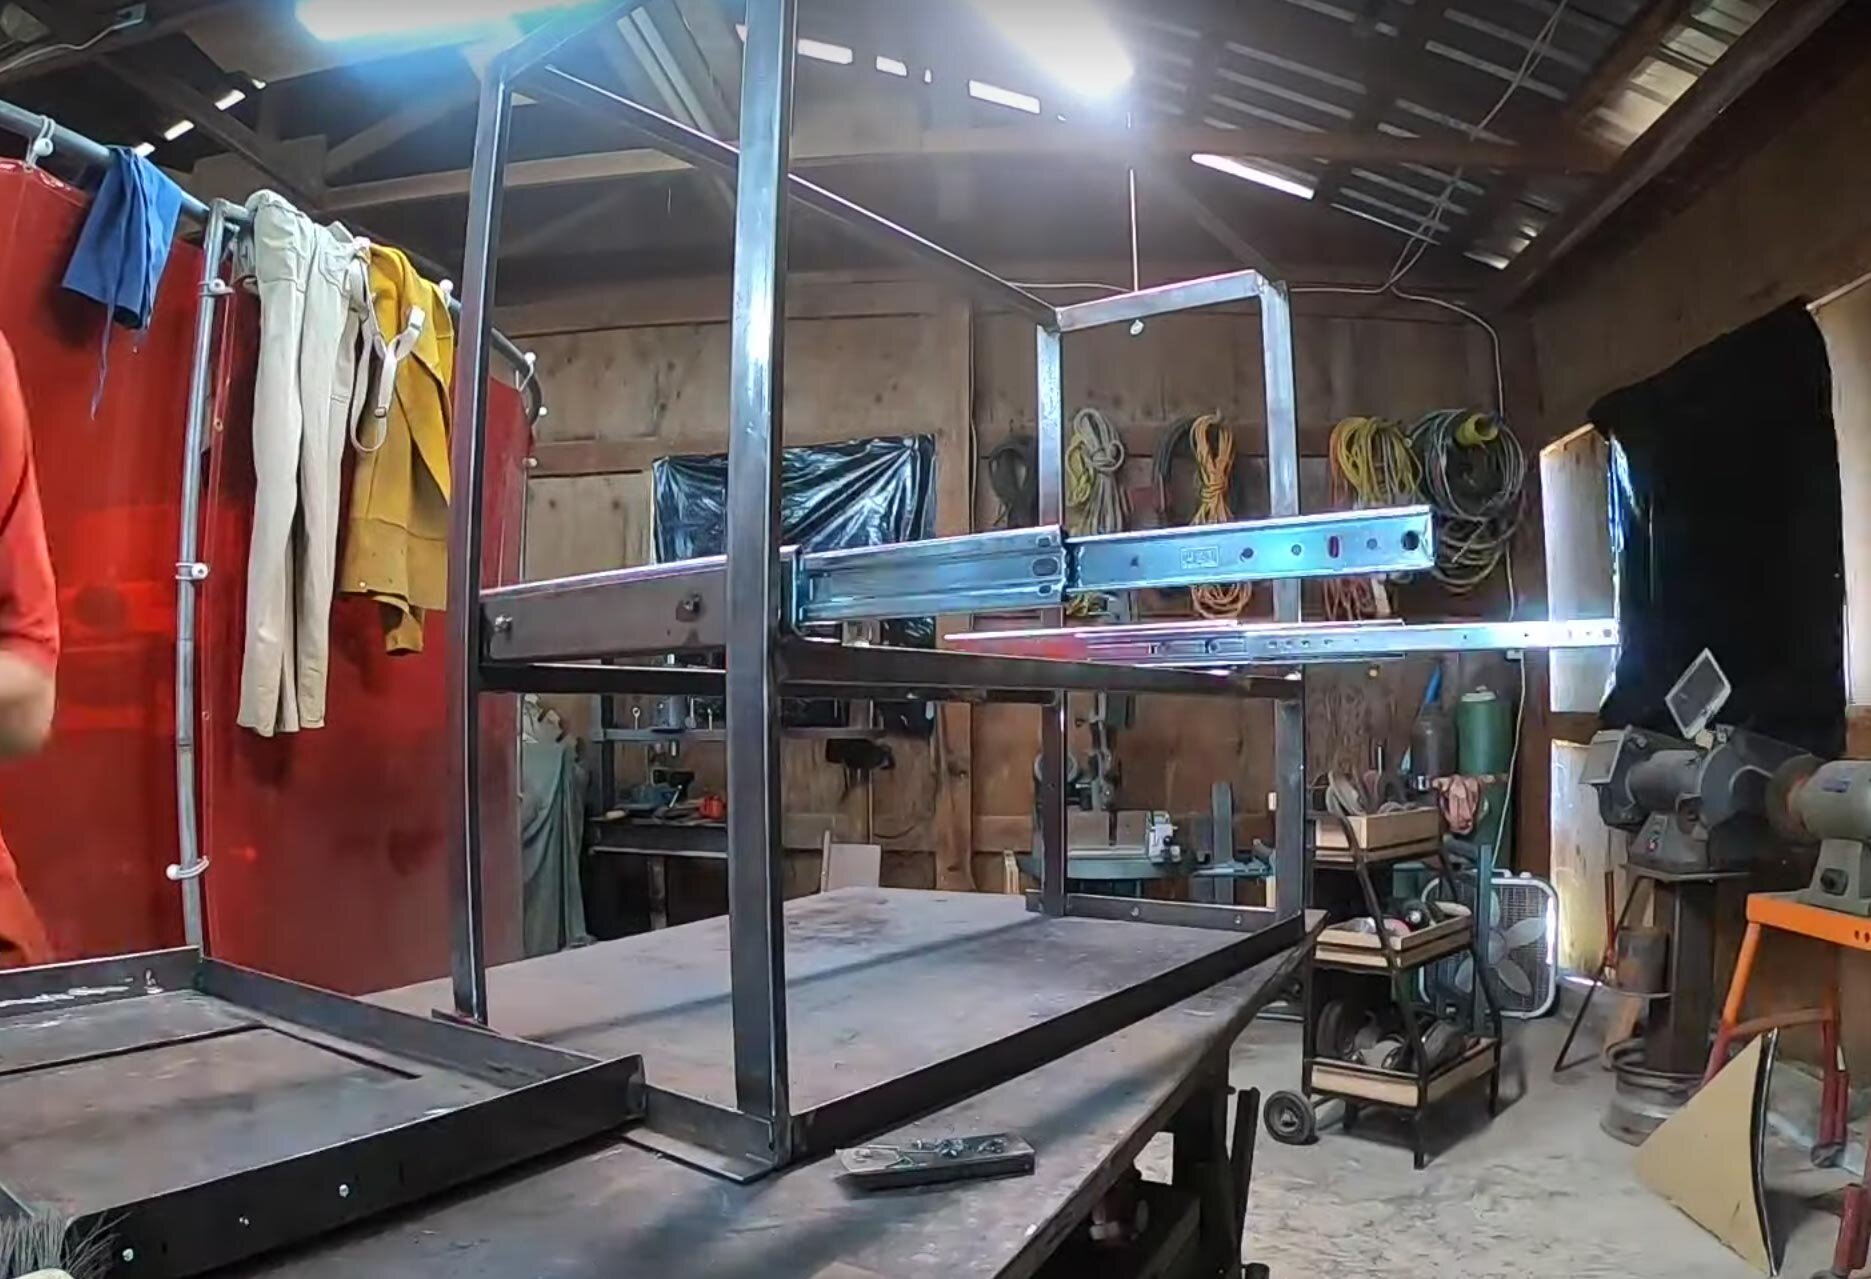
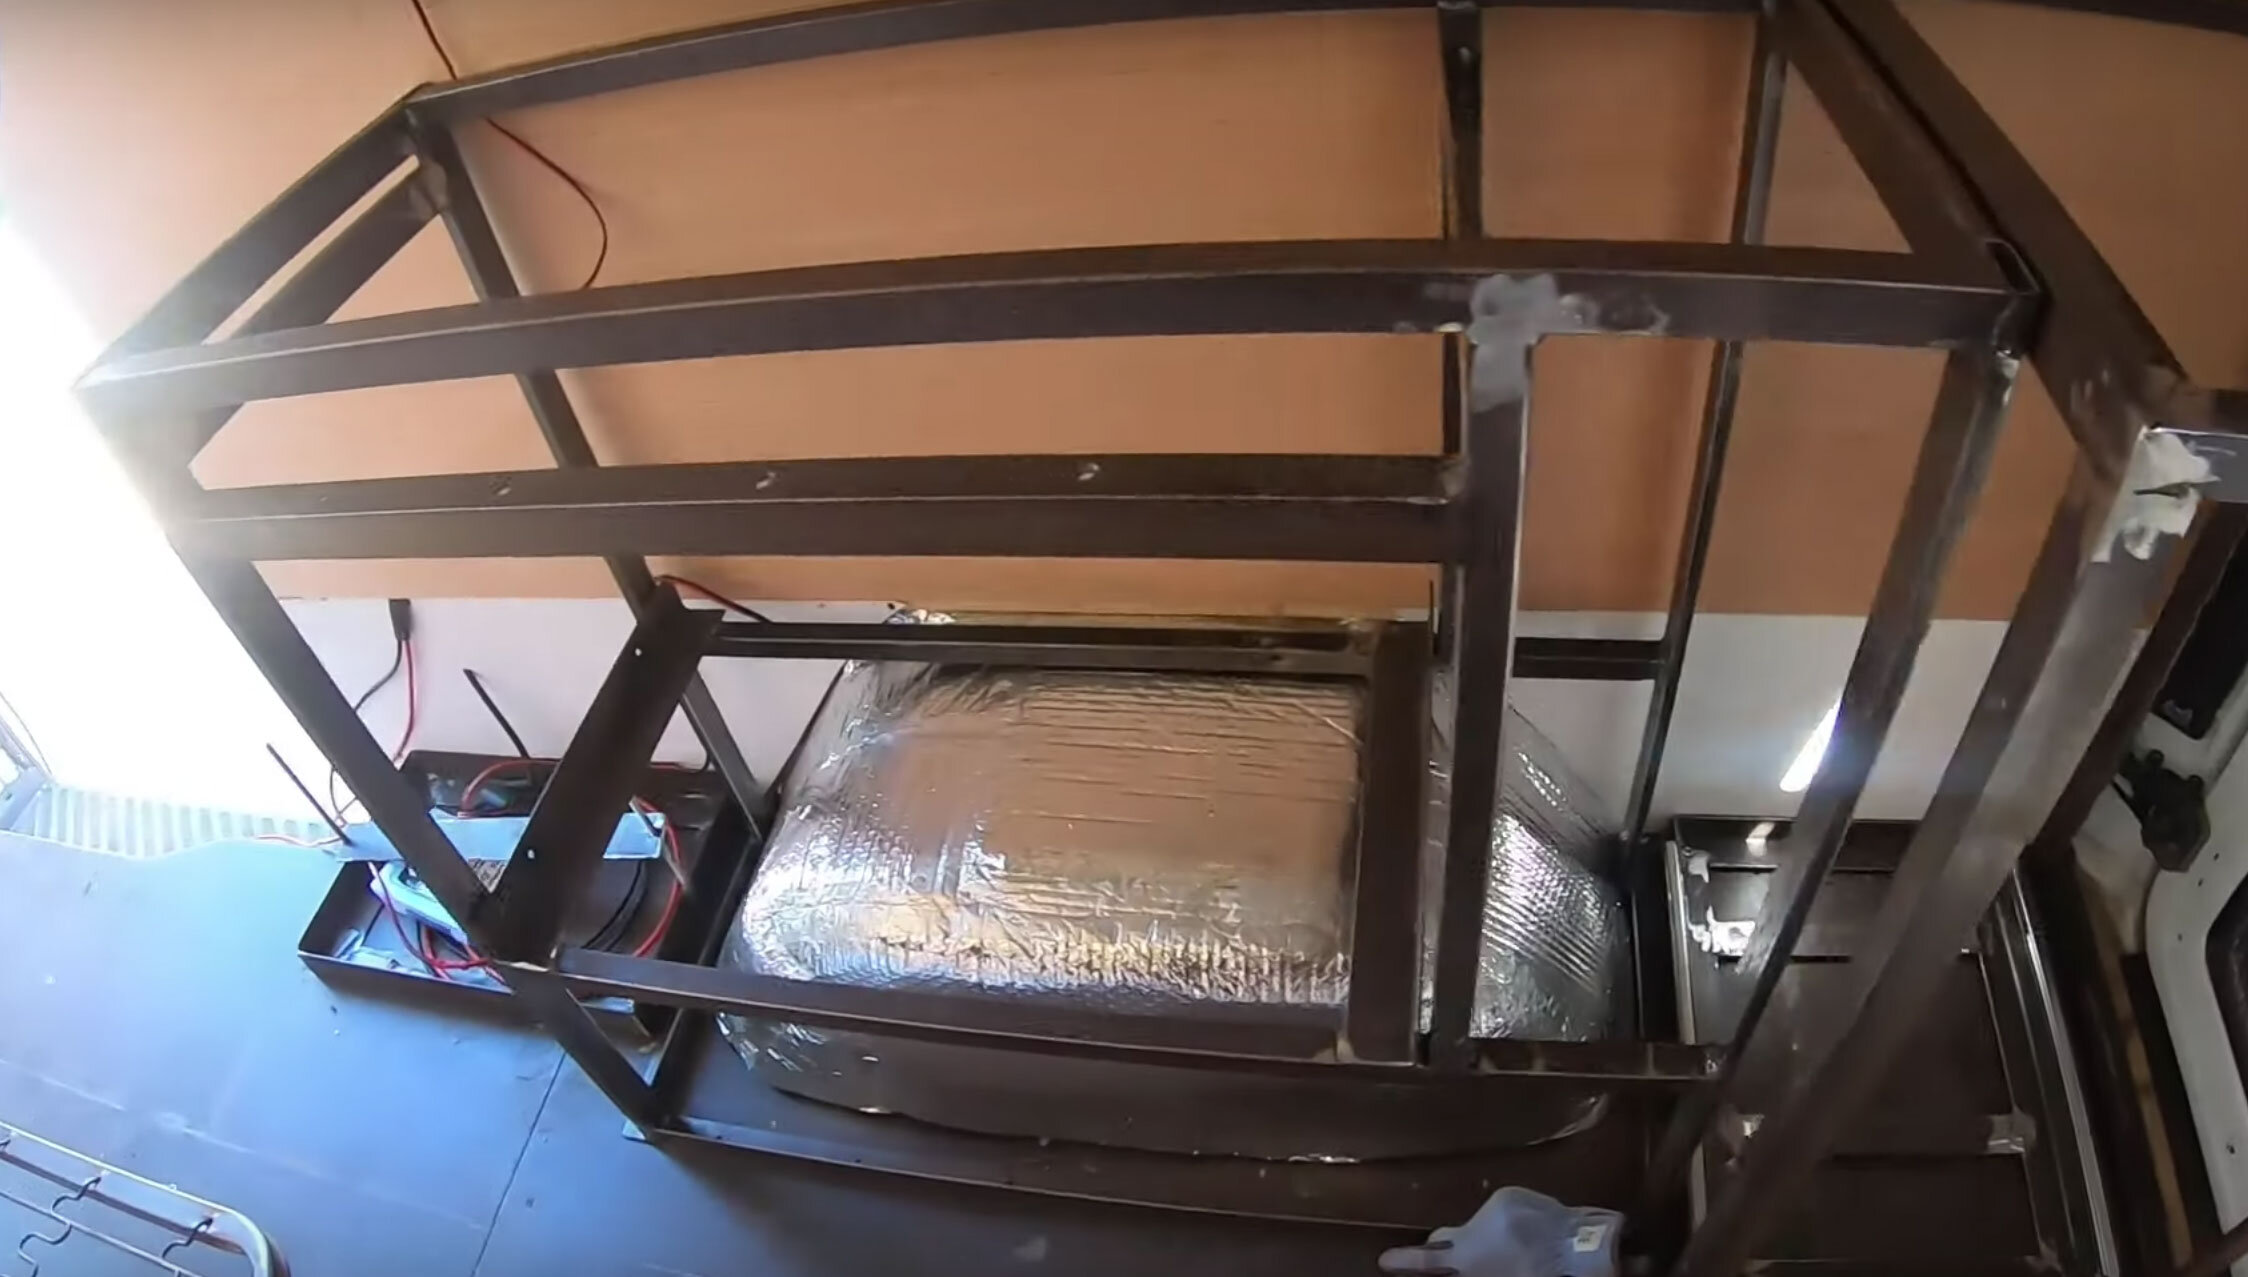

We like to start with our largest cabinets, first. Then, do all the smaller upper cabinets later. So that way, we can see what the dimensions of the upper cabinets need to be to still have headroom and ample space to feel comfortable. Since there is no right or wrong way to build a van, you’ll notice it’s very ambiguous to choose dimensions for some of these cabinets. Not all builds are alike. Sometimes, you gotta bend the rules a bit to make something fit. That’s why it’s easiest to build large items, first, like beds and tall cabinets. Then, work around them, while making countless drawings, to get your space perfect for you.
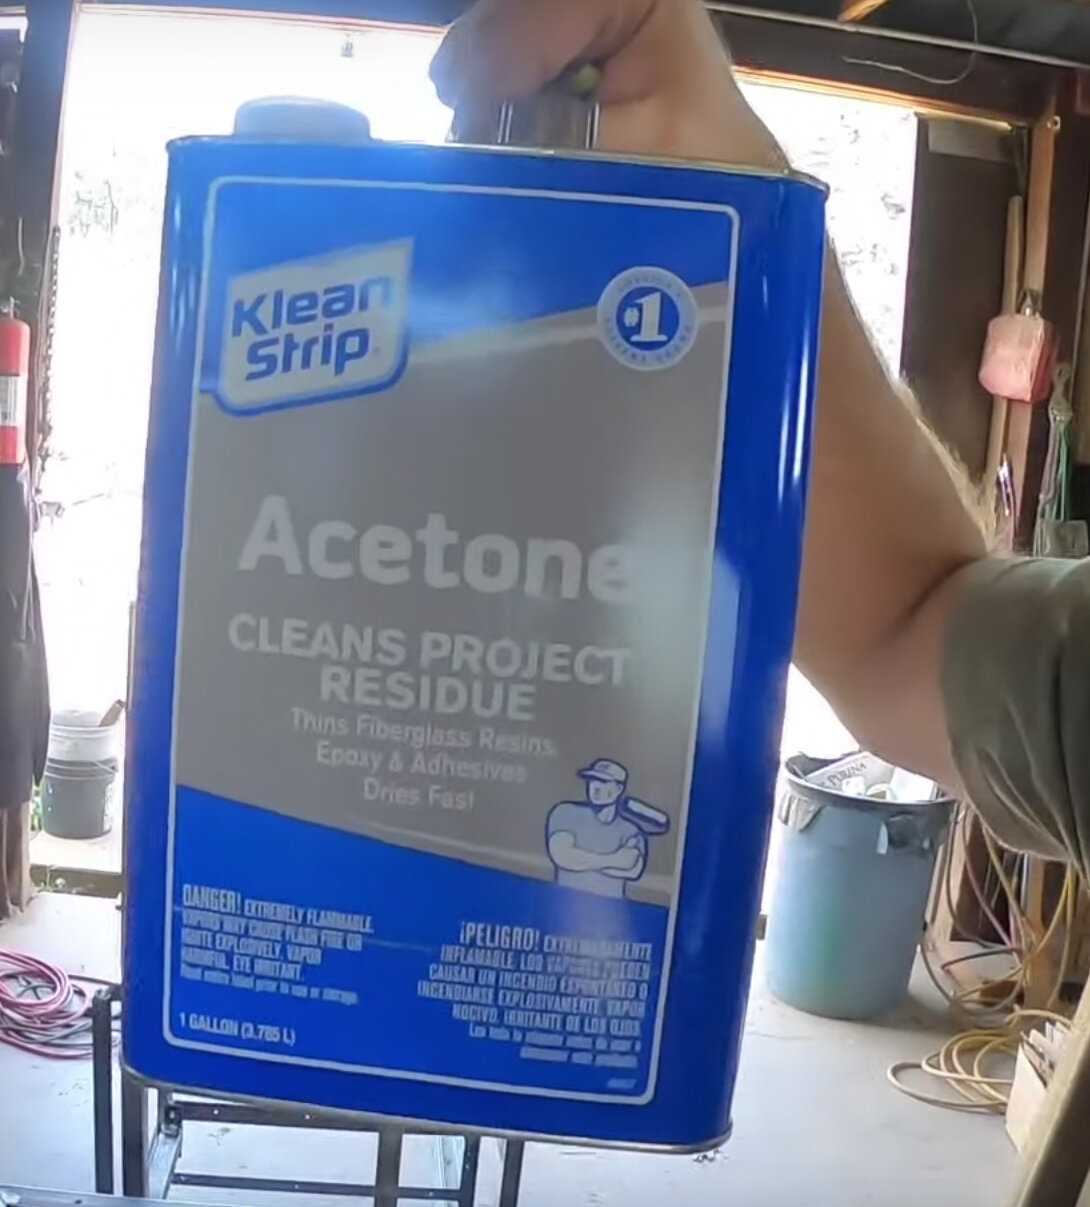
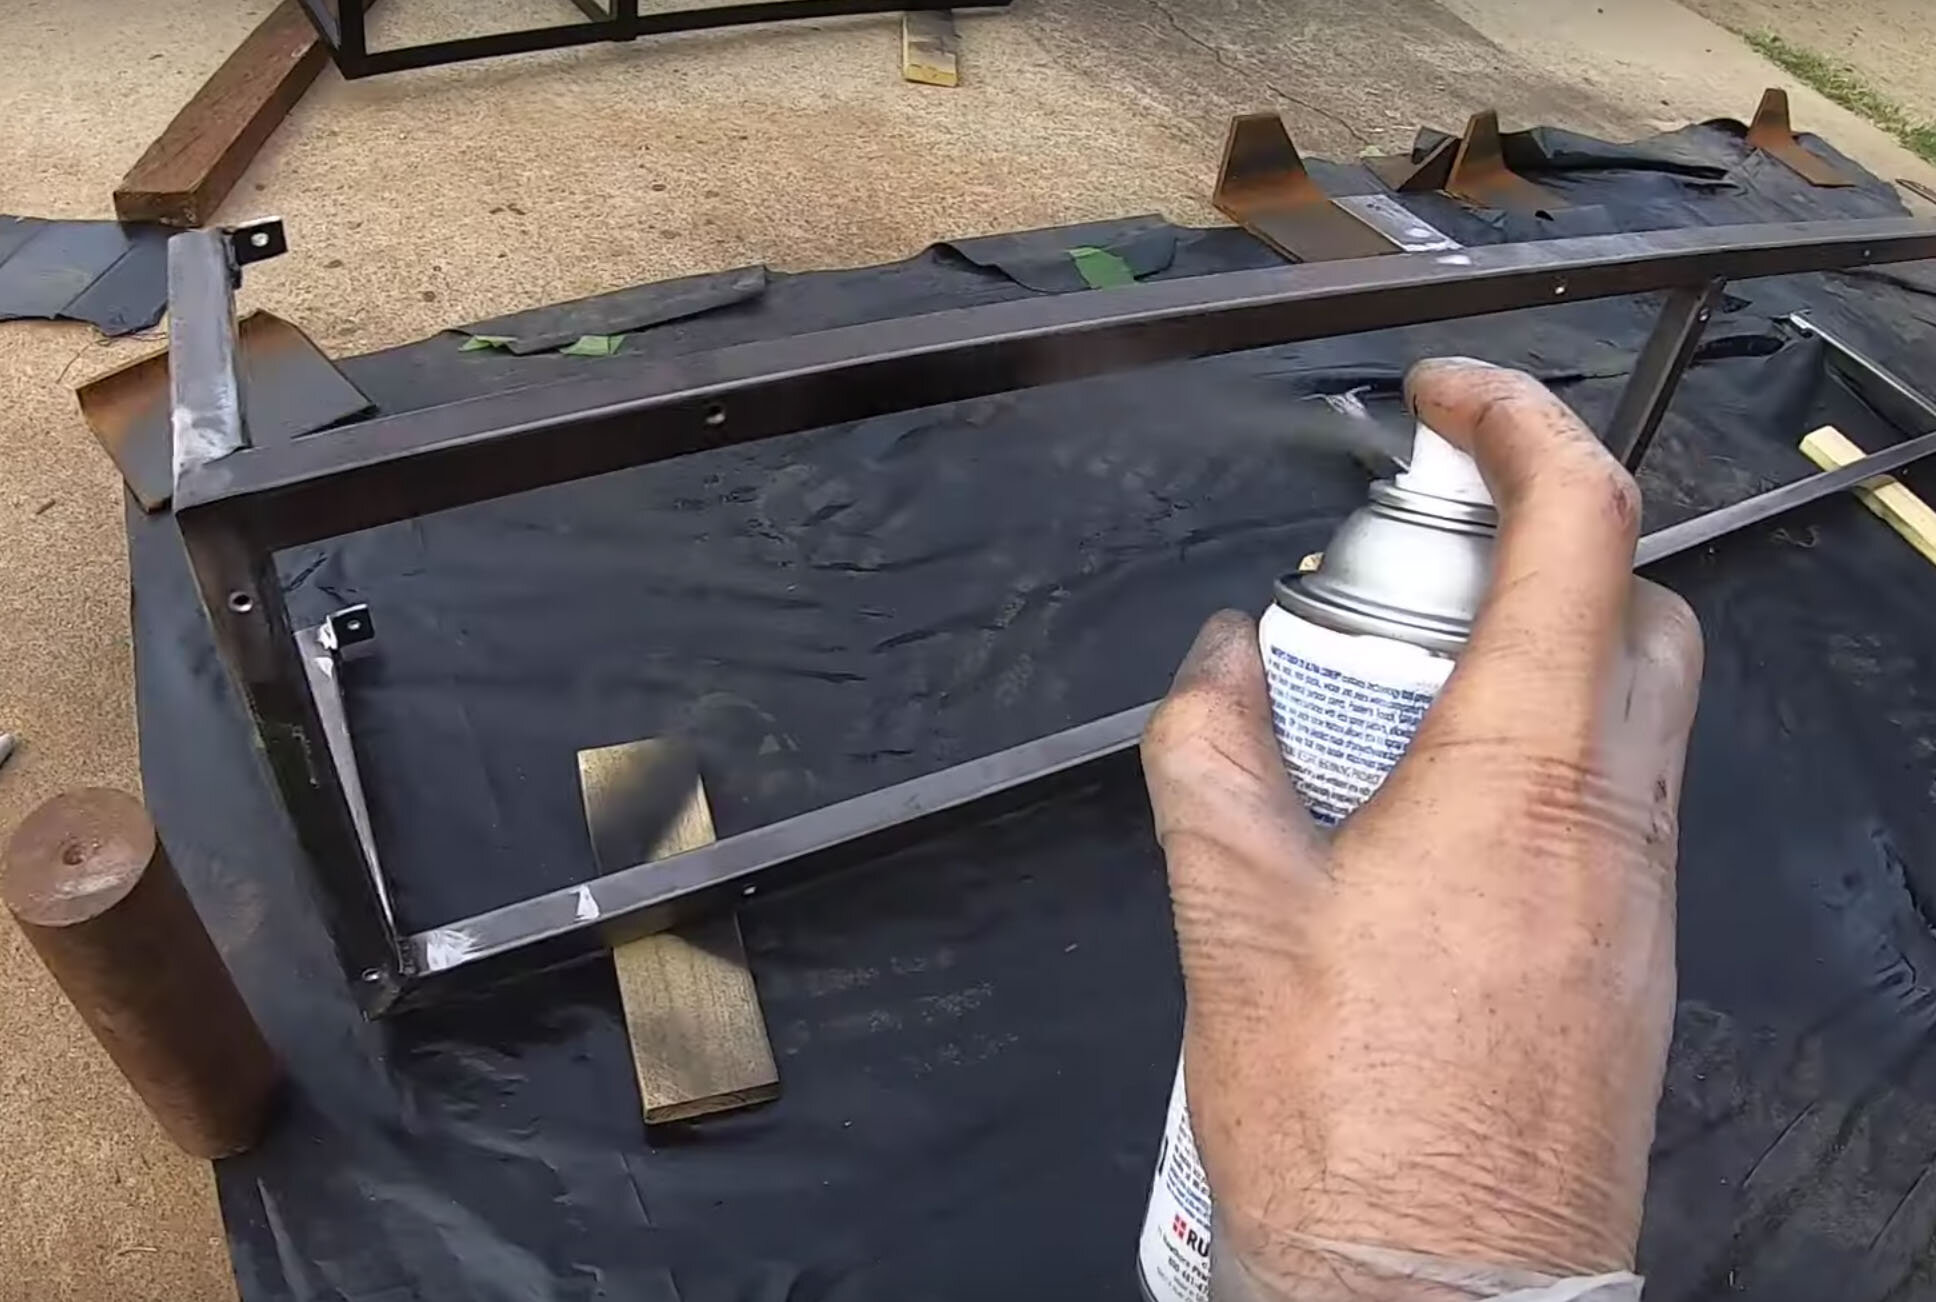
Once everything is framed and fits into the van perfectly and you are happy with your frames. It’s much easier to paint the cabinet frames now, outside of the van, compared to when they are installed inside the van. Since we welded all of our frames, we first needed to clean all the metal with acetone before we spray painted everything black. Painting the steel frames is very crucial otherwise all the frames will rust and not look very nice as a finished product.
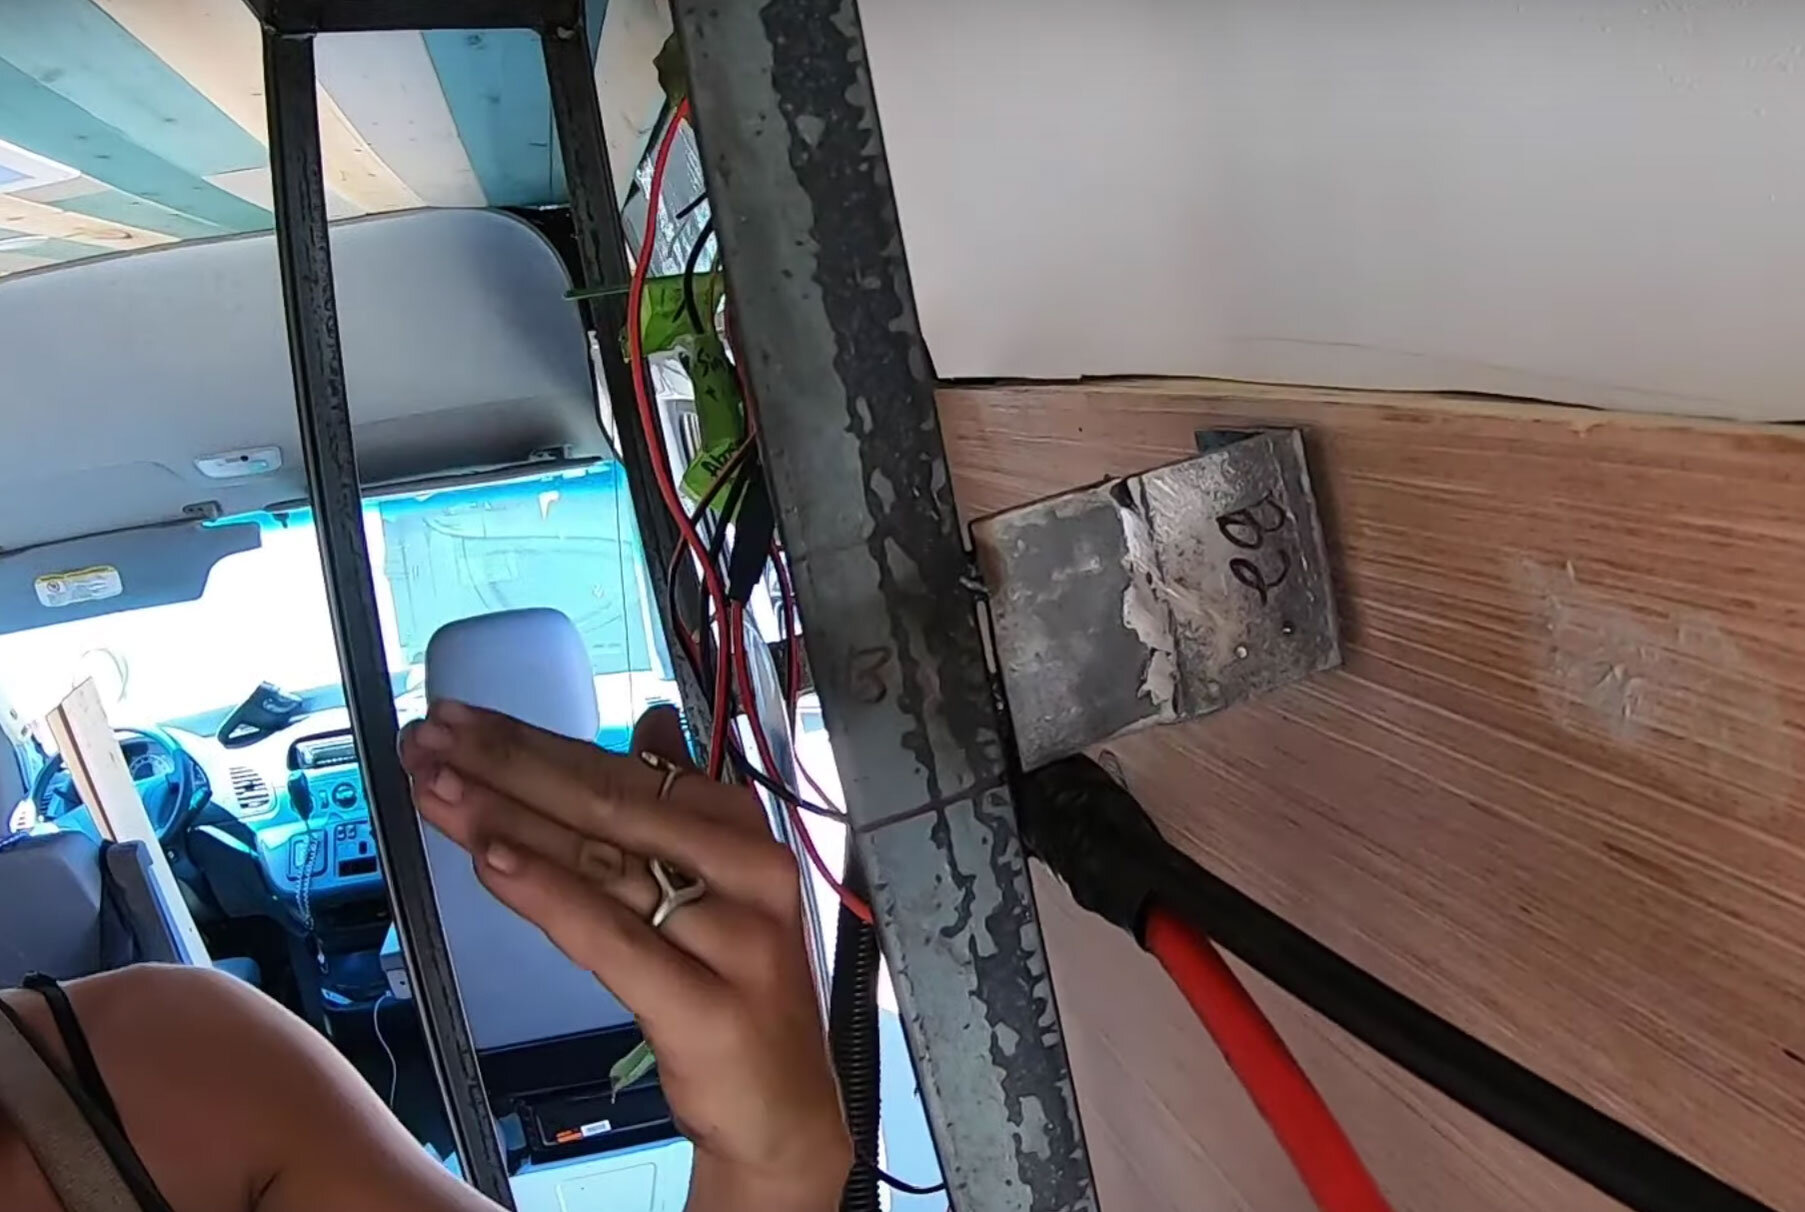
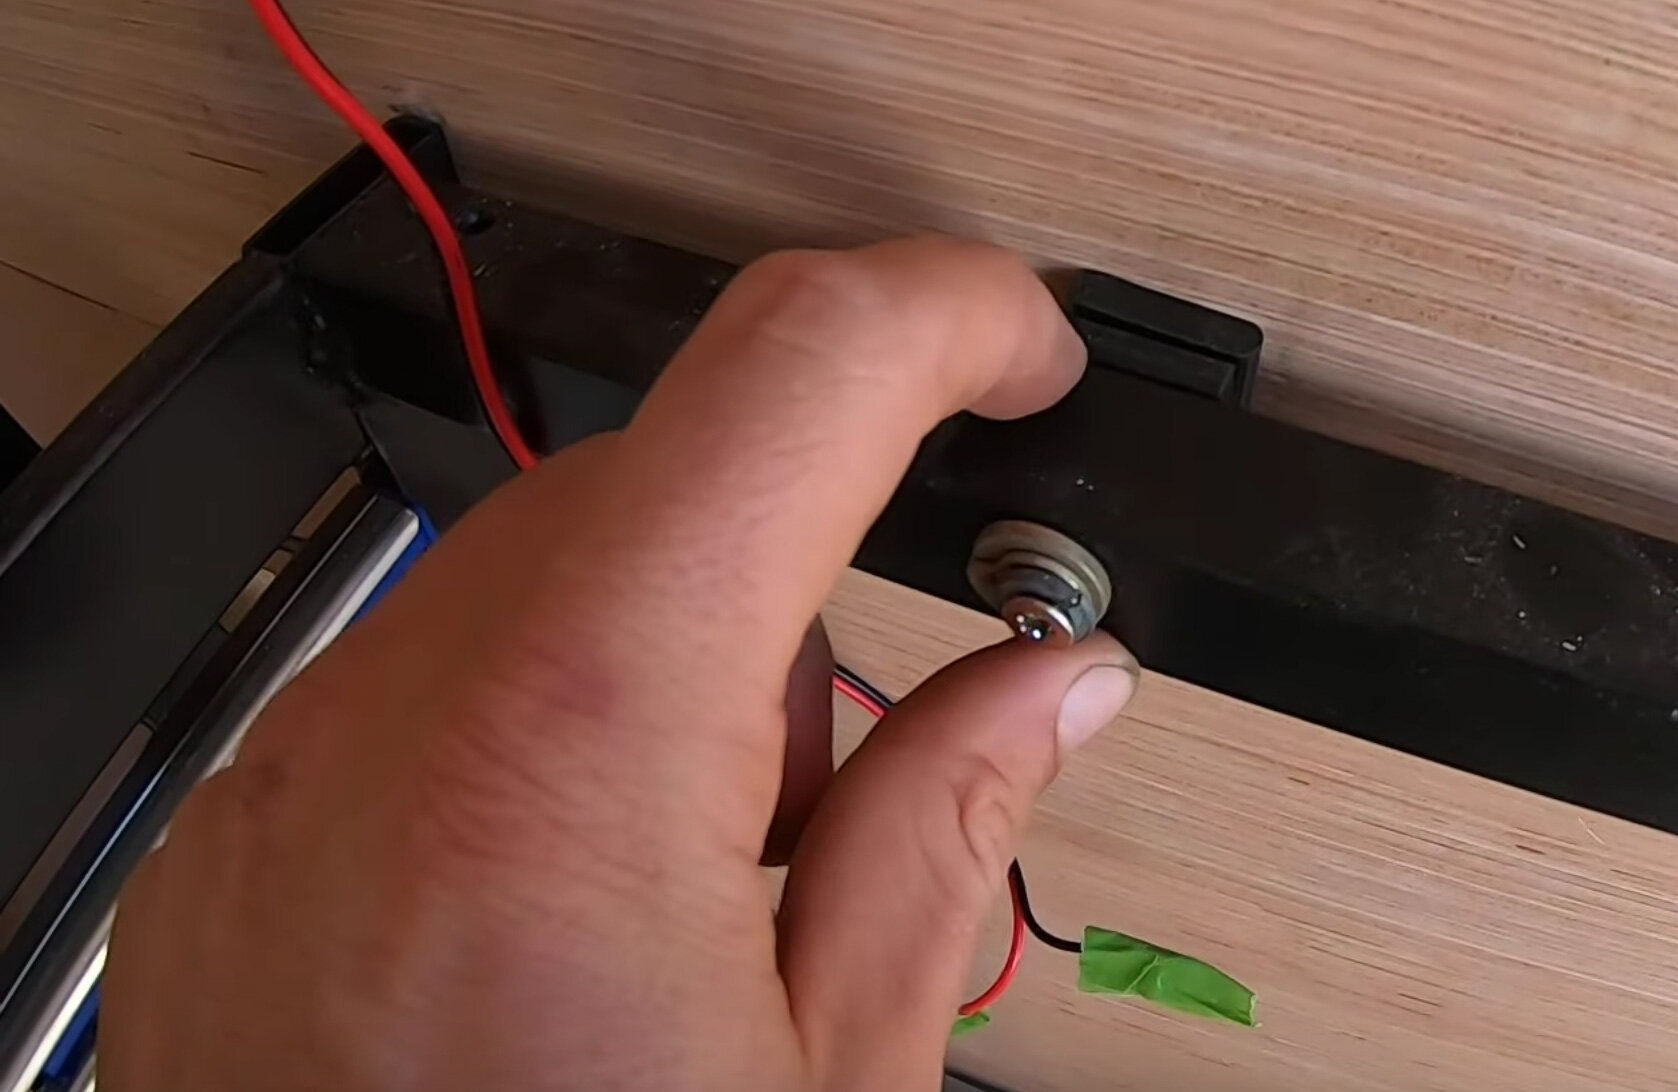
Once your cabinets are all framed up, you’ll need to secure them to the van walls. This is where your original layout design will payoff. Hopefully you framed your wall up so that everything can be easily attached to the framing, securely. You'll want to screw in the base to the van floor and the backs of the cabinets to the framing behind your walls.
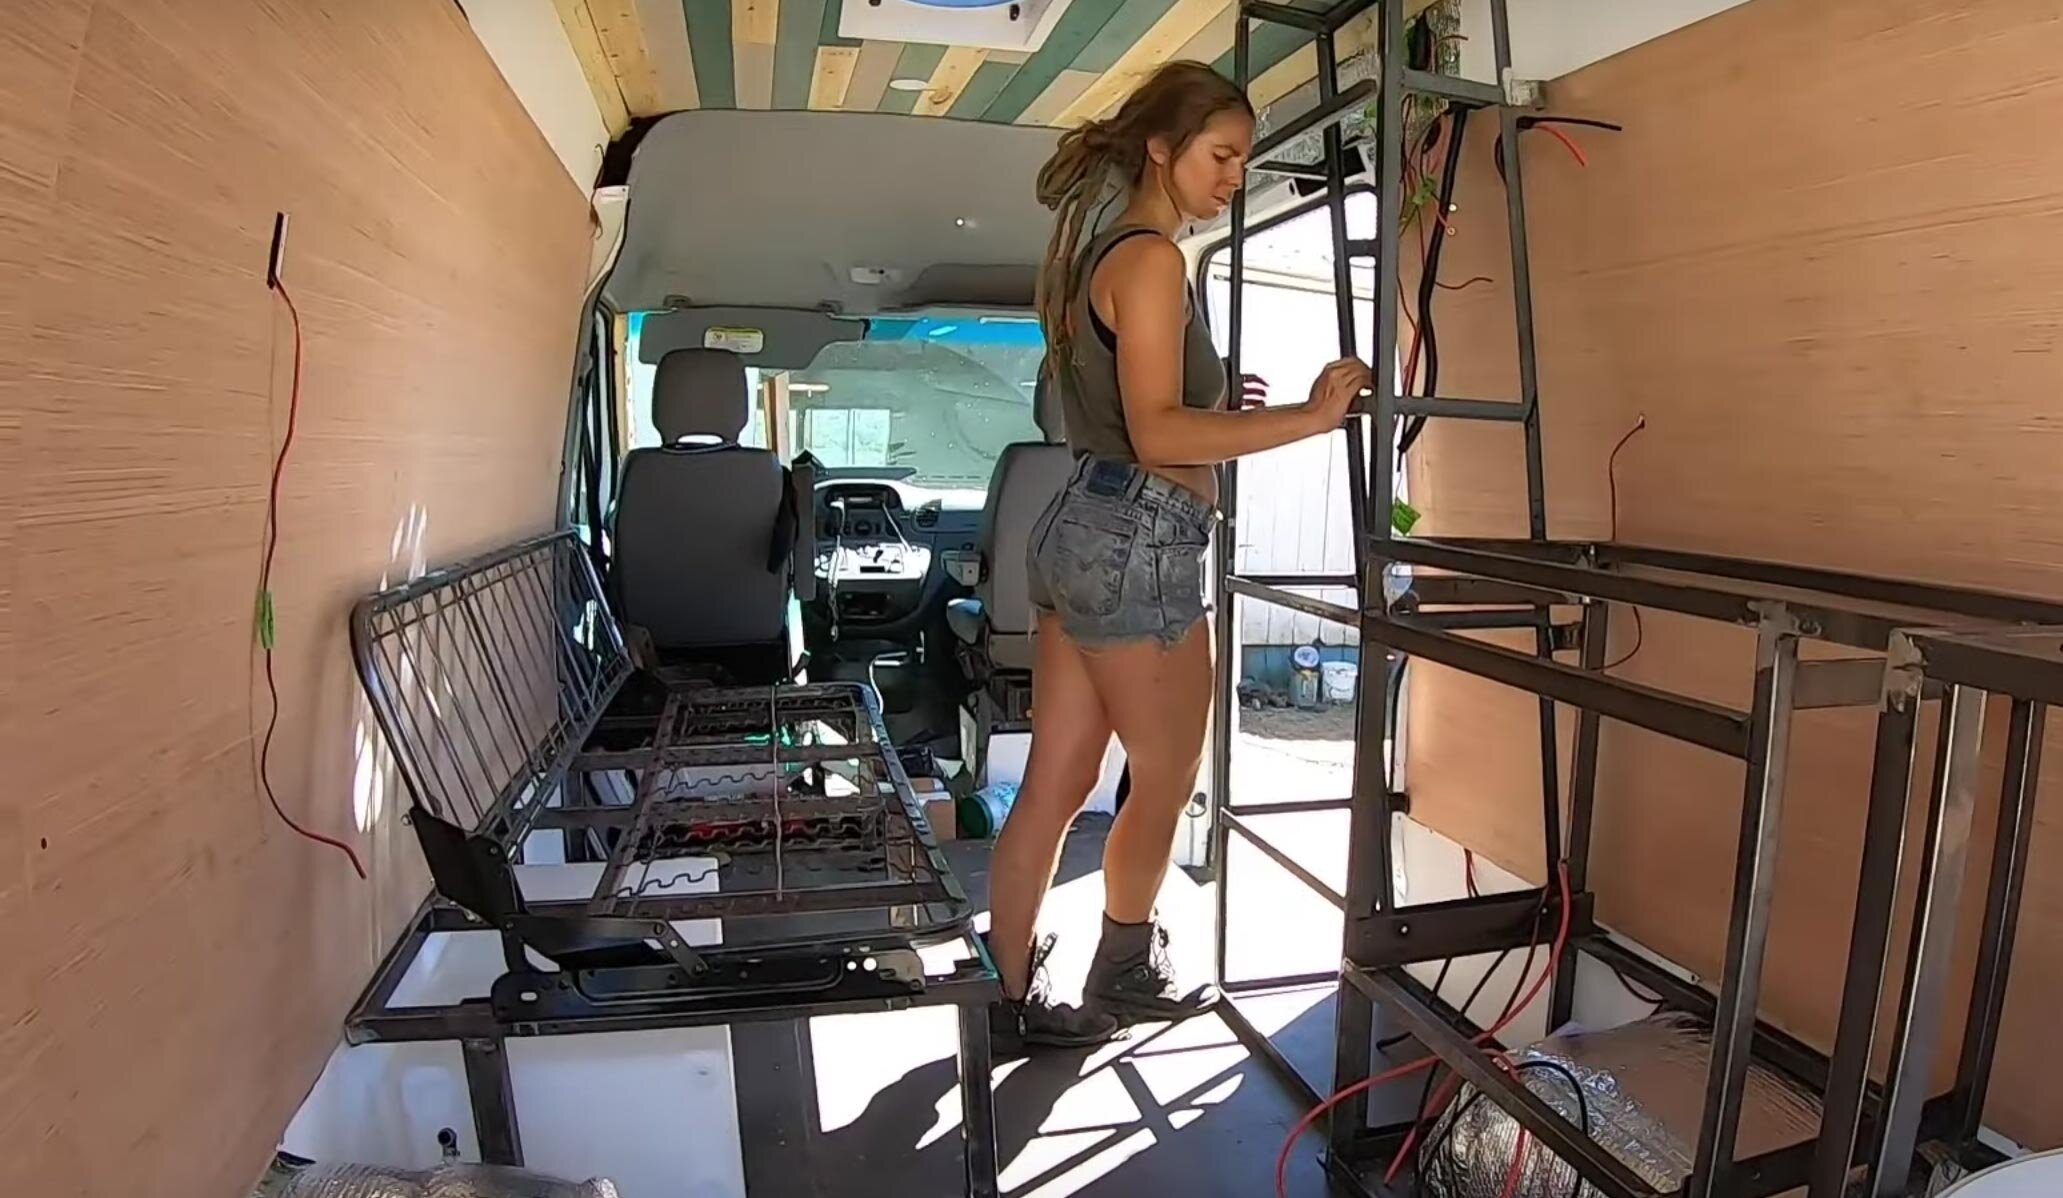

After you have all your framing installed in the van, you will really feel accomplished and your van will really start to take shape here. The sky’s the limit for creativity in your van build. Just remember to do what works best for you and your space.