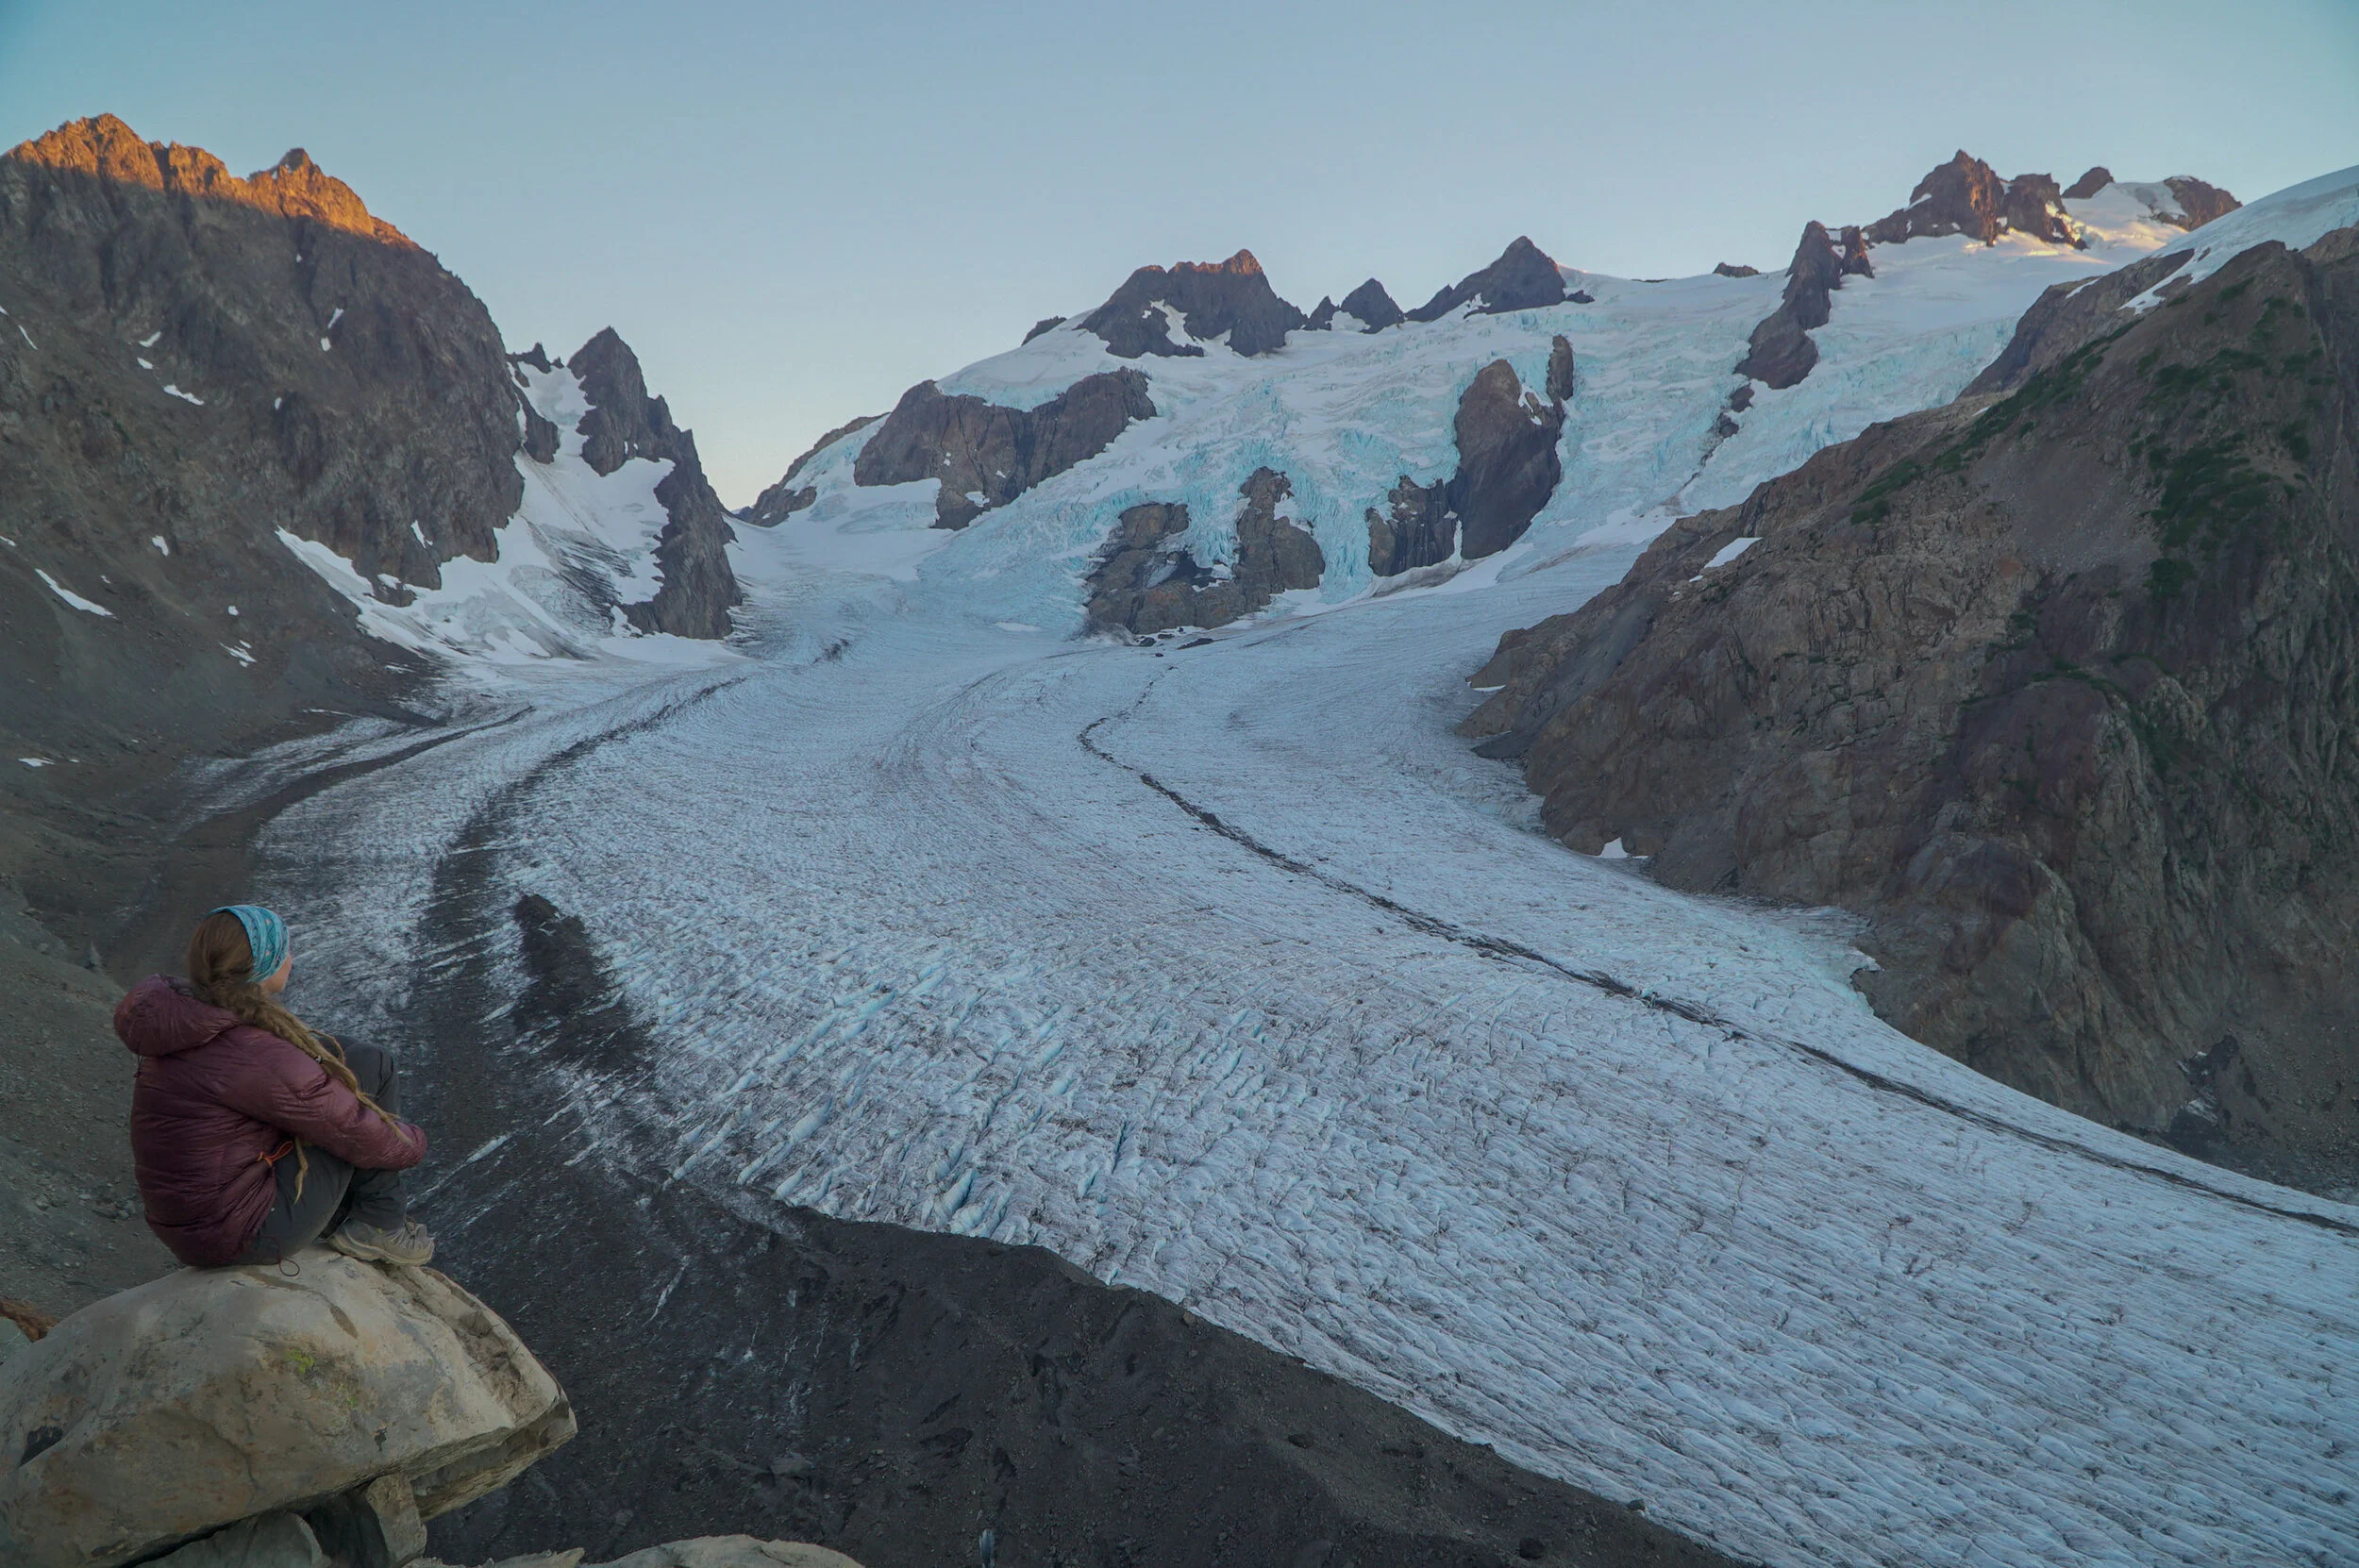
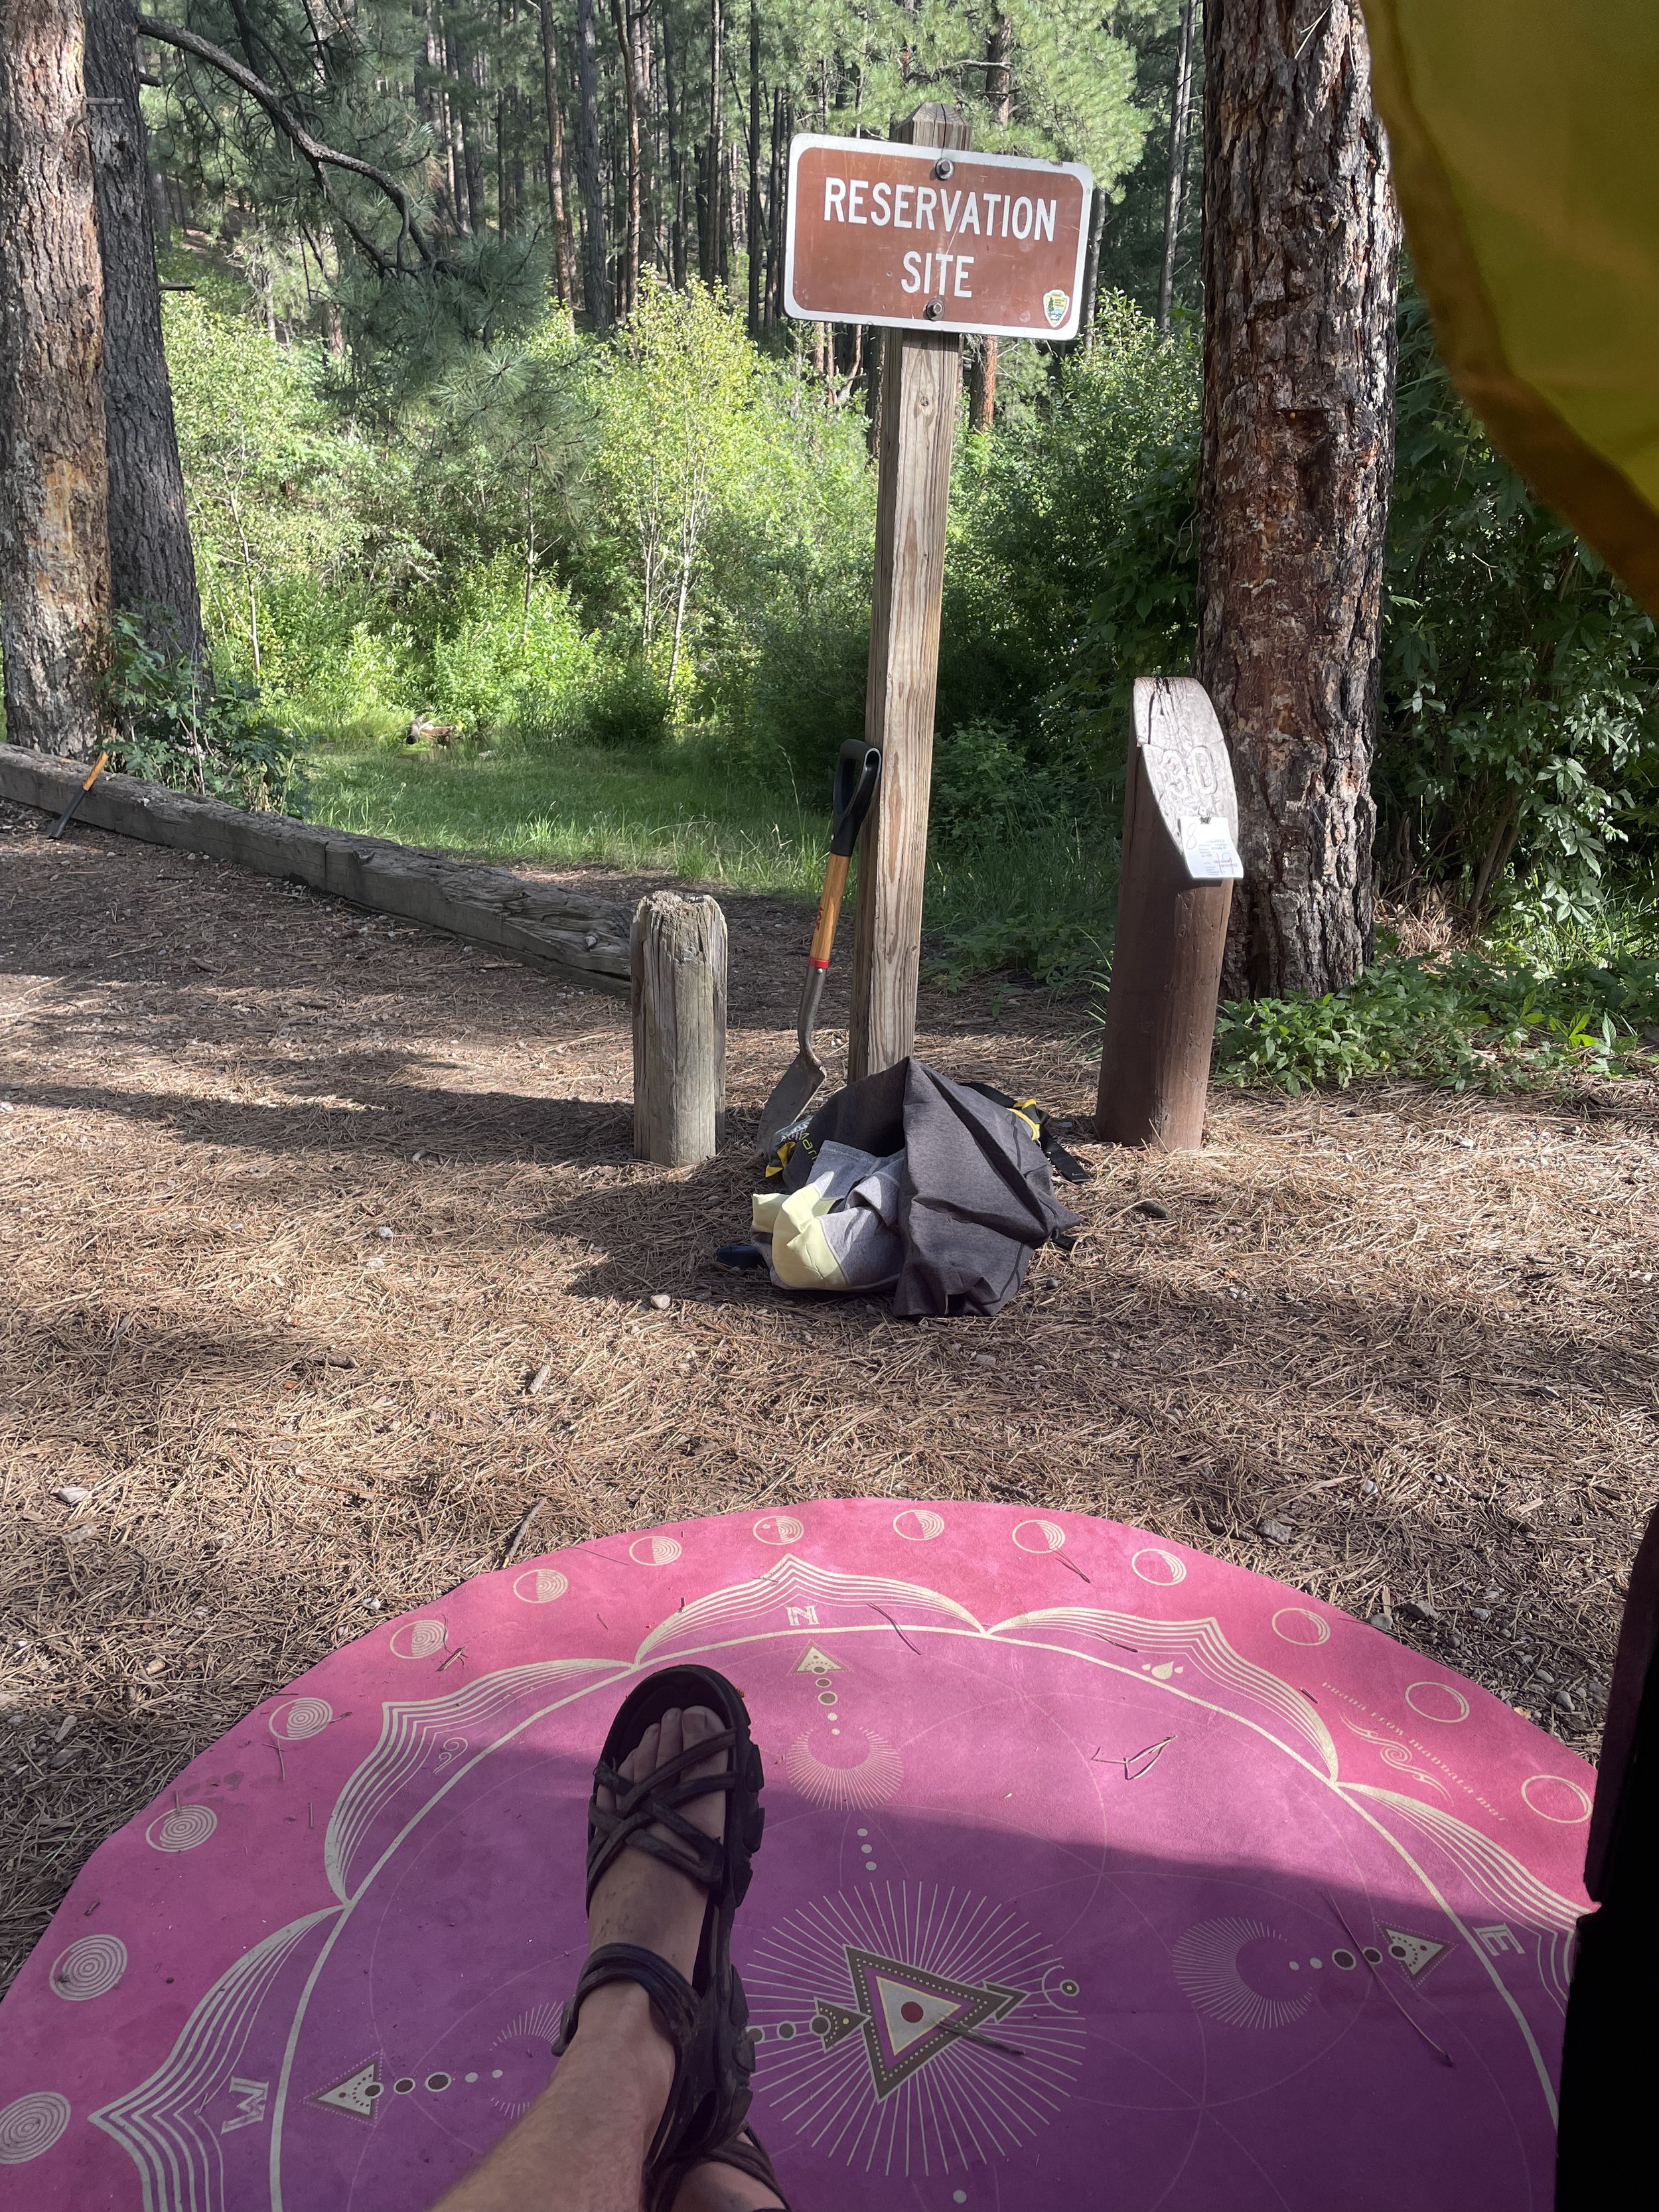
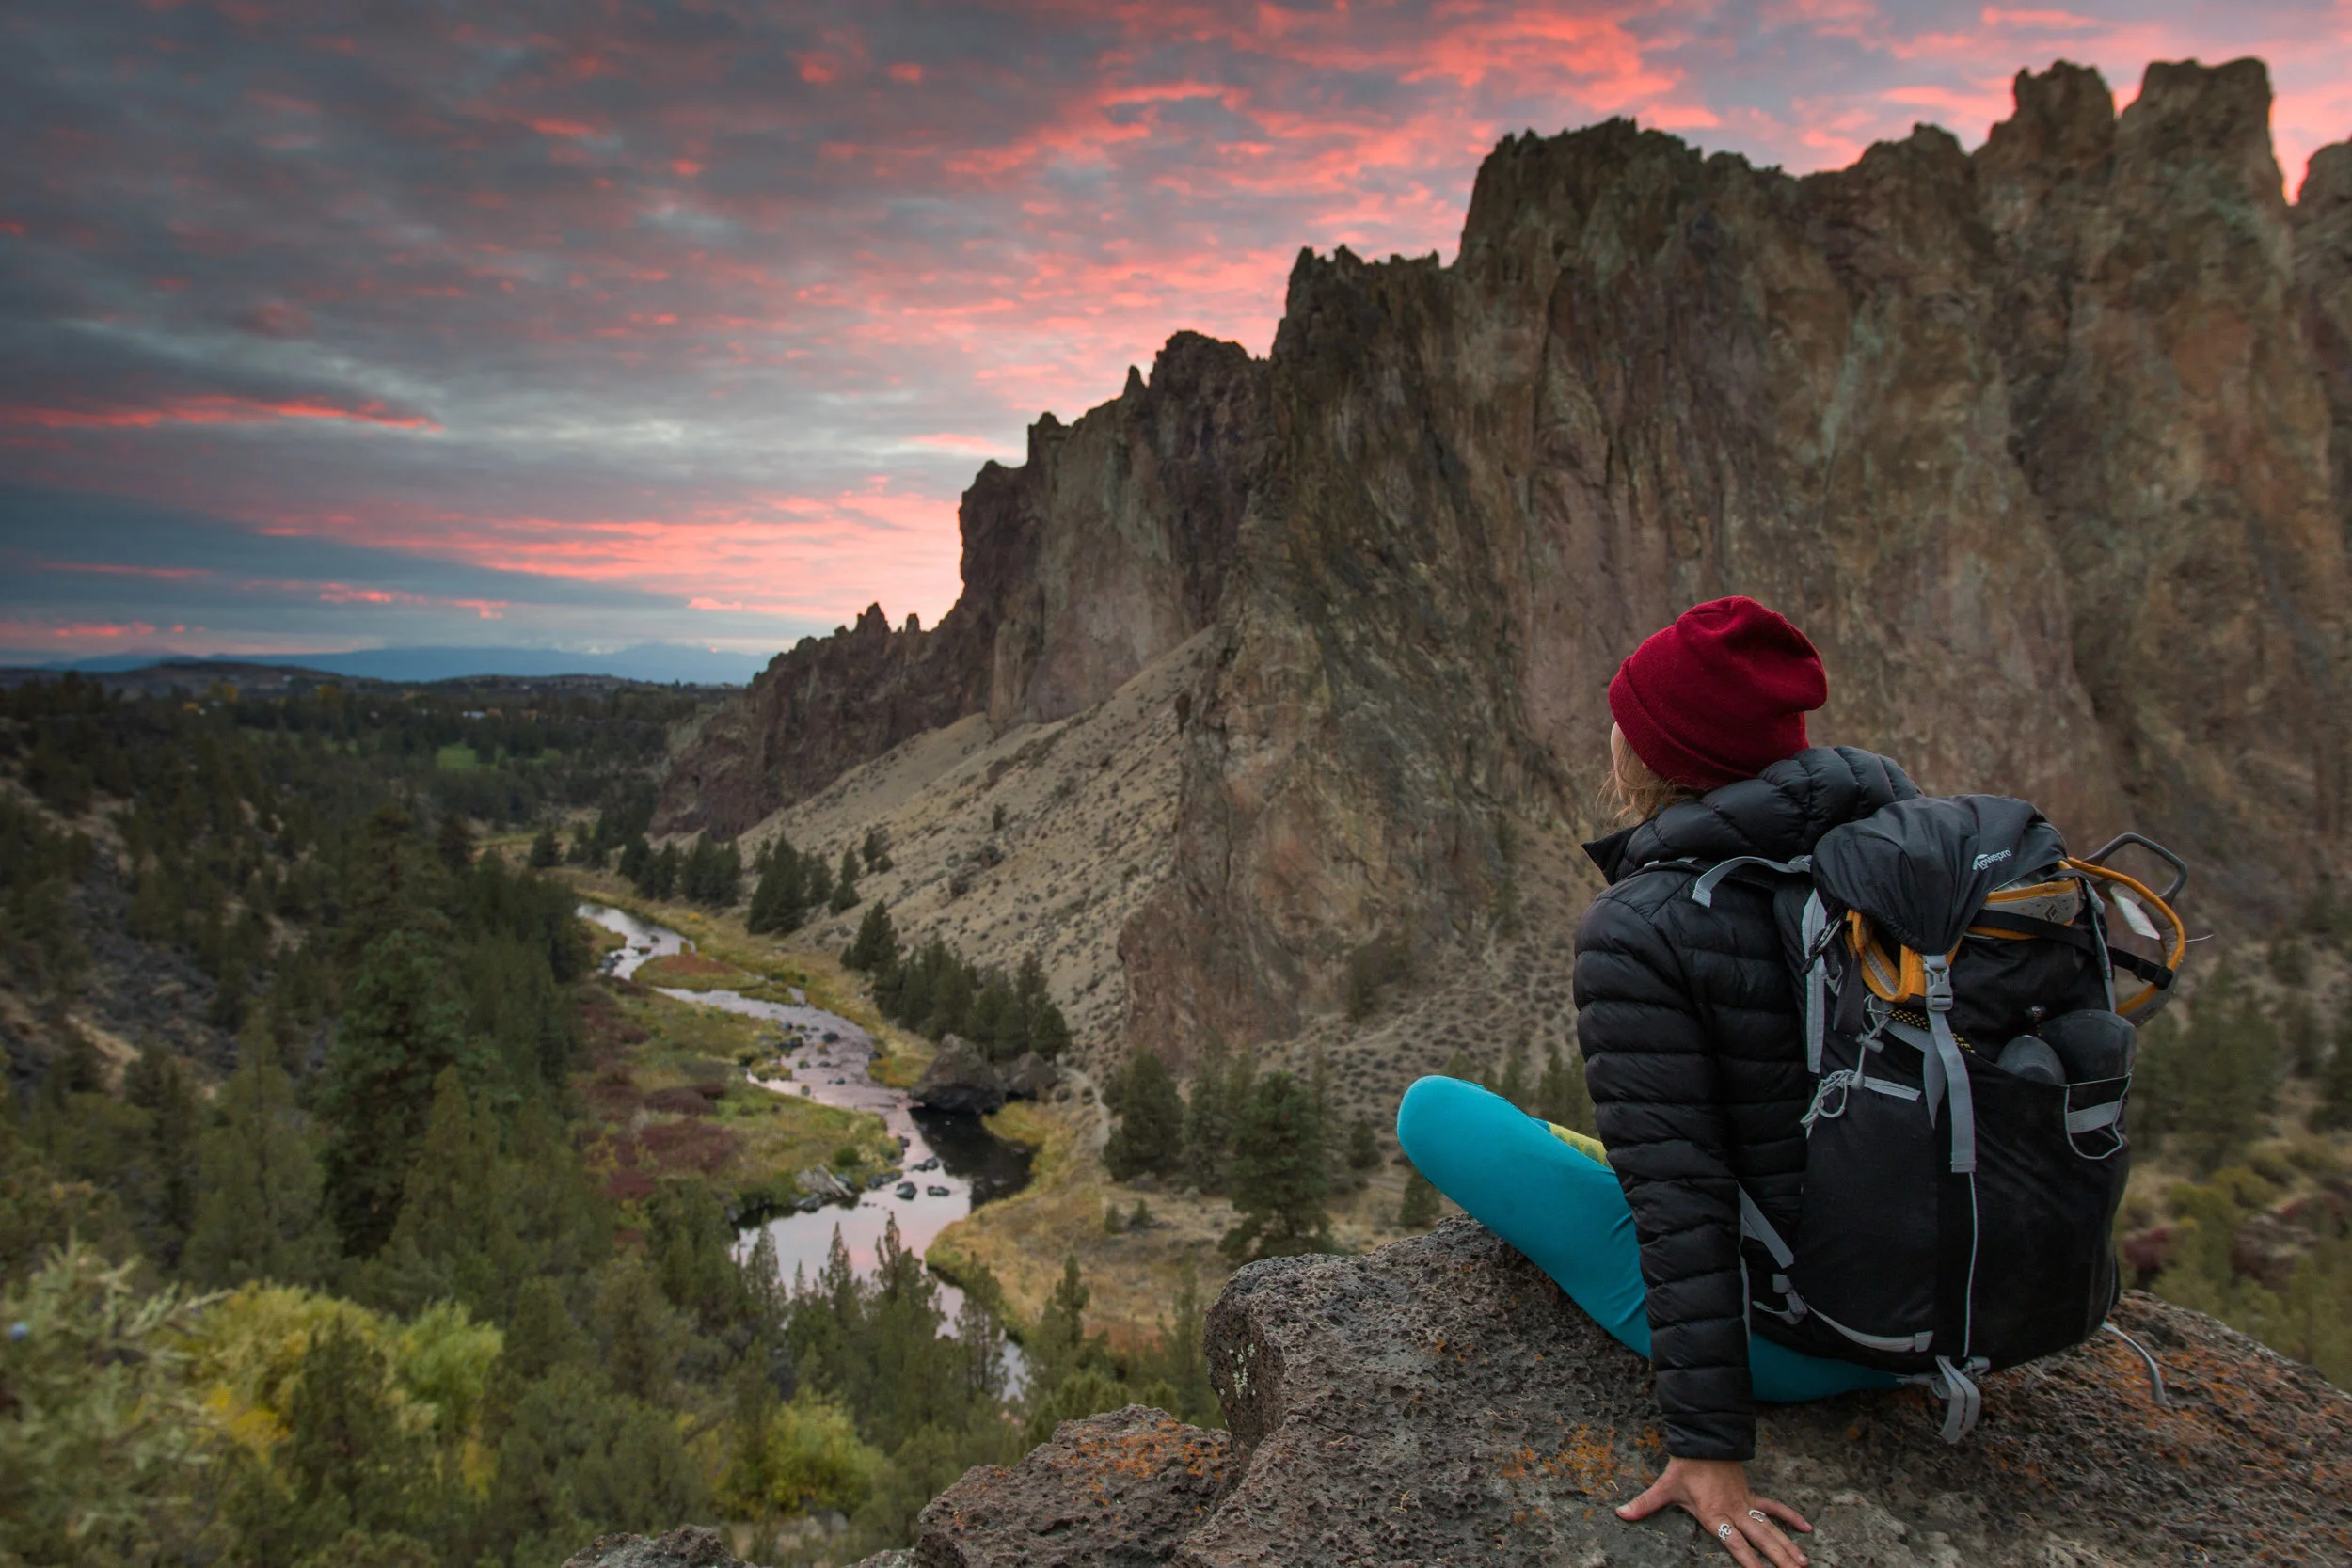
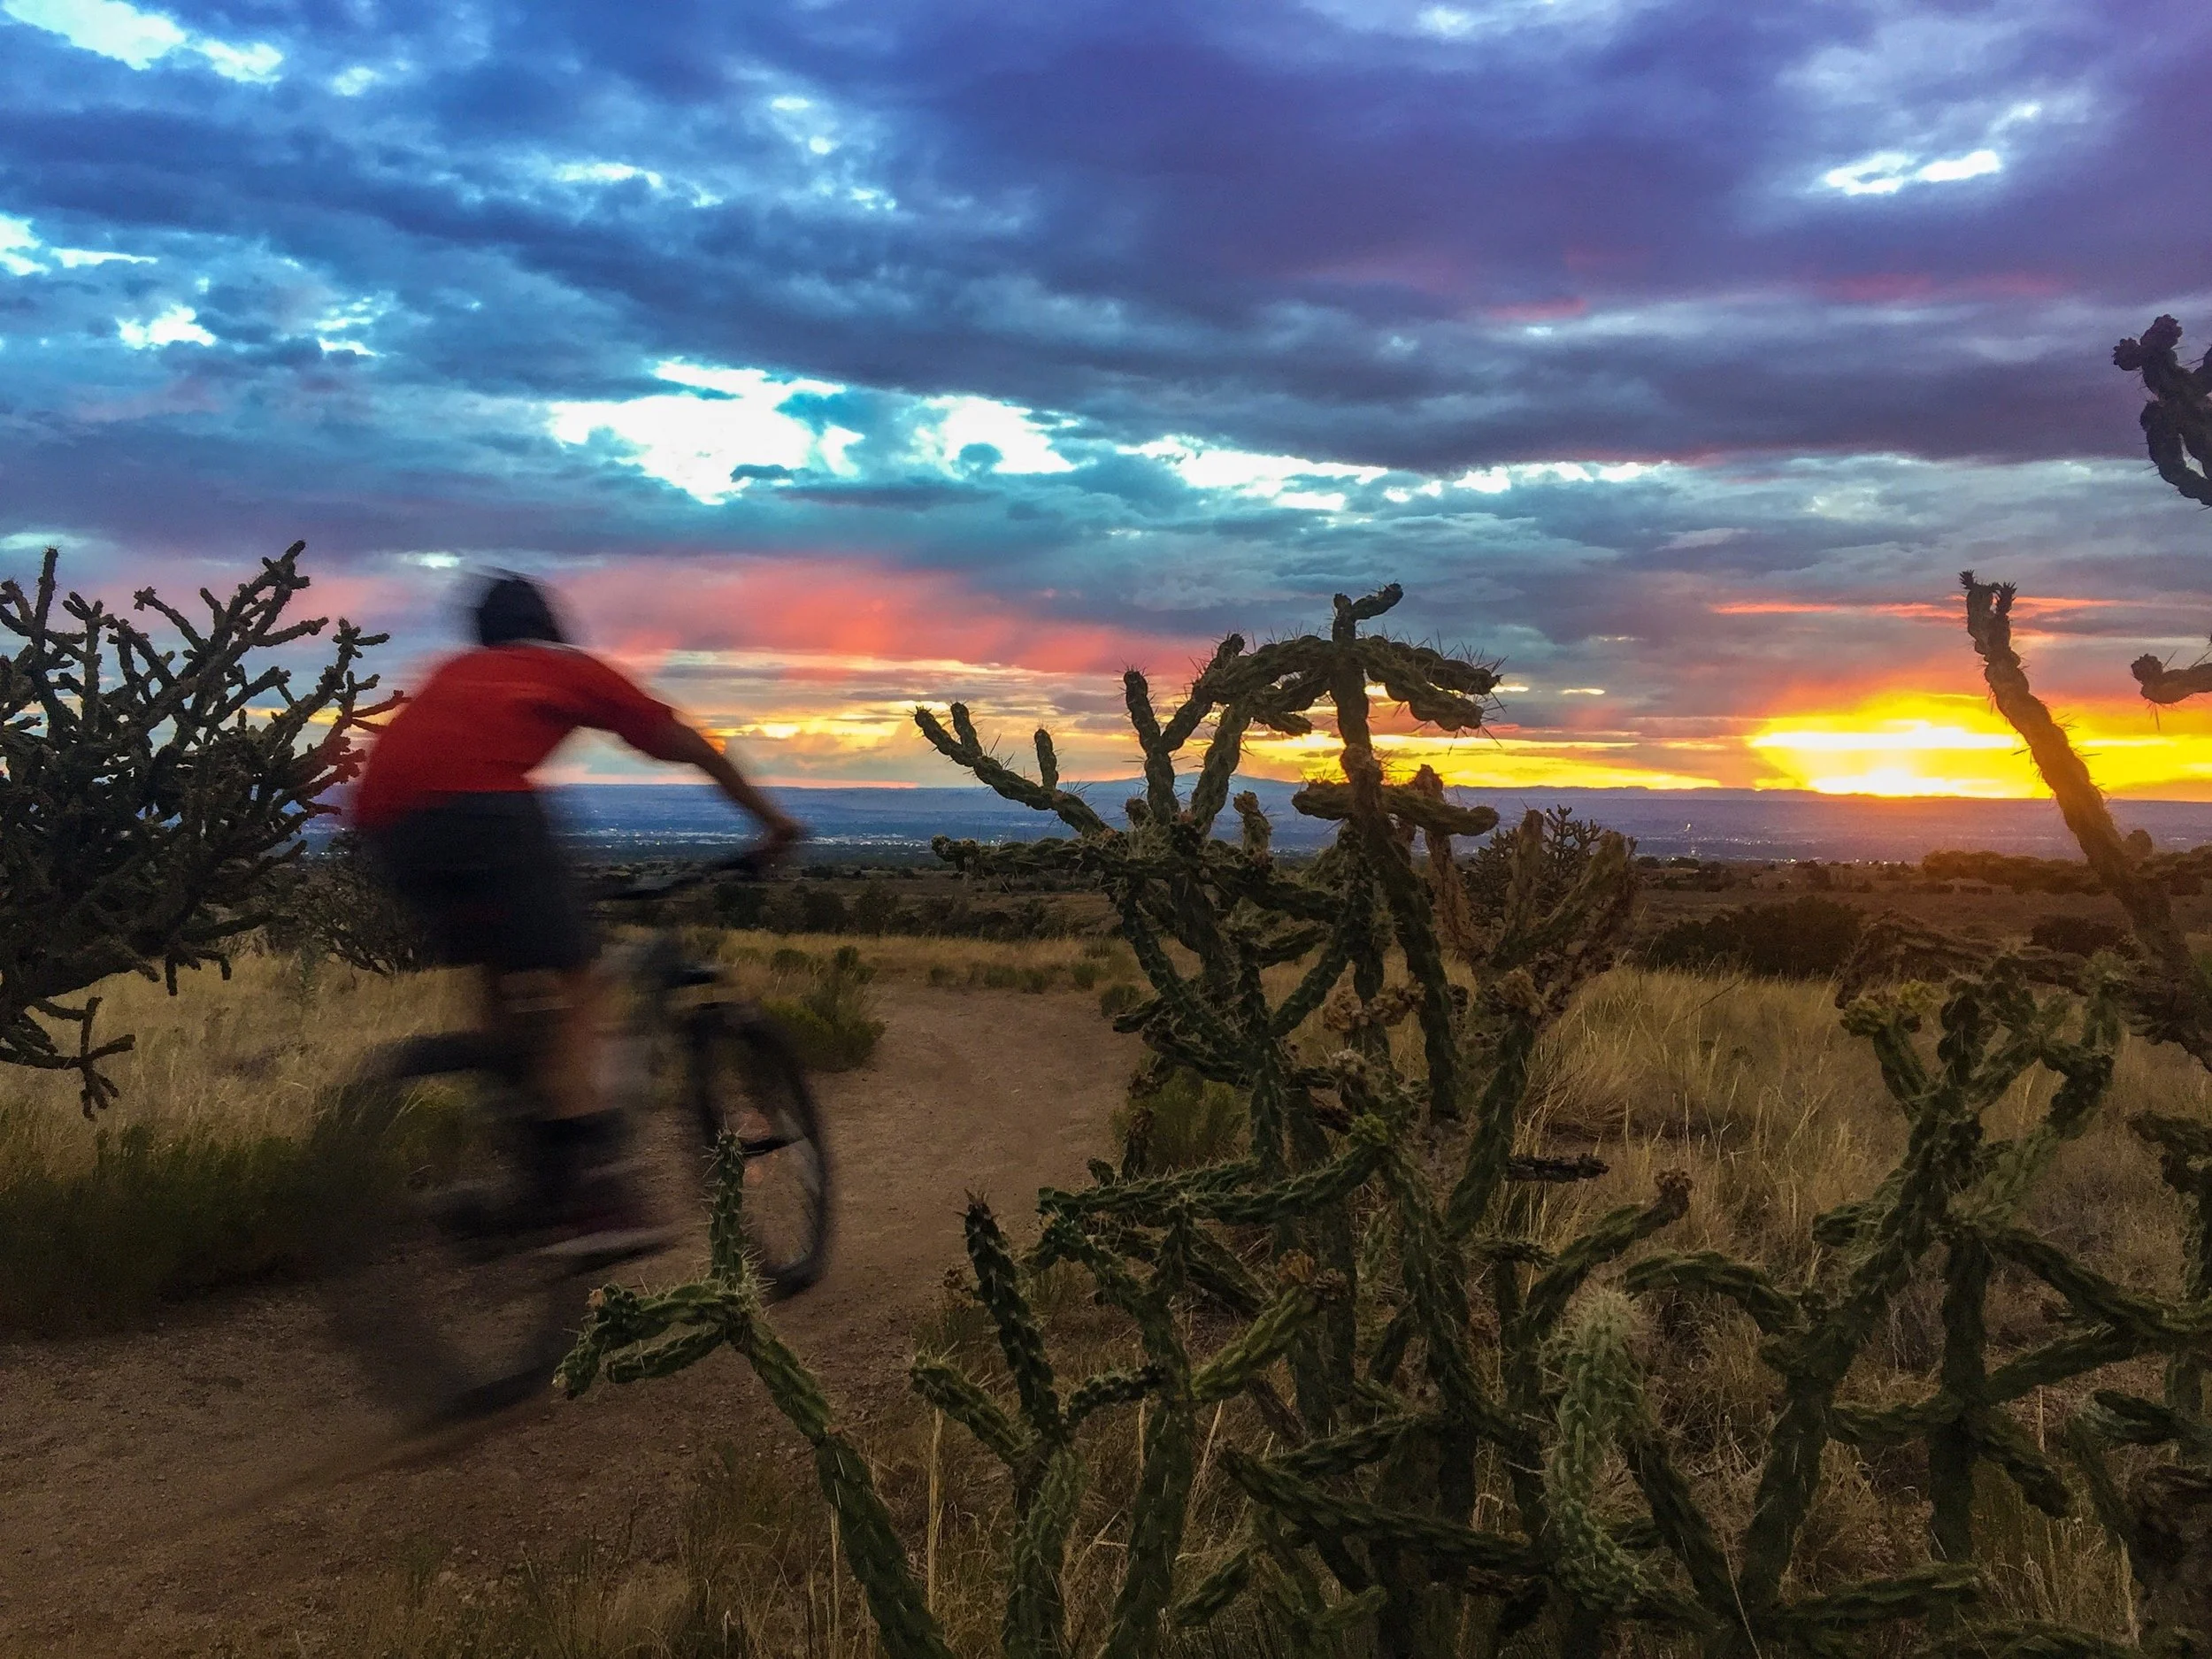
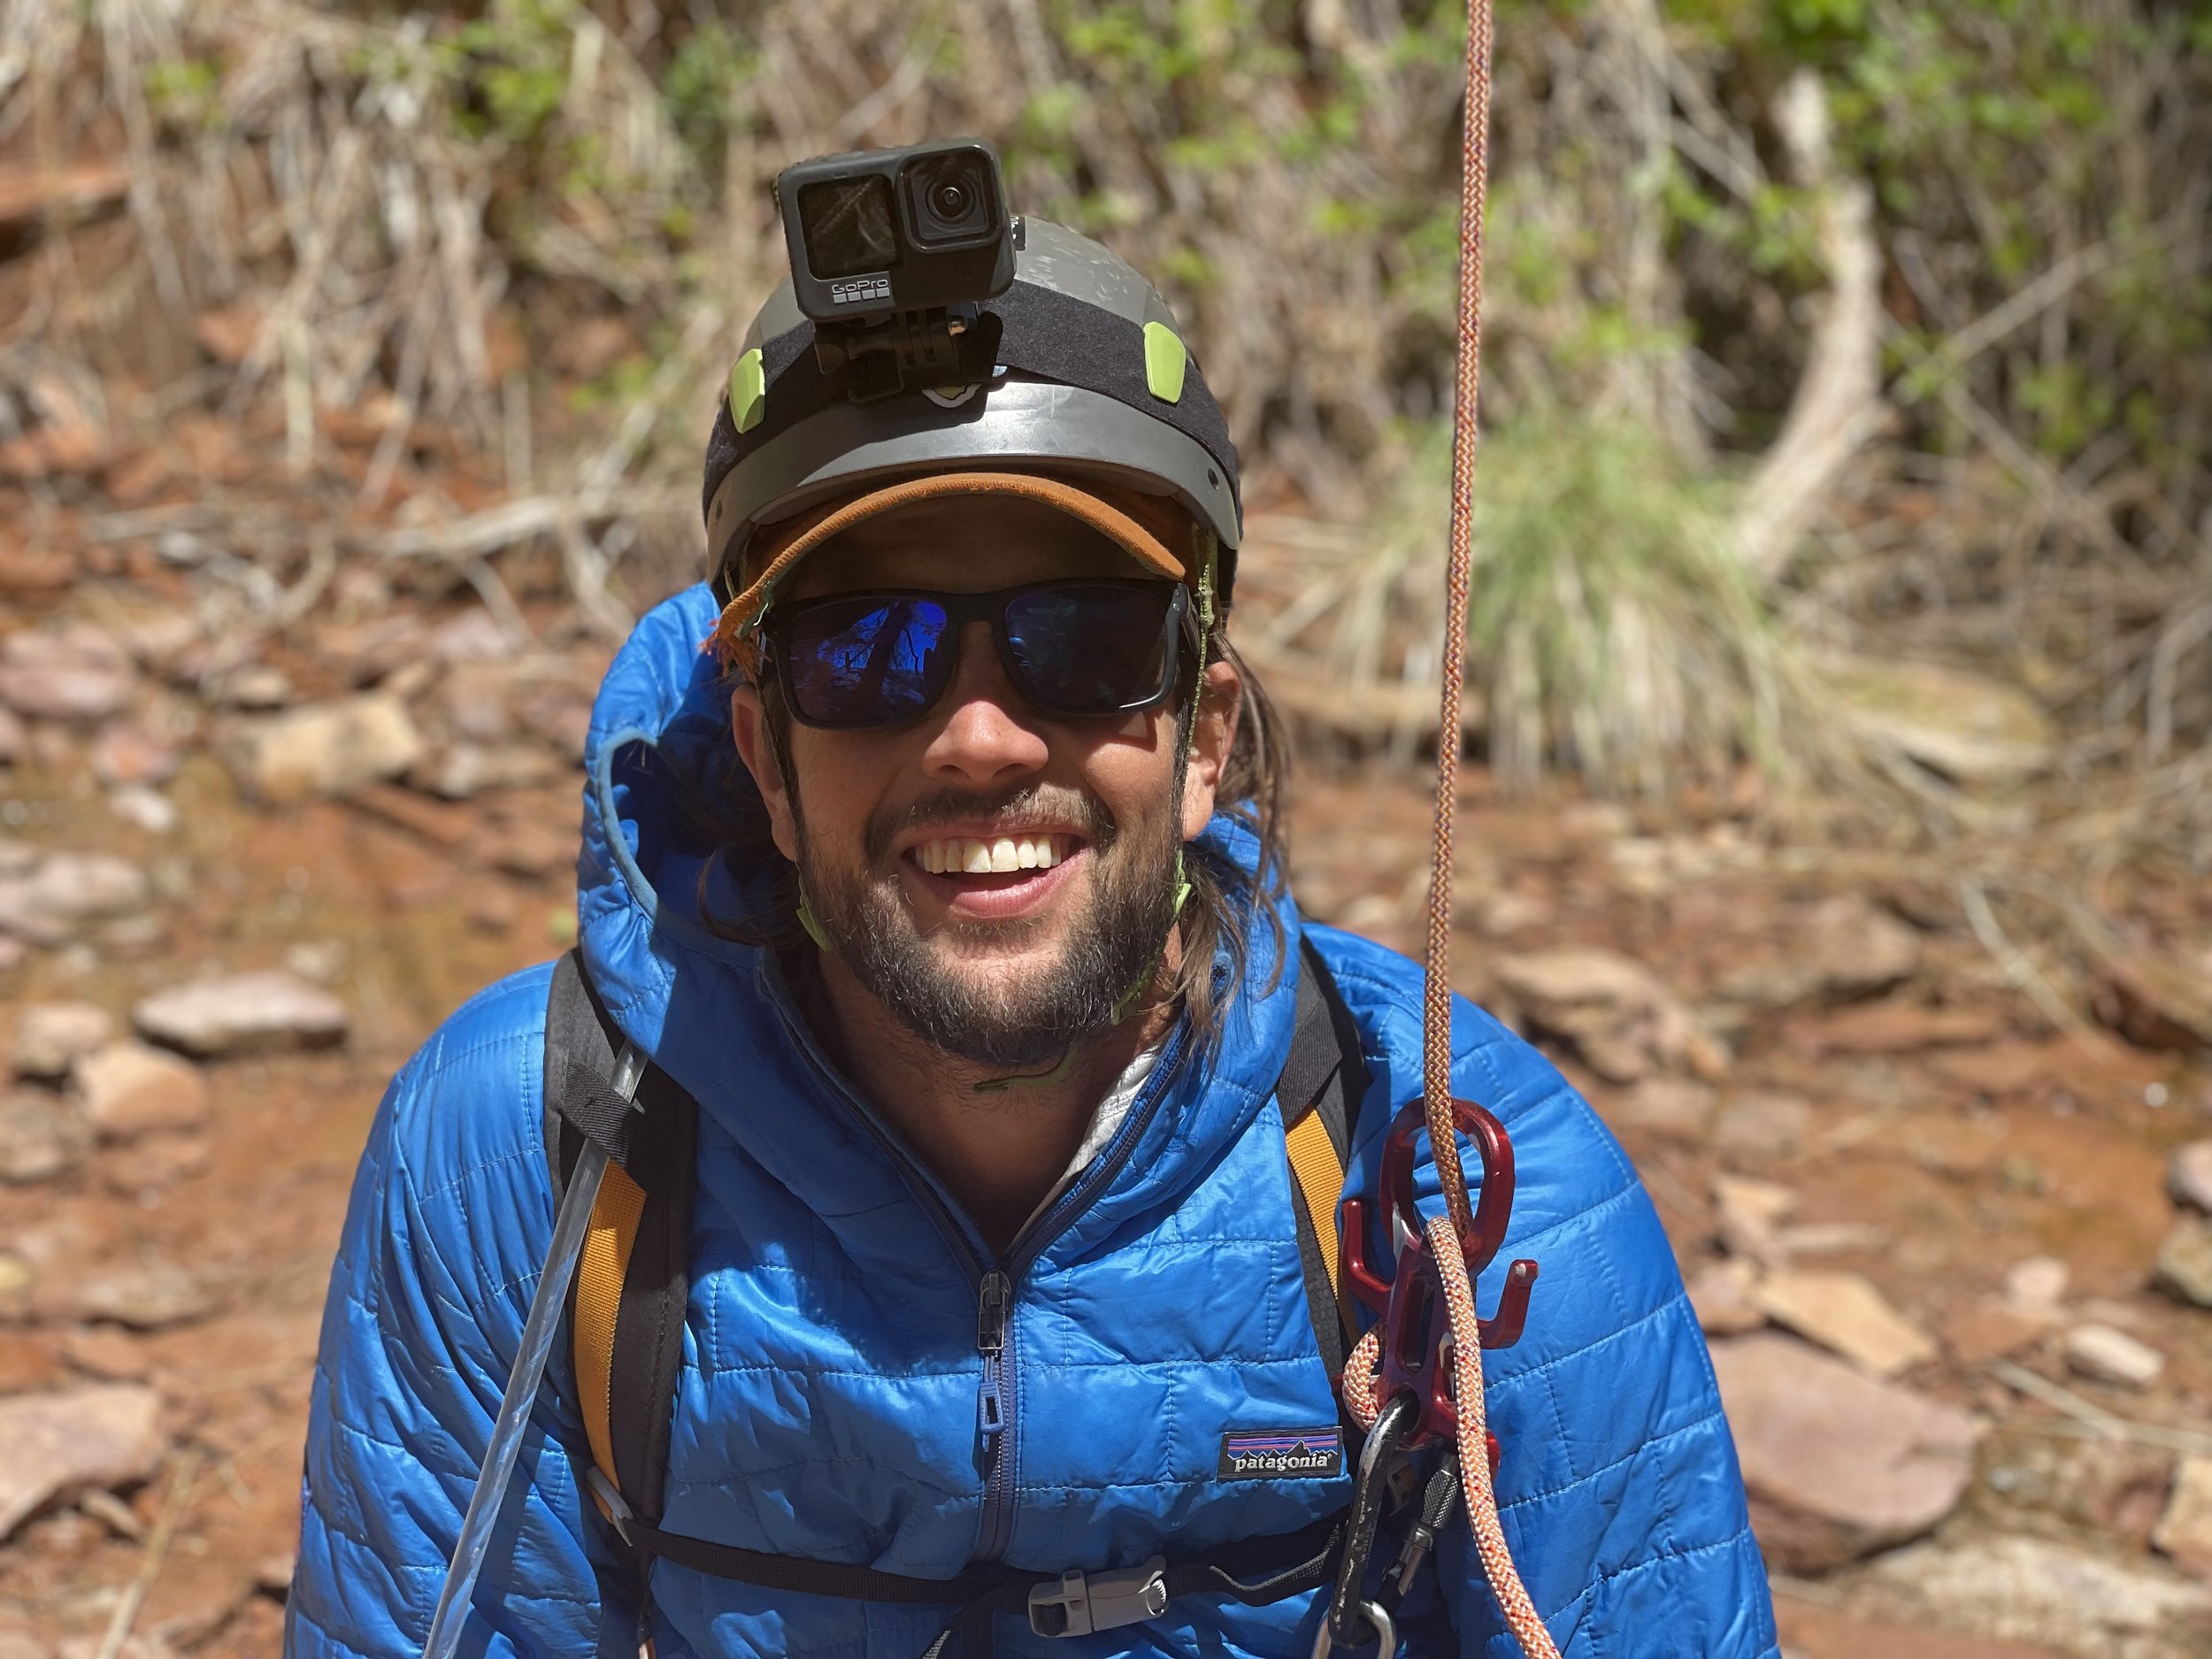
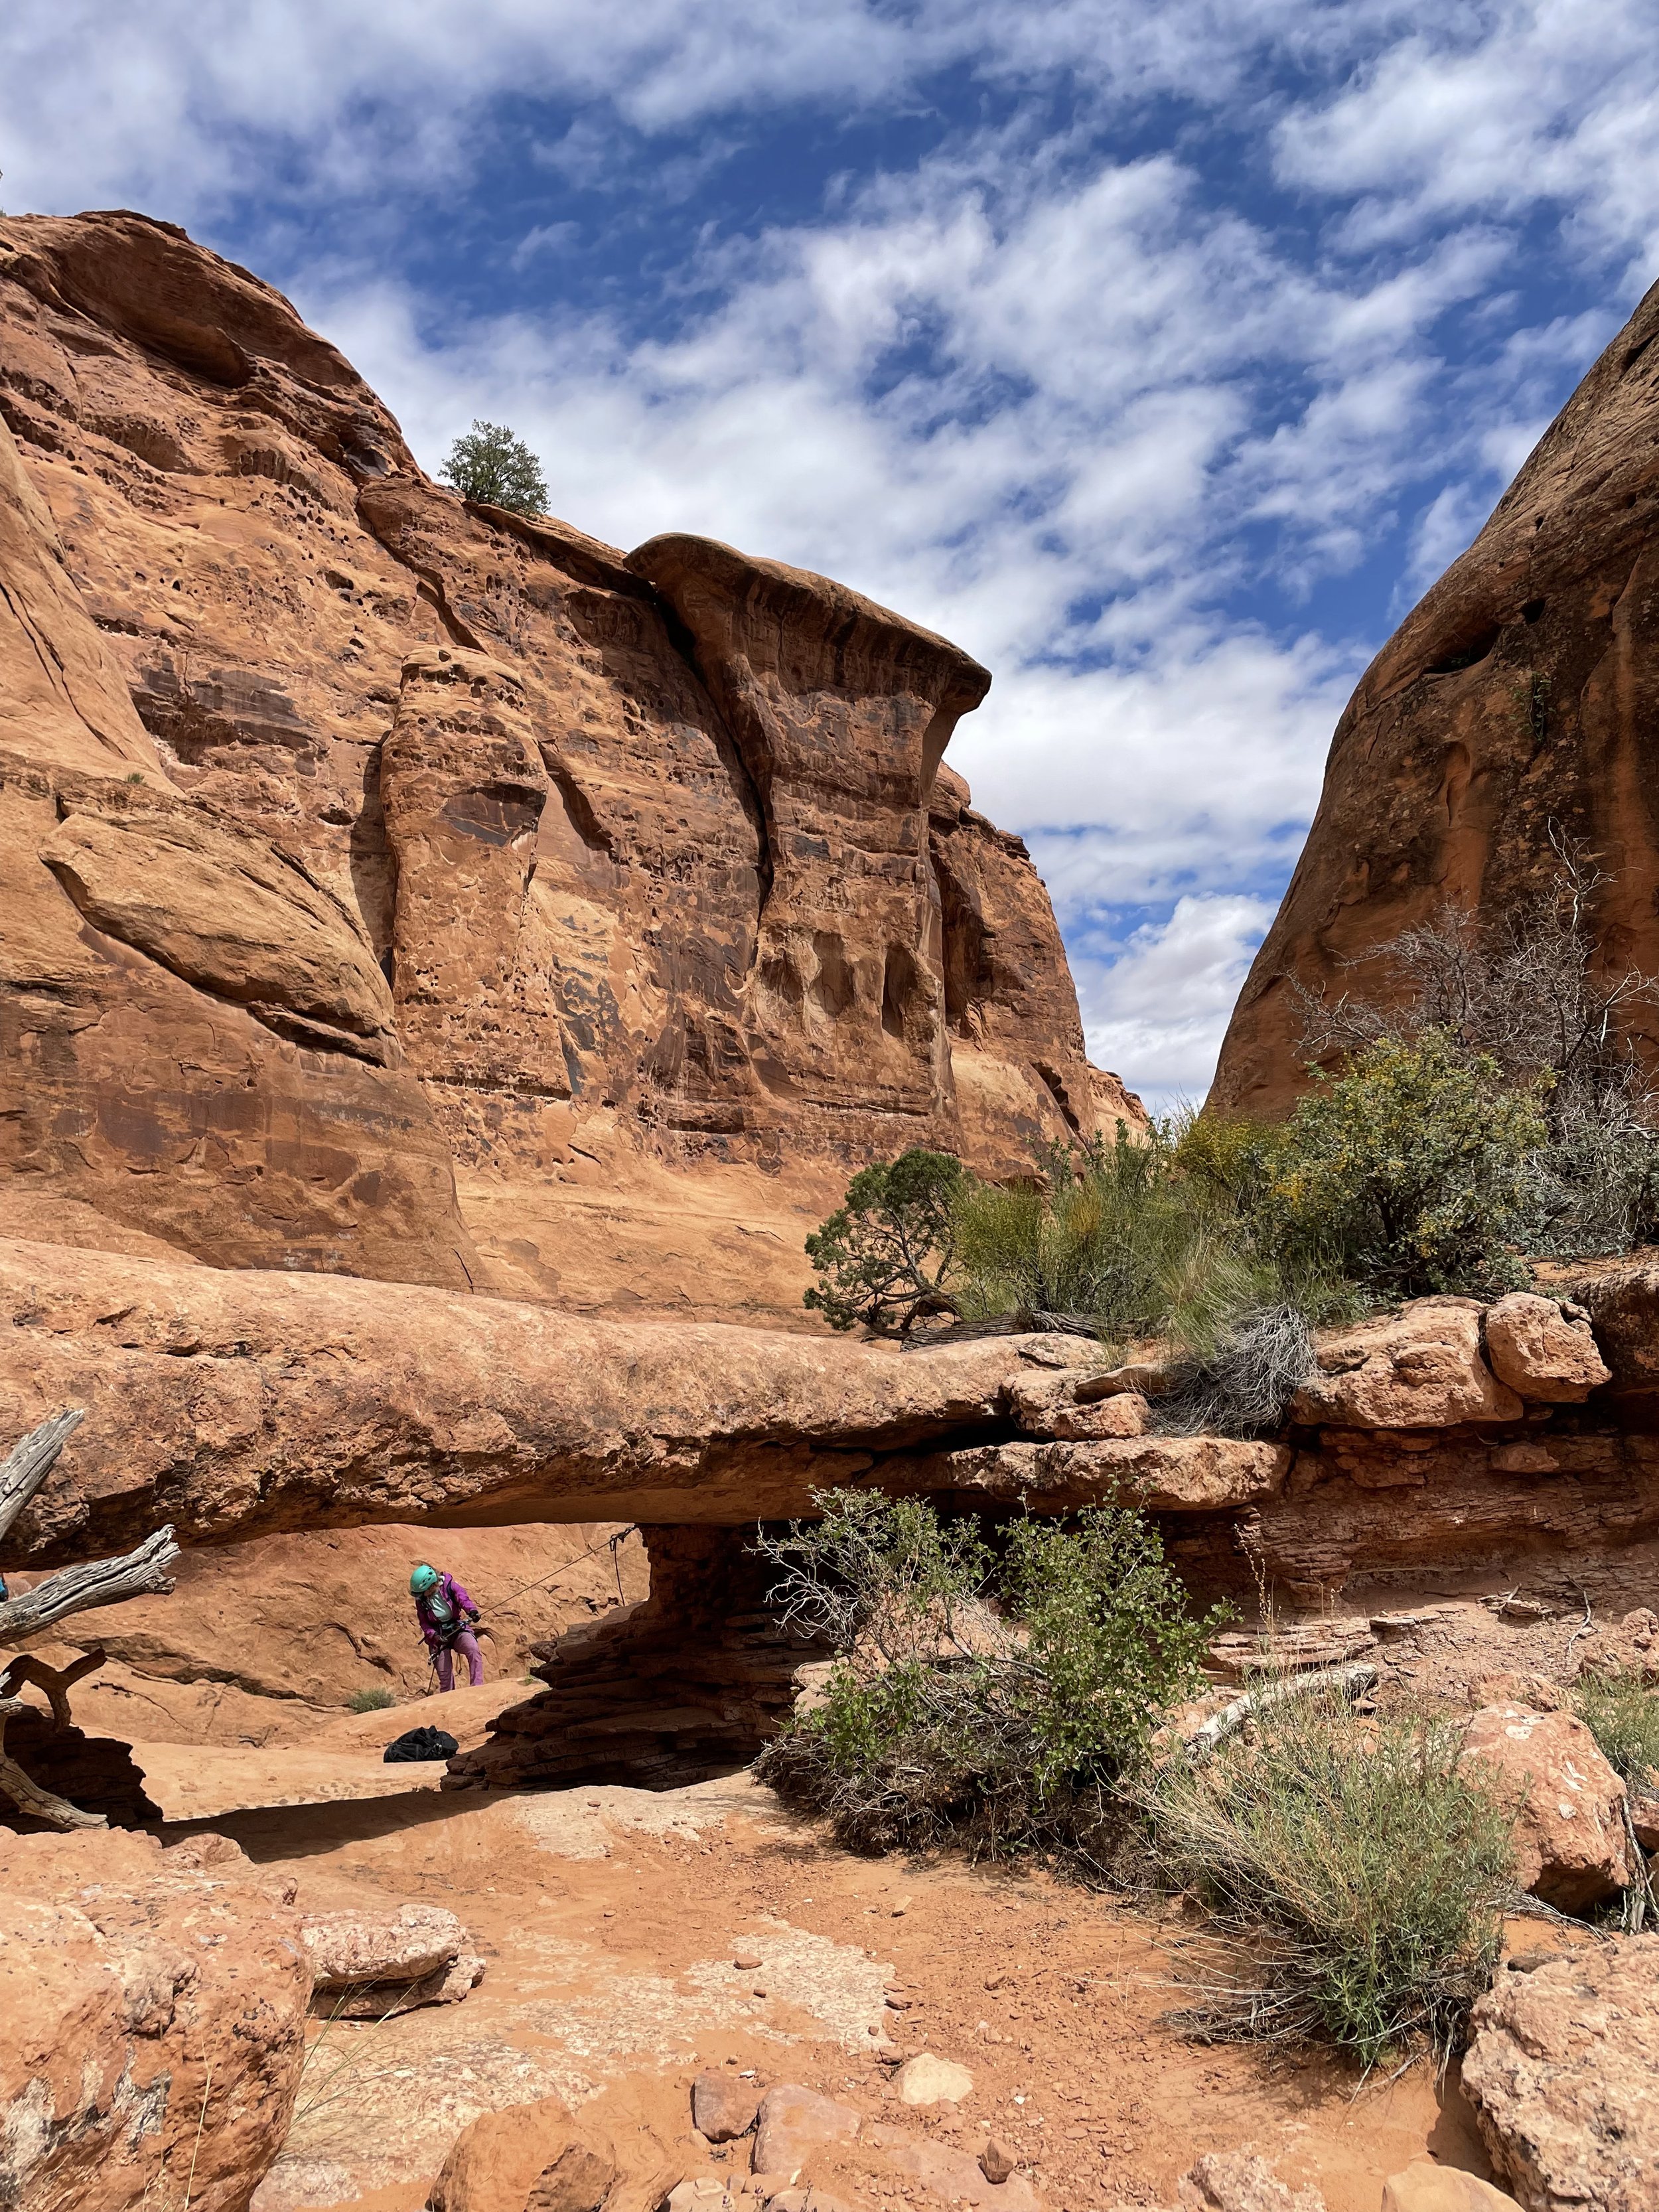
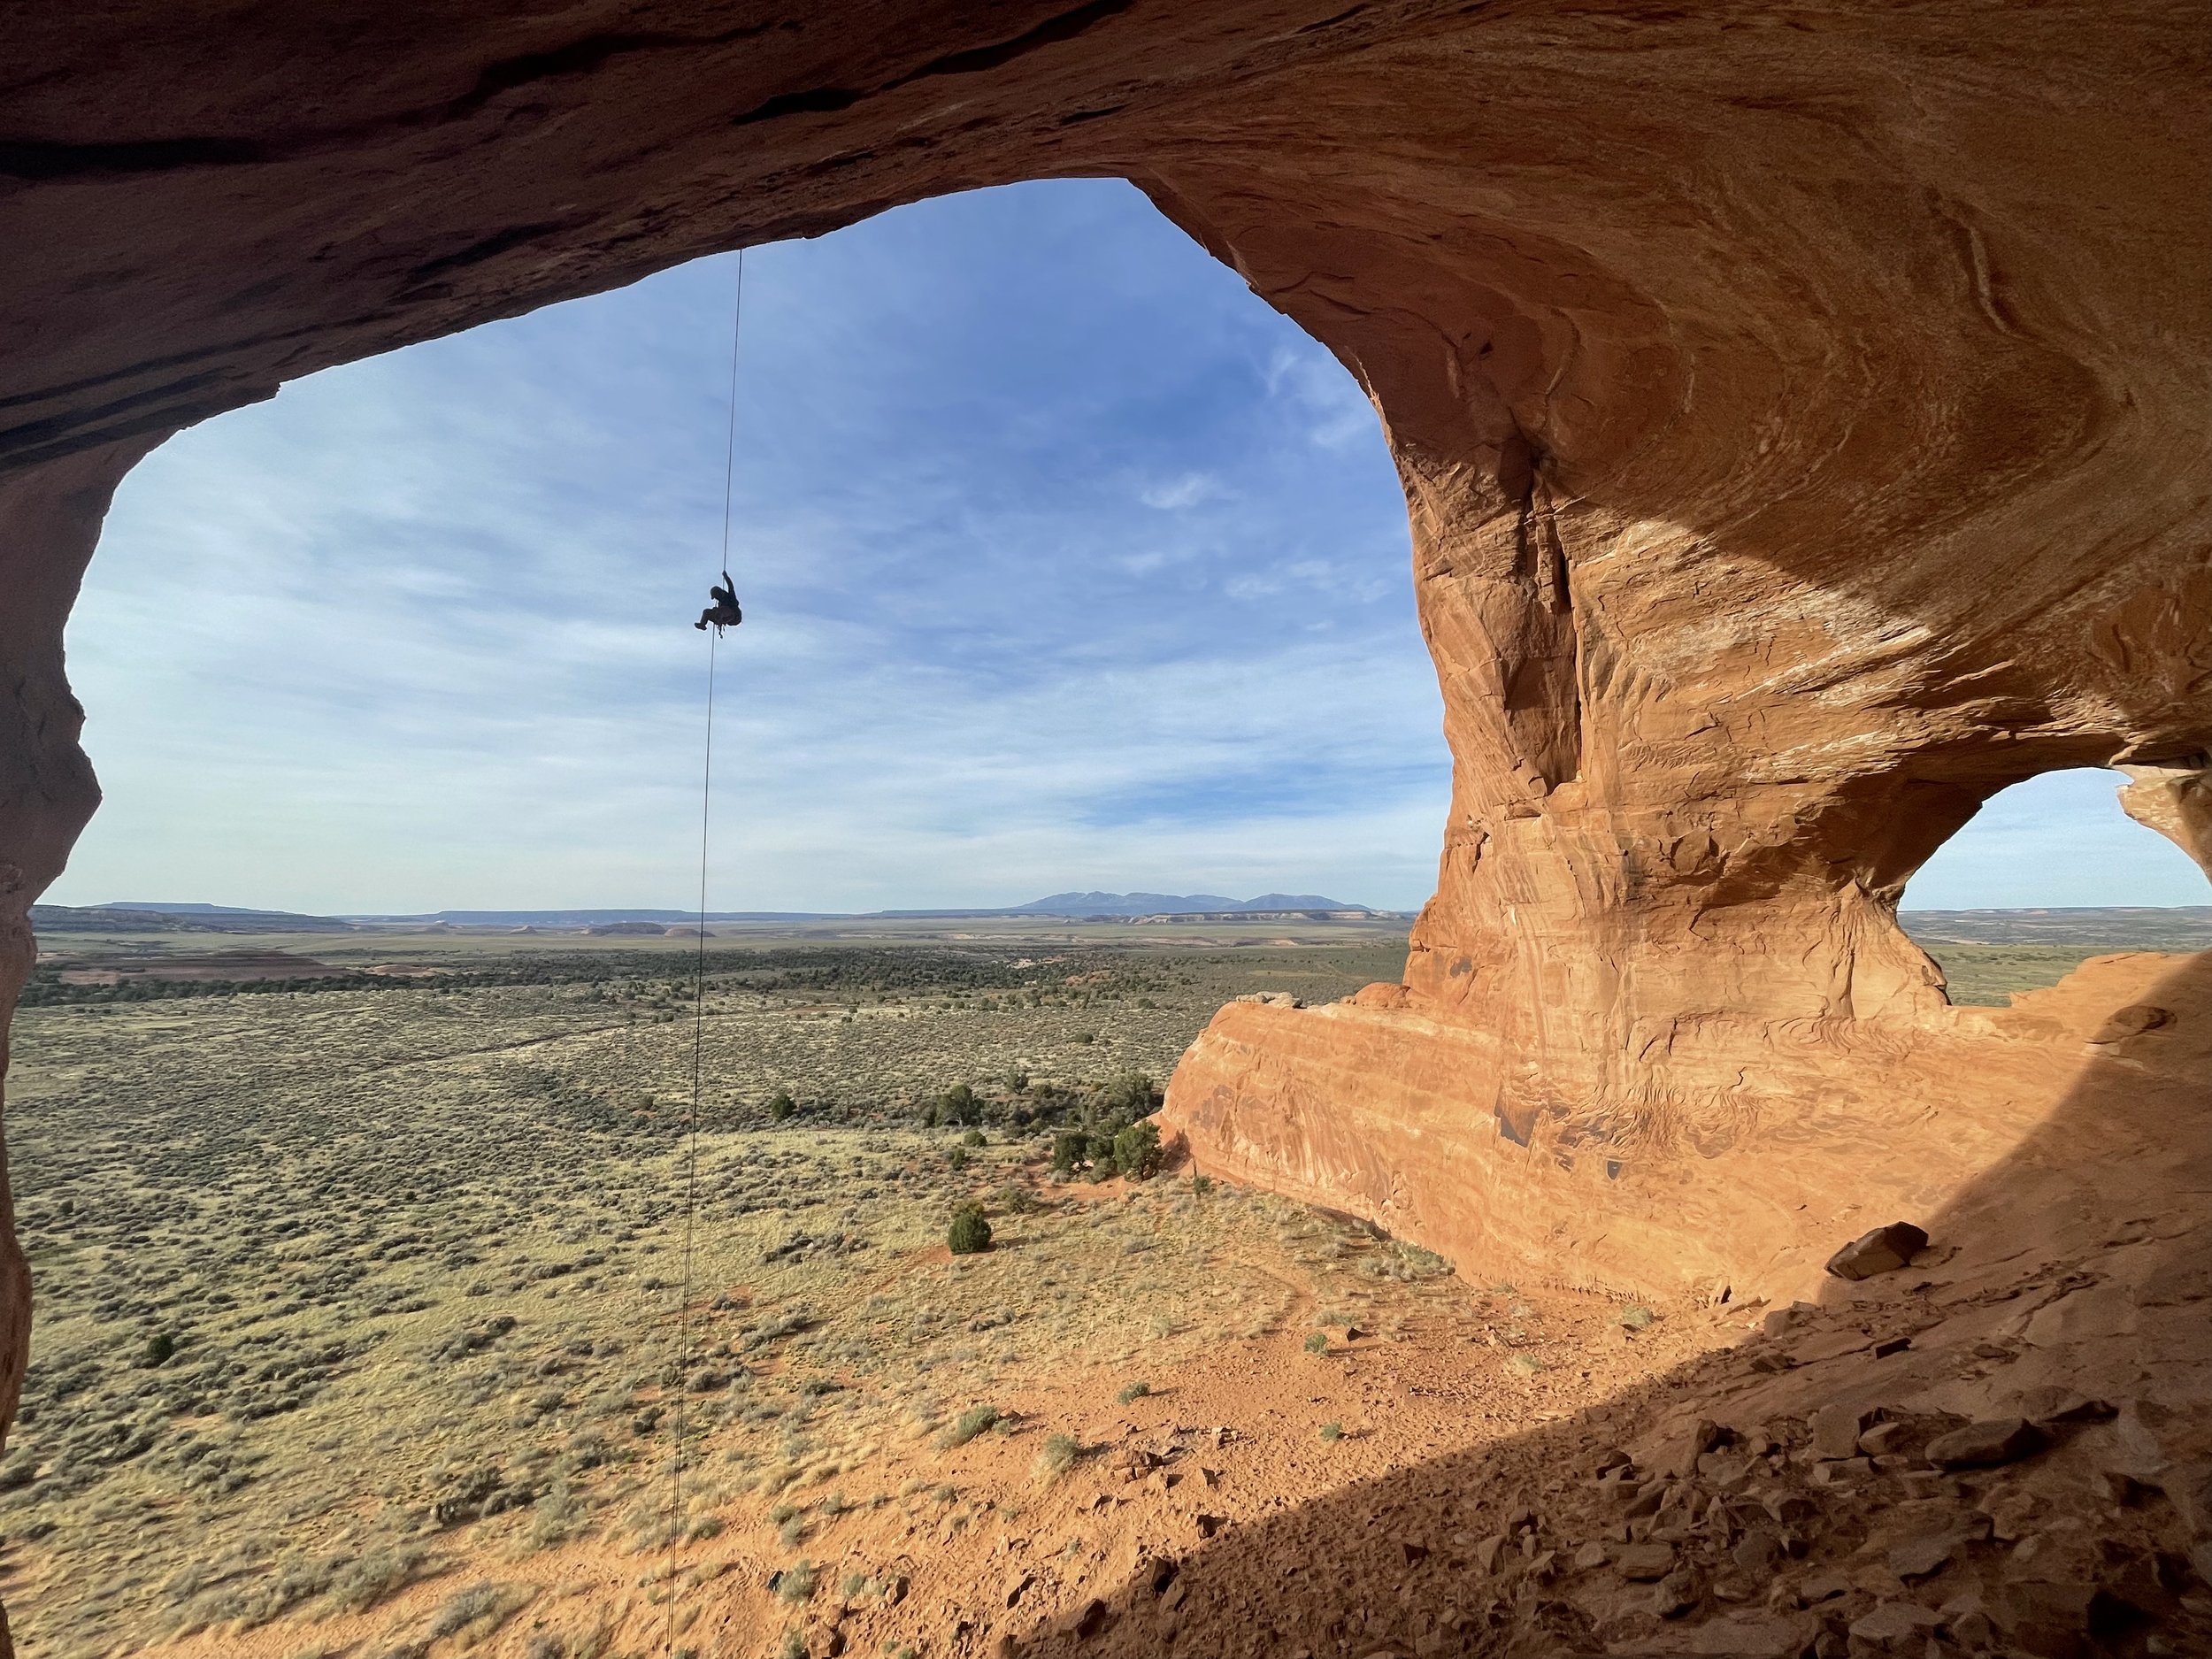
Medieval Chamber
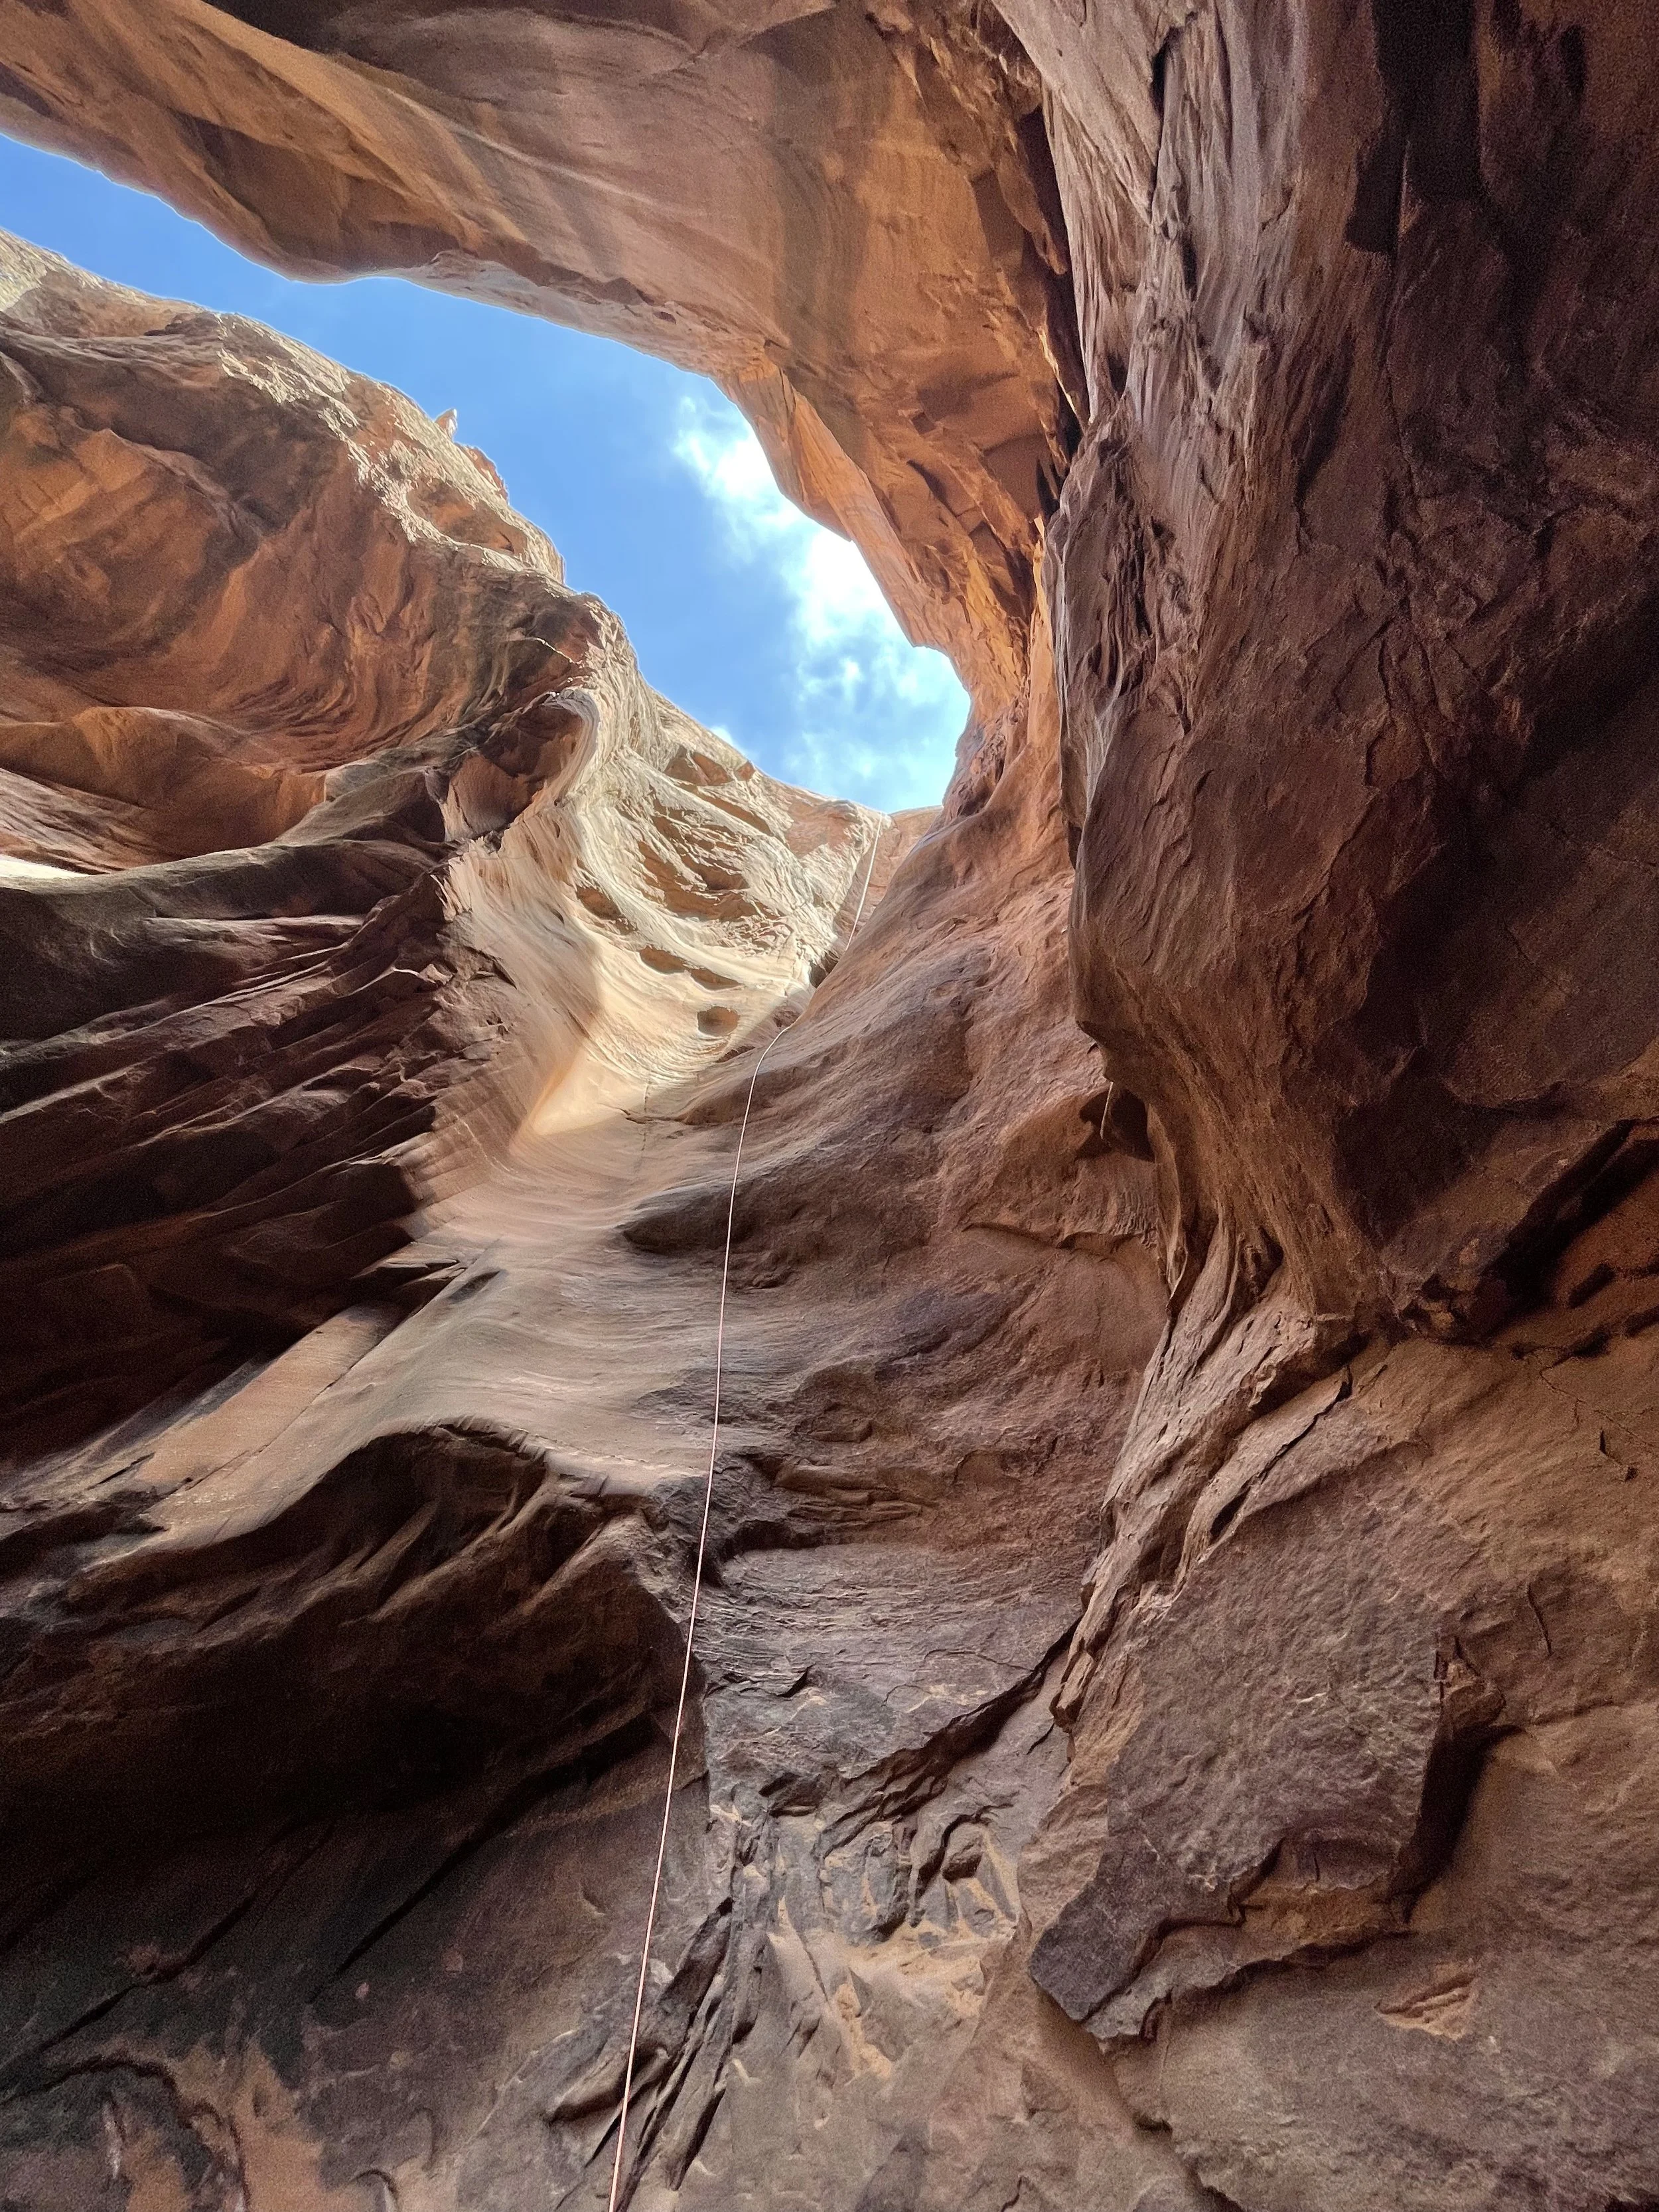
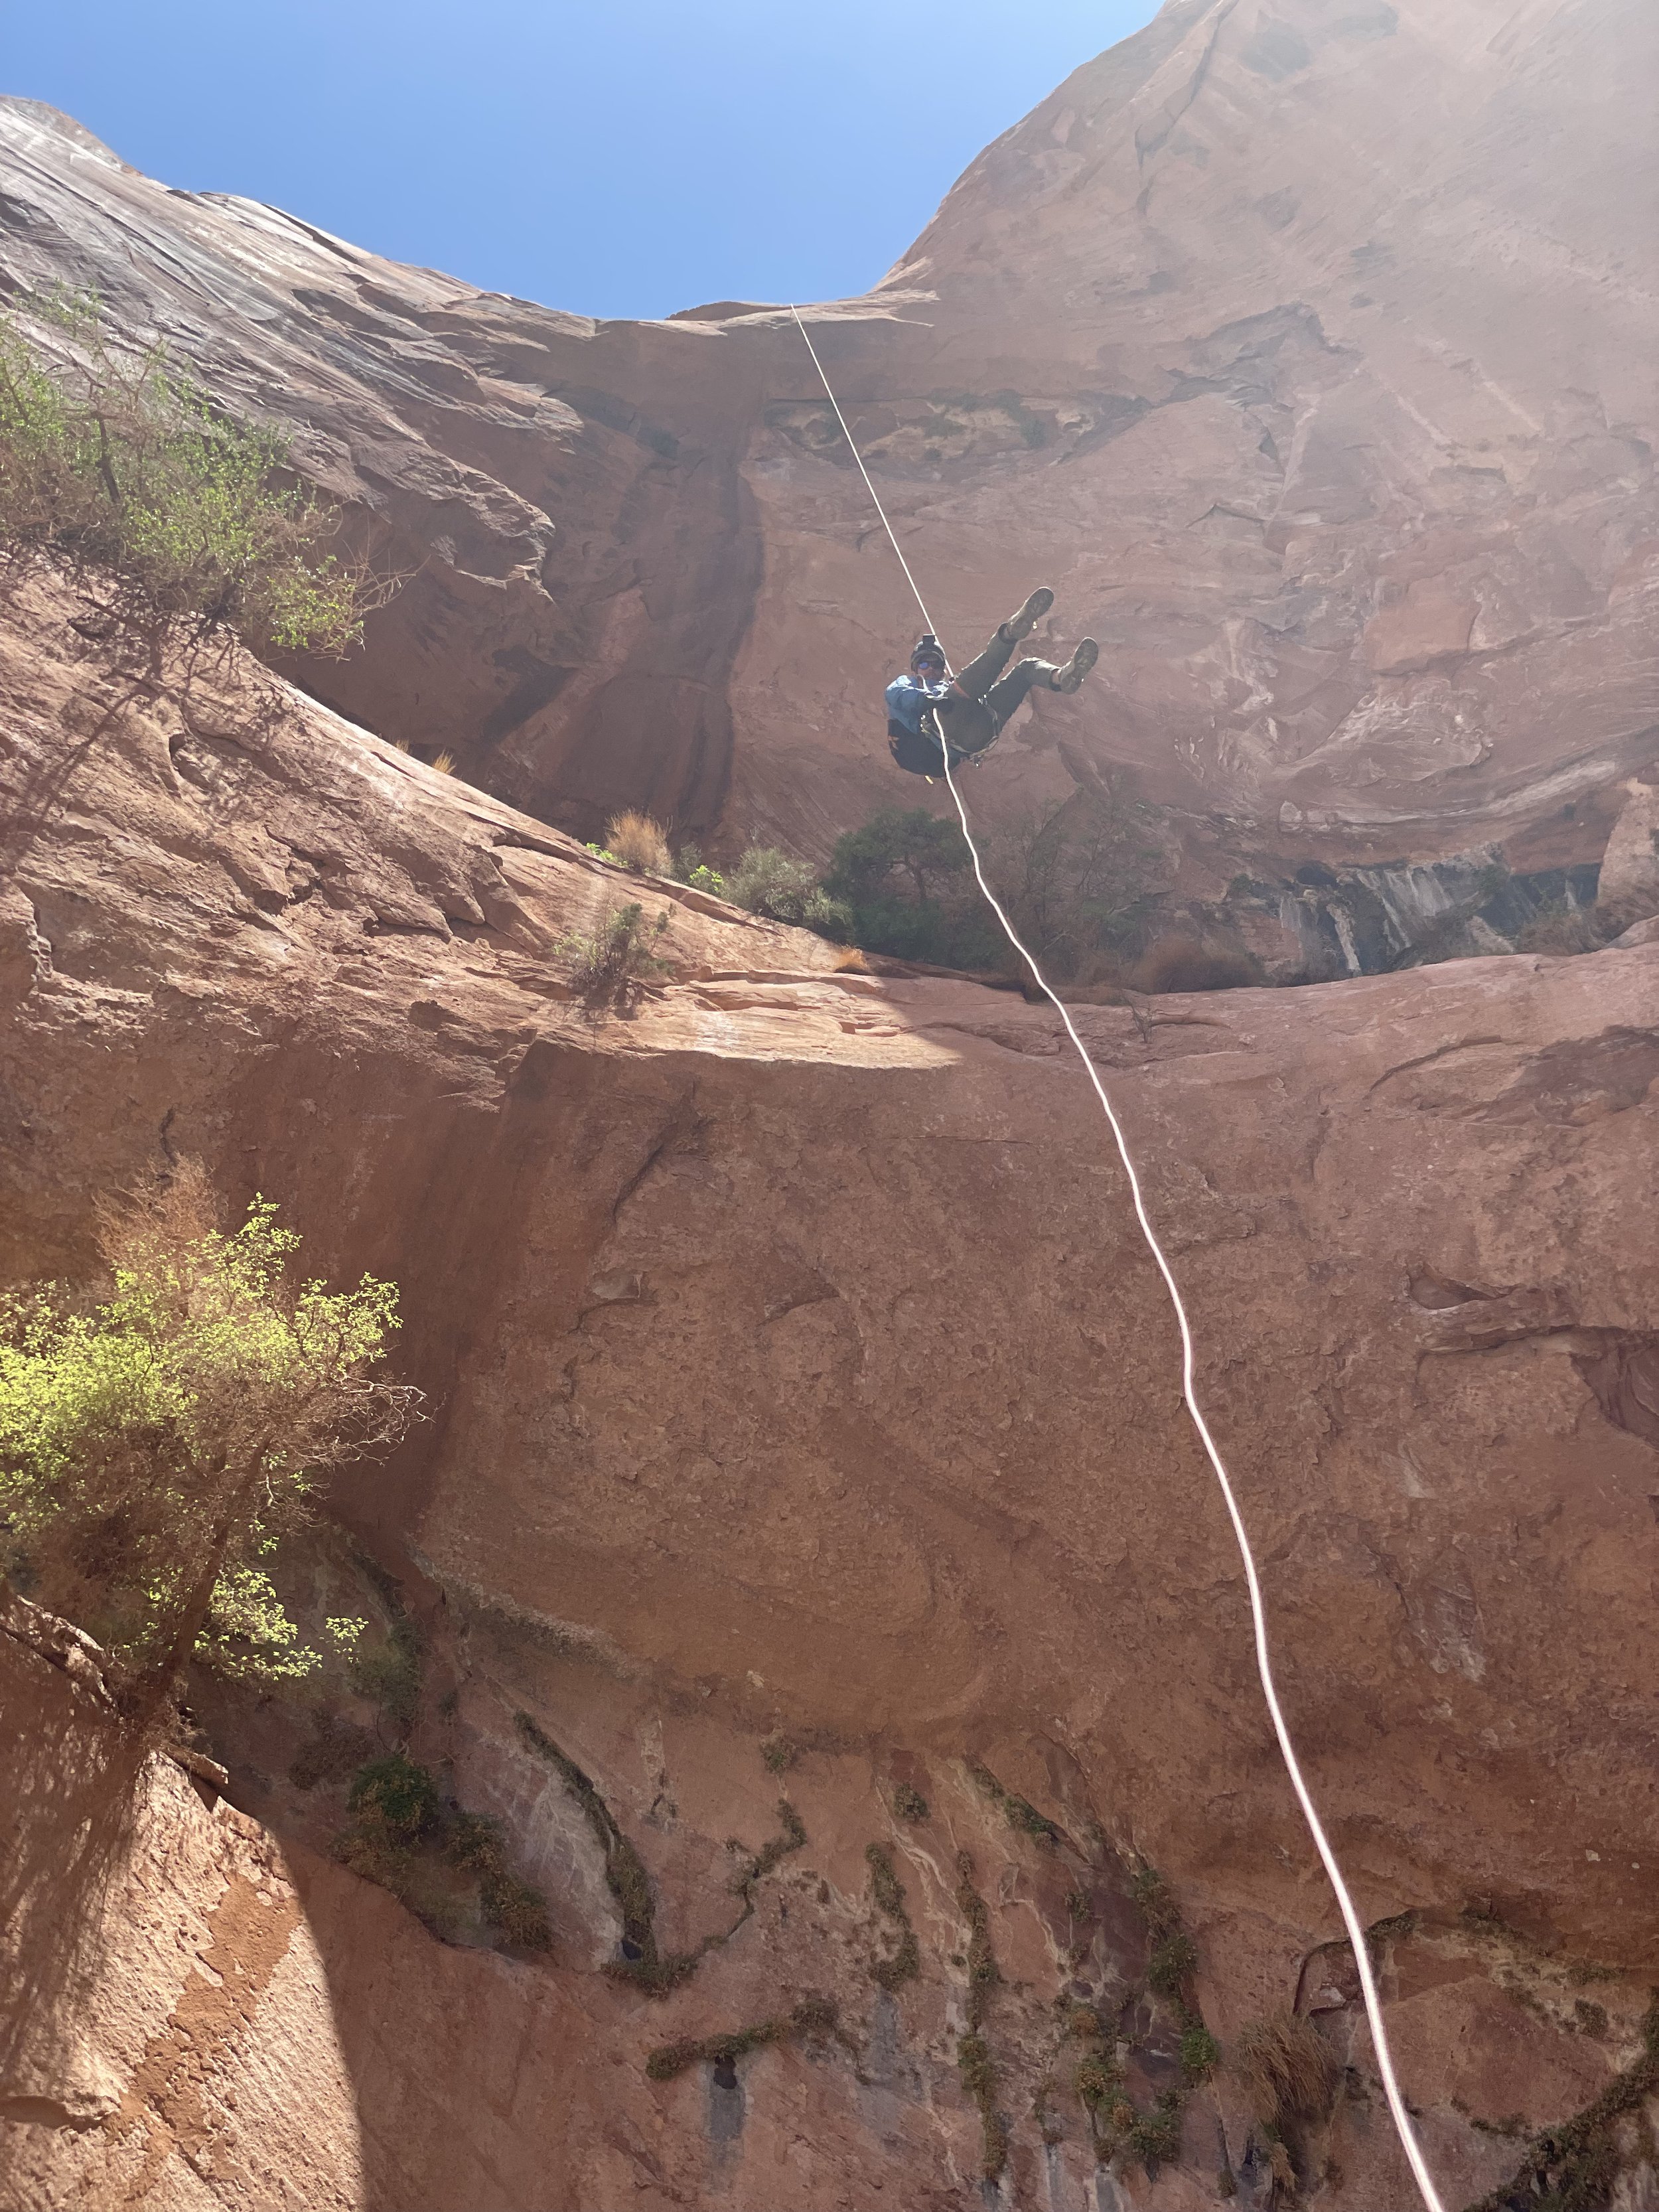
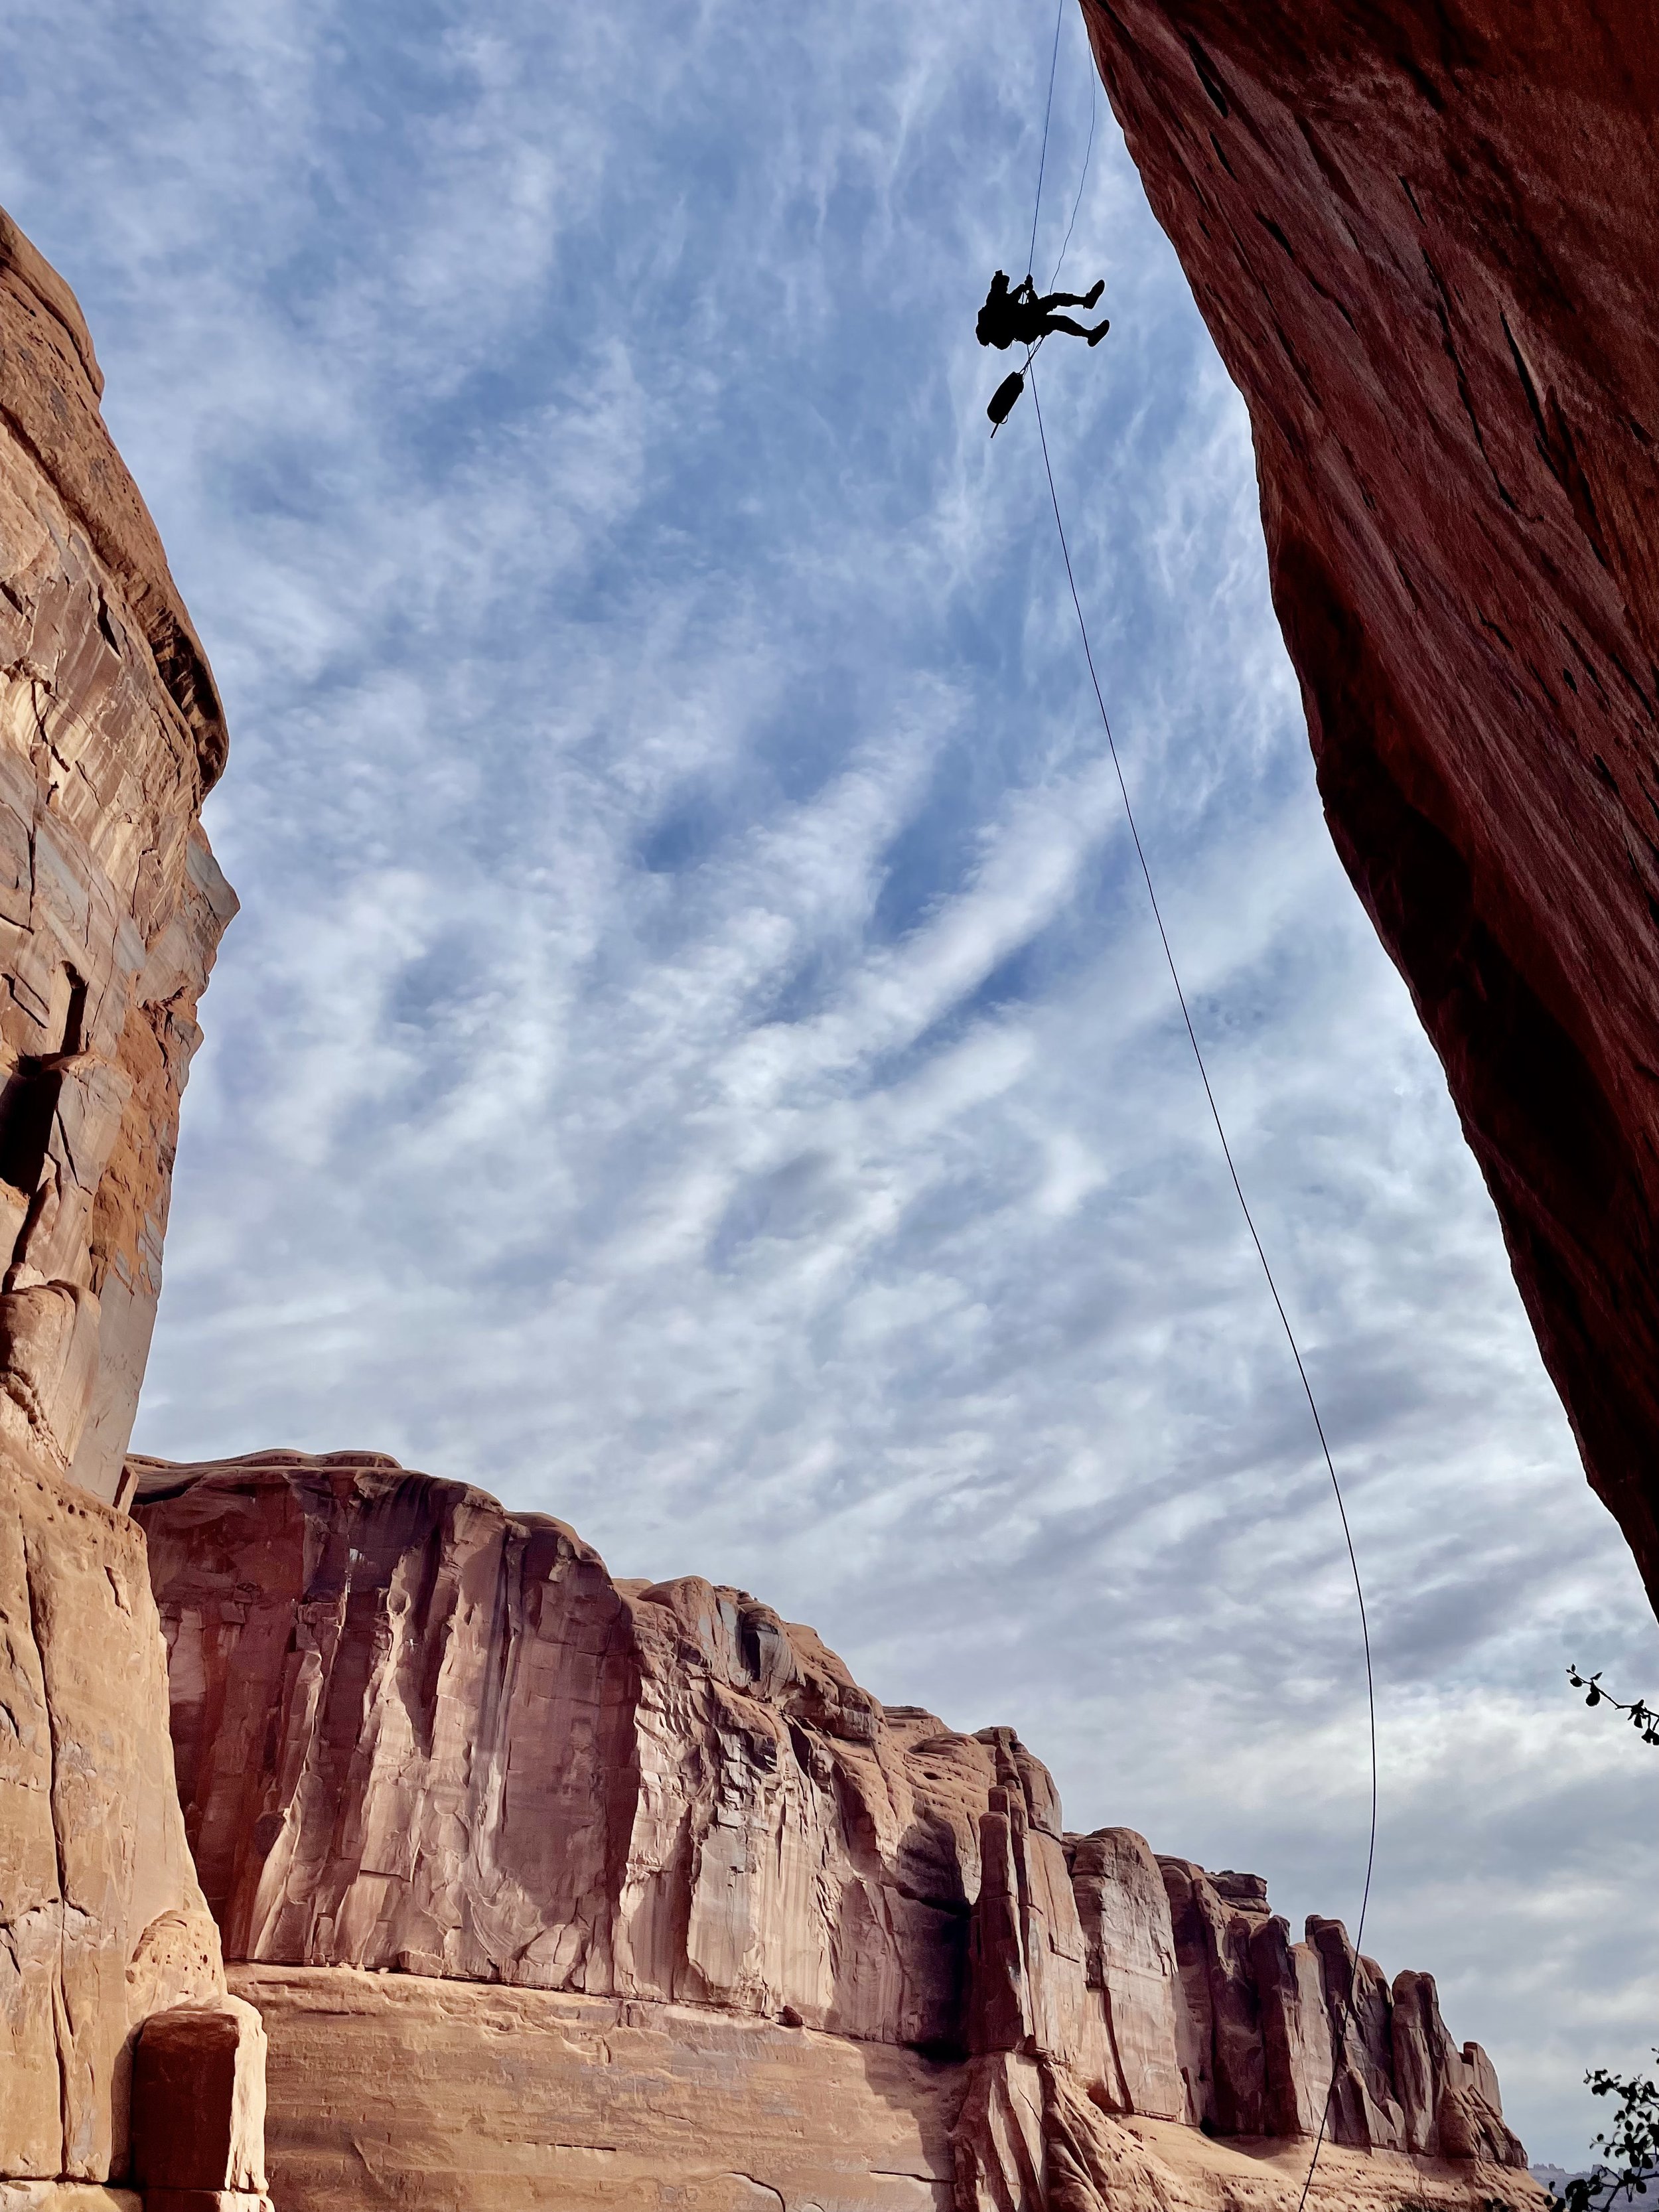
This is a great canyon to get ready for what lies ahead on your Moab canyoneering adventures. There are two rappels on this canyon. You will have to pay $10 park at the trailhead at Sand Flat Recreation Area. For more beta on the shuttle and GPS route of the canyon check our roadtripryan.com. From here it’s a short hike down to the first rappel into the Medieval Chamber a 100’ drop into a beautiful slot. After this just a hundred or so feet ahead is the last rappel 200 feet down and over Morning Glory Arch, Welcome to Utah! When we were here (April 2022) there were two bolts with massive chains and we had enough rope to rappel down the center of the arch. This made for a nice free hanging rappel down Morning Glory Arch and is a great way to start the canyoneering trip.
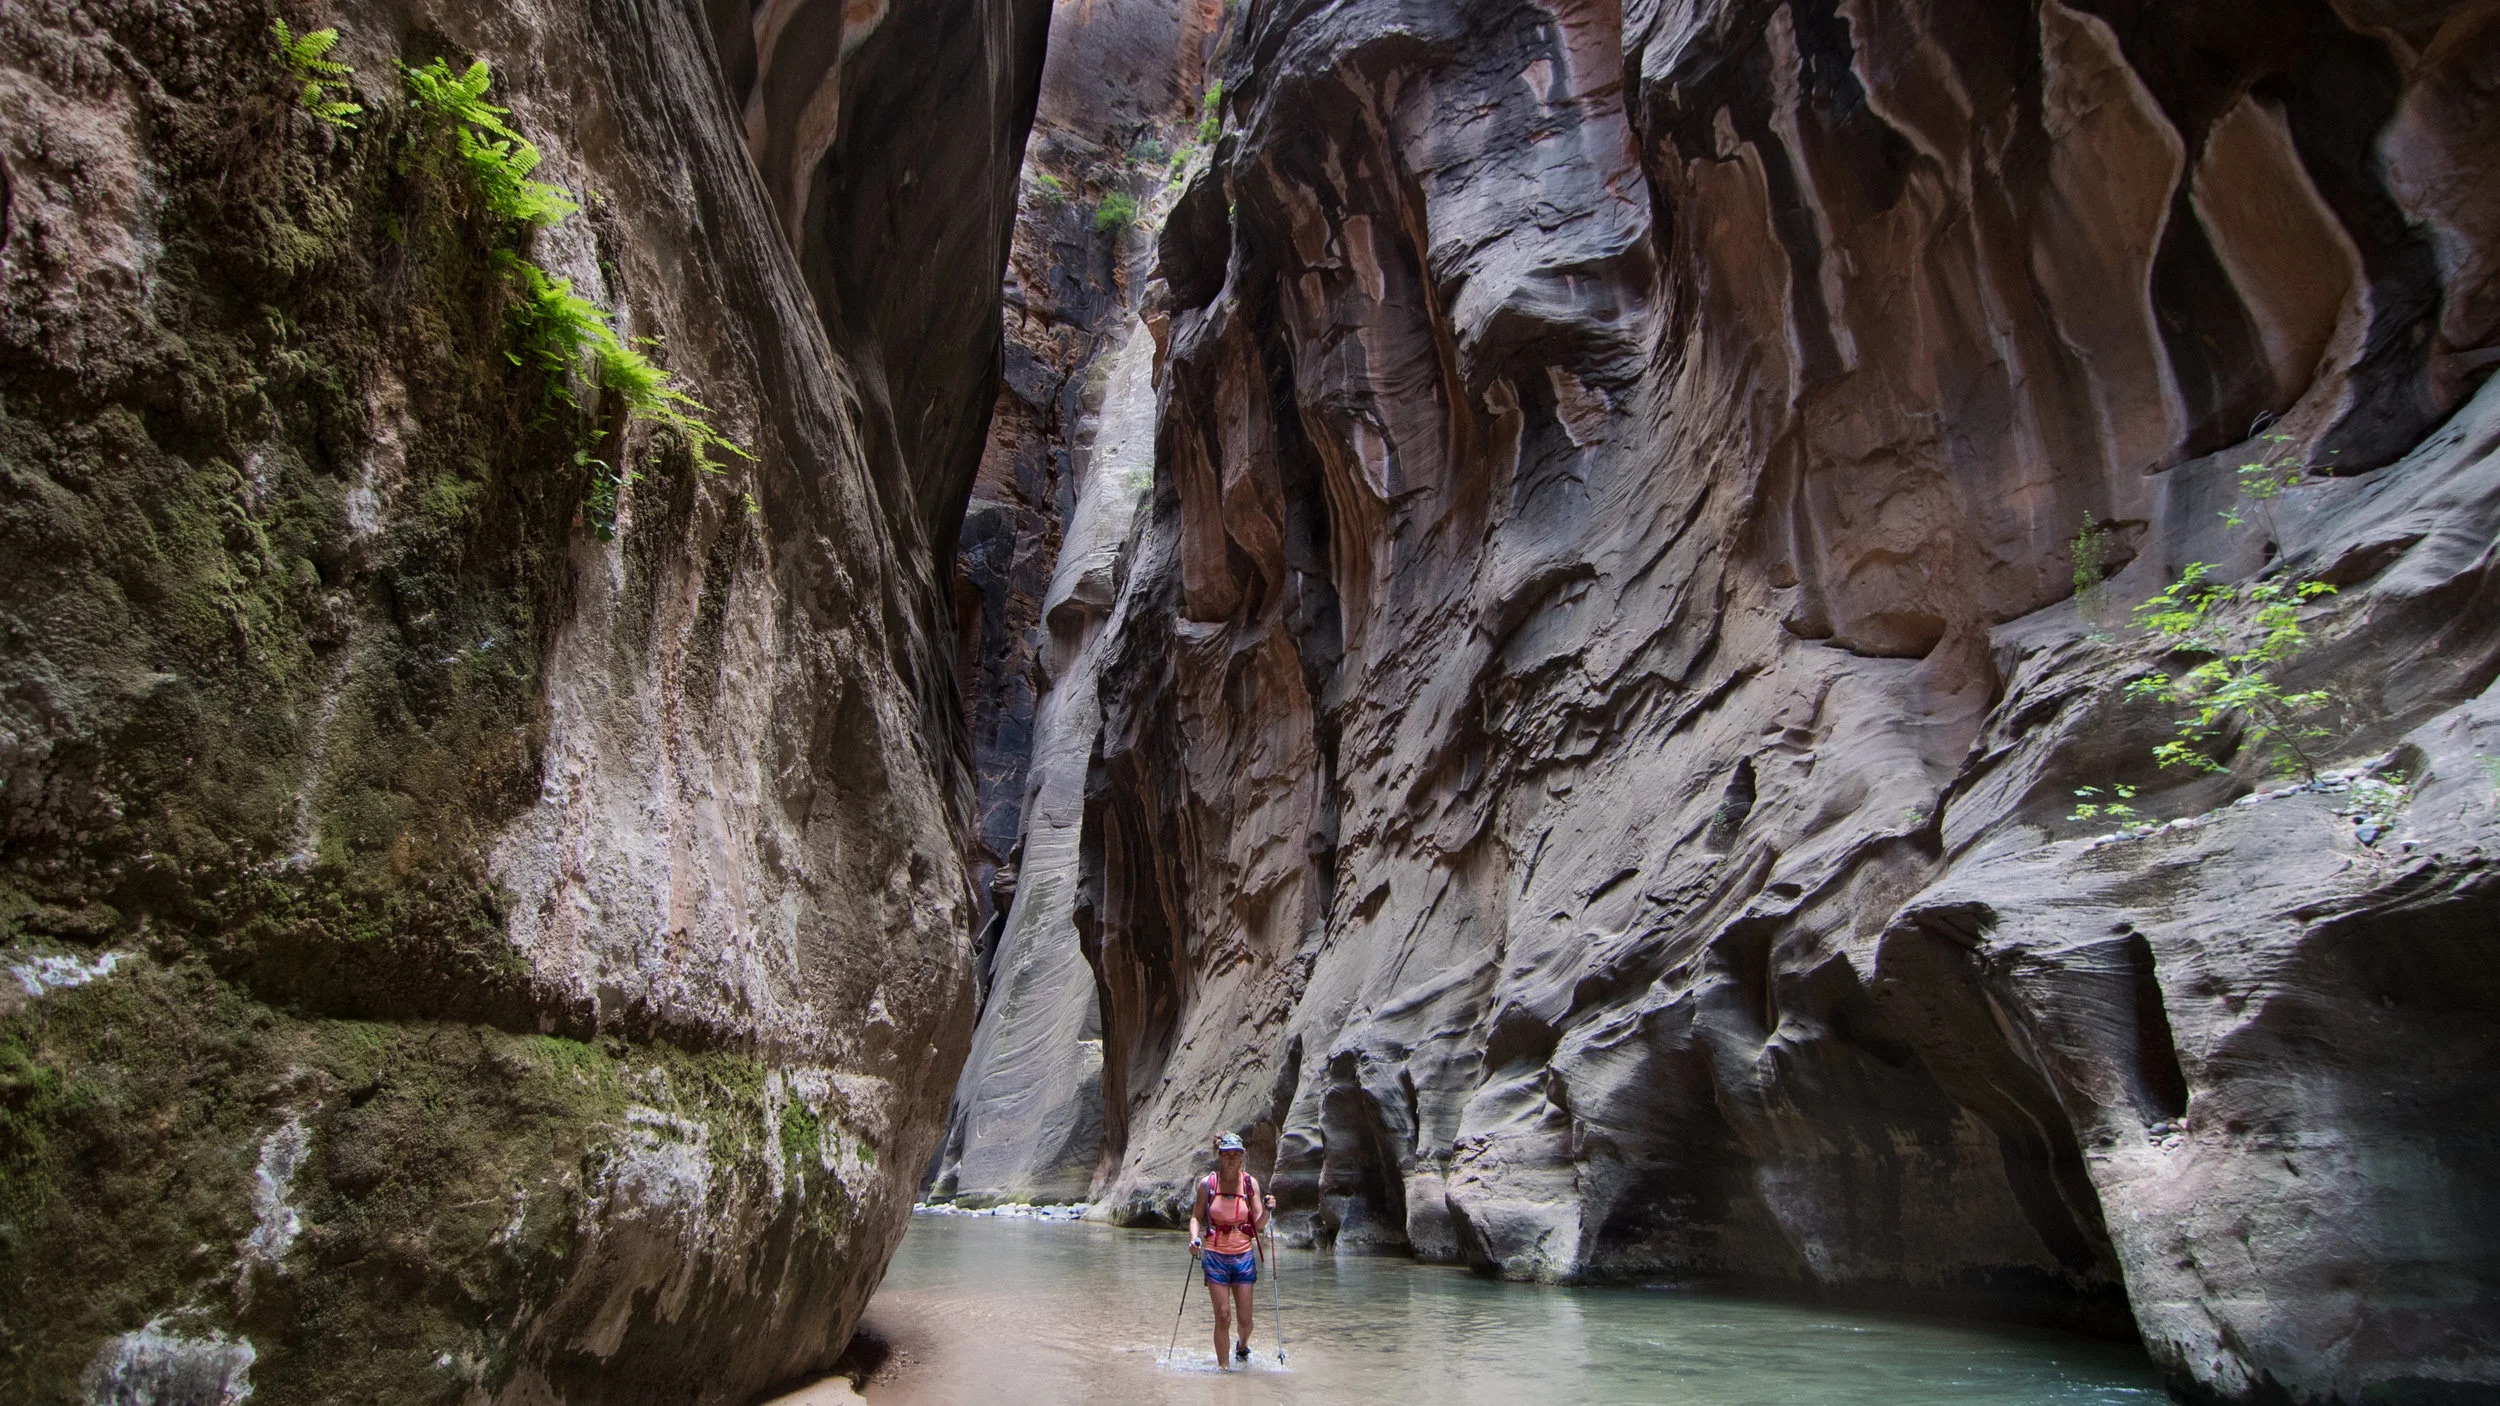
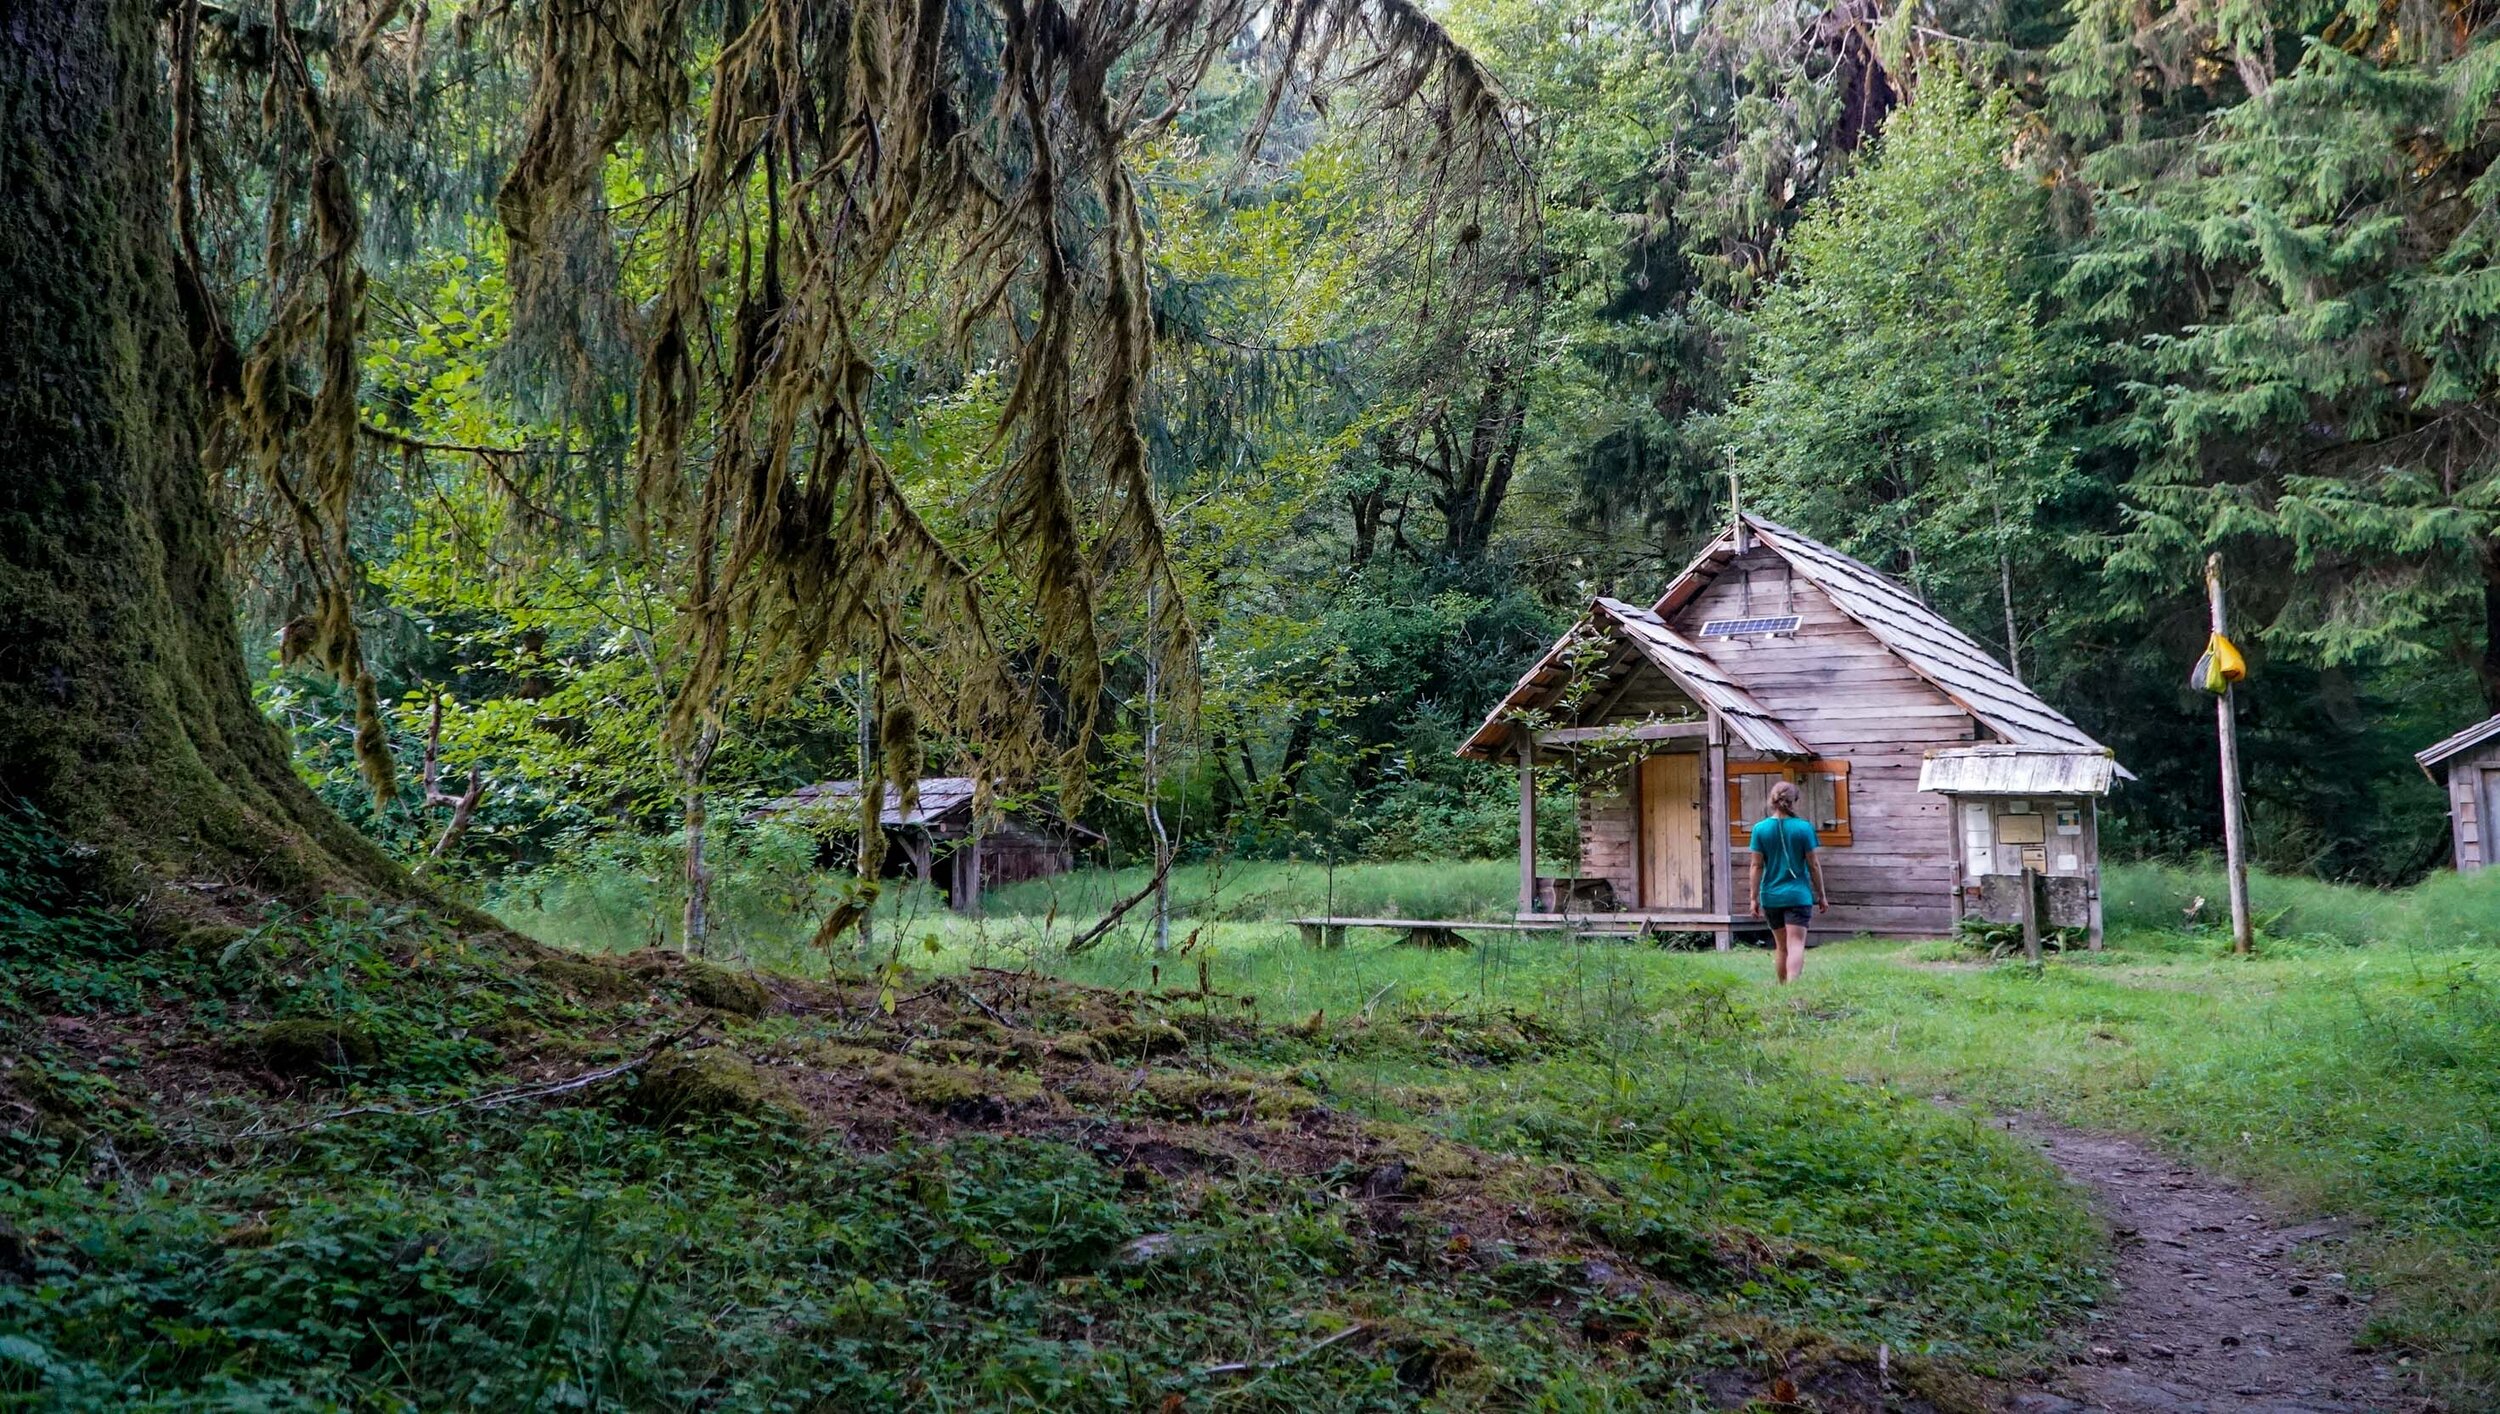
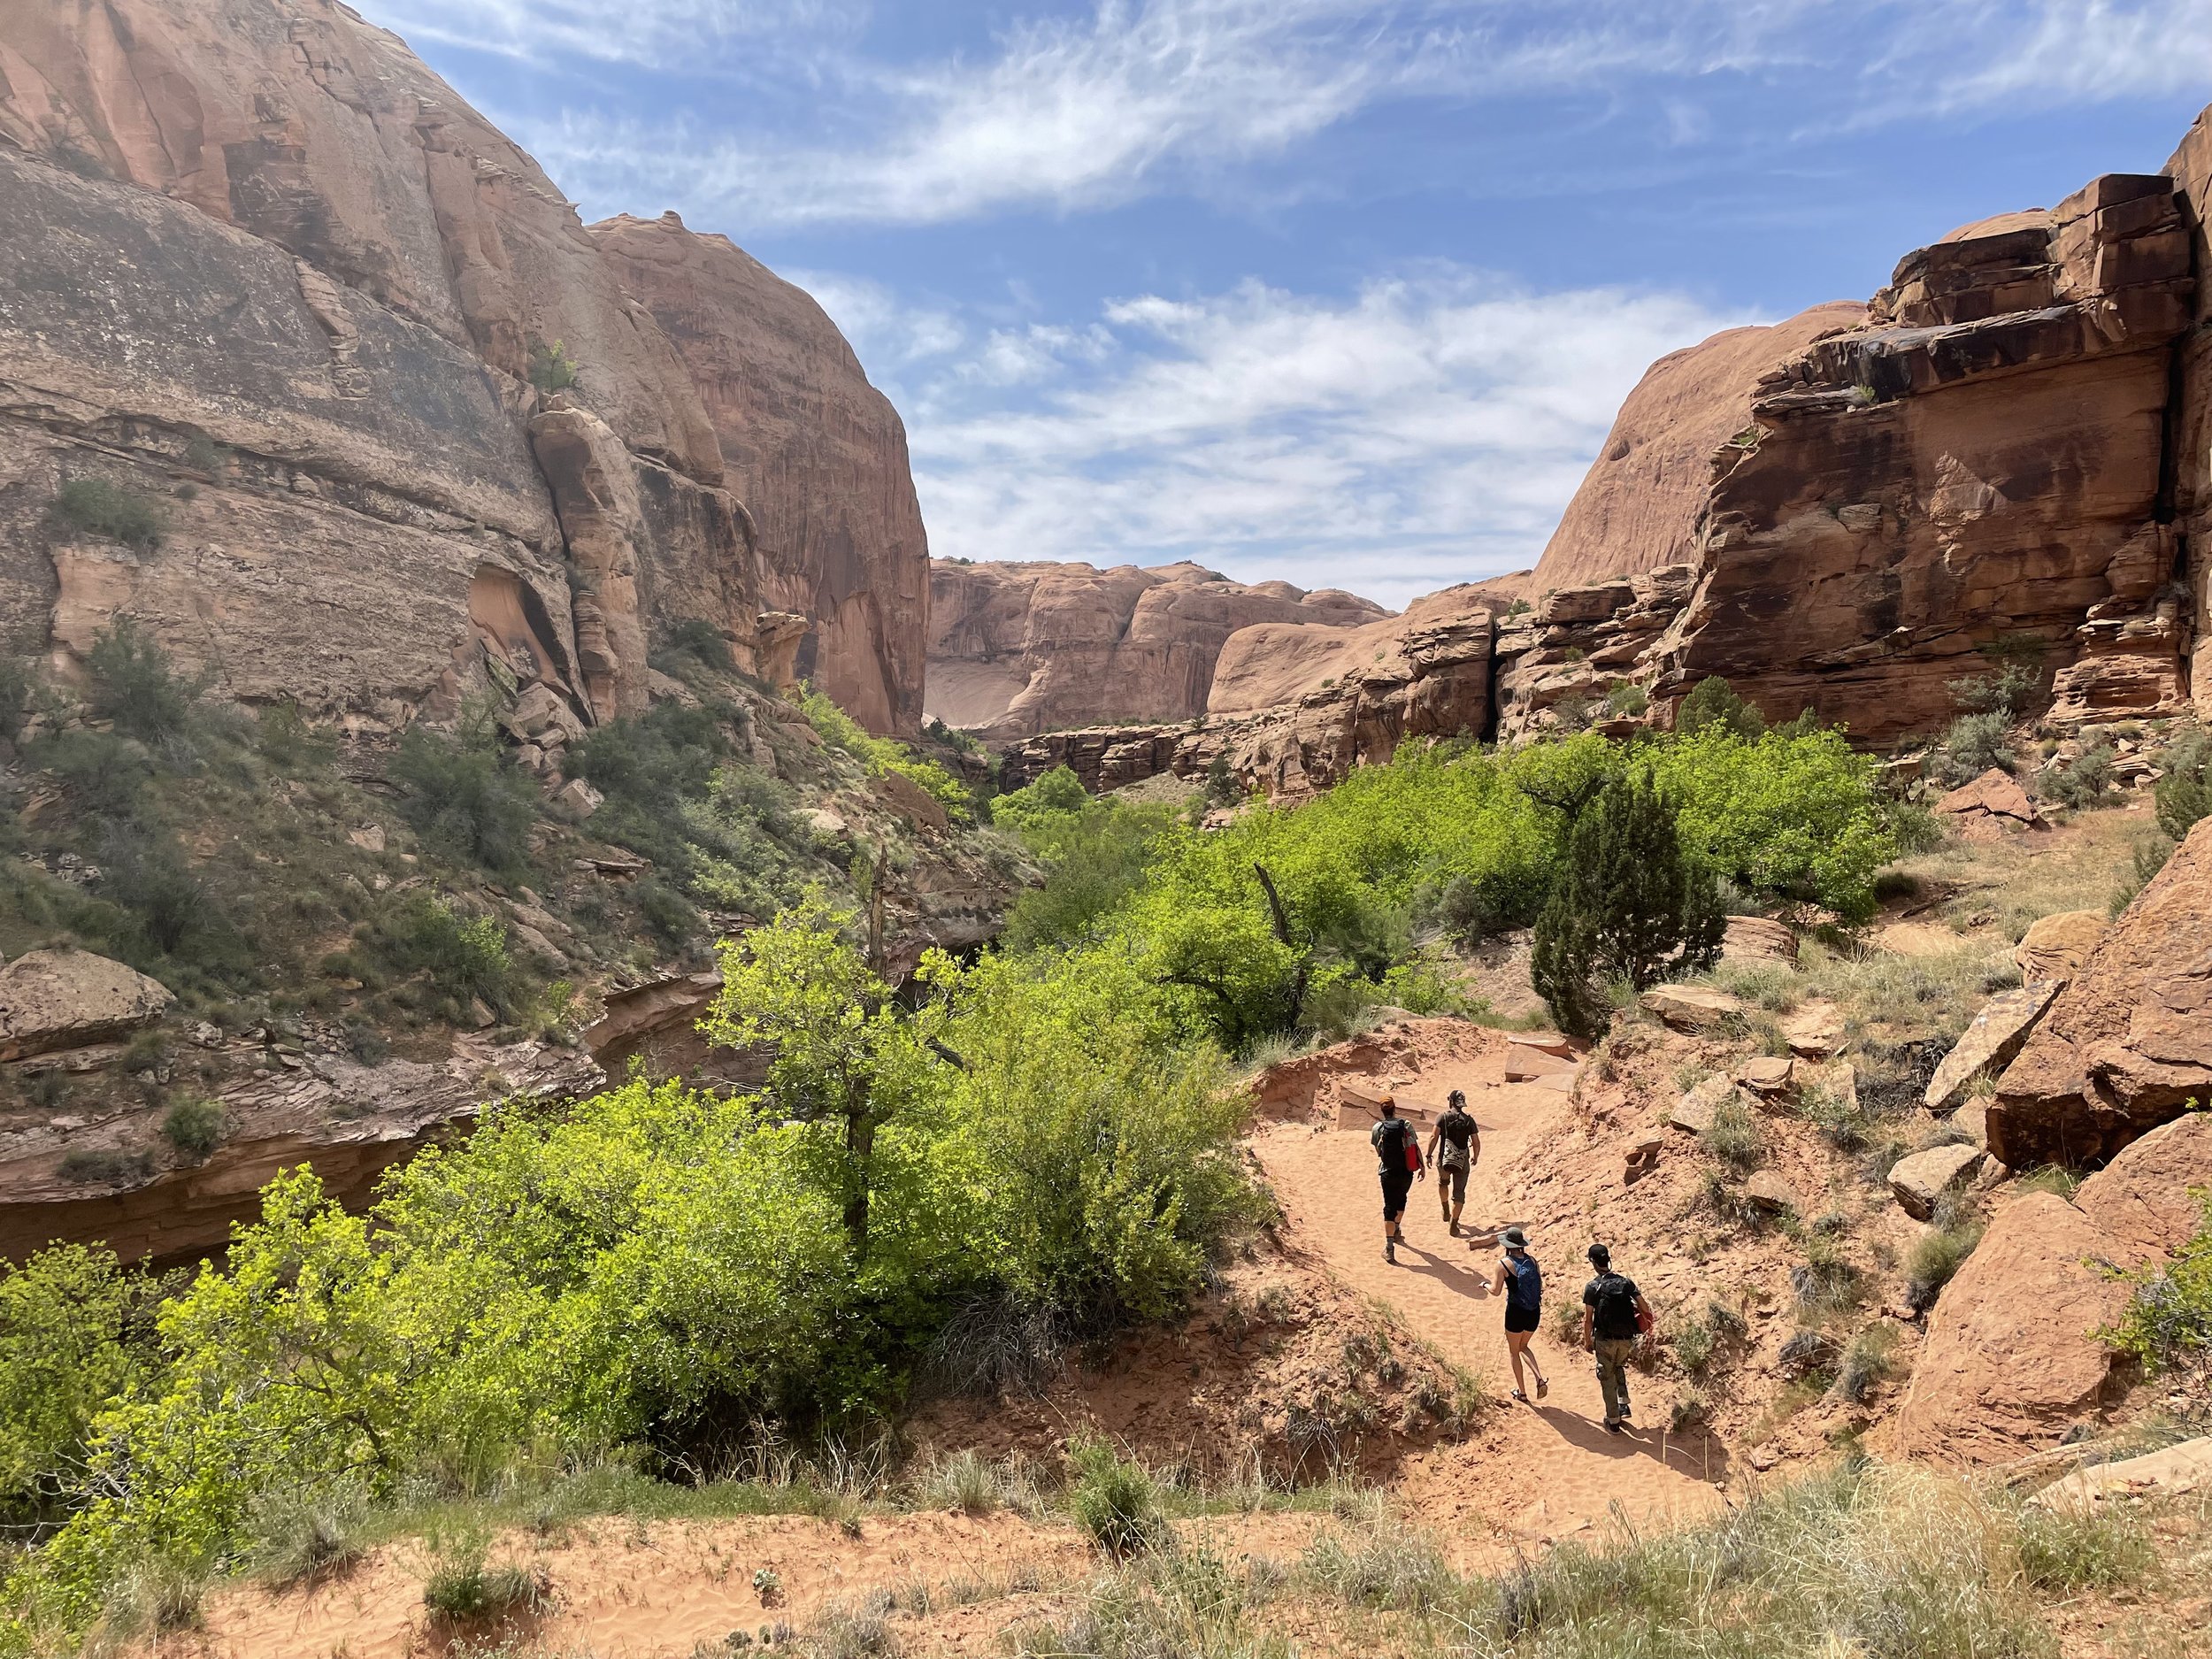
Moonflower Canyon
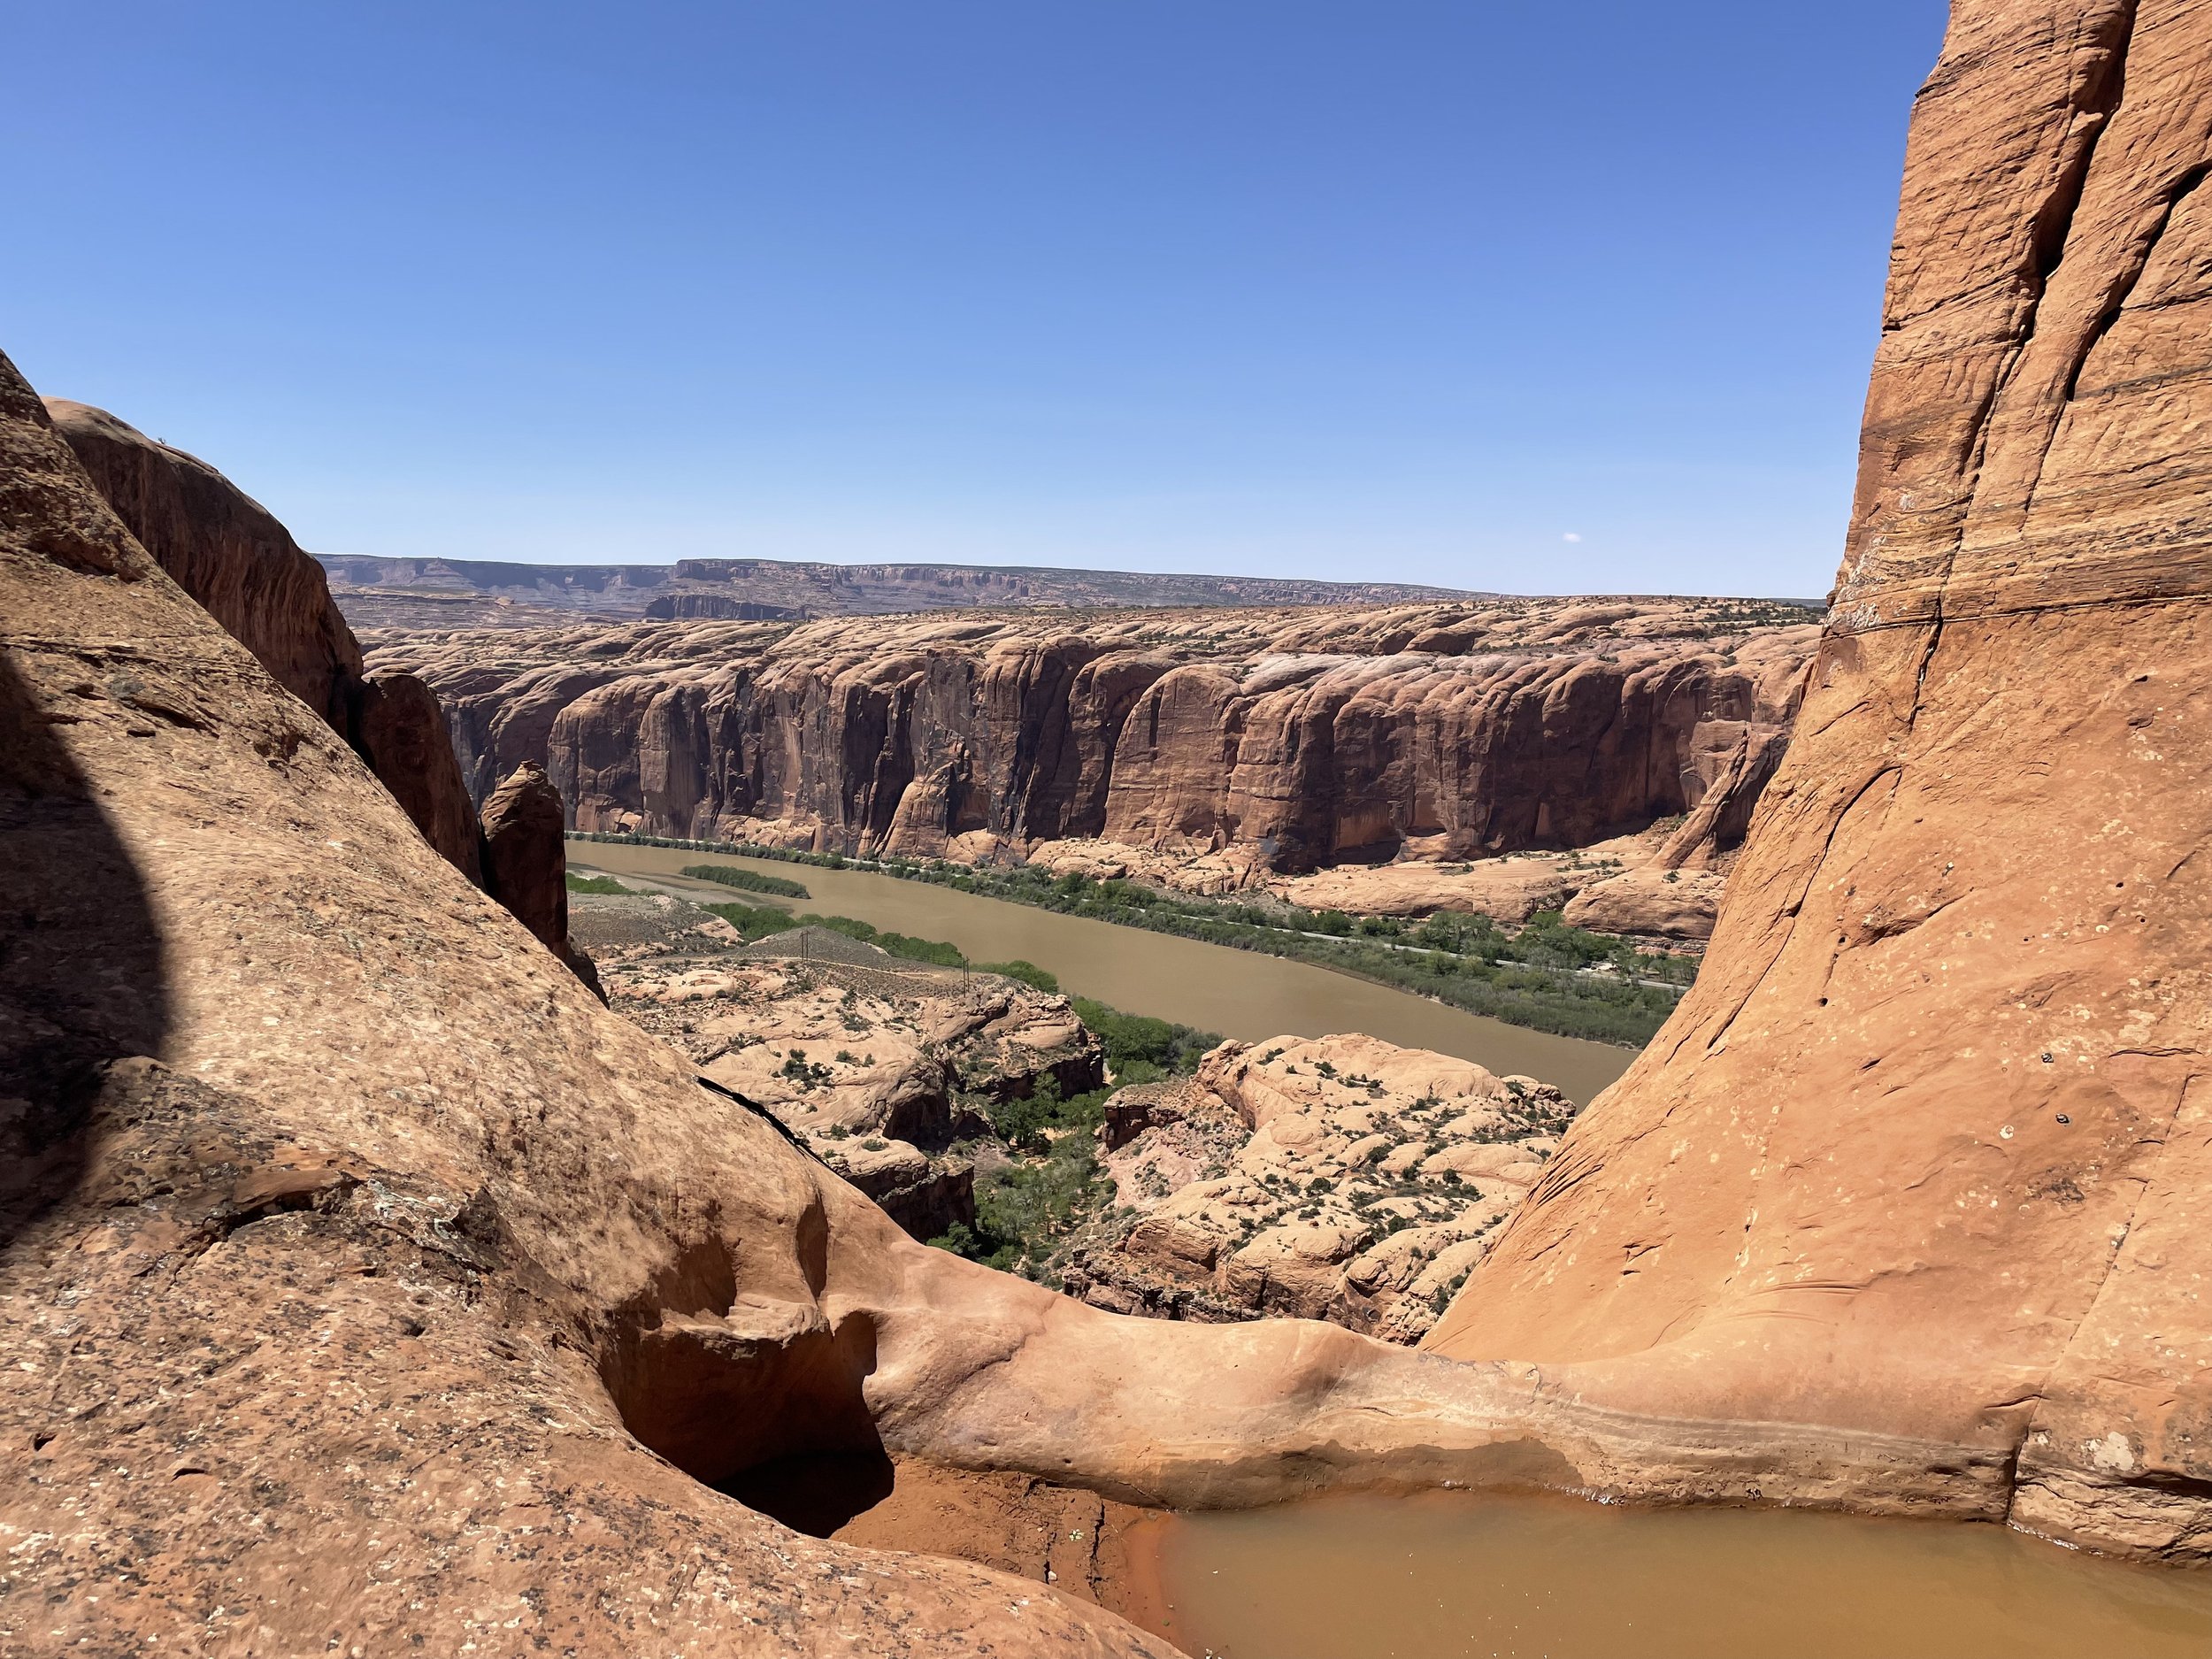
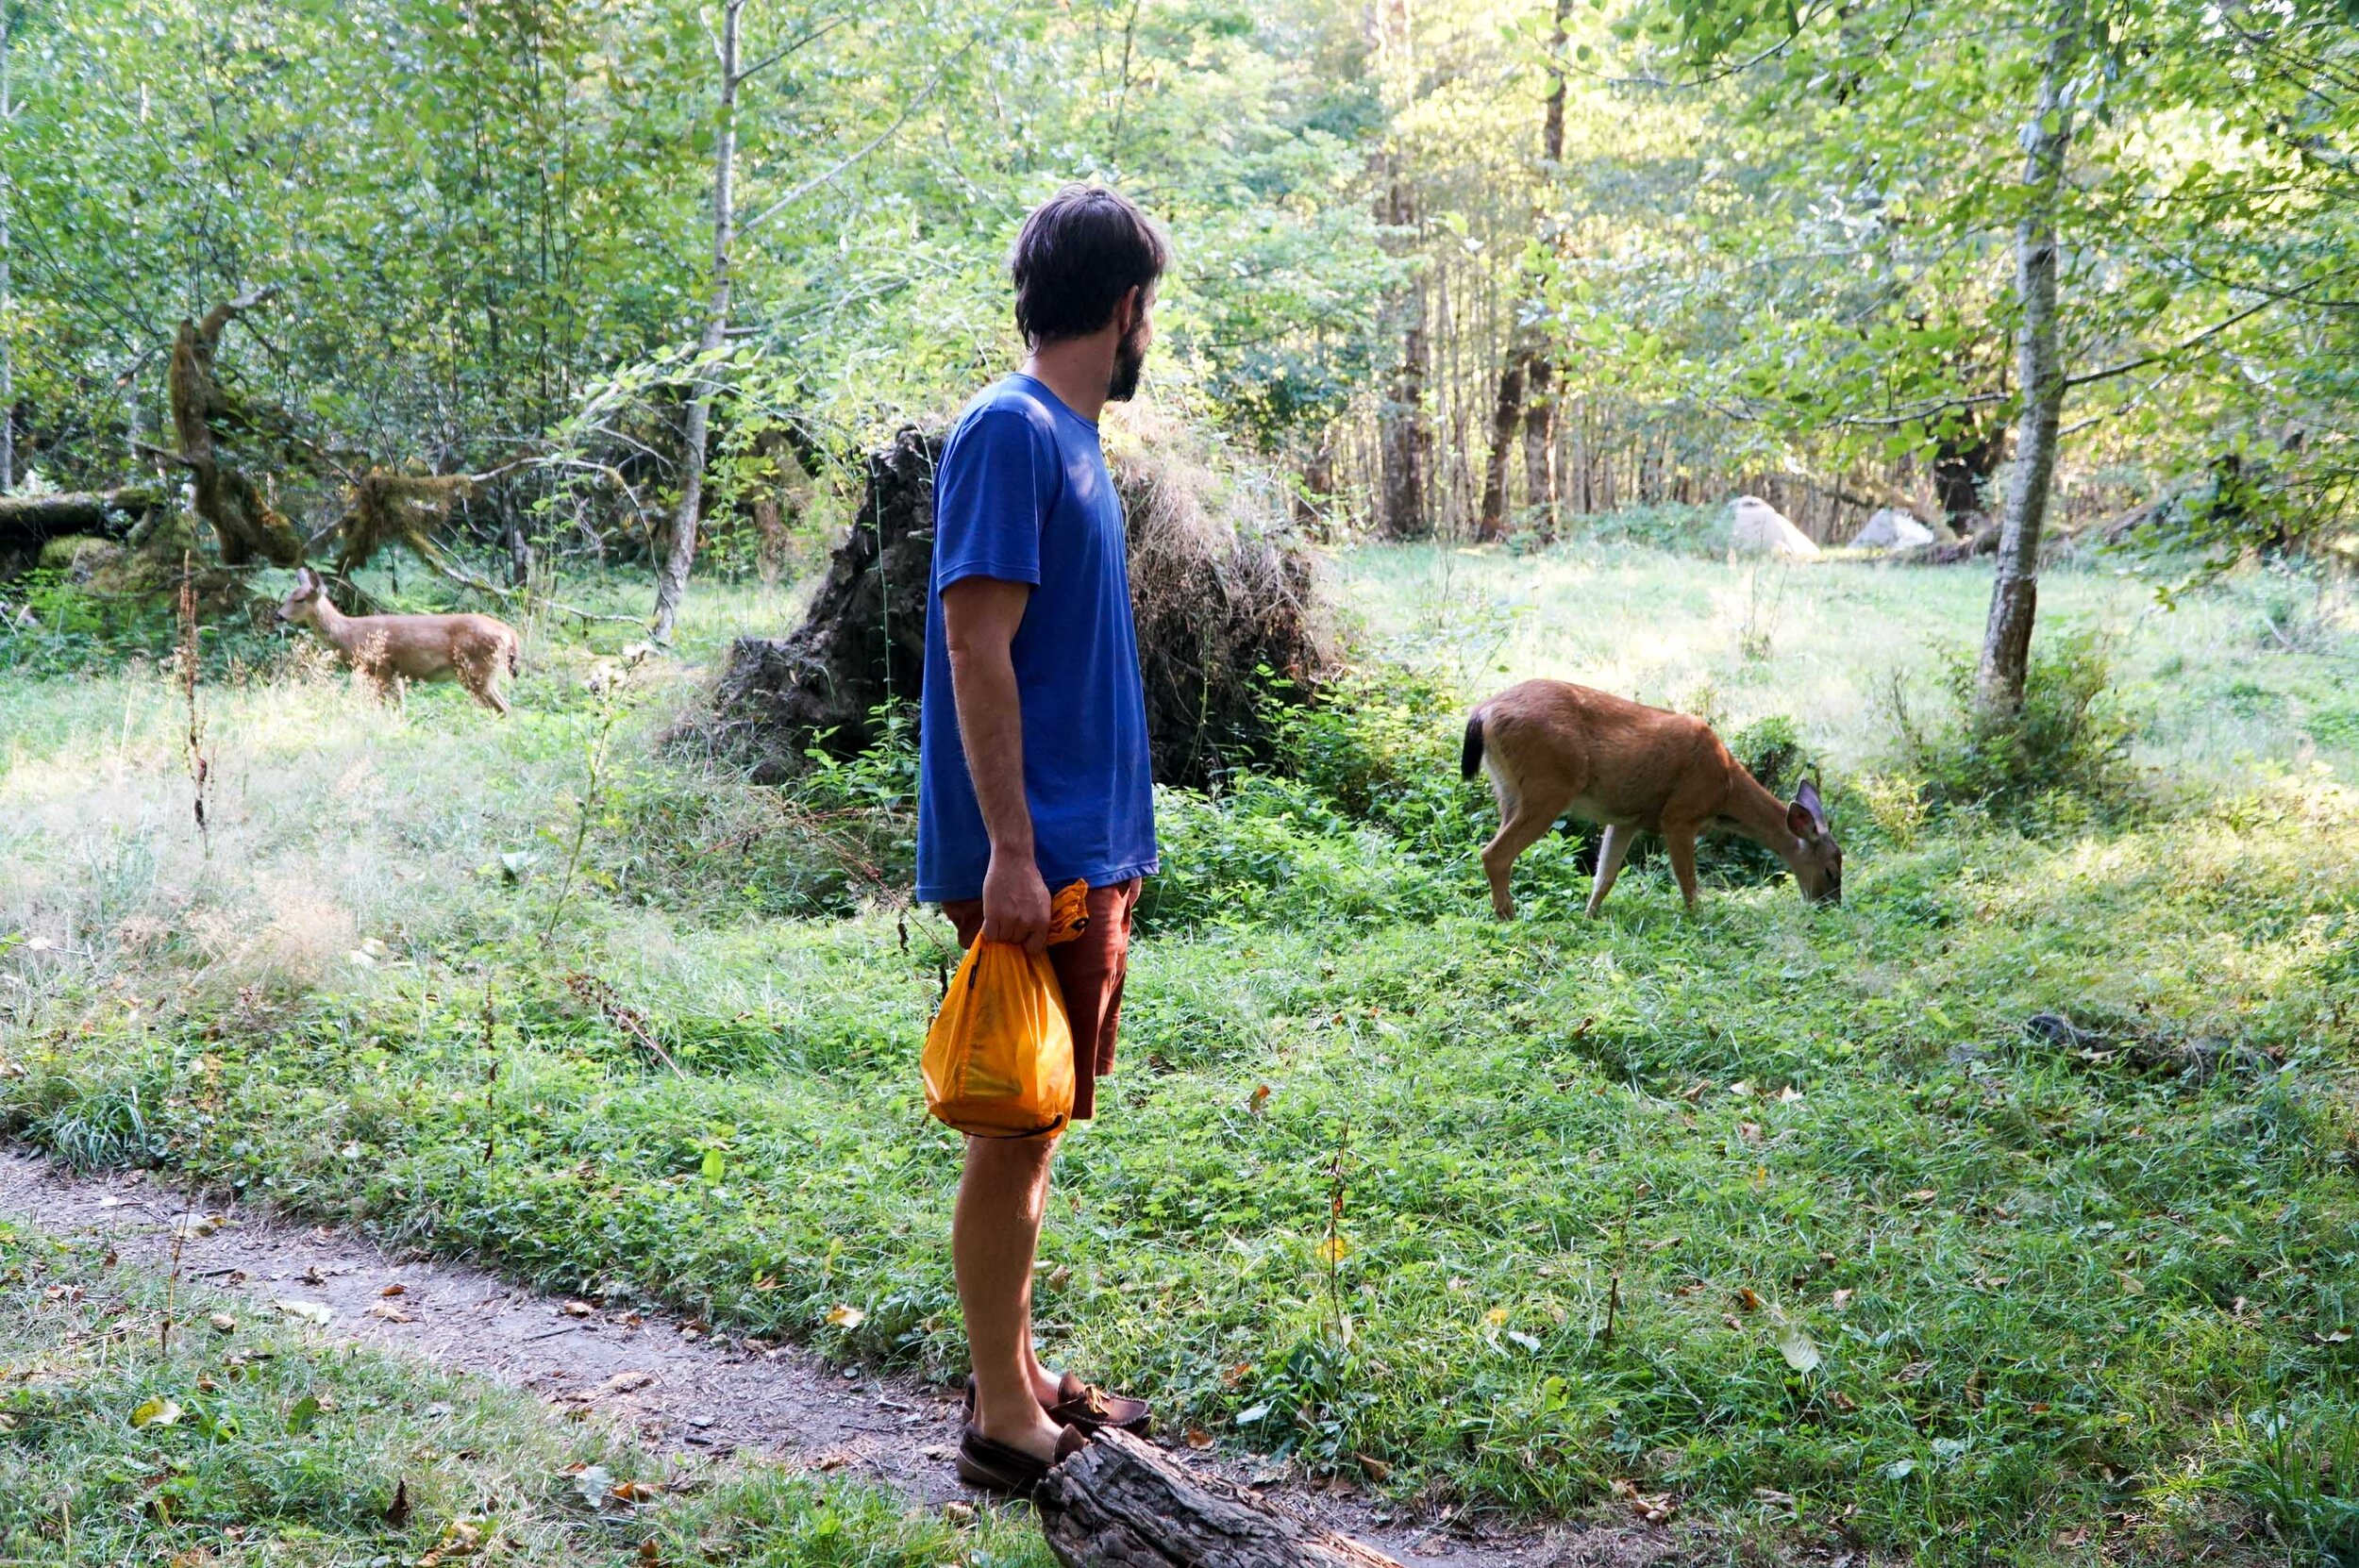
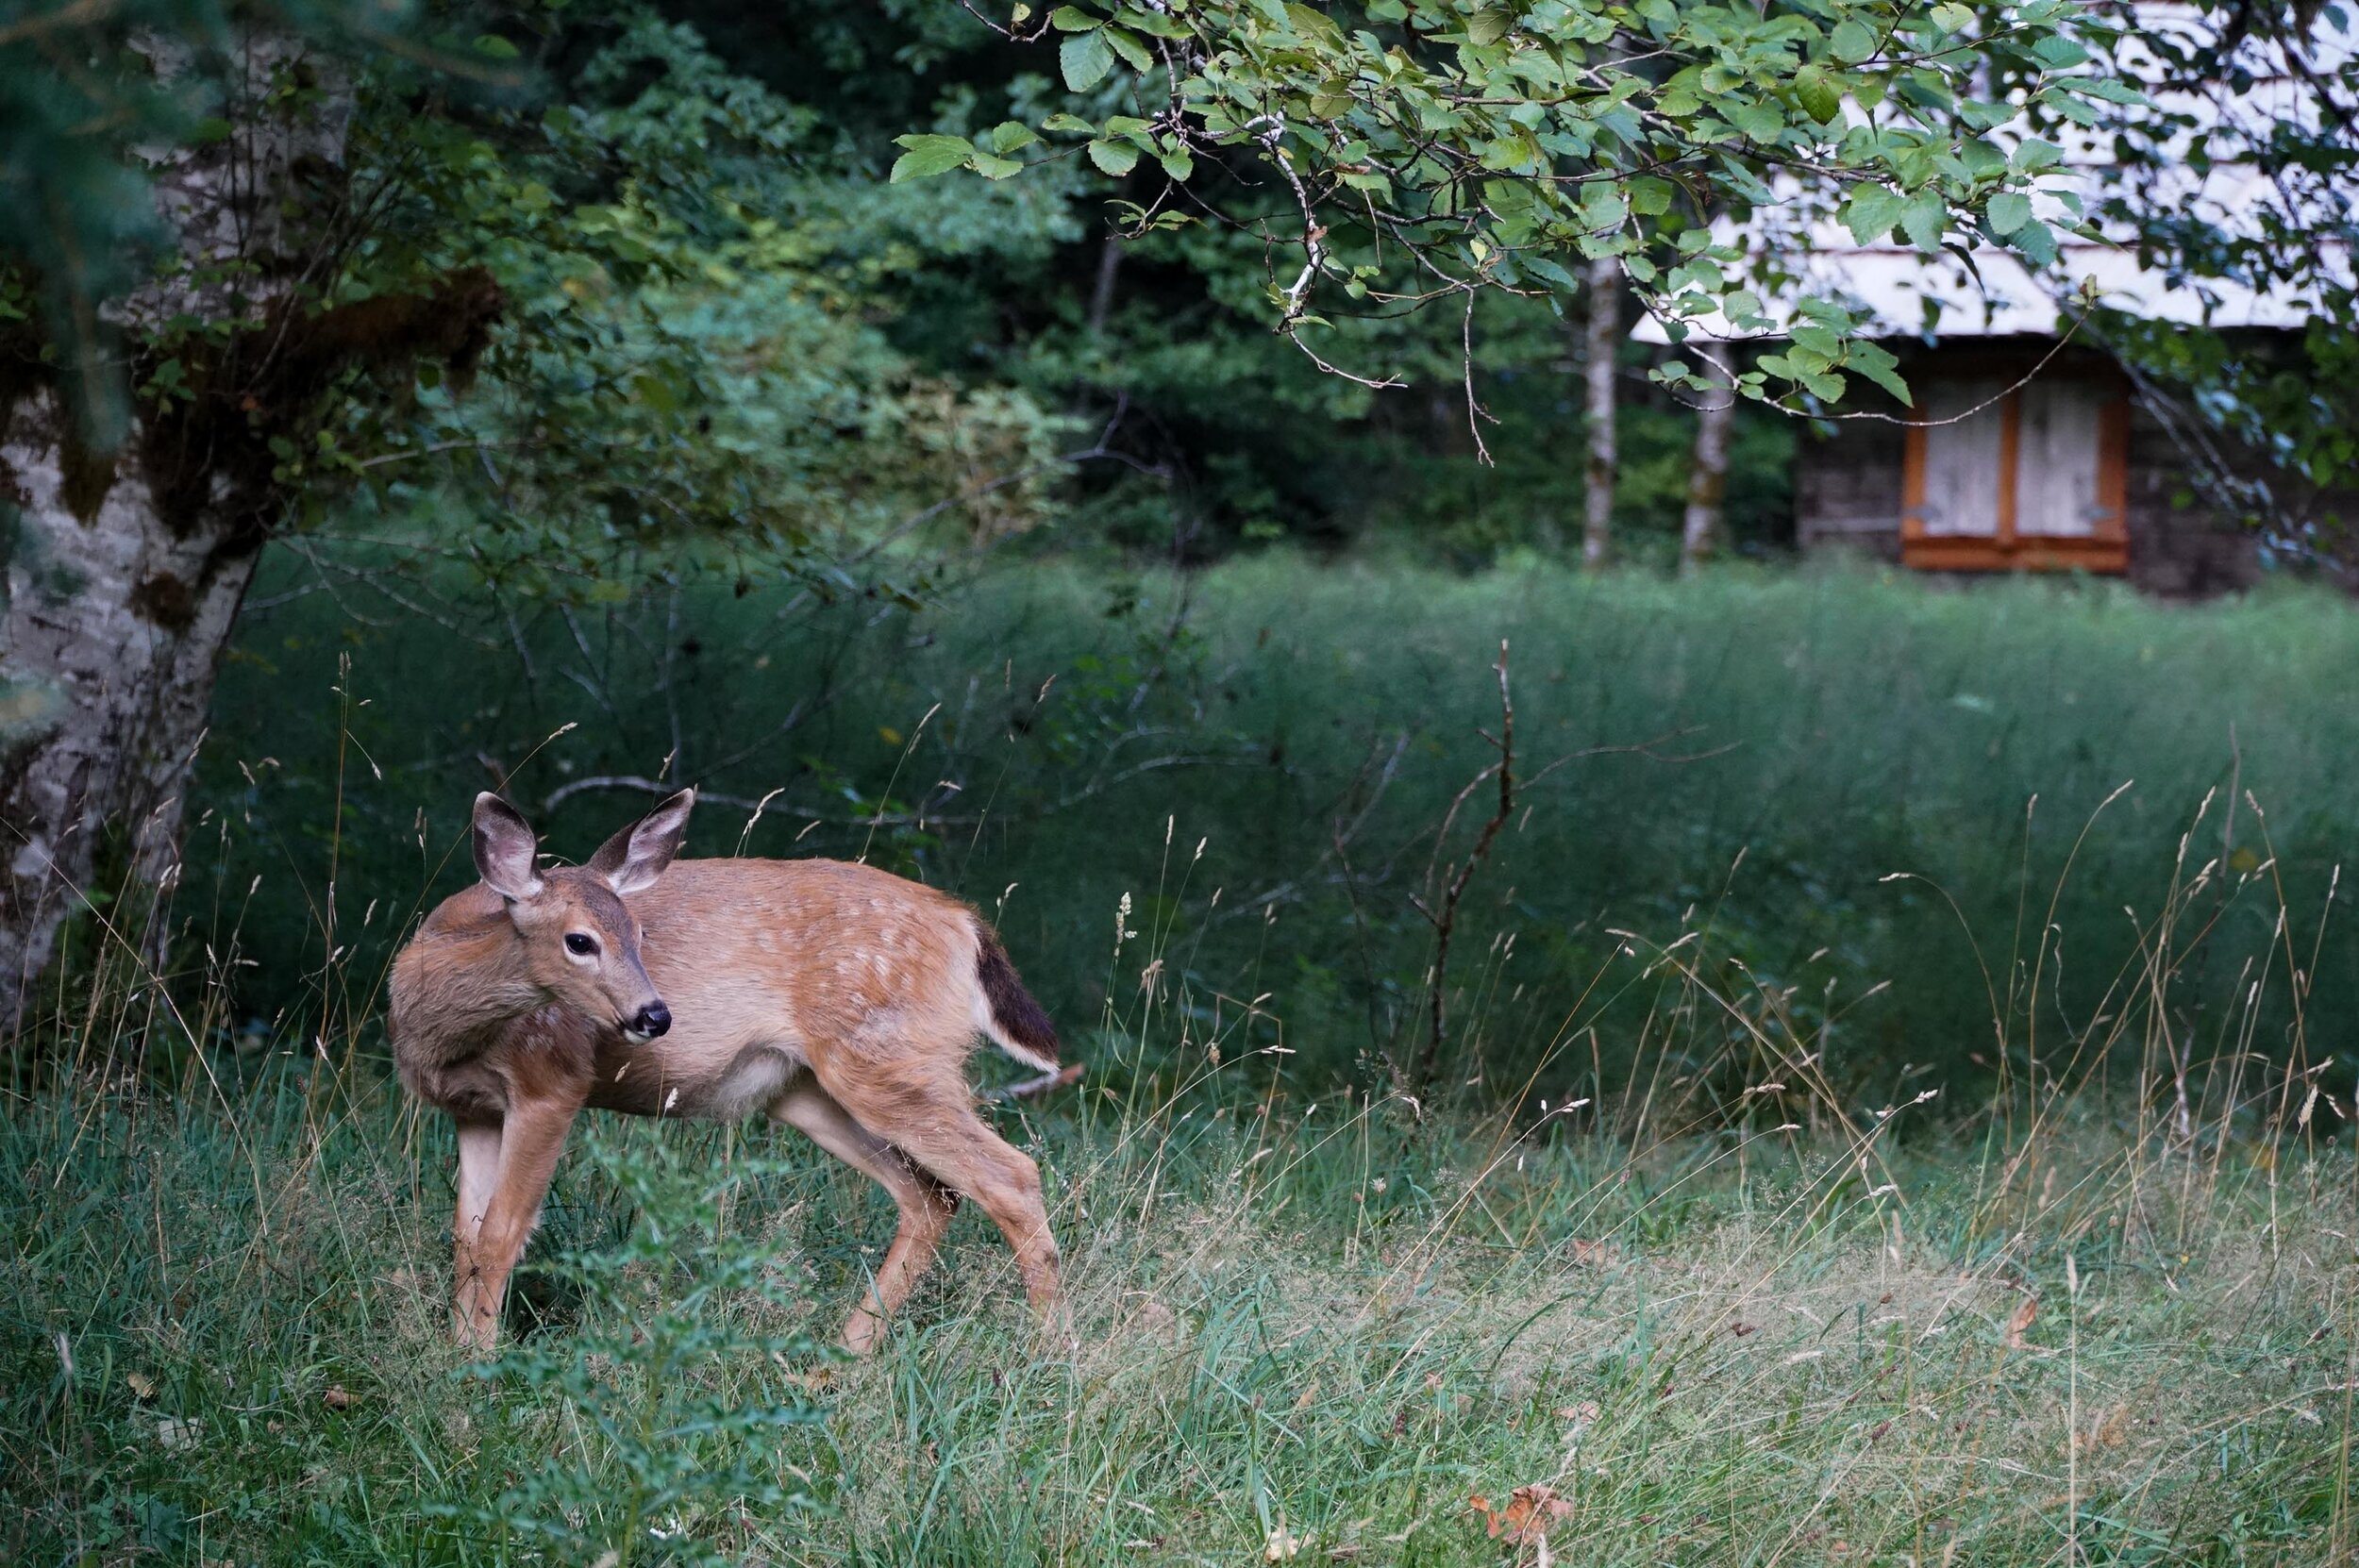
Moonflower canyon is not only a great adventure it is also an amazing place to park your van for the day and relax after a thrilling adventure down Moonflower Canyon. Before or after you begin the adventure down Moonflower Canyon make sure to check out the Native American Pictographs to the right of the trail head. Also there is a nice opportunity to free solo up a Native American ladder up to a stunning view of the Colorado River.
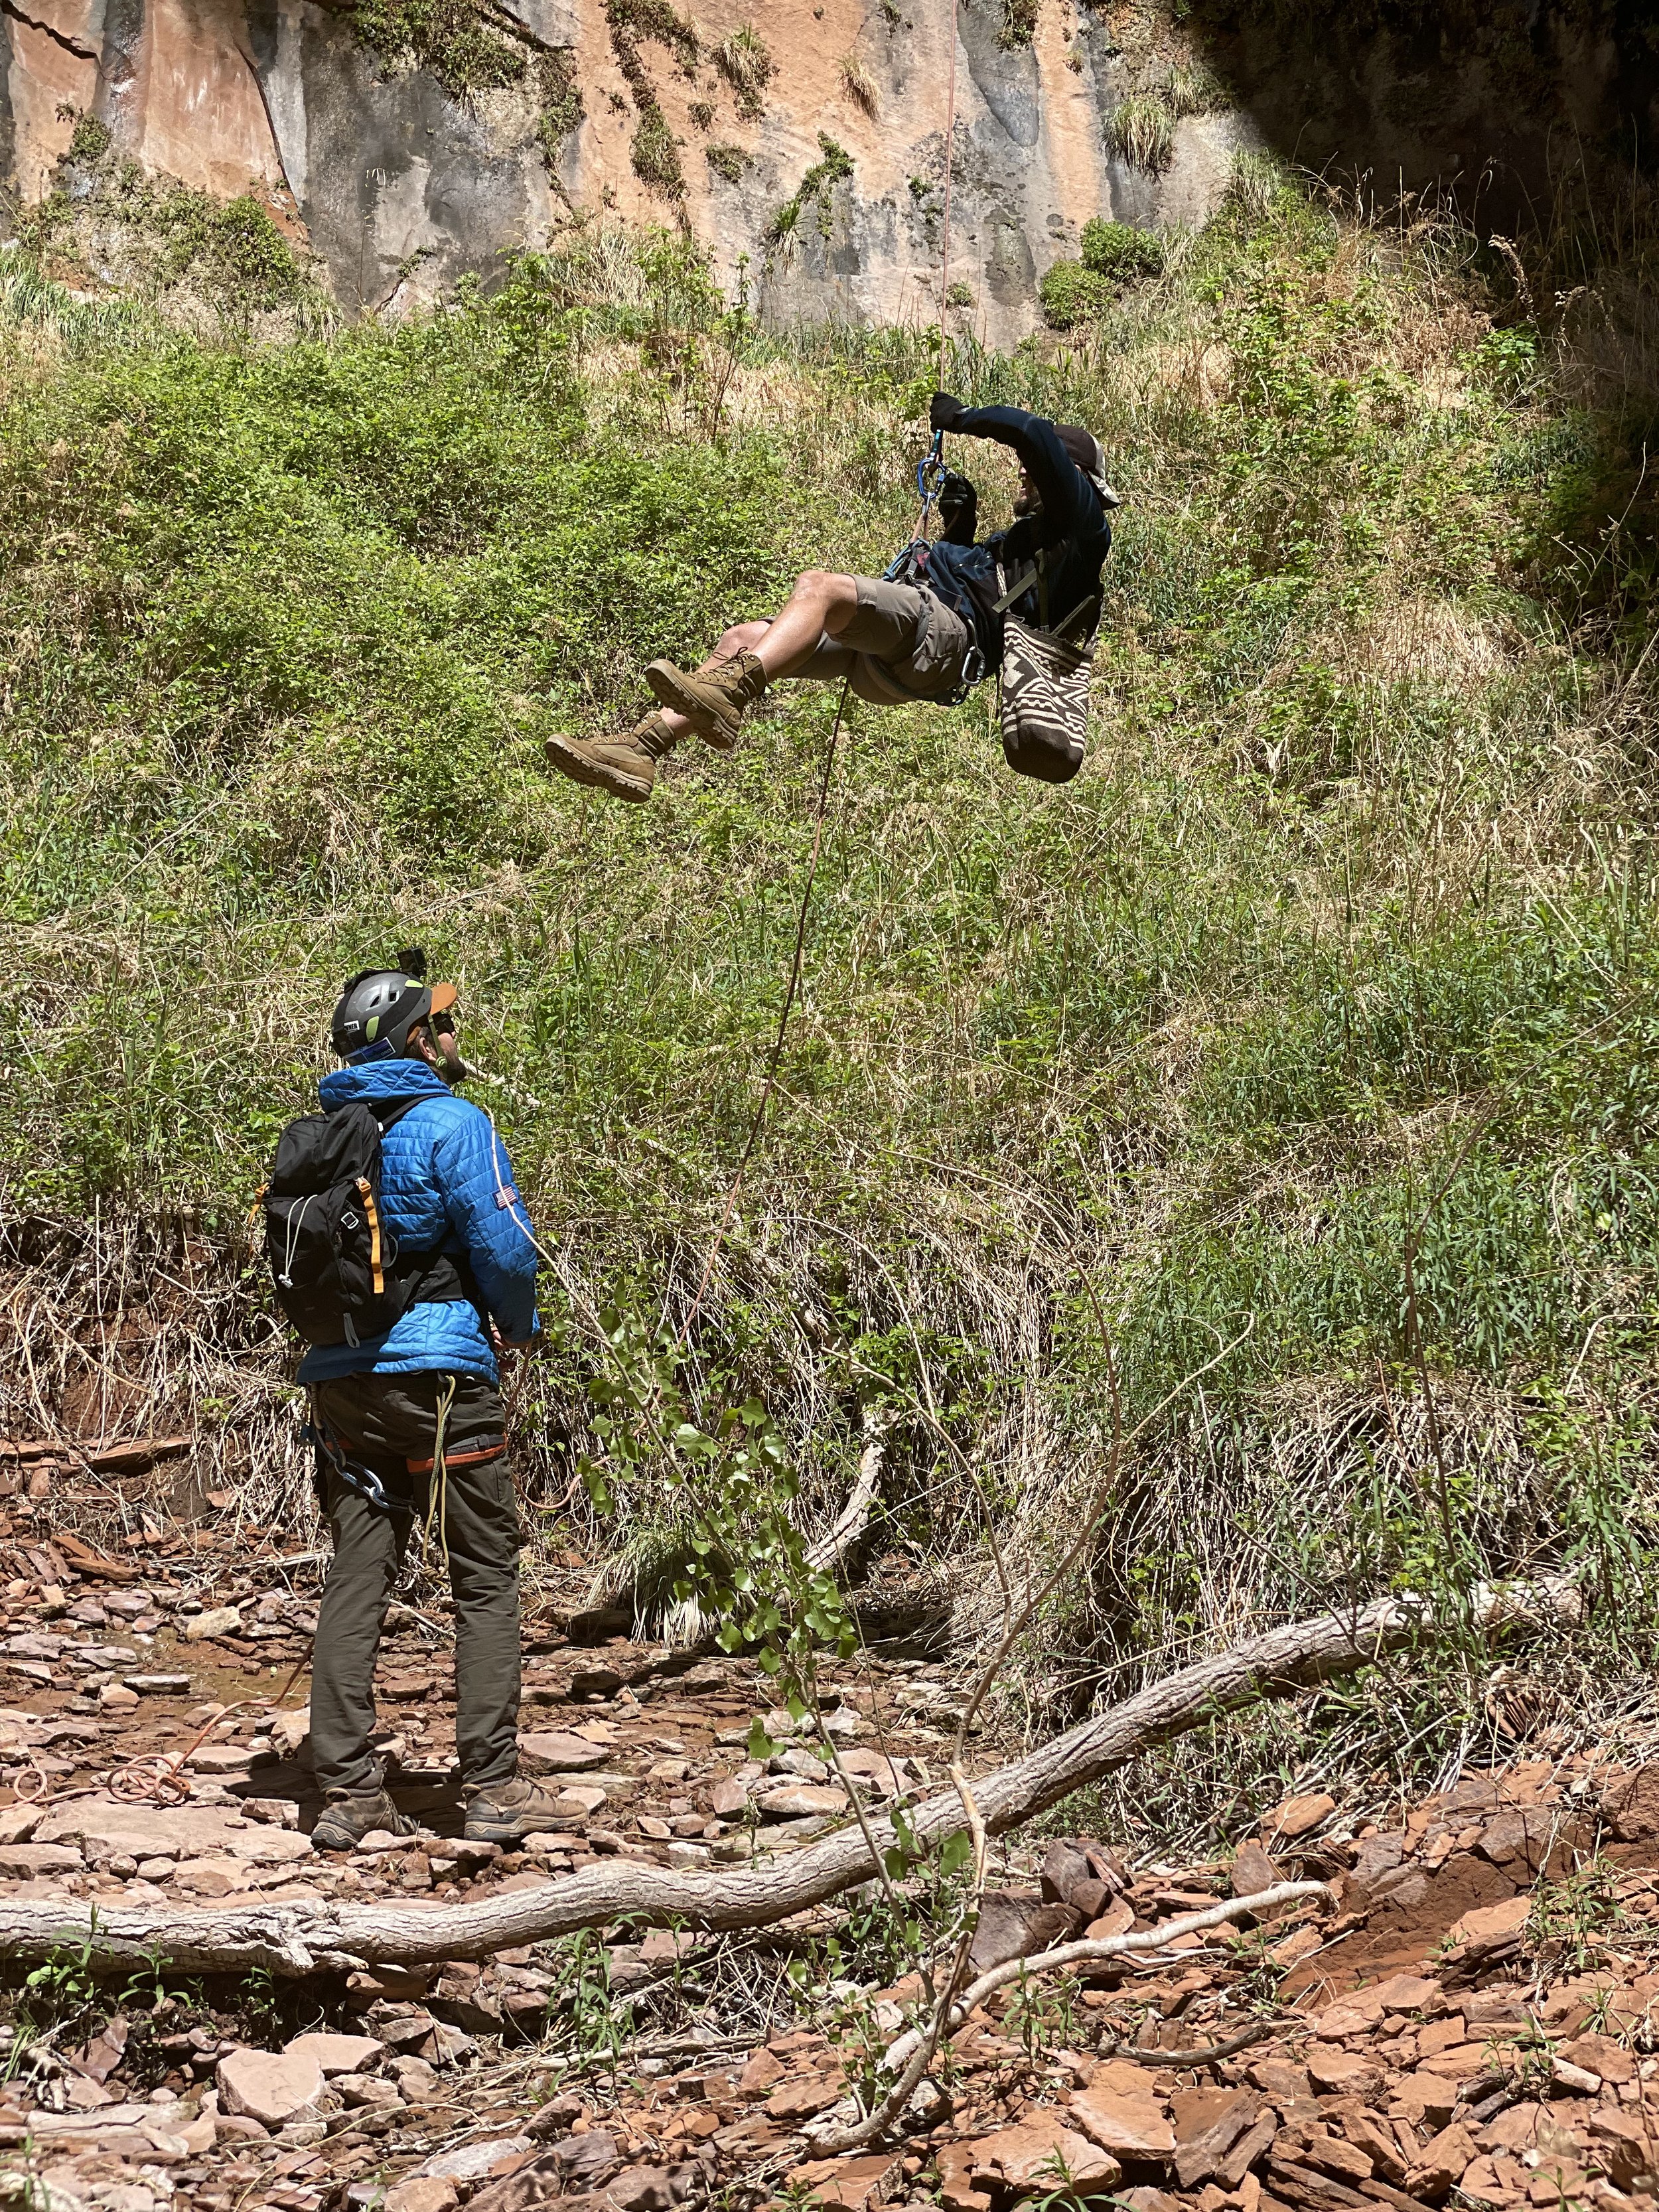
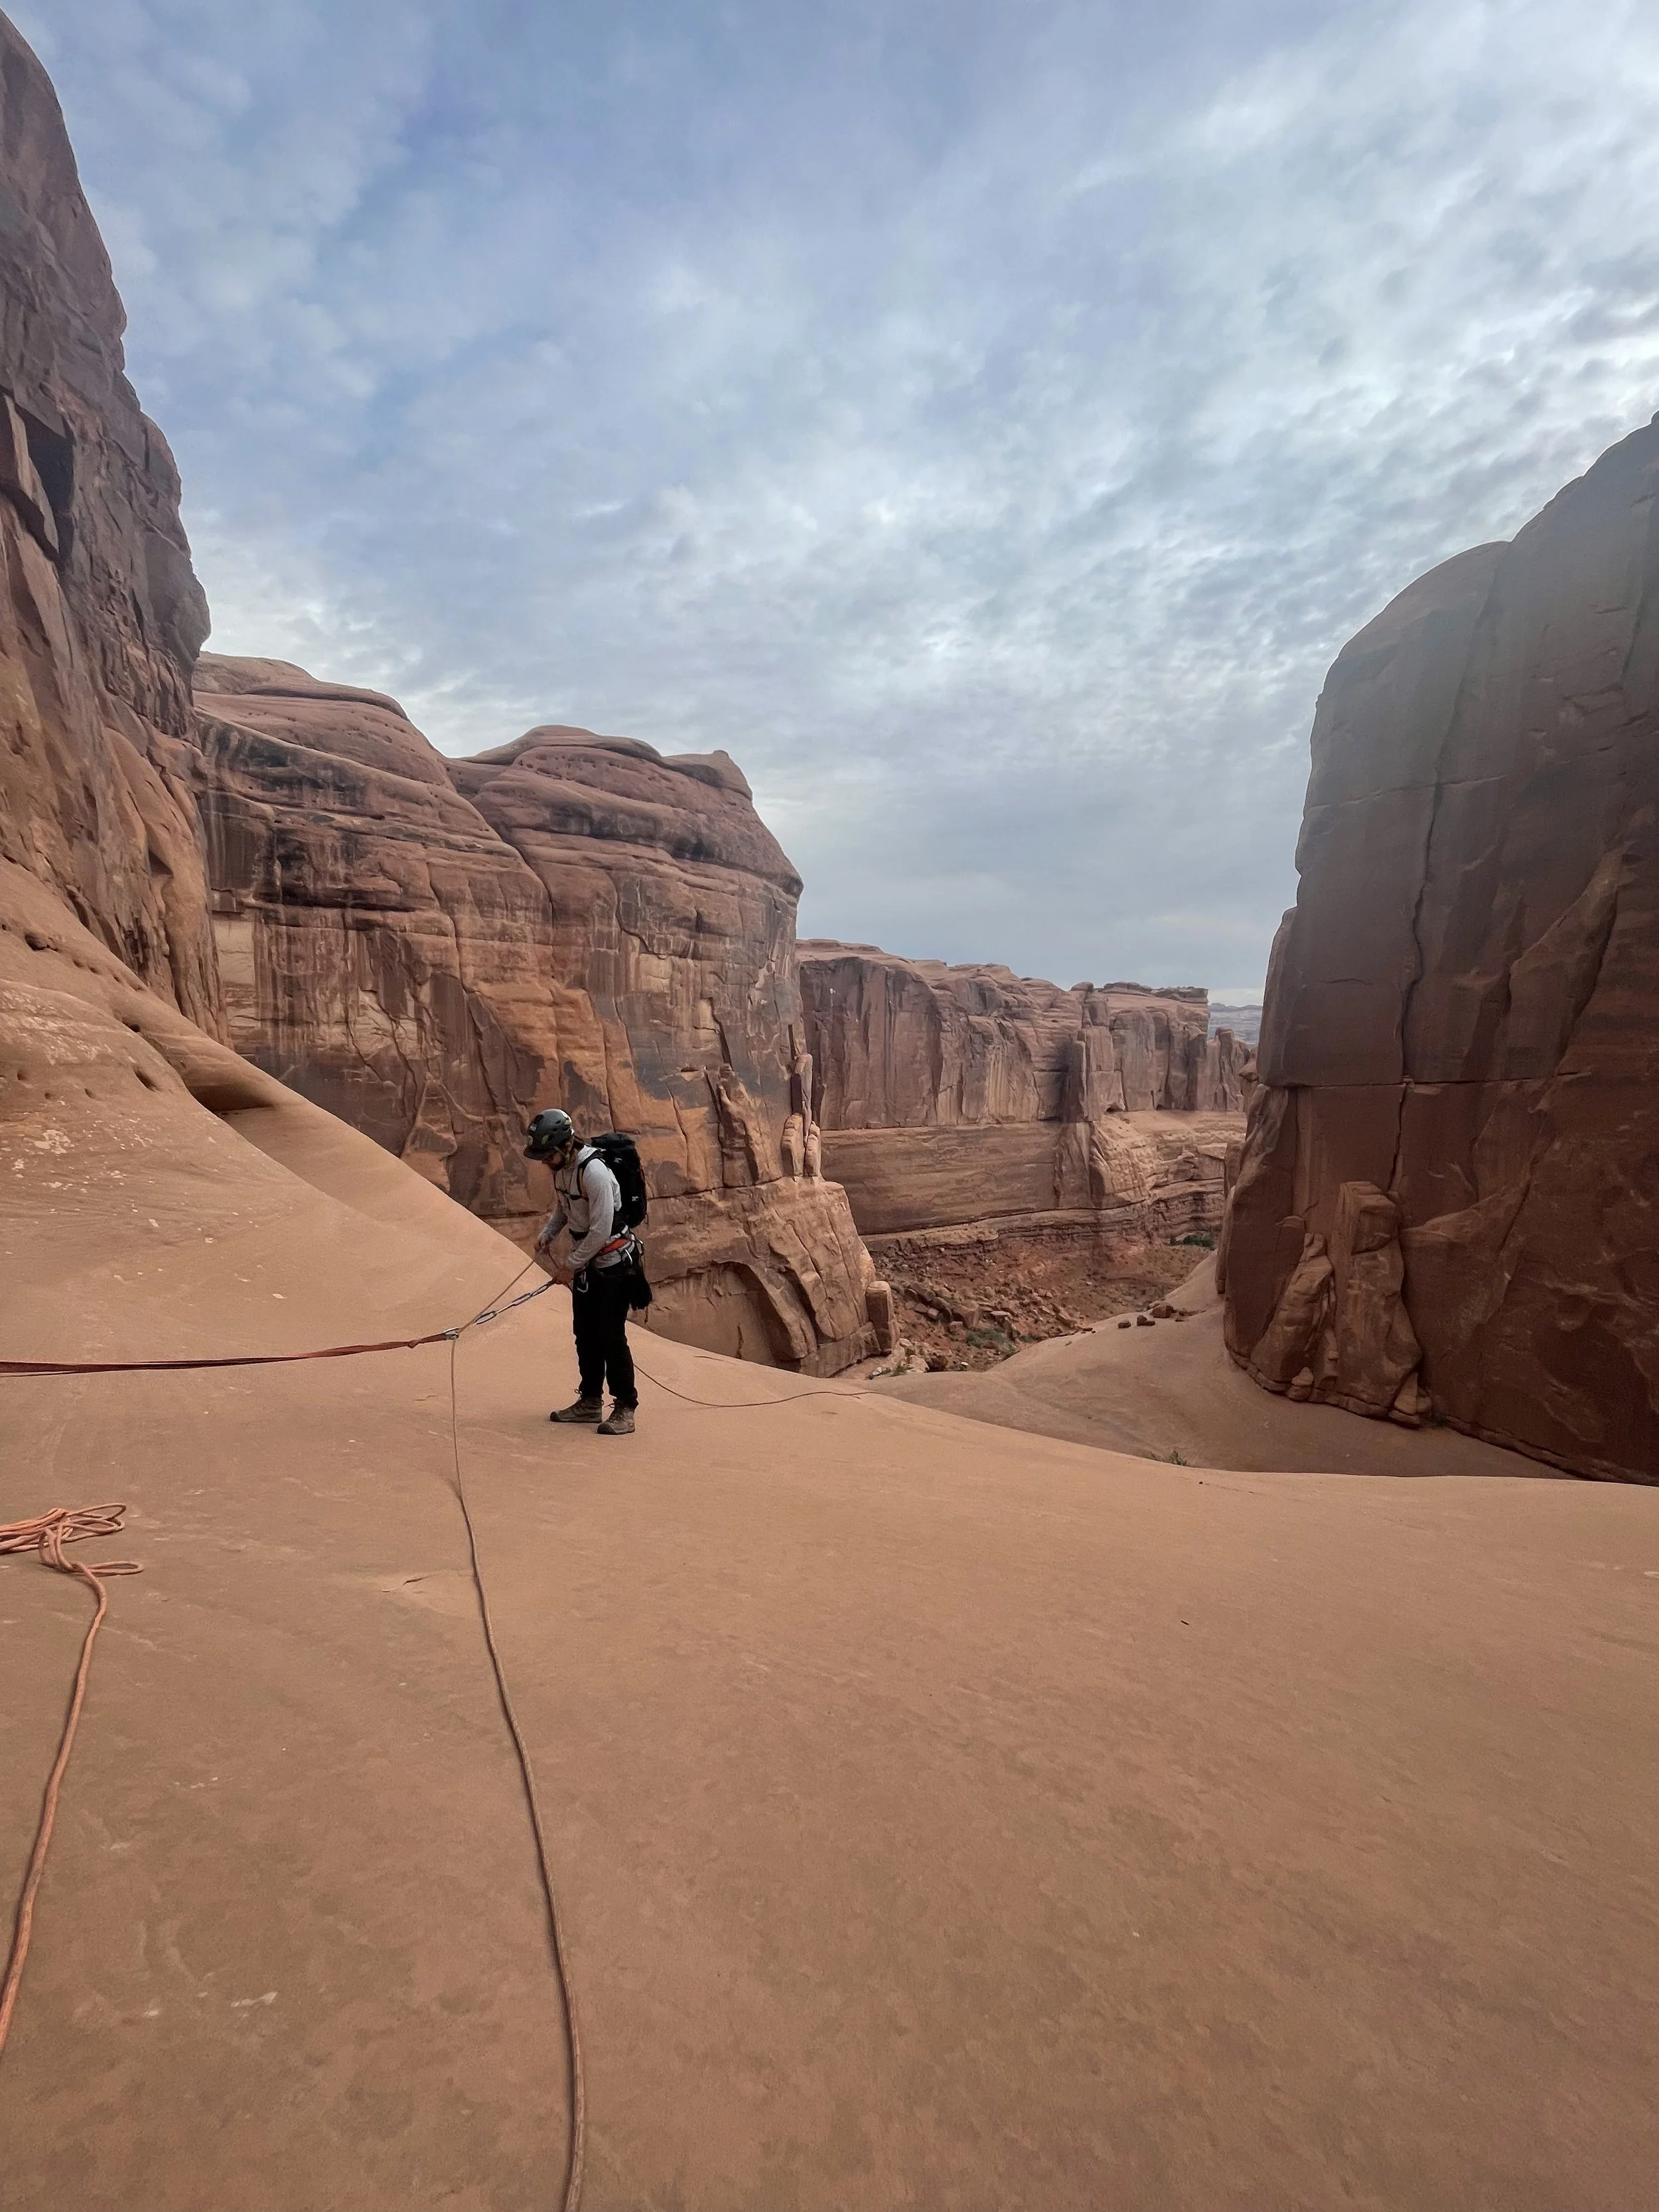
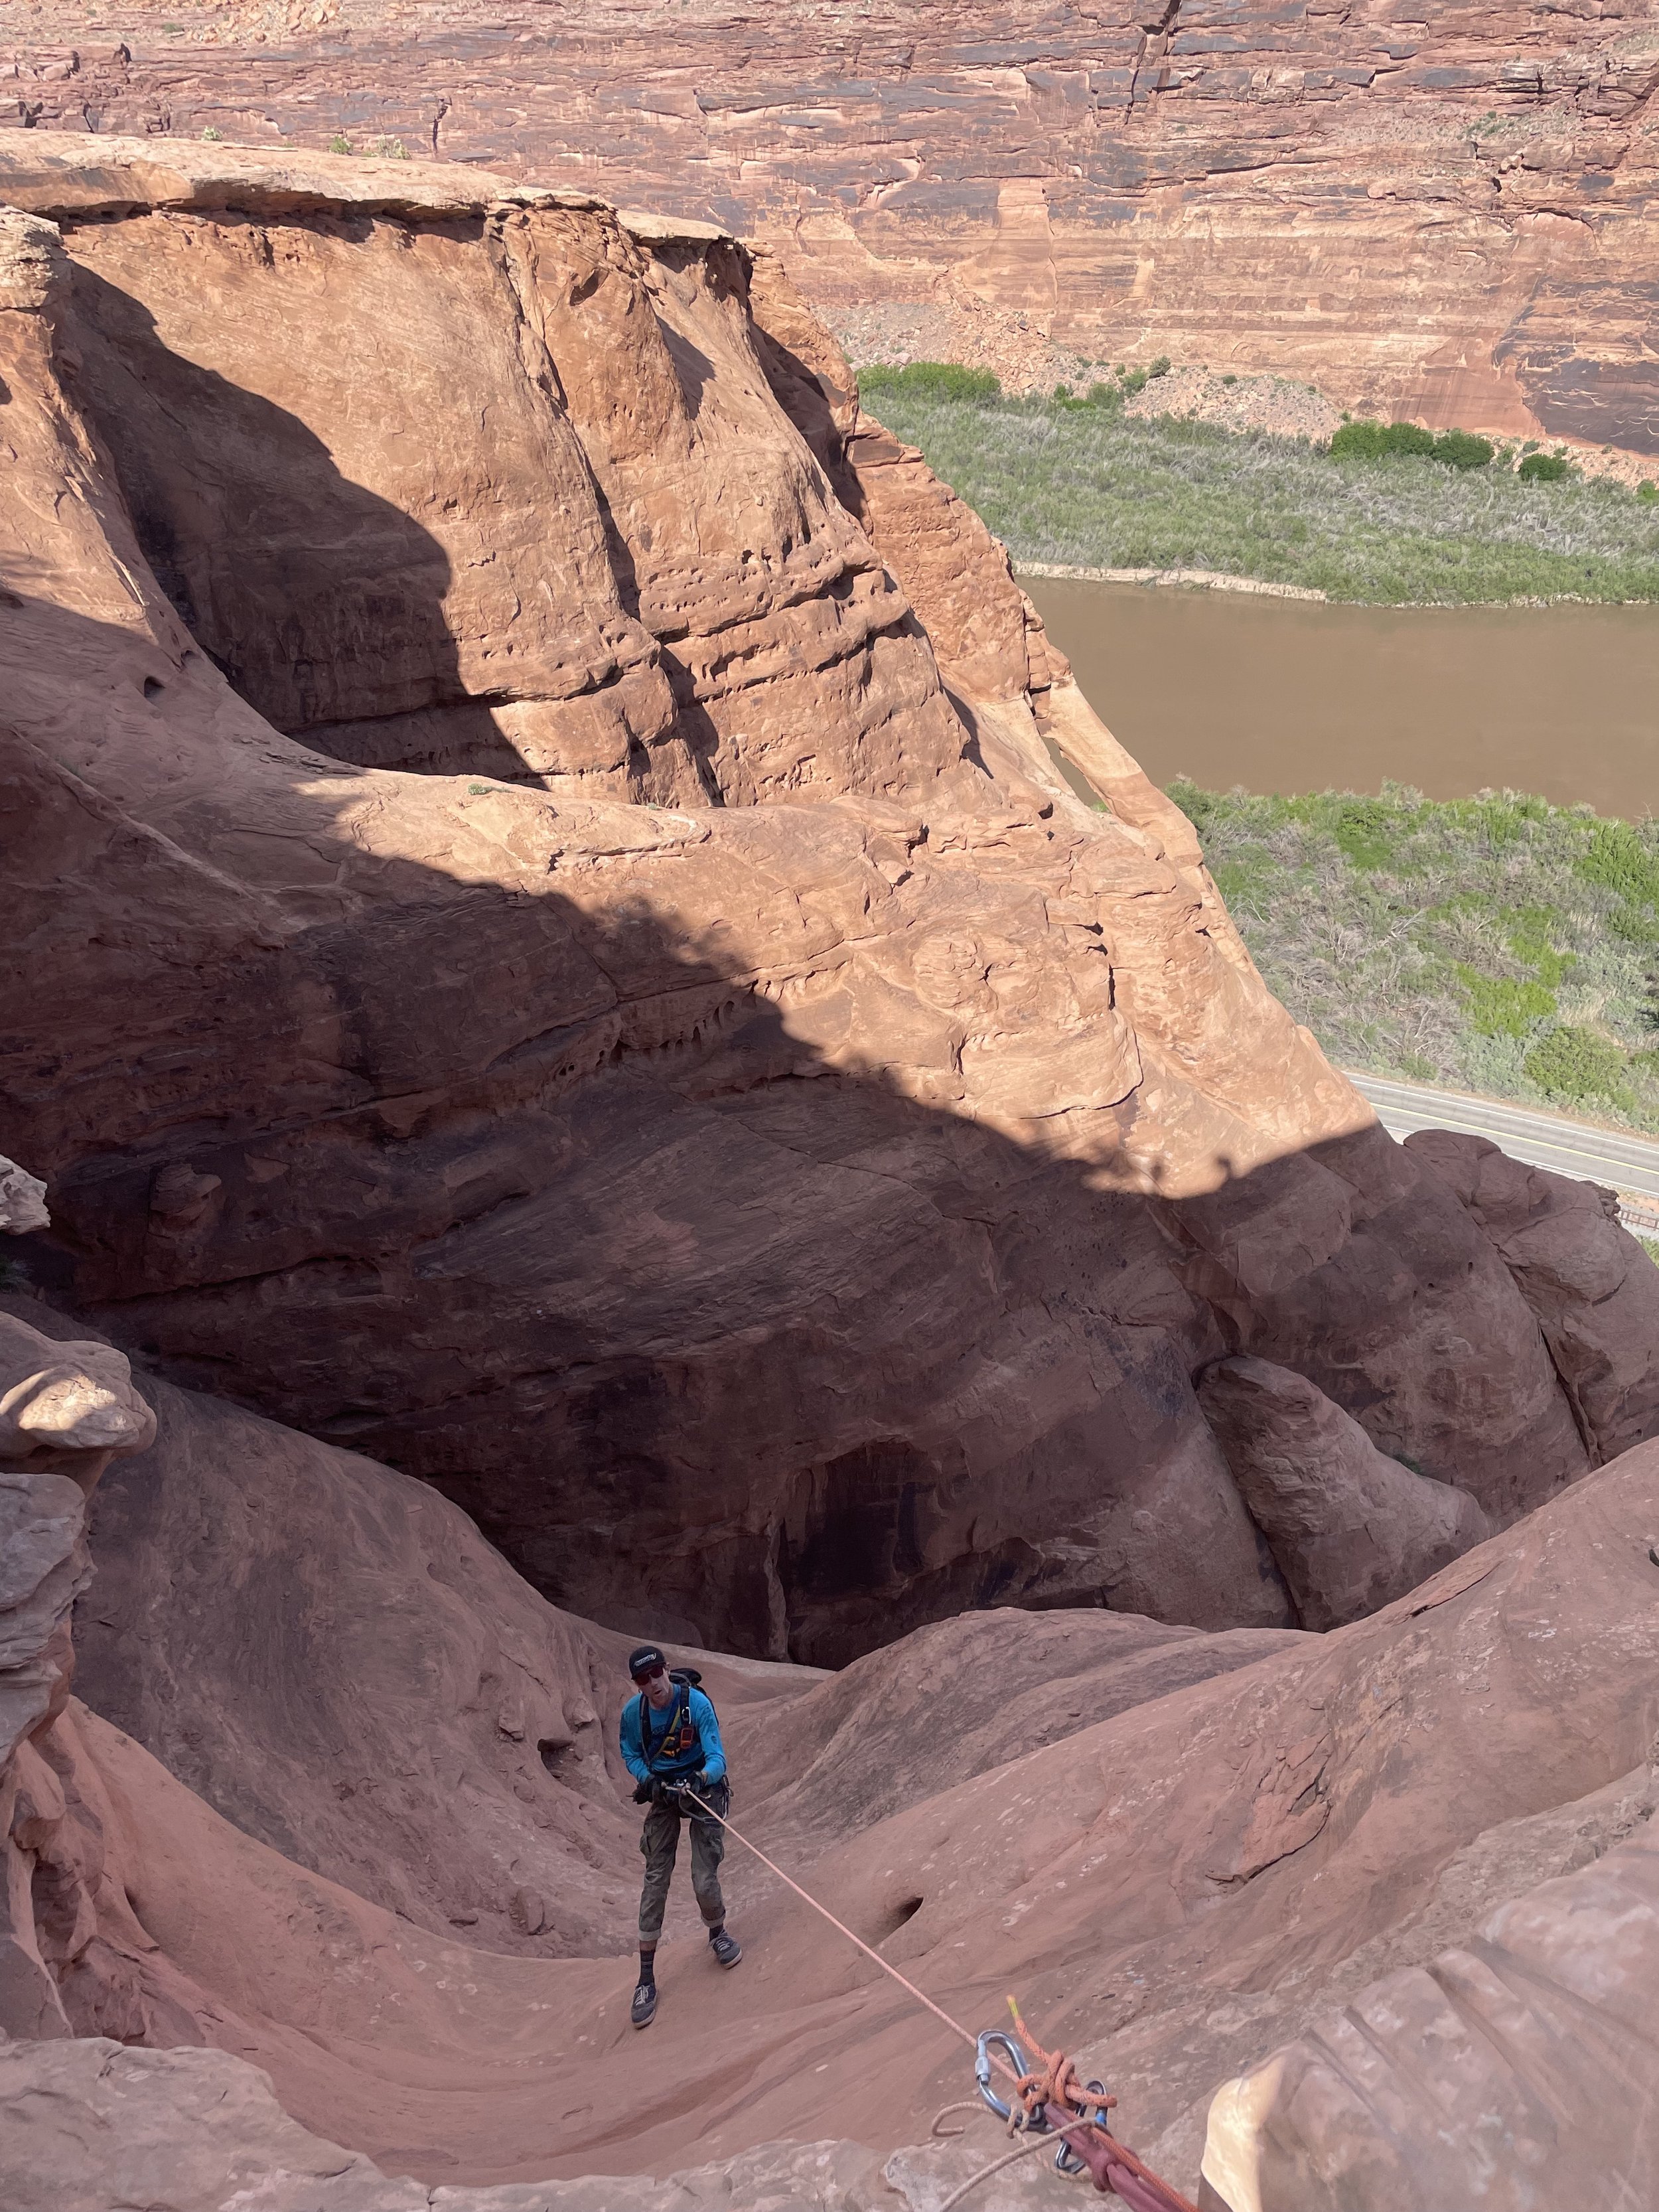
From the parking lot you’ll head east on Kane Springs Road to the Stairmaster Trail/4X4 Road. For more beta on the trails here is the roadtripryan page. This is a short canyon but it has a big approach with about 1,000 feet of elevation gain. Once at the top you will very rapidly begin your decent down Moonflower Canyon to the first rappel. There was a large pothole full of water but there is an easy escape along a hand line to get around it. The first rappel down Moonflower is very intimidating luckily there are two solid anchors on either side for the first rappel instead fo what used to be a dead man anchor. The first rappel is a gorgeous 200 foot free hanging drop down what seems like the edge of the earth. After the first rap you will scramble down just a couple hundred feet to the next rappel which is just shy of 200ft. This rappel will take some time finding the anchor but it is right down the center of the second rap. This one is less intimidating and less free hanging but still gets the blood flowing. After the last rappel it’s a short walk out of the canyon back to the van. No shuttle needed.
U-Turn Canyon
Located inside Arches National Park is a great quick morning warm-up canyon and a great way to start an adventurous day at Arches NP. Before you head to the canyon make sure and fill out a free permit at the ranger station. (it’s a booth in front of the first information center)
U-Turn is a great opportunity for a quick, easy, and stunning short out and back canyon. This is a great place to take first-timers. There are three rappels and the first two are on low angle slab so it allows the first time to get the feel for rappelling before the 120-foot free hanging rappel down into U-Turn Canyon.
The highlight of this canyon is the last rappel into Wall Street in Arches NP. Also this canyon is short only about 2 hours and can be combined with other canyons from the same parking lot.
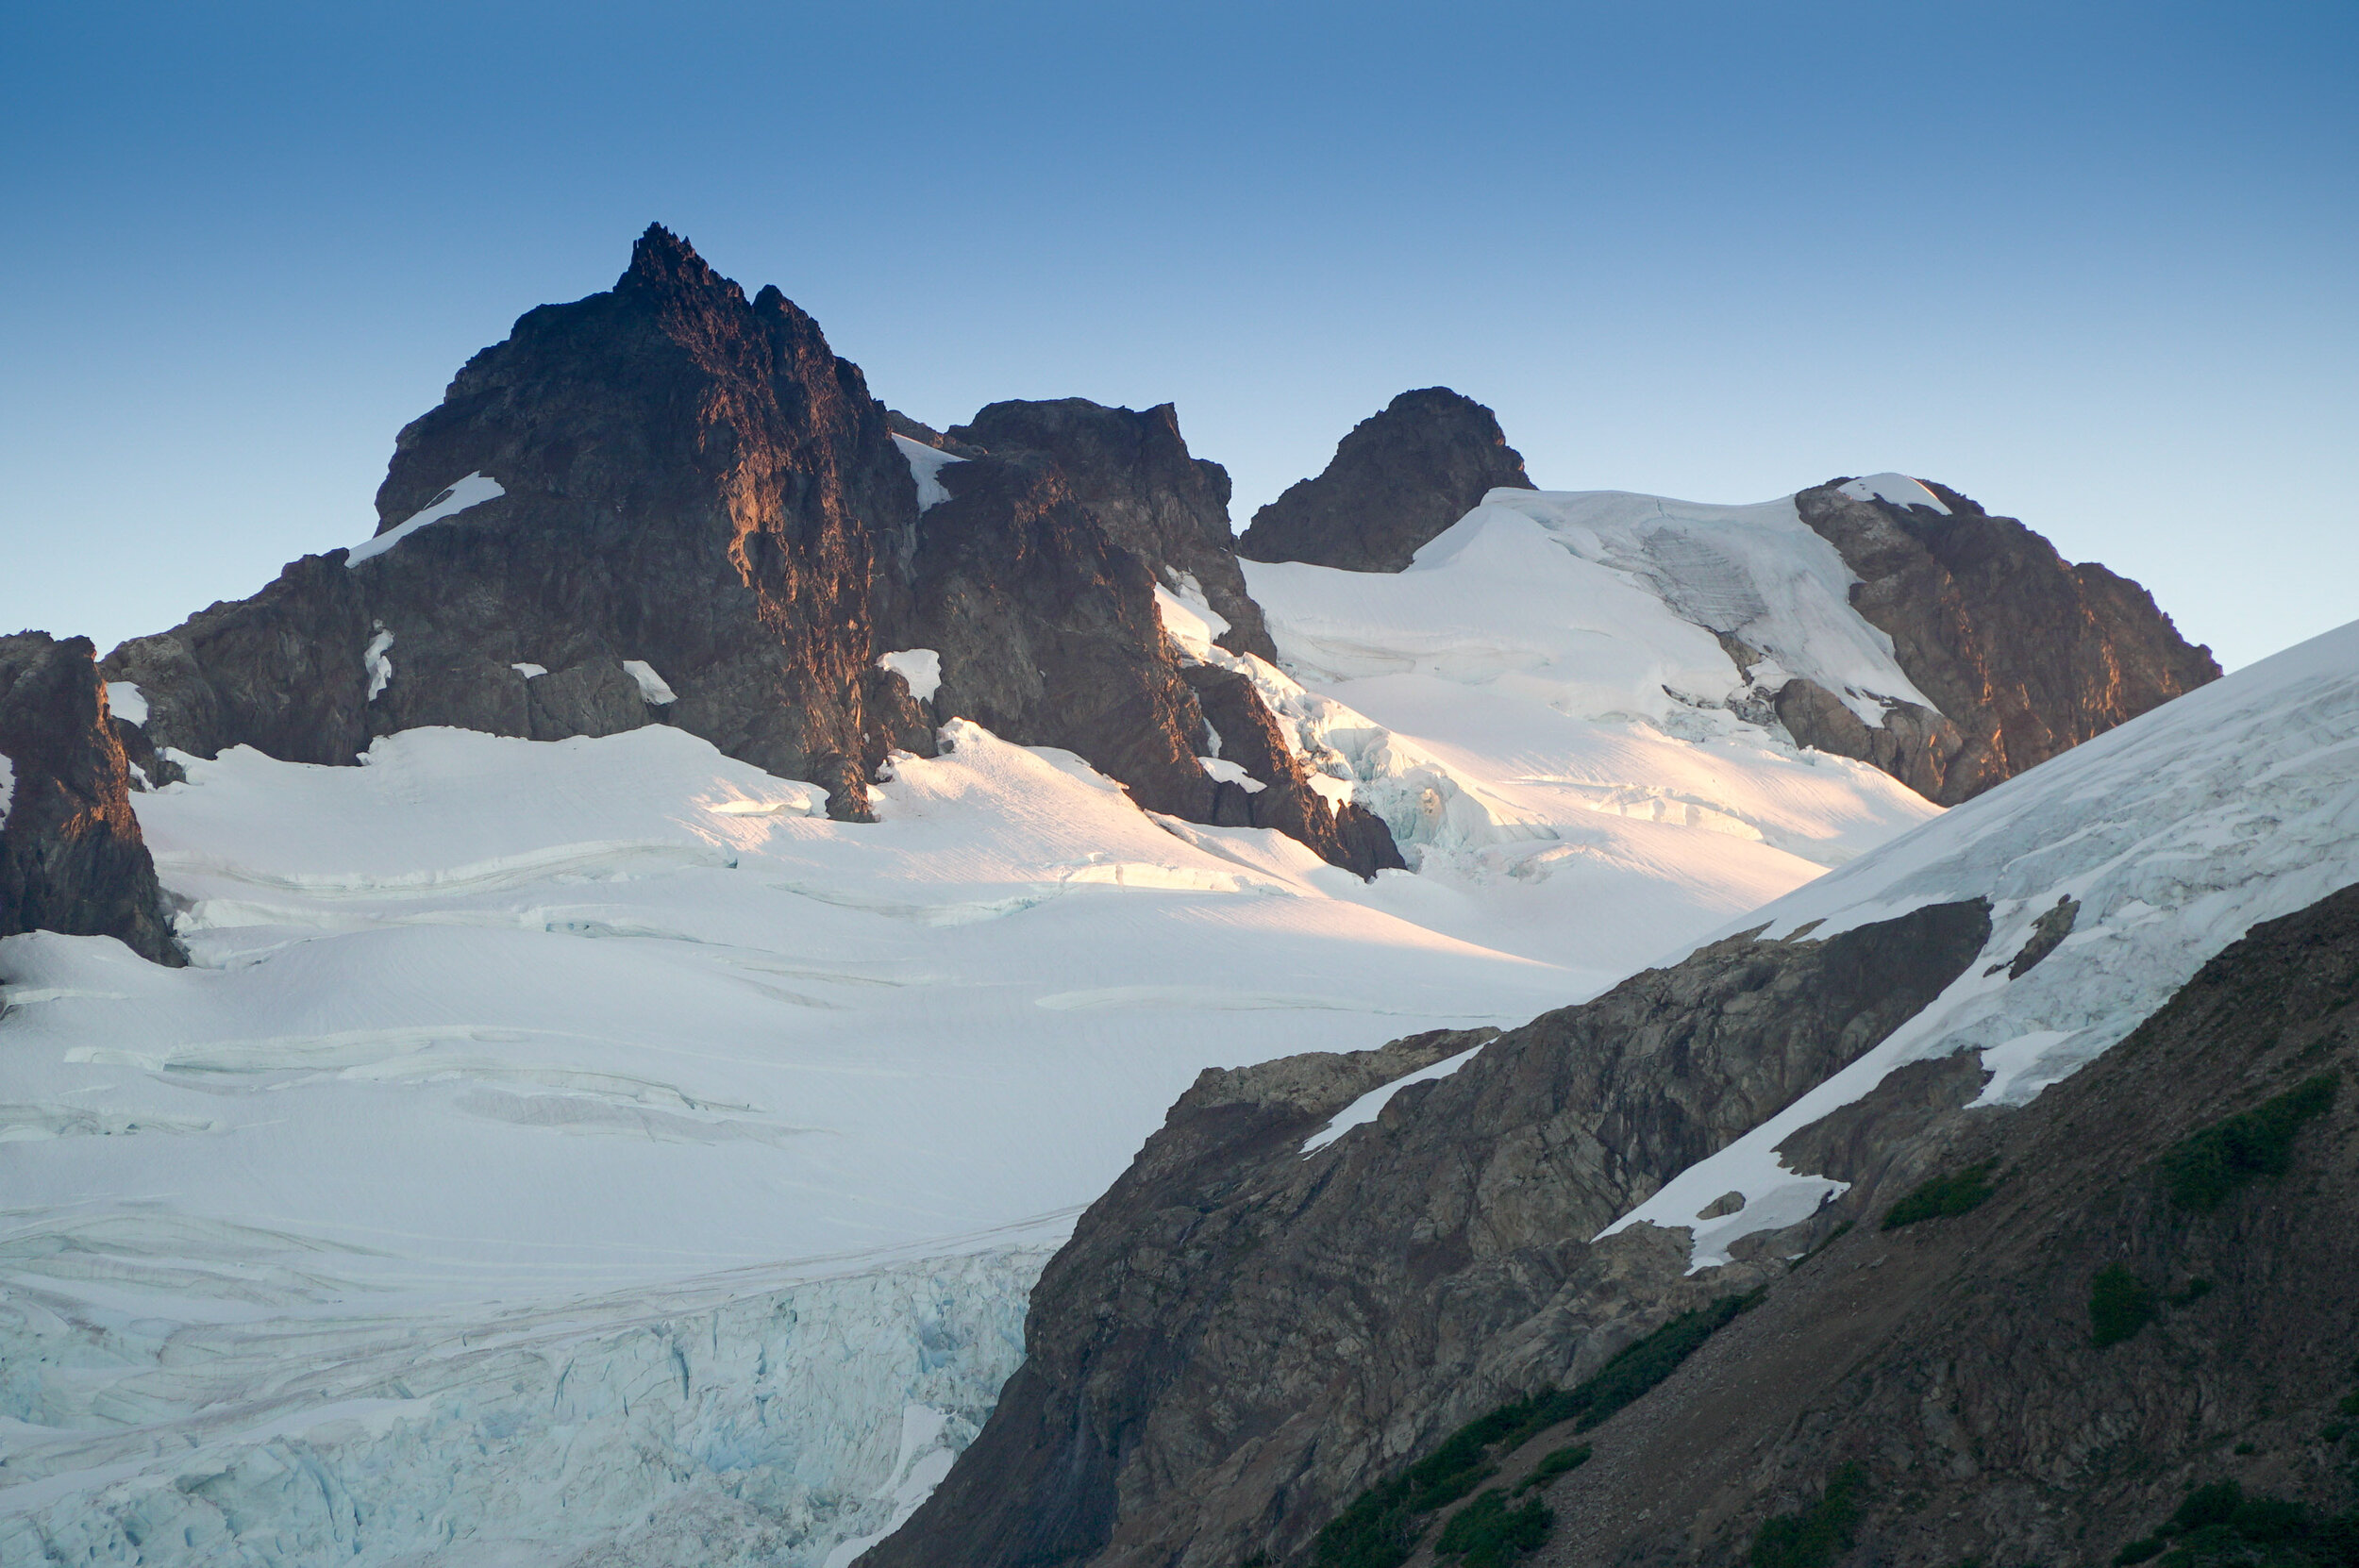
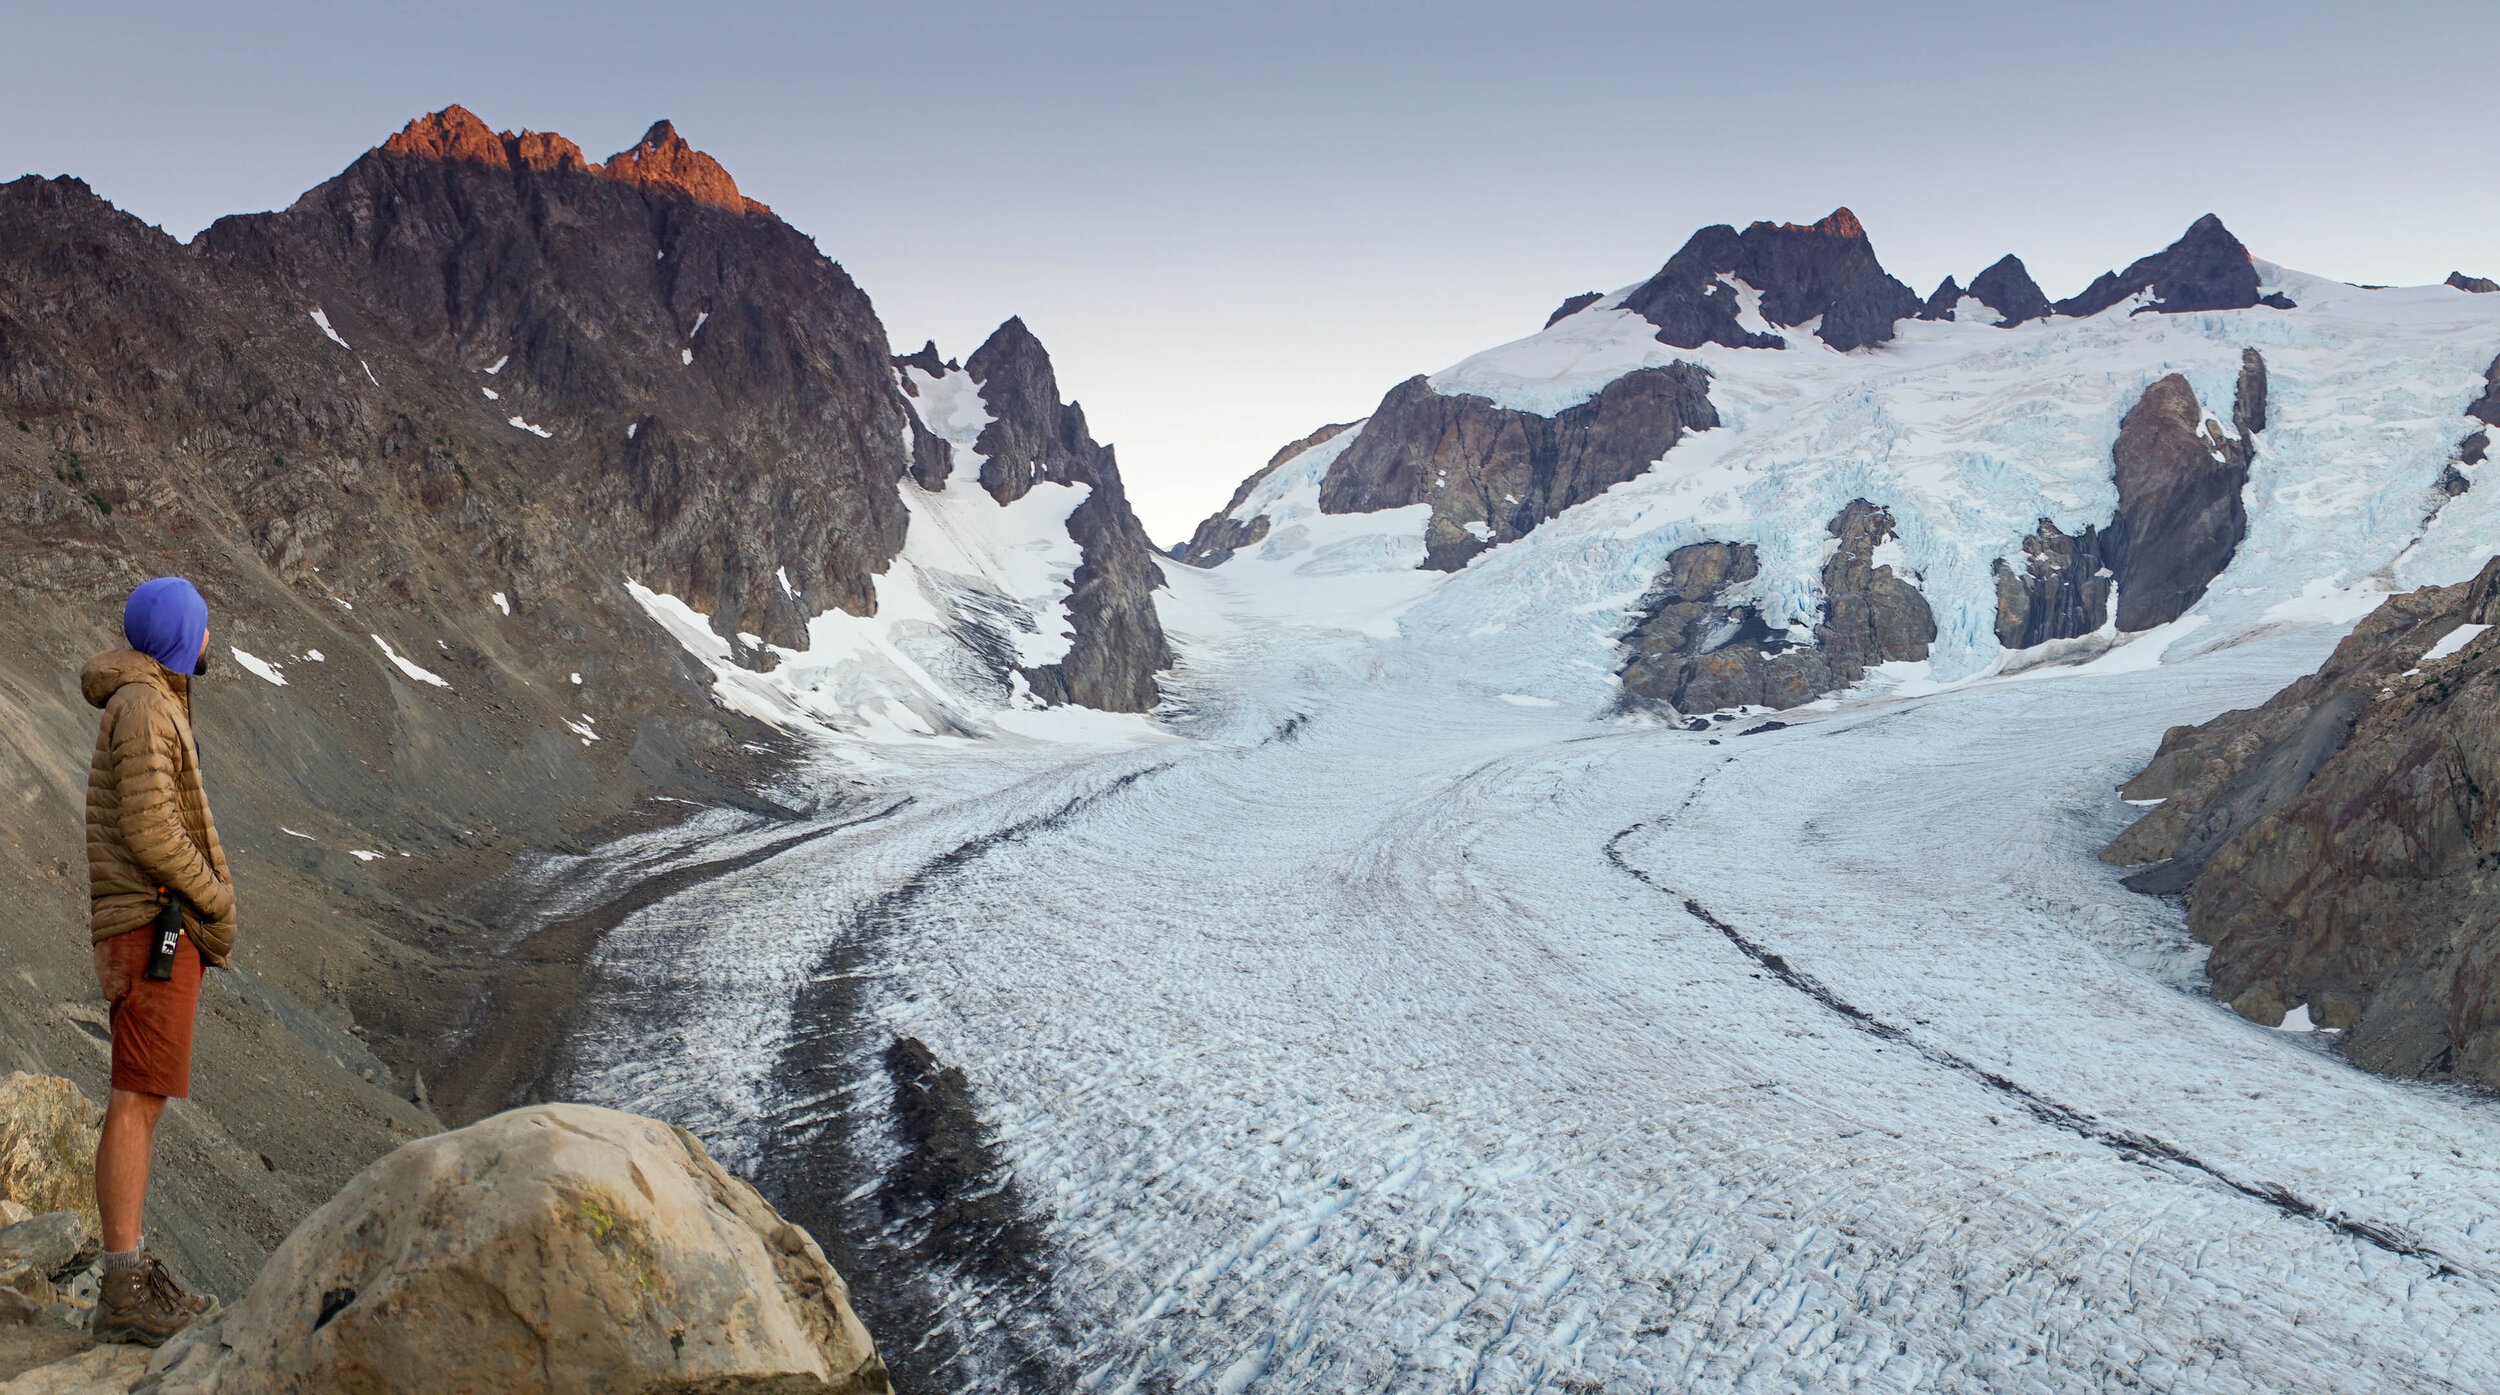
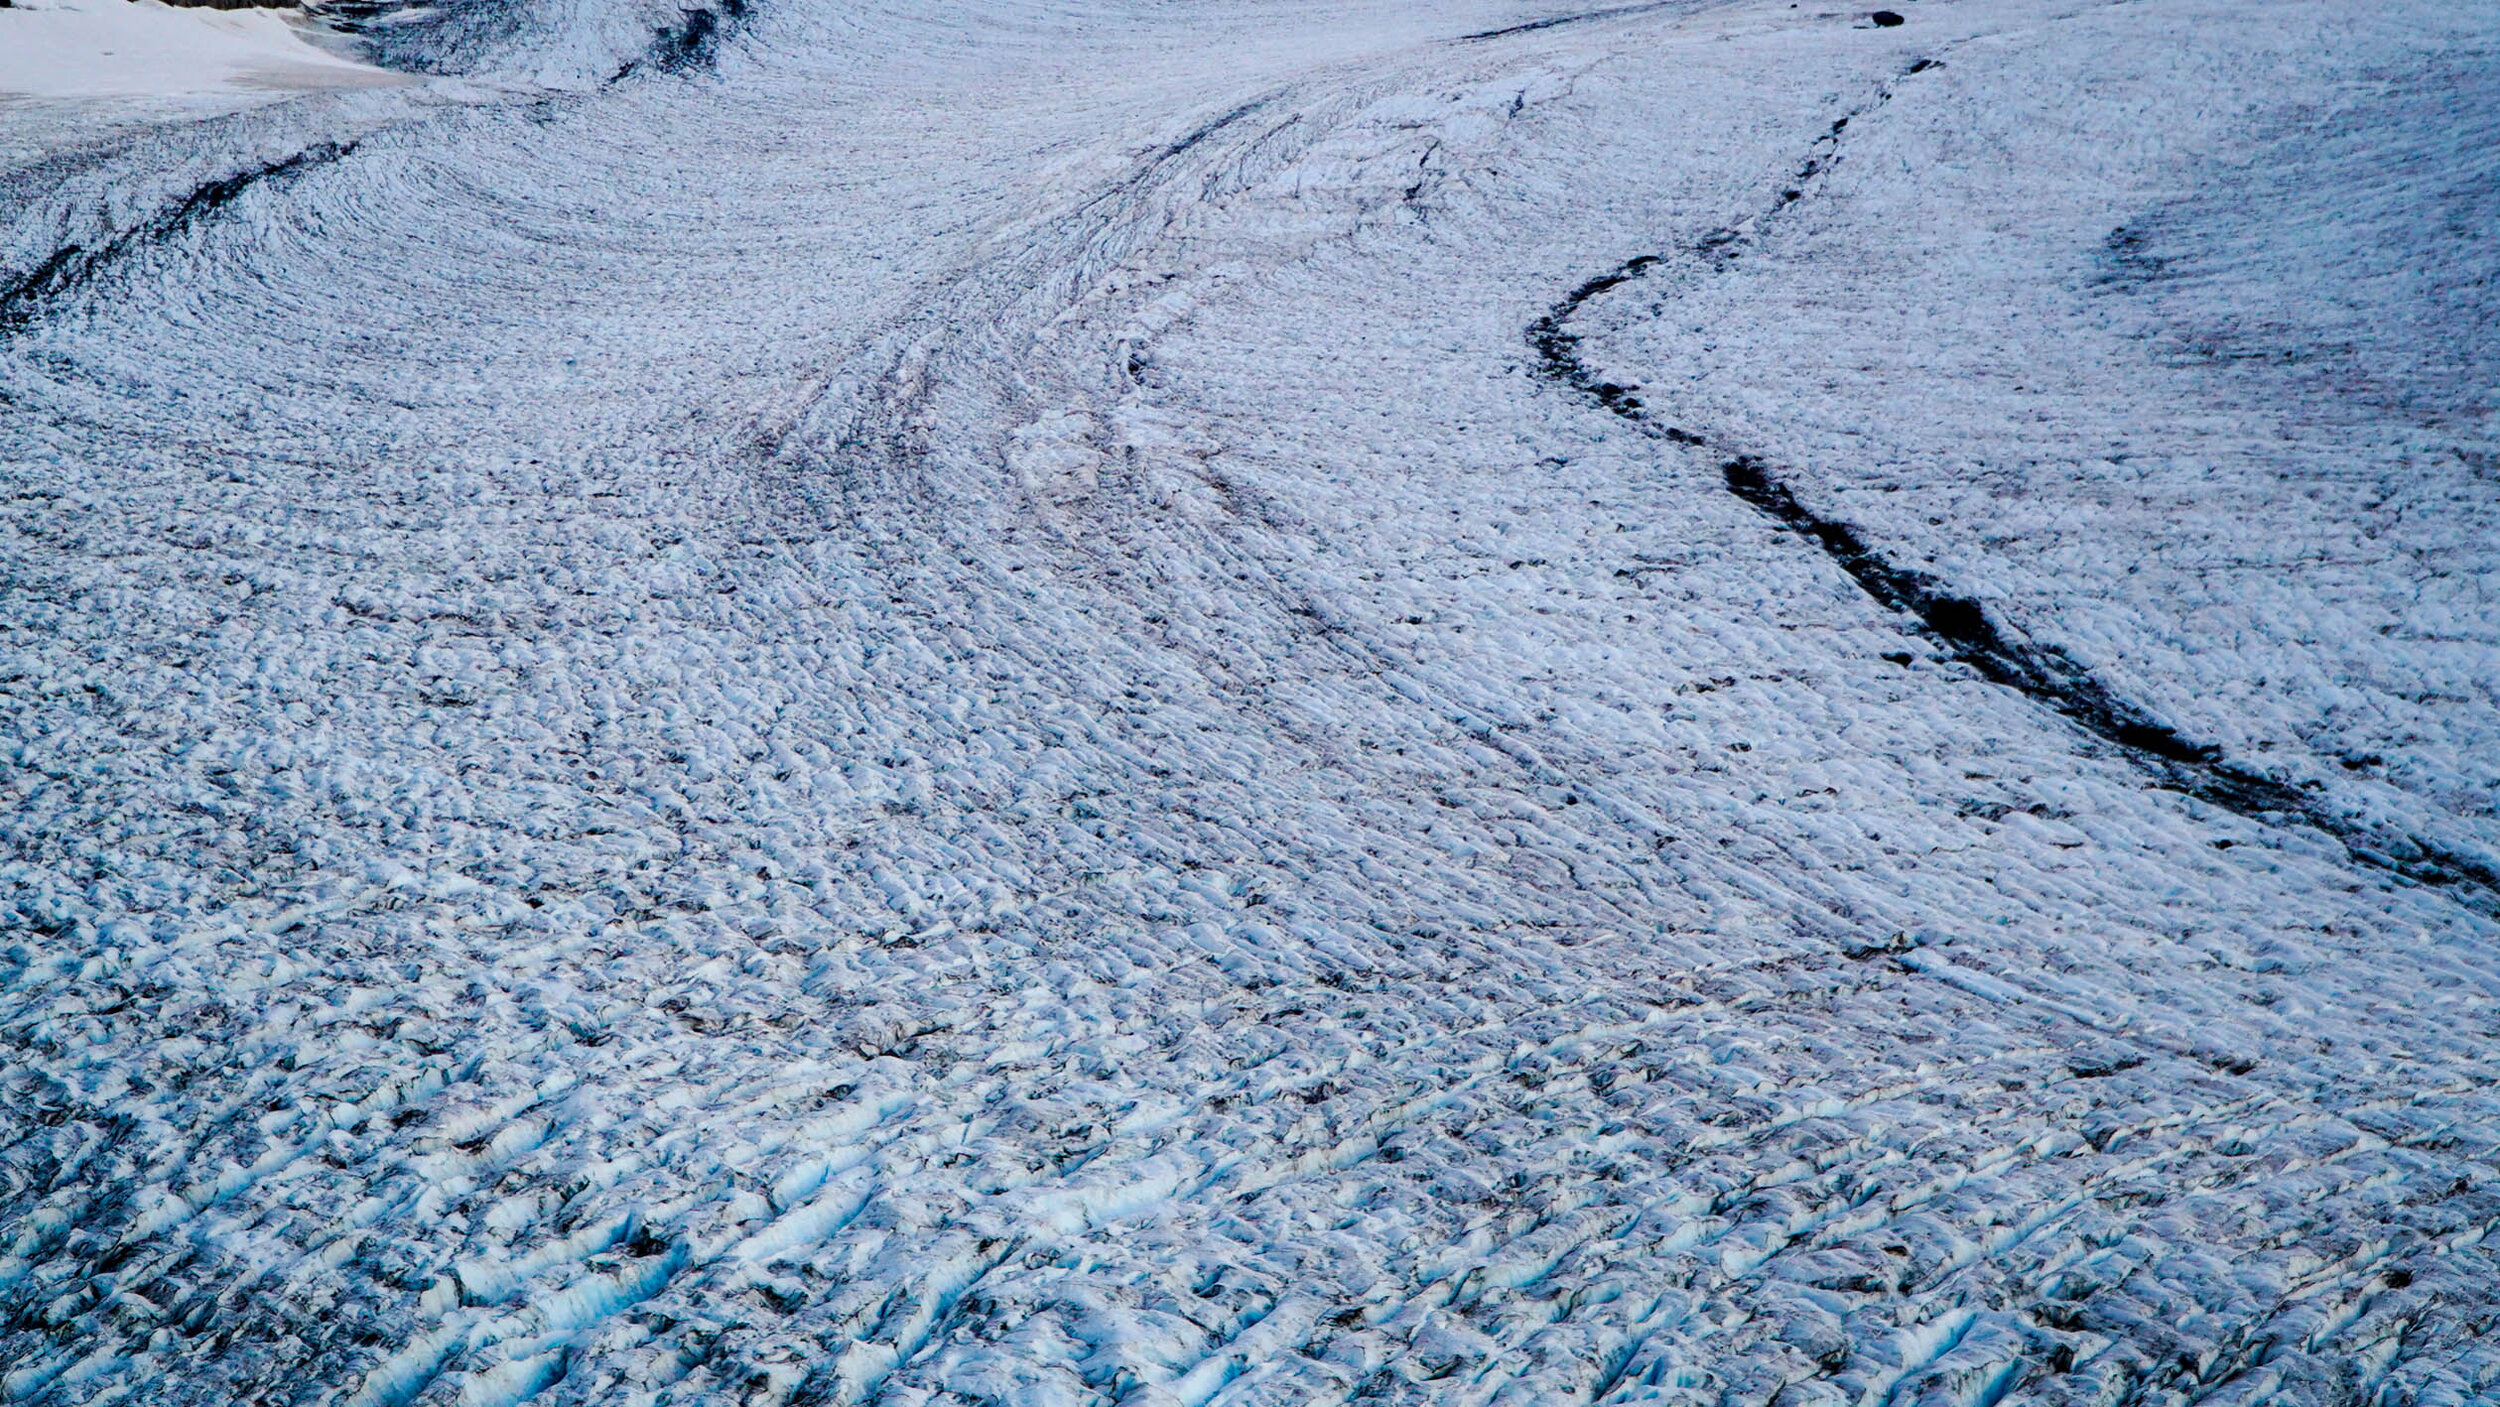
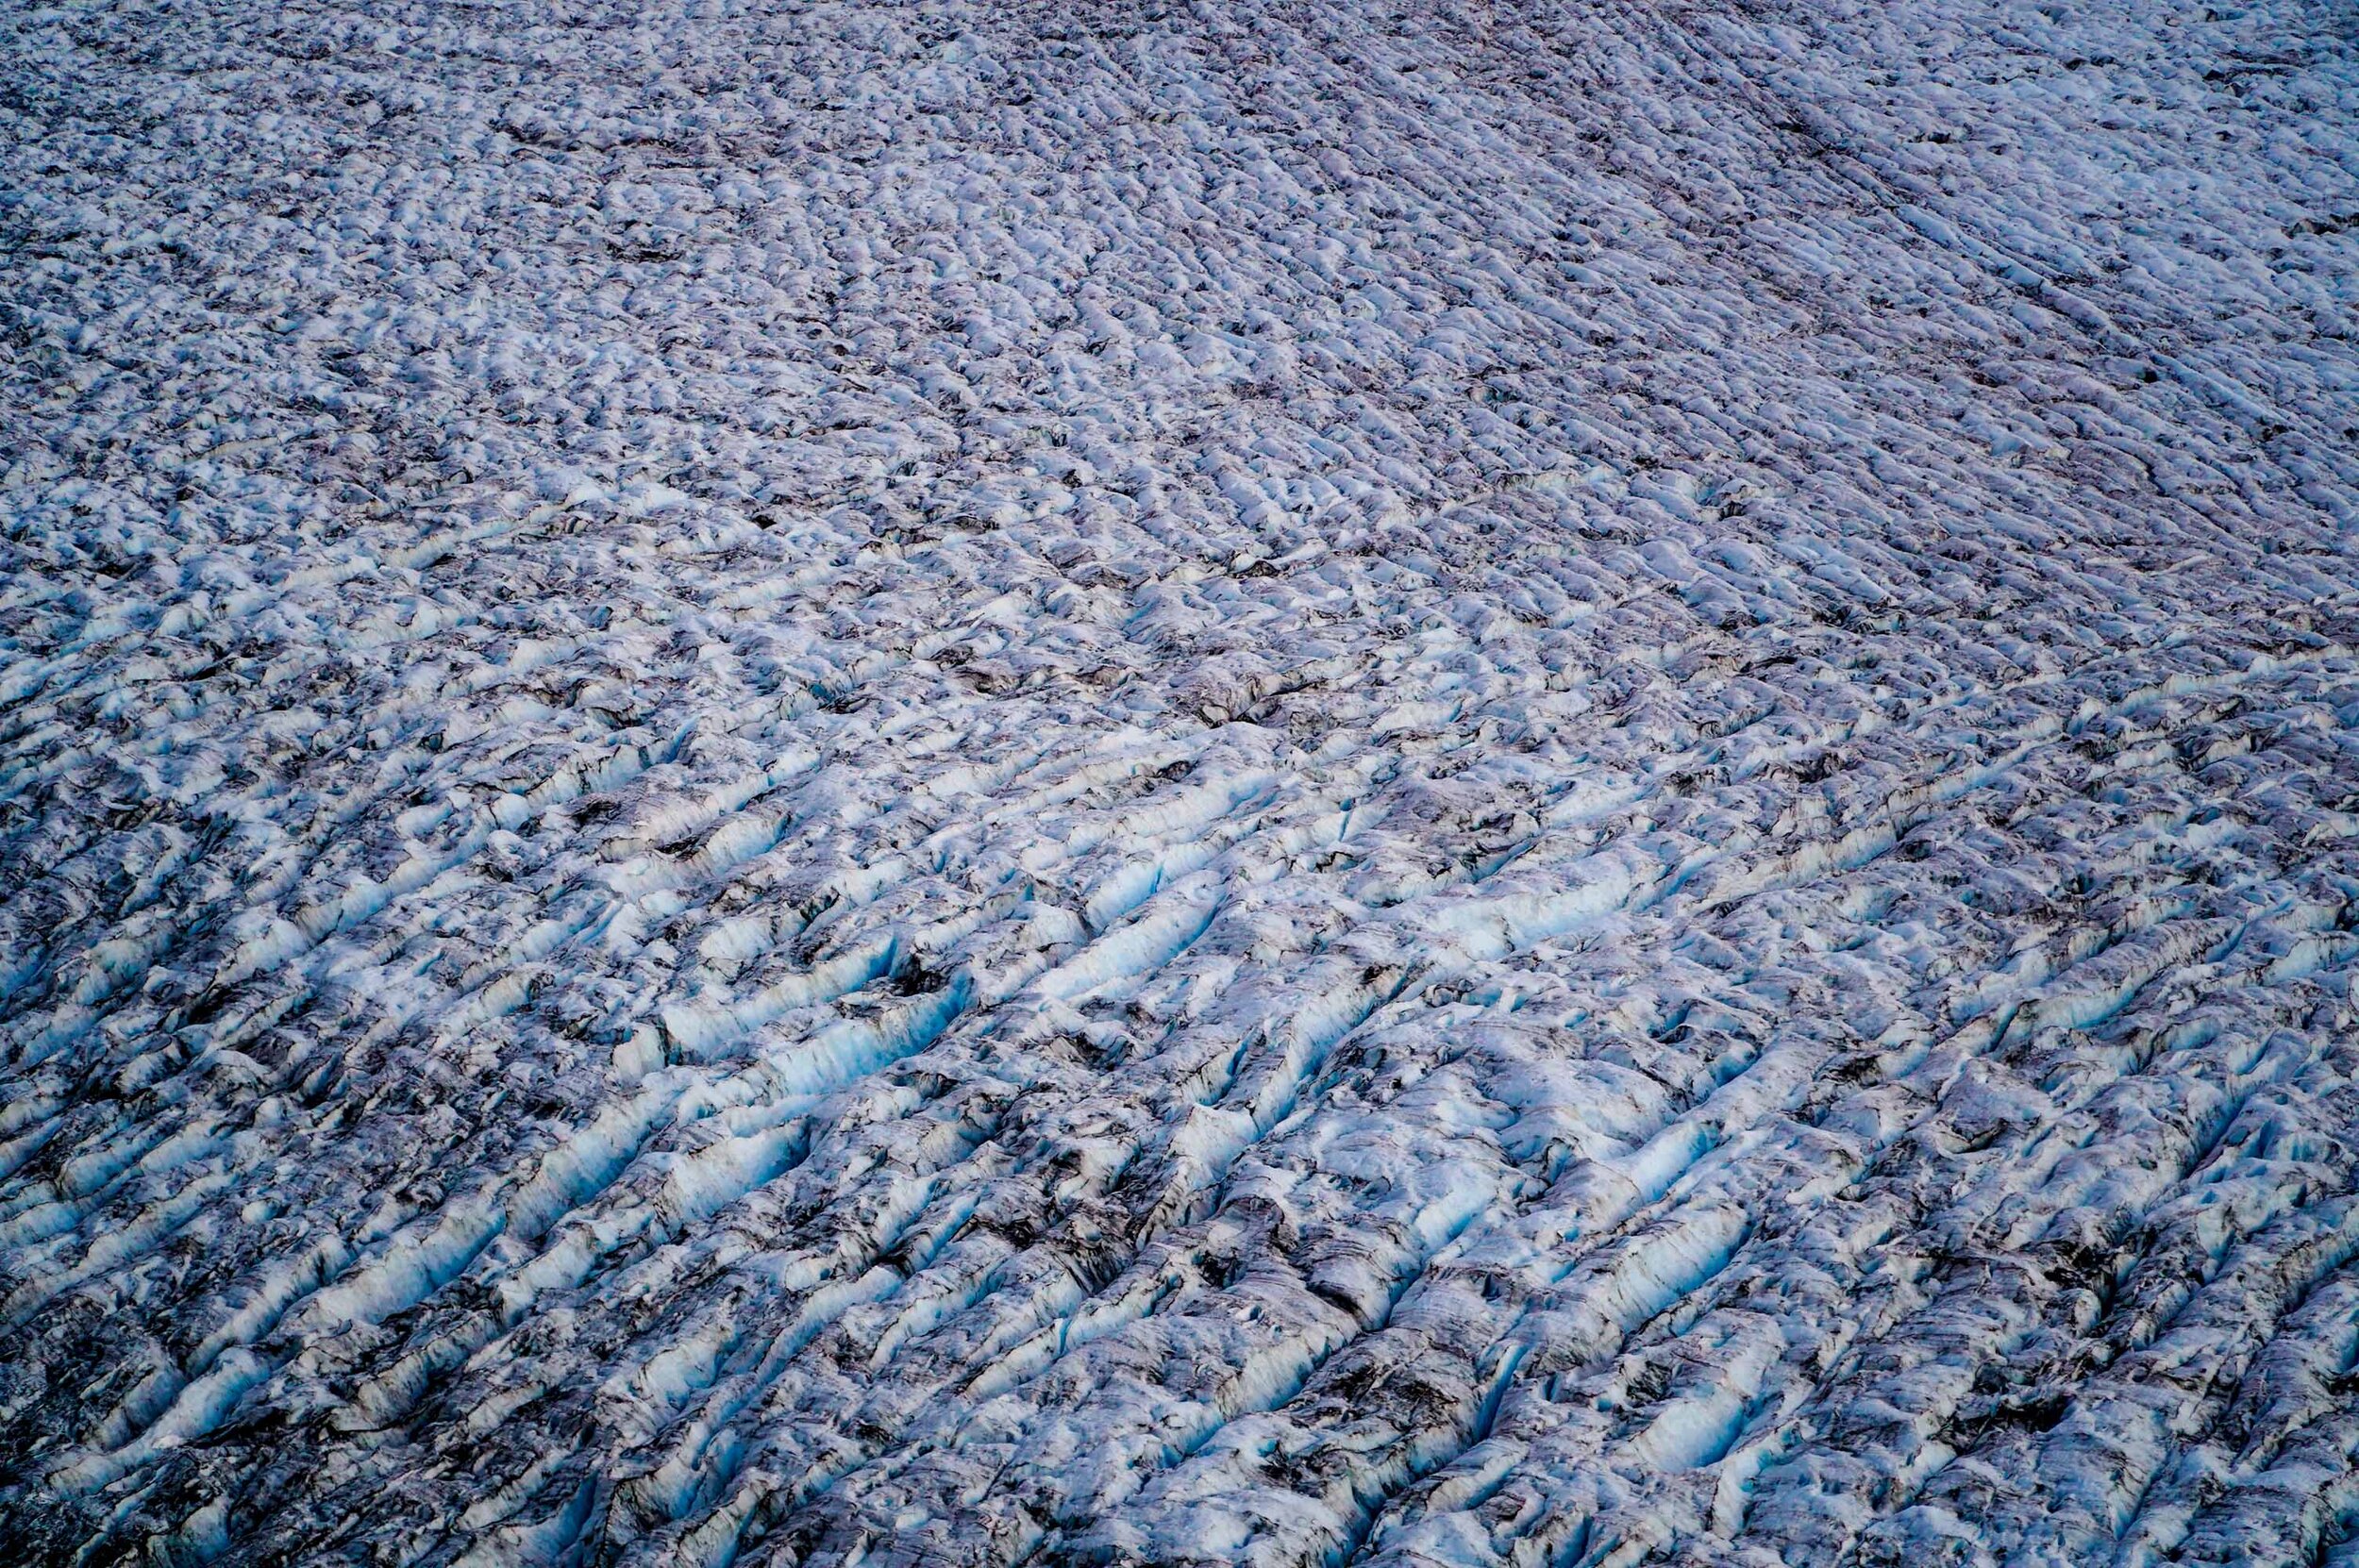
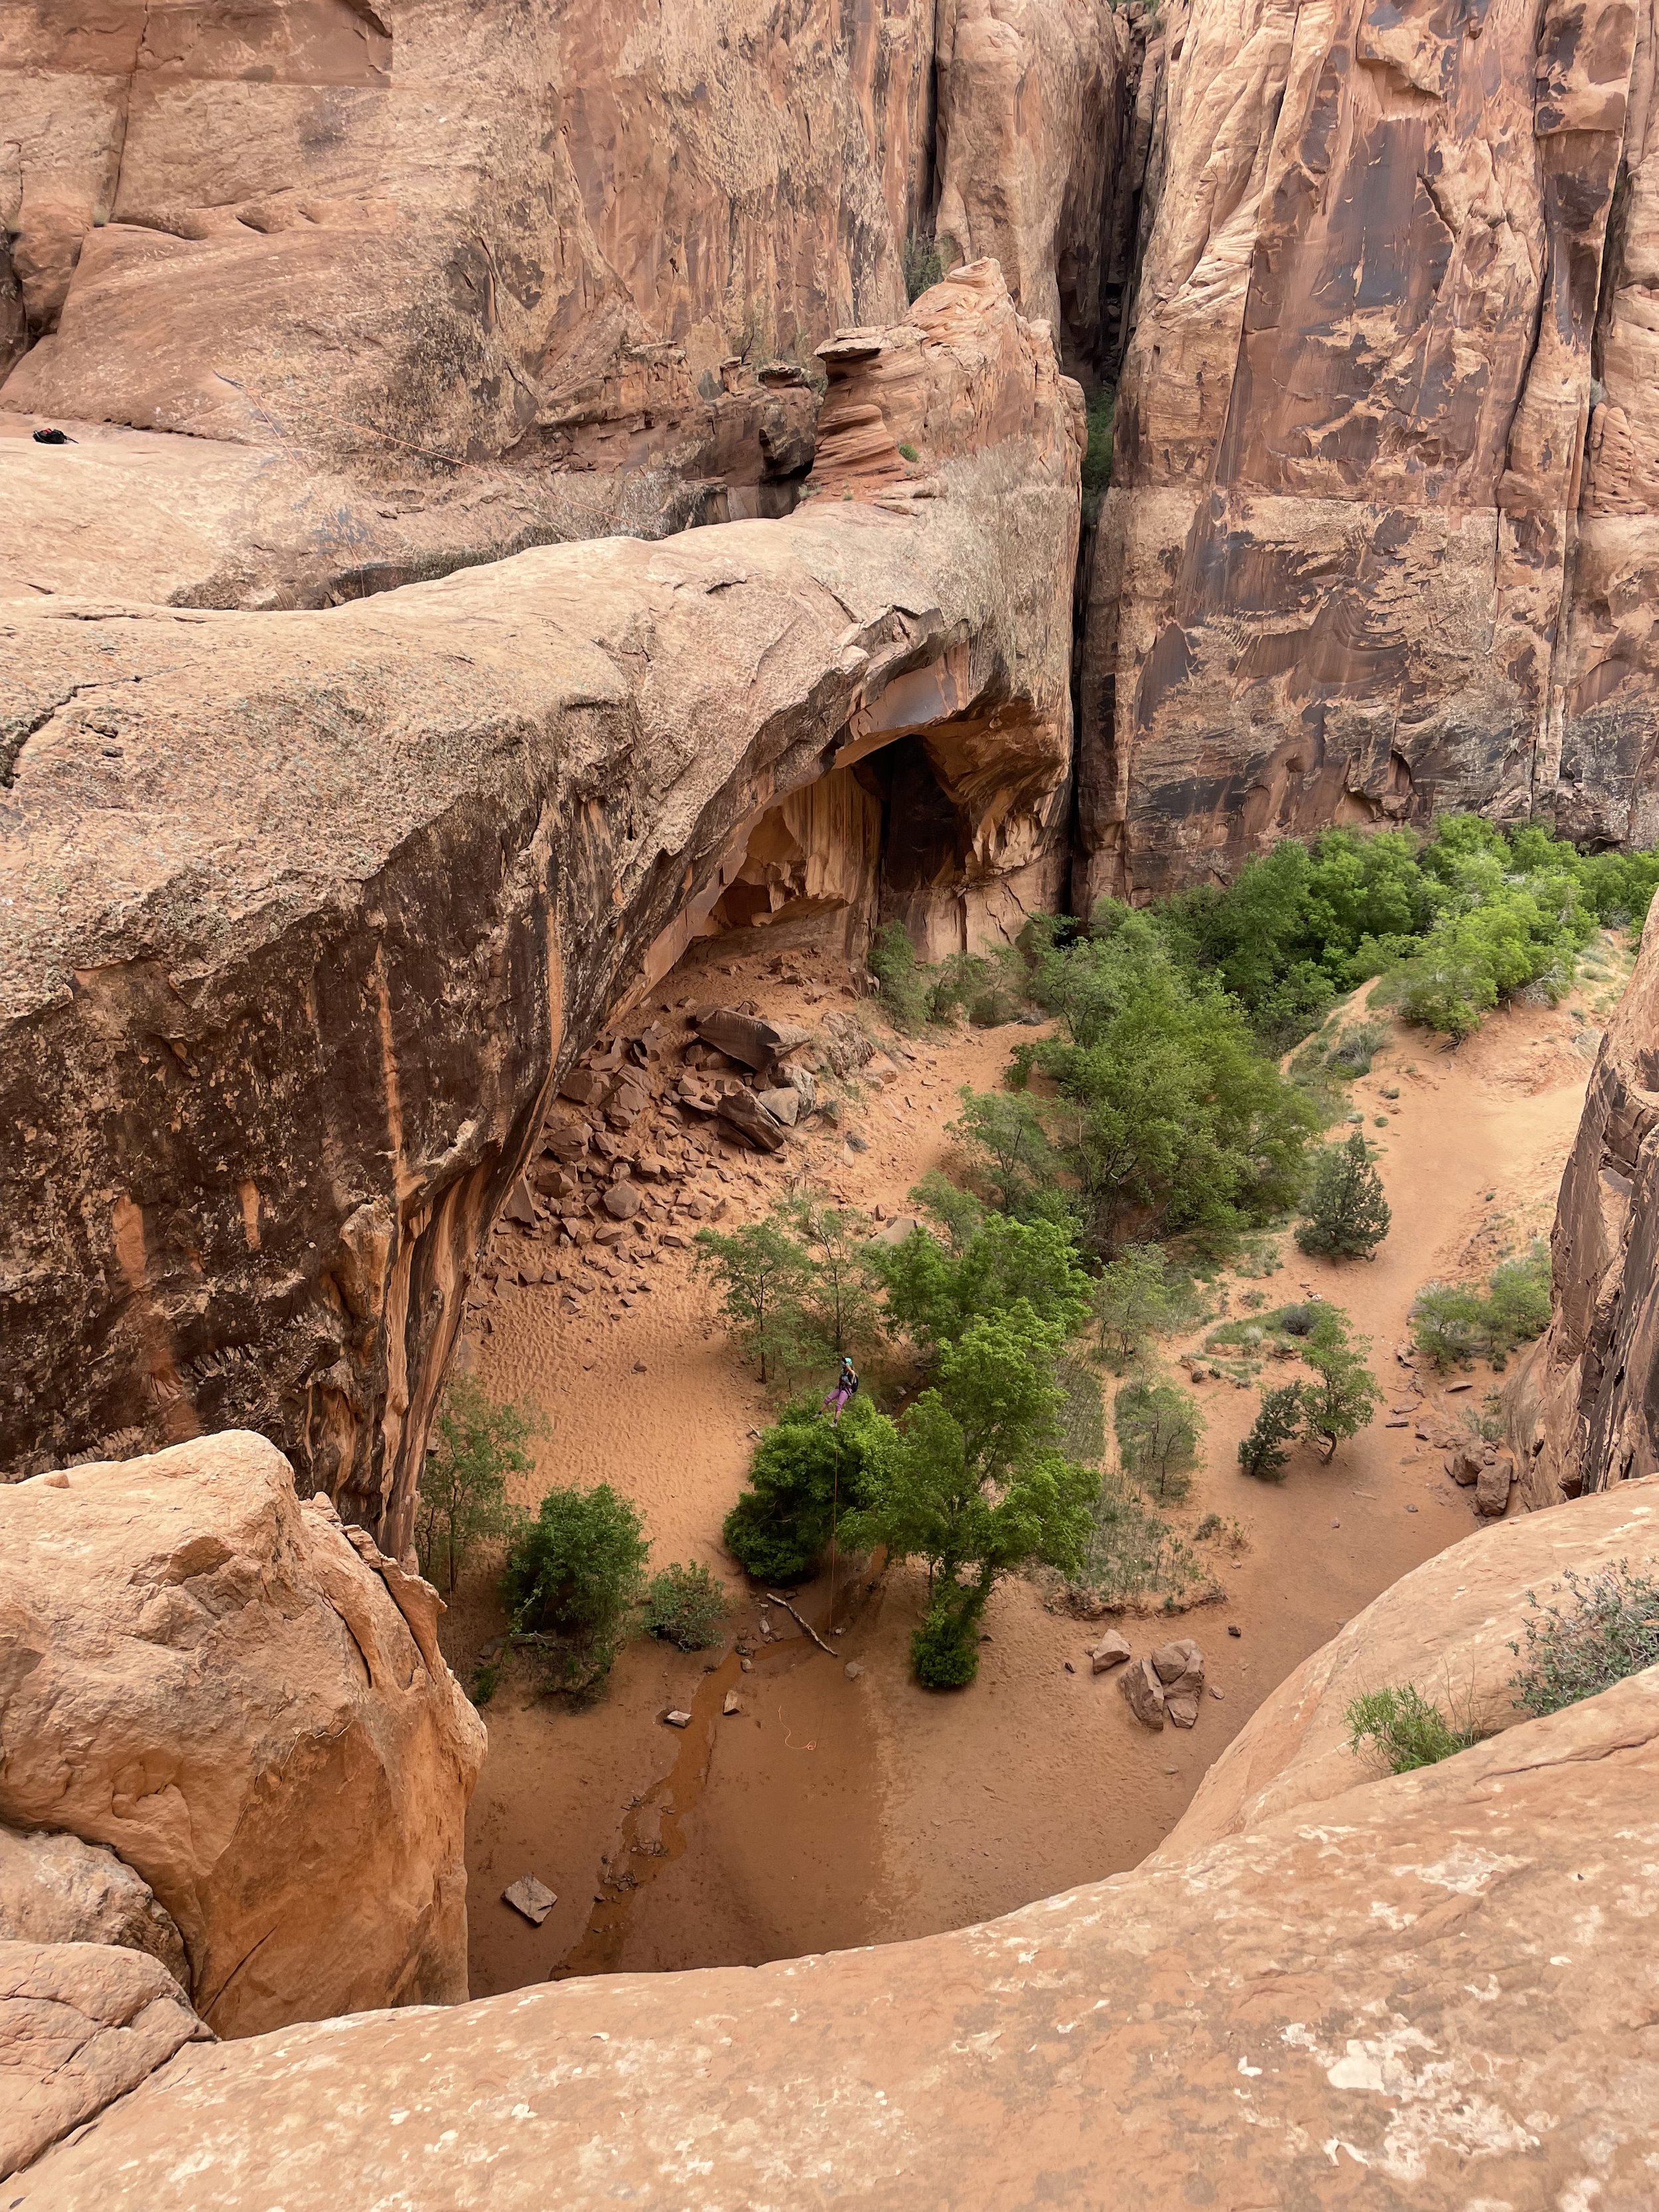
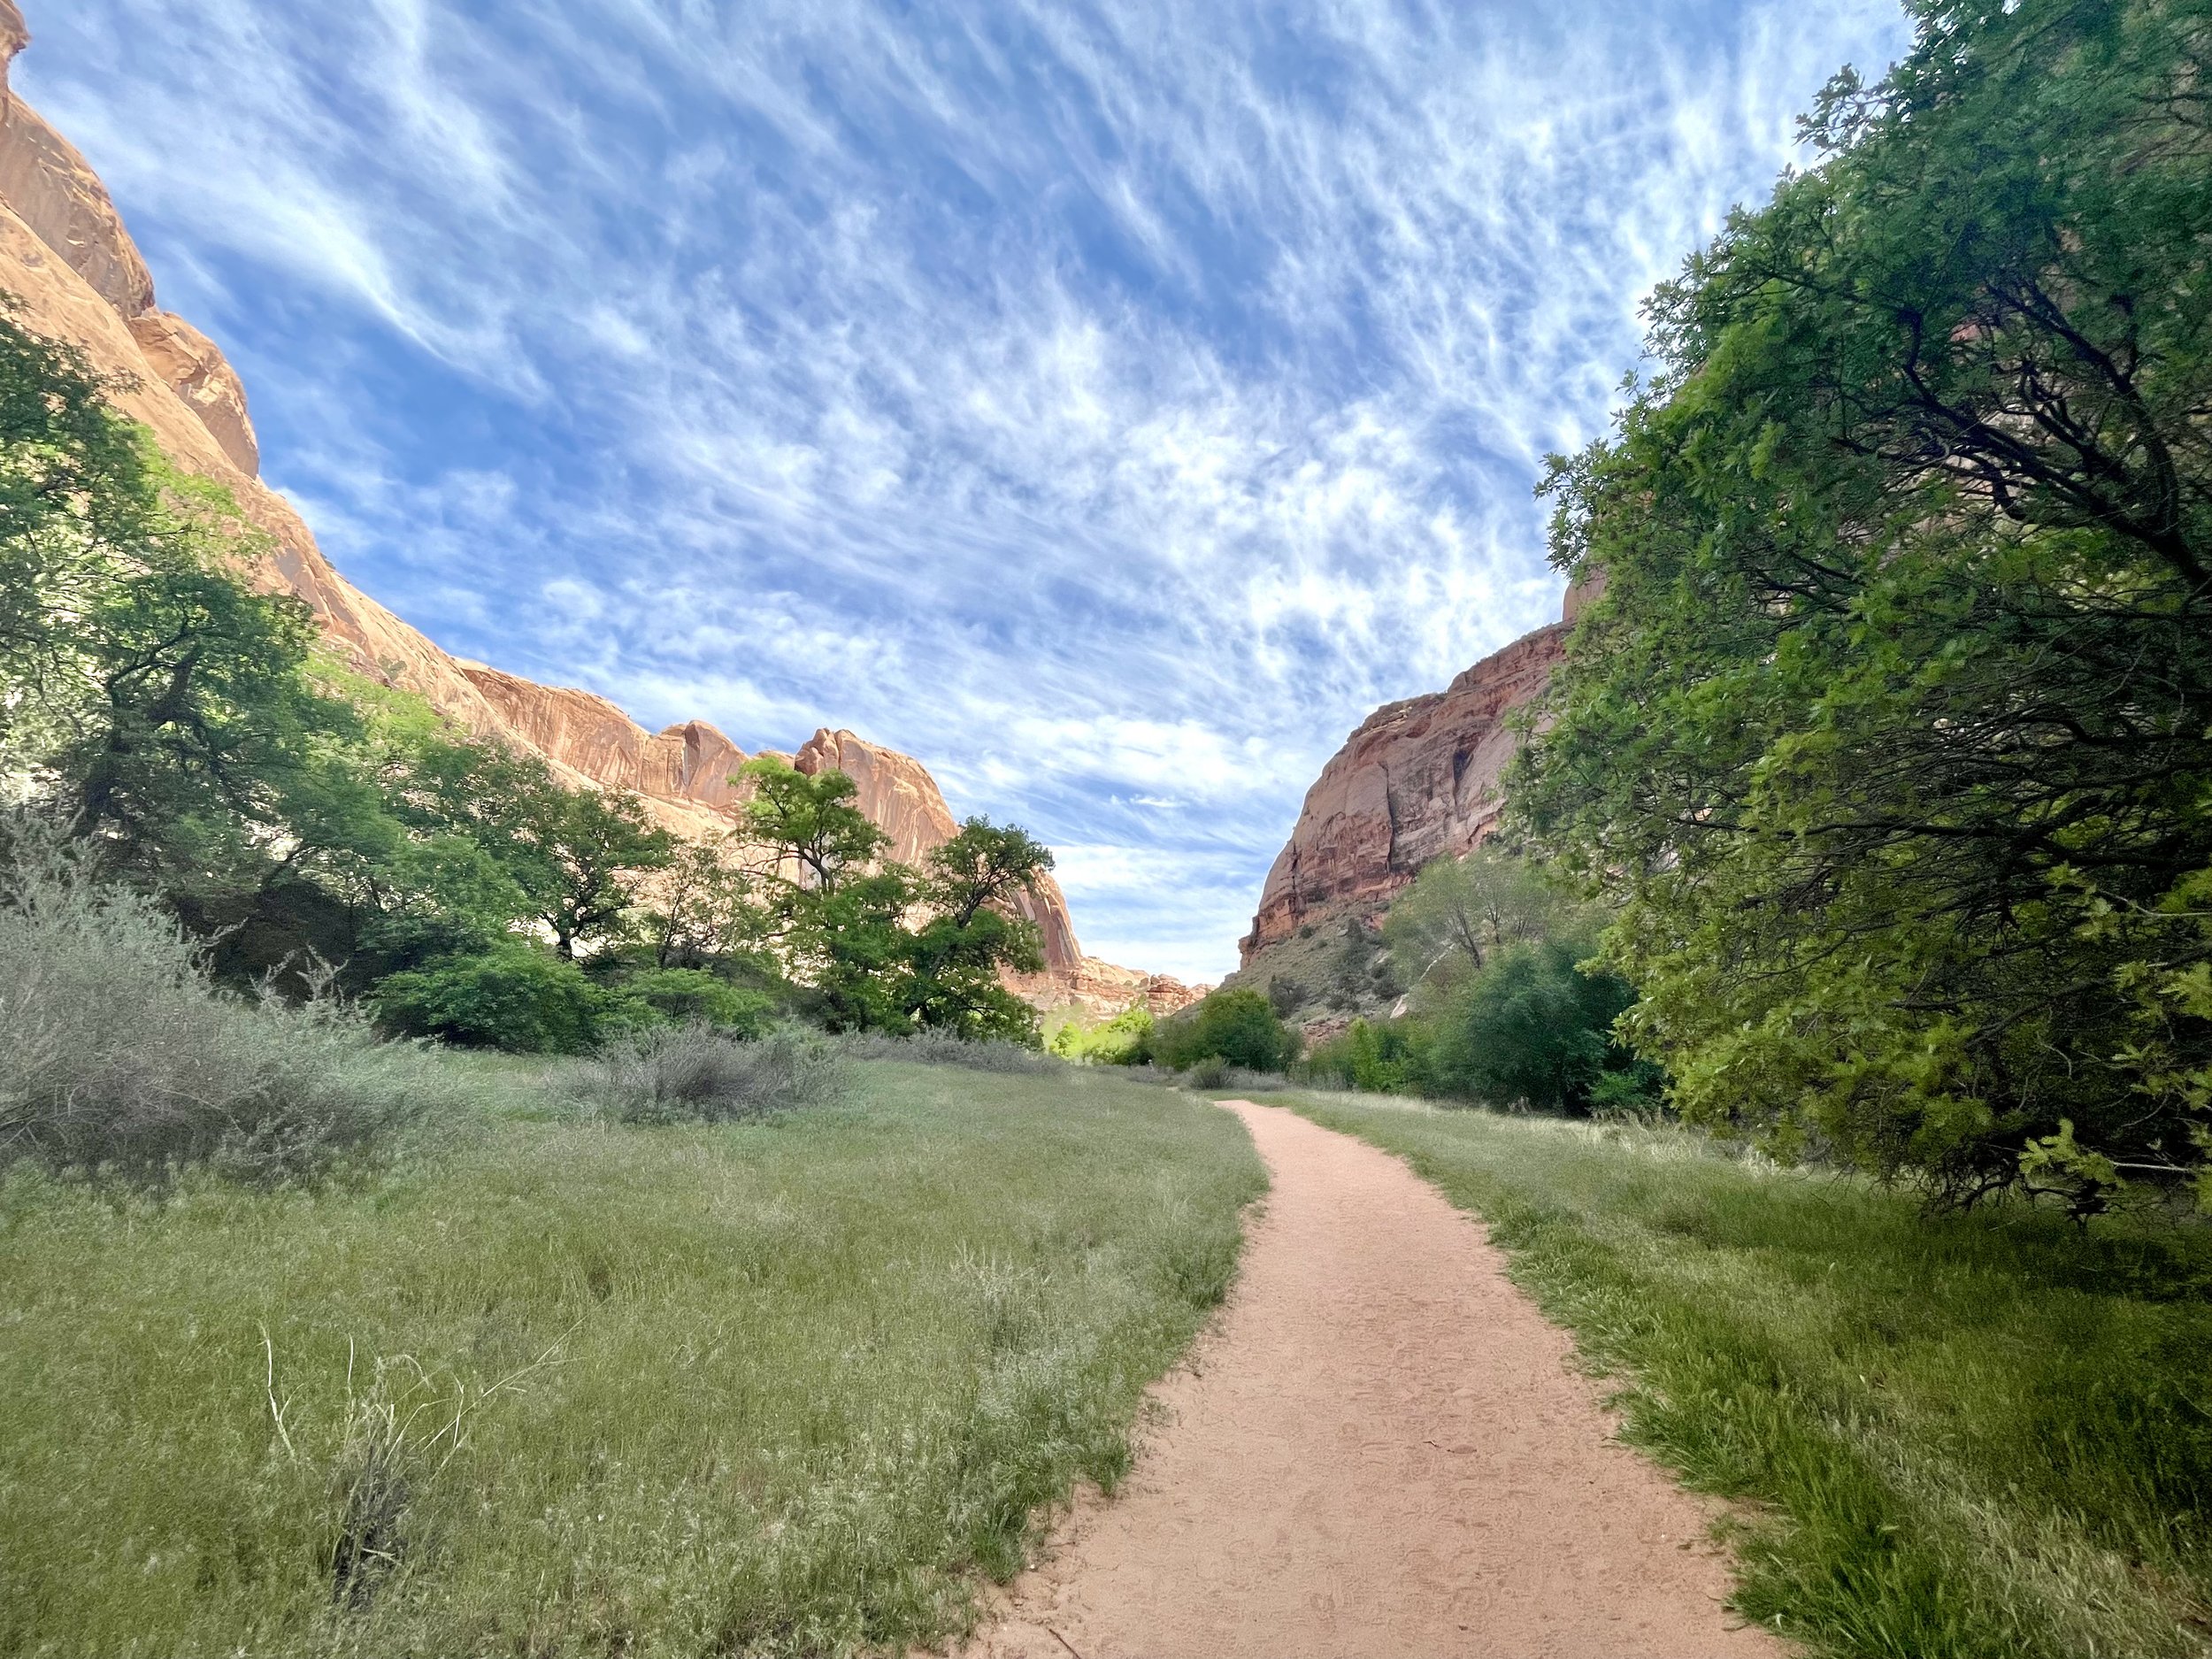
Lower Granary Canyon

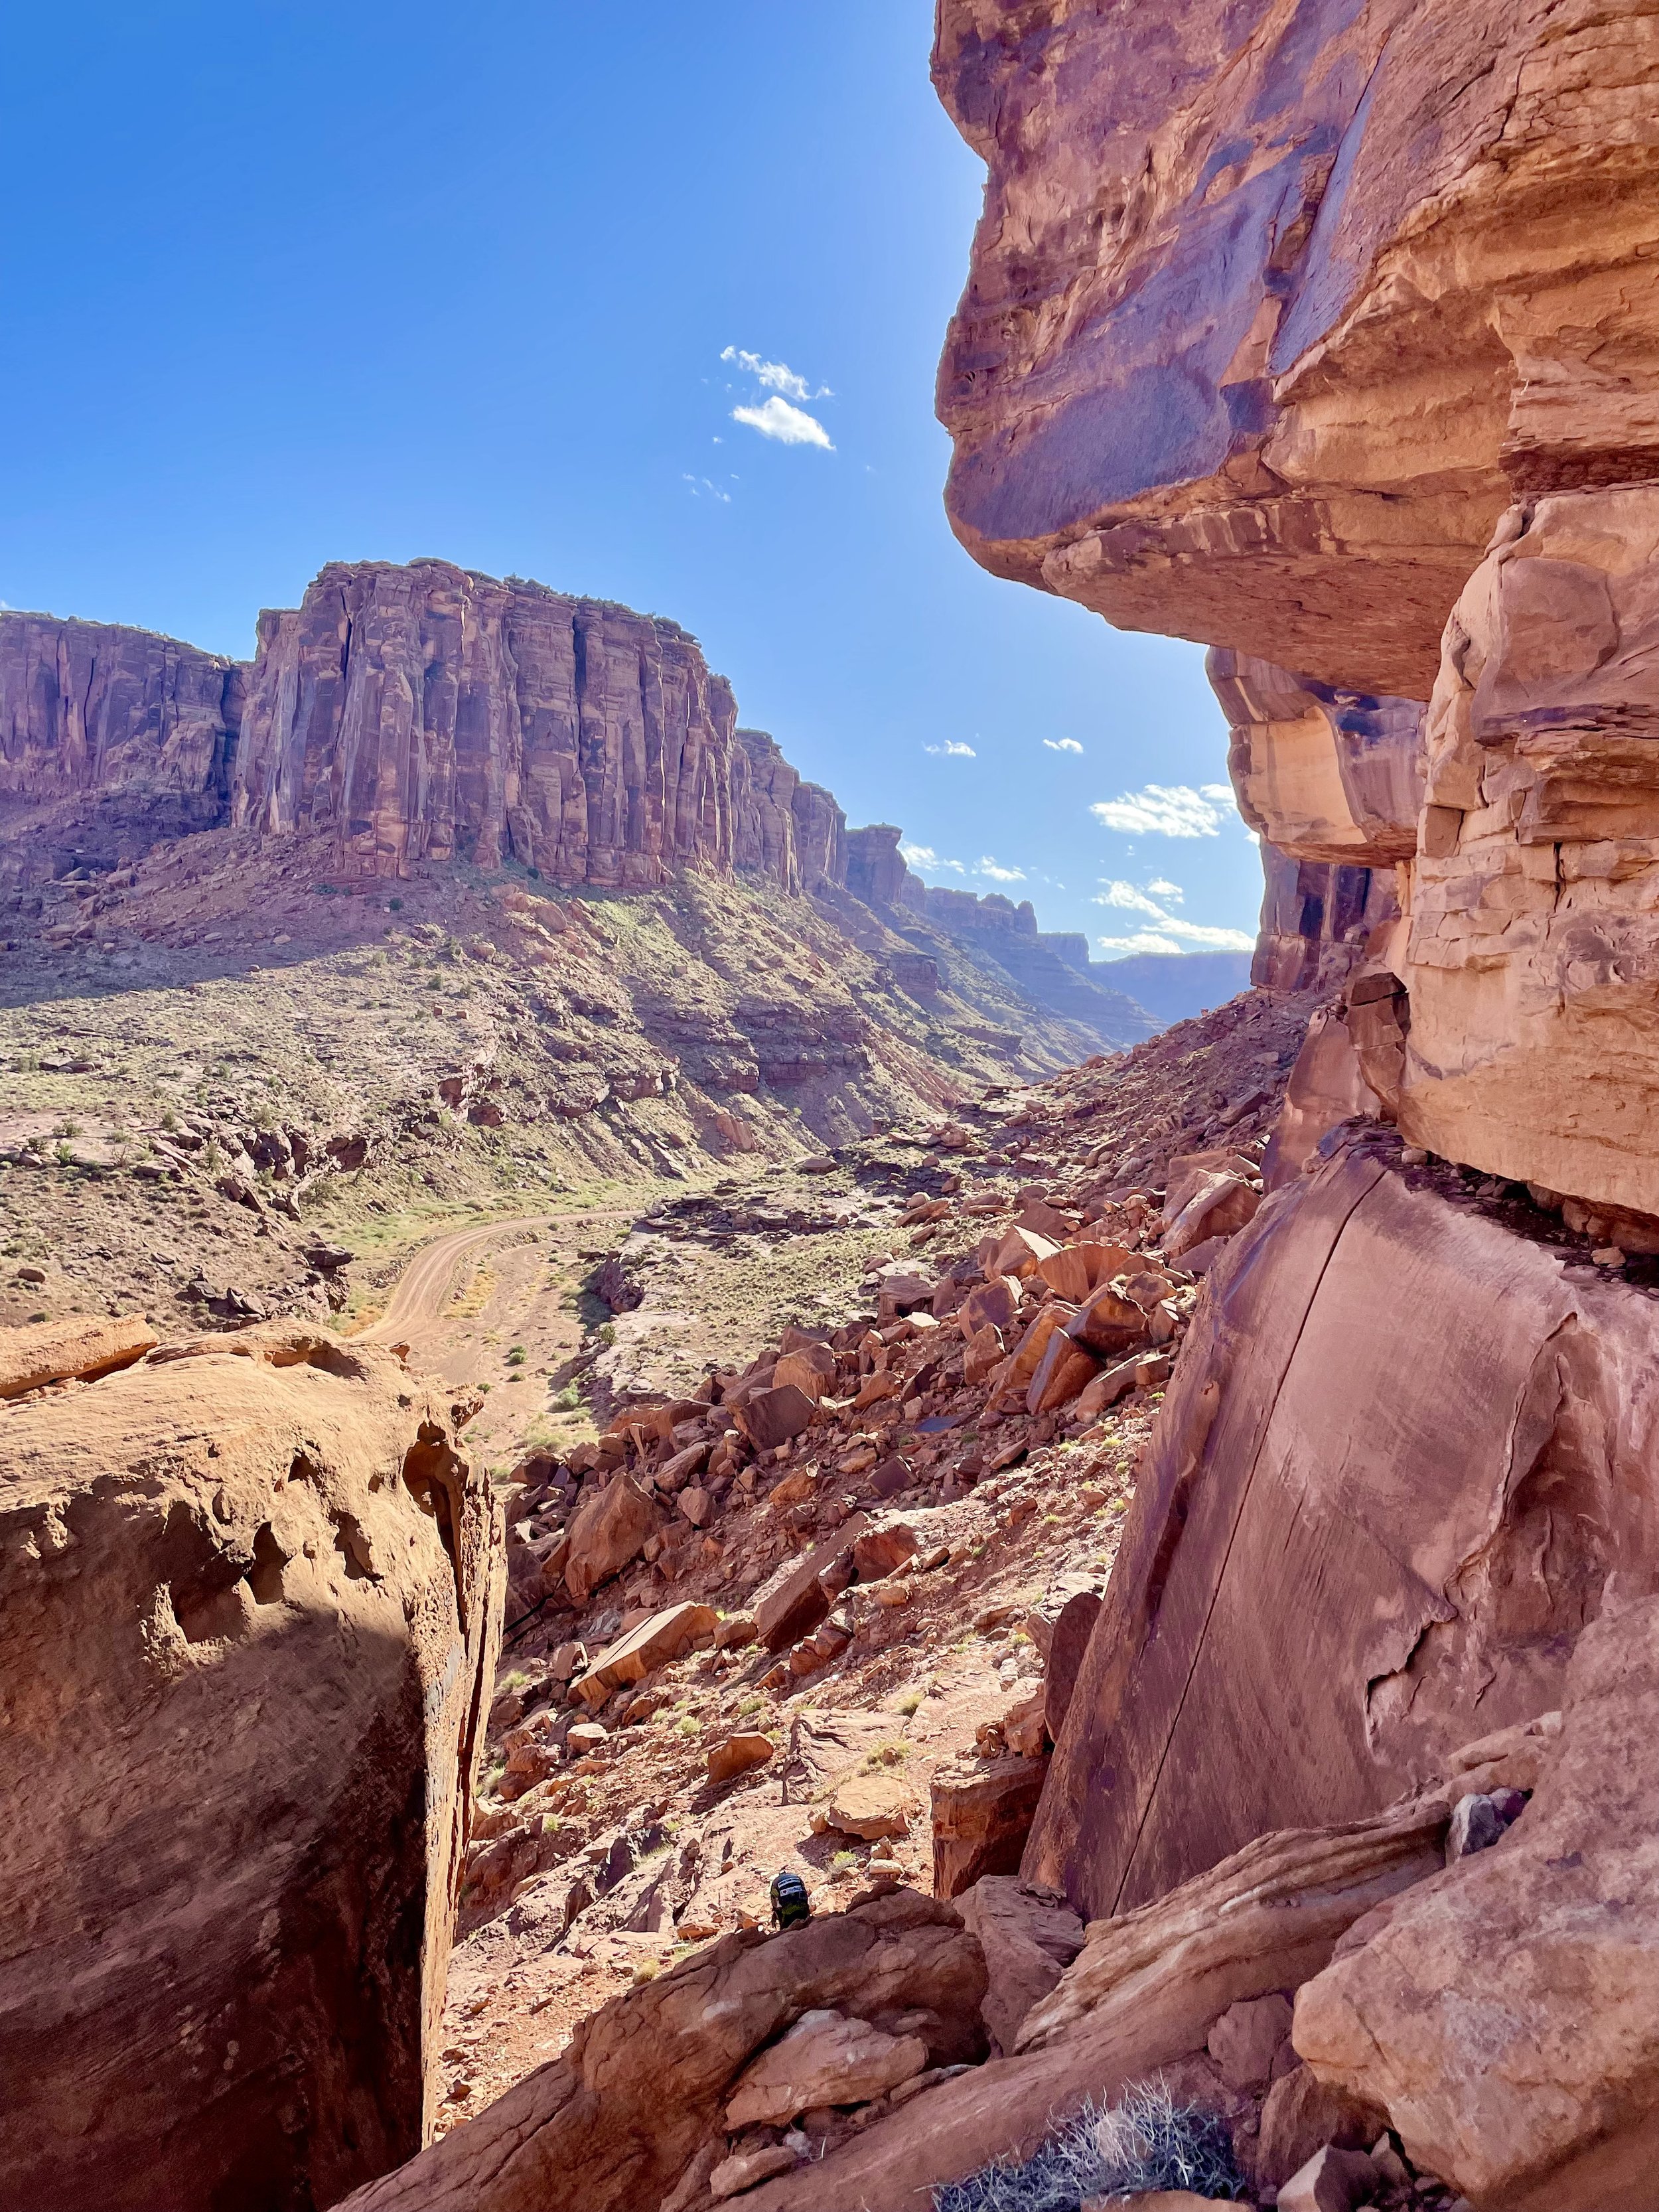
Be ready for an all-day event. Plan for about 10 hours+ between shuttling the vehicles and doing the canyon. You access the canyon up Long Canyon Road and it does require some ground clearance and has some spicy sections. This canyon should not be missed by anyone on a Moab canyoneering trip. Granary is a beautiful canyon way up on top of Long Canyon and provides panoramic views of the La Sal Mountains, Arches, and Moab.
We only did Lower Granary Canyon and were fortunate enough to hitch a ride up to the refinery with an old rancher so it never hurts to stick your thumb out. This canyon is a series of Rappels and route finding so make sure your devices are charged and there are backup maps I always rely on Ryans's Beta.
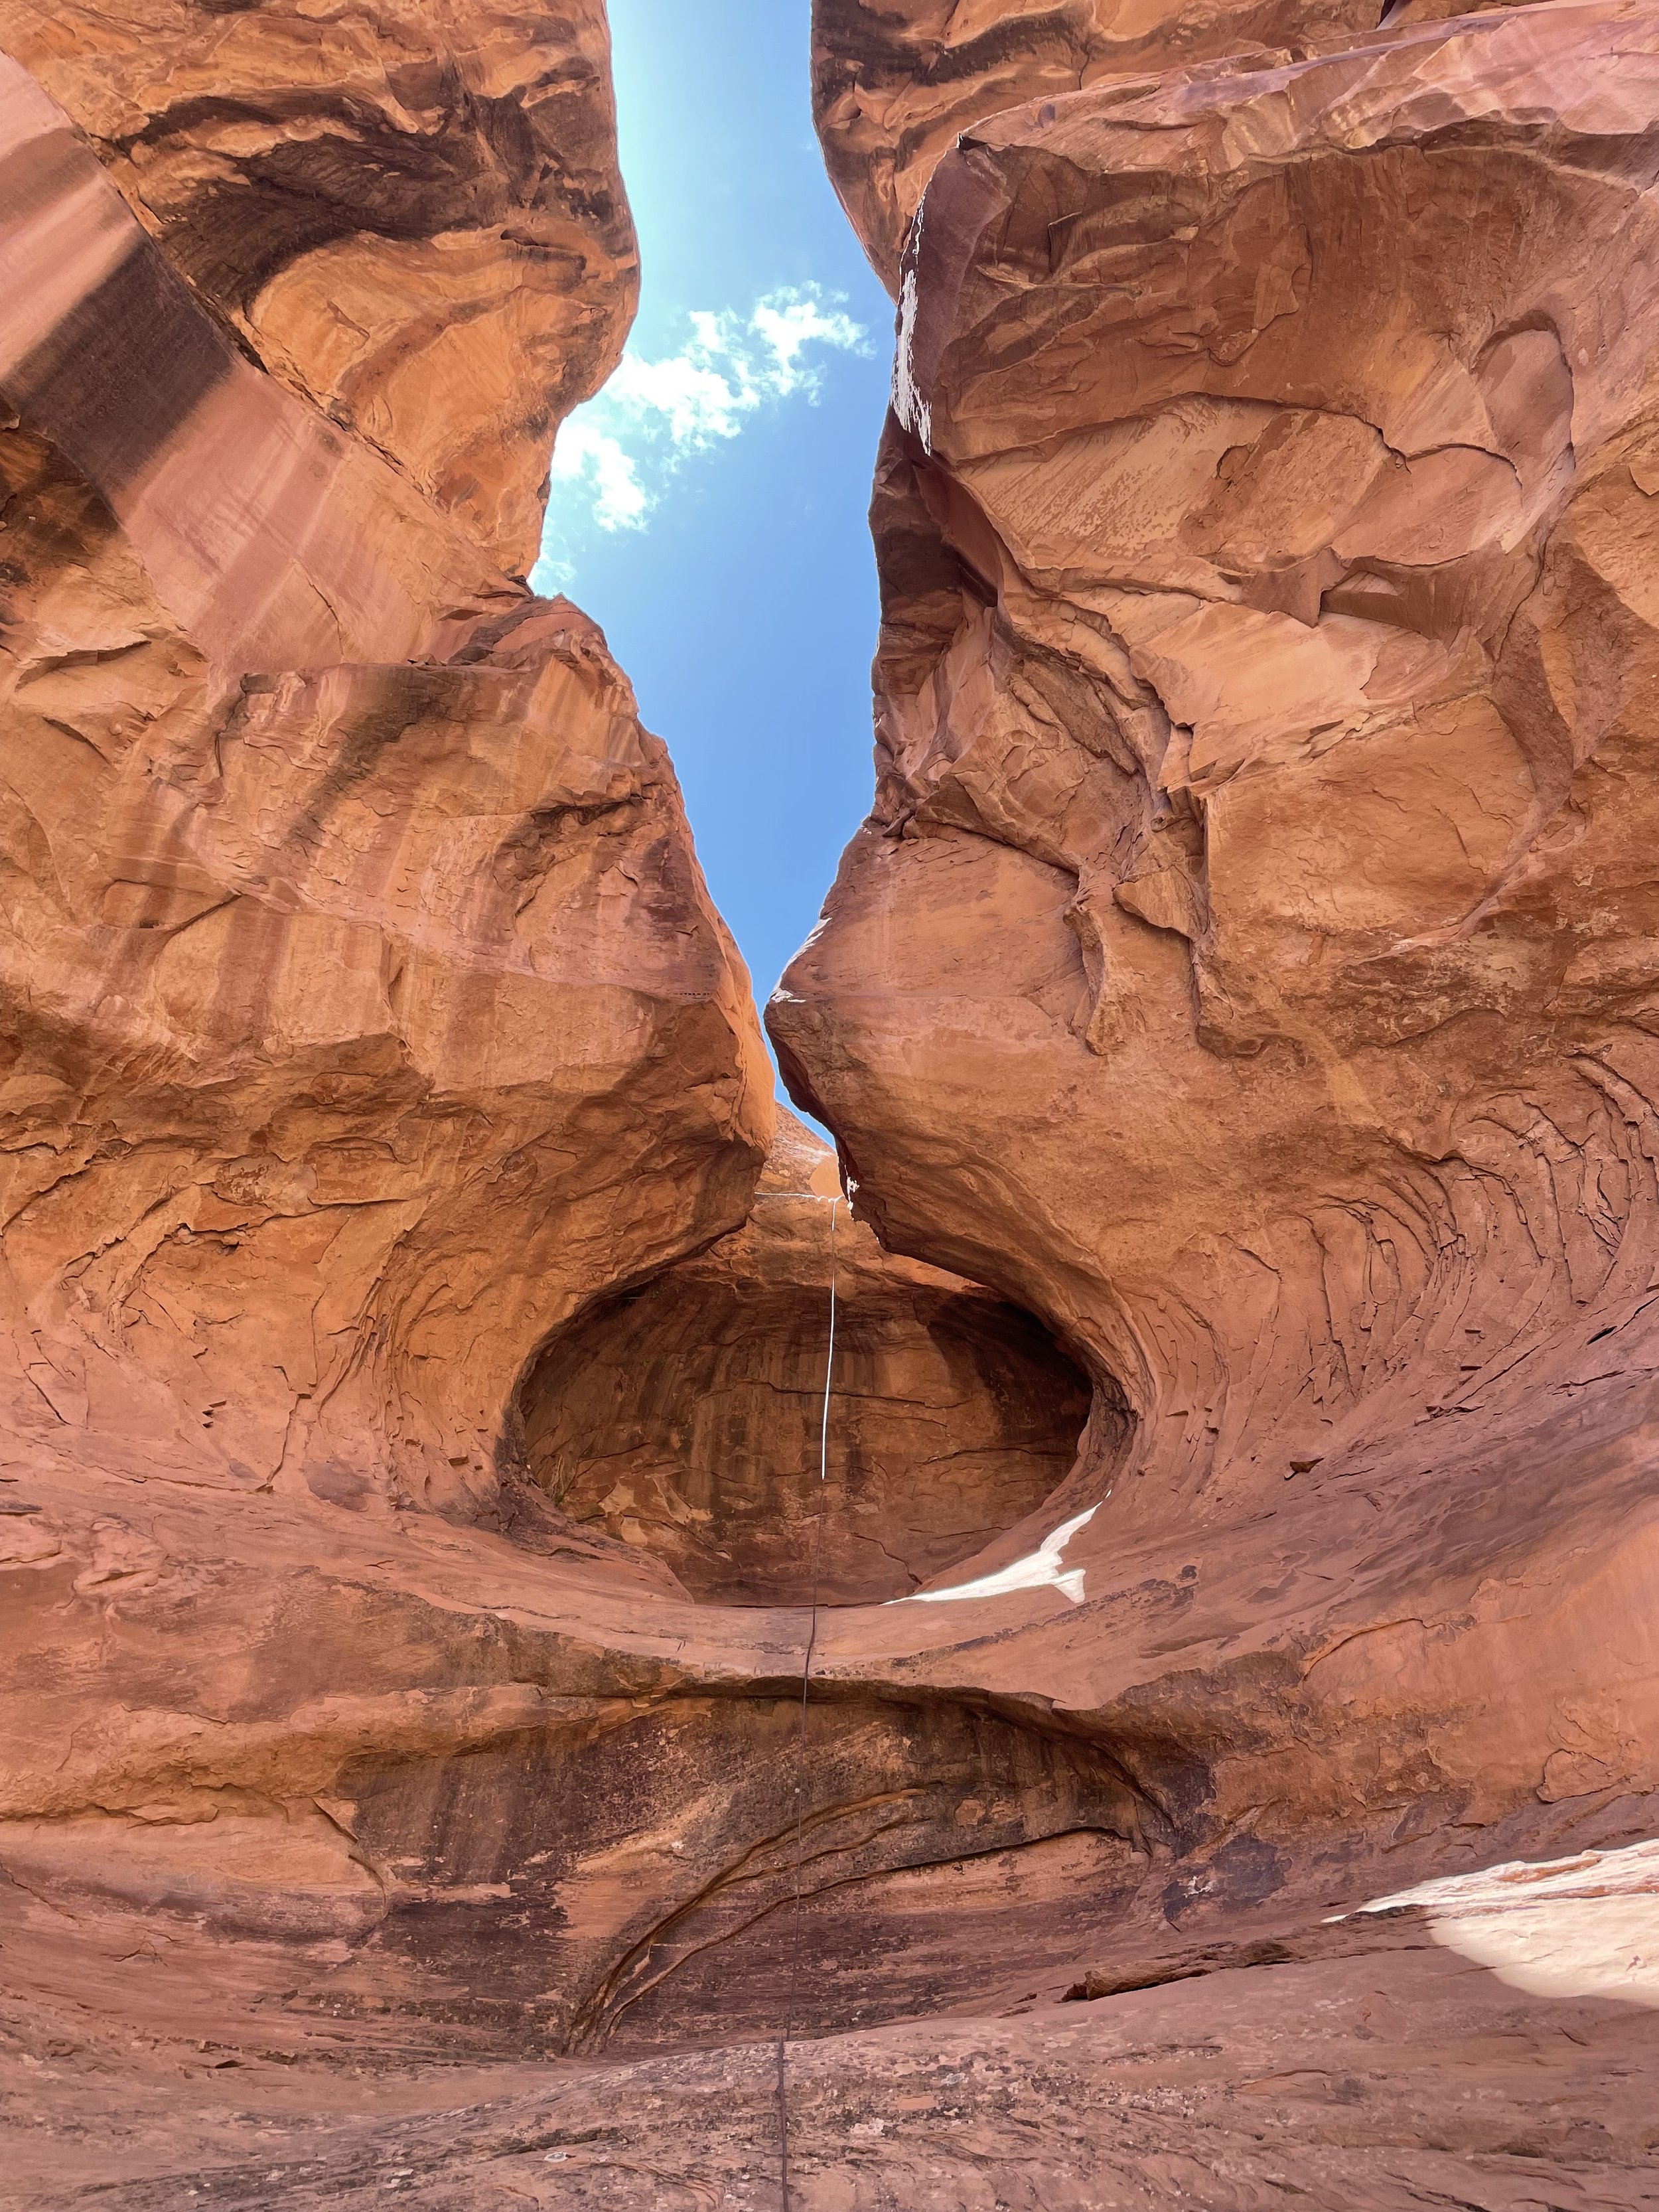
The highlights of the canyon are rappelling into a sandstone bowl rock formation (See Photos) and the last rappel 200’ near Jug Handel Arch right back to the vehicles.
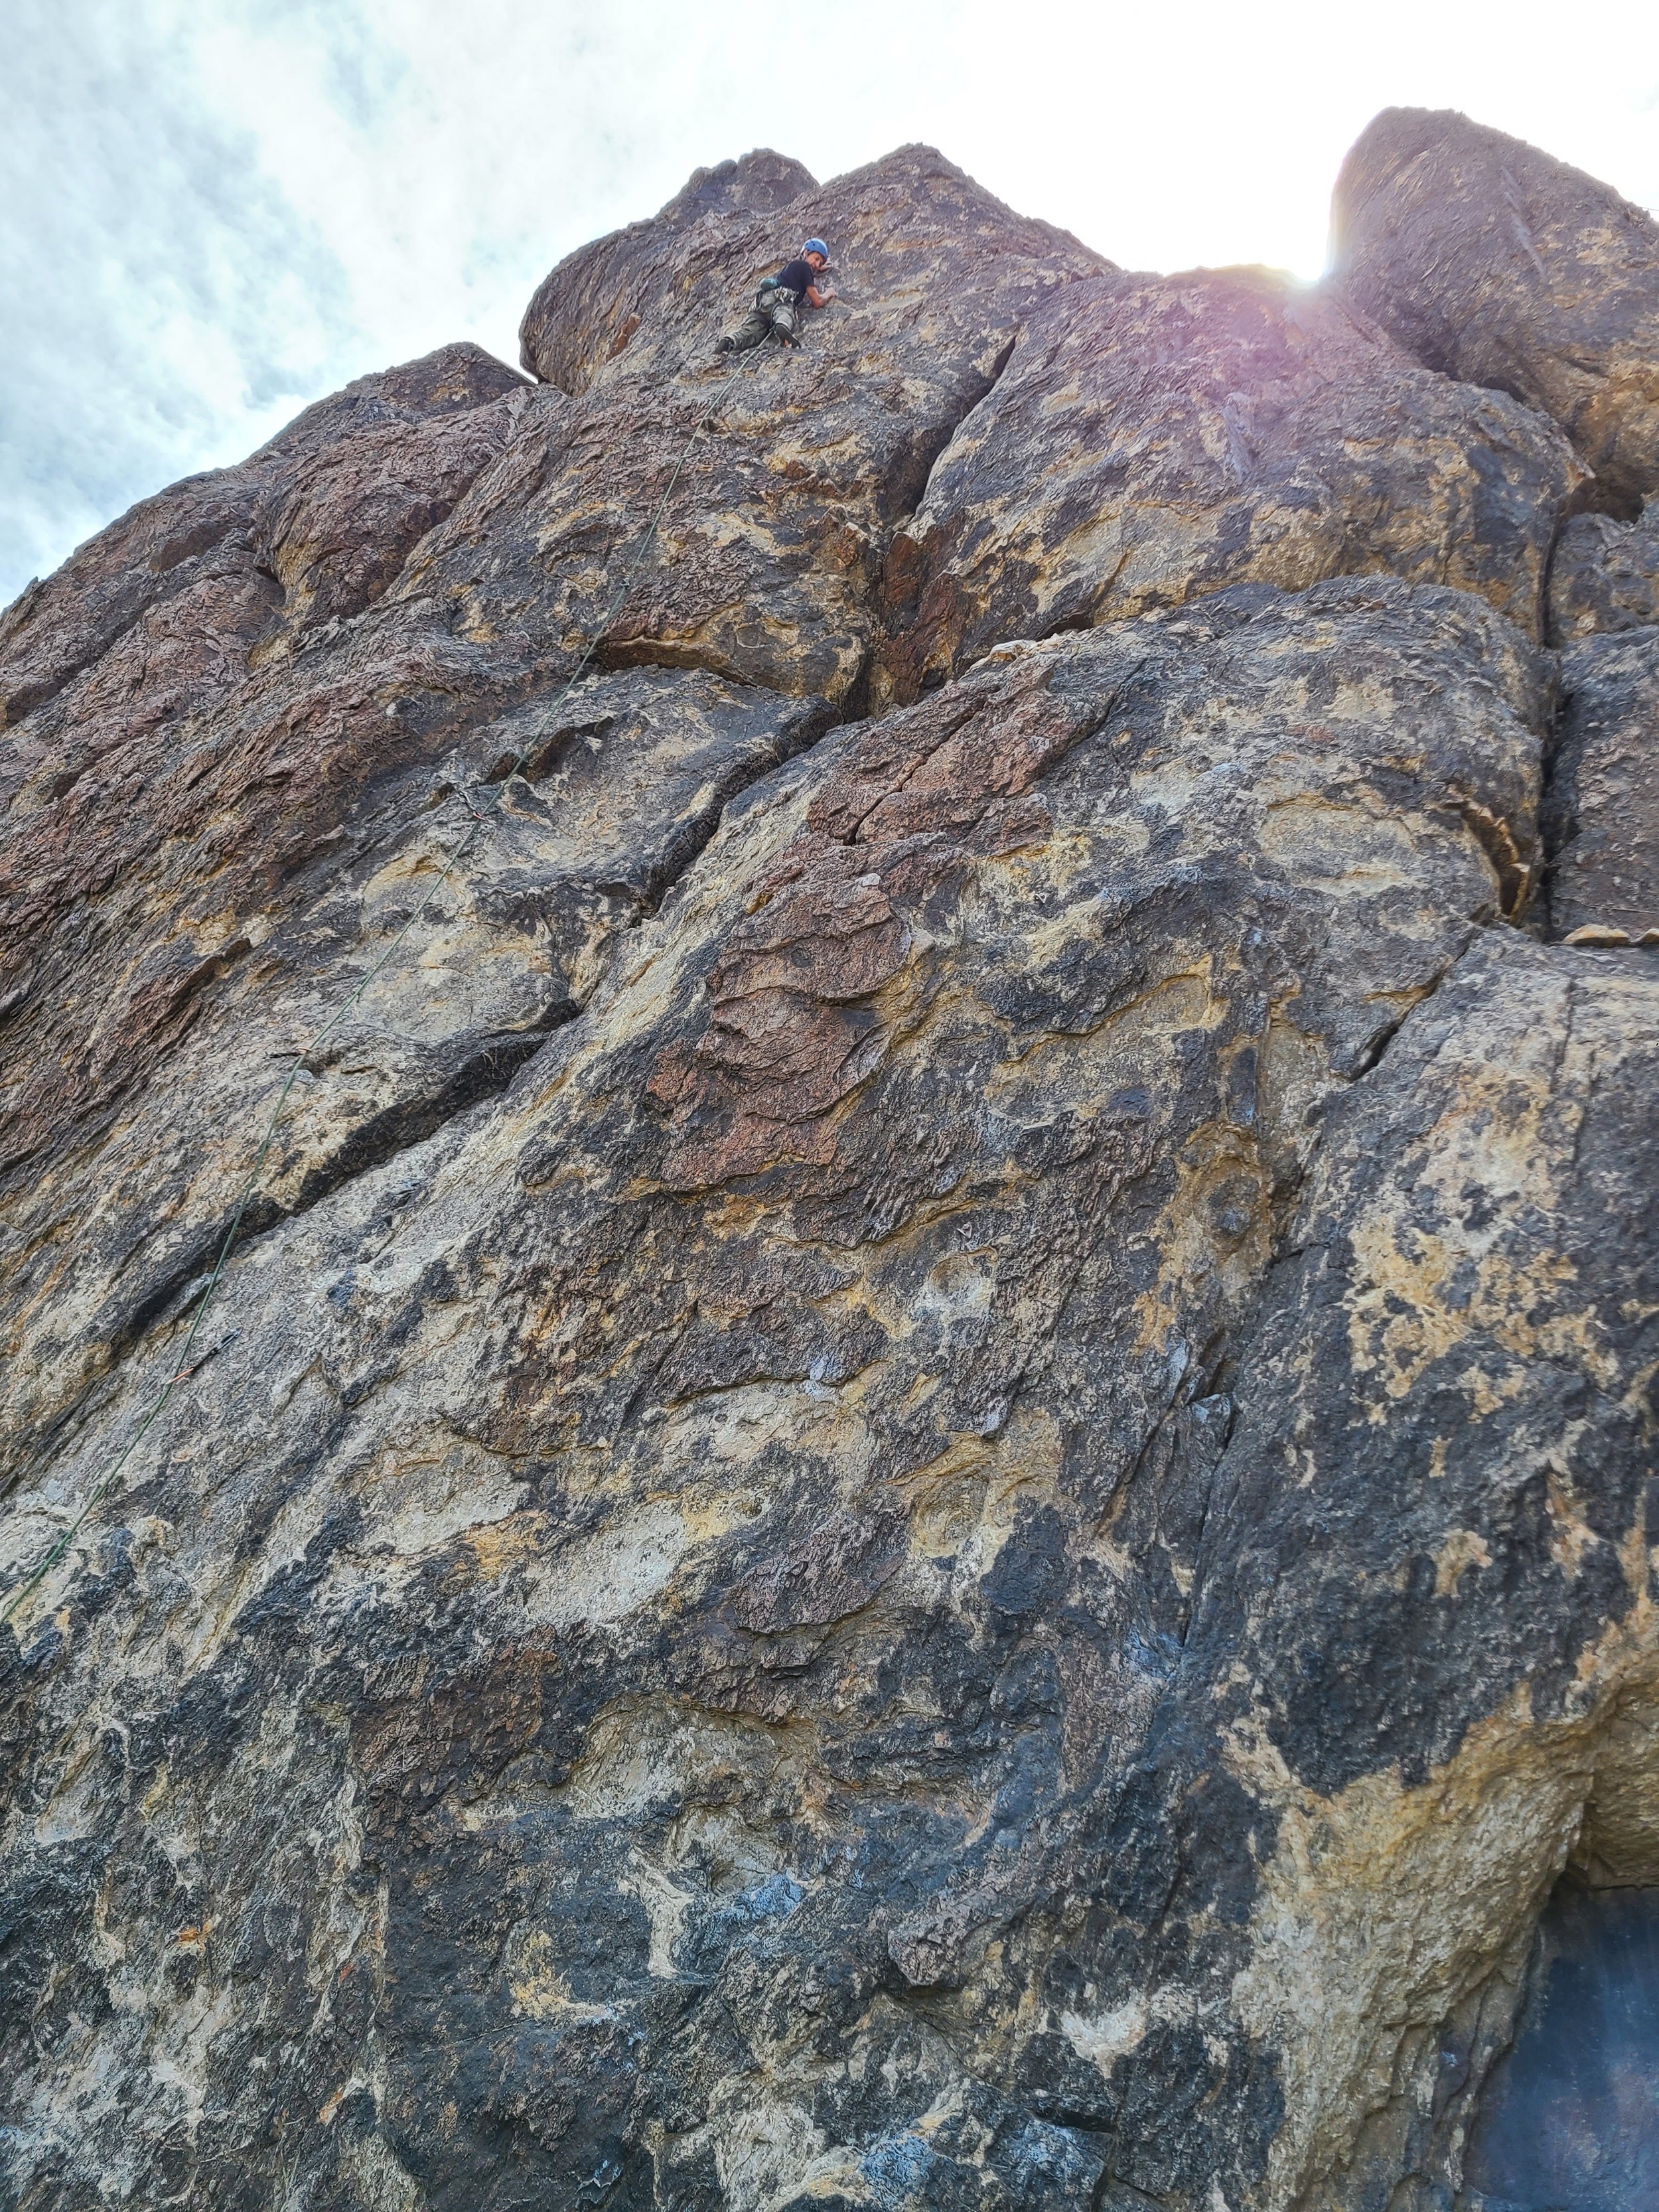
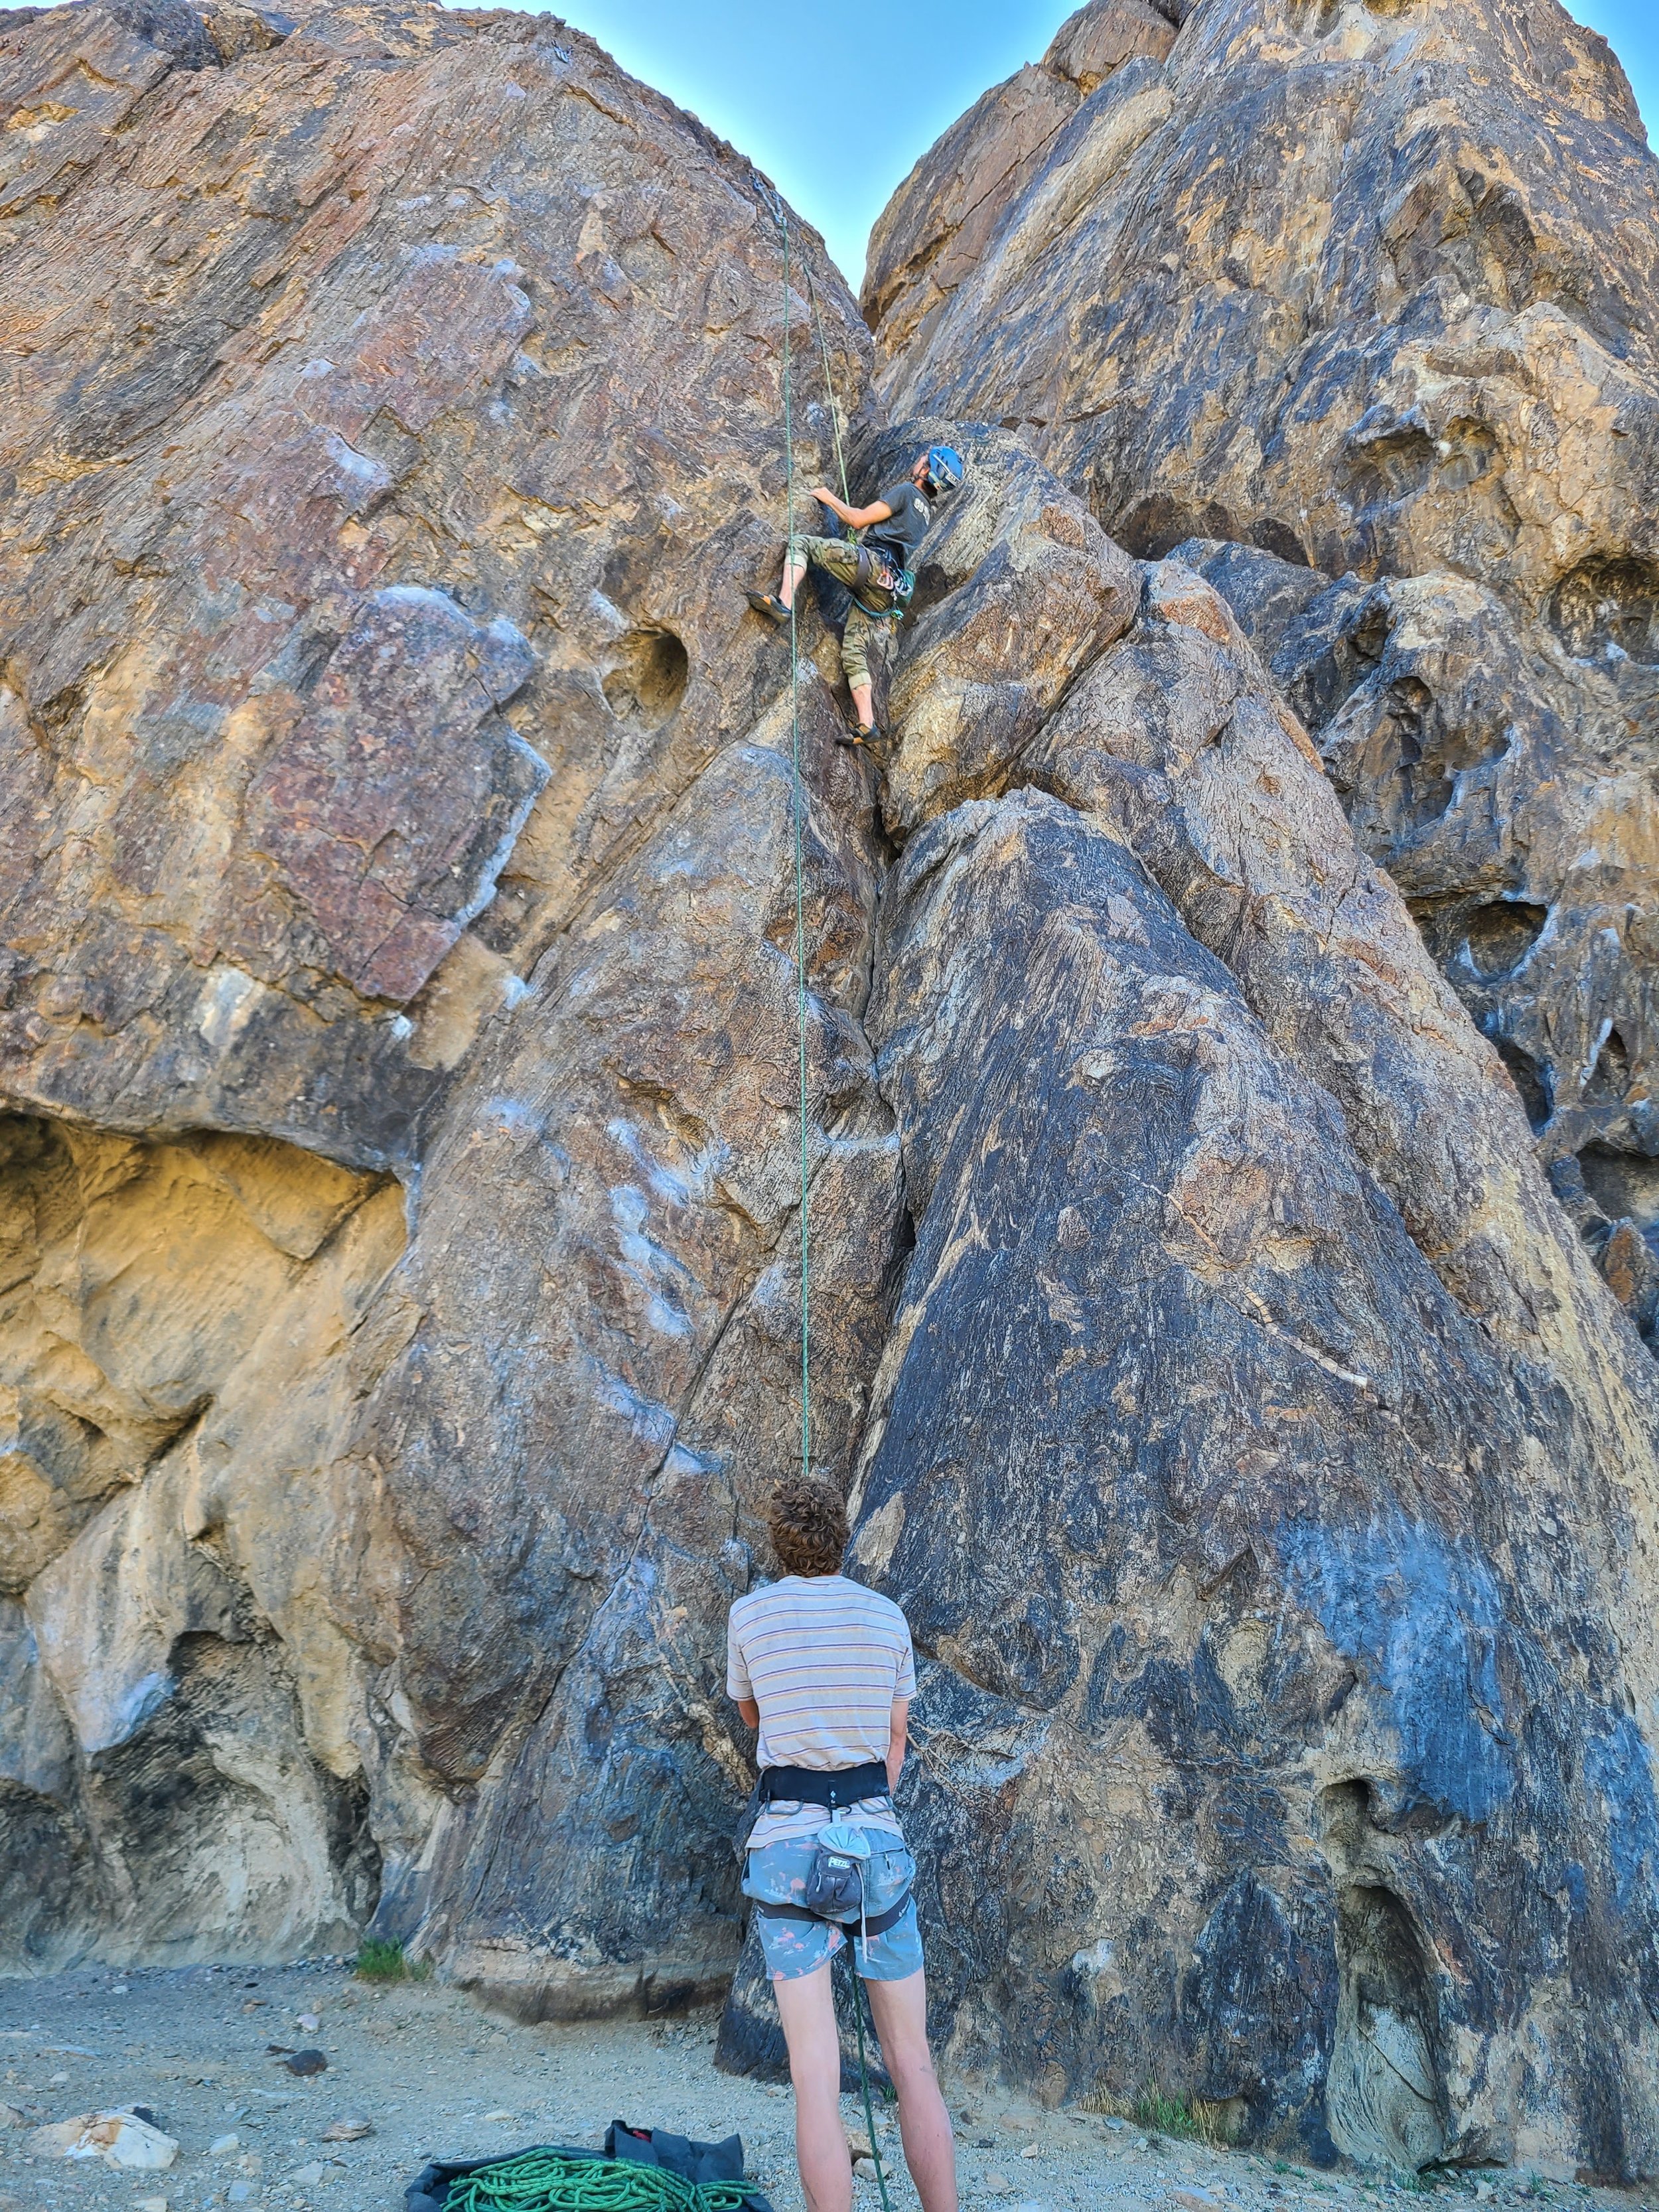
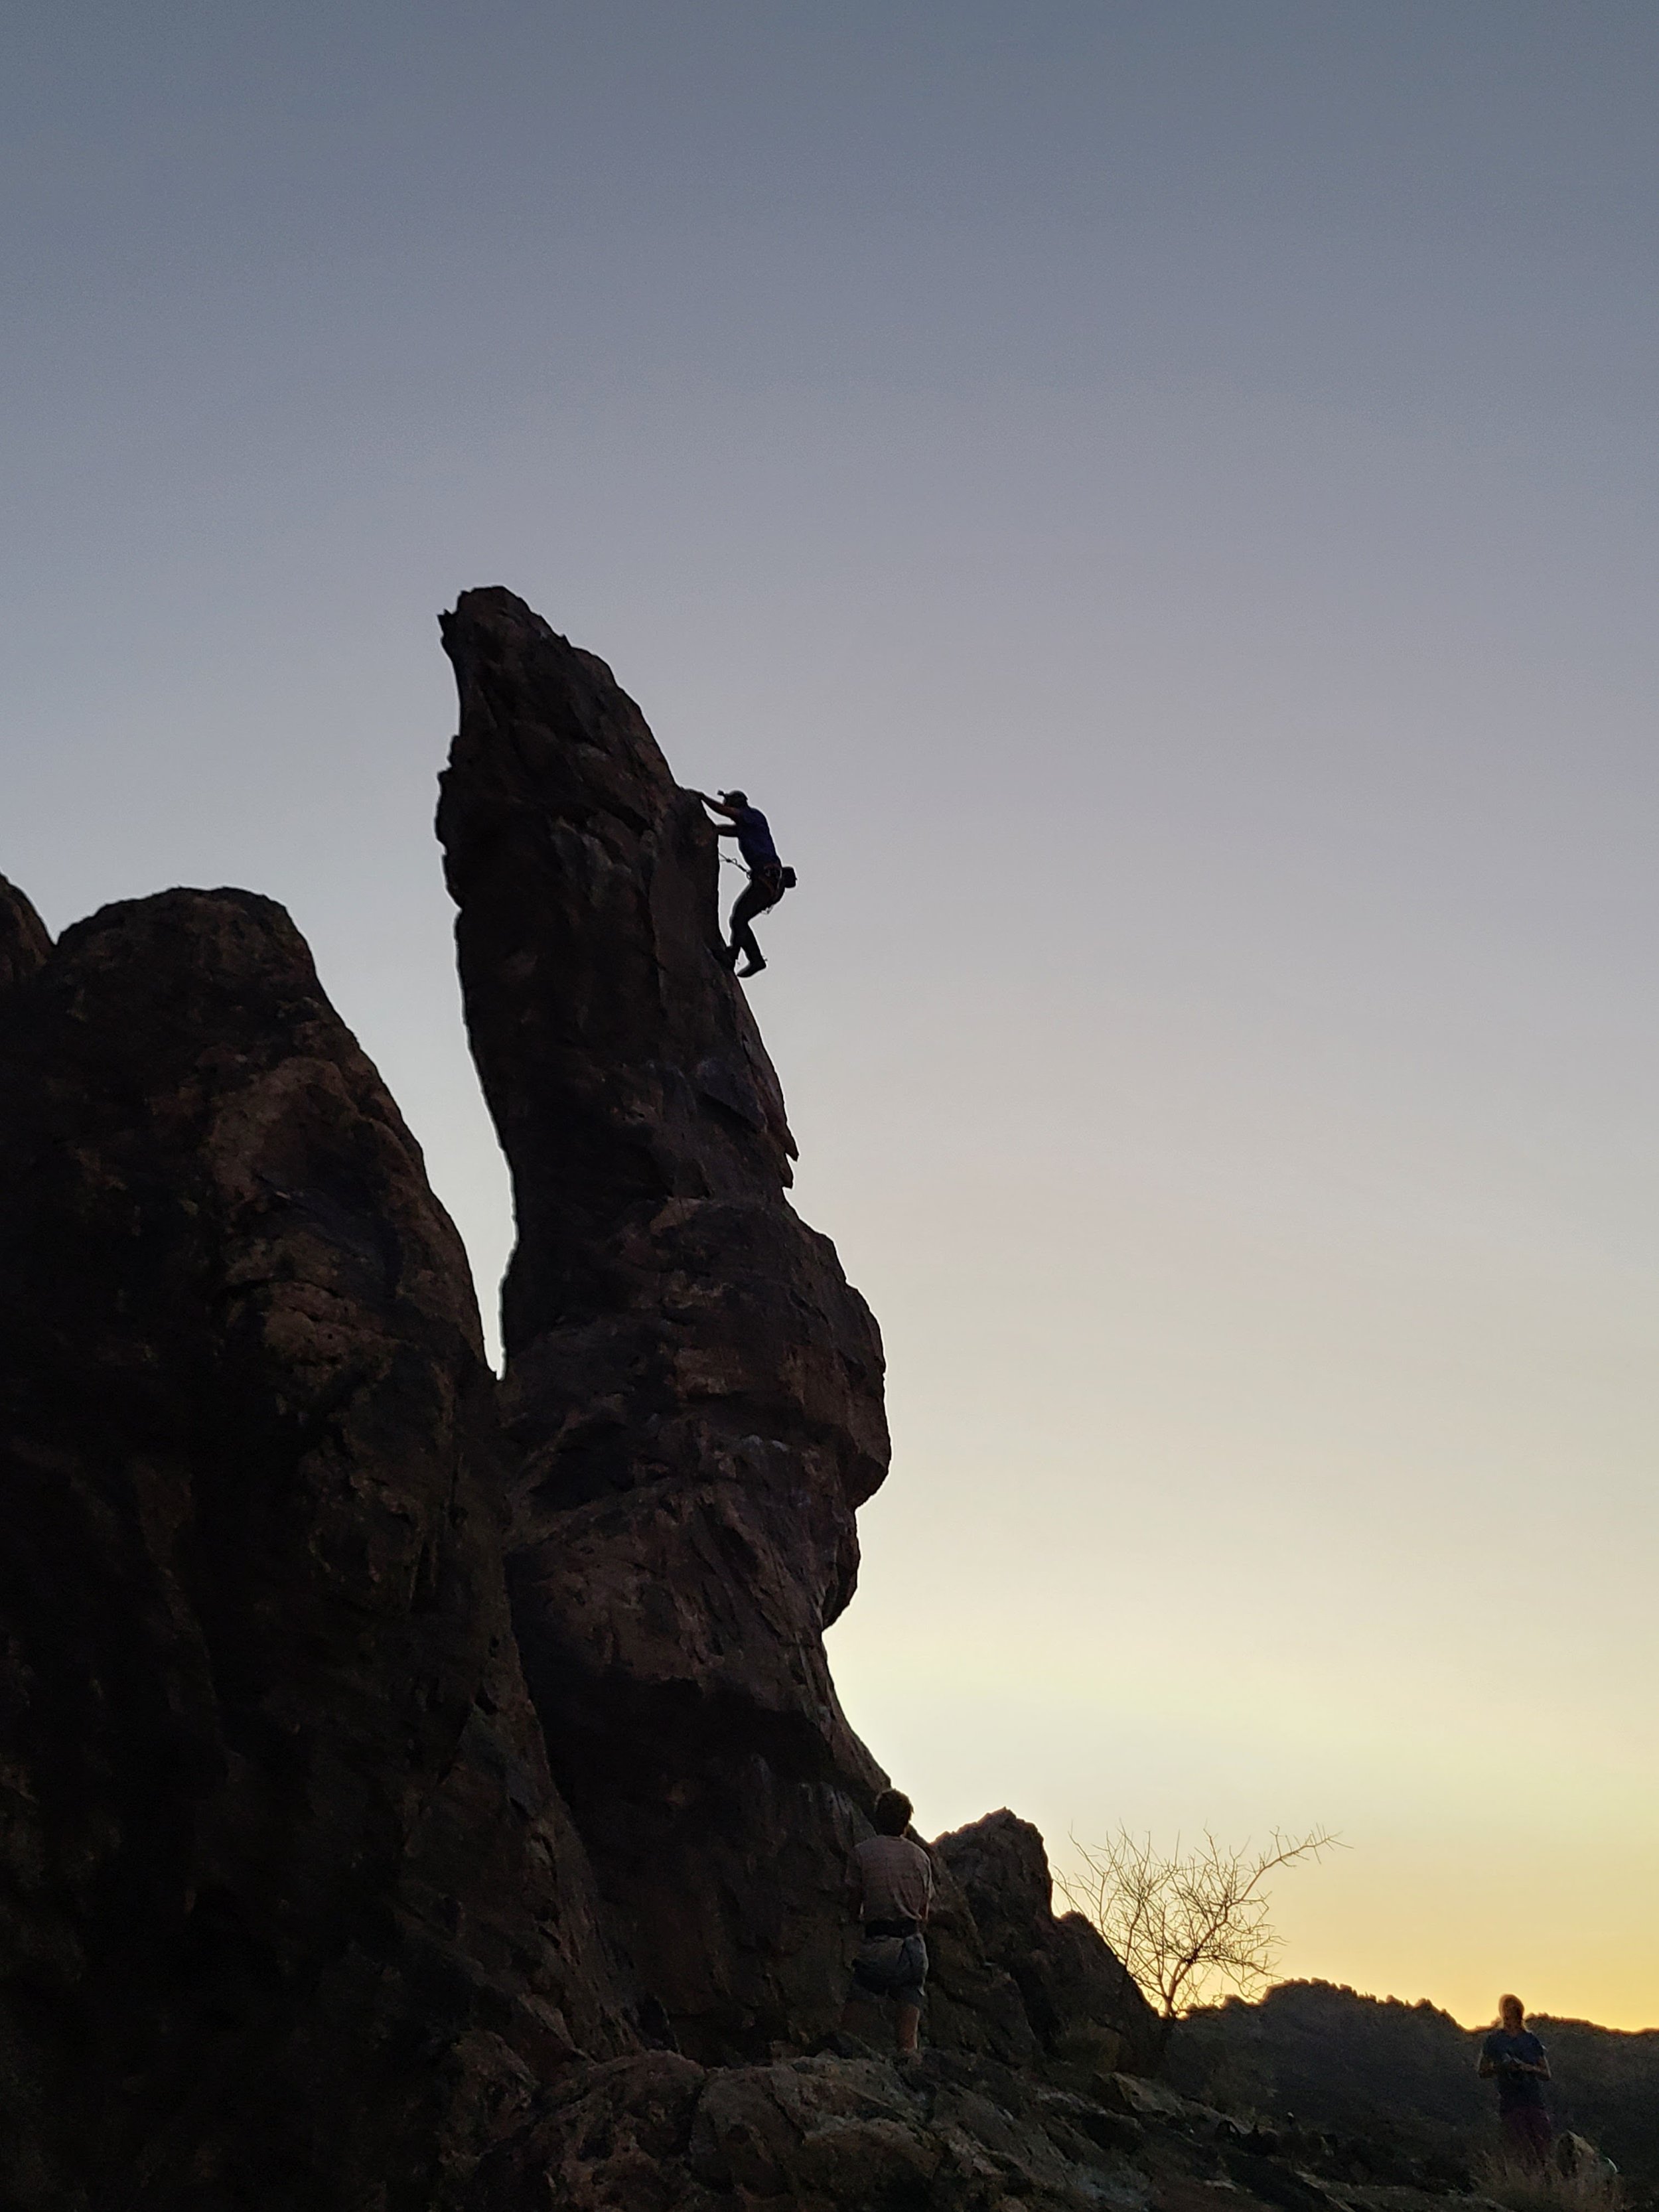
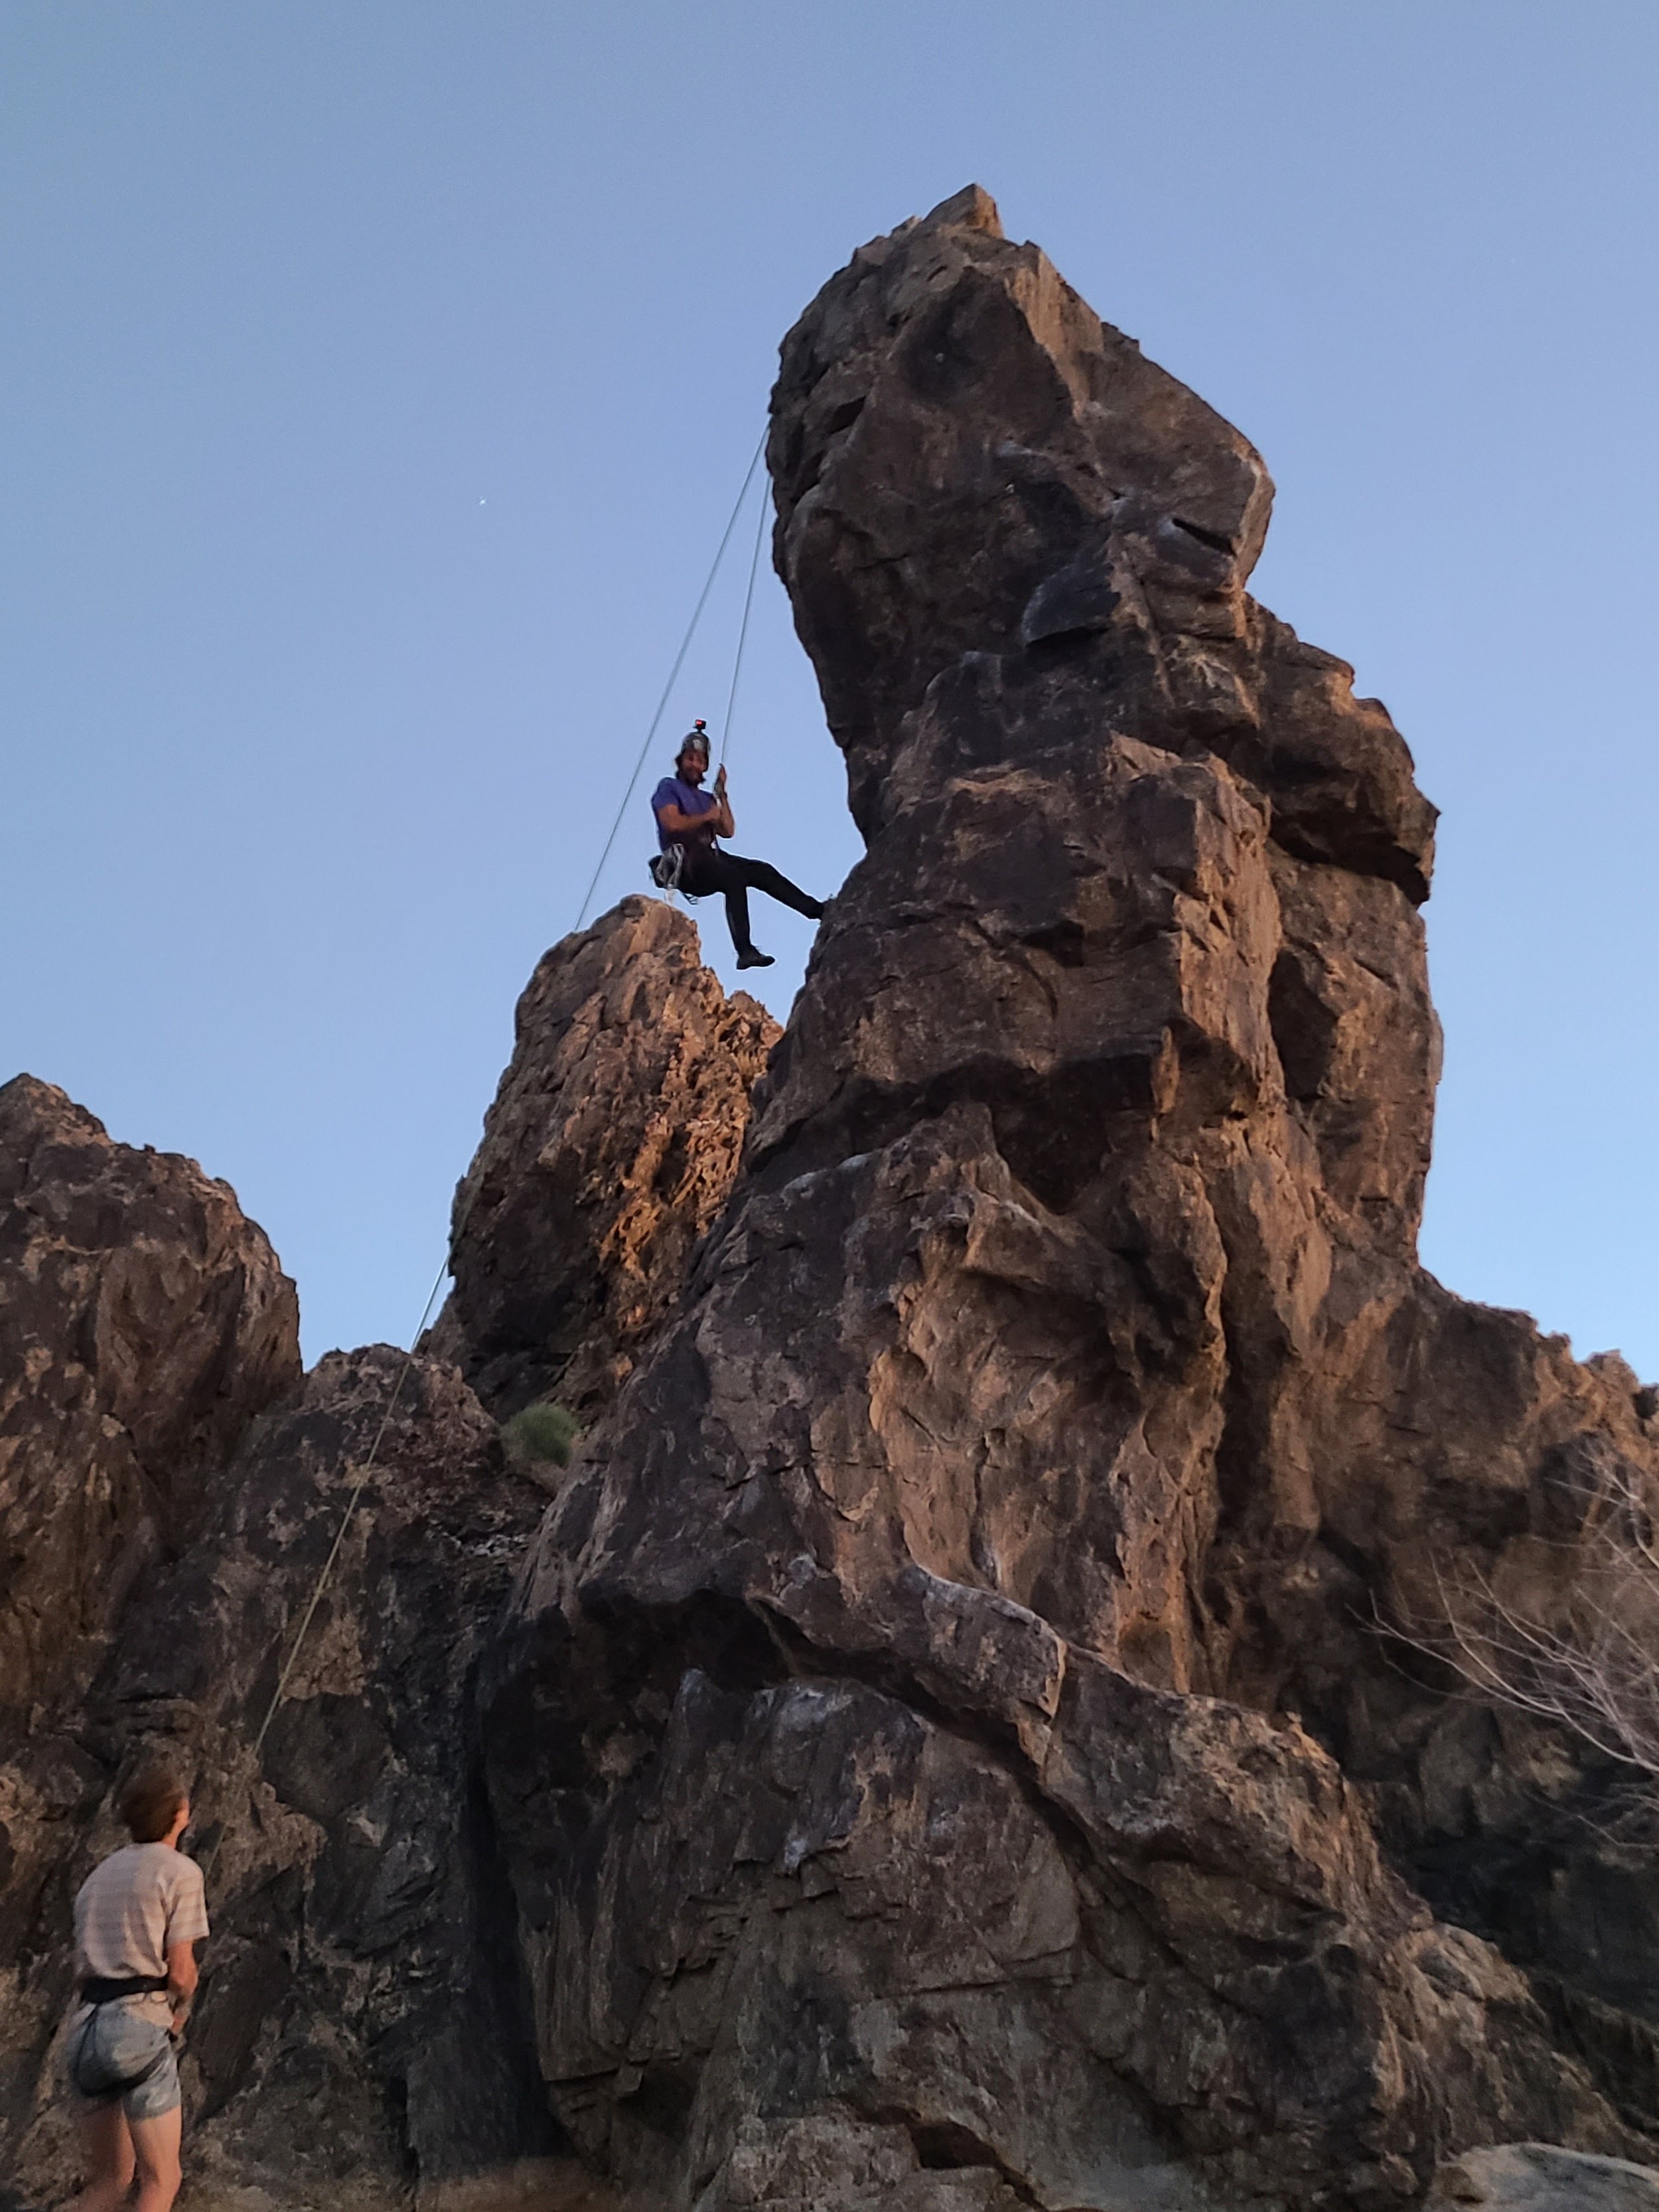
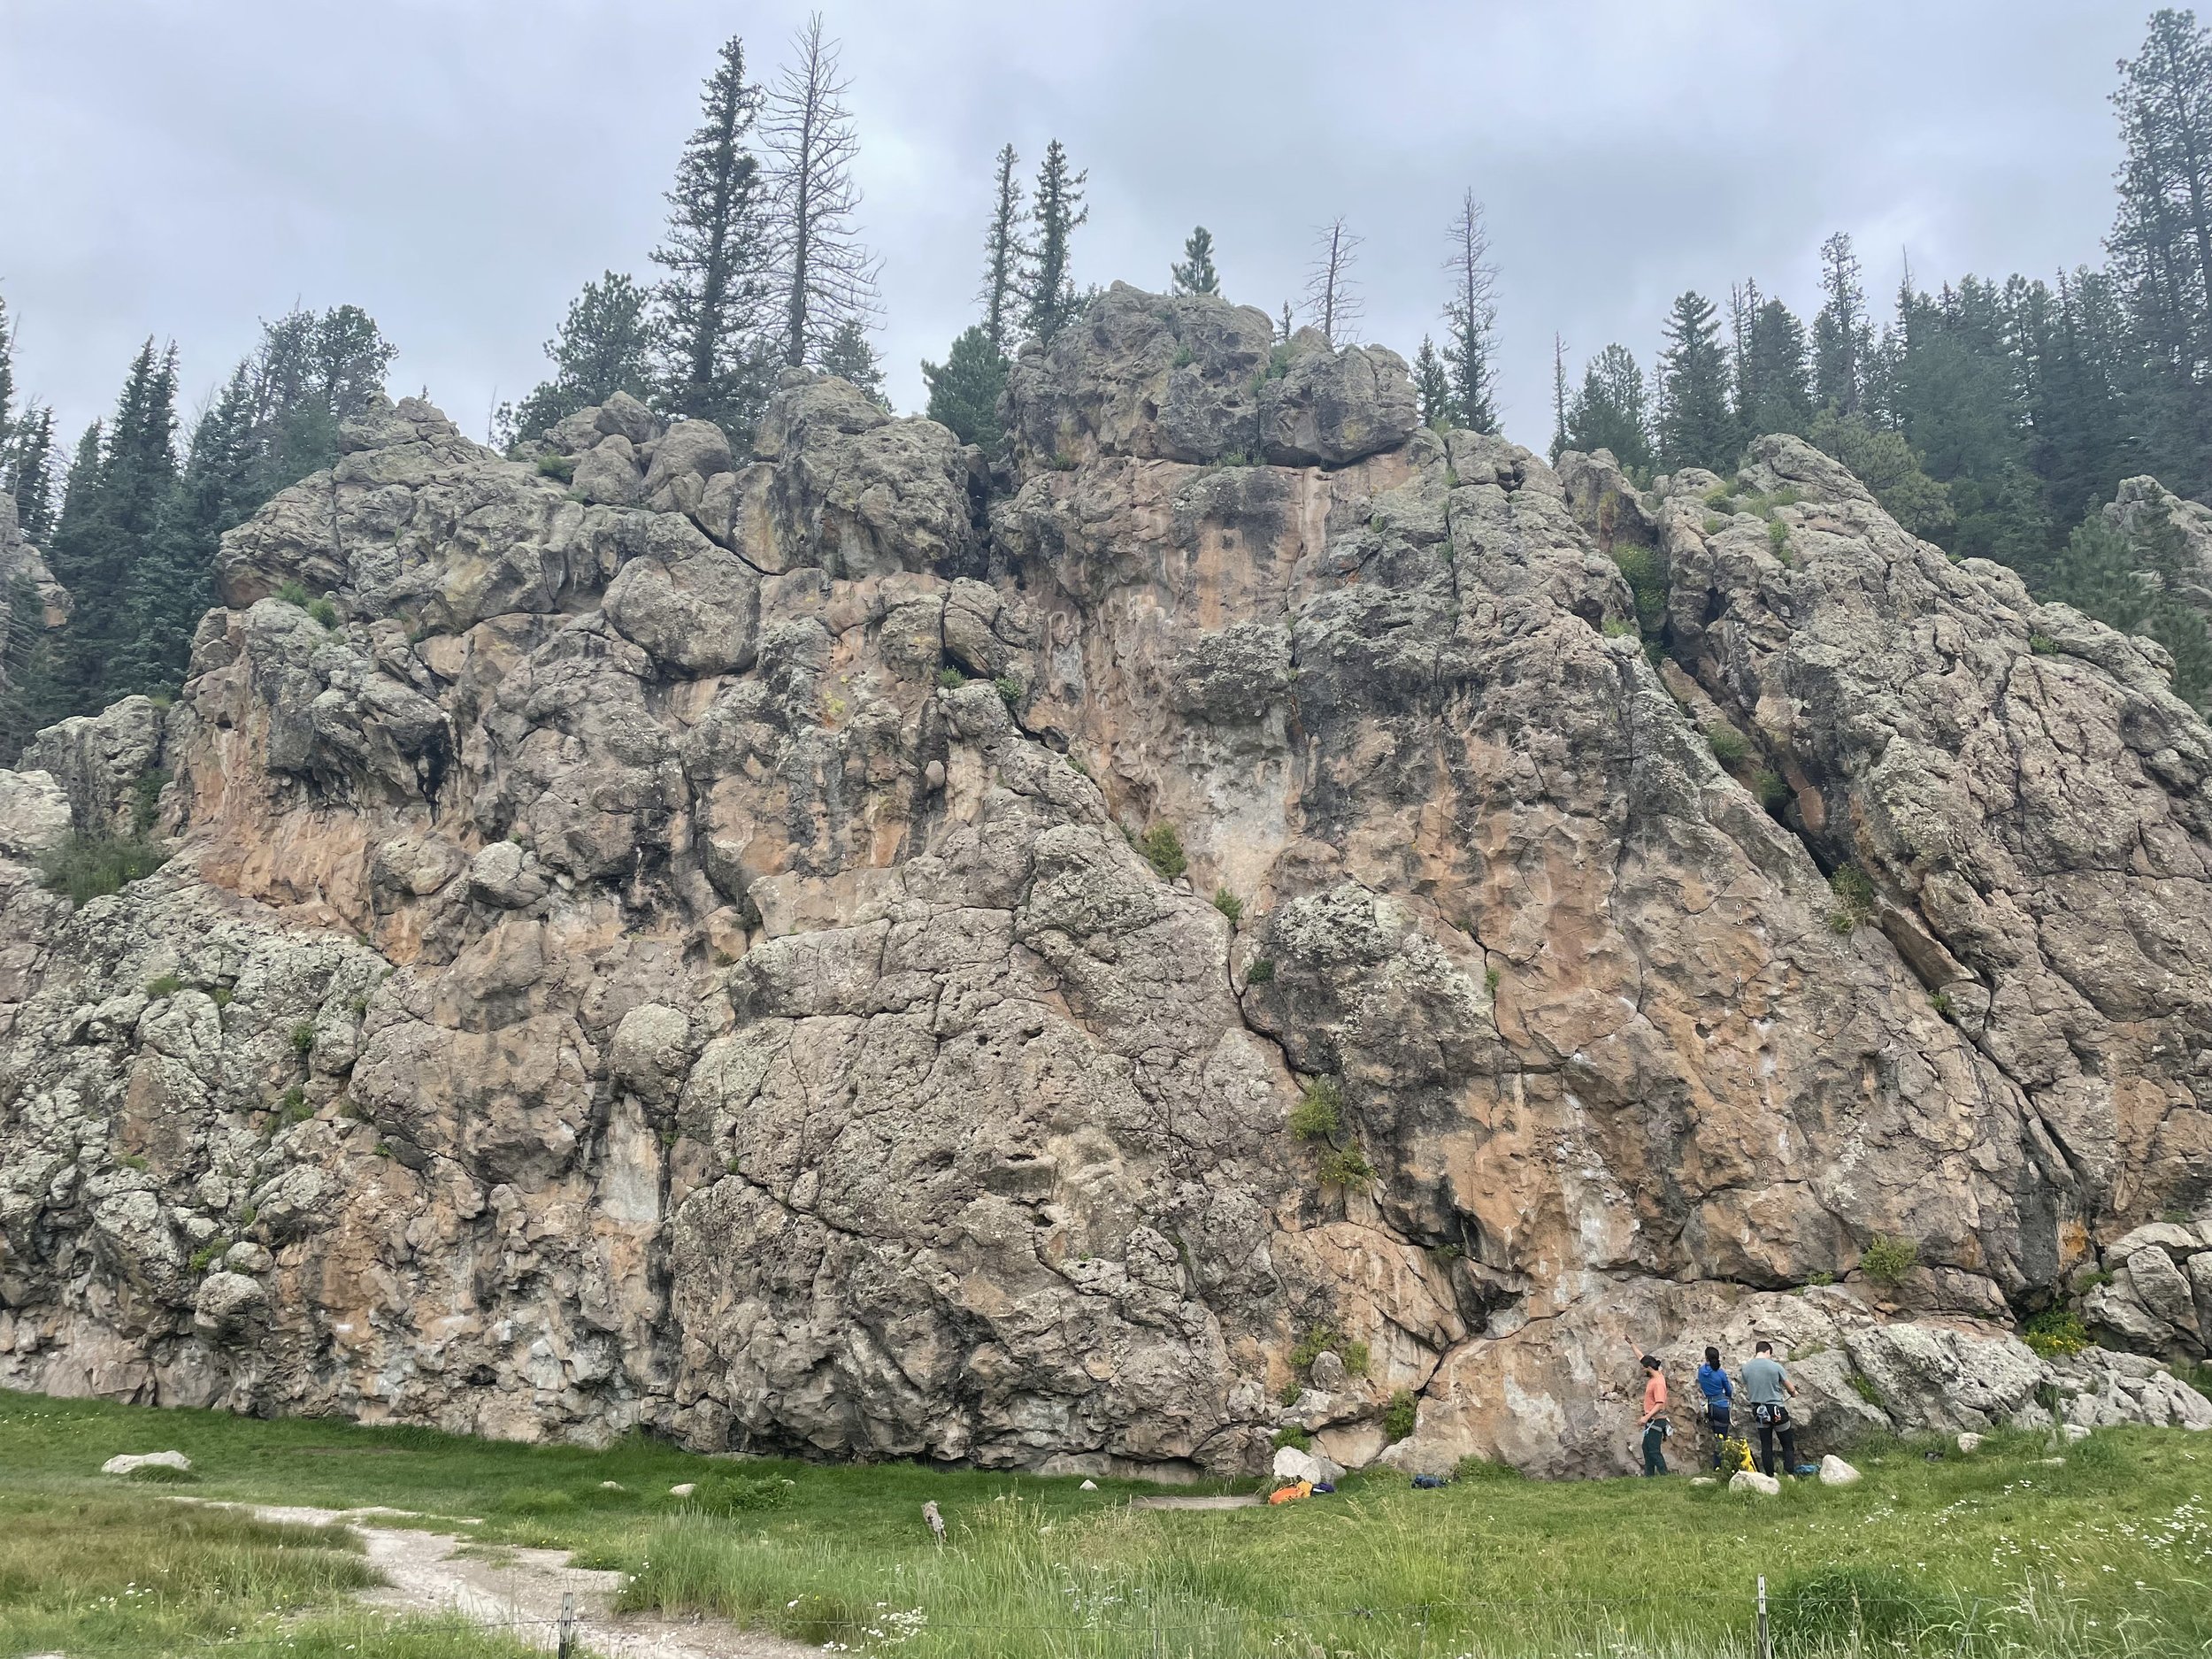
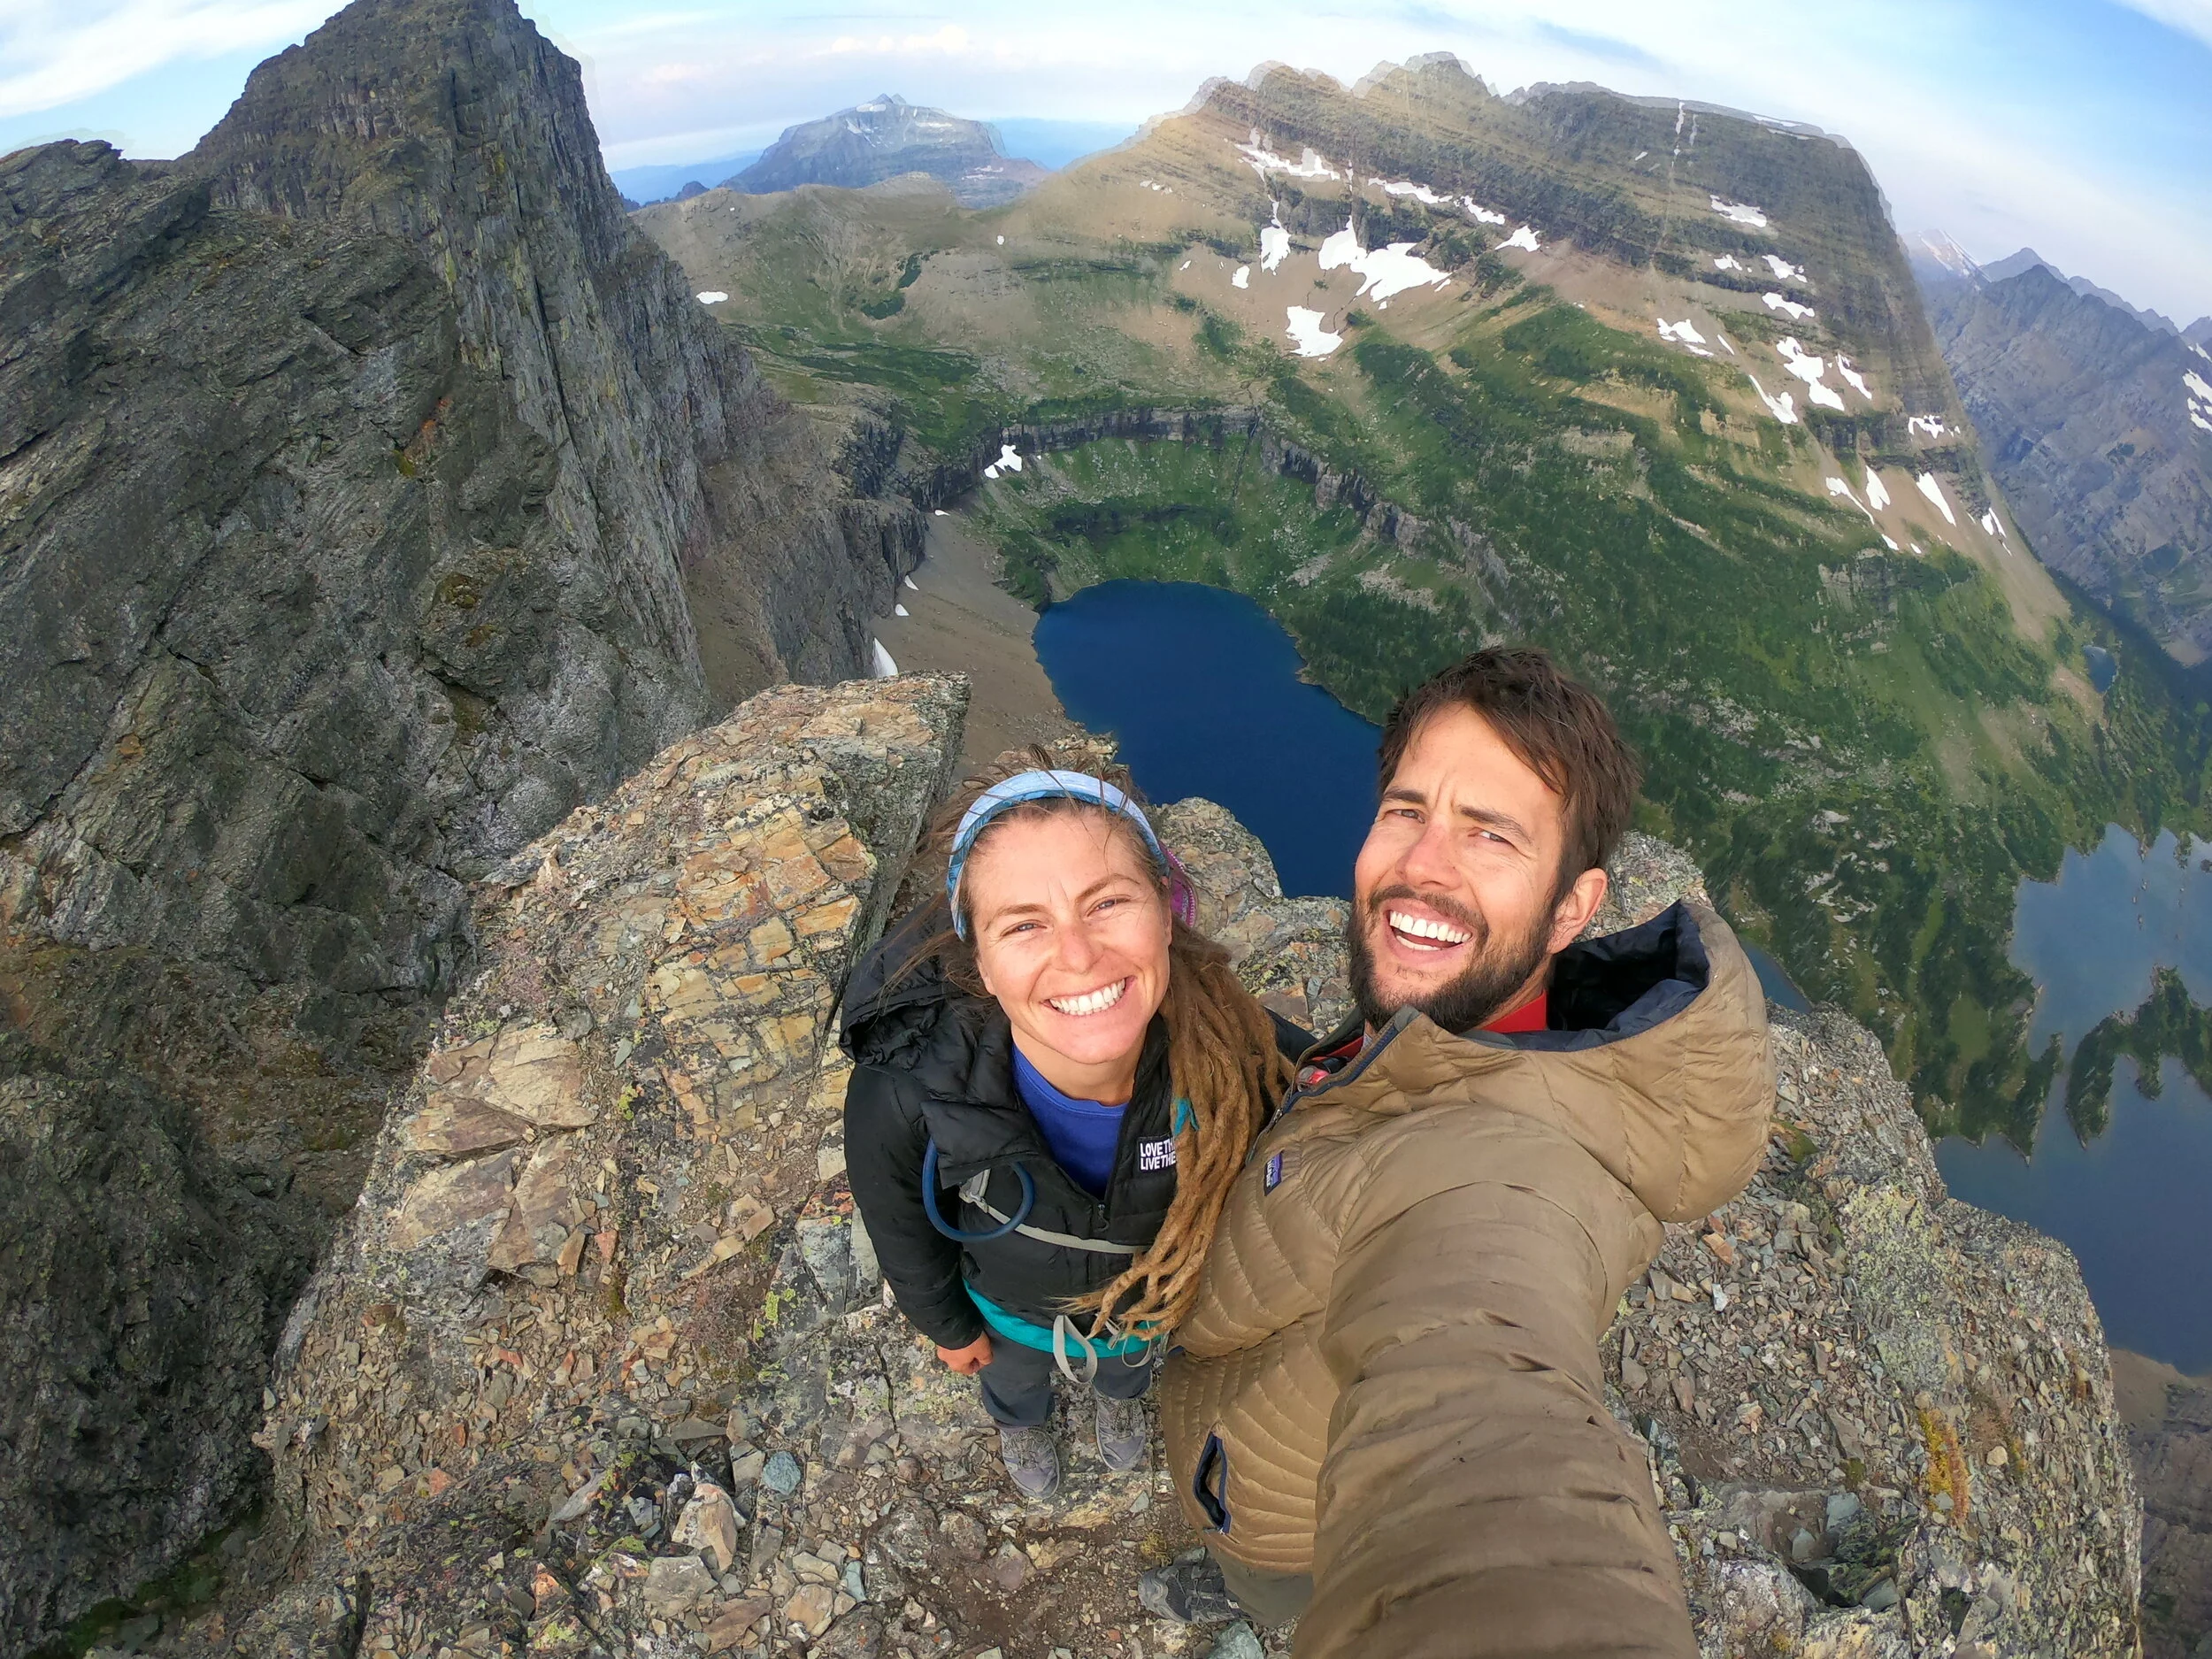
Looking Glass Rock
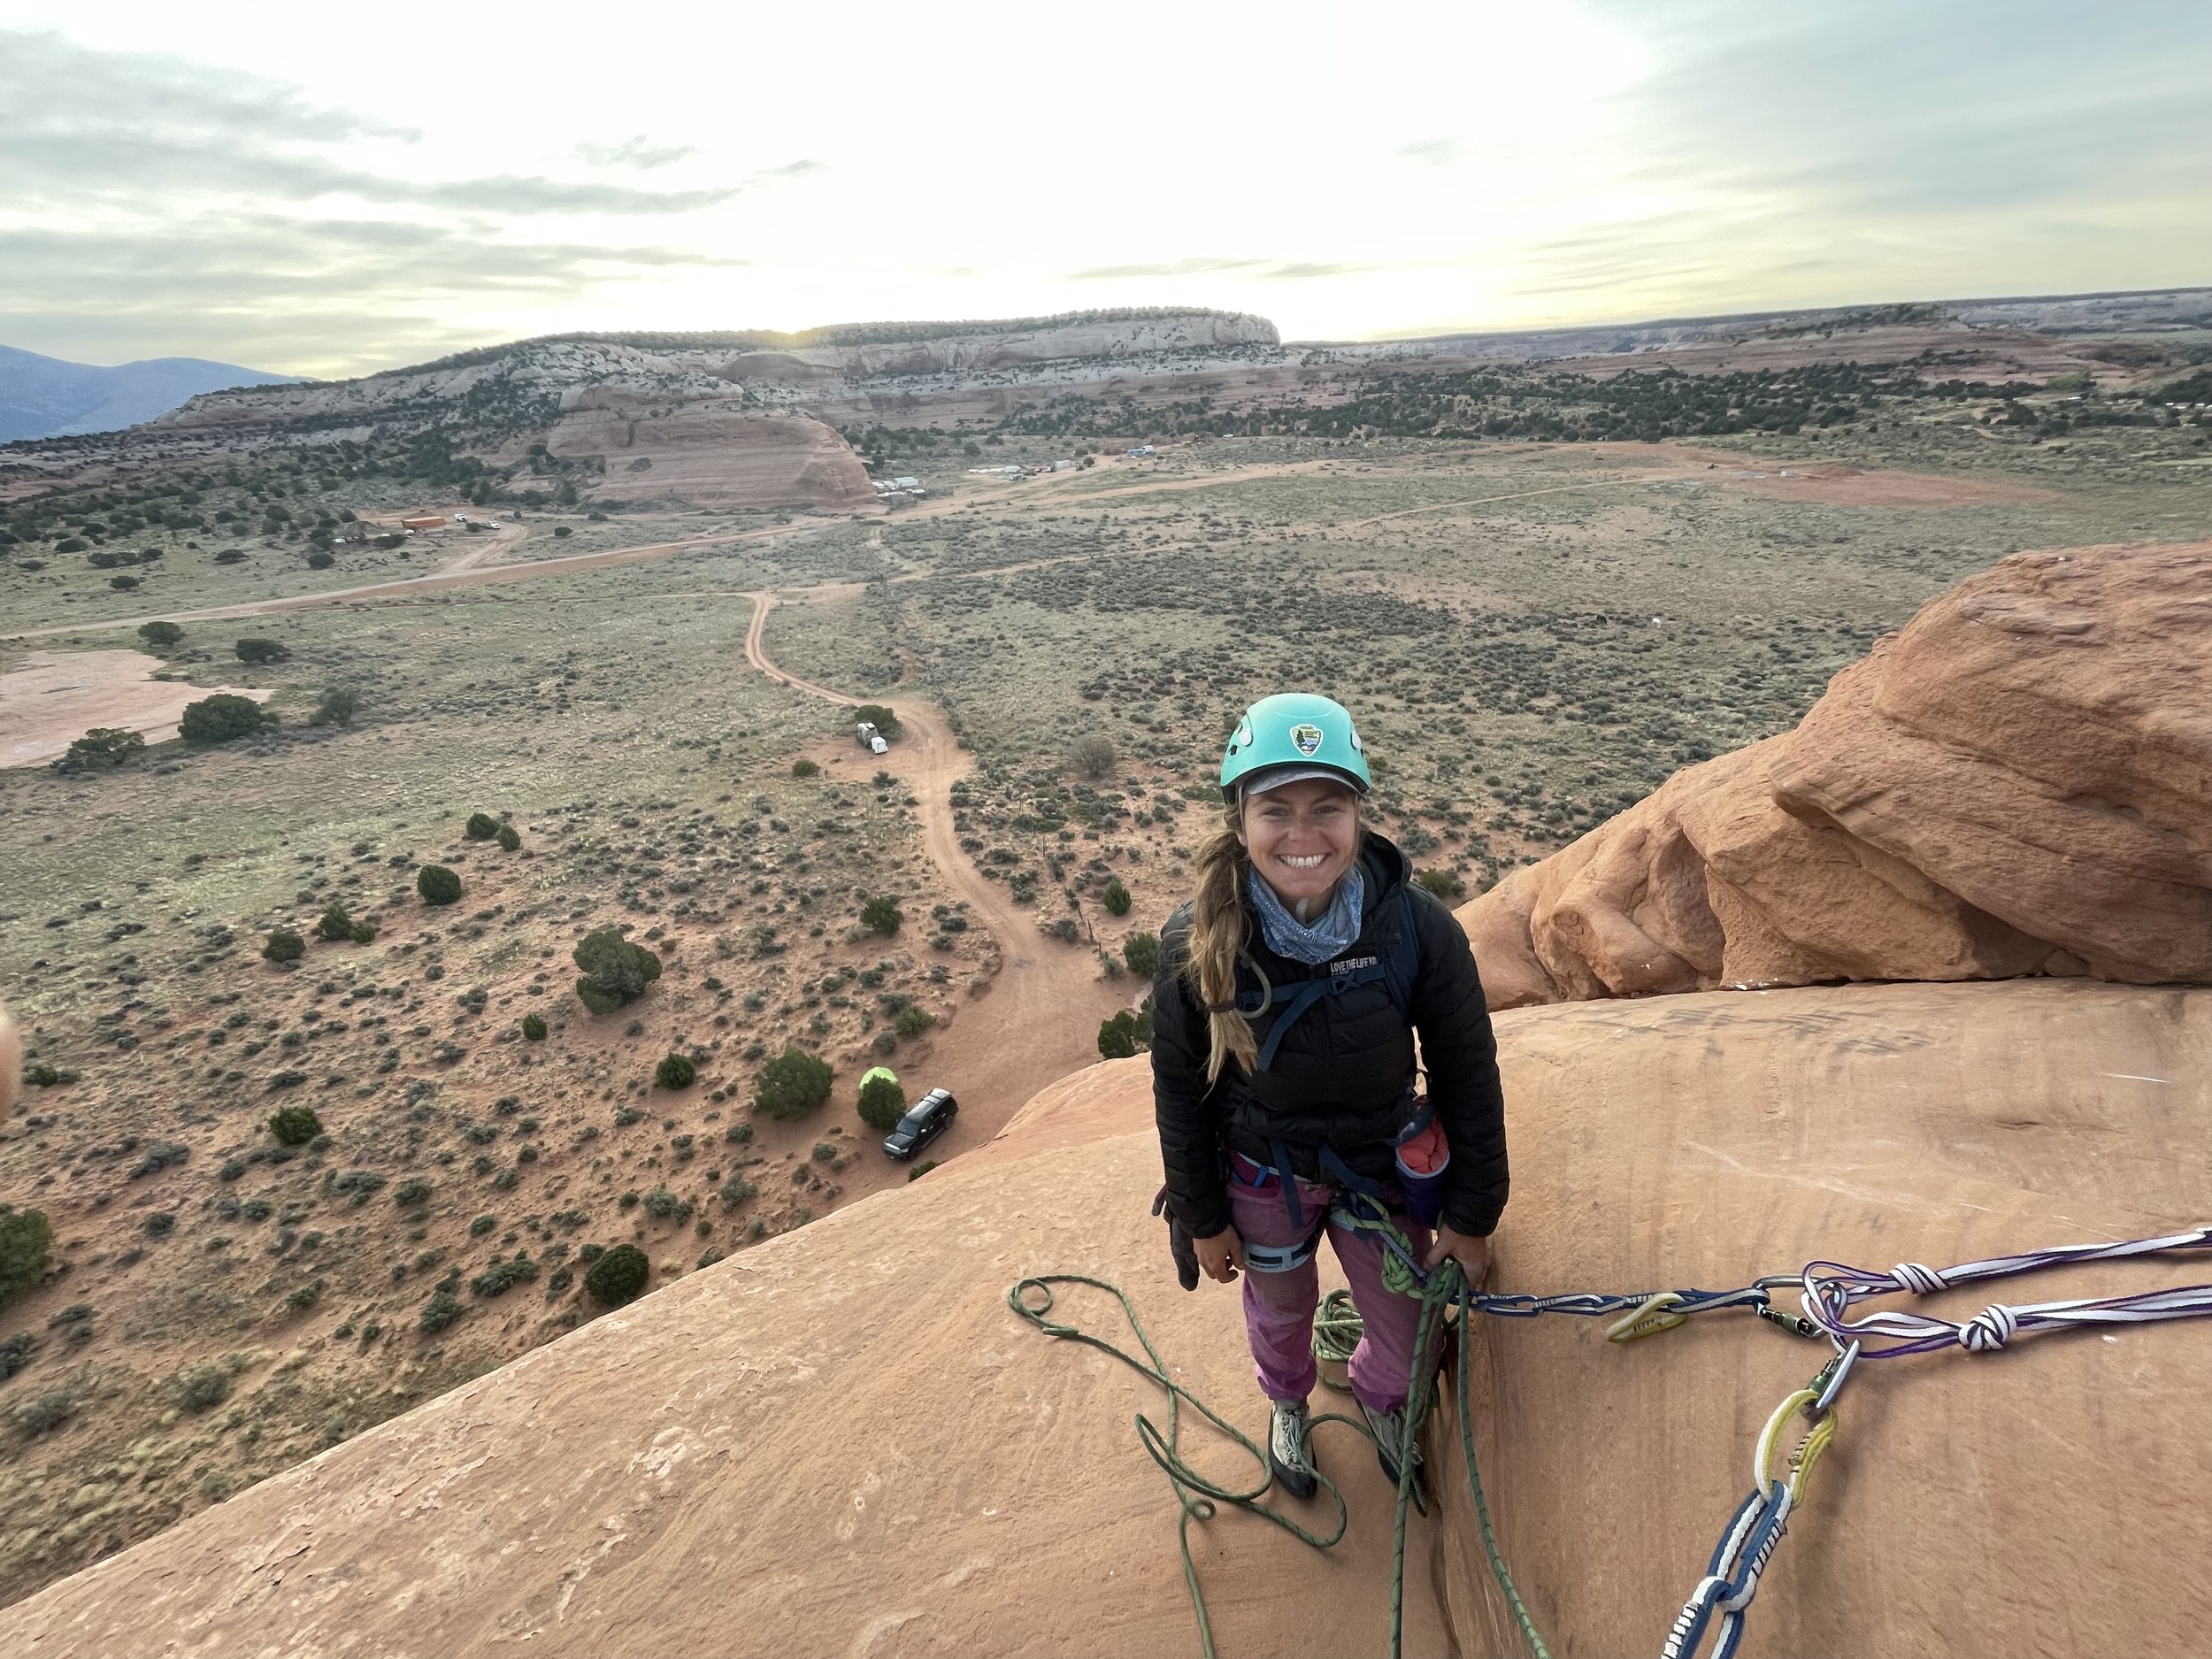
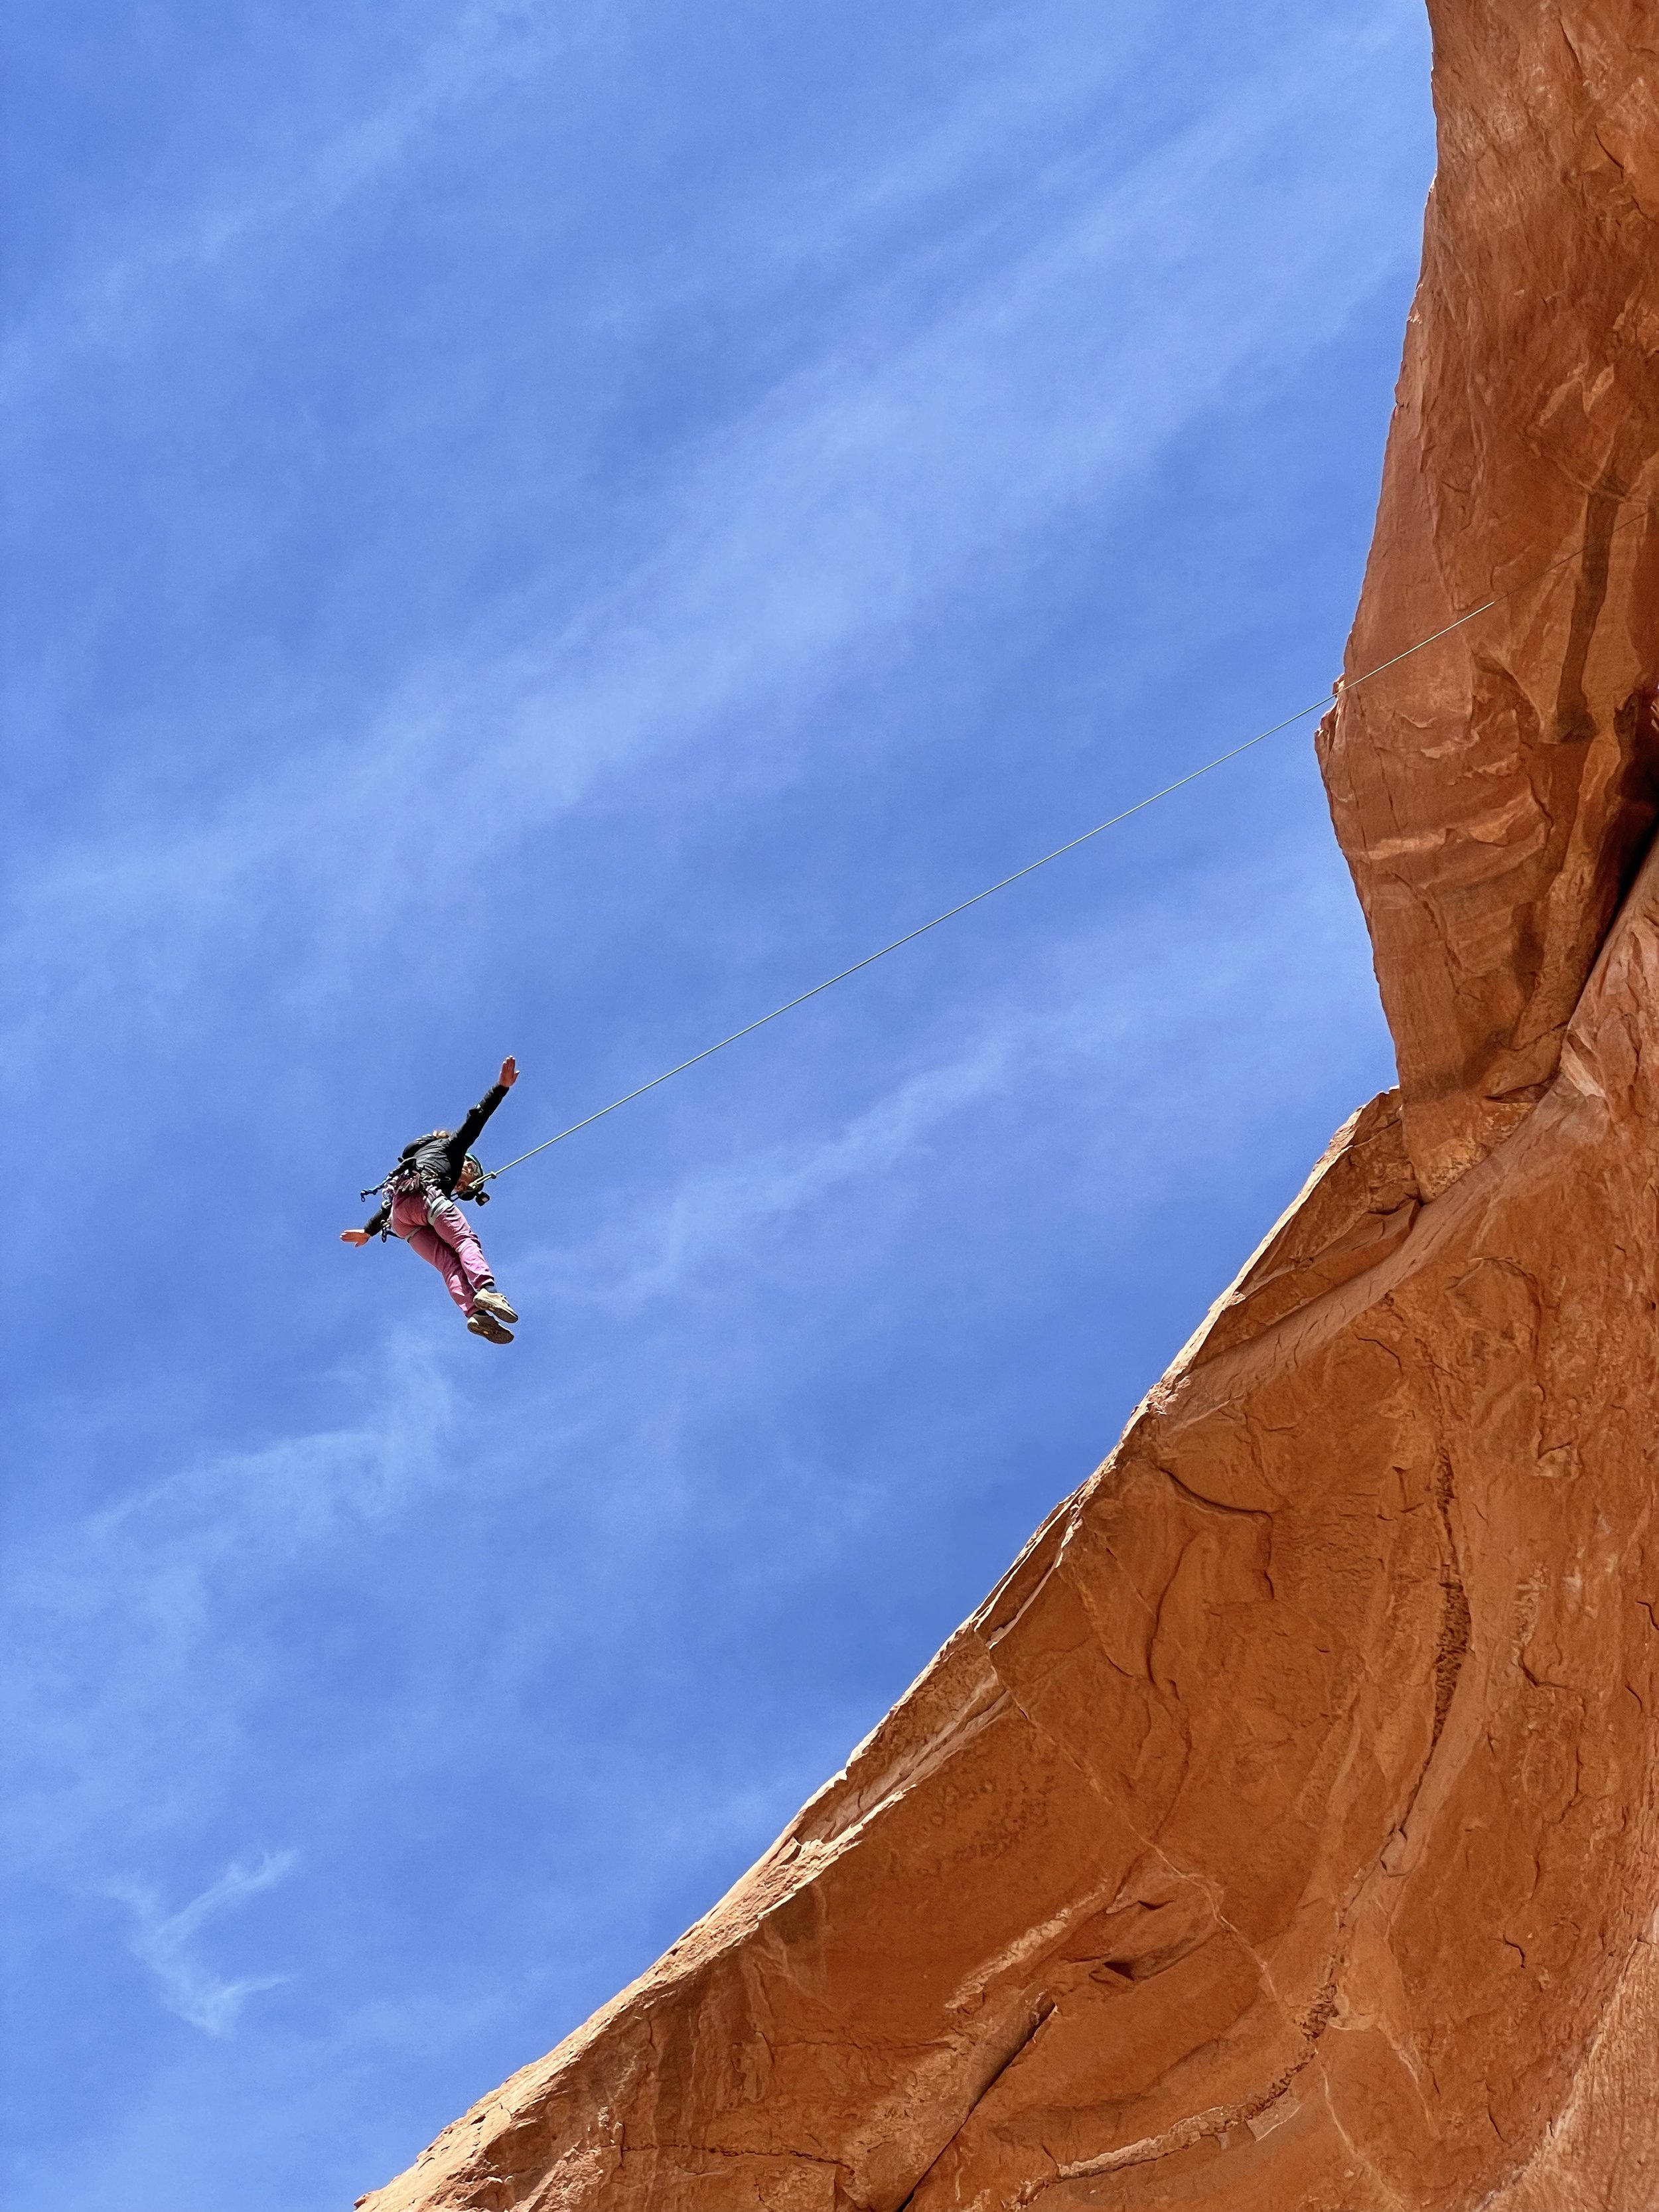
This is one of my all-time favorite adventures. Looking Glass Rock is not a canyoneering adventure but a highly is recommended for the moderate leader when in Moab. This is an easy 5.7, sport, 3 pitch climb up the rib of looking glass rock. The only actual part of this climb that is a 5.7 would be the start. Other than that and a few sections on pitch 2 I would say as a very moderate leader that it’s a 5.5 at best the rest of the climb. The climb is well protected and it’s almost a craw/walk at the end.
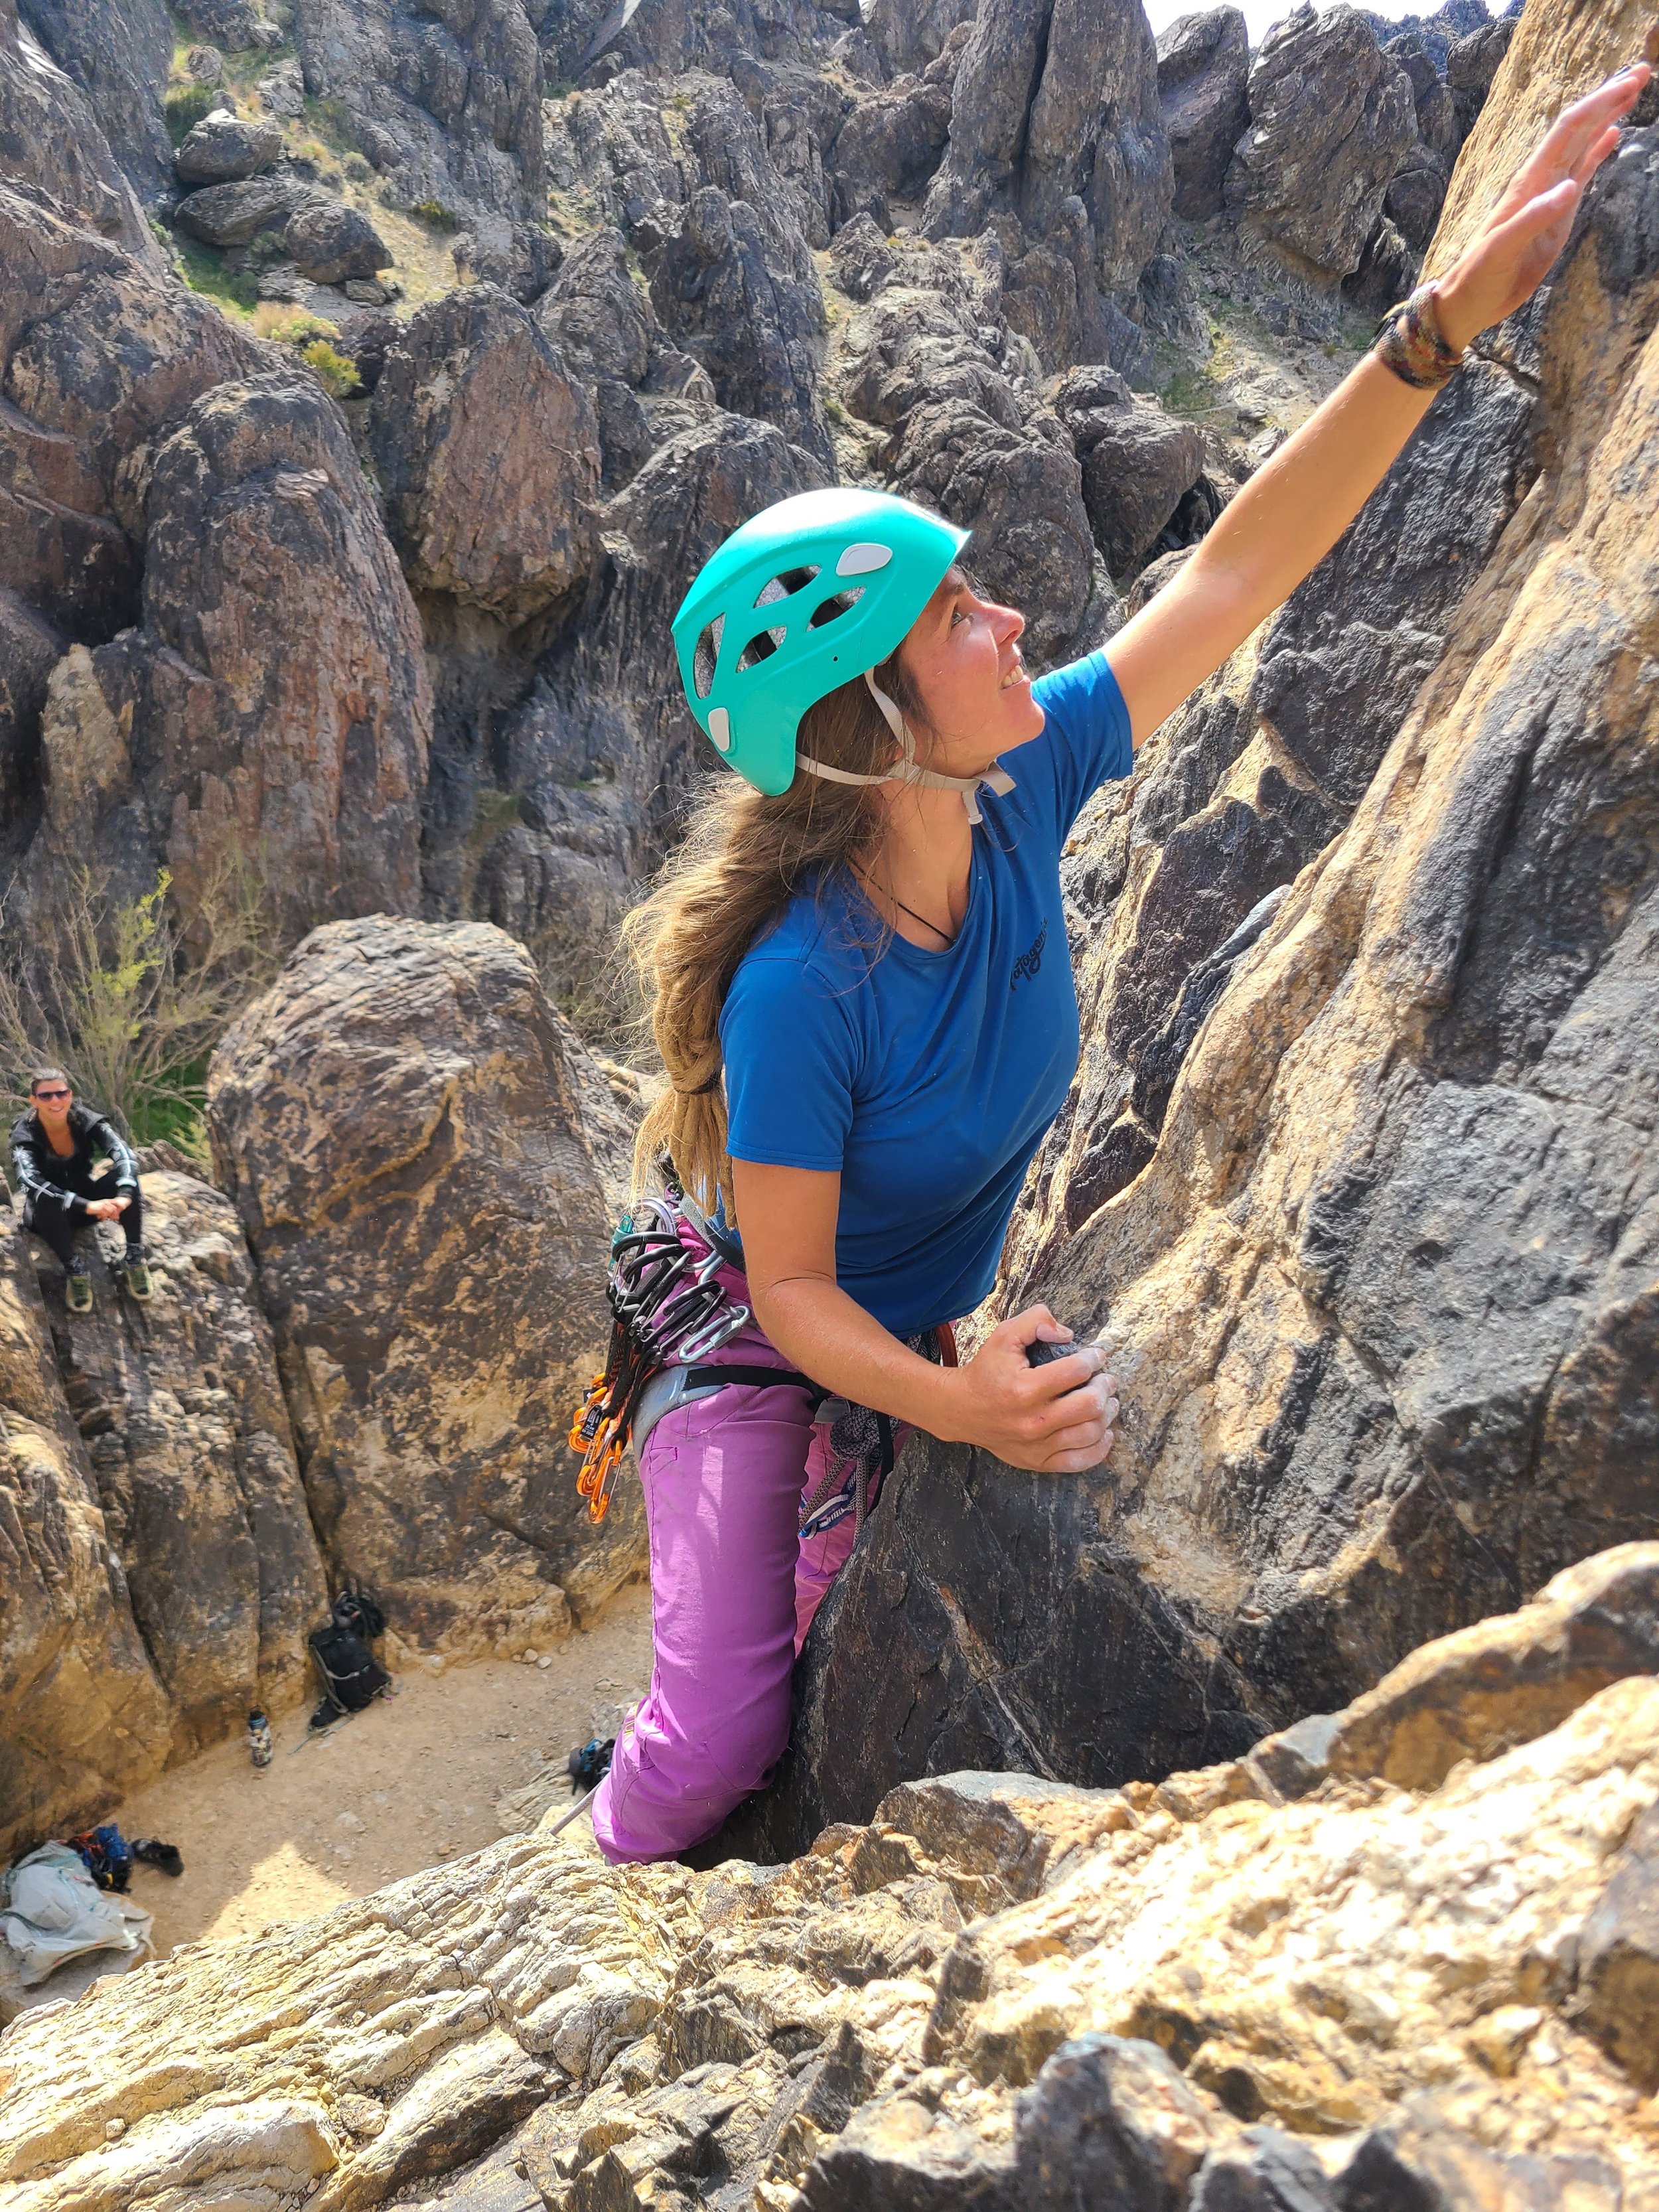
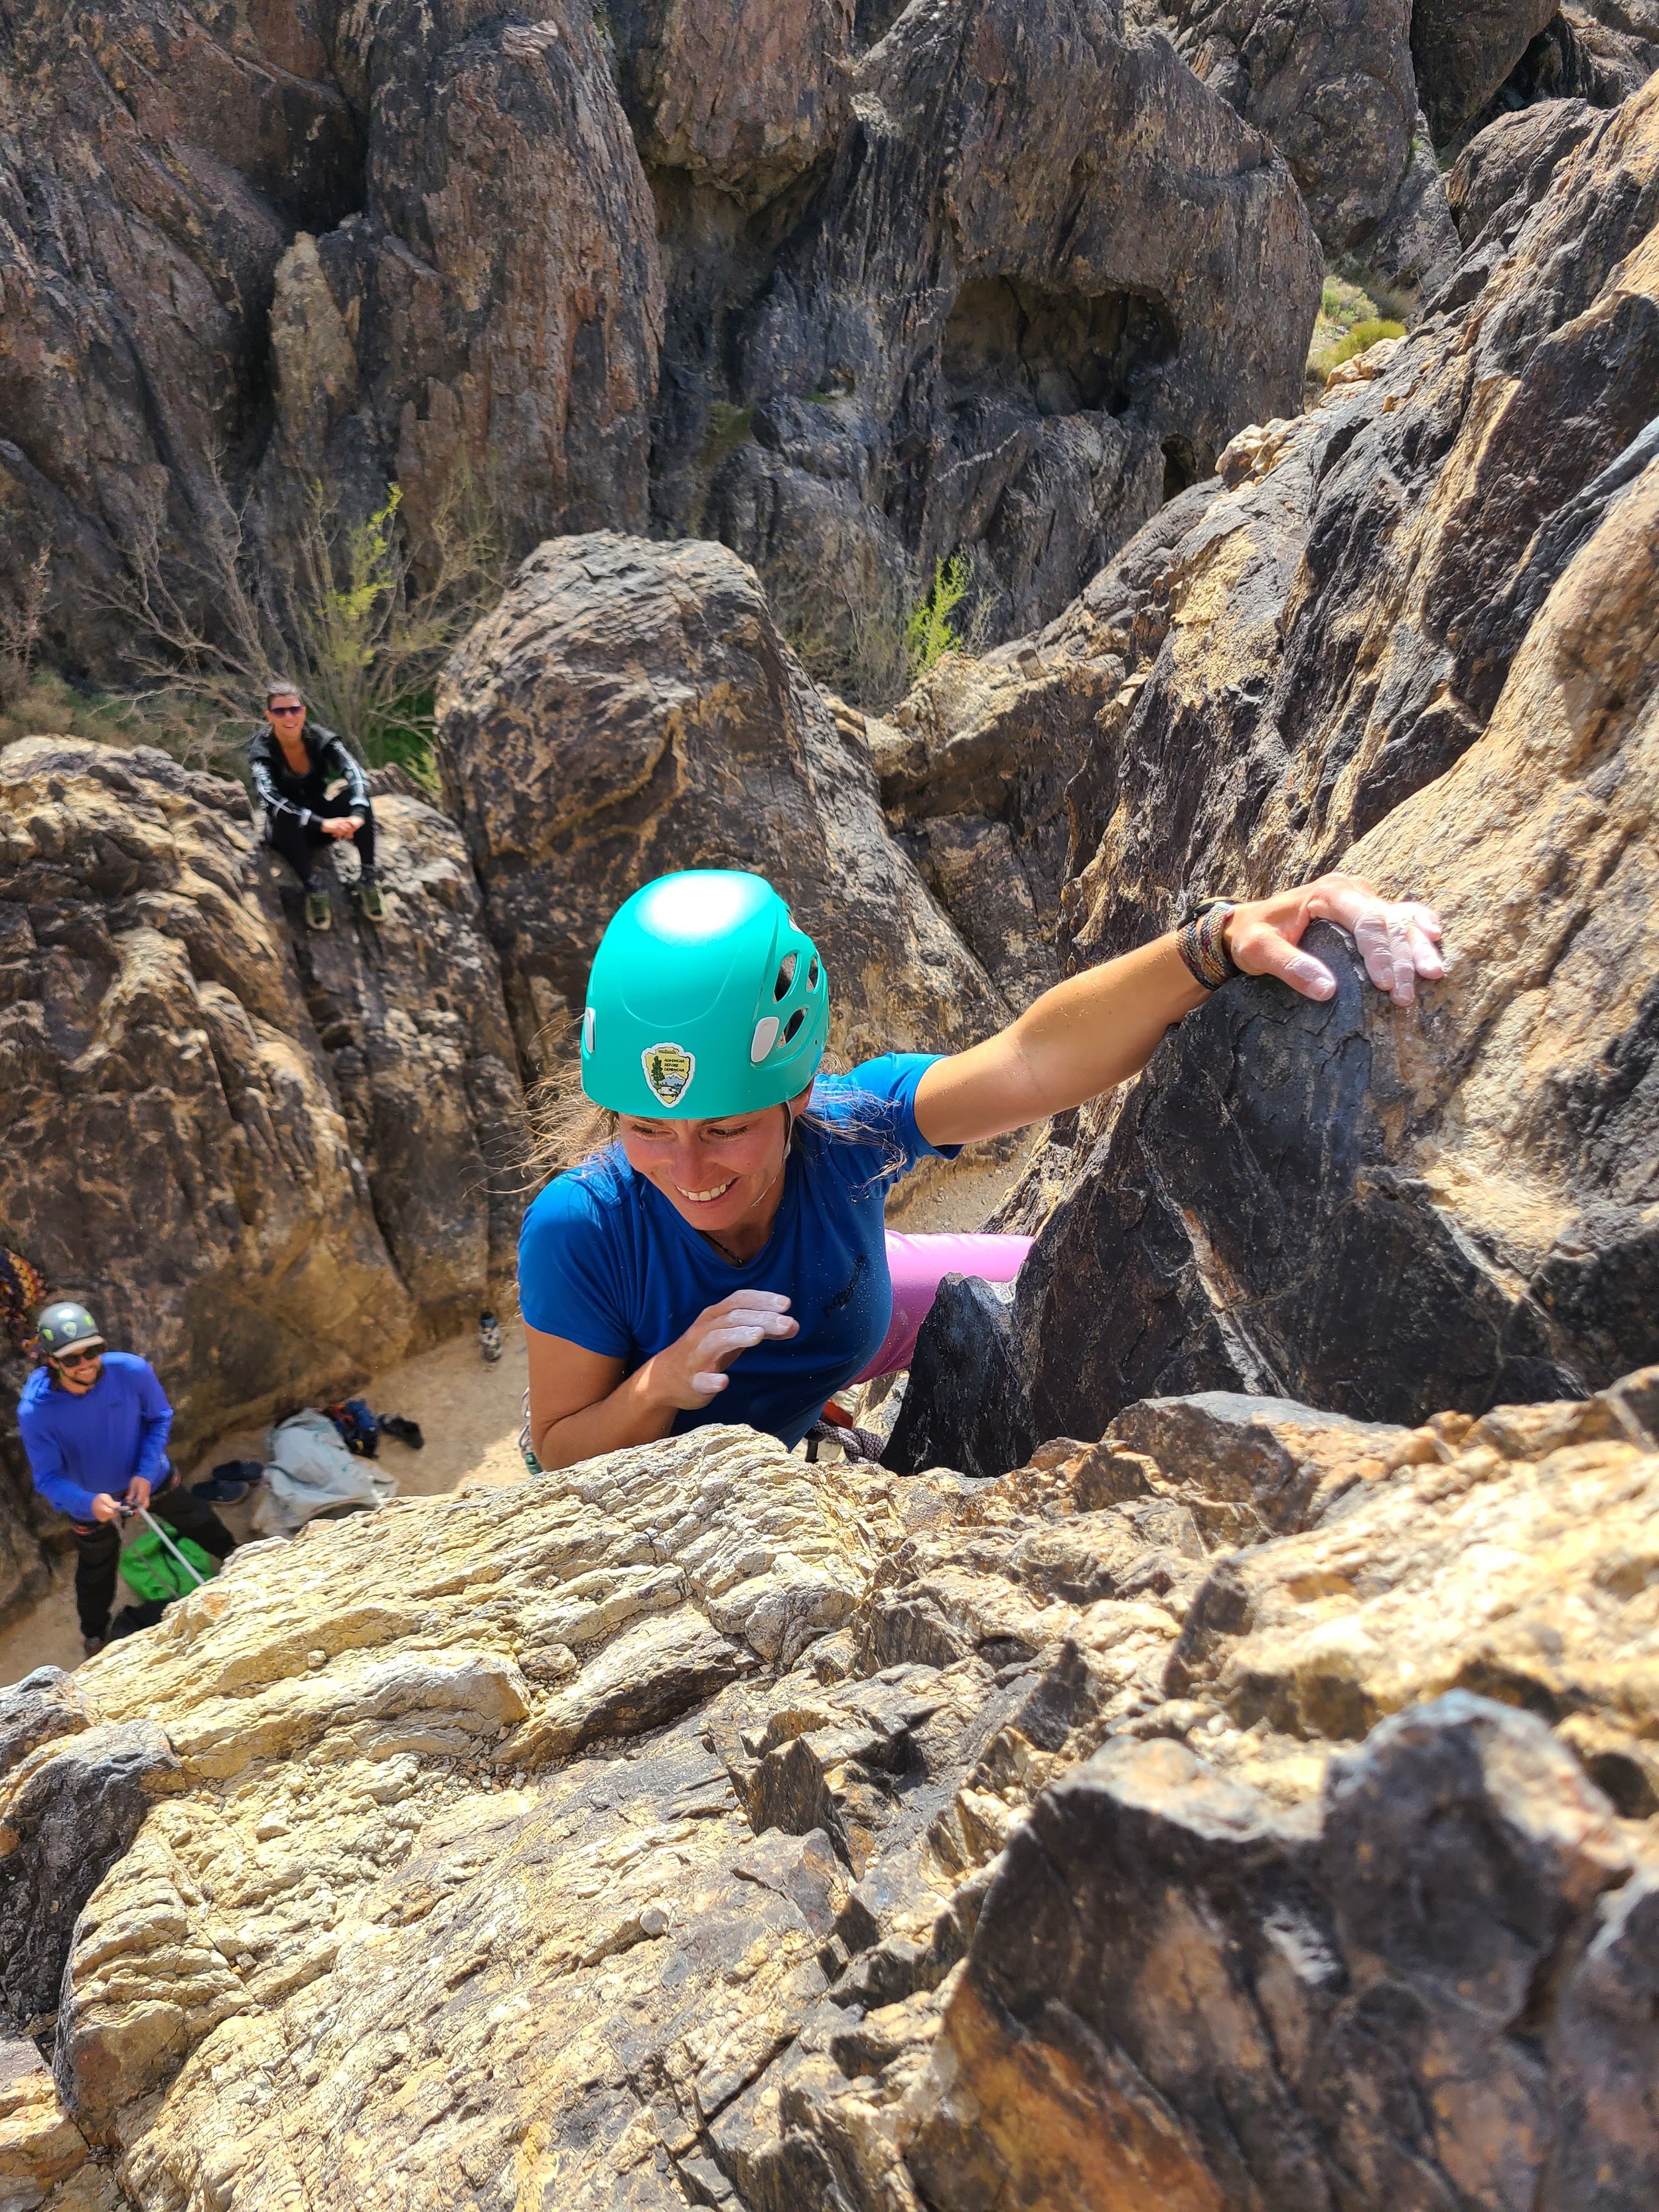
From the top you’ll locate the 165 Foot rappel. There is a bolt set up to rappel down into the window which is highly recommended any mistake down climbing here could be fatal. We set up a quick rap off the bolt and left our quick link there. it’s about 7’ into the window.
Now comes the best part one of the best free hanging rappels I’ve ever done. This 165’ Rappel drops you out the window and into the looking glass dome it’s an amazing feeling to be dropping down into such amazing scenery.
**Additional Rope Swing Highly Recommend!** Once down on the ground do not untie and climb back up to the far lookers right of the dome. You will see a bunch of bird shit on a ledge. This is where you want to be right under the bird shit. *It’s very important here to make sure to have your belayer take in all the slack and have you very tight on belay. People have been seriously injured here with too much slack in the line and not anticipating rope stretch and have sustained pretty serious injuries. Once you are tight on the belay jump off the ledge and enjoy the ride. This was one of our all-time favorite Moab adventures.