Backpacking

Best Hikes in North Cascades National Park

North Cascades National Park Best Hikes Sahale Arm Cascade Pass

Best Hikes in North Cascades National Park

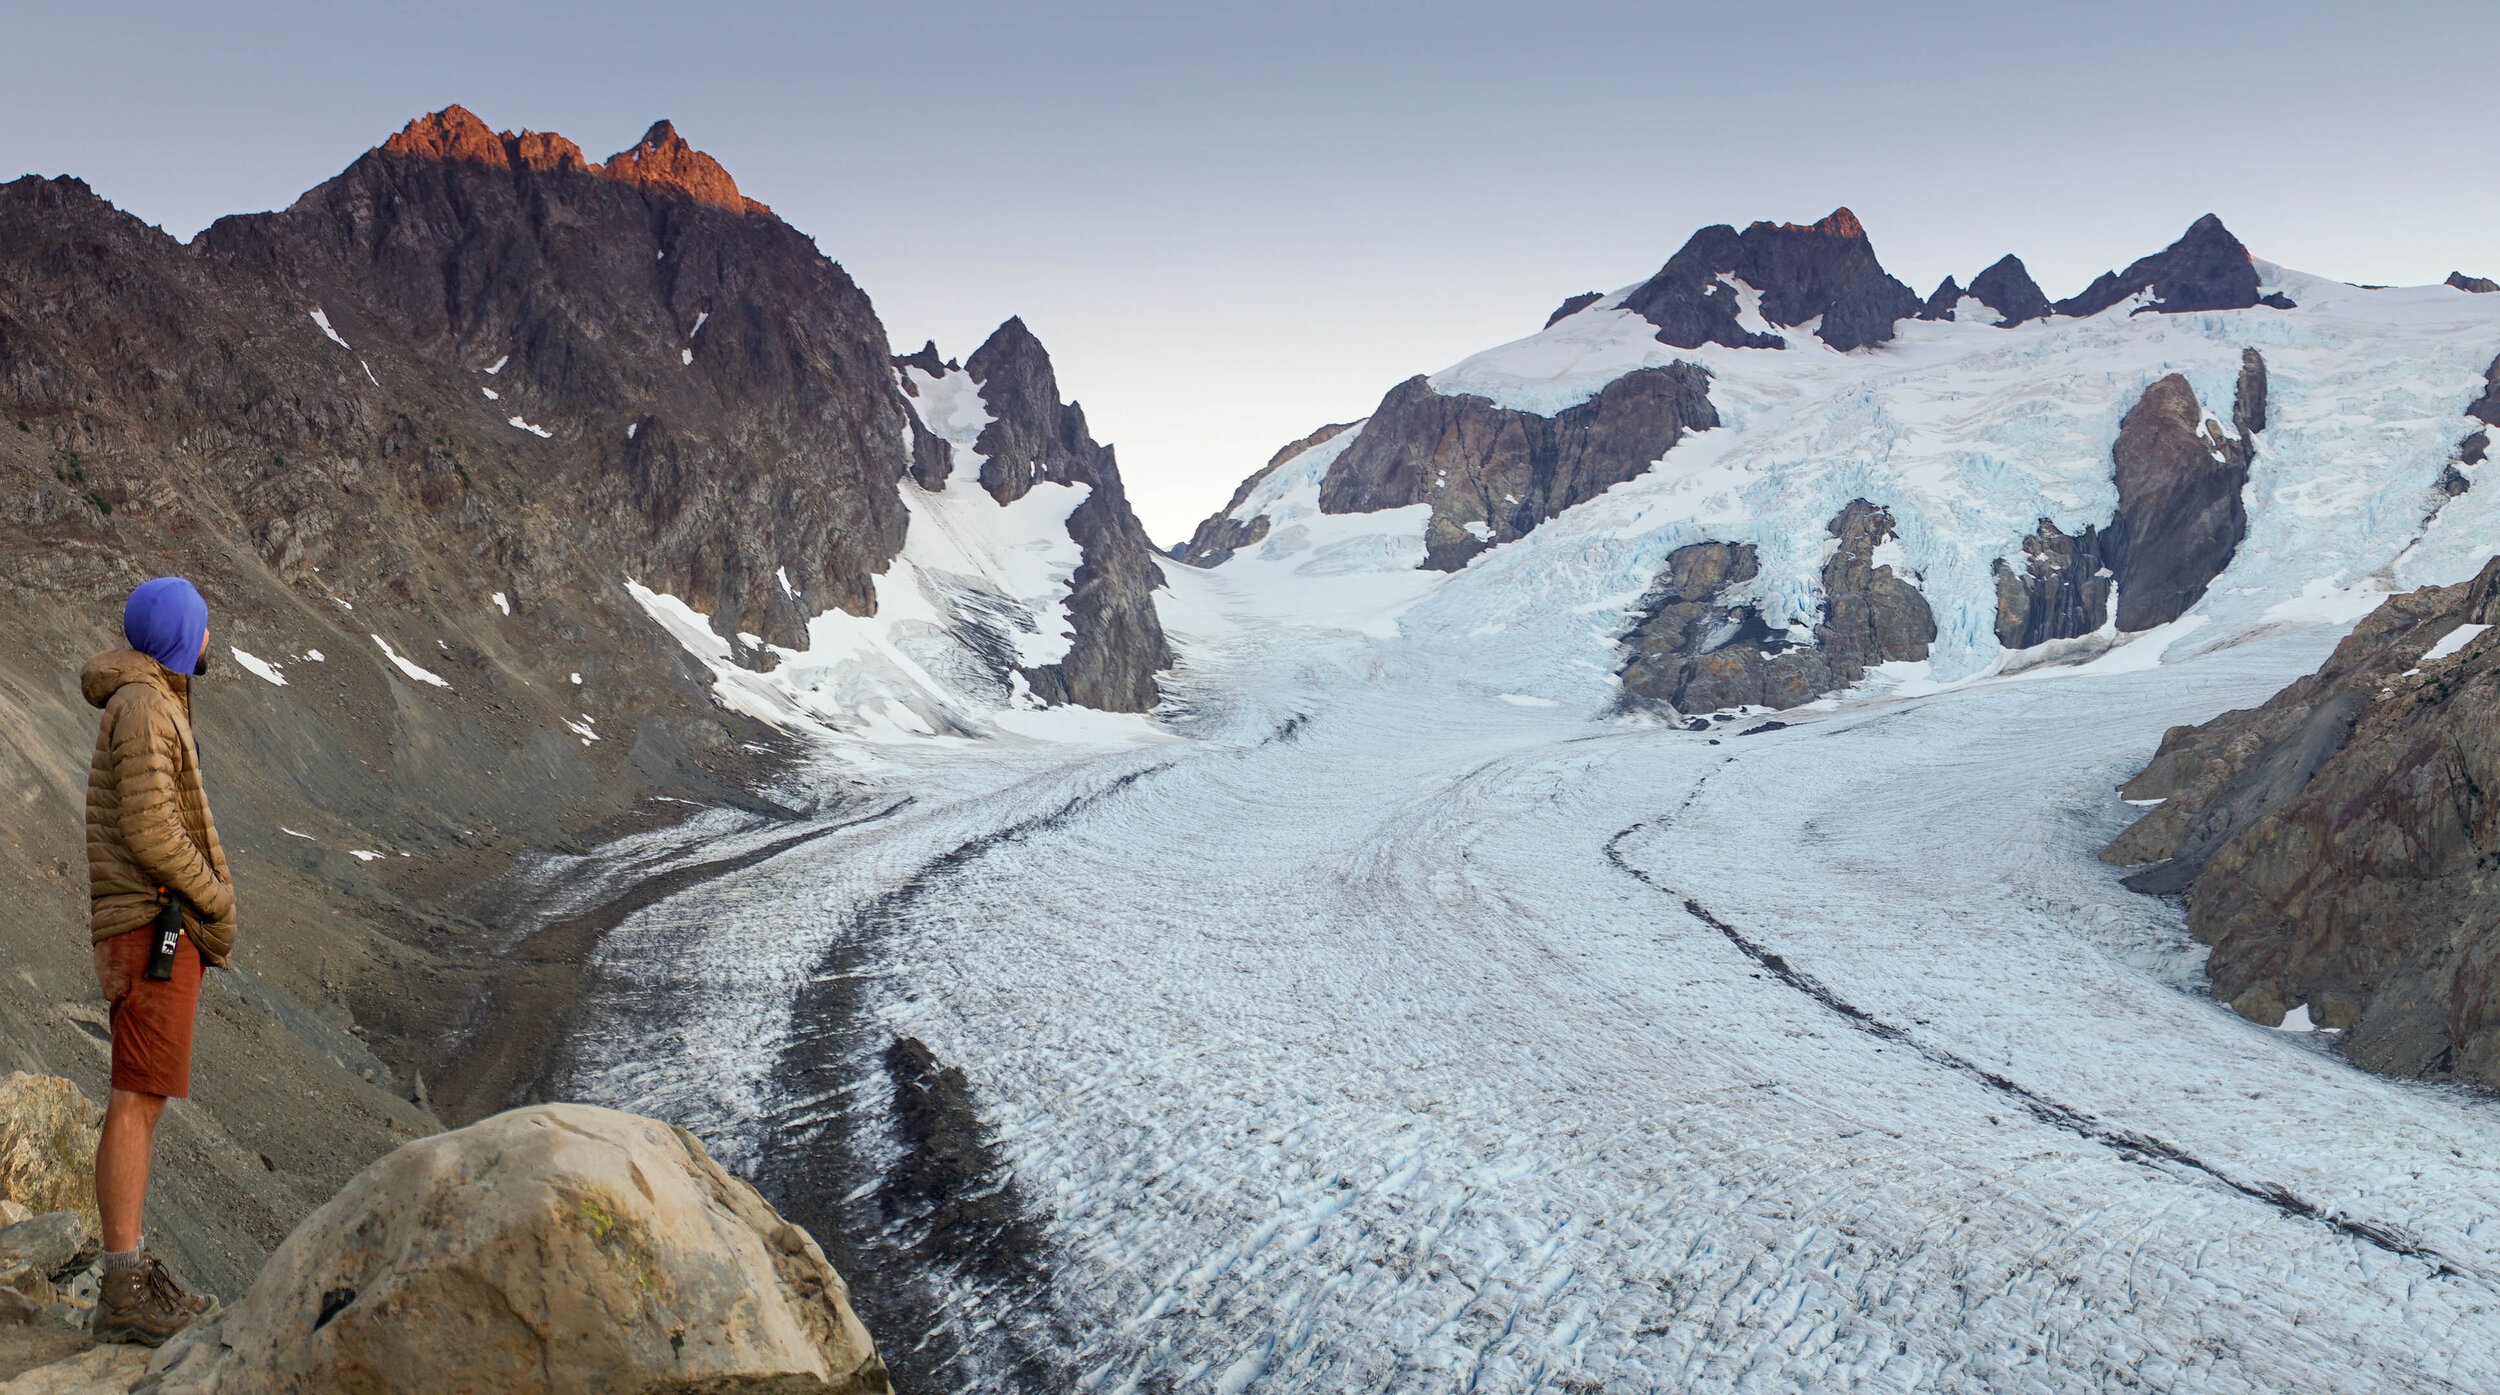
We had no idea what we were in for when we were driving along the North Cascades Highway. Thankfully, we had some local Washingtonians tell us a few hikes that we shouldn't miss out on.  Hiking in the North Cascades, for the most part, is pretty strenuous, requiring at least 2,000 ft of a vertical climb on most of these trails.  But we’ve been training all summer, so we were ready for a challenge.  We were blown away by this area's beauty. From the turquoise waters to glaciated peaks, this is one of America’s most beautiful mountain ranges.   

Also, on all hikes in North Cascades National Park, you’ll want to carry plenty of water, bear spray, sunscreen, and sun apparel (hats, SPF shirts)

Best Short Hike in the North Cascades (1 of 1).jpg

Maple Pass (7.1 Miles - Hard)

Located on the East end of the North Cascades Highway, Maple Pass is a great starter hike to get you warmed up for what’s ahead on your North Cascades adventure.  You’ll climb 2,188 Feet on this trail to the top of the pass.  Maple Pass is a fairly busy trail. We started at about 5 am so we could get to the summit for sunrise.  The hike begins at Rainy Pass and is a nice loop hike.  We did it in a counterclockwise direction, and we would recommend you do the same it was a more mellow climb.  Once at the top of the pass, you have the opportunity to scramble up some rocky peaks. We highly recommend getting up higher for amazing 360-degree views.  On the way down, we walked along the ridge and connected back up with the trail, which added a really cool dynamic to this already epic hike.  

Sahale Arm Overnight Backcountry Trip, Sahale Arm Backpacking

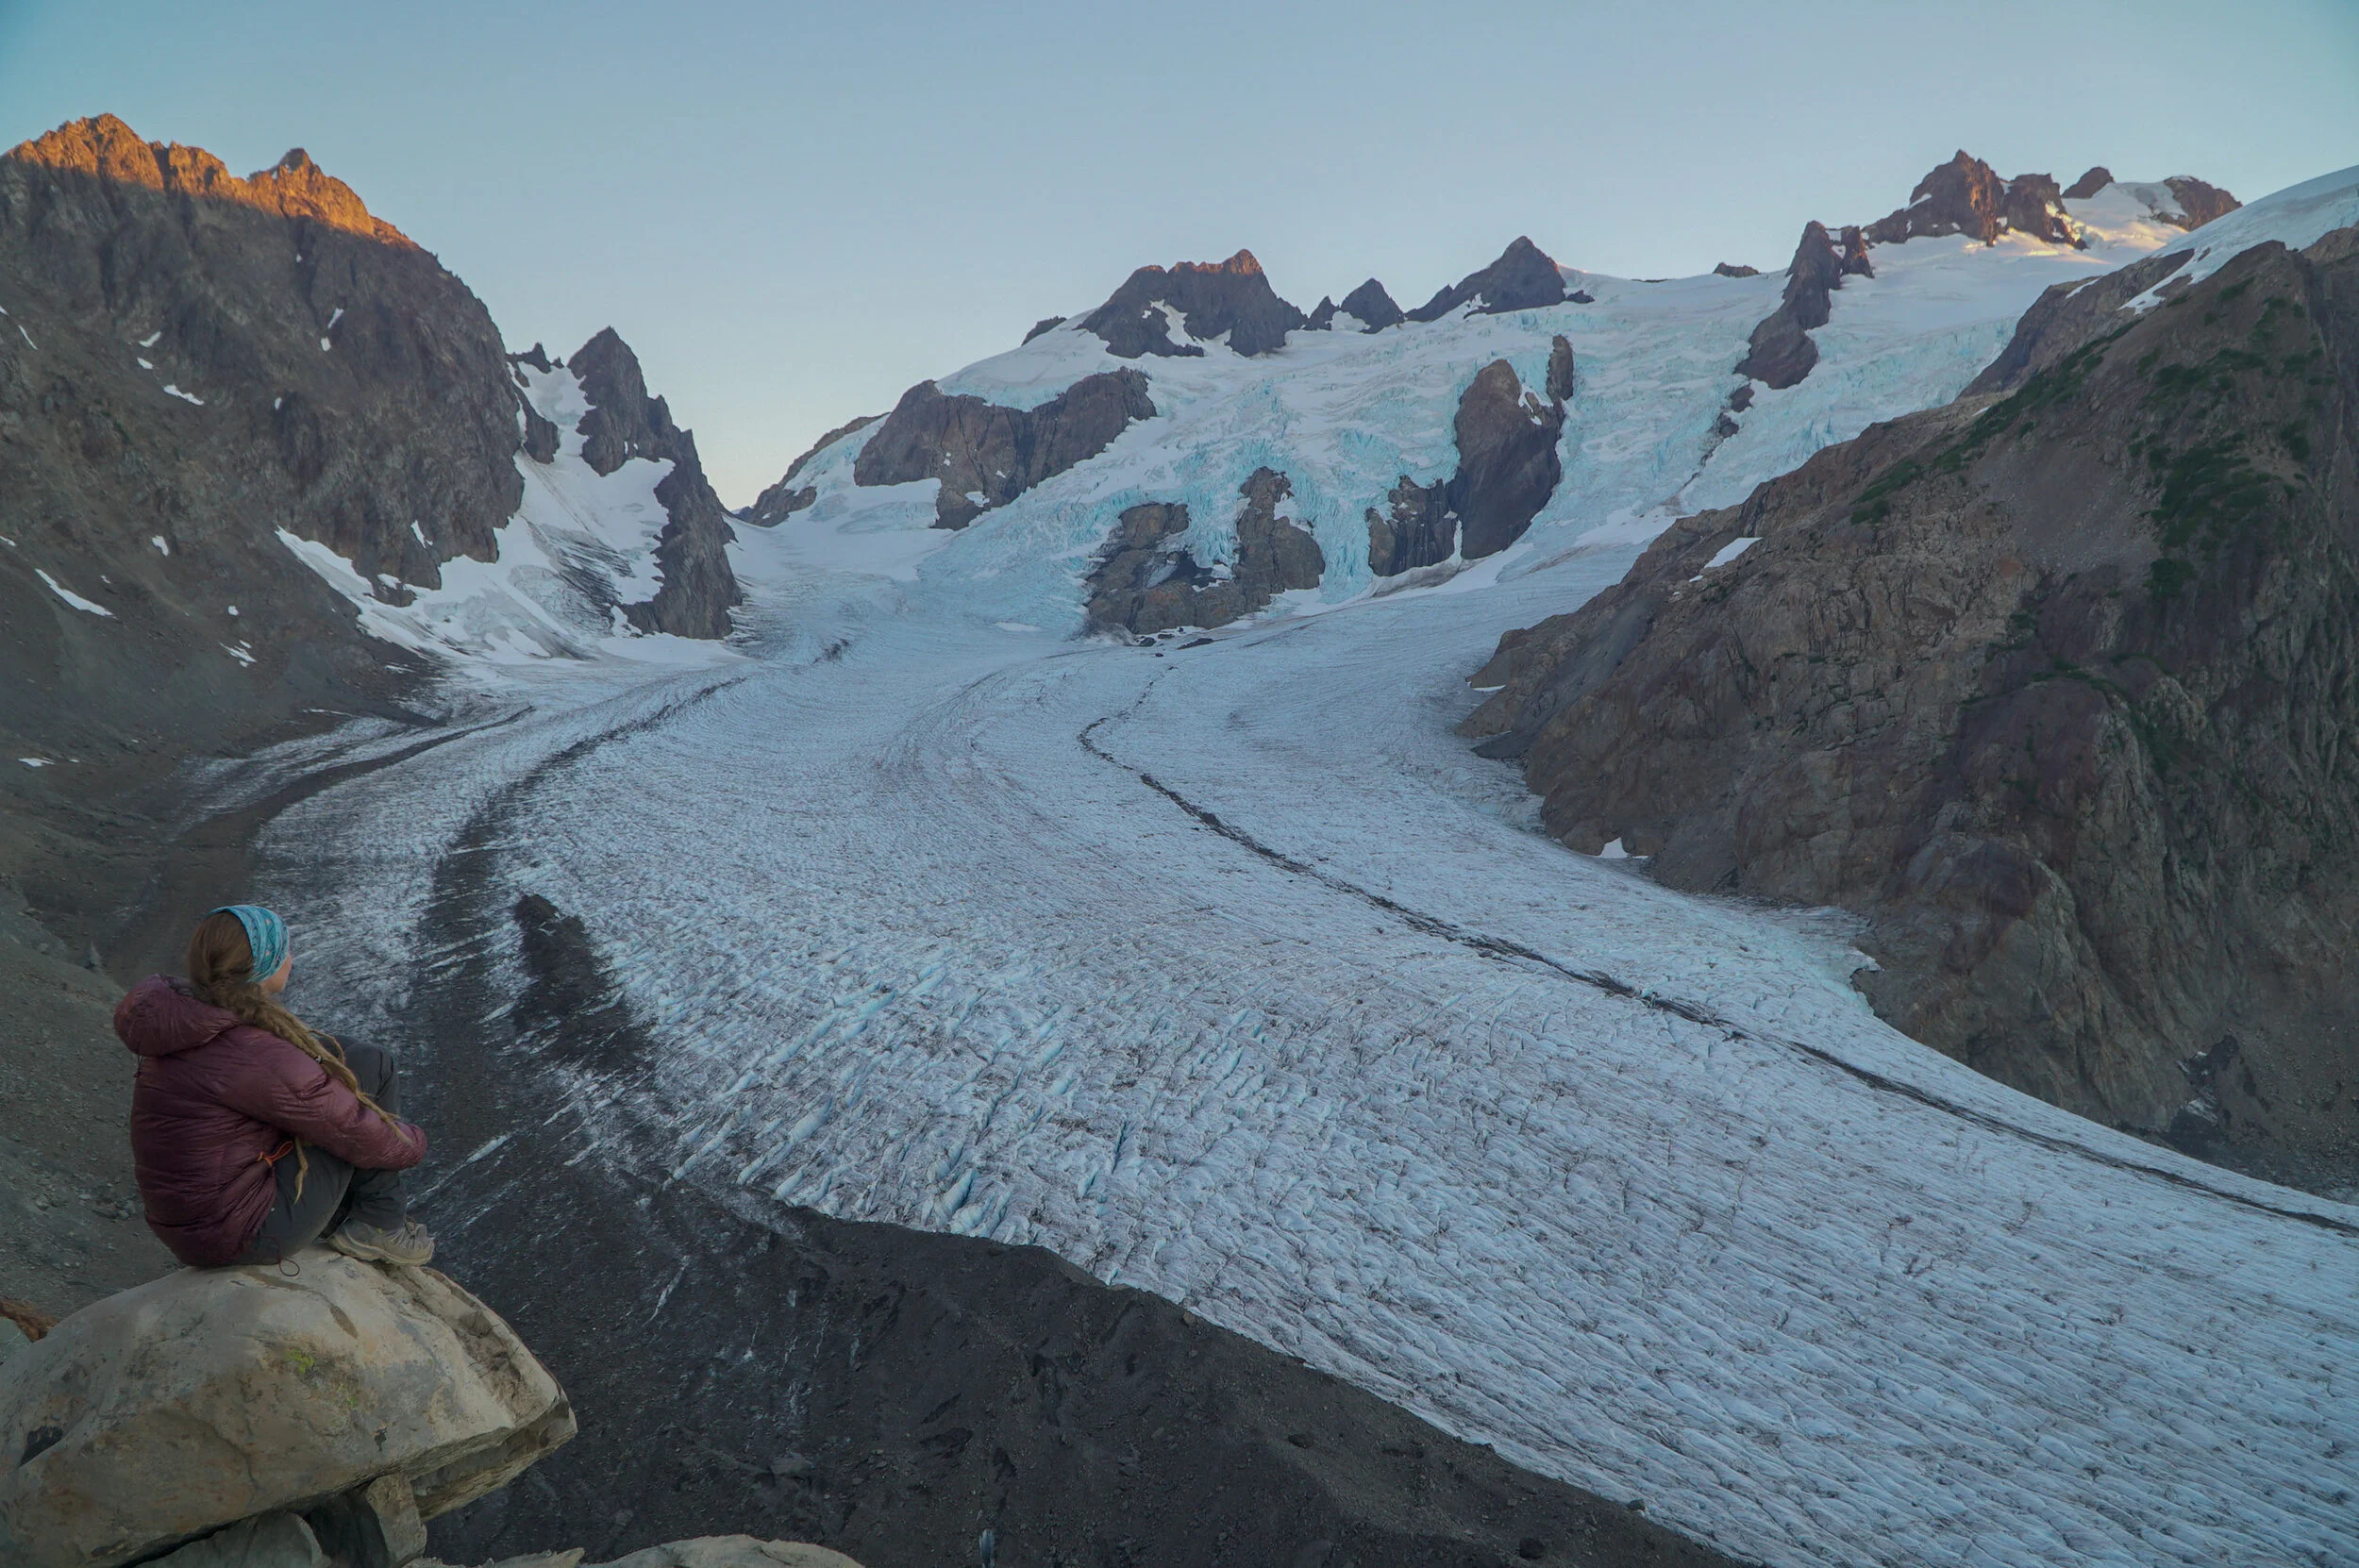
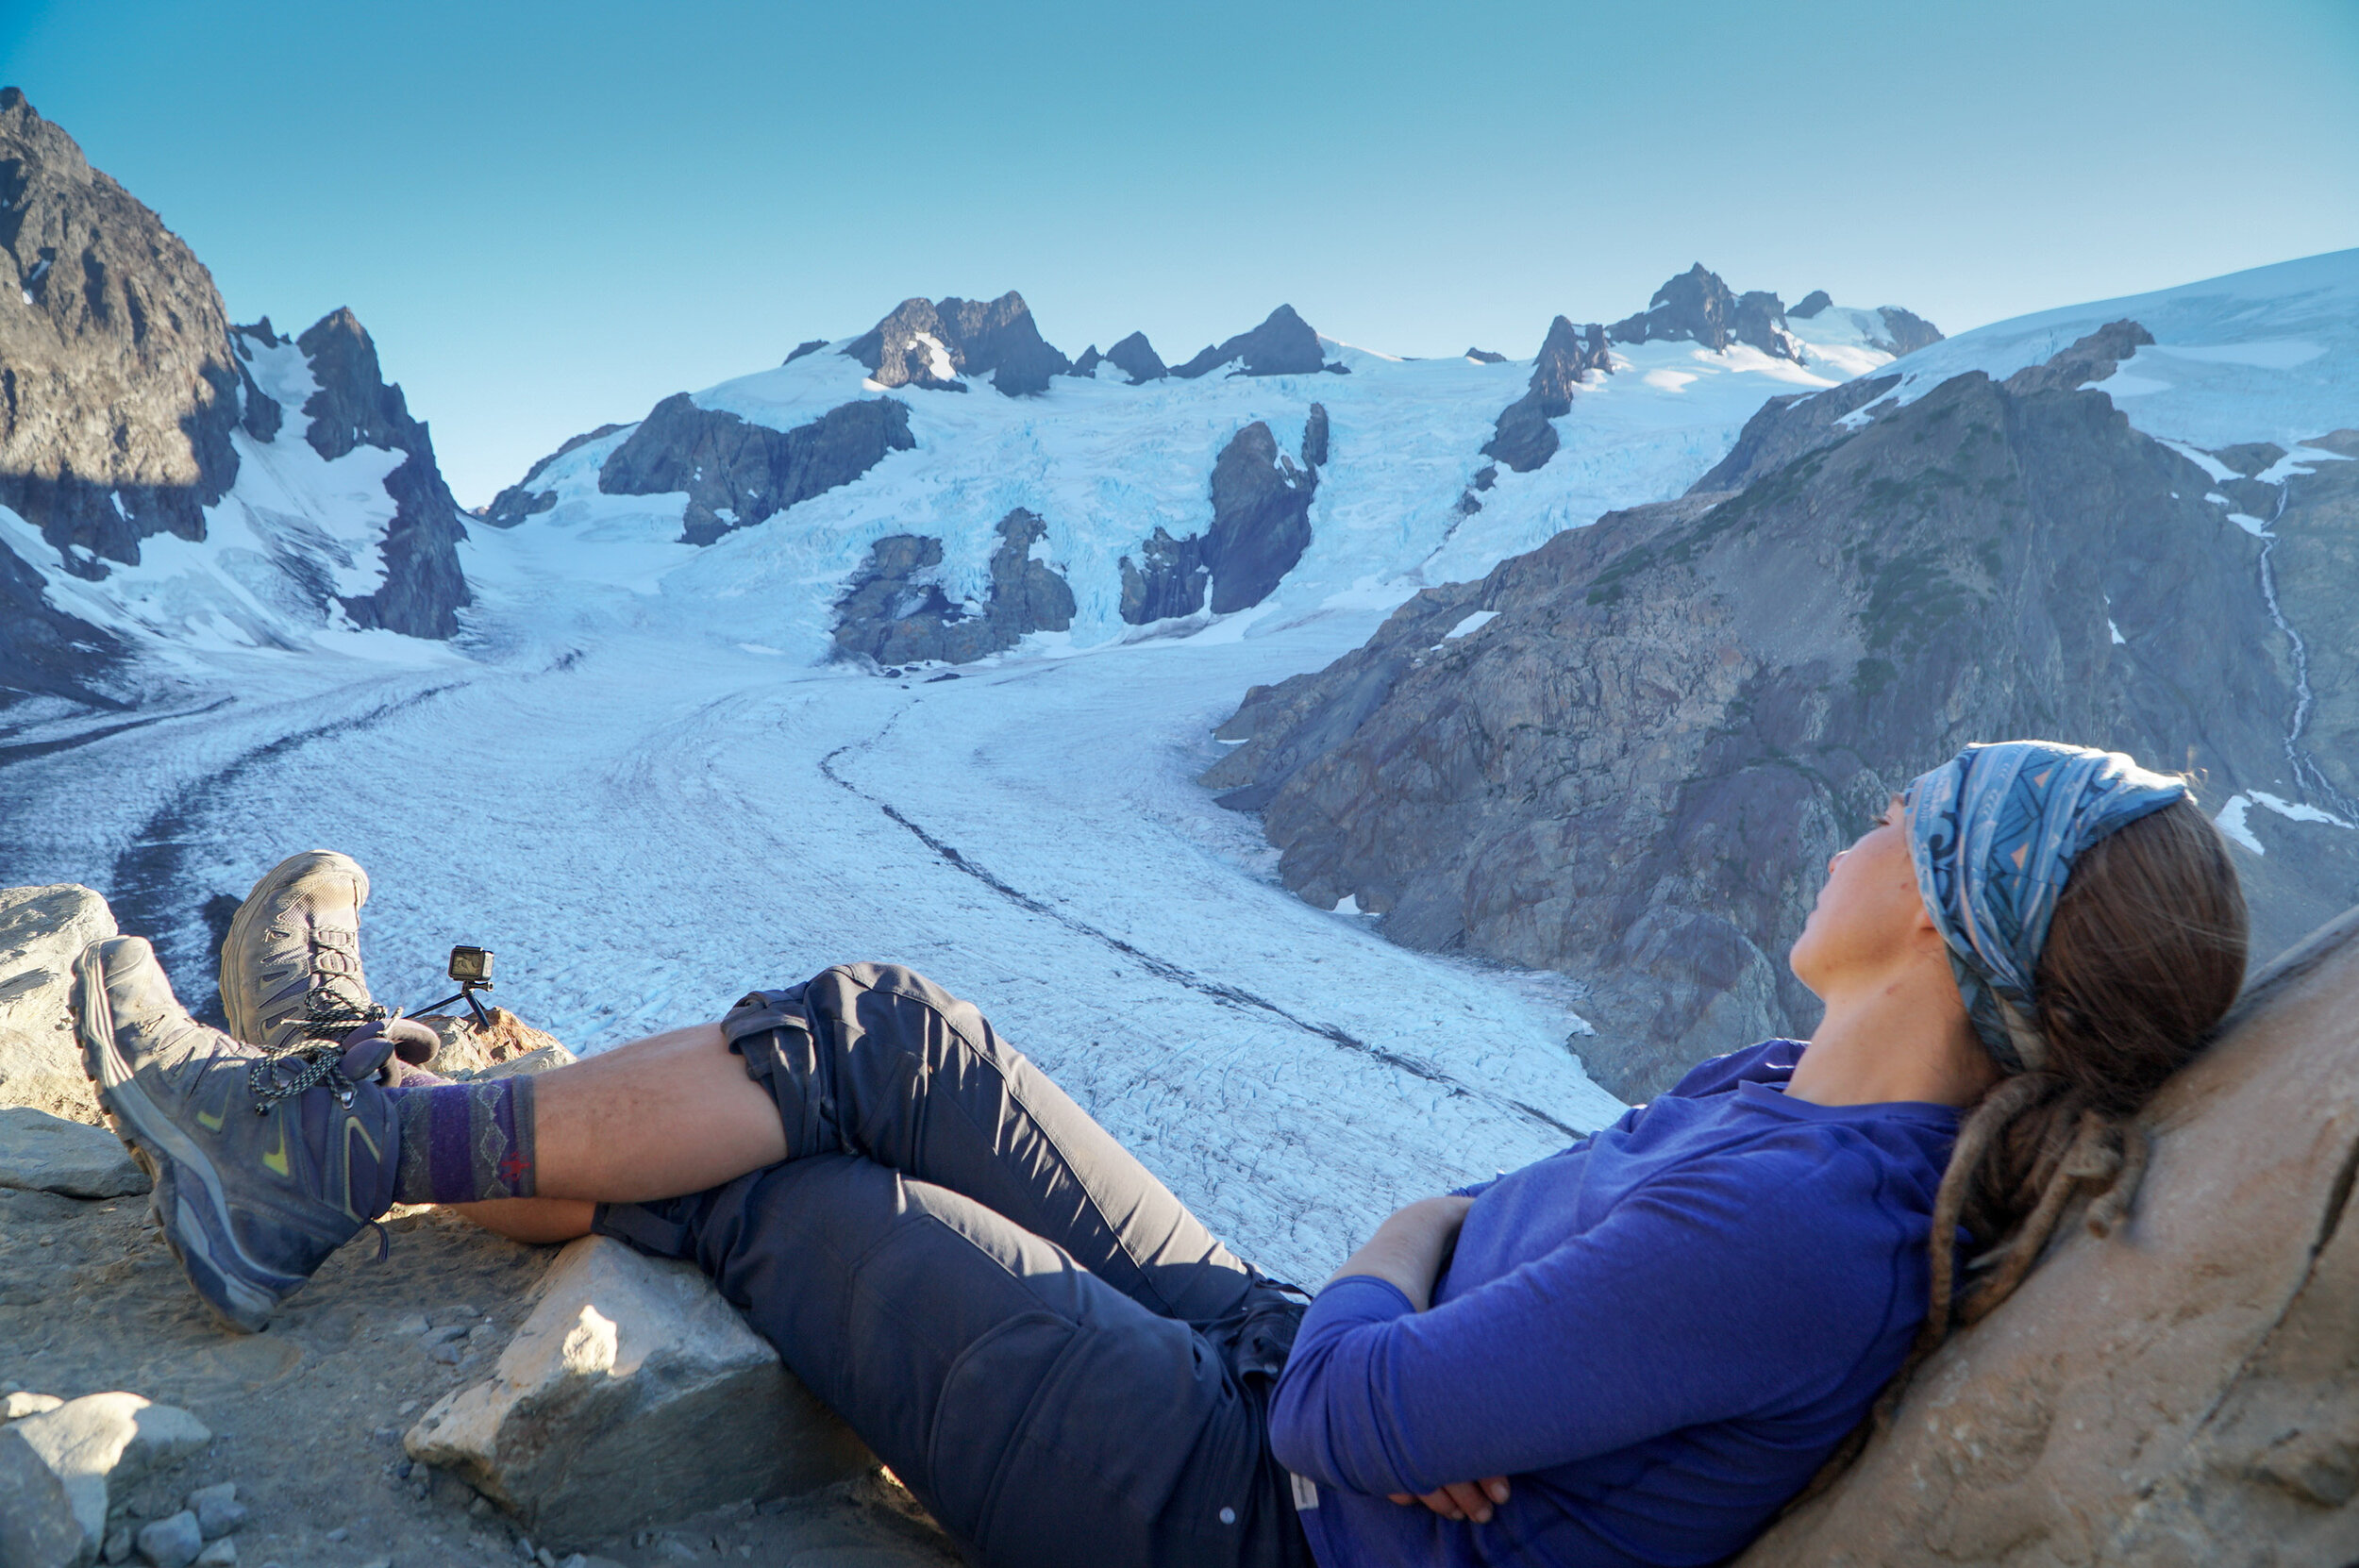
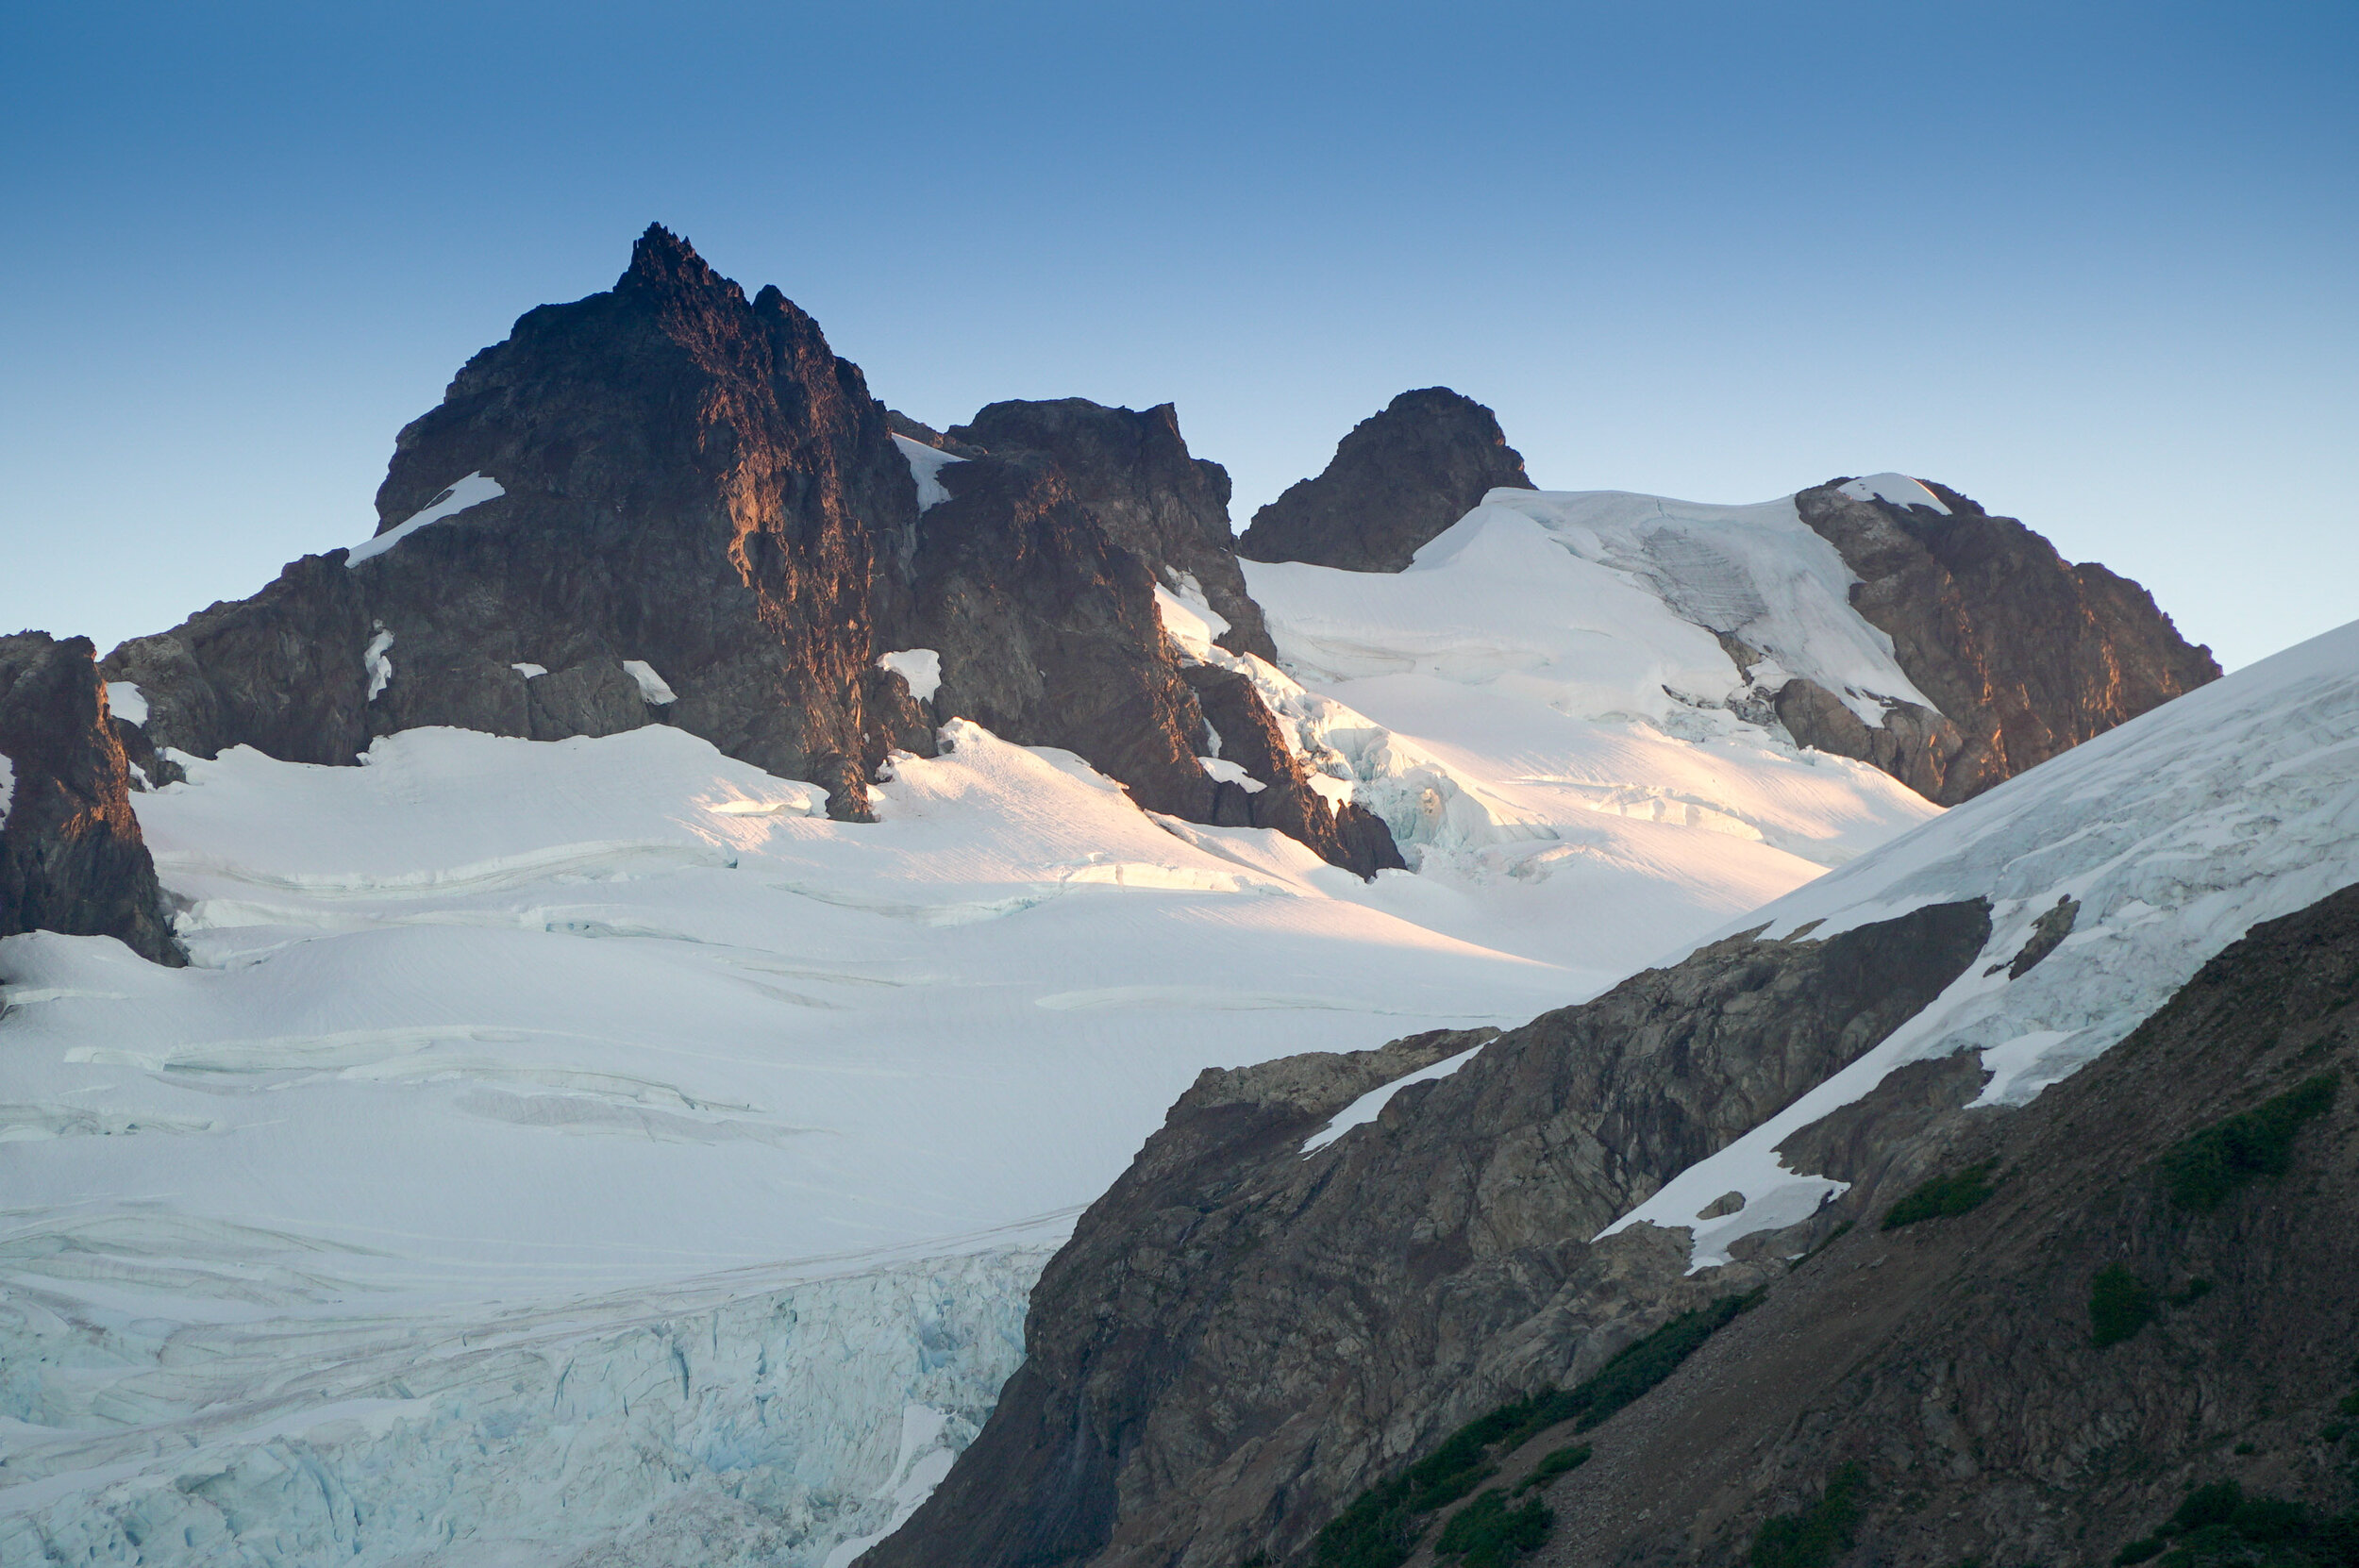
Cascade Pass to Sahale Arm (11.6 Miles - Hard)

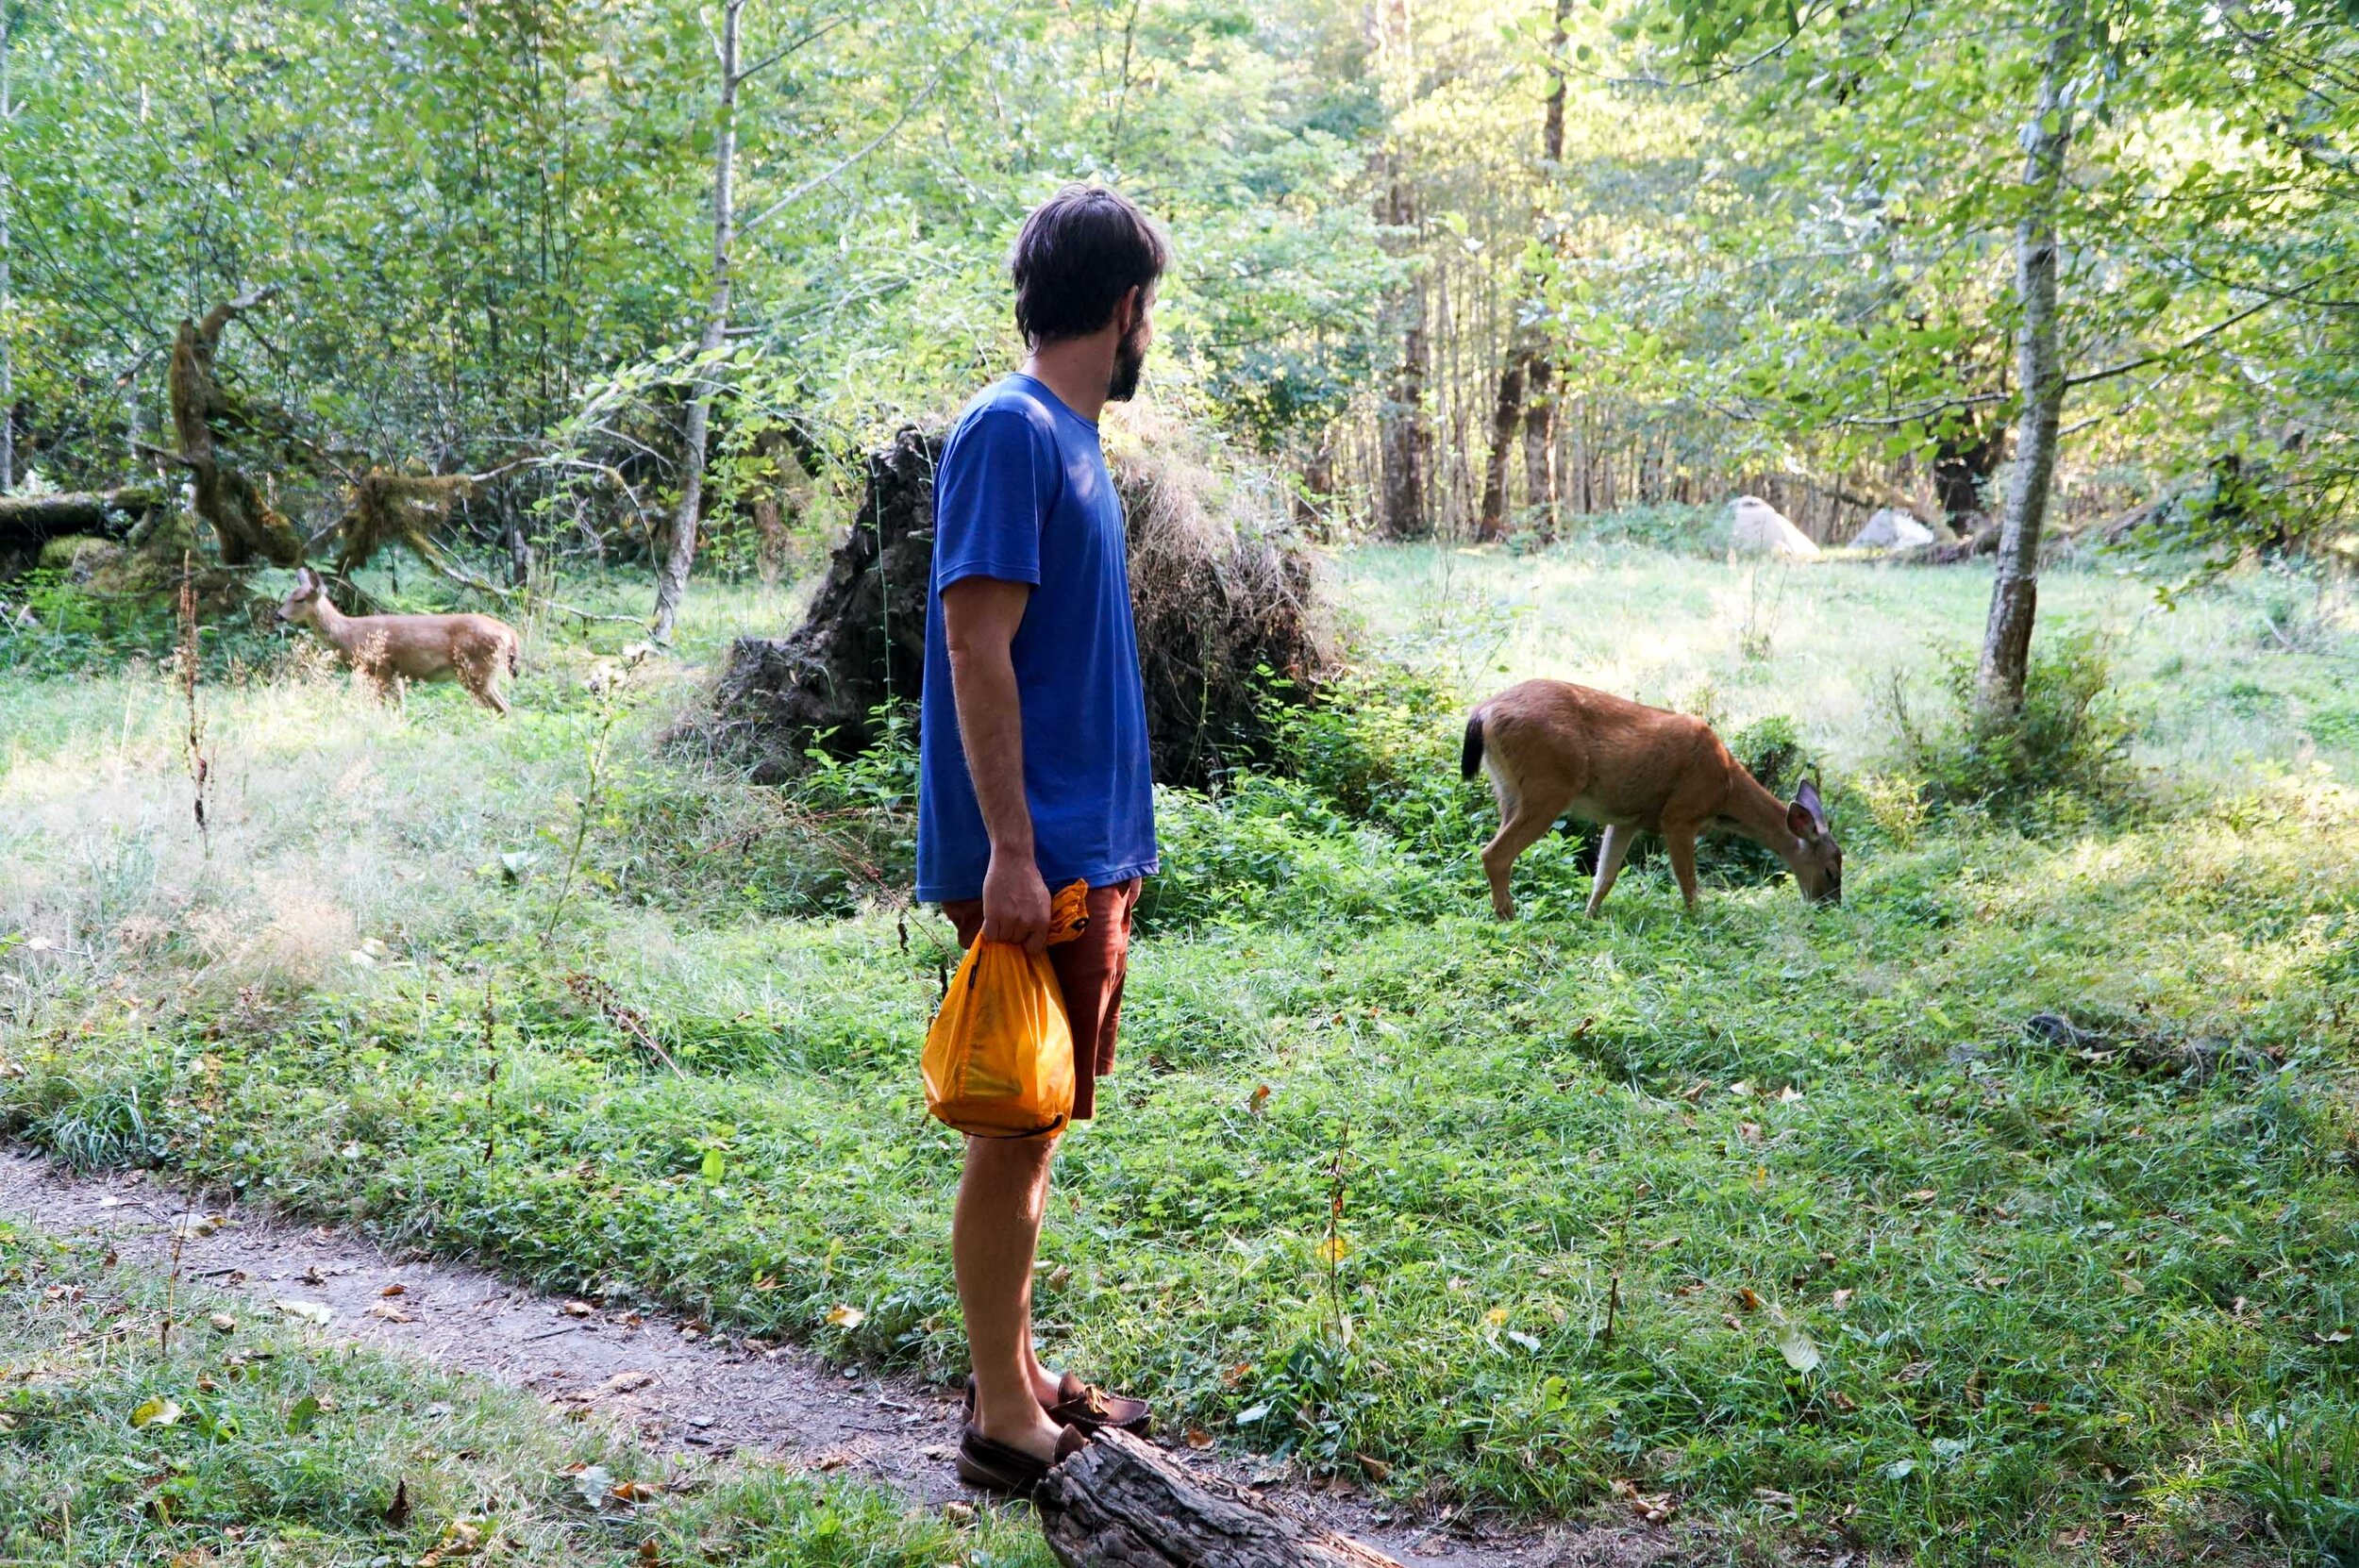
This is a pretty intense climb up Cascade Pass to the base of the Sahale Glacier and climbs 4,038 Feet in 11.6 miles, so be ready for non-stop climbing.  This is a great place to overnight.  But we will warn you that getting permits at the Cascades Wilderness Information Center (WIC) is pretty intense the citizens of Washington are outdoor enthusiast, so you might as well camp out at the center to get the permits you want in the morning.  When writing this article, the North Cascades WIC issued all backcountry permits on a first-come, first-served basis.  We had no luck getting any permits, so we just day hiked it and camped in the Cascade Pass Parking lot.  This was the premier hike in the area. Although it was tons of work, we loved it.  We highly recommend trying to get a backcountry permit to camp up here. This is a must-do hike if you are in shape for it.  We couldn't recommend it more.  We also saw three black bears on the trail, so be bear aware and carry bear mace.  

Ptarmigan Ridge Backpacking, Ptarmigan Ridge Mt. Baker Hike

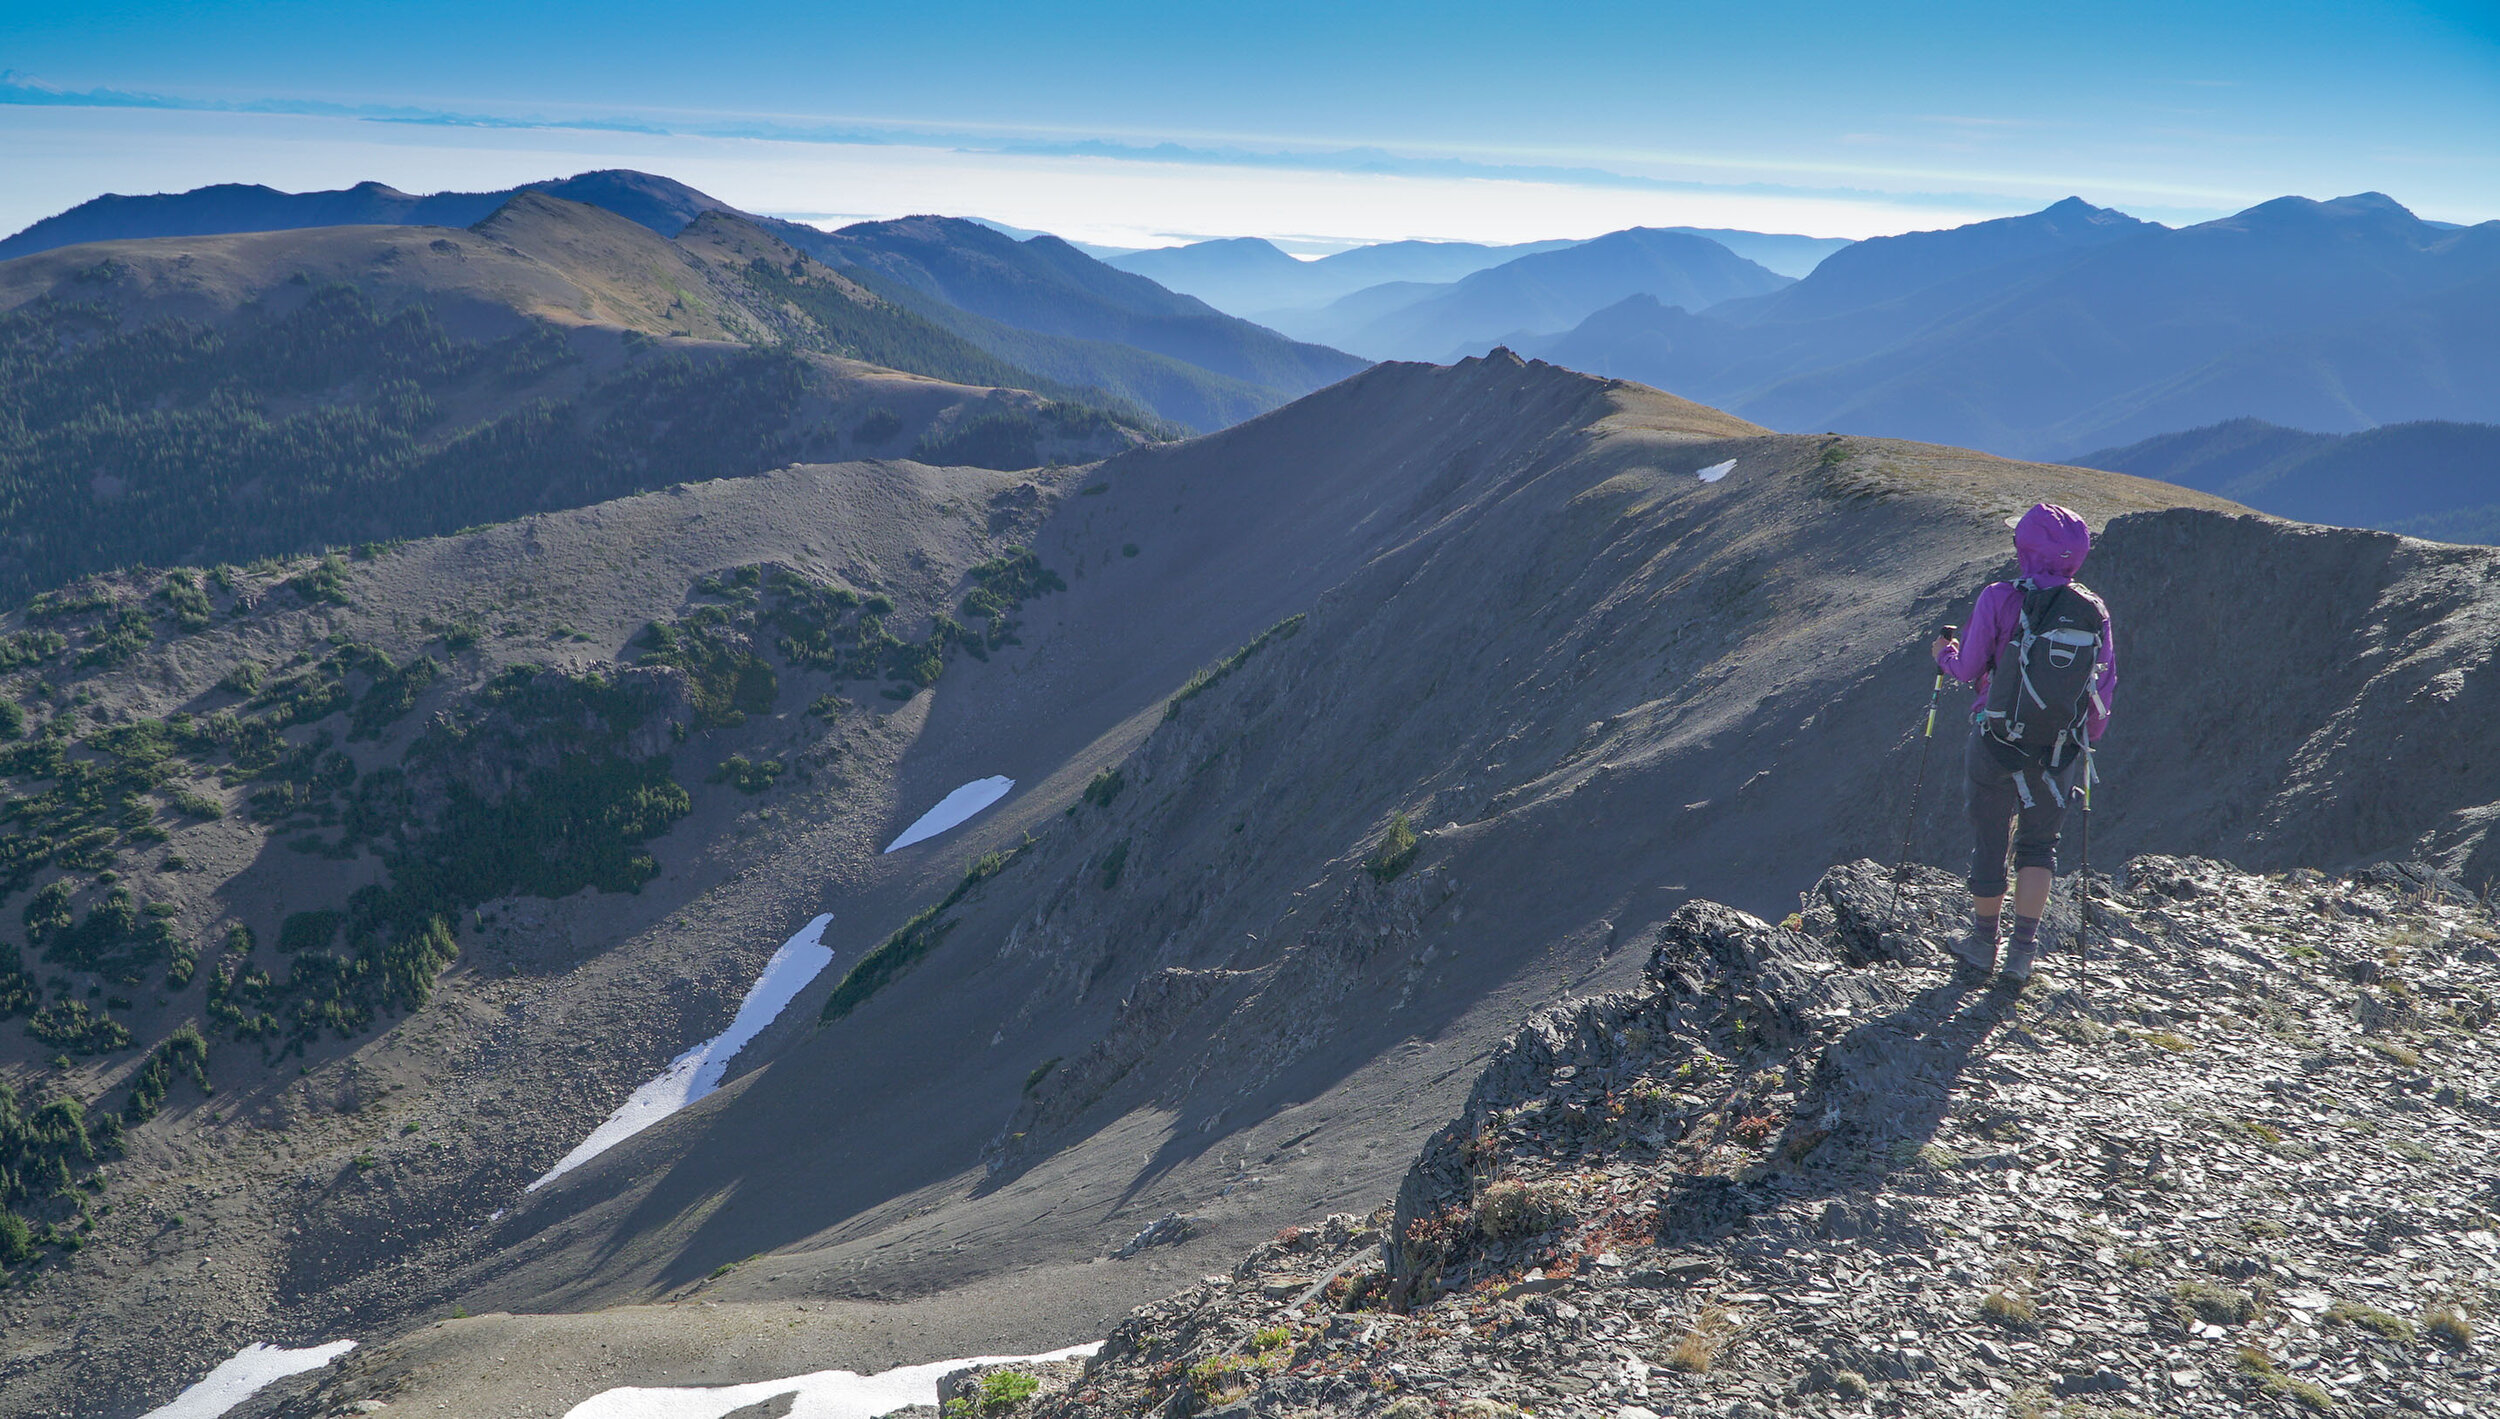
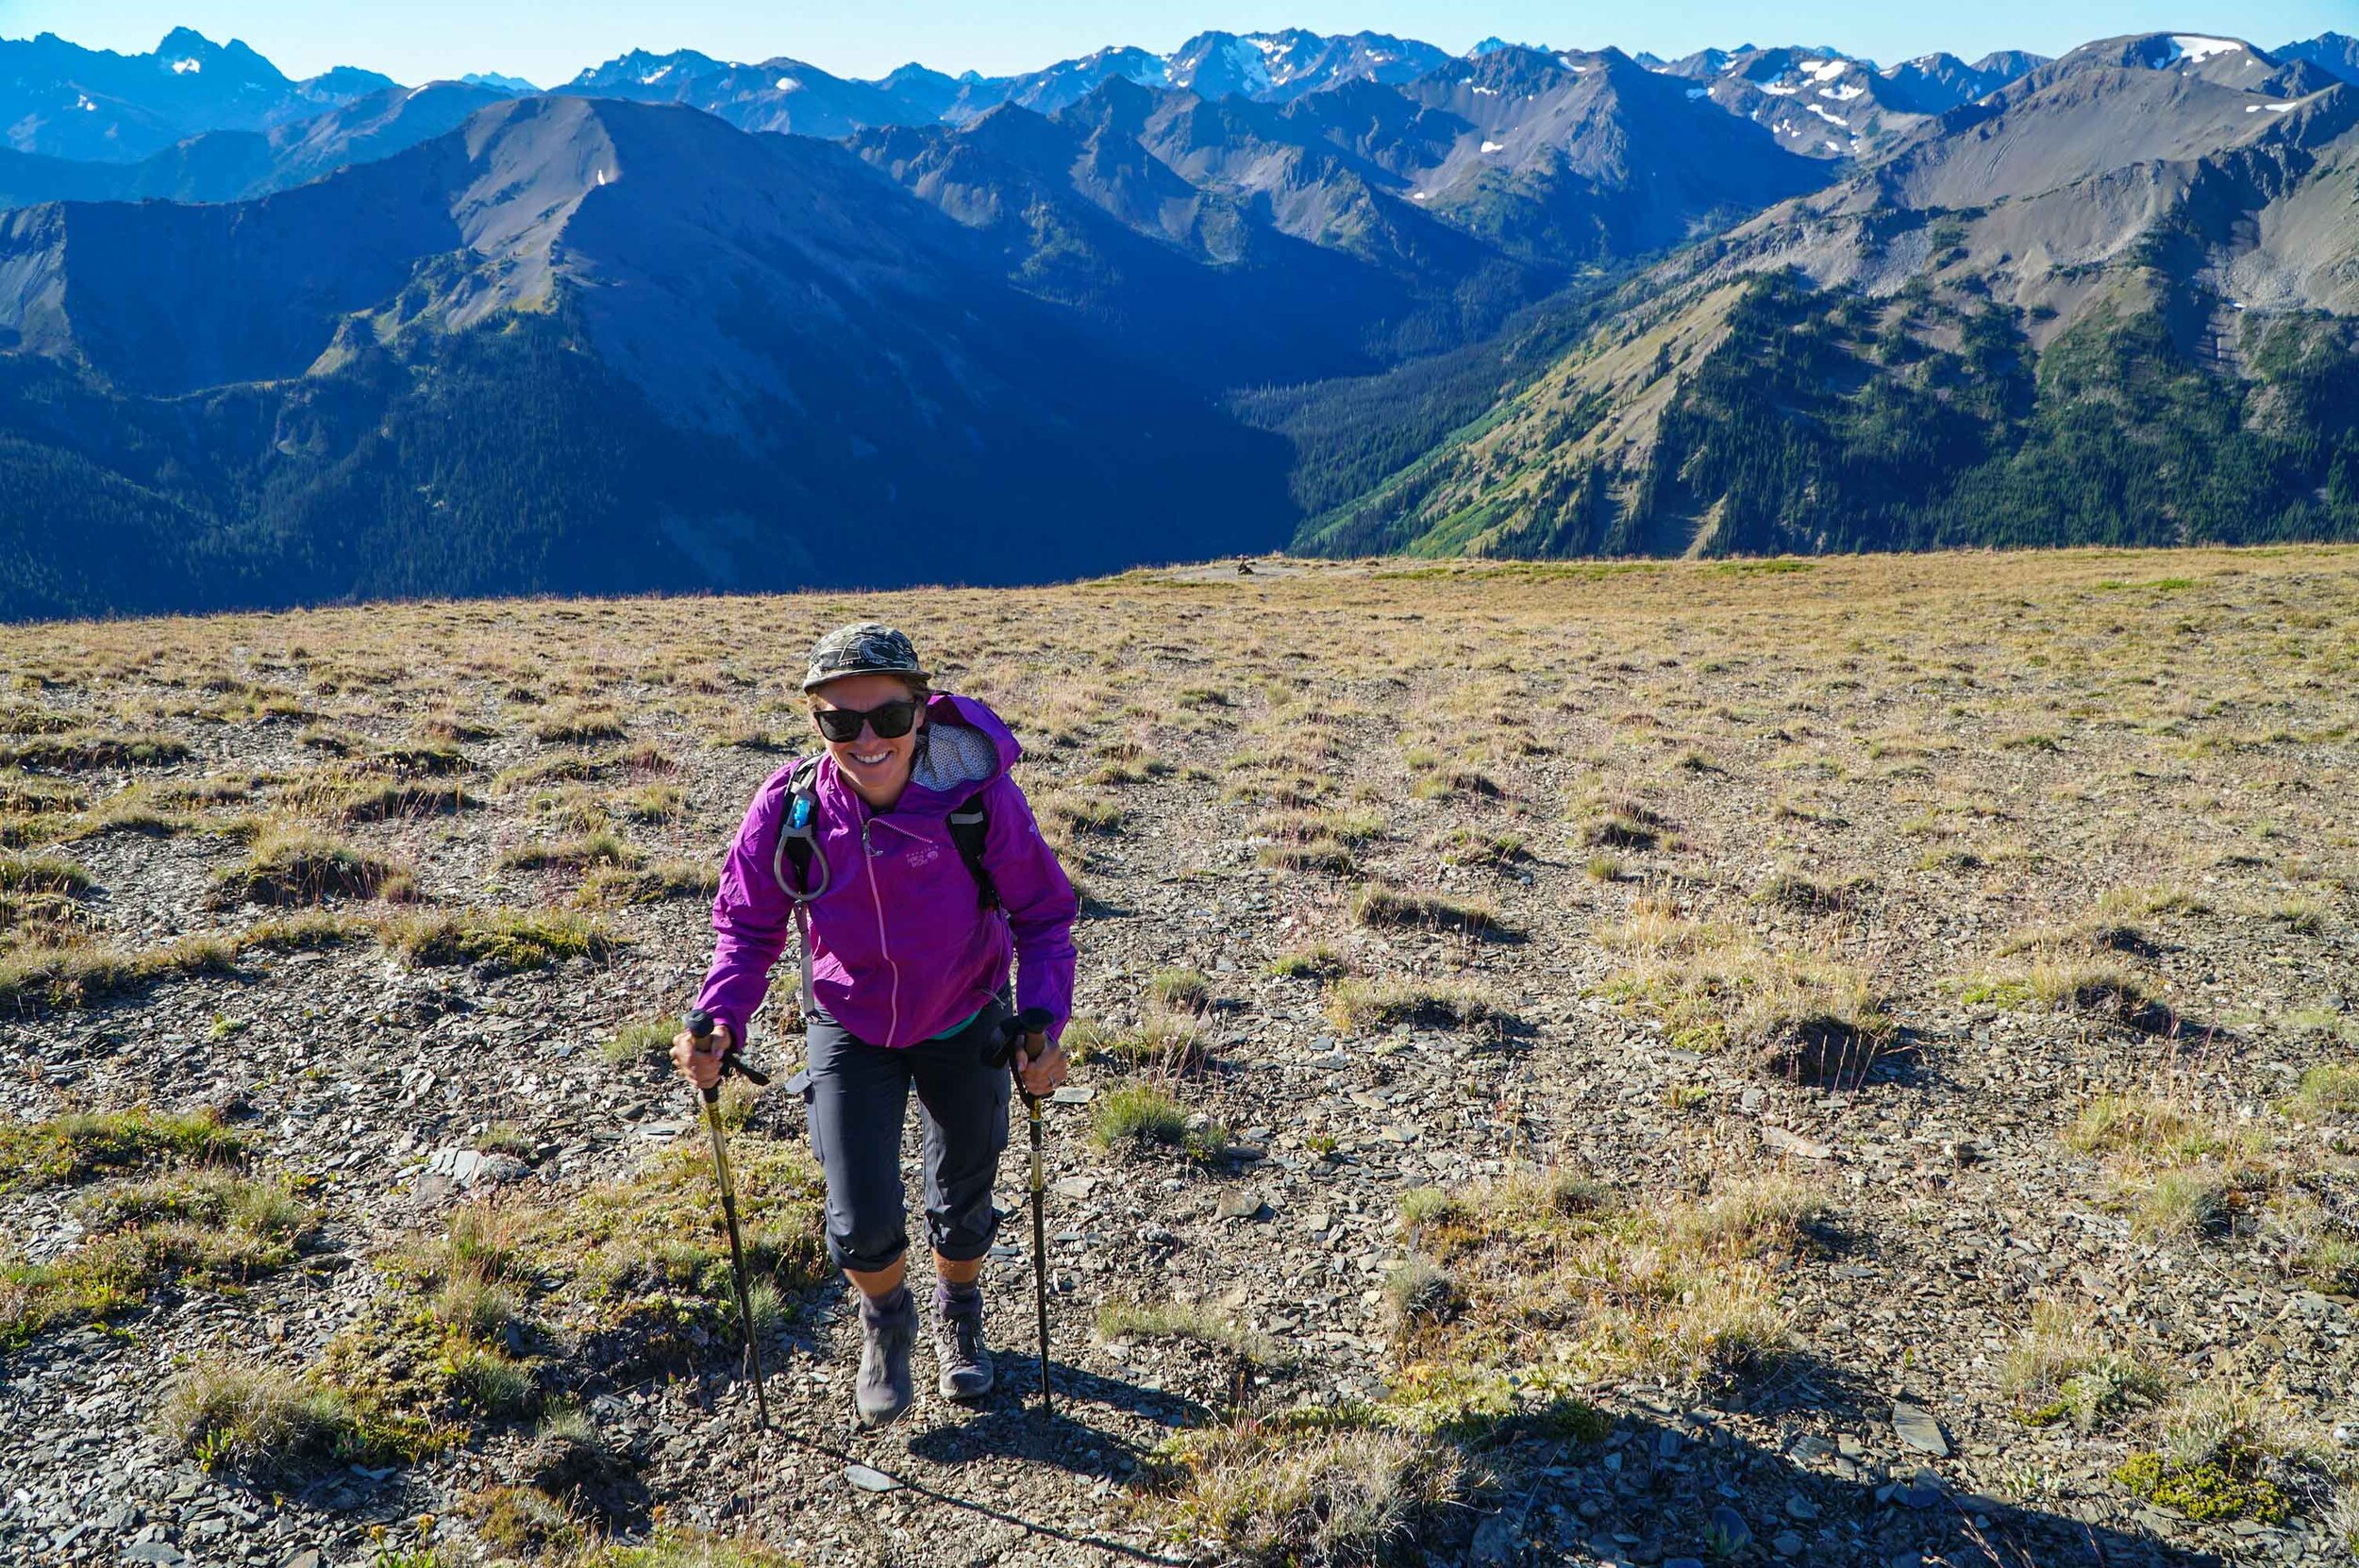
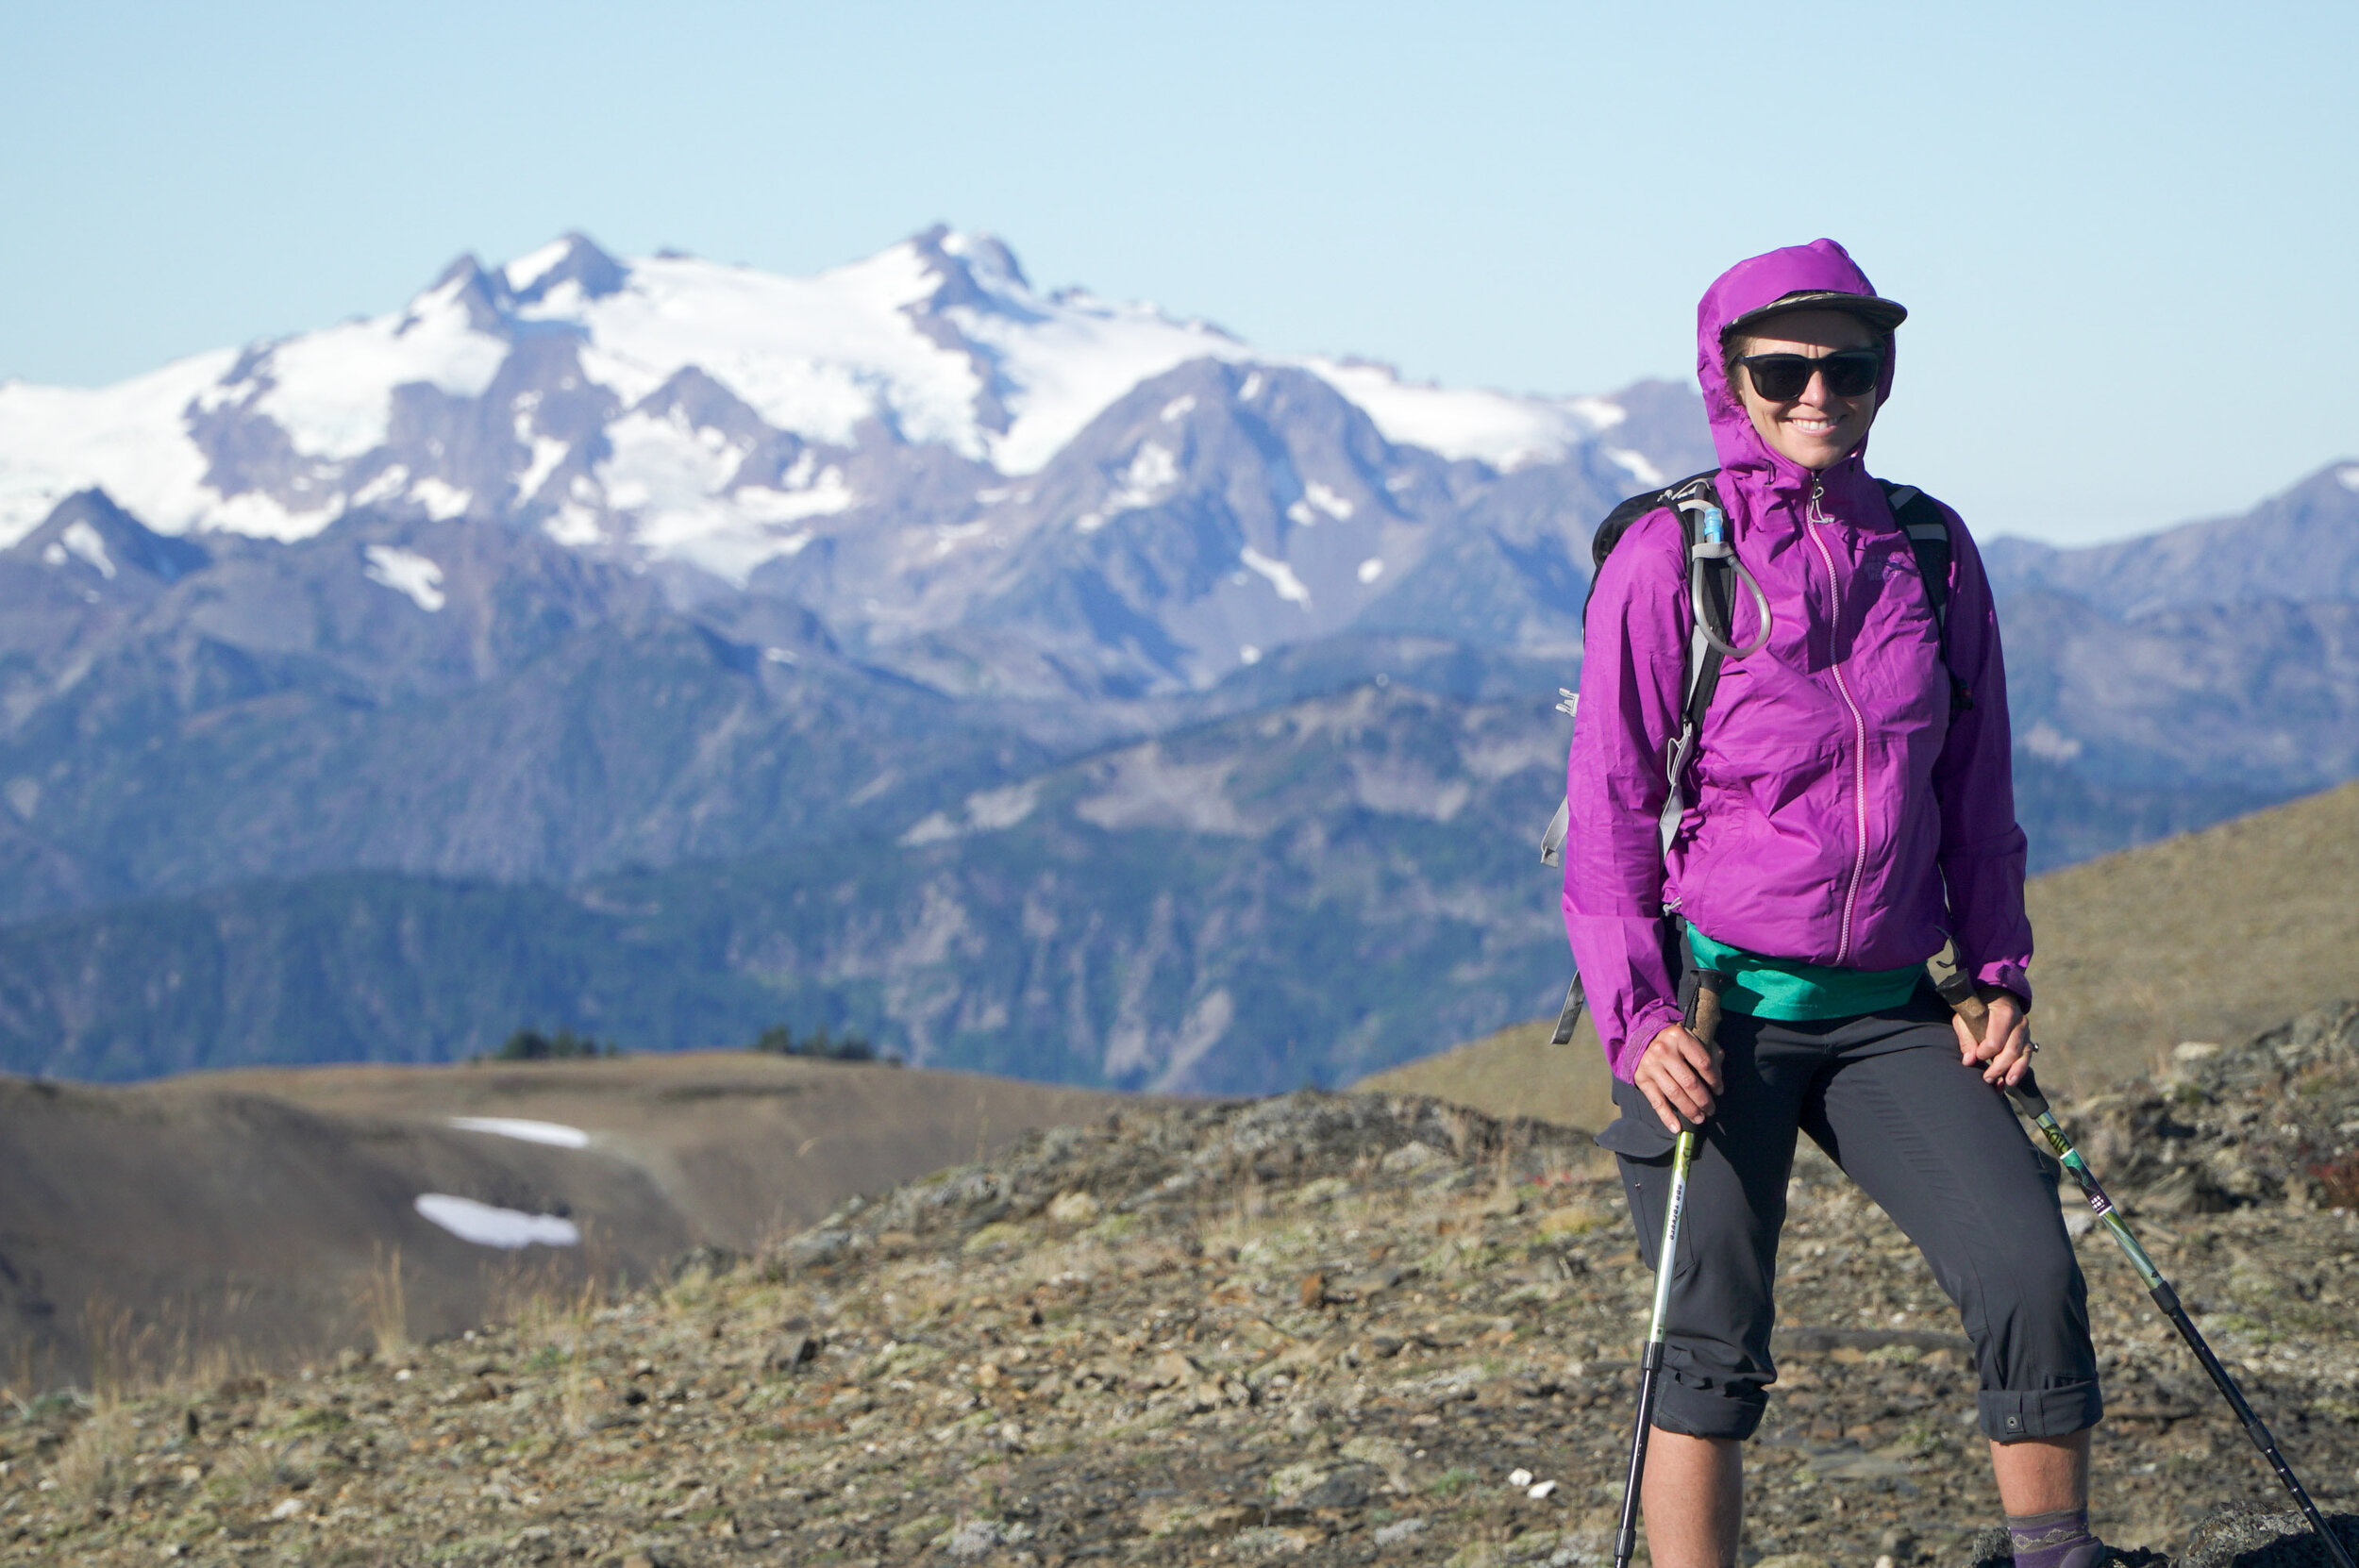
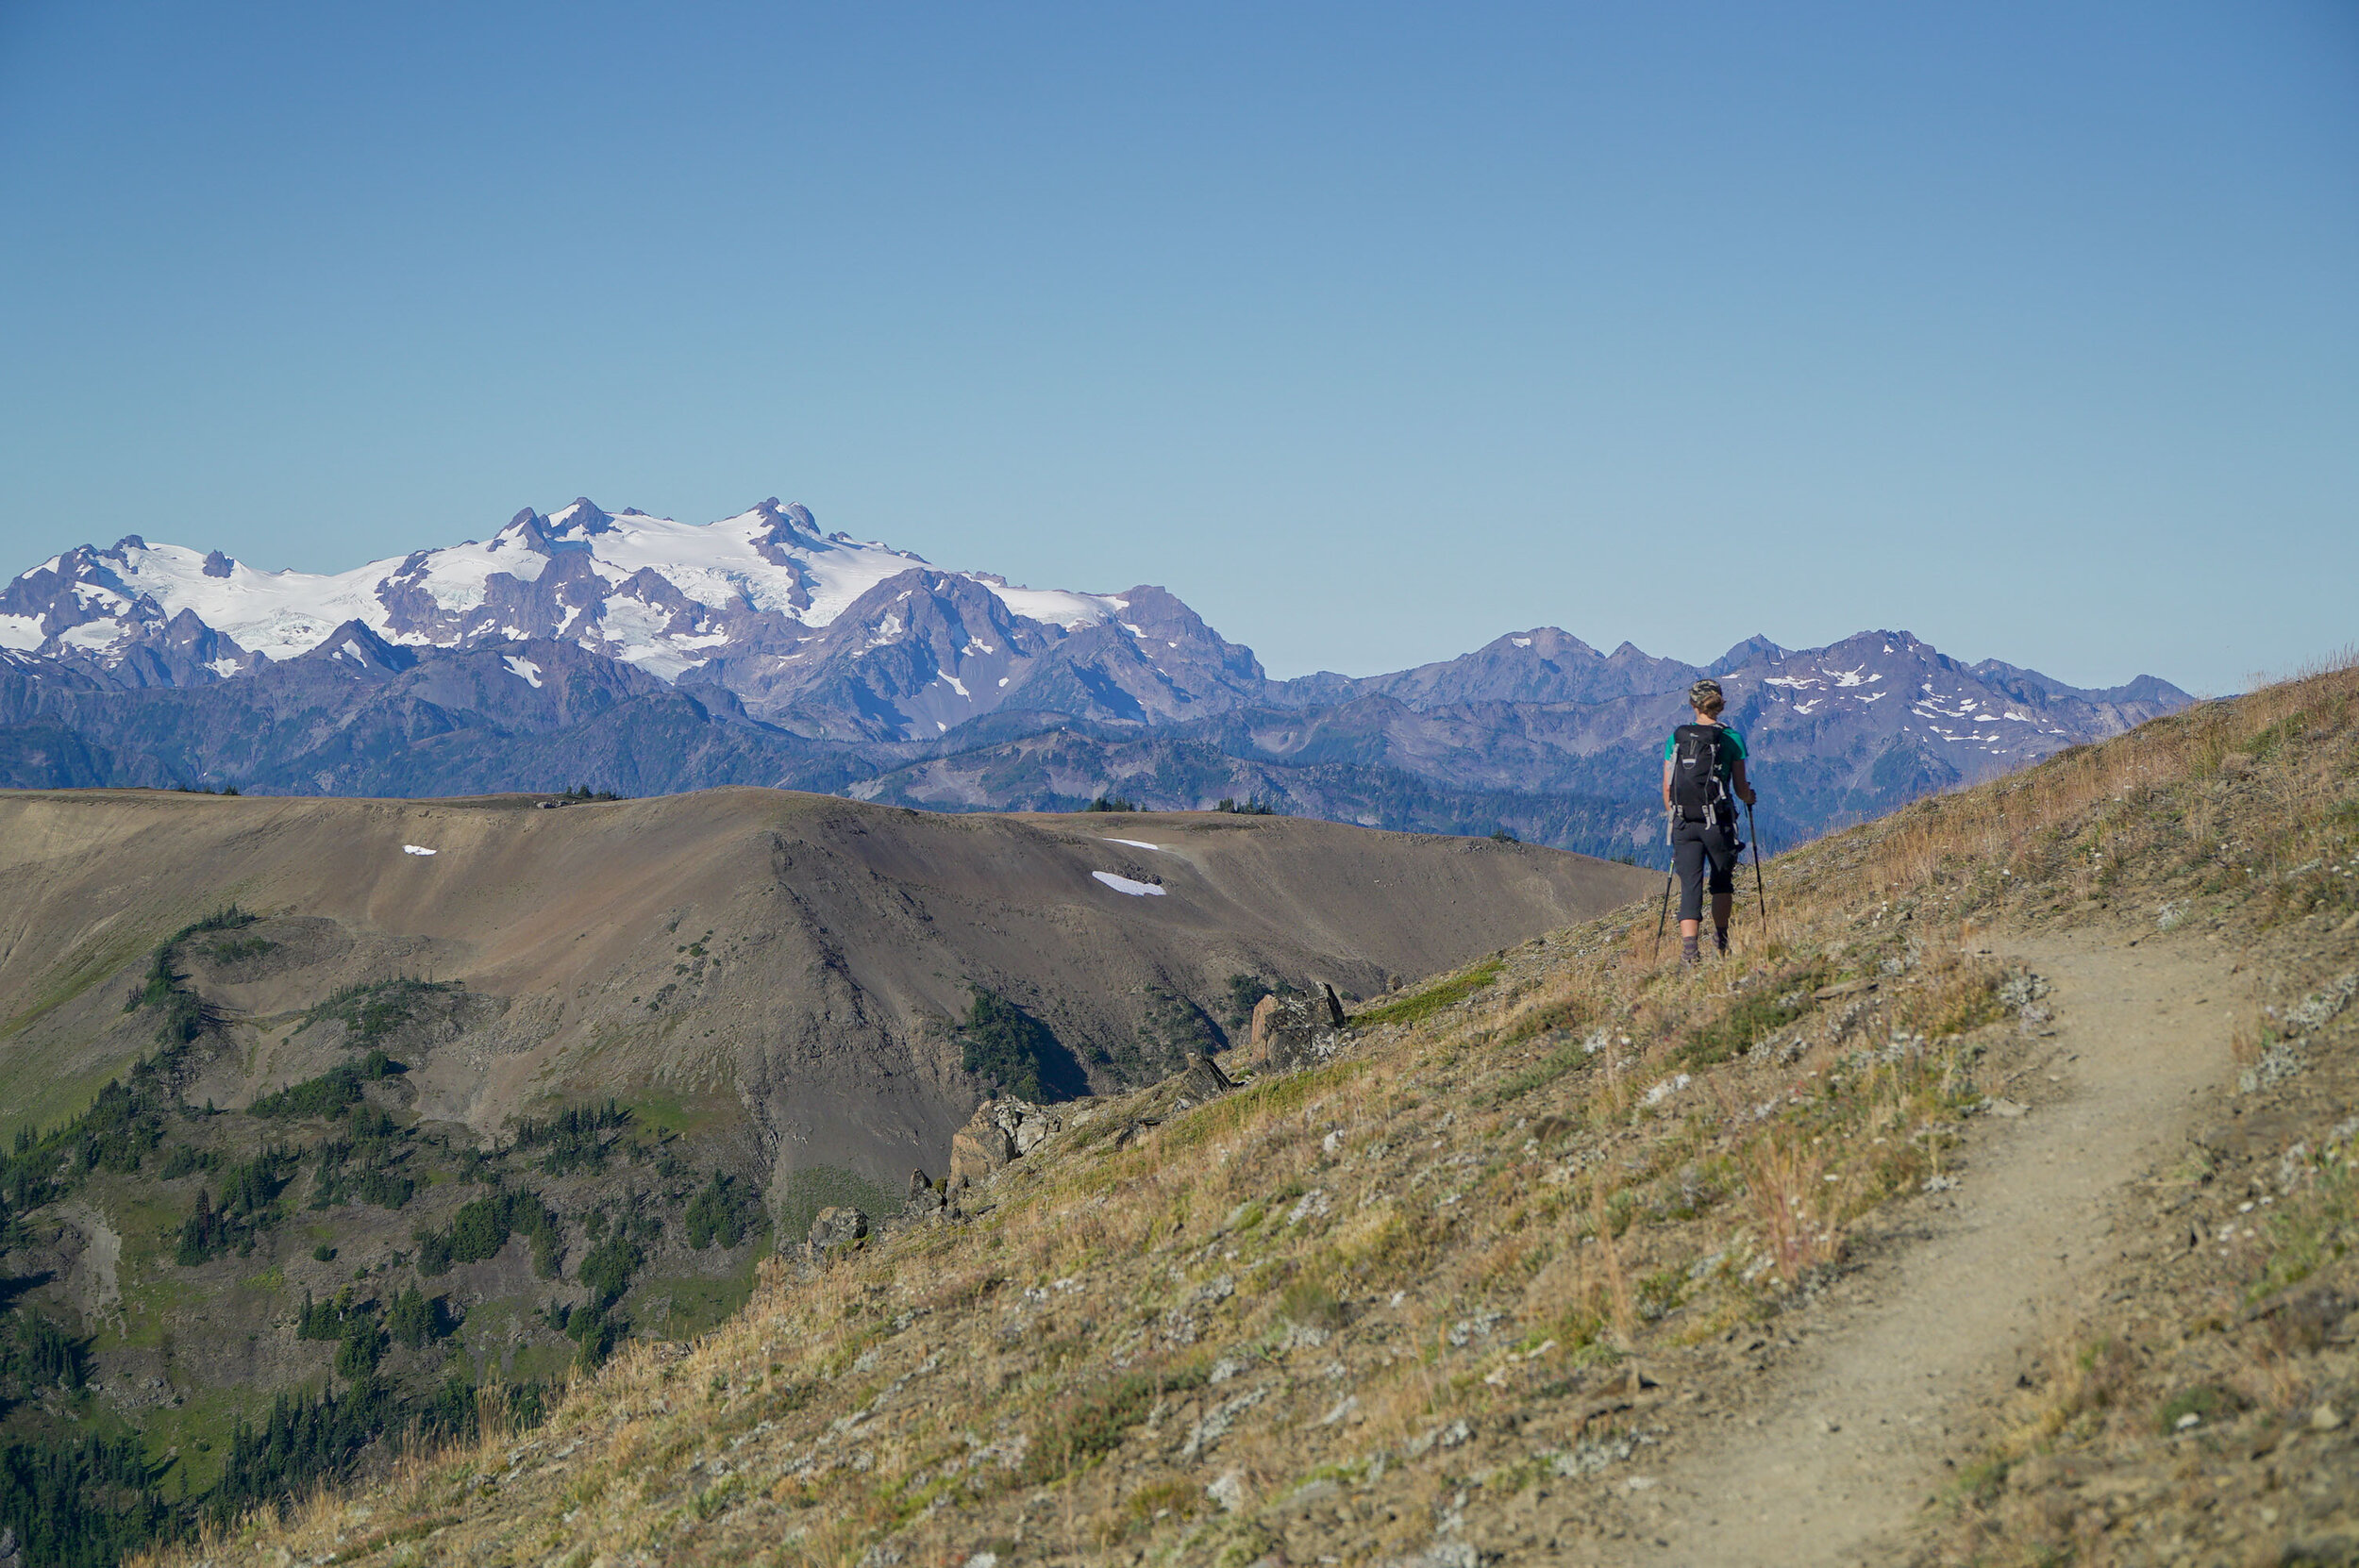
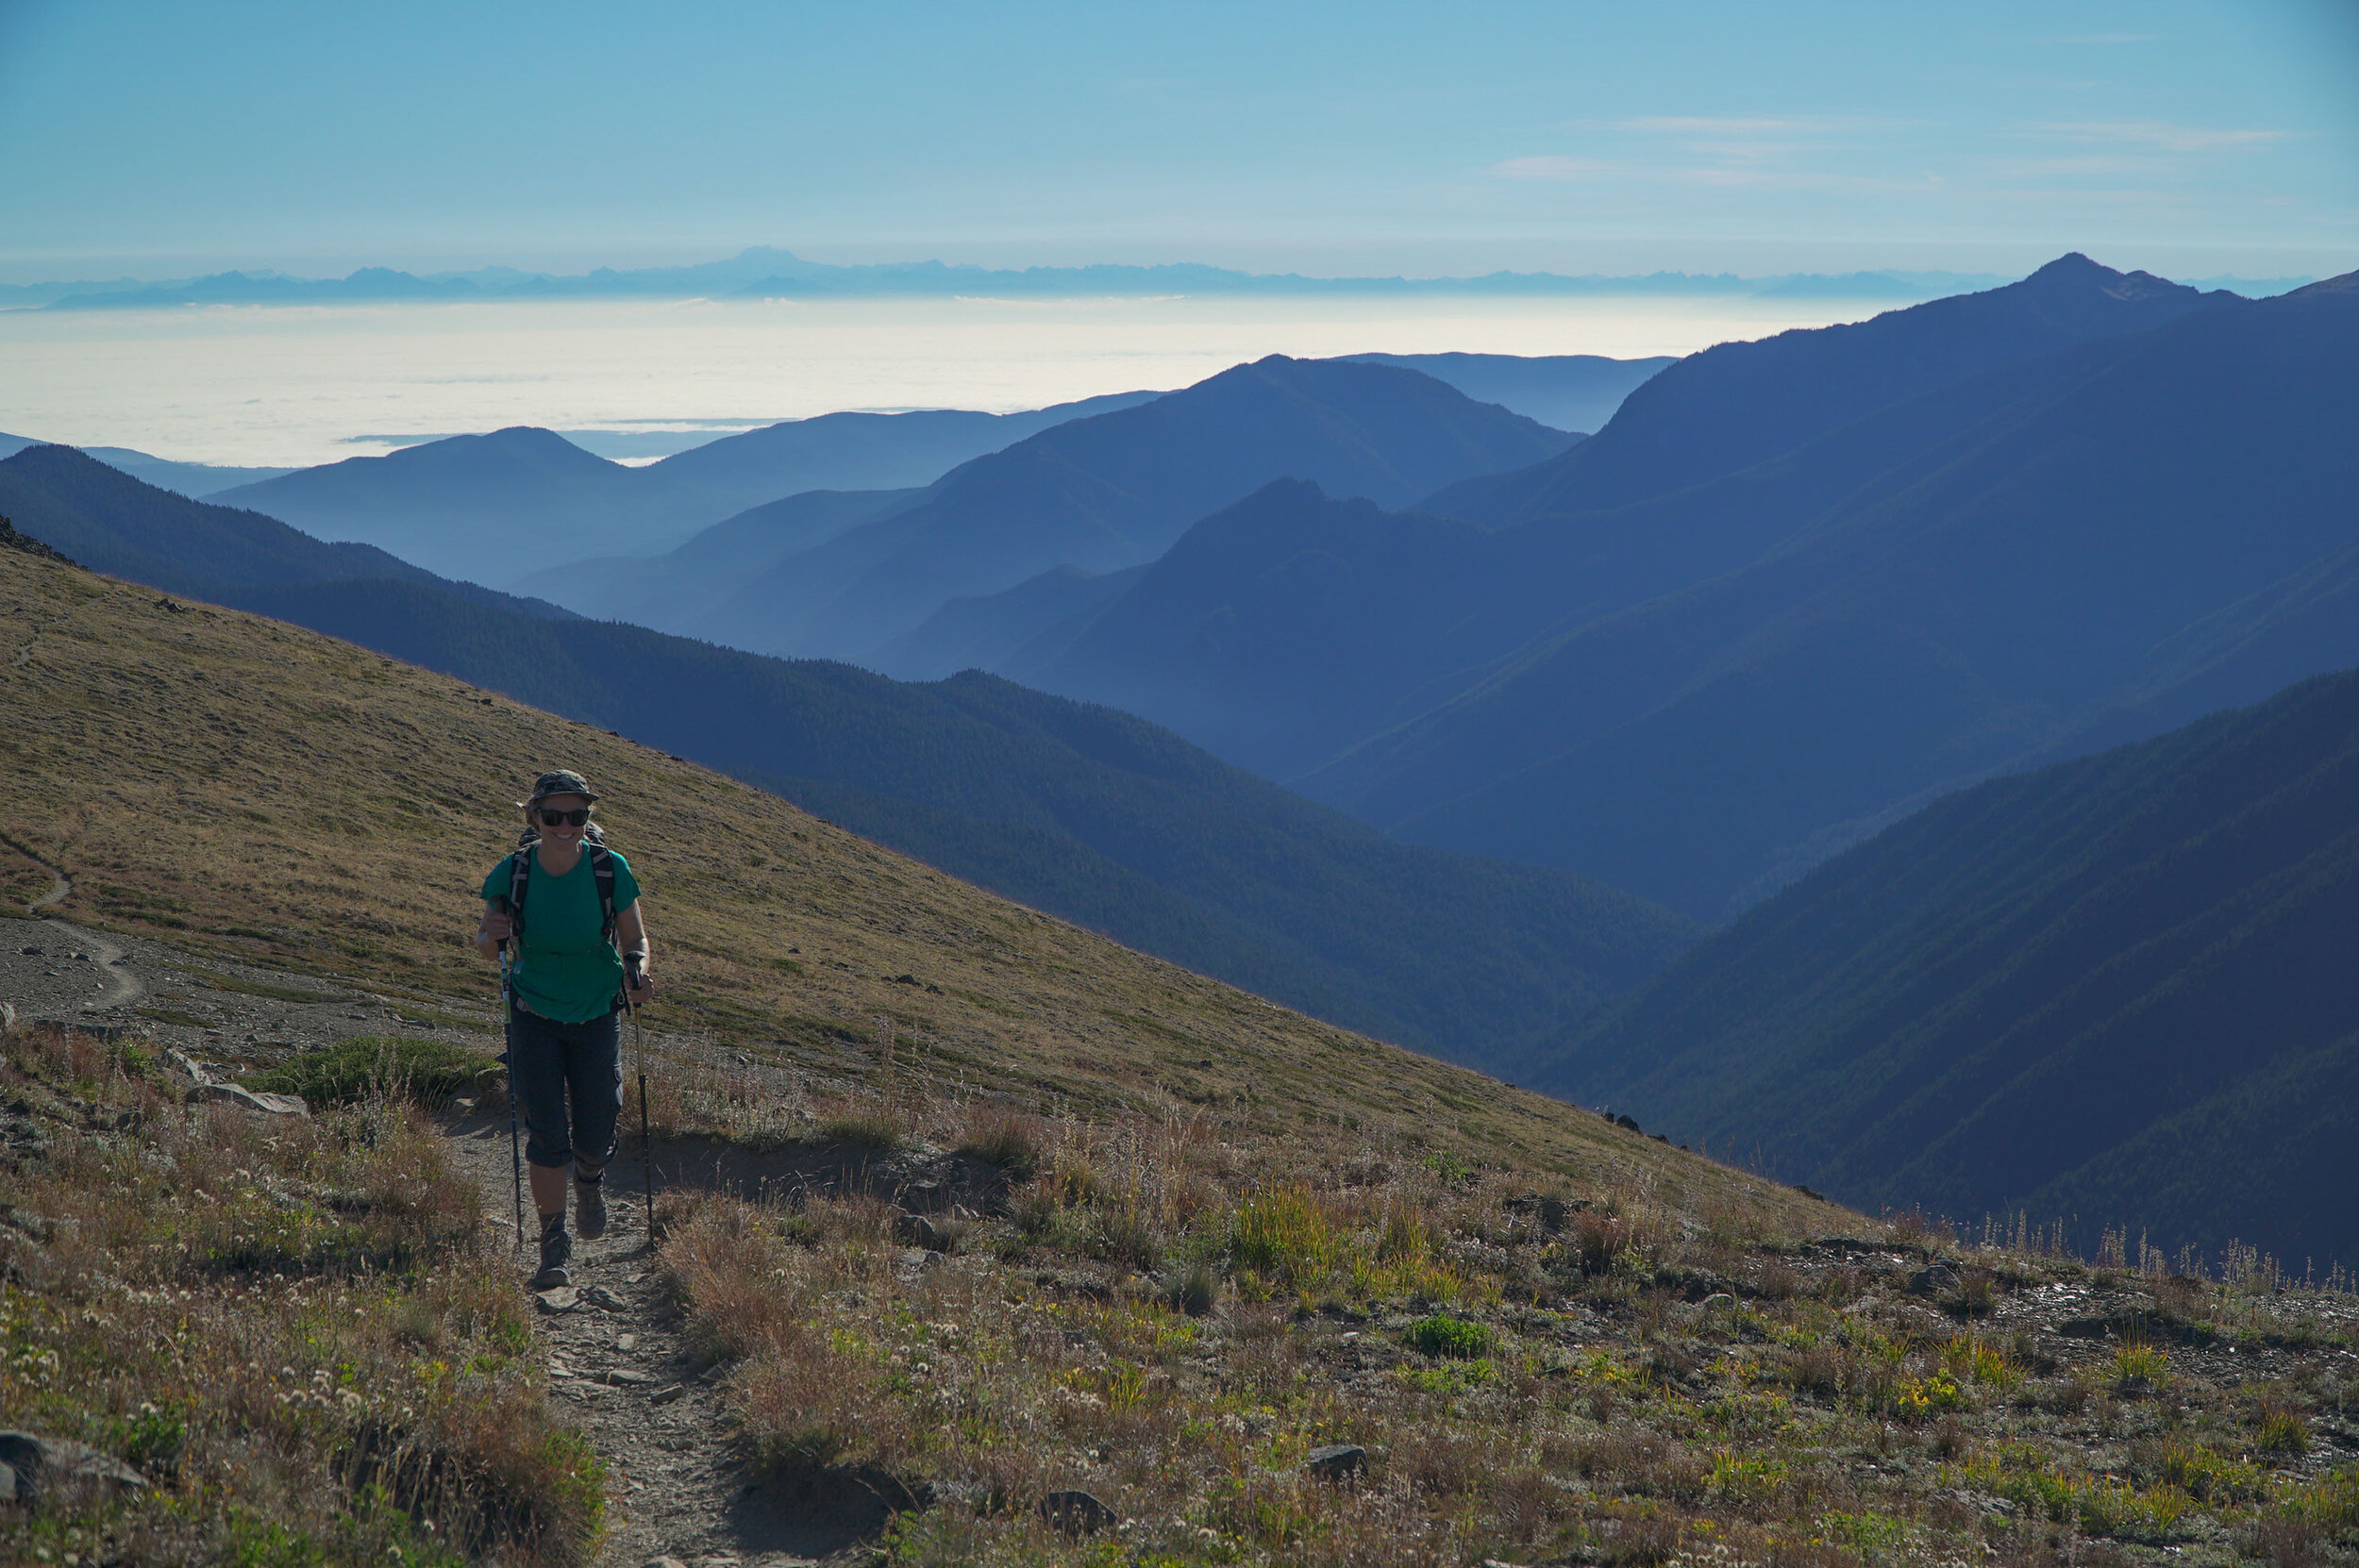
Ptarmigan Ridge (11.6 miles - Moderate)

This is an absolutely stunning hike!  If you don't want to hike lots of vertical that most of the North Cascades hikes require, you are in luck.  You can drive up to the Artist Point Parking lot, at about 5,000ft, making it much easier on your legs.  You will still climb 2,480 Feet on this trail, but it’s very gradual, and the views of Mt. Baker and Mt. Shuksan and the rest of the glaciated Cascade peaks are so stunning you won’t notice all the climbing that you are doing.  The trail ends once it gets way too technical and sketchy to go on without proper climbing gear and knowledge.  We headed back down and took a few side trails down to some lower lakes for a lunch break.  We hiked about 15 miles on this trail and couldn't recommend it more. 

Easy Hike Mt Baker Artist Point, North Cascades NP (1 of 1).jpg

Artist Point (Short and Easy)

If you aren't that into hiking and going on an all-day excursion, you’re in luck.  The hike to Artist Point from the parking lot is short, and it delivers amazing views of surrounding peaks and Baker Lake with its turquoise hue down below.  You’ll want to make sure that it's clear and sunny before heading up. We had a few days of fog and cold even in summer, so always check the weather before departing anywhere in Washington.  Artist point is a hot spot or wedding and family portraits for all the Bellingham locals.  Also, be aware that you will come across many Instagrammers and other social media addicts with their phones attached to their hands, taking selfies and photos to relive the moment, sometime later, rather than being present in the moment.  We camped in the parking lot for 4 days. We would wake up early and take in sunrise and sunset on the point every day.  This was one of our favorite parking lots to camp, ever!  

Best Hikes in Olympic National Park

Backpacking the Hoh RIver Trail to the Blue Glacier Olympic National Park Washington  (10 of 30).jpg

Best Hikes in Olympic National Park

Olympic National Park is where the waves meet the wilderness, glaciated peaks soar high above ancient trees, and snow-fed rivers flow directly to the pacific ocean.  Coast, Forest, and Mountain Ecosystems team up to create an amazing outdoor playground that we now call Olympic National Park.  While there are tons of trails to explore in this park, it is a bustling park since it’s located near Seattle.  The Washingtonians don't mess around with their time off, and they almost have all the overnight backpacking adventures fully booked. So if you want to get out on the trails, we are here to show you the path less traveled.

Upon arrival, You’ll want to get to the (WIC) Wilderness Information Center ASAP! When you get there, grab a Wilderness Trip Planner map. Speak with the Rangers. If everything seems booked-out sometimes, they can book you sites that aren't on the webpage. If you have booked ahead, congratulations, you aren't an honorary kook!  If you plan on hiking popular trails in the area, like the High Divide Trail and The Enchanted Valley, you’ll want to book well in advance.  We really wanted to get out on an overnight trail, so we searched for a while, discussed with rangers, and finally decided on the Blue Glacier 40 Miles expedition.  We also made a few other trails we would like to share with you here.  

Obstruction Point to Deer Park (13.9 Miles Out and Back - Hard)

Obstruction Point is a secret spot. At least it seemed like that when we arrived at 8 pm to an empty parking lot.  Most days, you’ll find the Hurricane Ridge parking lot full to the max, but if you are keen like a kook, you'll know the secret road to Obstruction Point.  It’s a dirt road that climbs quite a bit to the trailhead, but it’s a really amazing spot up on the alpine slopes.  We camped at the trailhead and hiked Obstruction Point first thing in the morning.  We were the only humans on the trail. We saw a few marmots and other creatures out and about.  You don't have to do the full 13 miles. You will reach a high point about halfway. That’s a good place to summit Elk Mountain and turn around.  From the summit, you will be able to see the Straight of Juan De Fuca and the Puget Sound, as well as Mt. Baker and Mt. Olympus!  If you start early, you’ll notice that you’ll encounter more people on your way back, and the parking lot will probably be full.  We saw more cars in line at this park's entrance gate than any other park in the country.   

Backpacking the Hoh RIver Trail to the Blue Glacier Olympic National Park Washington  (23 of 30).jpg

Hoh River Trail to Blue Glacier (40 Miles - Hard) 

We could book out an overnight 3 night 4-day backpacking trip up the Hoh River to the Blue Glacier.  If you are up for over 40 miles of backpacking, this trip is so amazing we couldn't recommend it enough!  We loved this trip. It may have been the highlight of our summer.  

Our camping Itinerary for this expedition was as follows.  

Night #1 - Lewis Meadows

Night #2 - Glacier Meadows

Night #3 - Olympic Gaurd Station

We had plenty of time, and we broke up the expedition into three nights, four days.  We met people who did this in two days, and they could barely walk when we saw them.  I thought one of them had a disability, but he was that sore.  The hike's first 12 miles are through the Hoh Rainforest along the Hoh River and pretty Mellow.  At mile marker 12.4, you’ll begin the climb up to glacier meadows, which is about 4000 feet of elevation, and this is where the training kicked in.  We didn’t have too many problems getting up.  The best part of this climb is that it is through the ancient forest and is nice and shaded, so you stay cool.  When we were there in September, it was pretty hot, and we really sweated it out on the lower section in the sun. 

Blue Glacier Trail Wash out Ladder

Before you make it to Glacier Meadows, you will be warned of a washout section on the trail.  The NPS service will warn you to be ready for this trail washout.  They make it seem like it’s just a small ladder down a washout.  The ladder descends about 100 feet down to the rubble and is family safe, but if you fell, you would be pretty injured, so don't fall!  We will note it’s easier to go up this ladder than down. It’s also very exposed here, and we were burning up in the sun in the late afternoon for this section of the hike.  There are also a few more trailside creeks and streams to filter water on your way to Glacier Meadows.  

 Eventually, you will make it to Glacier Meadows, and you will be happy to see the campsites.  We will note a small stream at Glacier Meadows to filter water to drink and prepare food with.  From here, there is still about 1000 ft of vertical climb and about a mile of hiking up to the terminal arm.  This is where you realize that every step was worth the effort.  When you top out, you’ll see the Blue Glacier running down Mount Olympus carving a massive moraine.  This is one of the most beautiful things I've ever seen on a backpacking trip.  We got up there around sunset and stayed until it was dark.  We hiked down without headlamps back to Glacier Meadows and slept like babies.  

We headed back down in the morning to the Hoh River Ranger Station for our last night.  There are some really awesome campsites here at the Ranger Station.  We will also note that the Ranger came and asked us for permits, so if you are thinking of poaching this hike, you've been warned we saw a ranger here and at Mt. Rainier NP.  We wrapped up the hike the next day out through the Rain Forest. We saw a few Elk and we were stoked to get back to the car to eat some real food.  

We ate and then we headed out.  There are some decent free camping options outside the park along the Hoh River on the park's entrance road. They are surprisingly quiet at night as no one is entering the park after about 5 pm.

Backpacking the Hoh River Trail

This was an amazing experience and we will never forget it.  If you are heading to the Olympic National Park and up for a tough and rewarding adventure and are having trouble booking other expeditions check with the WIC to see if you can plan a Blue Glacier expedition, you won’t regret it!  

Hoh River Trail to the Blue Glacier Backpacking in Olympic National Park

This is one of the best multi-day backpacking trips we have ever done. It’s a long journey but worth every step. We did this trip in 4 days 3 nights. It could be done in less time, but the 4 days was the perfect amount of time to fully take in this amazing place. In this post we are going to tell us what our itinerary was and what we would change if we did this backcountry hiking trip again.

Mt. Rainier National Park Backpacking - One Day on the Wonderland Trail

Best Free Camping in Mt Rainier National Park

Towards the end of summer, we caught backpacking fever and knew the only cure was more backpacking.  However, since we are Kookz we are typically not prepared with a set scheduled itinerary.  This makes getting permits in popular national parks, like Mount Rainier a very difficult task.  We only had a few days in the area and the online permit system didn't have many openings so we made a decision to hike up to the Wonderland Trail for a one-day backpacking strike mission.  

There weren't many overnight camping availabilities online so we had to just make the best judgment call. Make sure to use the Wilderness Trip Planner before scheduling your adventure.   We decided on Devils Dream Camp solely because it was available and it was close to the Longmire entrance.  We were able to score two nights at Devils Dream Camp so the plan was to get up there and day hike the Wonderland Trail and hike back to the camp.  Well, mother nature didn't cooperate and it rained on us for the majority of the trip so we decided to head back feeling defeated by mother nature.  

Hiking the wonderland trail Mt Rainier (2 of 2).jpg

However, we did learn a few things during this trip. The first tip we are going to share is that even though we didn't stay the second night at the campsite we did stay in the Longmire Parking Lot.  Our permits told us to park in the lot and our license plates were in the system so we figured we were good to go as long as we stayed in the lot for the night.  So tip #1 is if you want to camp in the park just reserve a backcountry permit and stay in your van in the lot.  The second thing we learned is to always be checking the recreation.gov website to get your permits ahead of time.  

We know how difficult it is to have a plan while on the road.  The permit system really doesn't work in the nomadic vanlifers’ favor.  But we can’t have it all.  

Hiking the Wonderland Trail Free Camping in Mt Rainier NP

Happy Trails!