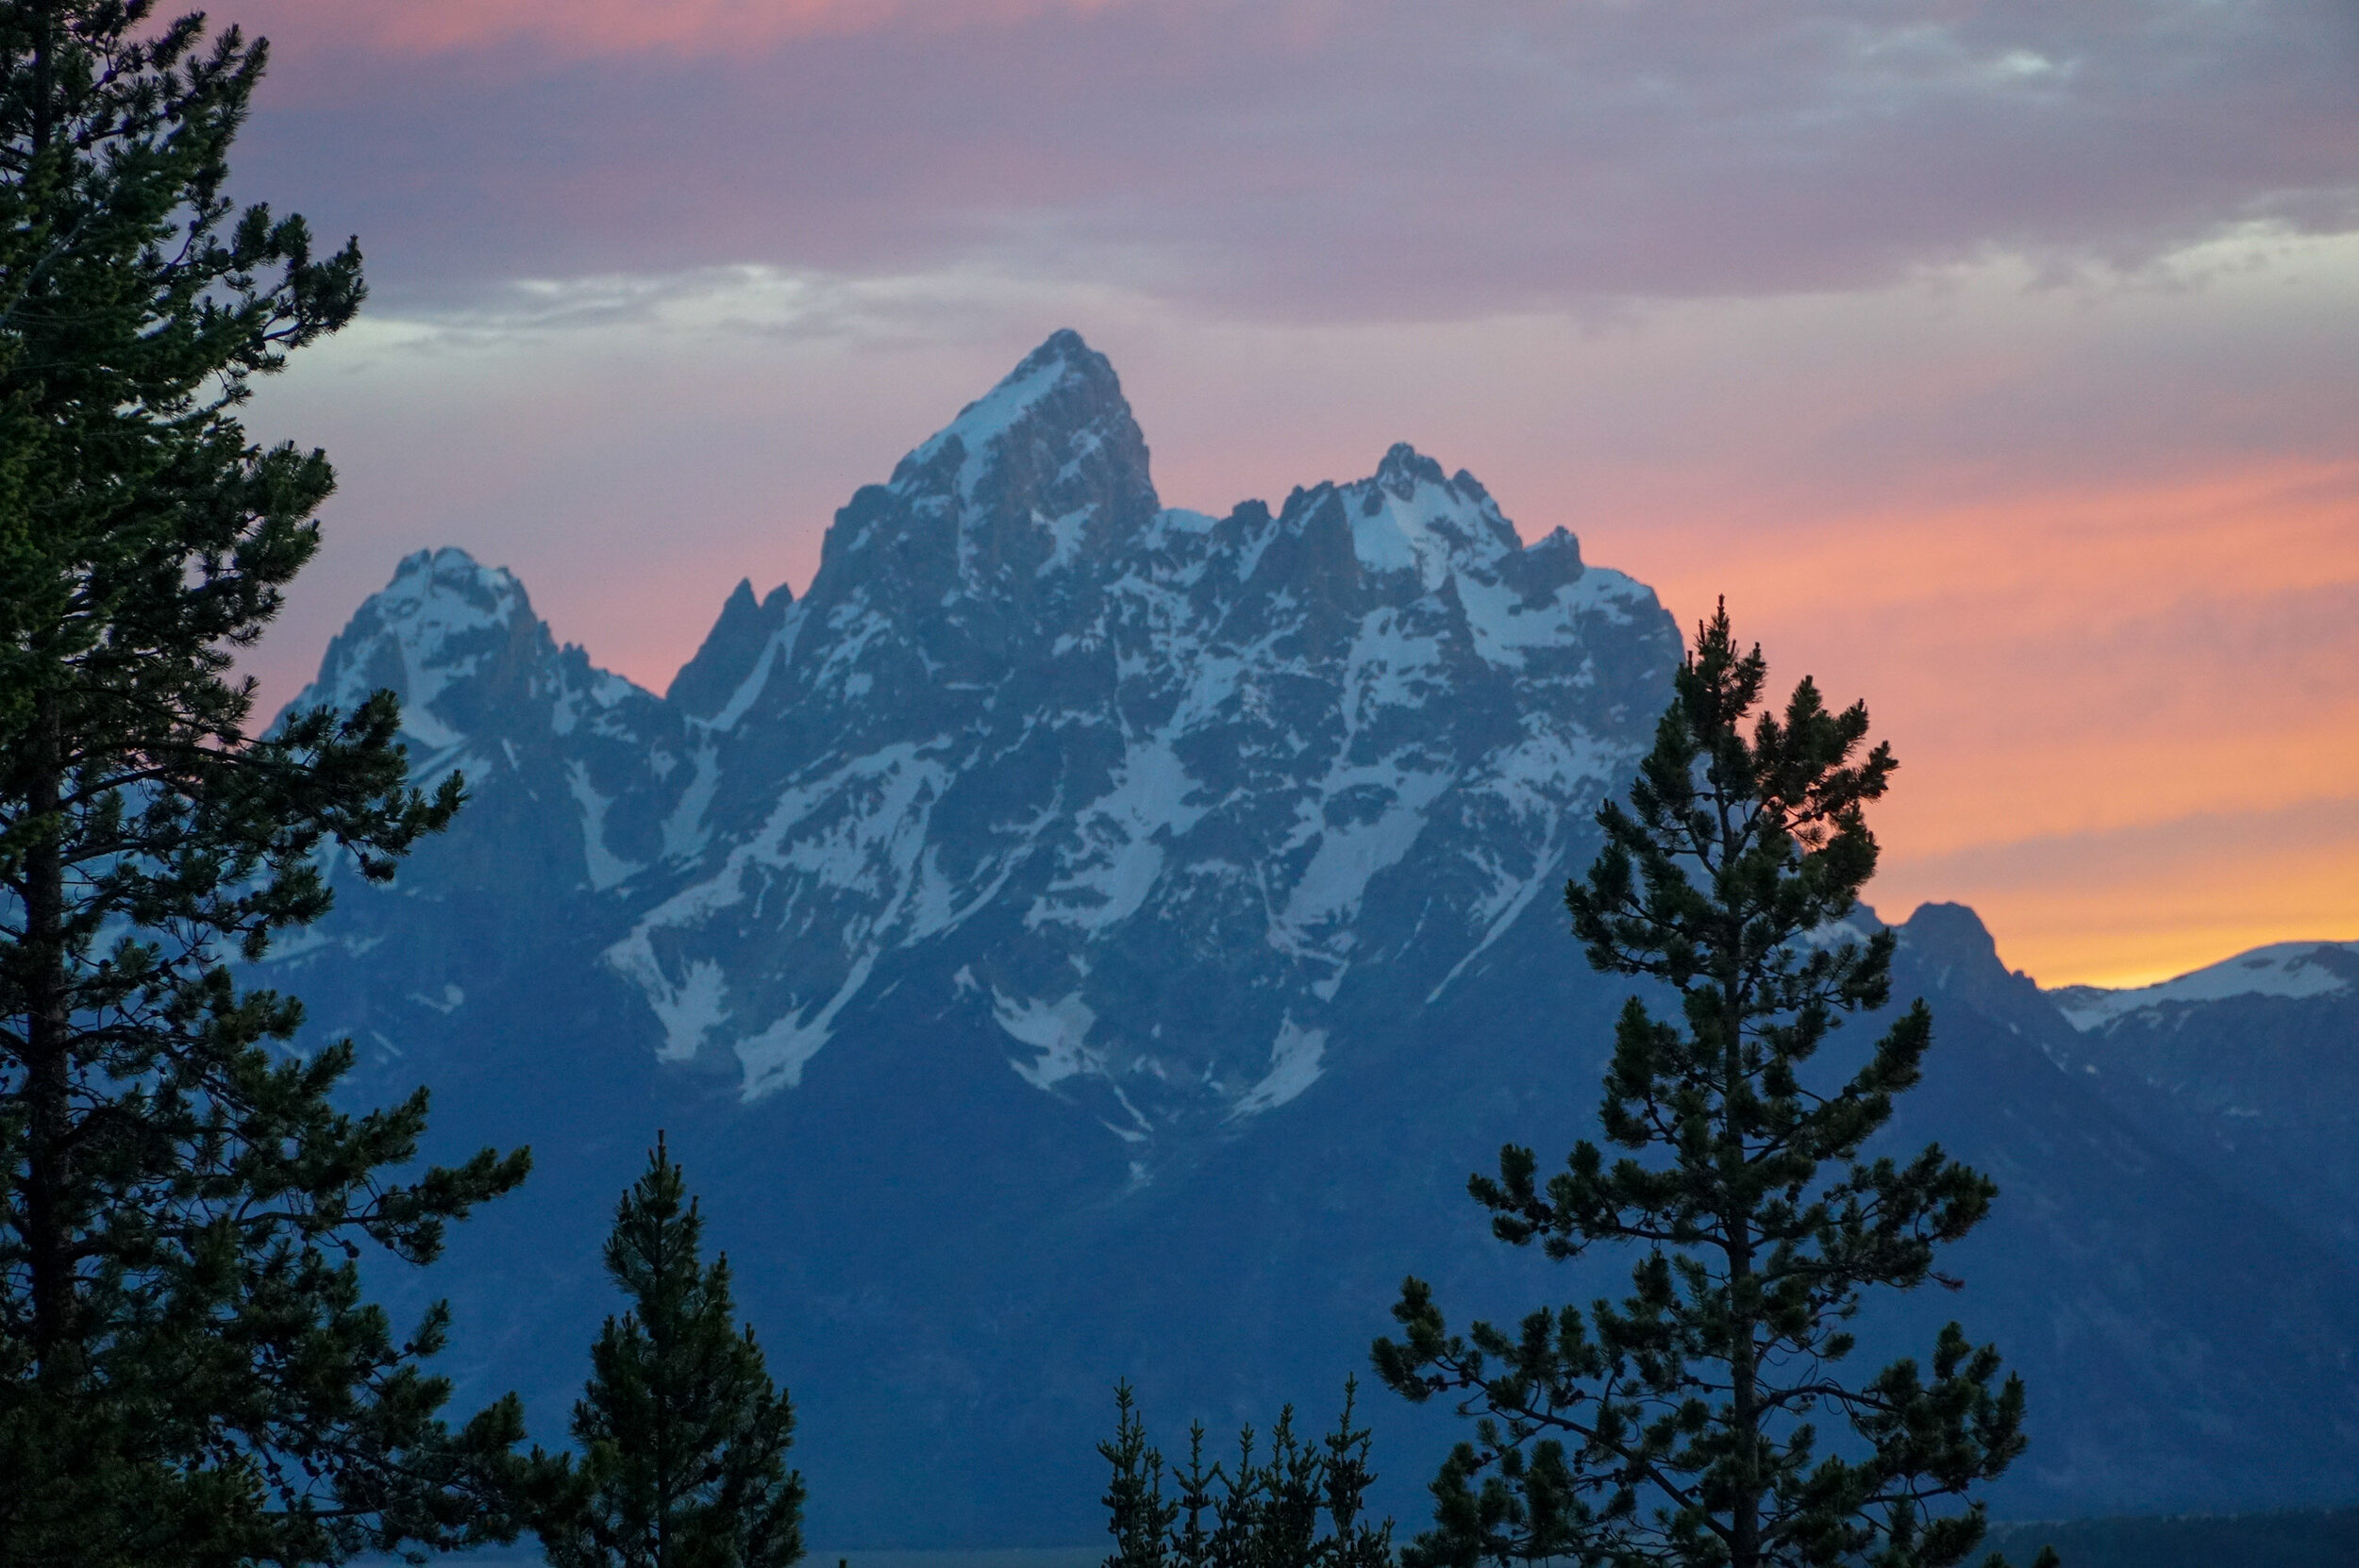
5 Best Day Hikes in Grand Teton National Park
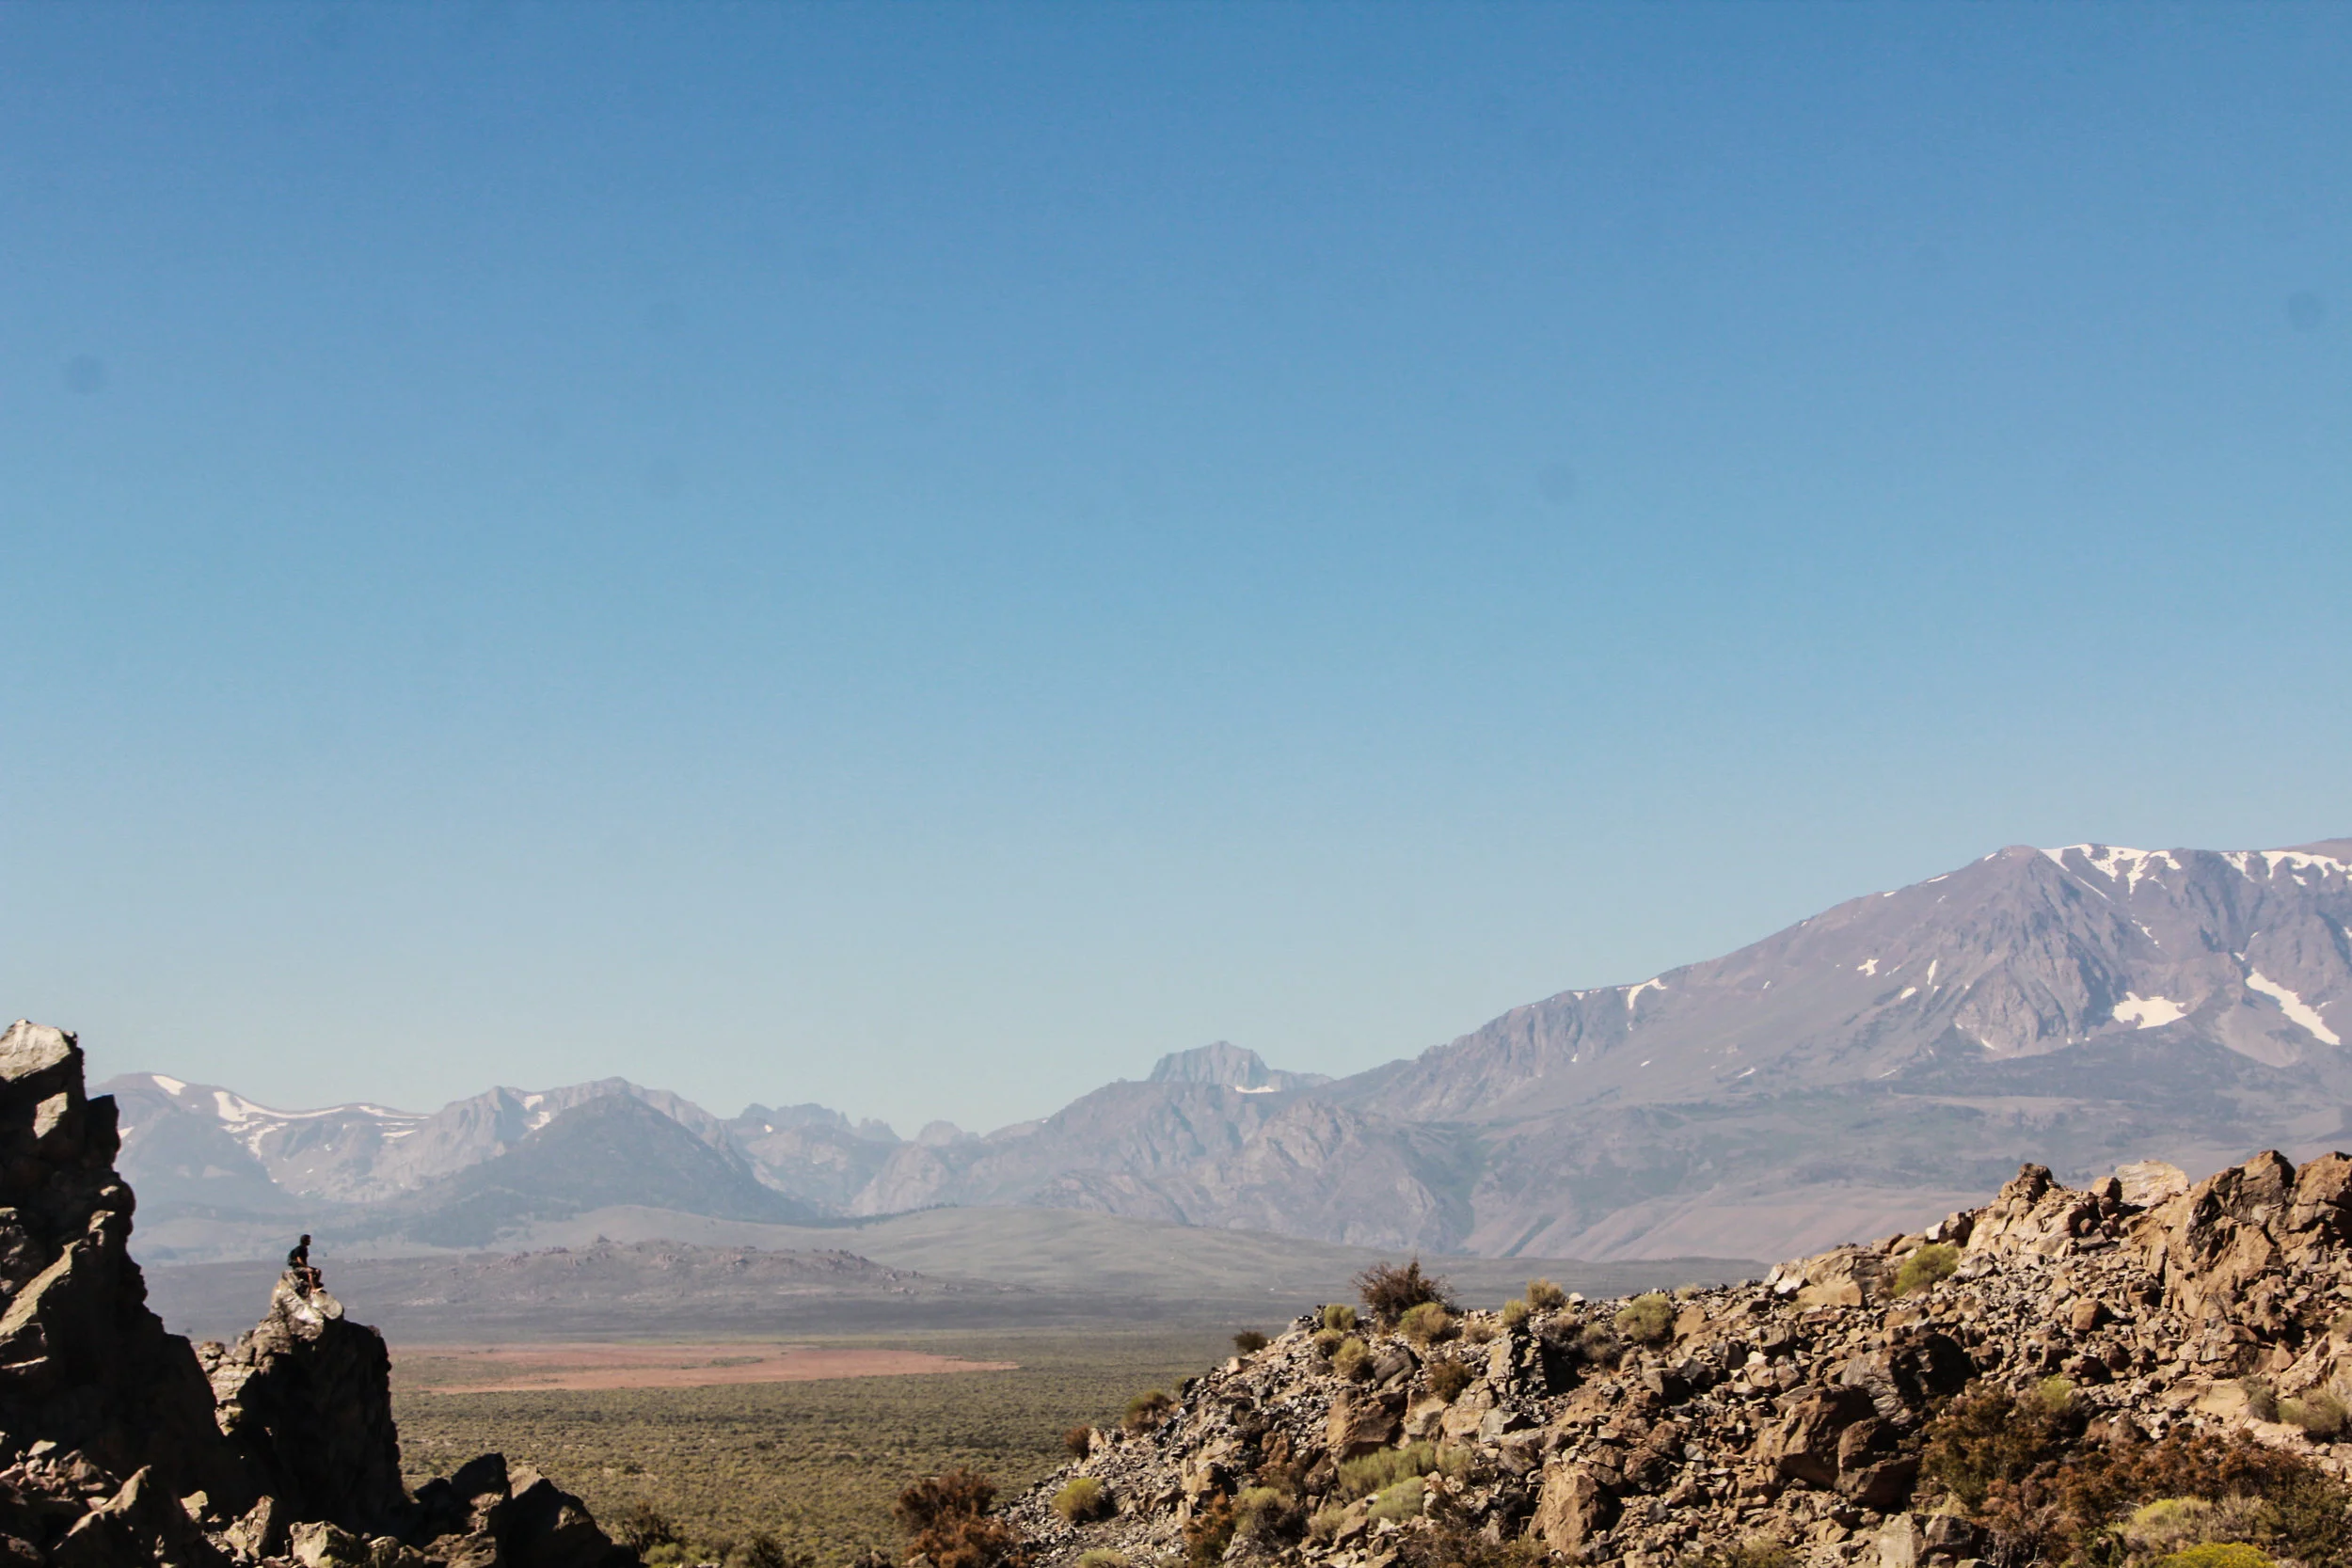
Wow! What more can you say when you first lay your eyeballs on the Grand Tetons? This jaw-dropping mountain range juts straight up to the heavens at 13,775 Feet and is the second tallest mountain range in Wyoming. You’ll also notice that the mountains here are incredibly steep and rocky. Hiking and climbing here are not for the faint of heart. Most trails in this park have big vertical climbs that vary from never-ending switchbacks to rocky scrambles, but every step is worth its weight when you reach your destinations amongst craggy peaks teeming with wildlife. We spent a lot of time at this park, and it was hard to leave, not only because it’s so beautiful but also because our bodies were so beat from hiking over 50+ miles of some of the steepest terrain we've encountered. If you have never been to the Tetons and want to know the best hikes, here are a few of our favorites.
****You will want to carry Bear Mace. We encountered more bears in the Tetons than anywhere else we have ever been!!
***Jenny Lake shuttle hot tip
***On a few of these hikes, you will want to take the Jenny Lake shuttle to the Cascade Canyon trailhead. While this is not required, it will save you about 5 miles (roundtrip) of hiking around Jenny Lake. The pro tip here is to catch the first boat shuttle at 7 in the morning for $5 per person; otherwise, it’s around $18!

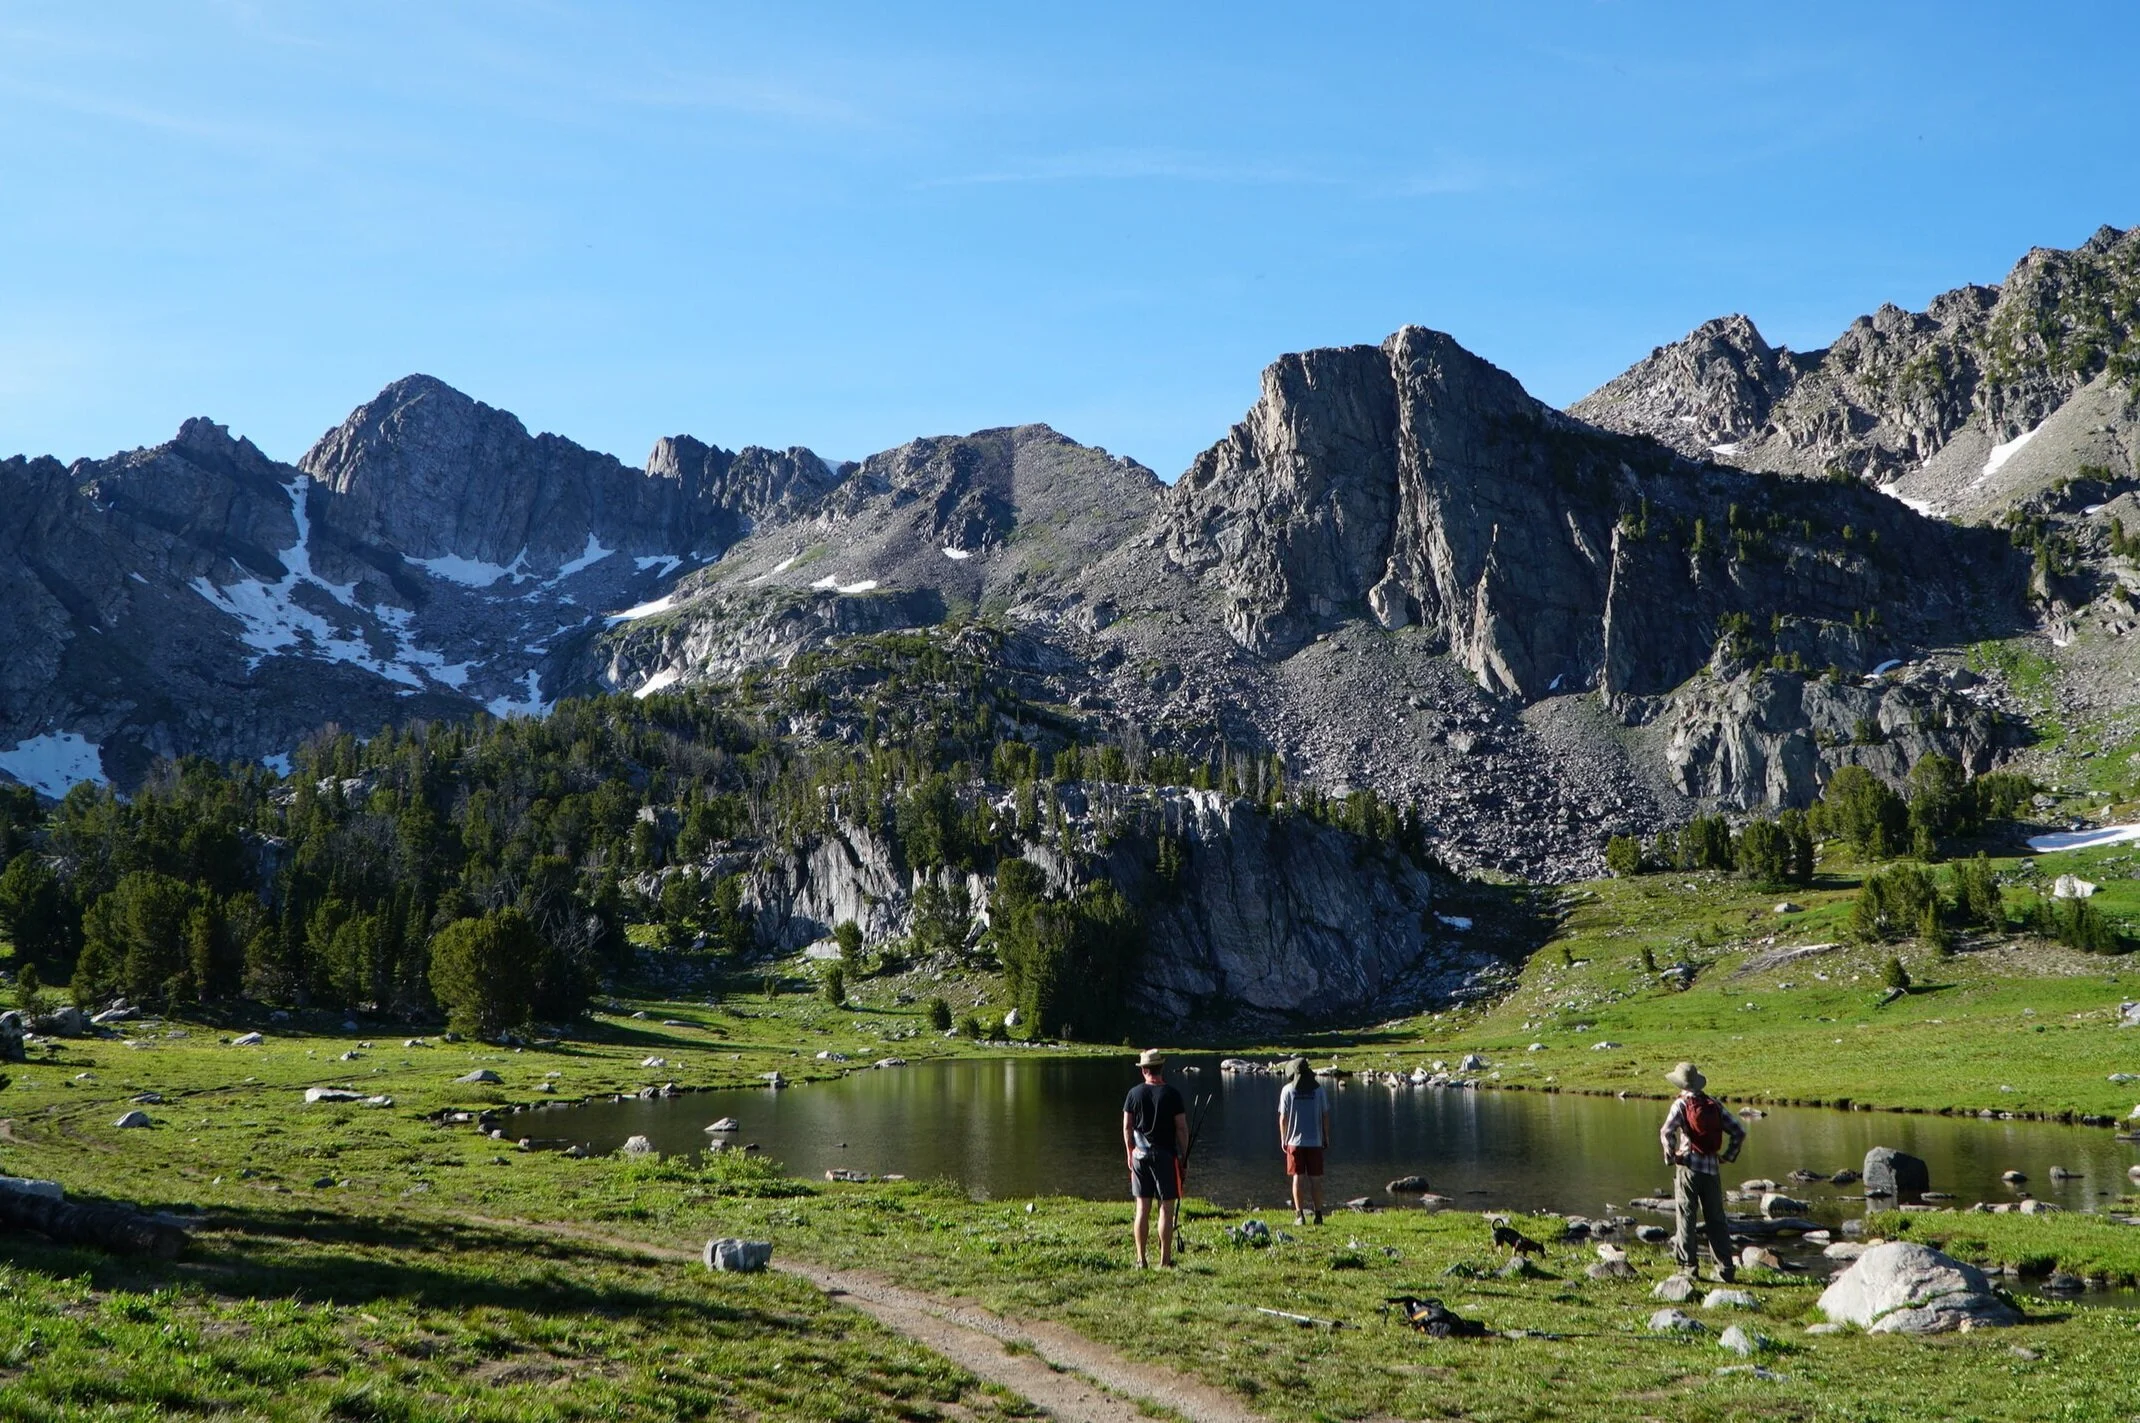
Lake Solitude (16 Miles, Hard)
Lake Solitude starts from the Cascade Canyon trail, a moderate trail up a canyon that ends at a split. Most people hike up Cascade Canyon 4 miles to the end and back down to the boat dock. Cascade Canyon is a beautiful hike on its own, and you can expect to come across plenty of wildlife along the way. We saw Moose, Marmots, and Bears. If you are up to the challenge, you can continue the hike up to Lake Solitude, which adds another 8 miles round trip and the journey. From the boat dock at Jenny Lake, you will climb 2,640 feet to the lake. We did this hike in late June, and there was still plenty of snow at the lake, so bring proper footwear. You do get some pretty spectacular views of the Grand Teton from the lake. There’s also plenty of overnight backpacking opportunities on this trail, and you can get a permit here for a small fee (https://www.nps.gov/grte/planyourvisit/bcres.htm)

Lake of the Crags (4.5 Miles, Hard)
Although this has shorter mileage and seems like it would be an easier option, don’t be fooled. This is a challenging hike up to an amazing alpine lake surrounded by jagged peaks. Be prepared to scramble up rocky terrain at an alarming rate as this hike climbs 2,885 feet in 2.2 miles! Bring plenty of water, sunscreen, sunhat, and sunglasses as you are very exposed to the sun and heat on this hike. Although it’s challenging, the climb is actually very scenic. You’ll scramble up boulders along waterfalls, and at any given moment, you can turn around for amazing views of Jenny Lake. Once you make it to the lower lake, be prepared to hike up a few snowfields. If you aren't experienced in traversing snowfields or don't have the proper equipment, we recommend you don't go any further as a slip could be fatal. We witnessed a helicopter emergency rescue at the lake. A climber slid down a snowfield and collided with a boulder, and had to be airlifted out. This National Park can kill you in many ways, so always be prepared! Once we got to the lake, we celebrated with a small breakfast, caught our breath, and relaxed amongst the crags. We started early (7 am), and we were the first people to the lake. On the way down, we saw many hikers sweating it out on the climb in the heat of the day. You don't want to be doing this.

Surprise and Amphitheater Lake (8.9 Miles - Hard)
The next hikes don't require the Jenny Lake shuttle, and all start from the Lupine Meadows Trail Head. Once again, be prepared with Bear Spray. We saw two bears on this trail. This is a hectic trail so start early! We started before dawn, hiked in the dark for a bit, and caught the sunrise from the trail. Once again, we were the only ones at the lake. This hike climbs 2,942 Feet to two beautiful alpine lakes. Amphitheater Lake is the higher of the two lakes and only an additional climb from Surprise Lake, so don't cut yourself short here. You got this! Upon reaching Surprise lake, we were planning on hiking to Disappointment Peak, but there was just too much snow and ice, and we weren't prepared for the conditions to make it to the peak. So we scrambled and climbed around some of the rocks around Amphitheater Lake to get a view from above. There is a really nice view from the ridge to the north of the lake, and it is easy and safe to climb up. We headed down to an overflowing parking lot where we cooked lunch and relaxed.

Delta Lake (8.8 Miles - Hard)
The shortest way to start this trail is from the Lupine Meadows Trail Head. Once again, the key to having most of these hikes to yourself is to start very early! This is an overly busy National Park, and it gets hectic out there. This was easily one of our favorite hikes. You can do Delta hike as an out and back, ascending 2,330 feet. We actually combined this hike with the Amphitheater Lake Hike to make it an 11.5 Miles, 3670 Foot climb that included all three lakes (Surprise, Amphitheater, and Delta, Highly Recommended). Delta Lake was our favorite of all the Teton Alpine Lakes! Delta has an amazing teal hue, and the Grand Teton looms high above the lake, reflecting her glory across its glassy glacial waters. It’s that beautiful. I had to get poetic.

Taggart Lake Loop (4.1 Miles, Easy)
Taggart Lake is a nice hike for the less adventurous type that still wants to experience some Teton magic. This is a very scenic and mellow hike to a large lake with great views of the peaks. We even went for a swim in the lake it was very refreshing. We did this hike later in the afternoon, and it wasn’t hectic. However, we will note that the sun is better earlier in the day, and it was hard to take good photos of the lake at sunset. The mountains are too big, and they block the sun out.
We hope this is helpful to you! We have more Grand Teton National Park Tips here!