
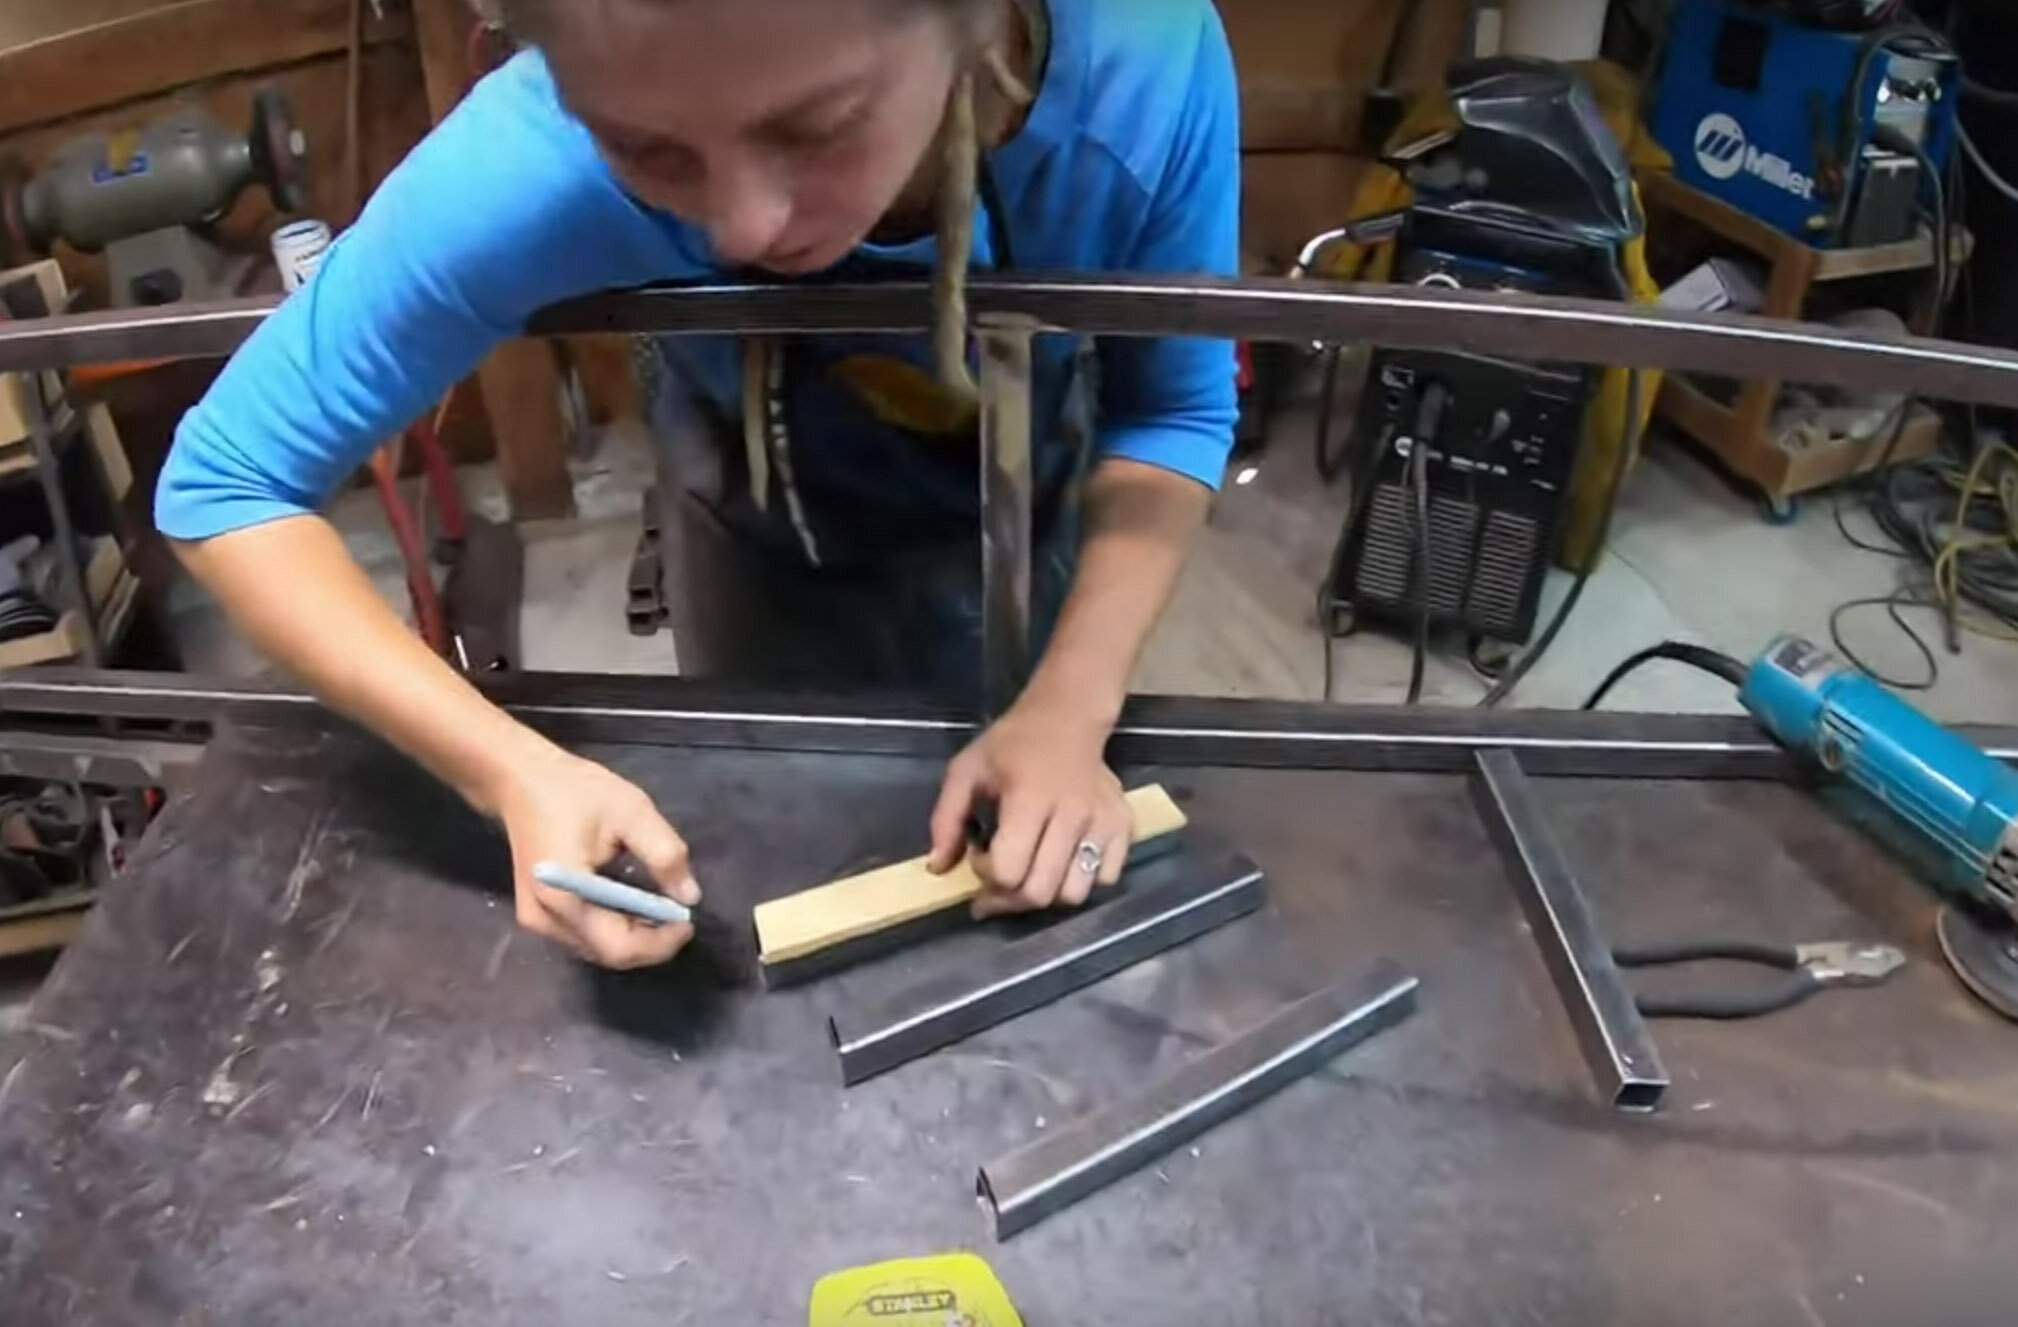
Once you got all the lower cabinets framed out, it’s time to start on the upper cabinets. The best way to start this project is by taking your measurements and drawing out what you your cabinets to look like. We used a steel framing and wanted it to be very minimal, light, and strong.
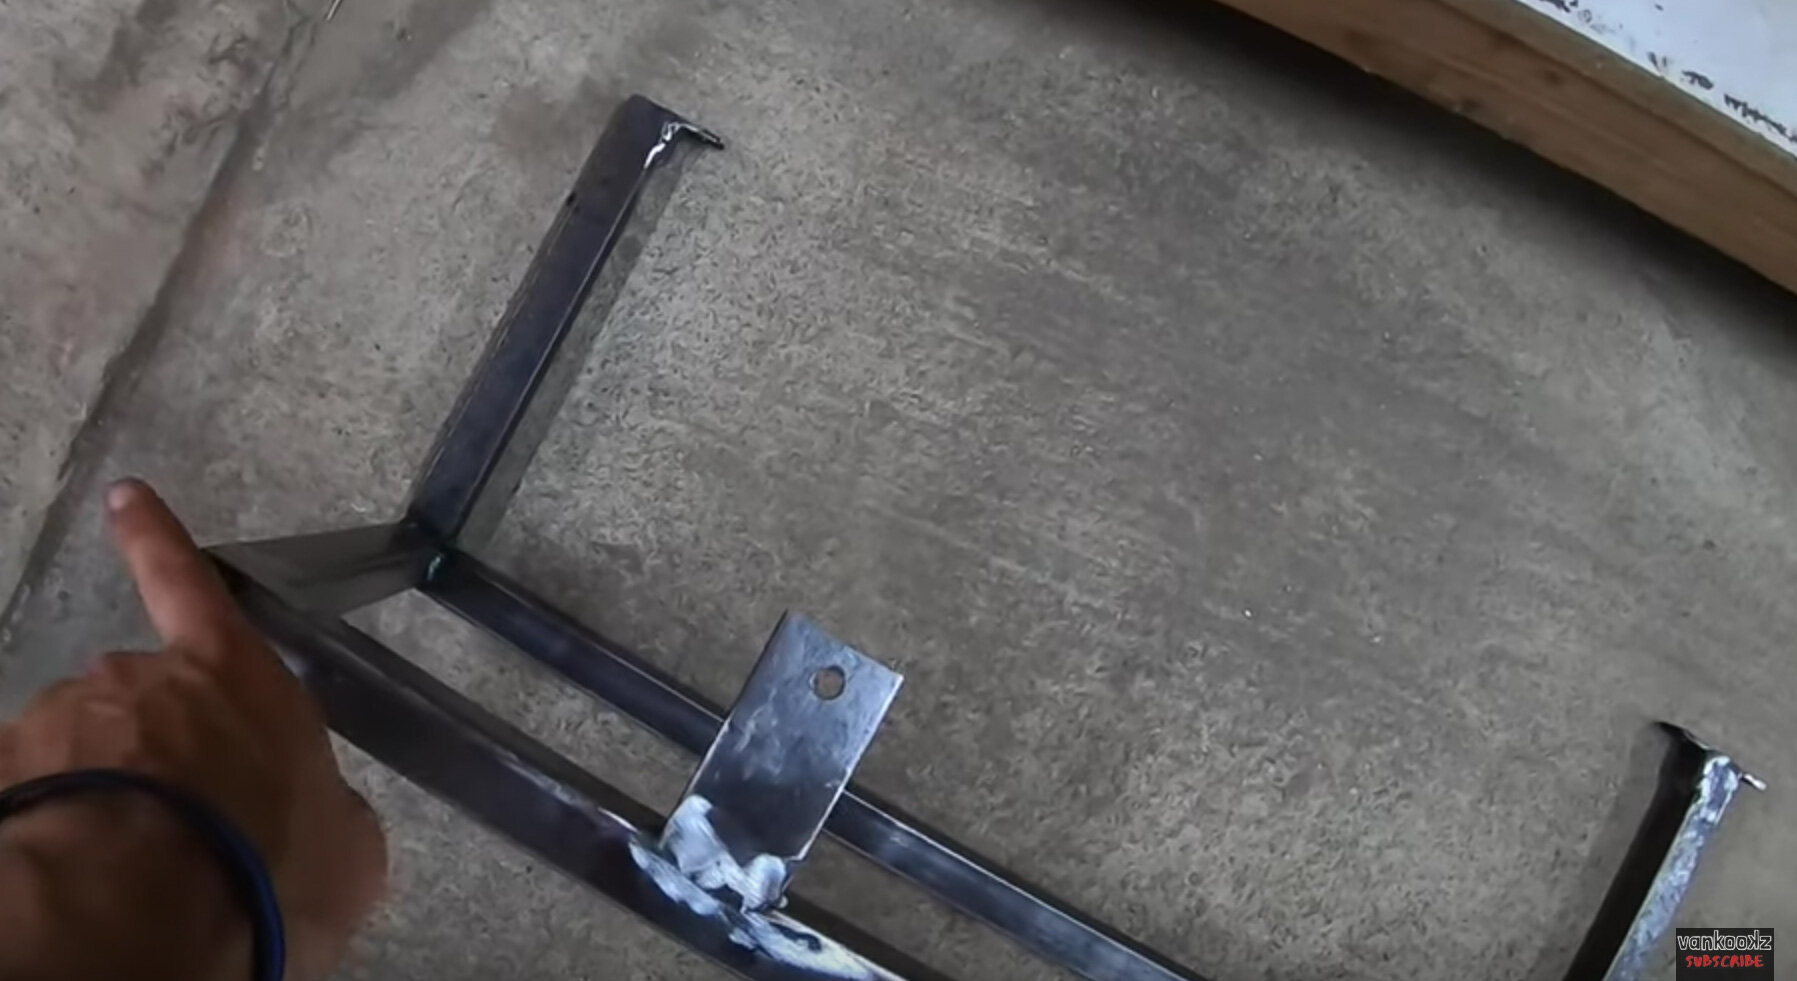

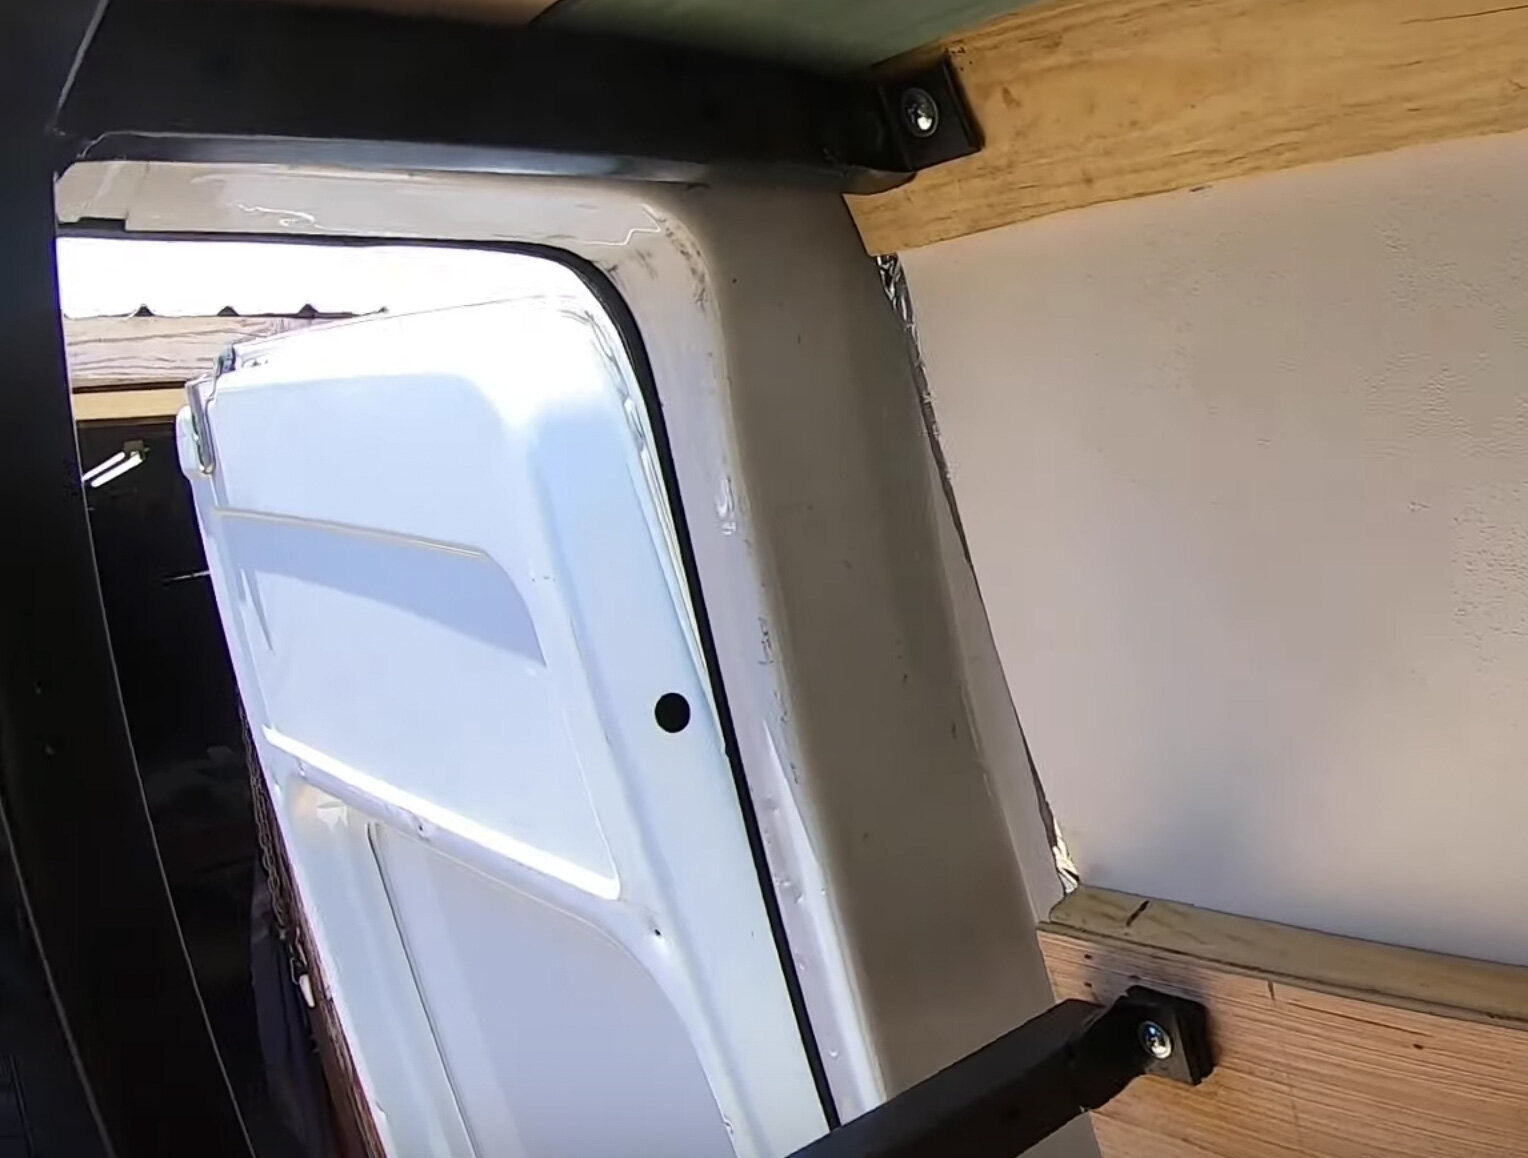
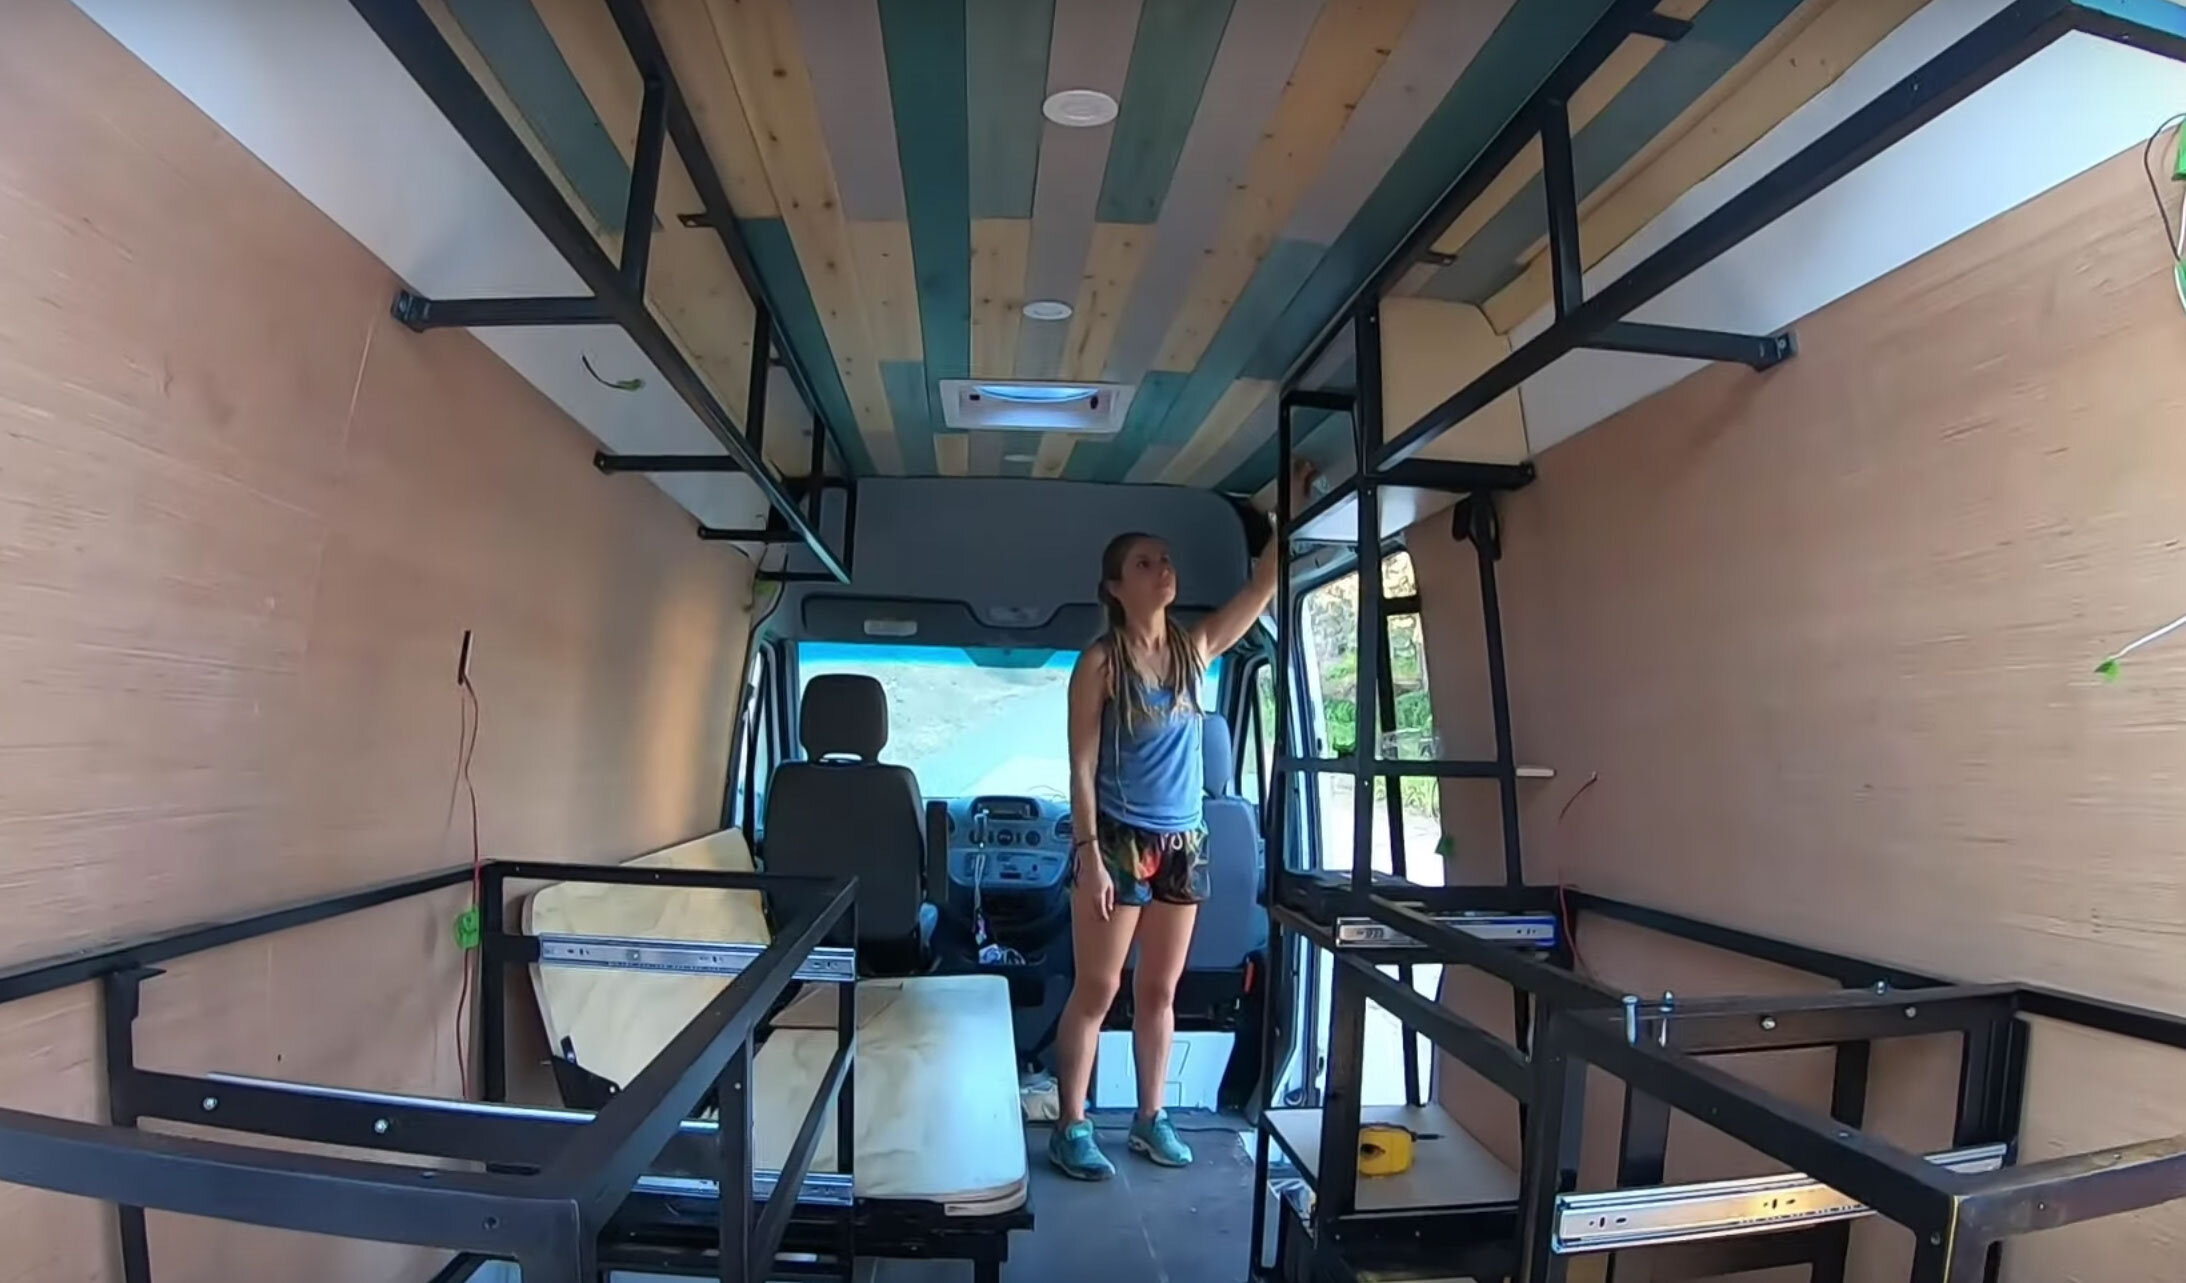
When starting the design and build process, you need to take into account how your cabinets will attach to your wall. If you’ve been following our protocol then, you will have already framed the van according to your how your cabinets will attach to the wall. We really want to stress the importance of having strong anchor points and positive connections (no gap between wall and frame) at each point.
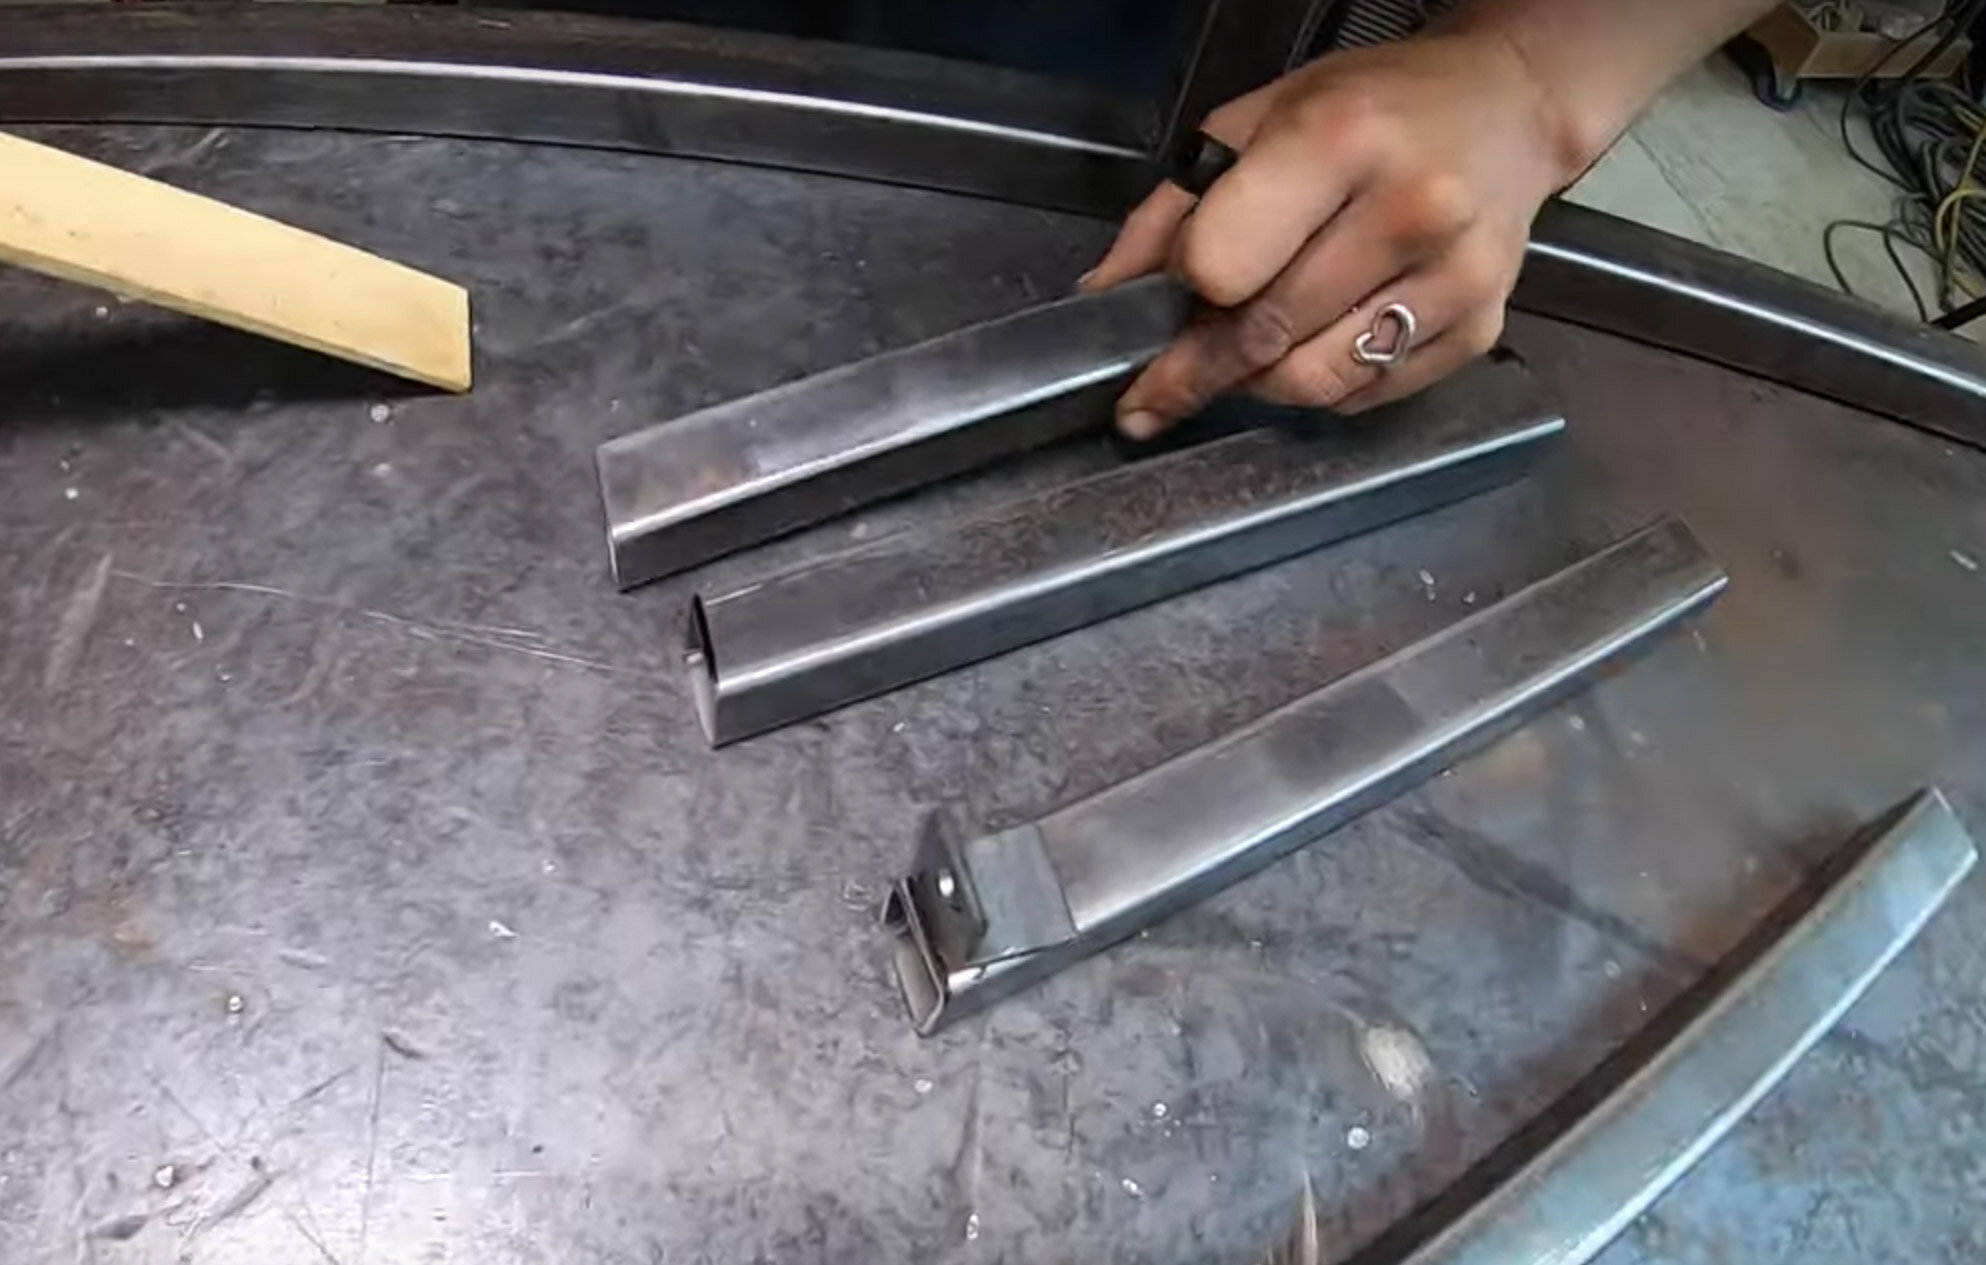
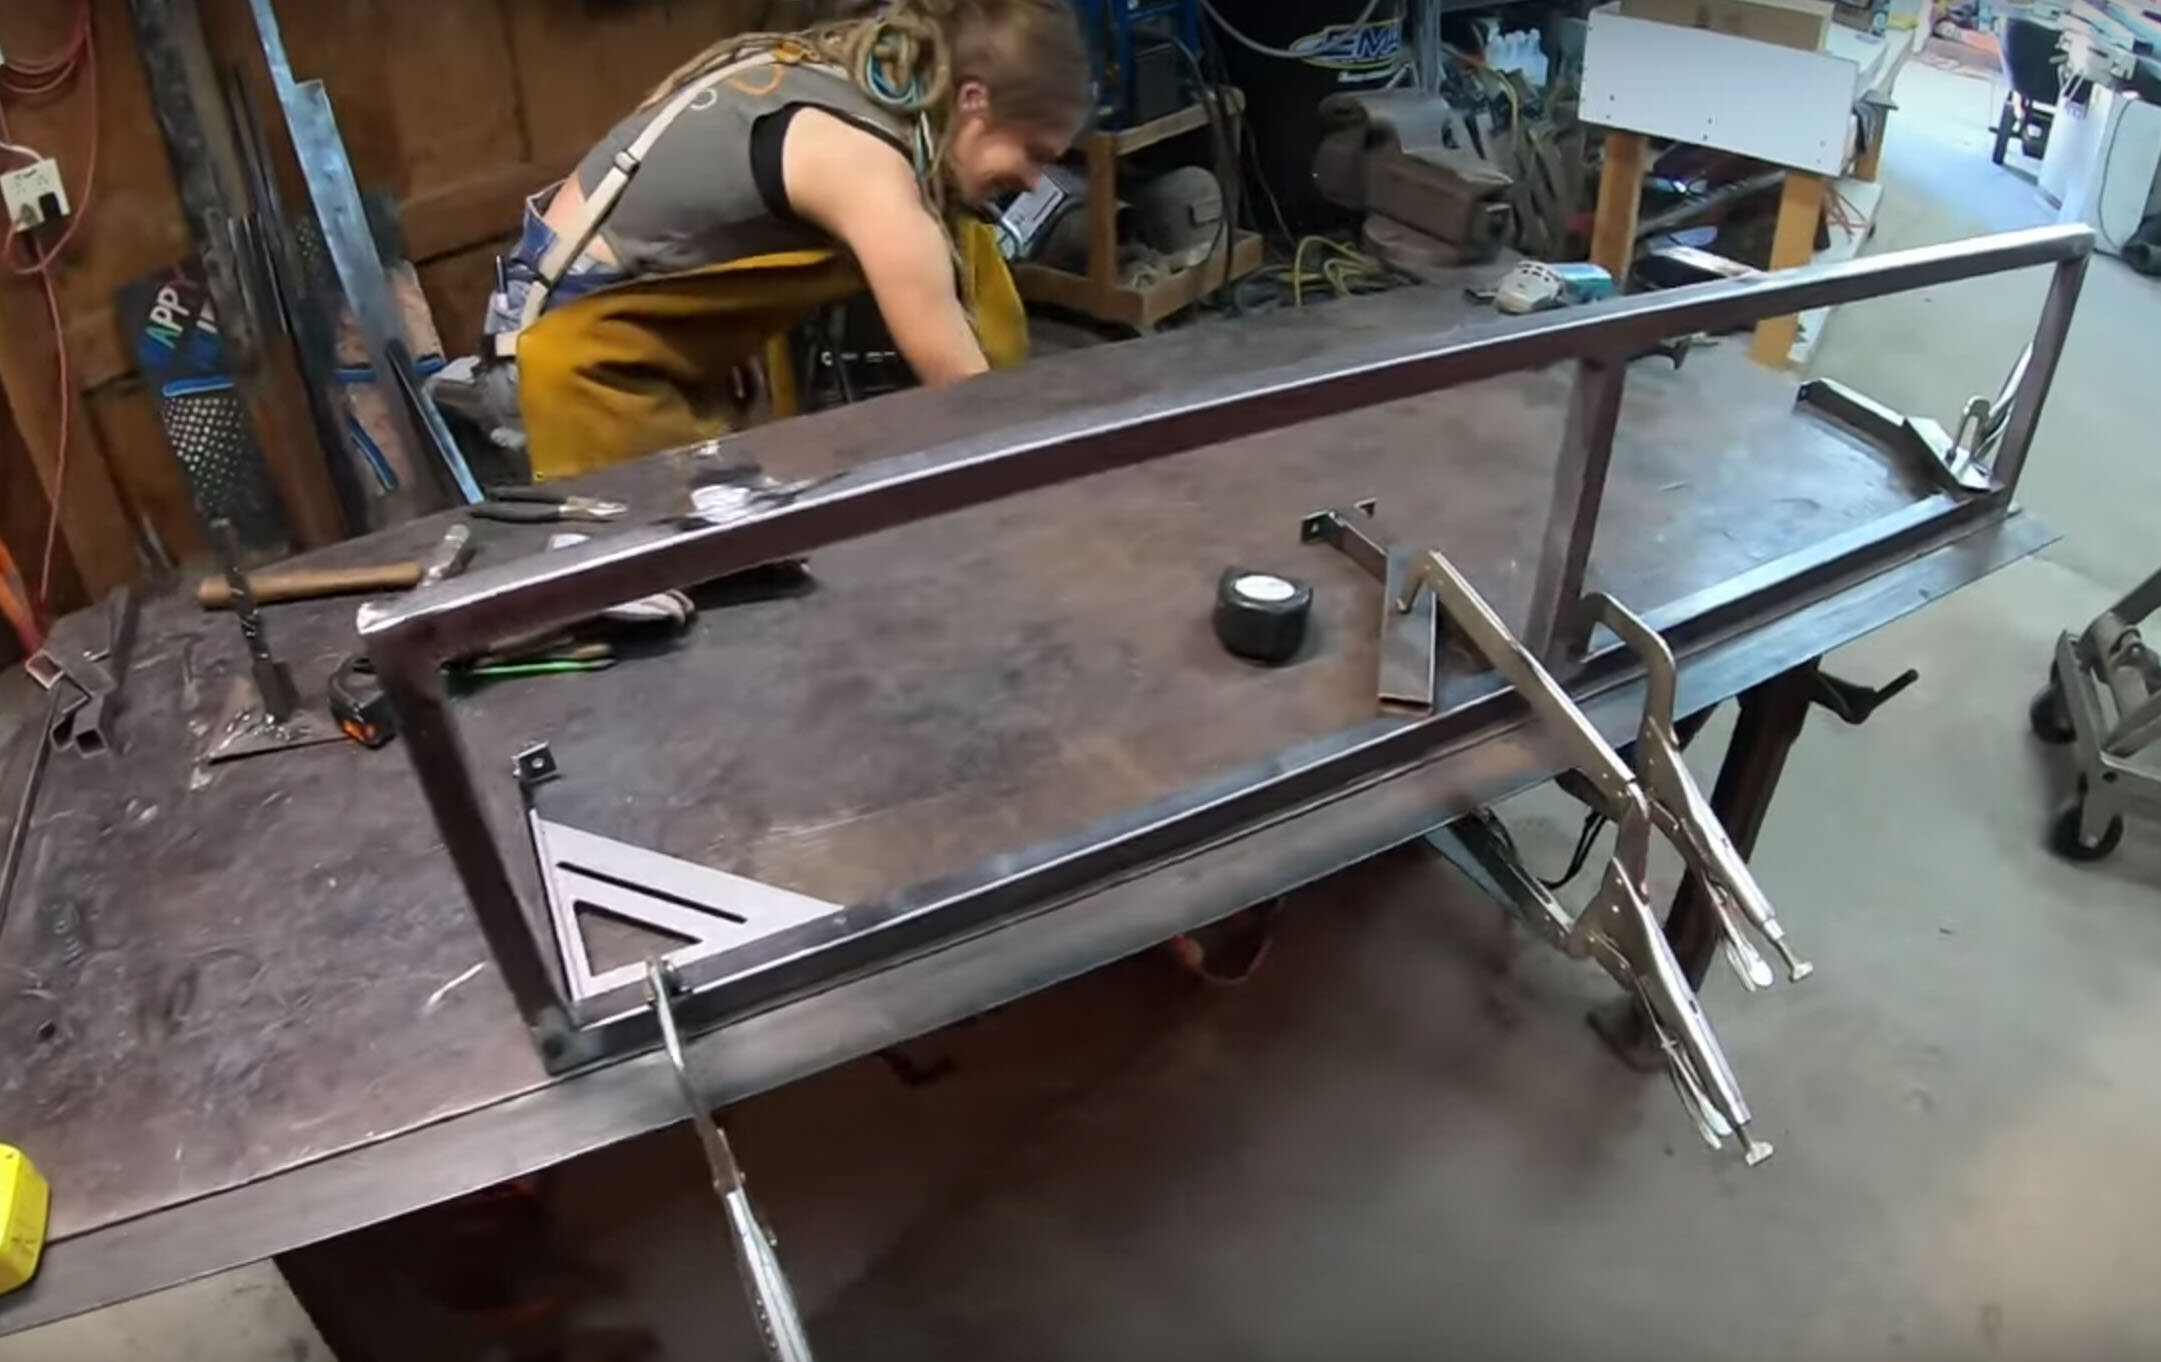
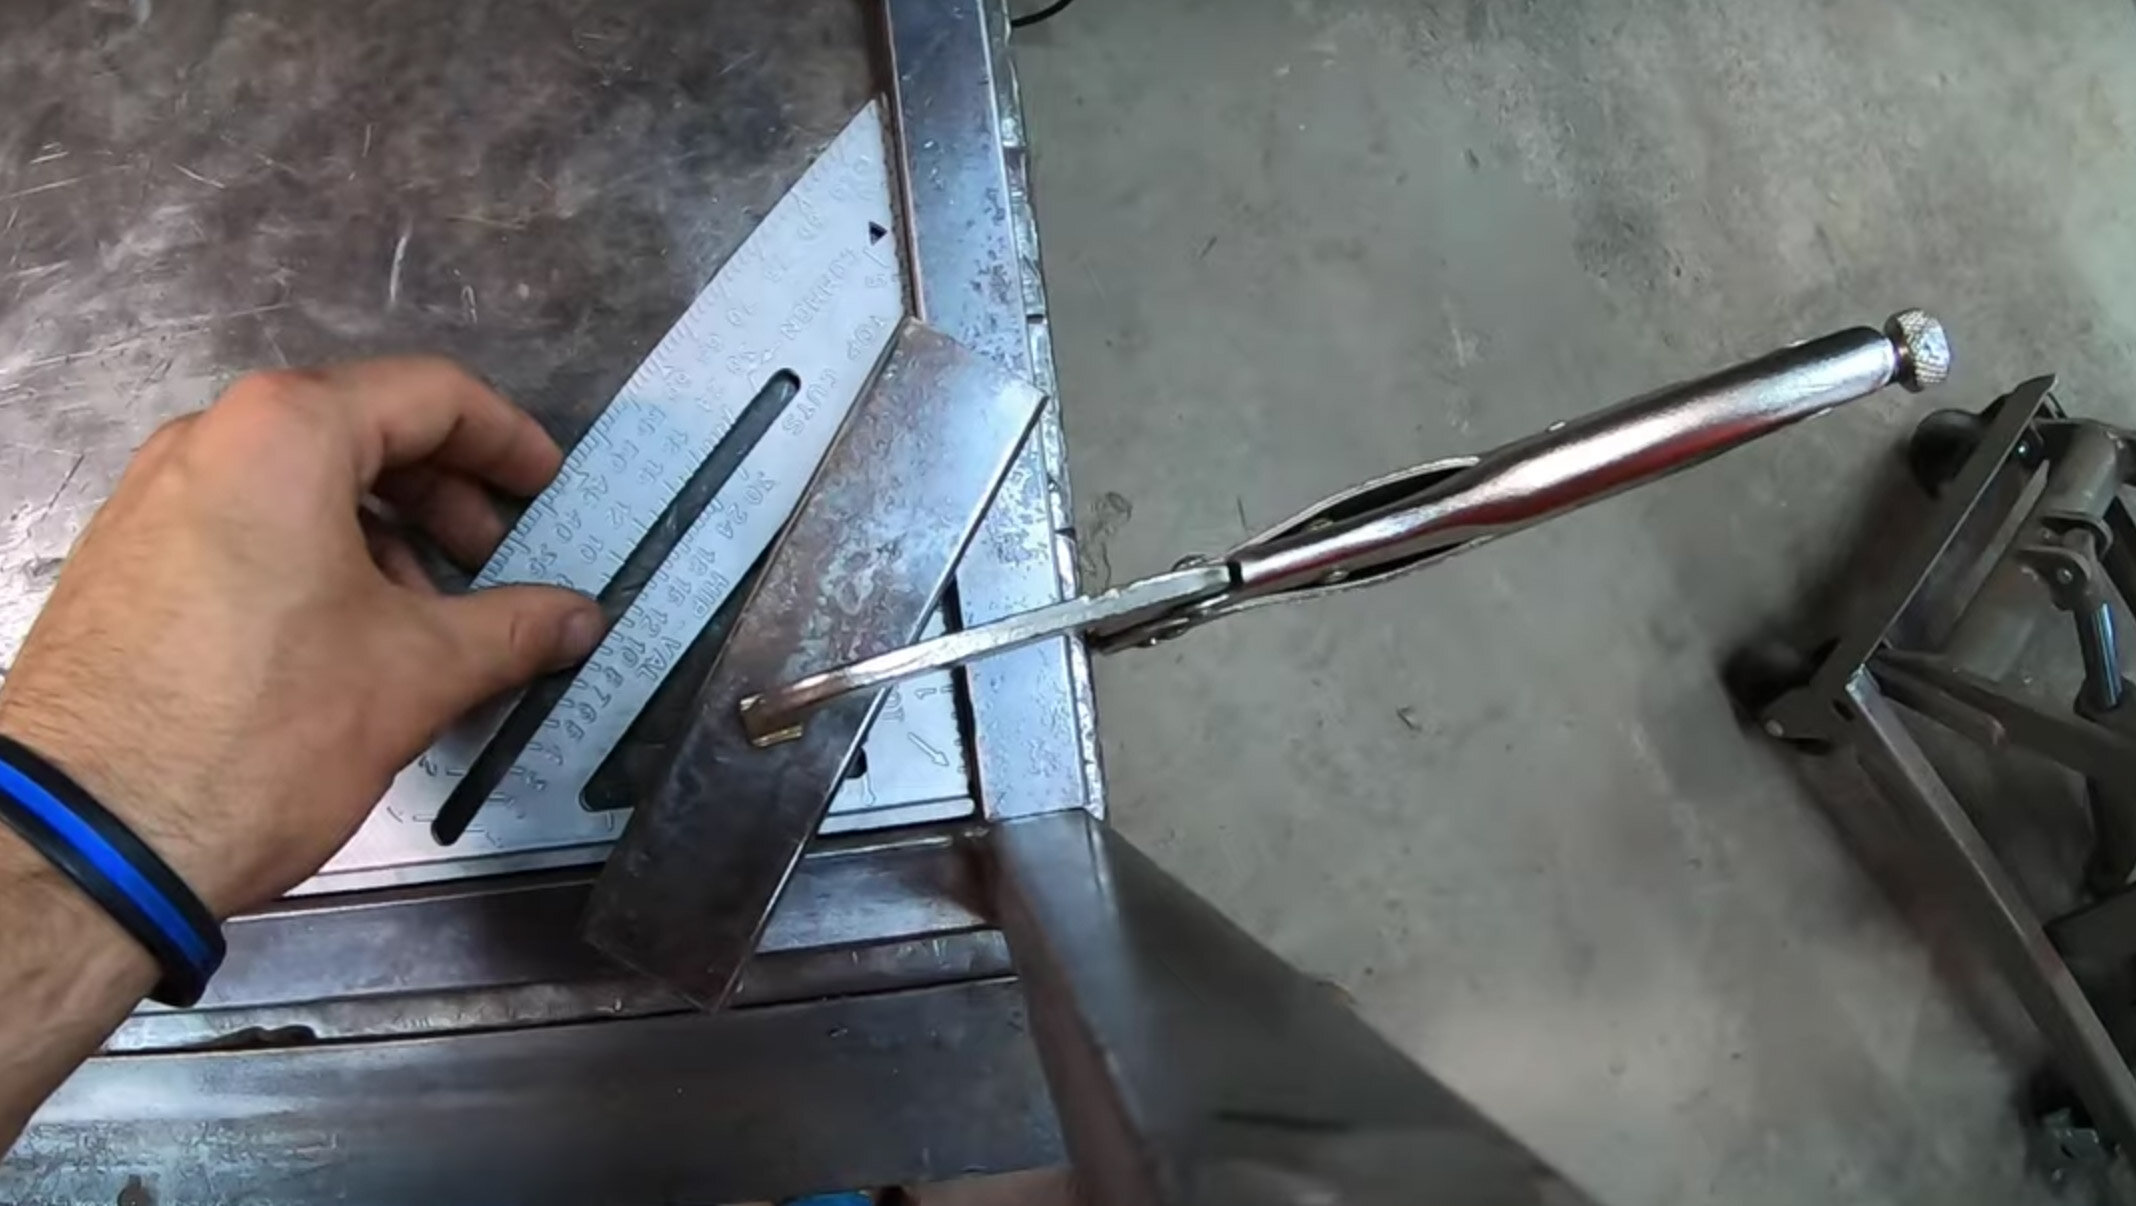
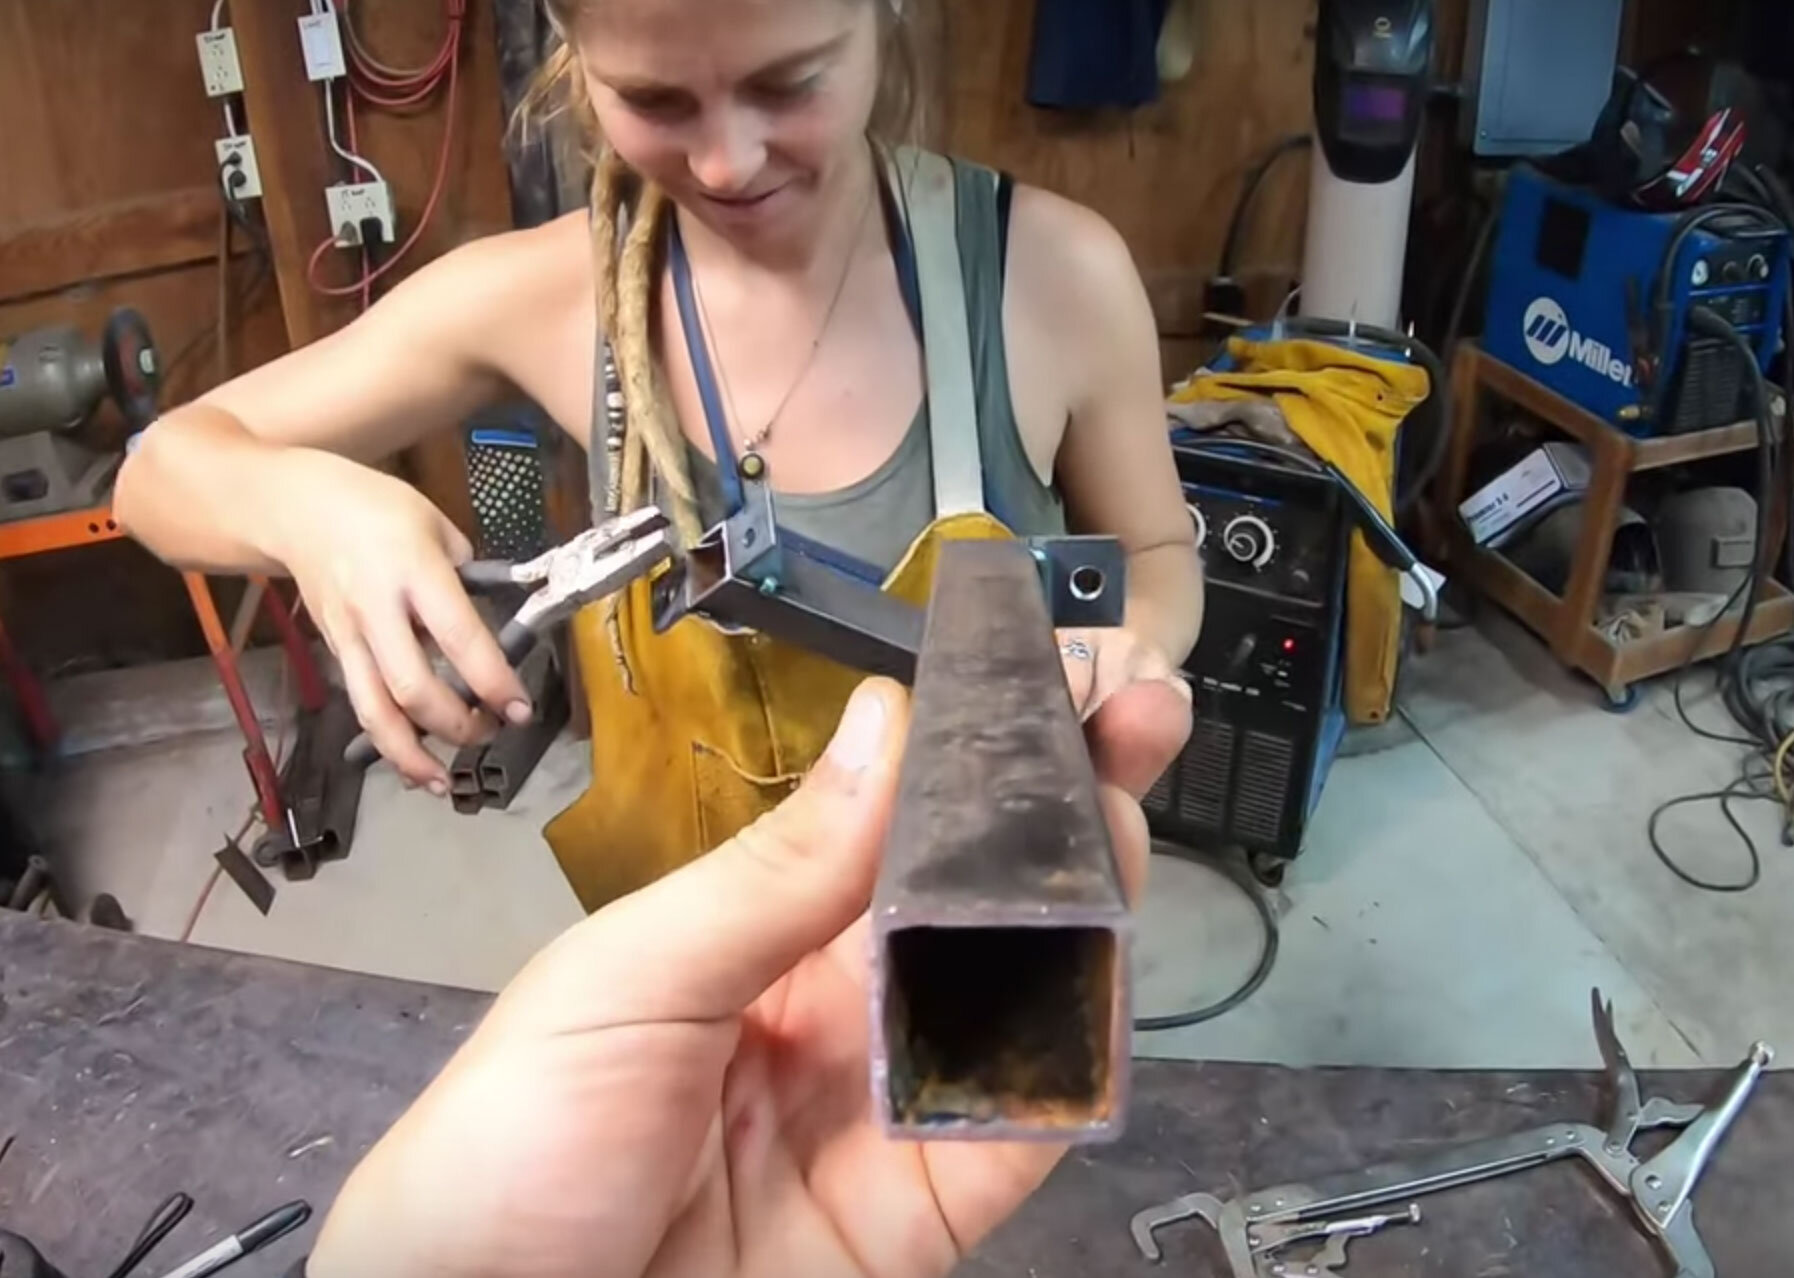
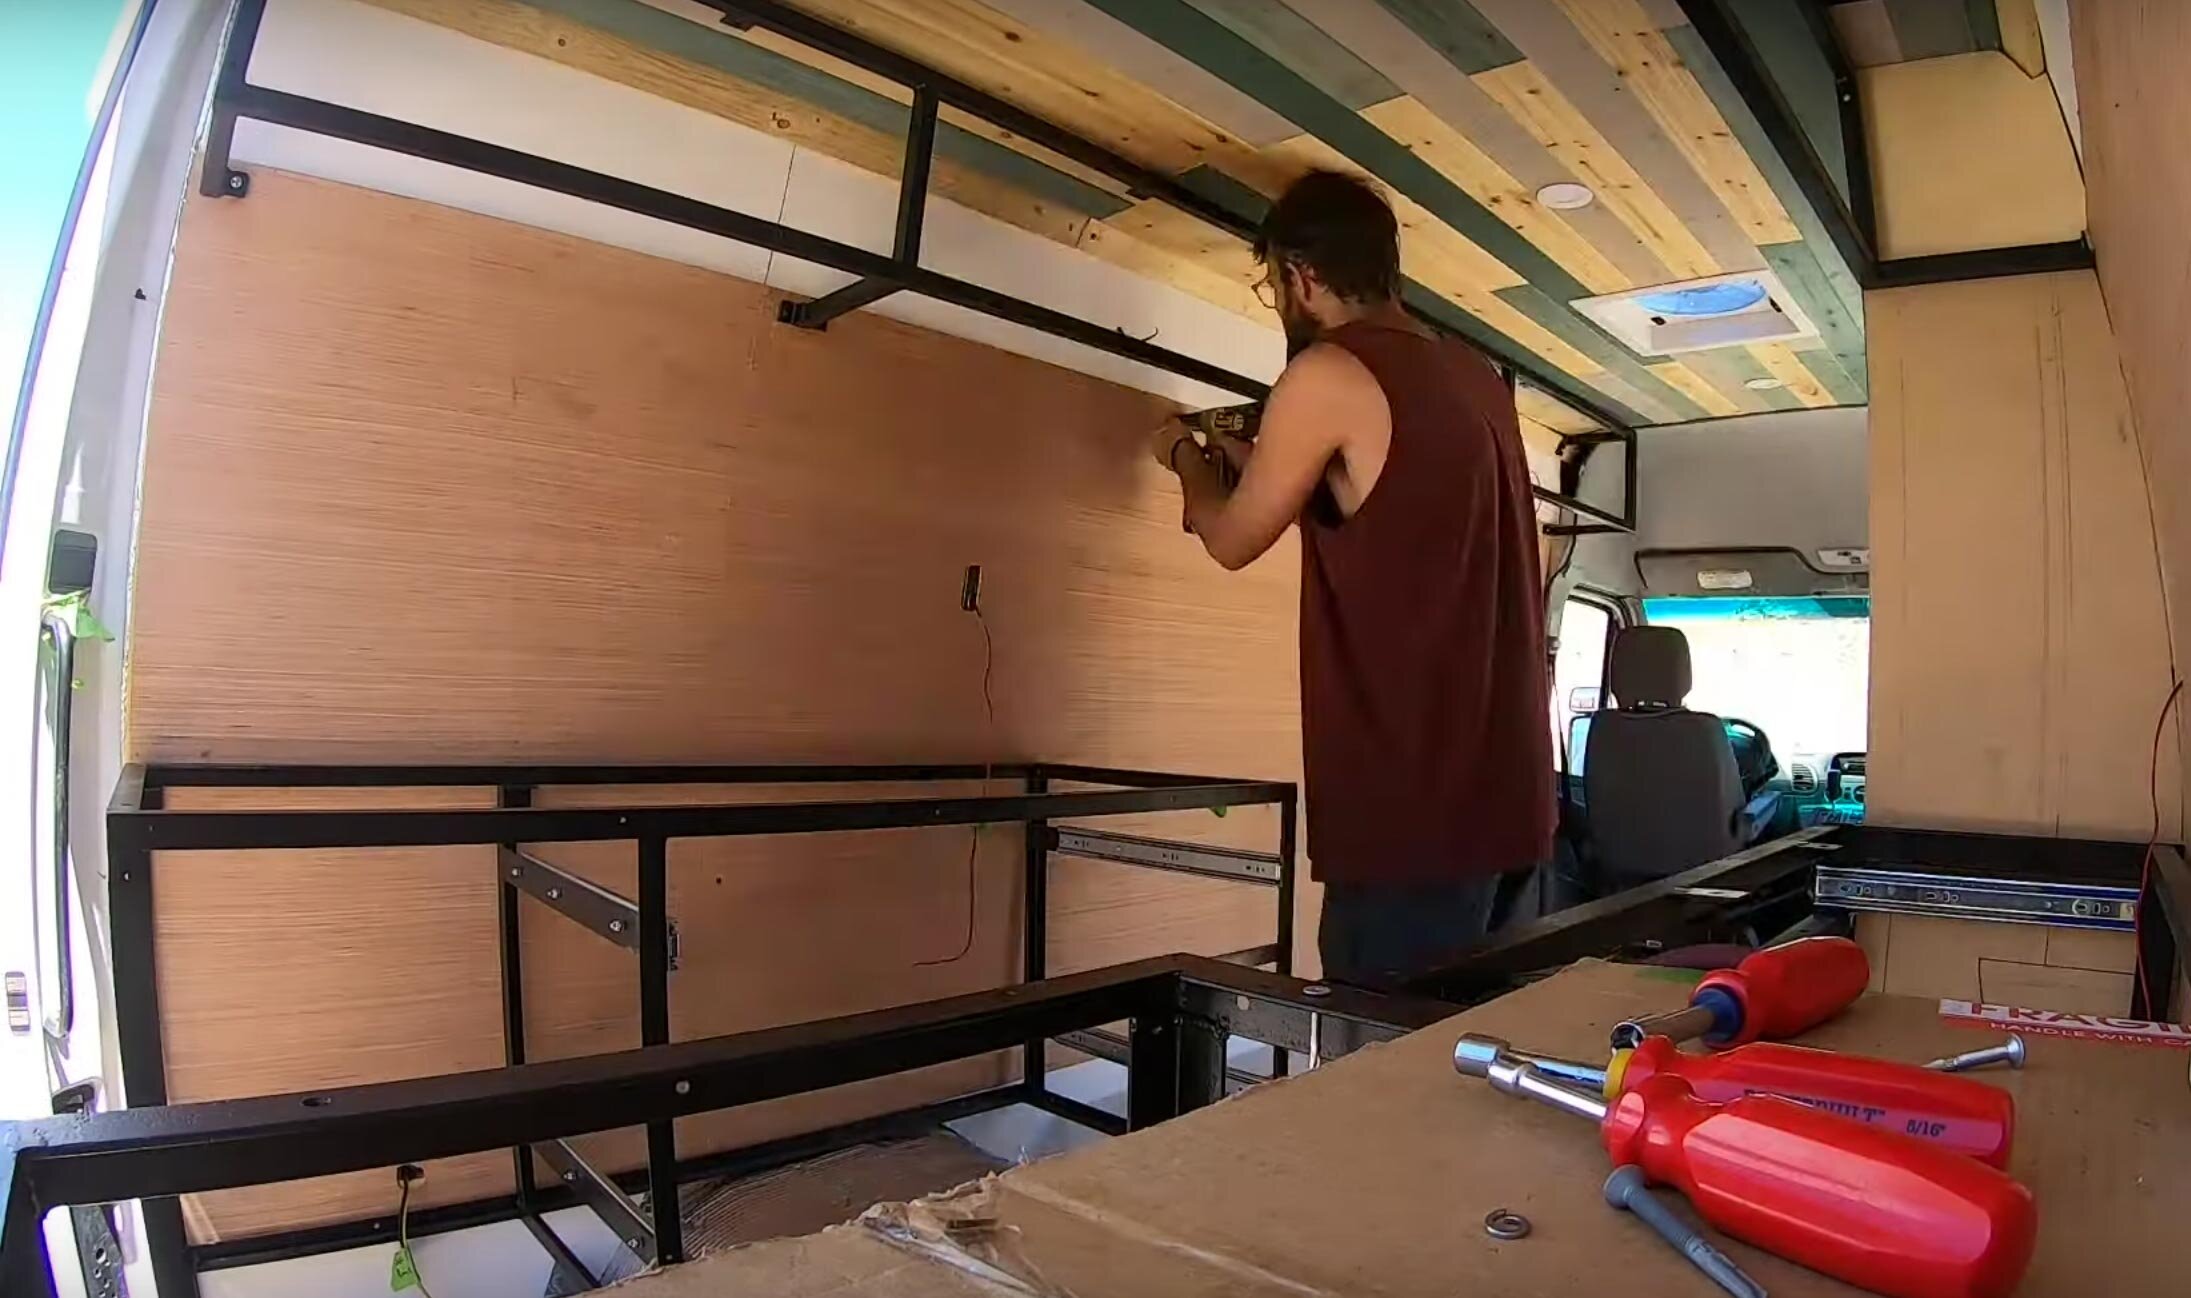
We welded up a frame out of 1/2” square steel, with a very straight forward design. We first welded the cabinet openings, where the door will be. We kept the size of each door consistent and figured this out by dividing our total measurement by the number of doors we wanted. Once we had a nice face frame, we then welded on our anchor points. We also accounted for where our upper cabinet meets the ceiling framing and added additional anchor points along the top of the framing. We kept a very basic design, with two anchor points, one on top and where the furring strips along the wall were and it worked great.
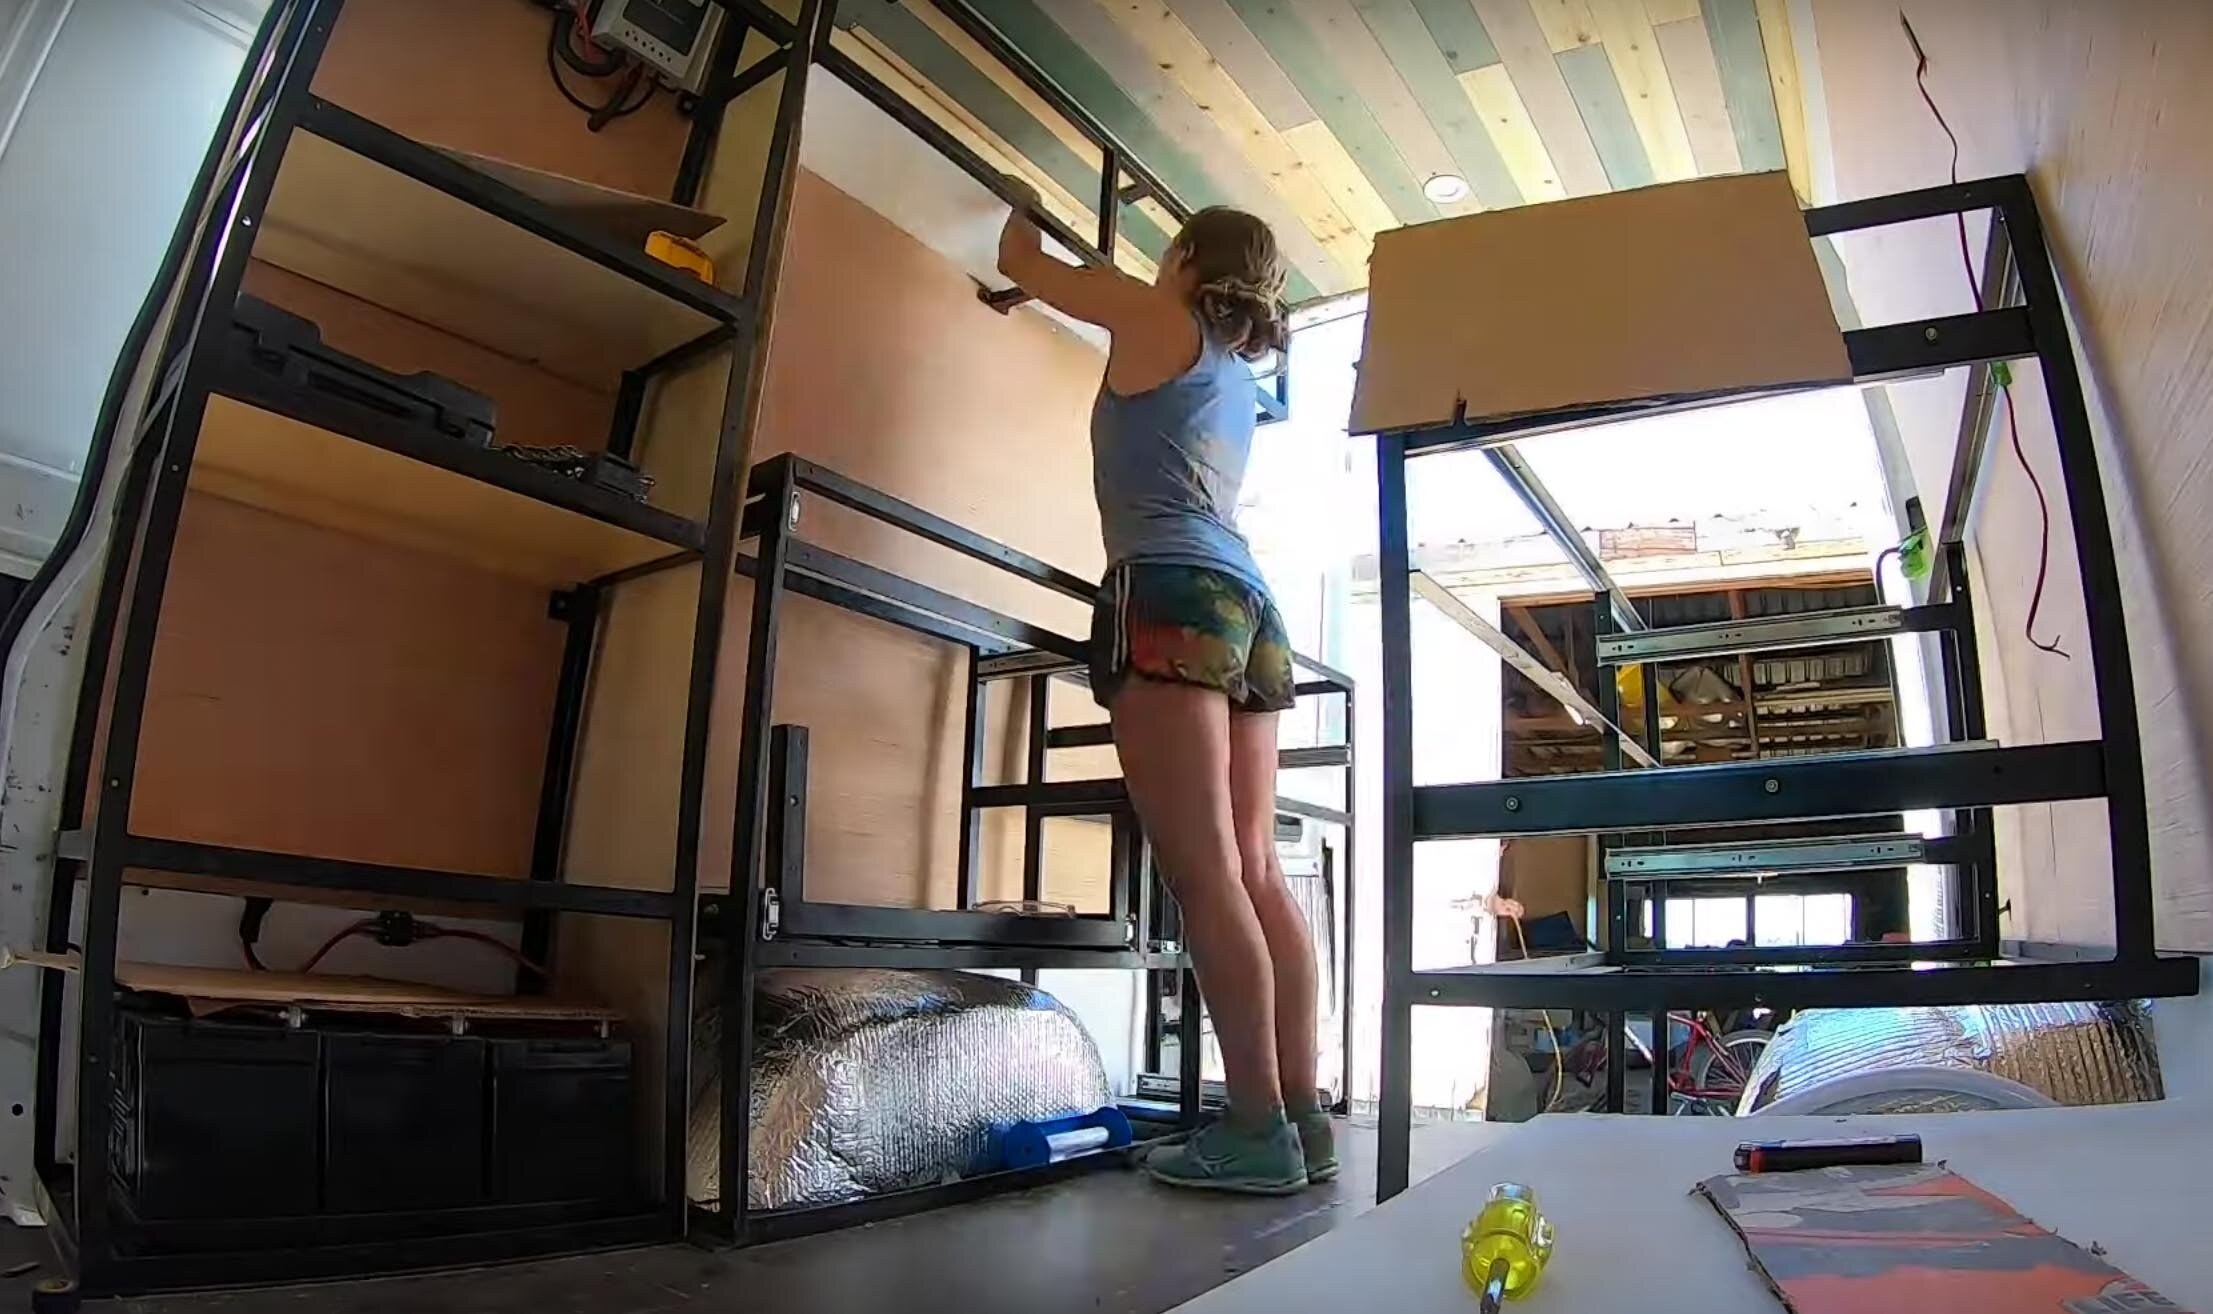
Once we attached the frames to the walls, with a positive connection at every point, we test the strength of the anchors with some weight, Dani could literally hang off the upper cabinet they were so secure.
From here, we will move onto scribing the sides for all the cabinets and then on to face frames.