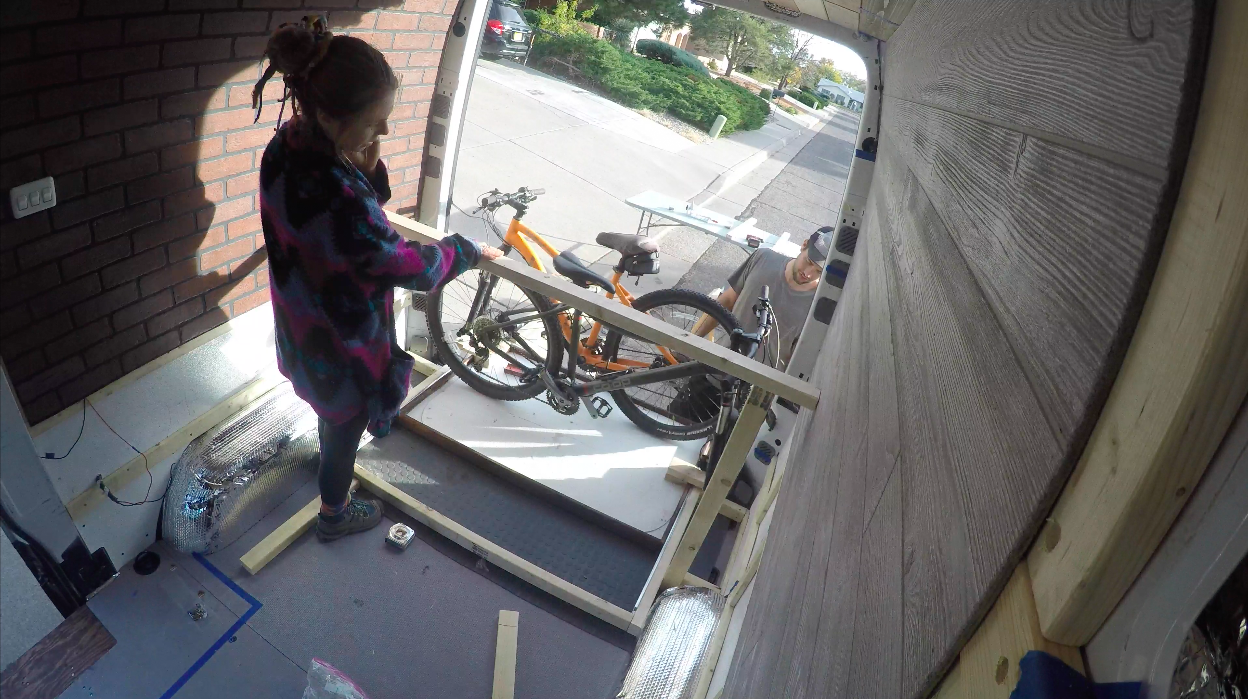
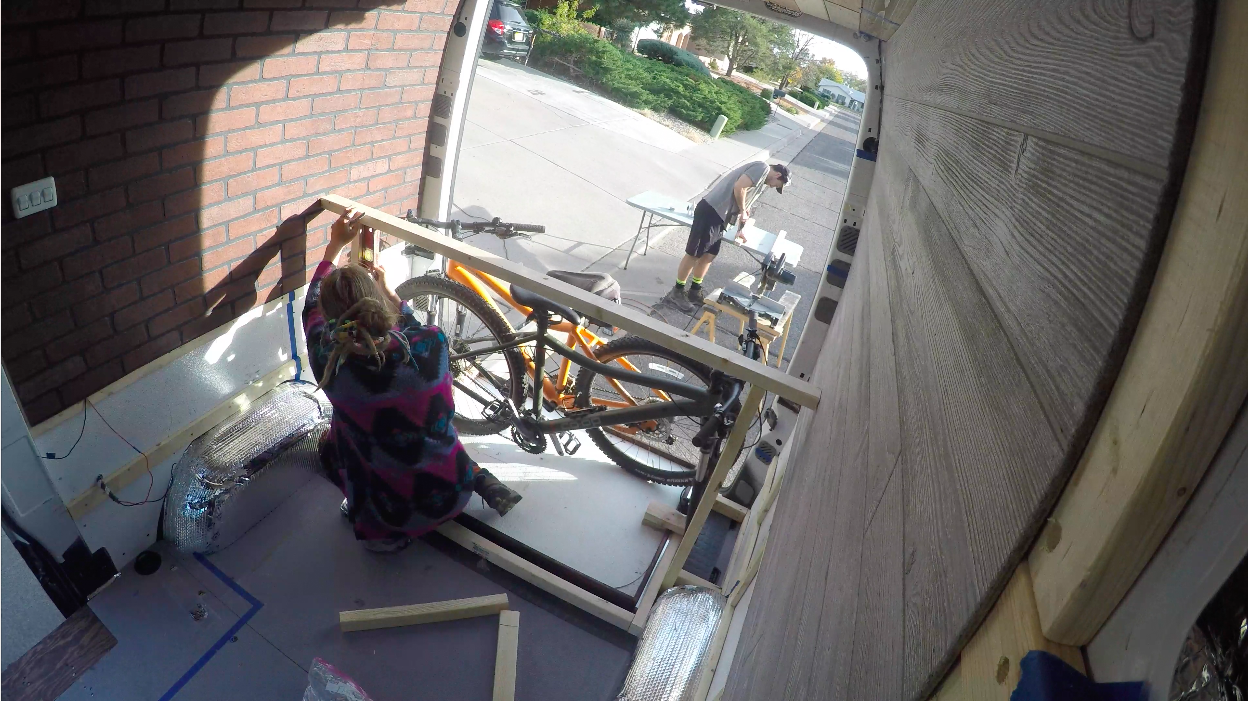
Since we just recently upgraded our mountain bikes, we weren’t leaving them behind and we really didn’t want them to be outside of the van 24/7, susceptible to rain, theft, and more back up hazard than a van with no windows already is. So, we kind of build the van around the bikes being inside, but taking up as little room as possible. Our layout changed many times before we started building (It changed as we were building sometimes).
We finally were able to start building, with excitement, when we finally tried the bikes going in sideways, where the fork is on the passenger side and the back tire is on the driver side. They fit and they took up so little space too, compared to putting them in length wise! We had to have an area to sit, work, edit, nap and eat. Those are some functional requirements we had for the non-garage area. The bike storage usually competed space-wise with the living/hangout area.
But, with this new configuration that we figured out, with the bikes sideways, it allowed both to happen—bike storage and room for the seating area we needed.
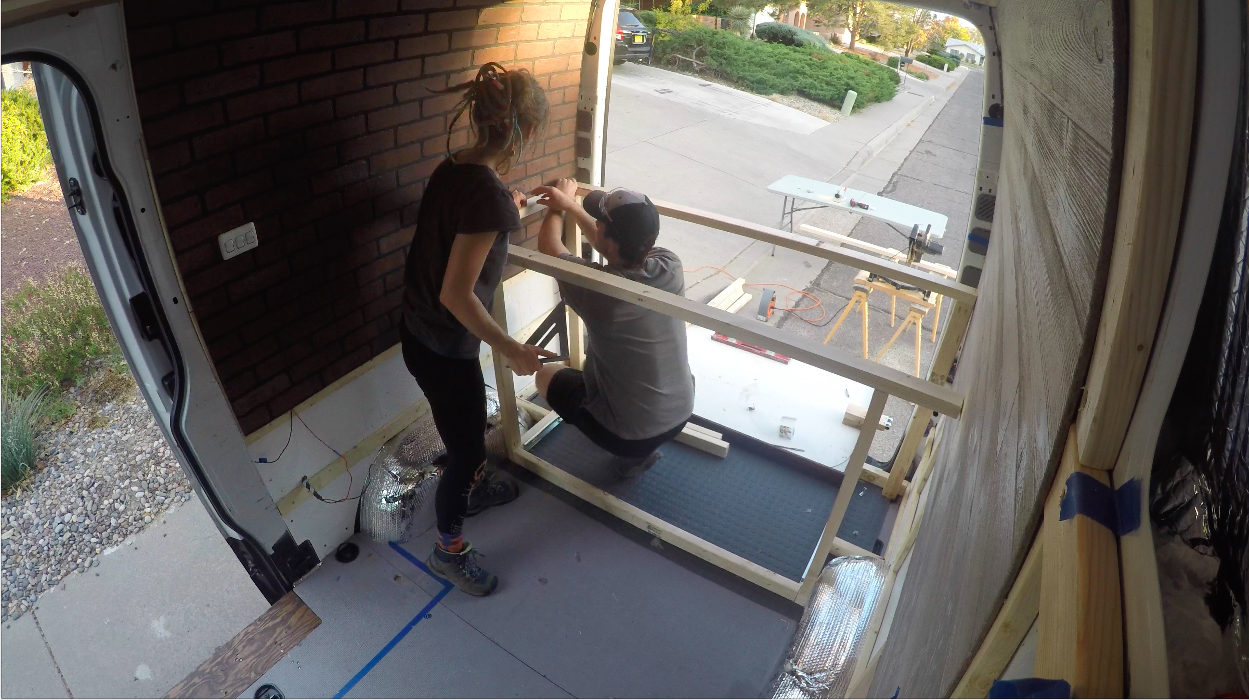
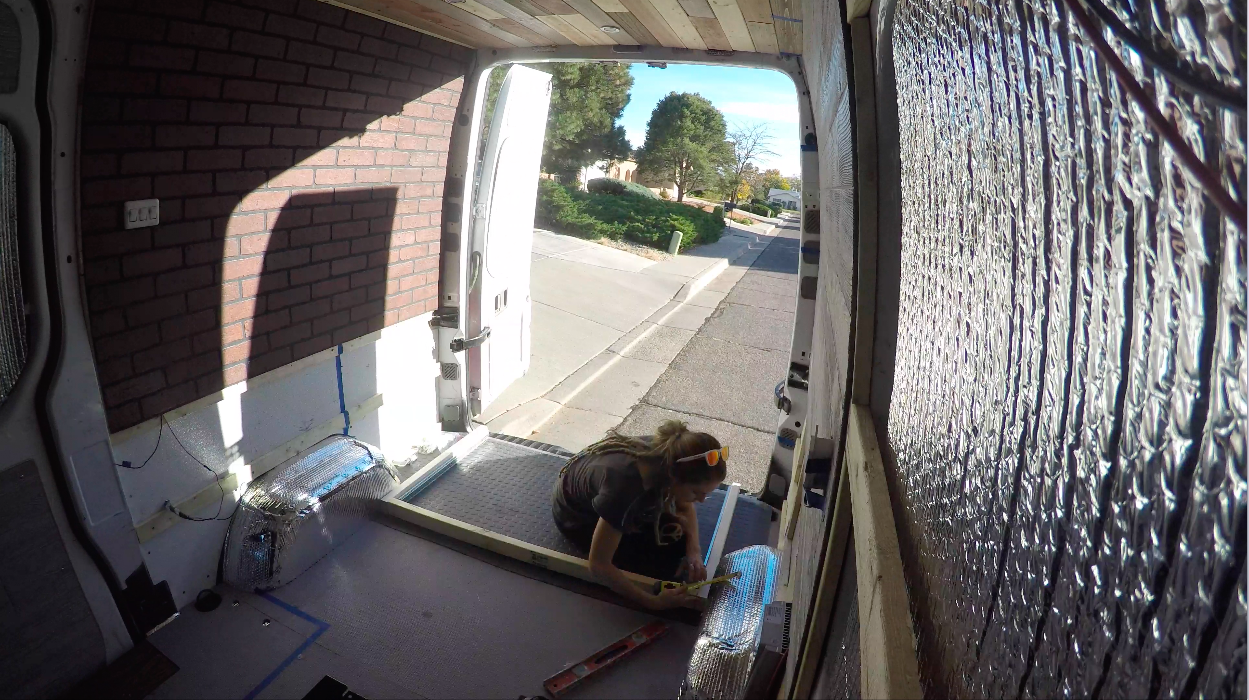
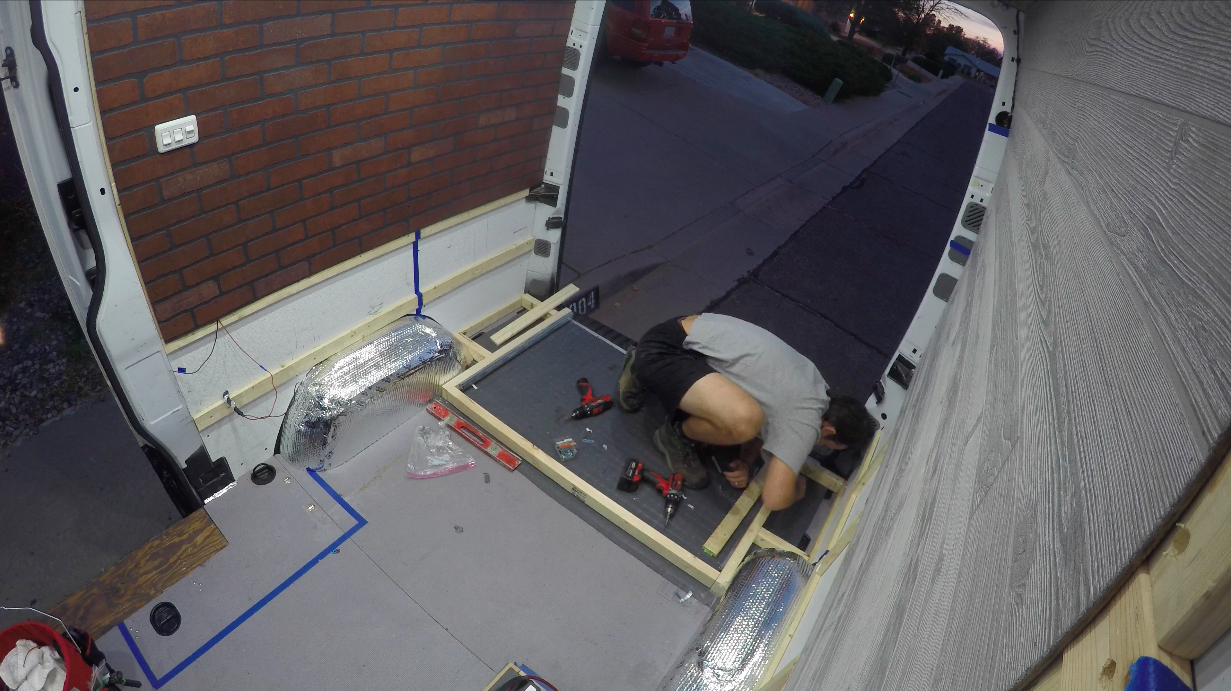
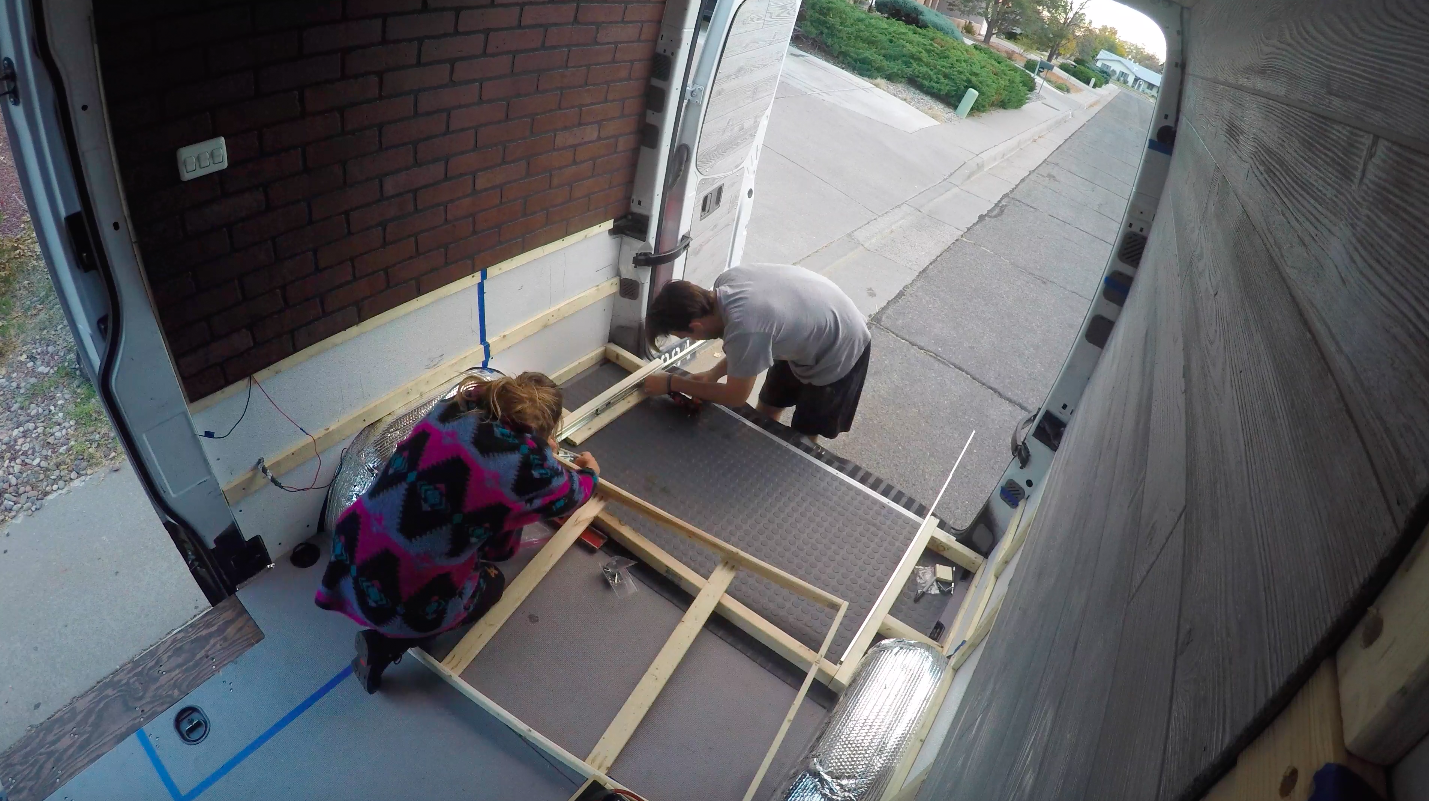
So, we got to working on the bike tray for the bikes. We wanted them to pull out for easy access and stow-away. We used some heavy duty 30” drawer slides that we found on Amazon. We reused the grey rubber floor mat that came with the van in the garage. We cut it out, rolled it out, framed right over it. We started our framing for the garage area where the drawer would slide in and out and built around that. Once we got the frame for the drawer all laid out, we were able to mount the drawer sliders, on each side, to that newly installed frame and get a true measurement of how big the drawer needed to be.
Then, we started building the drawer. We framed it out from our measurements of the drawer frame. We used some thick ply OSB for the base of the bike tray. (We used OSB because we got at Lowe’s for 50% off. It had one crushed corner. 50% off meant it was $8 for a 4x8 board! So we found many ways to make it useful.)

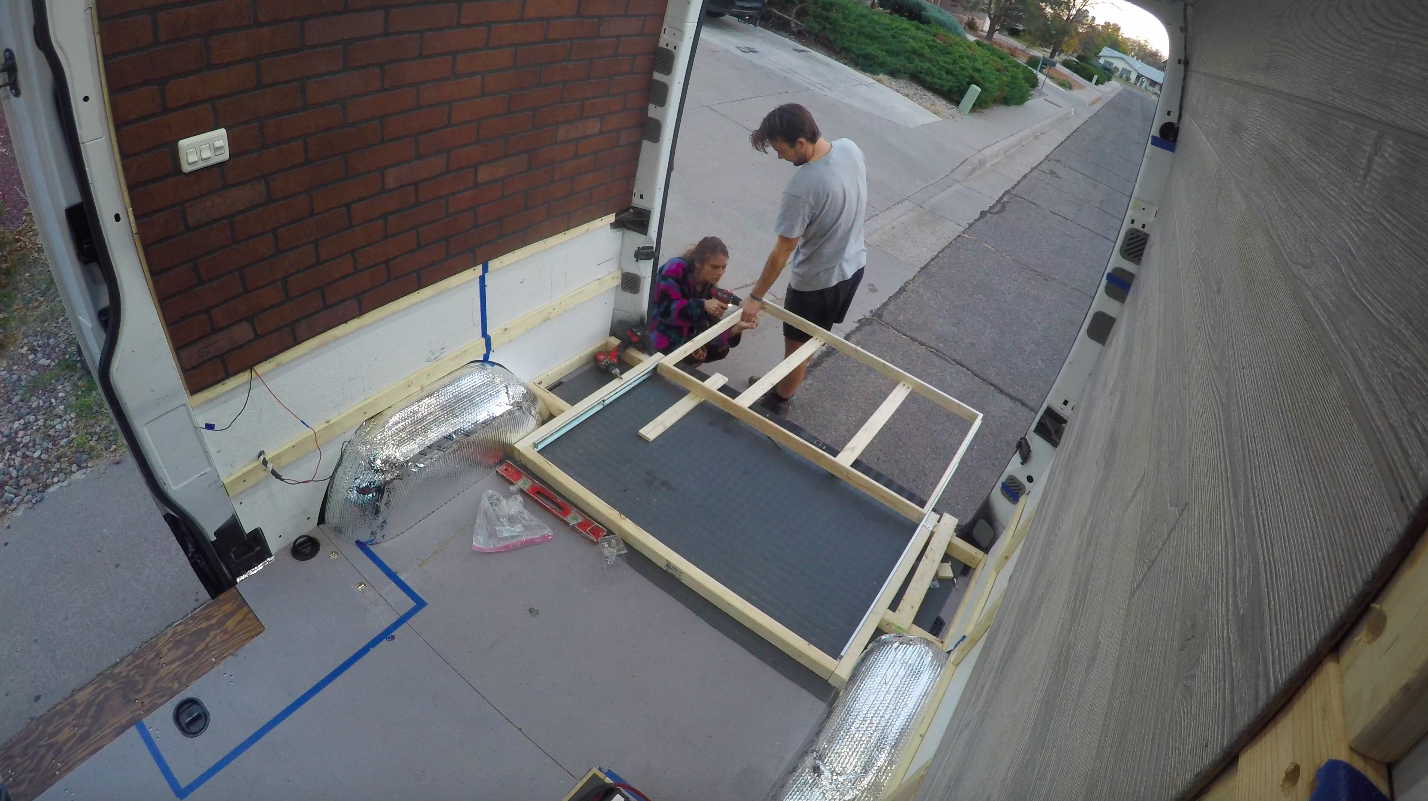
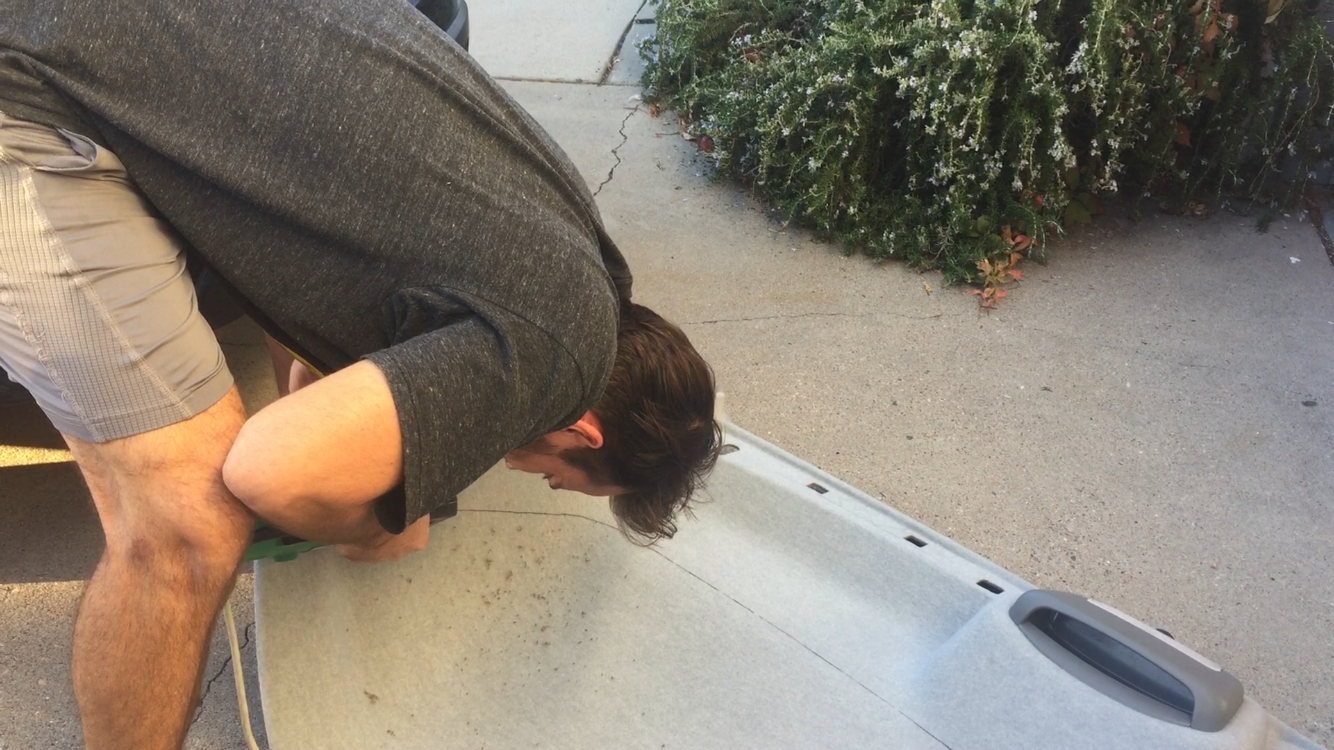
Once we had the drawer built and stained, we reused some more of that white waterproof textured fiberglass panelling (the previous owner used this instead of the stock cardboard paneling) as our base. That way we could have a little bit of a waterproof base in there for our bikes. We sealed it around the edges with some leak proof sealant my dad had in the garage. He uses it for quick pool piping patches.
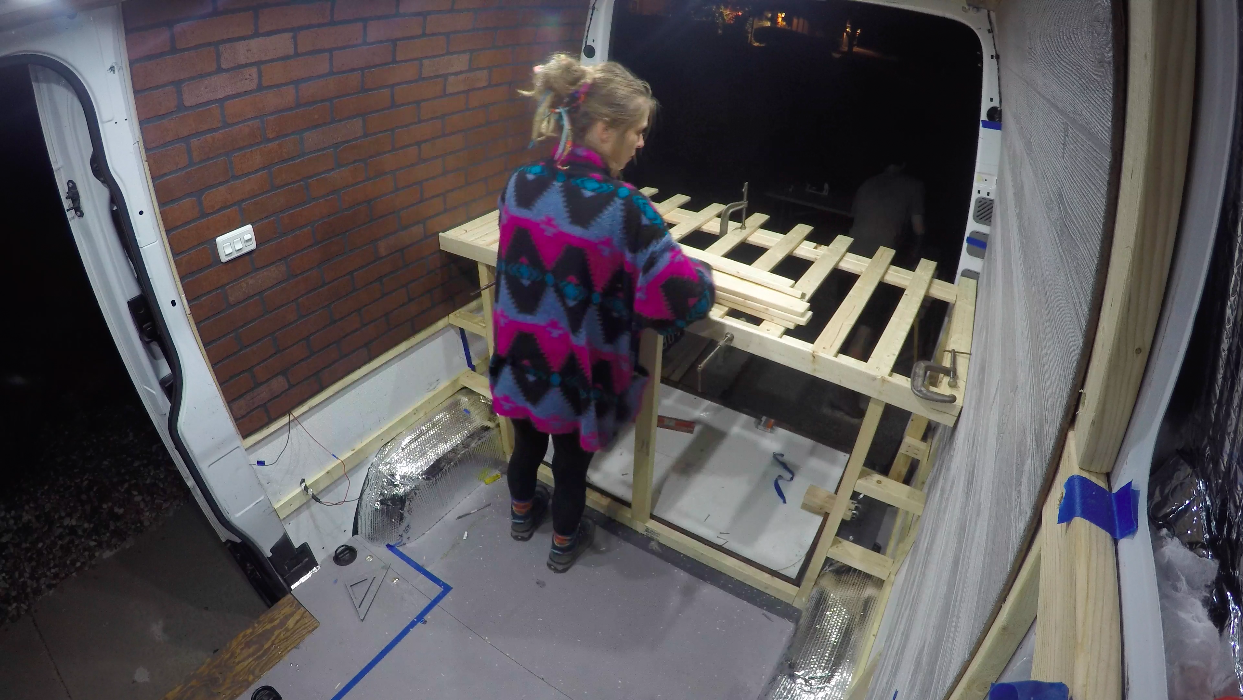
Once the bike tray was in and working, we needed to find a way to mount our bikes to the tray to make sure it would still function, as planned. We couldn’t move forward with the rest of the build, until we made sure it slid in and out smoothly with the bikes mounted. Once that happened, we could get the measurements of the bikes in the tray to know the height of the bedframe being build around it.


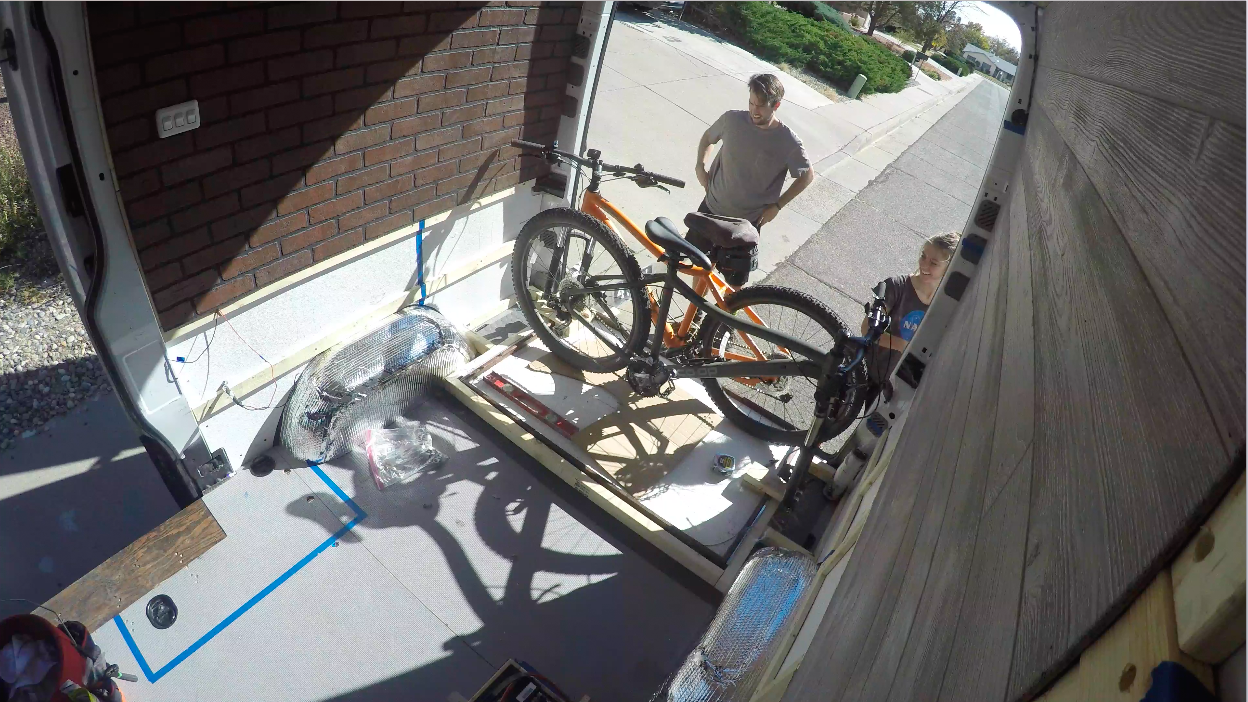
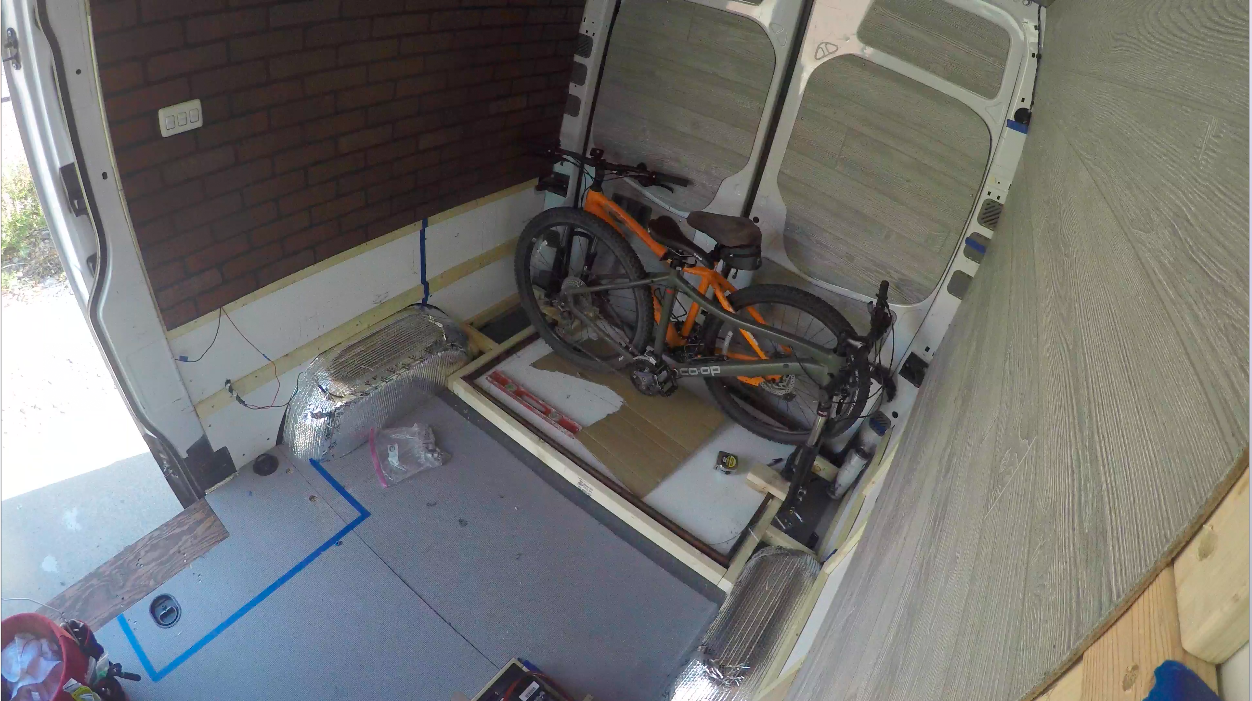
The tray we built was a little short. The fork hung over the drawer bit so we built little platforms to mount our bike mounts on.
We have one thru-axel bike fork and one regular. For the thru-axel bike we ended up buying this one. For the other bike, we got a 6” 5/8 carriage bolt, some eye hooks (2 different sizes), washers, lock washers handmade our own mount. Kevin called it the “bride of Frankenstein” (because we had made his Thru-Axel mount first, out of plumbing nipple and some other mounting pieces for pluming, and he thought that was Frankenstein-esque.) We ended up just buying the real deal for Kevins bike (even tho our worked fine we just thought it would eliminate the side to side swaying while driving—it doesn’t do any better).

