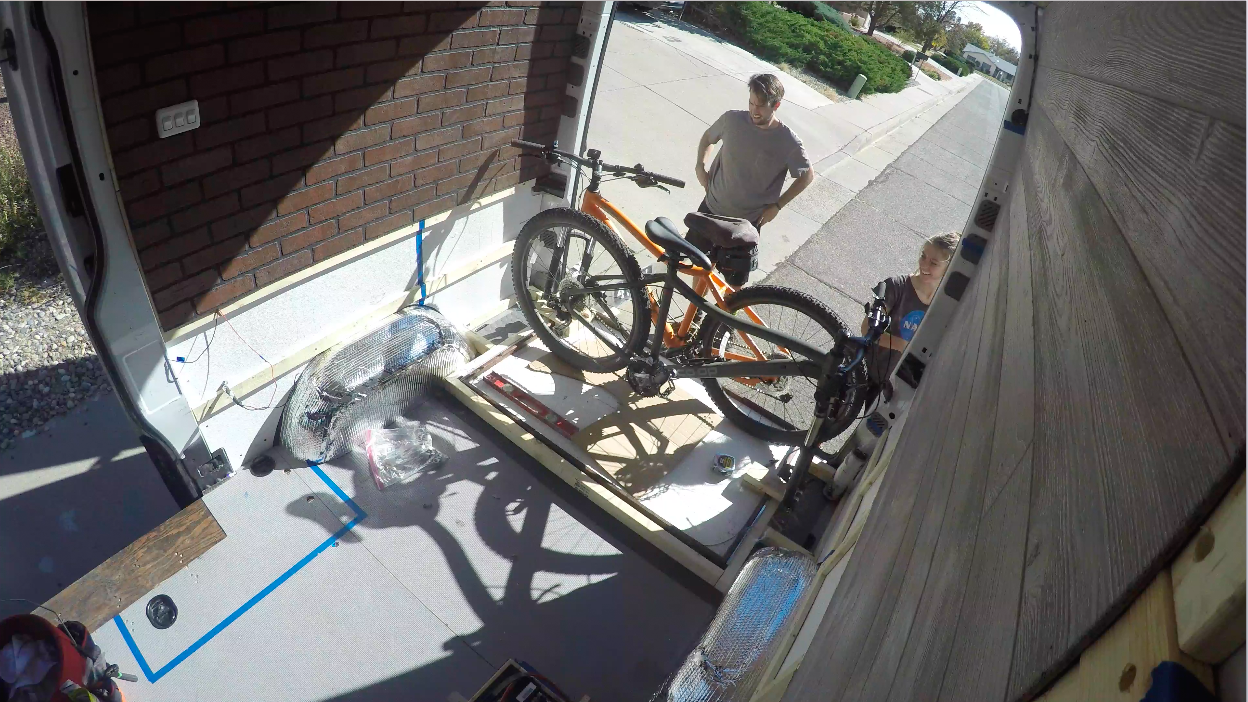
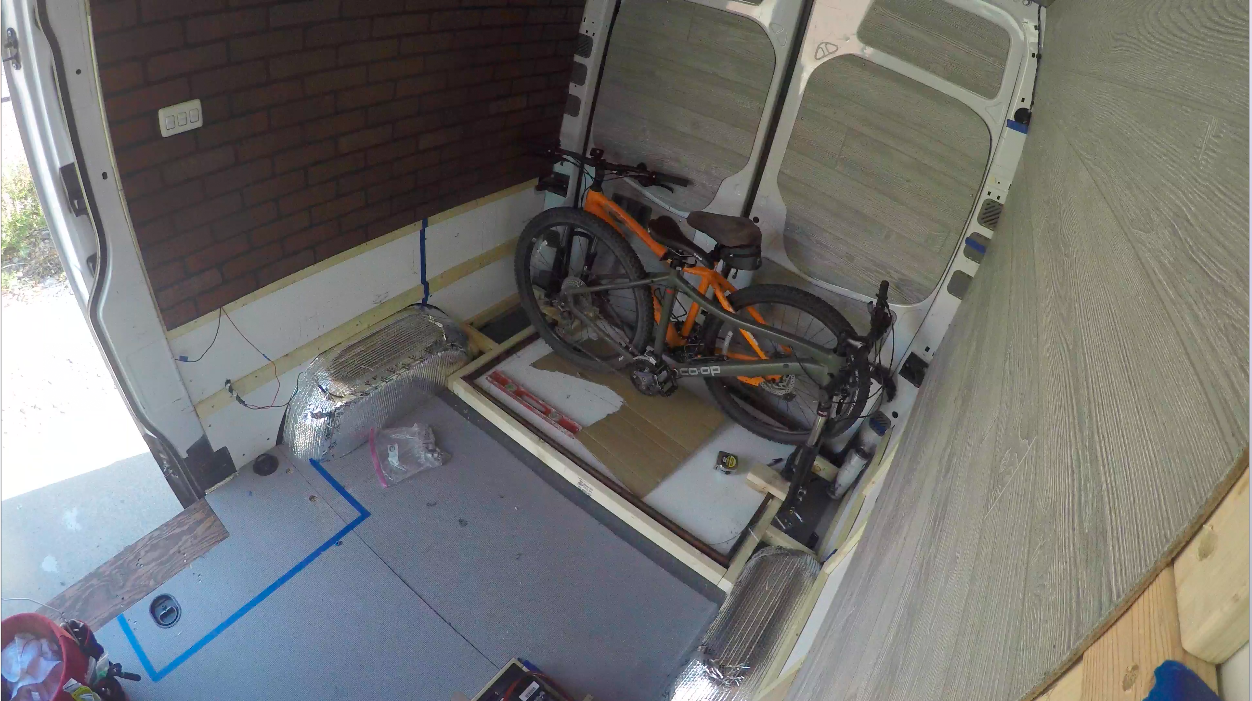
Where do we even start with building cabinets…
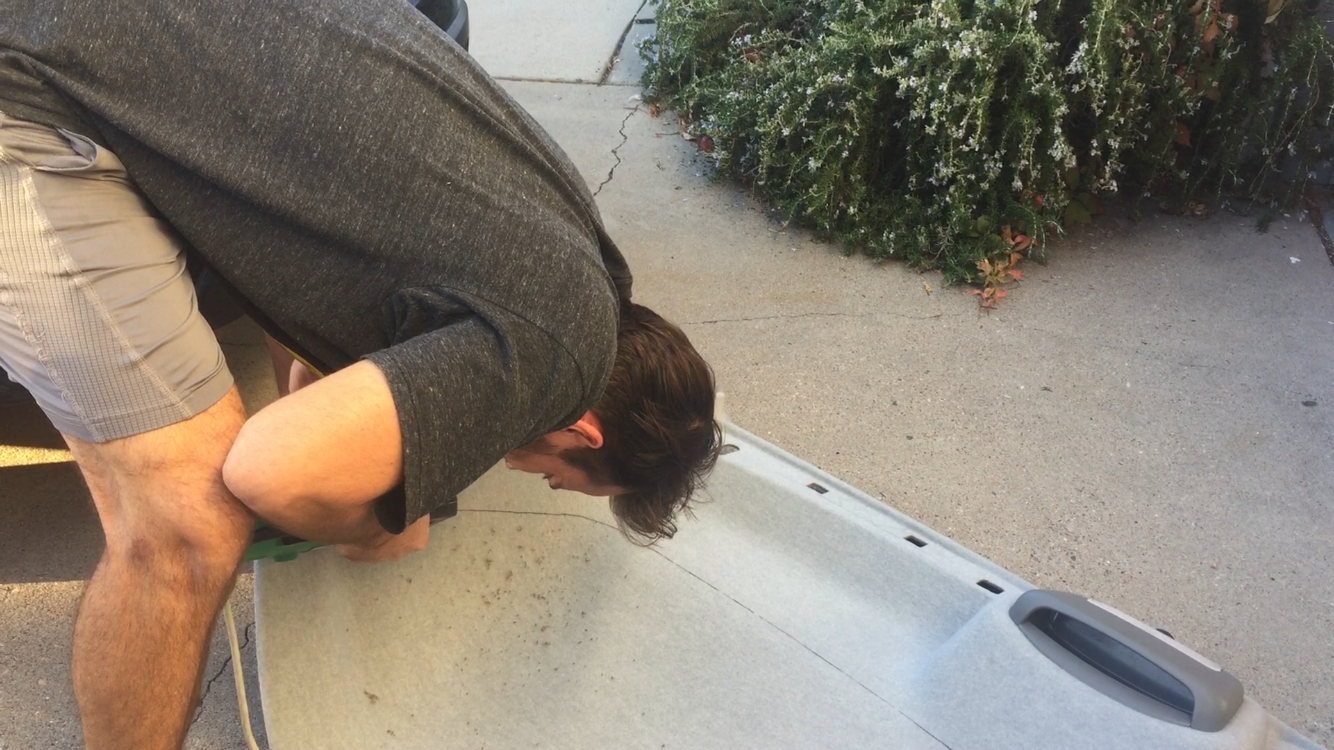
We honestly had no idea what we we're doing here so we just did the best we could and we are pretty stoked with the outcome. And we realized it is like every other task in the van, so intimidating at first, but once you see your finished product One of the most difficult parts of the cabinets was getting the cabinets to sit along the curvature of the van walls. We started on the tallest cabinet first we made a stencil out of cardboard and then traced and cut the plywood. The cut wasn't right the first time so it took lots of sanding before the fit was perfect.
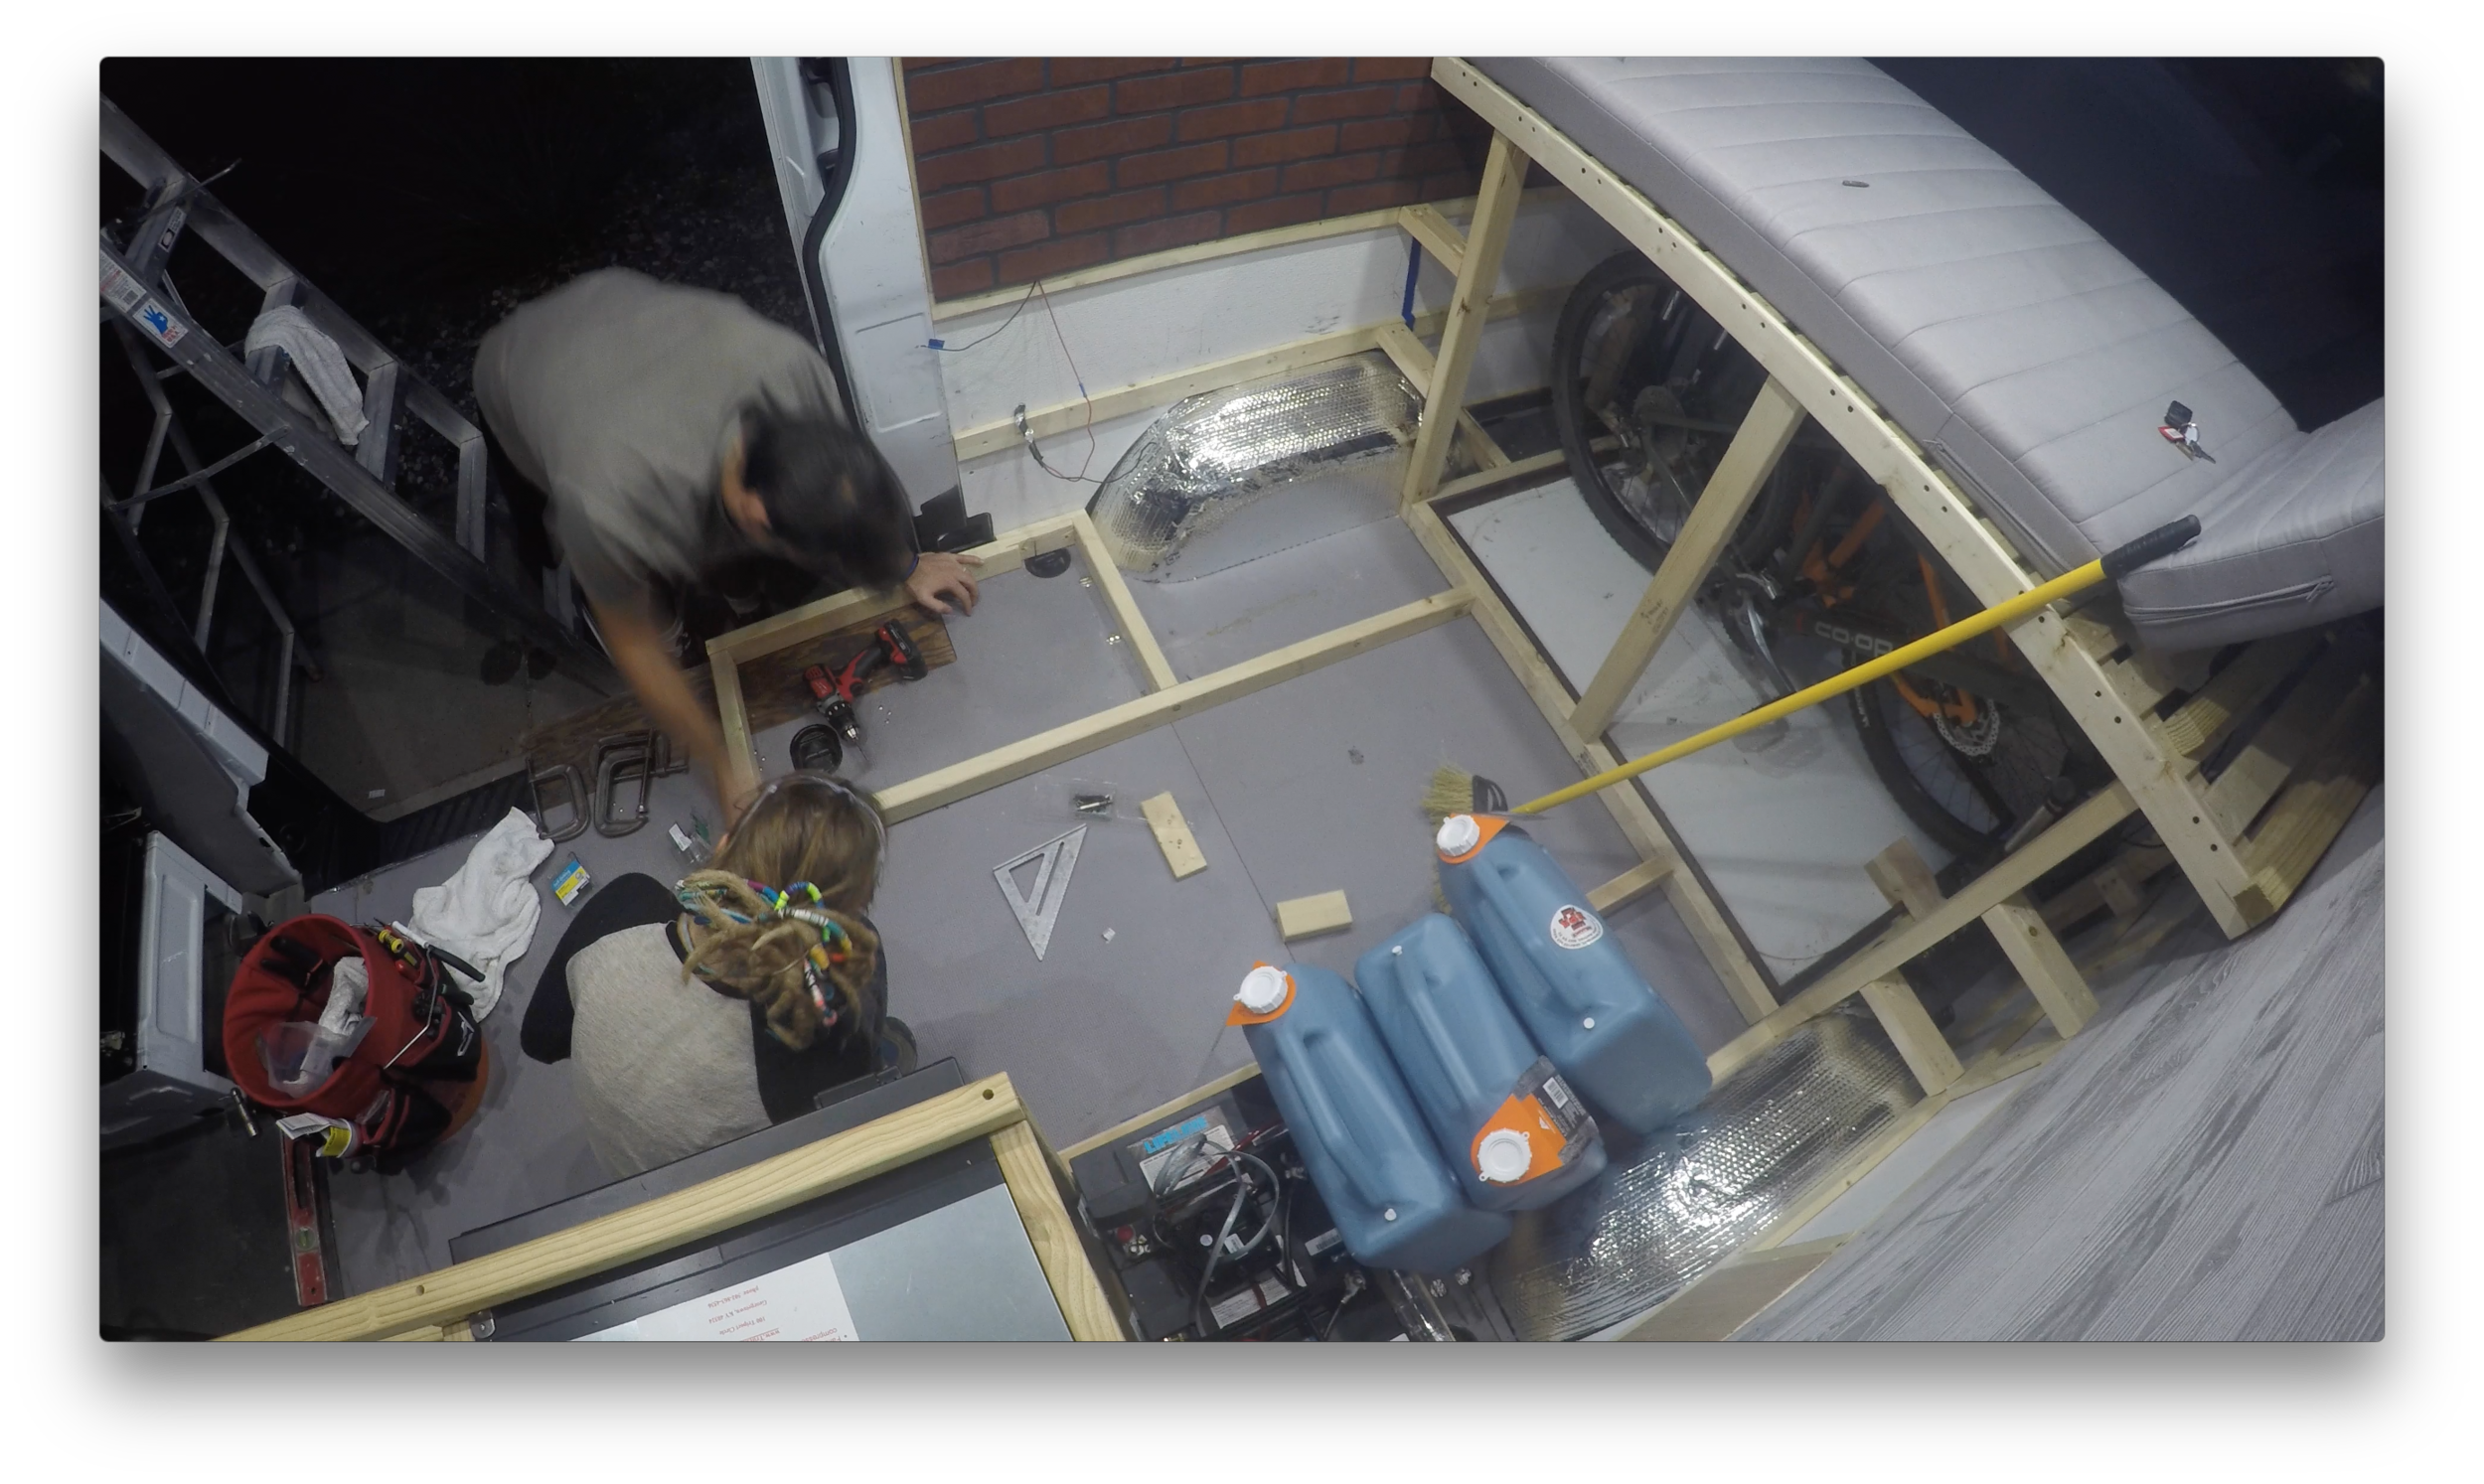
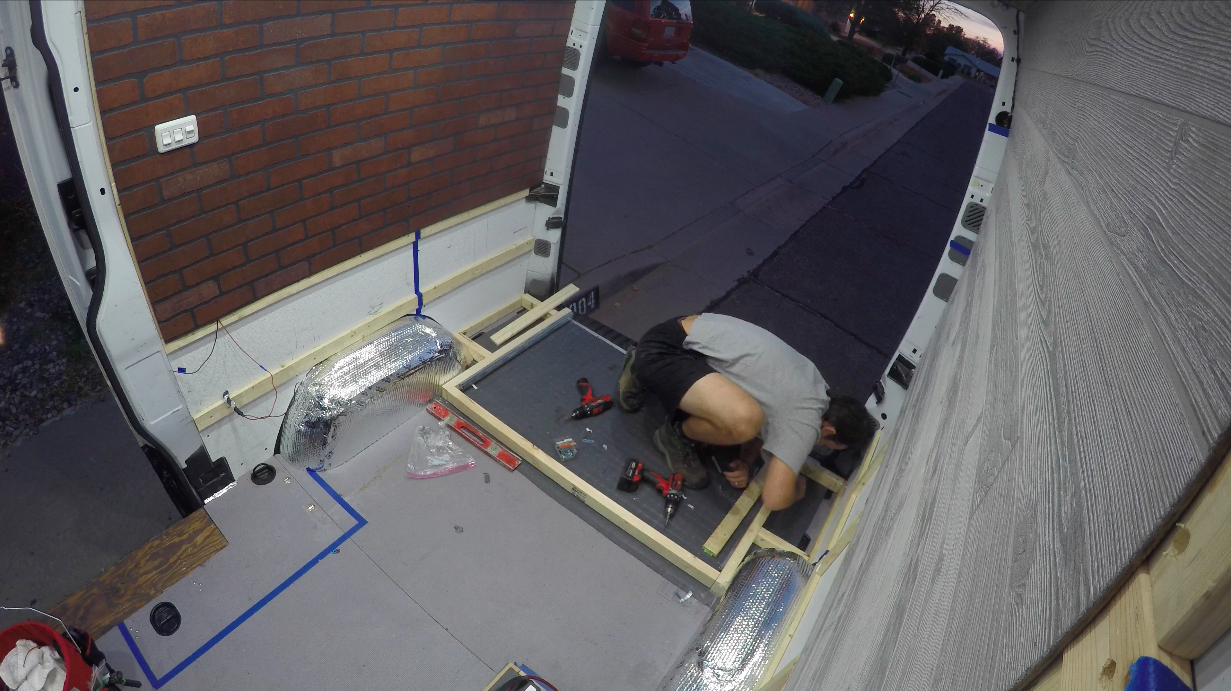
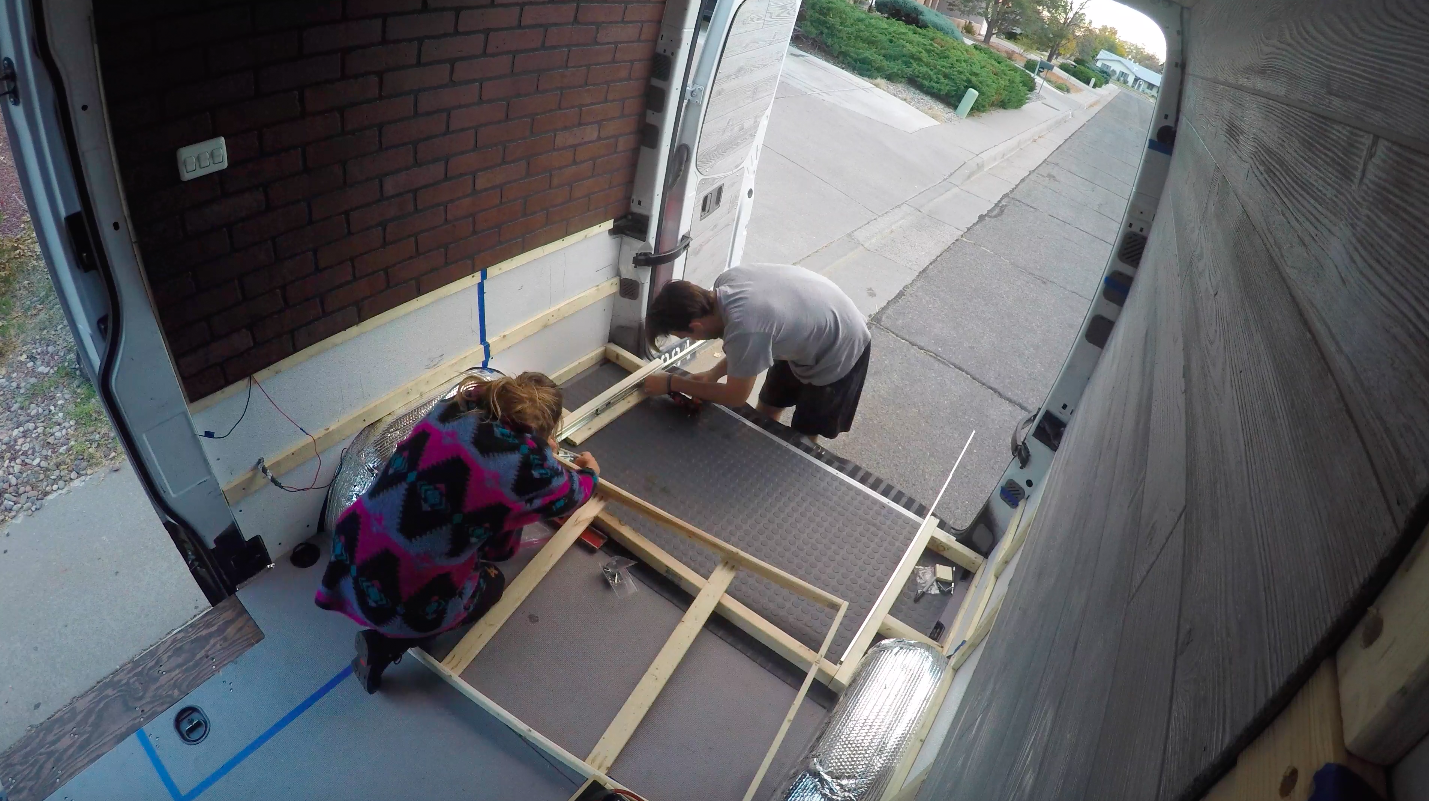
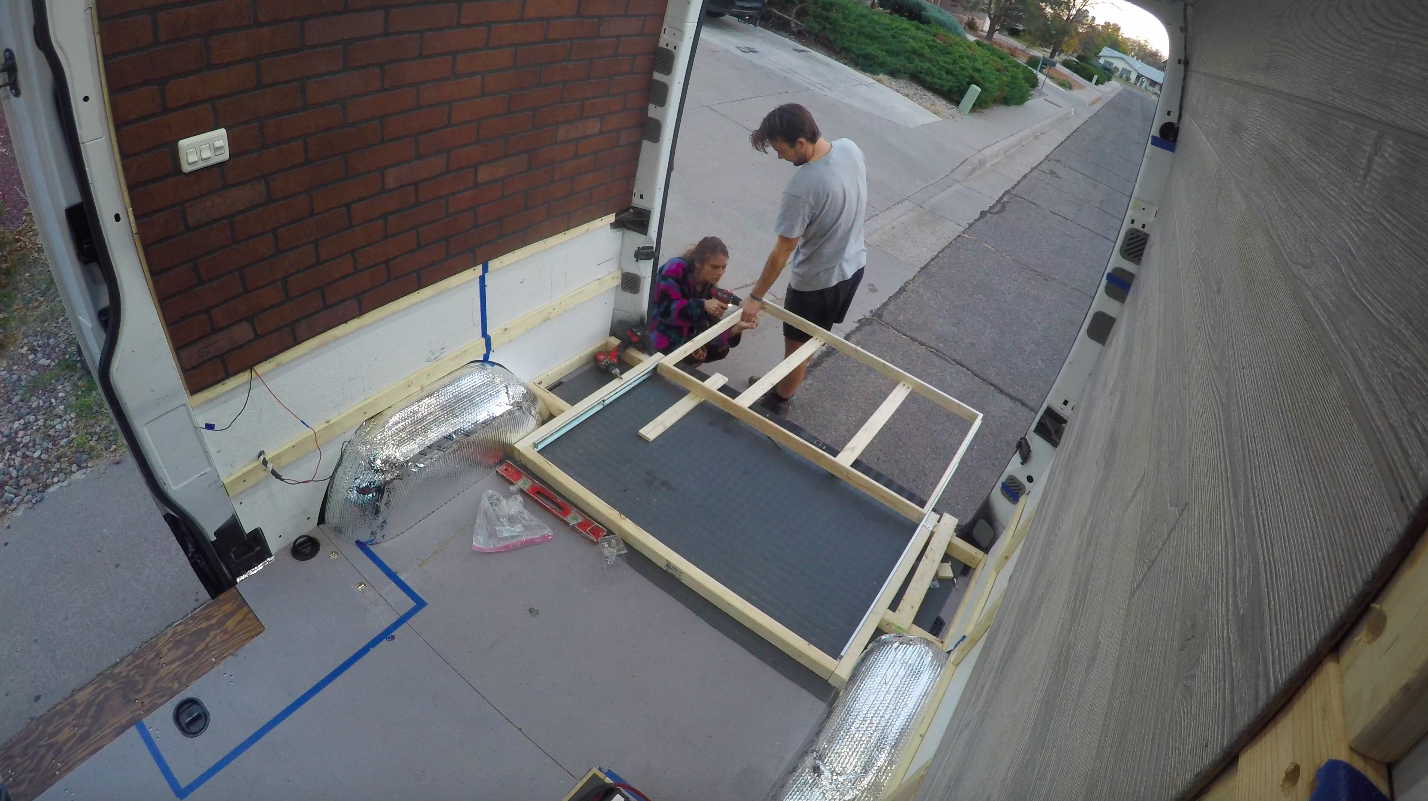
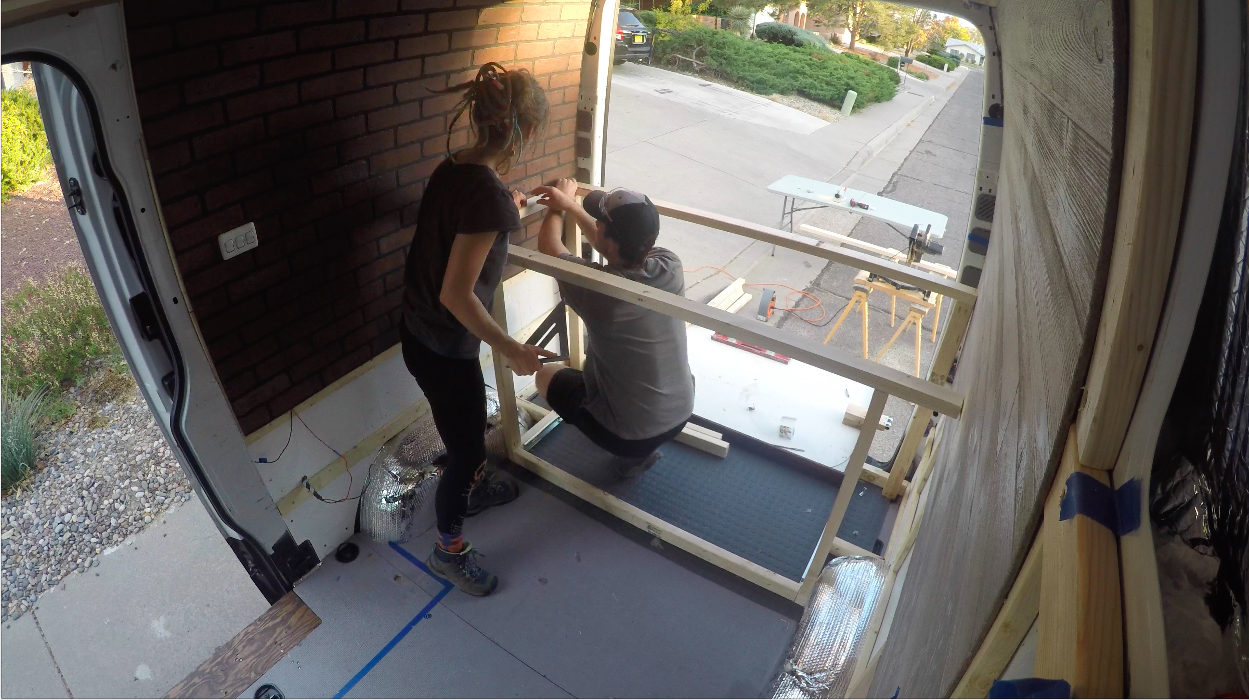
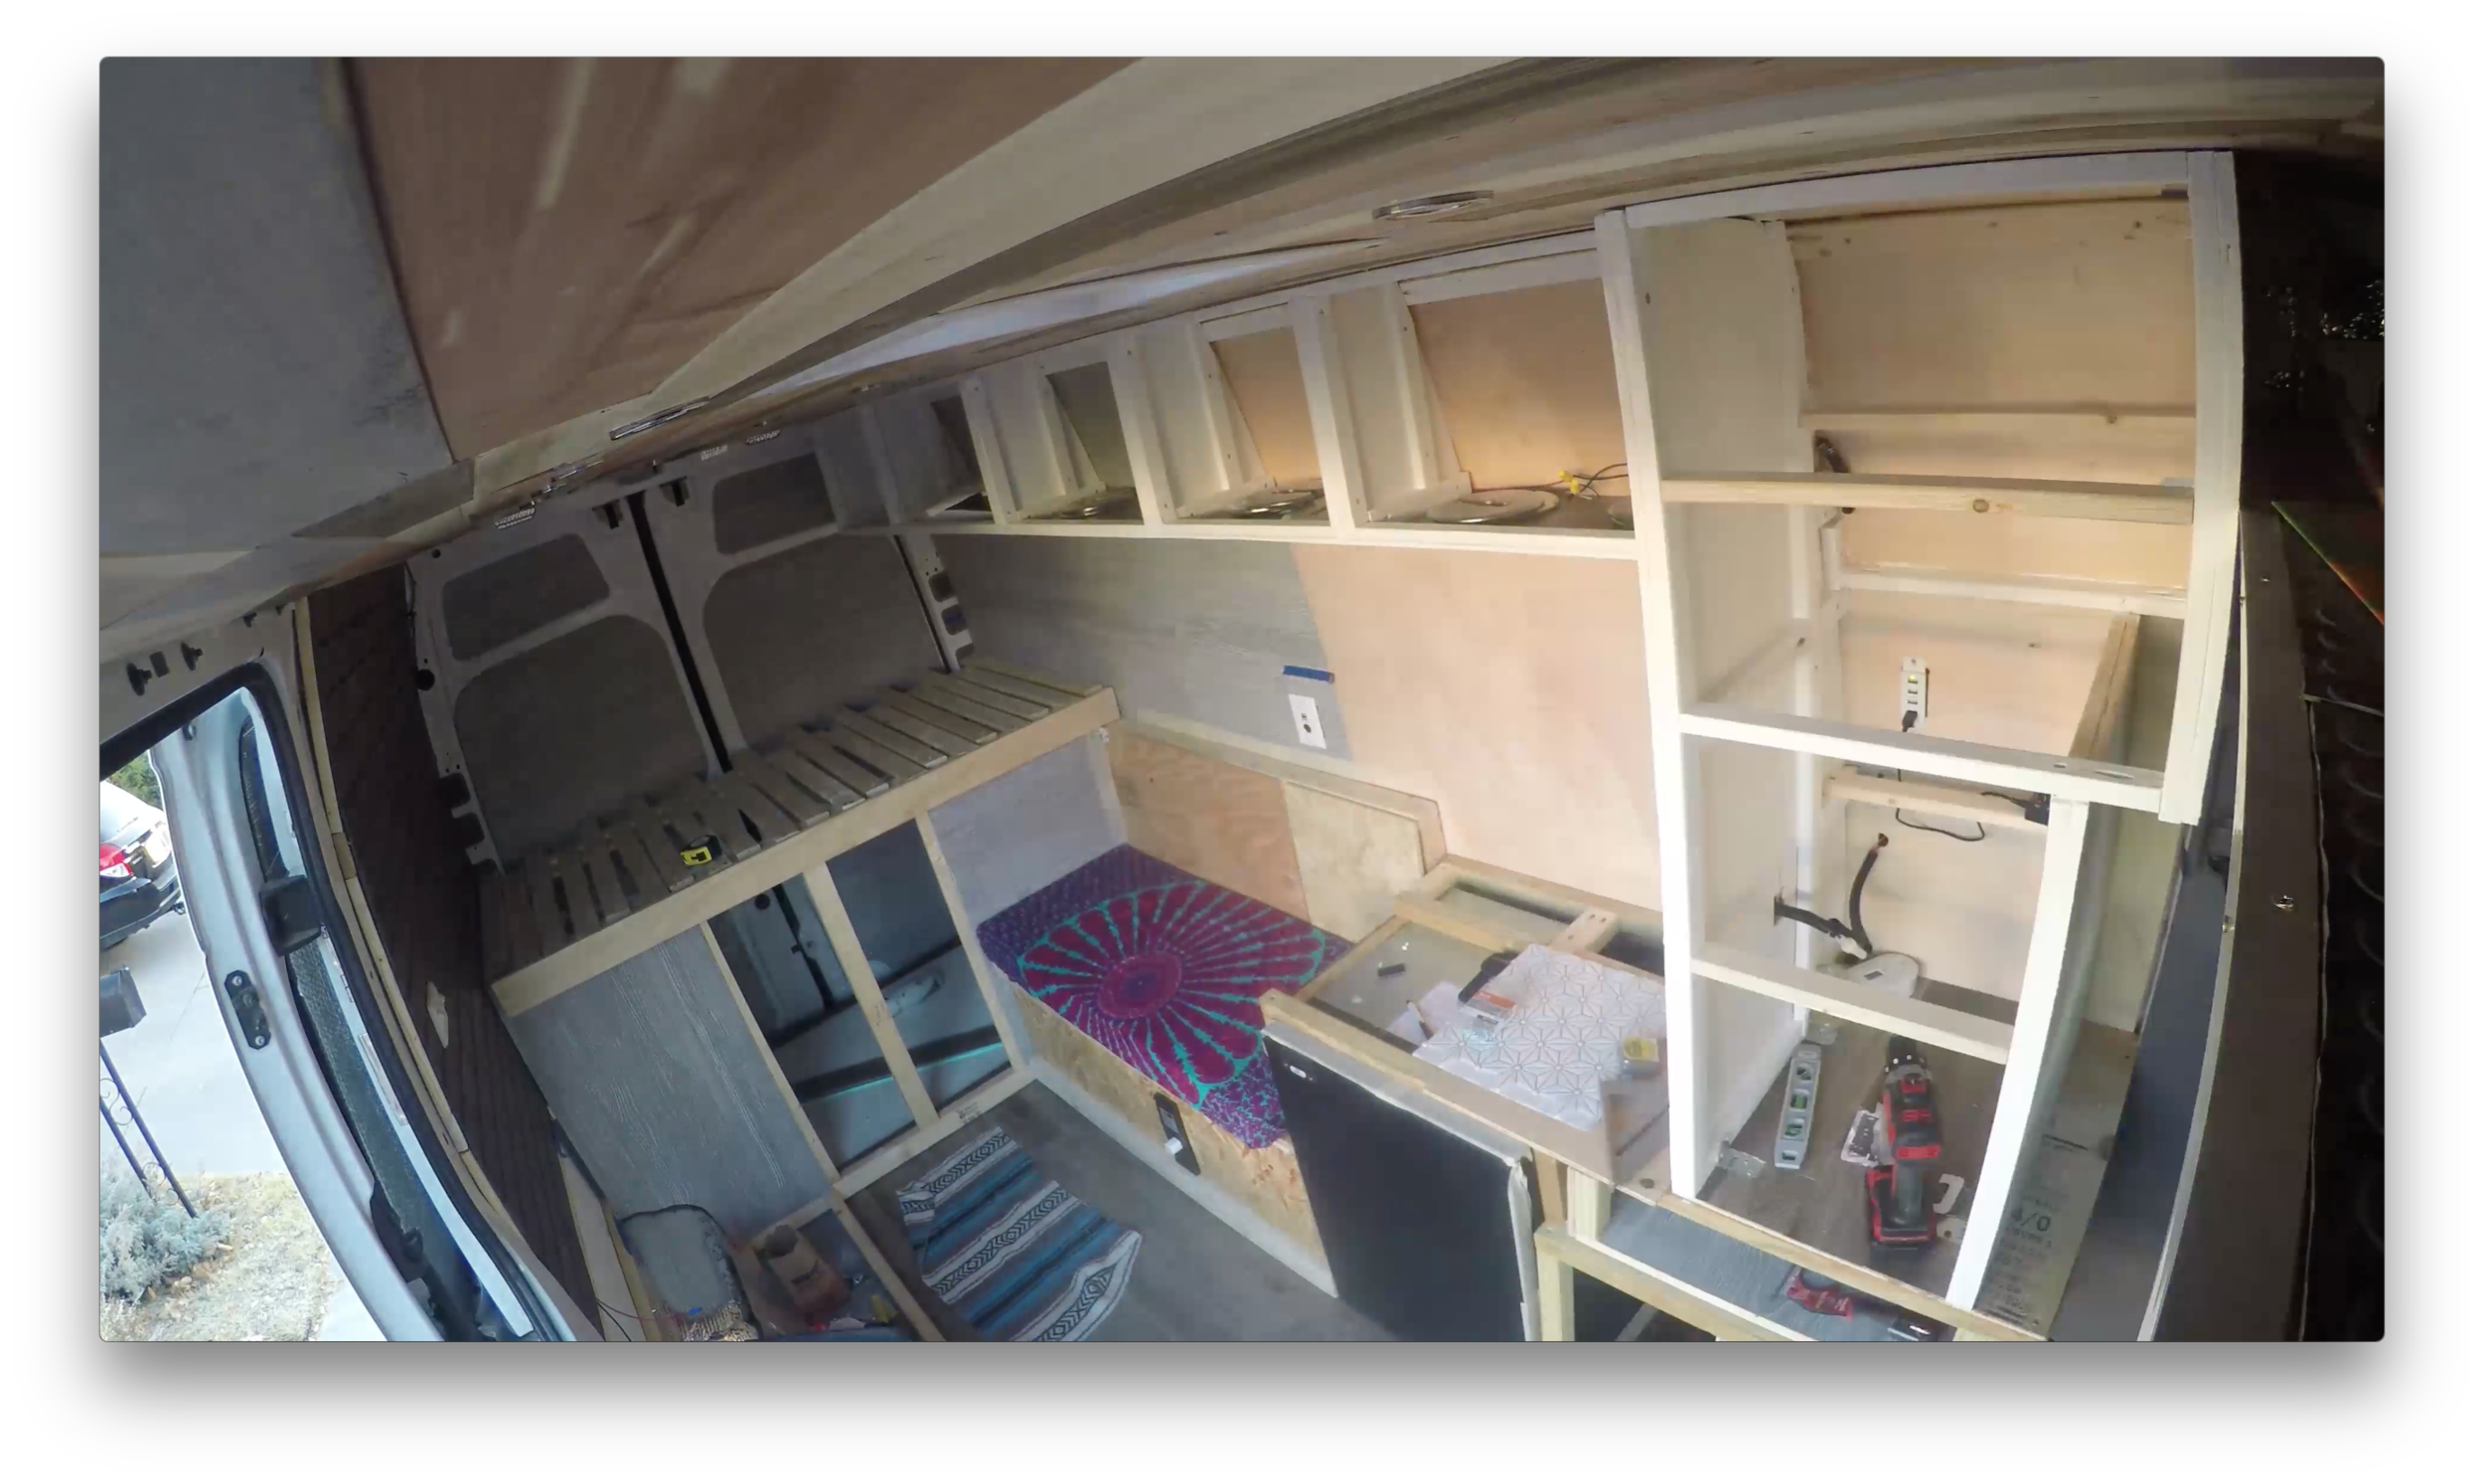
From here, we then decided how big we wanted everything and framed it out with cabinet specific framing wood. Another difficult decision was how and where all the doors drawers and open cabinets would be located.
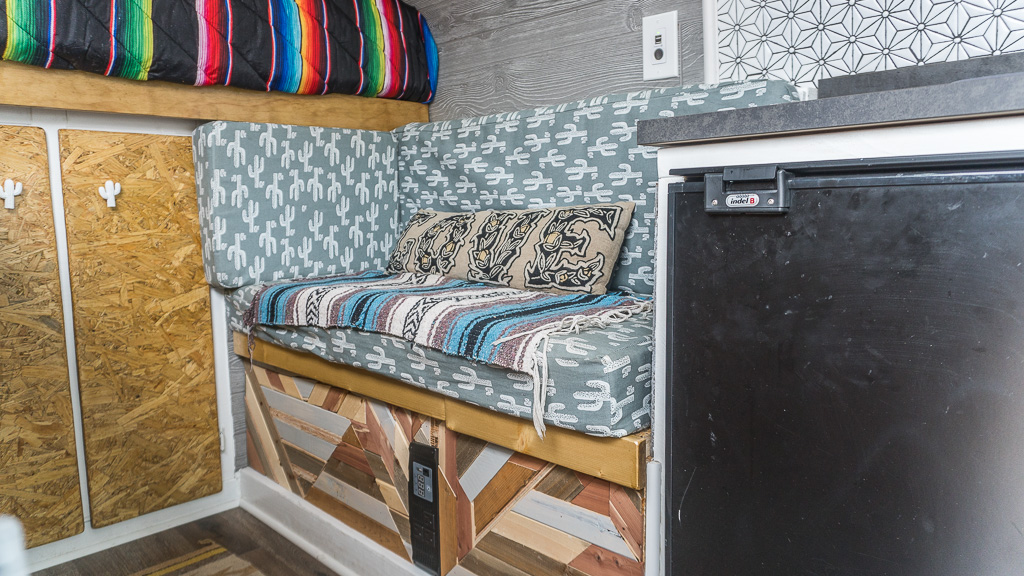
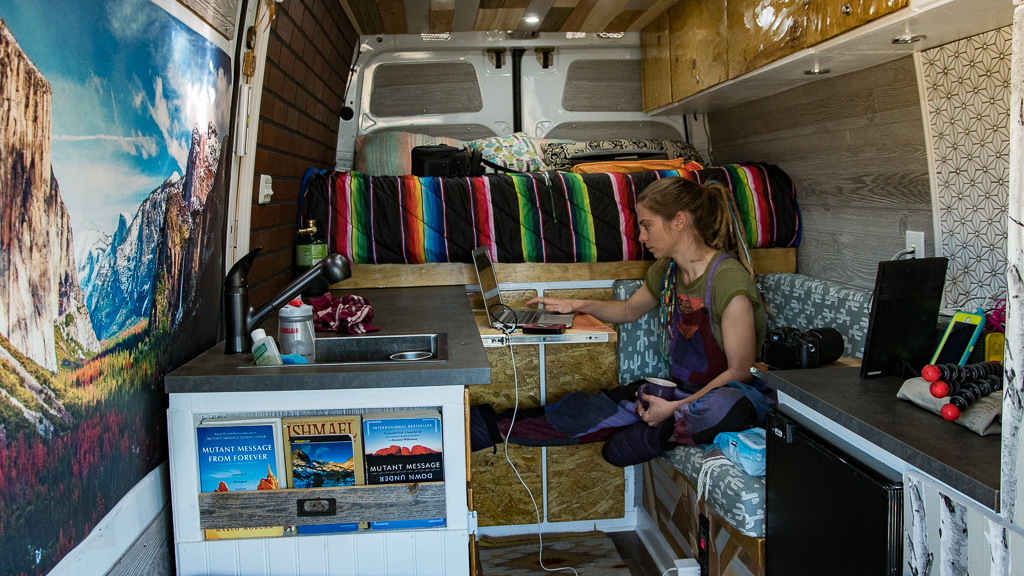
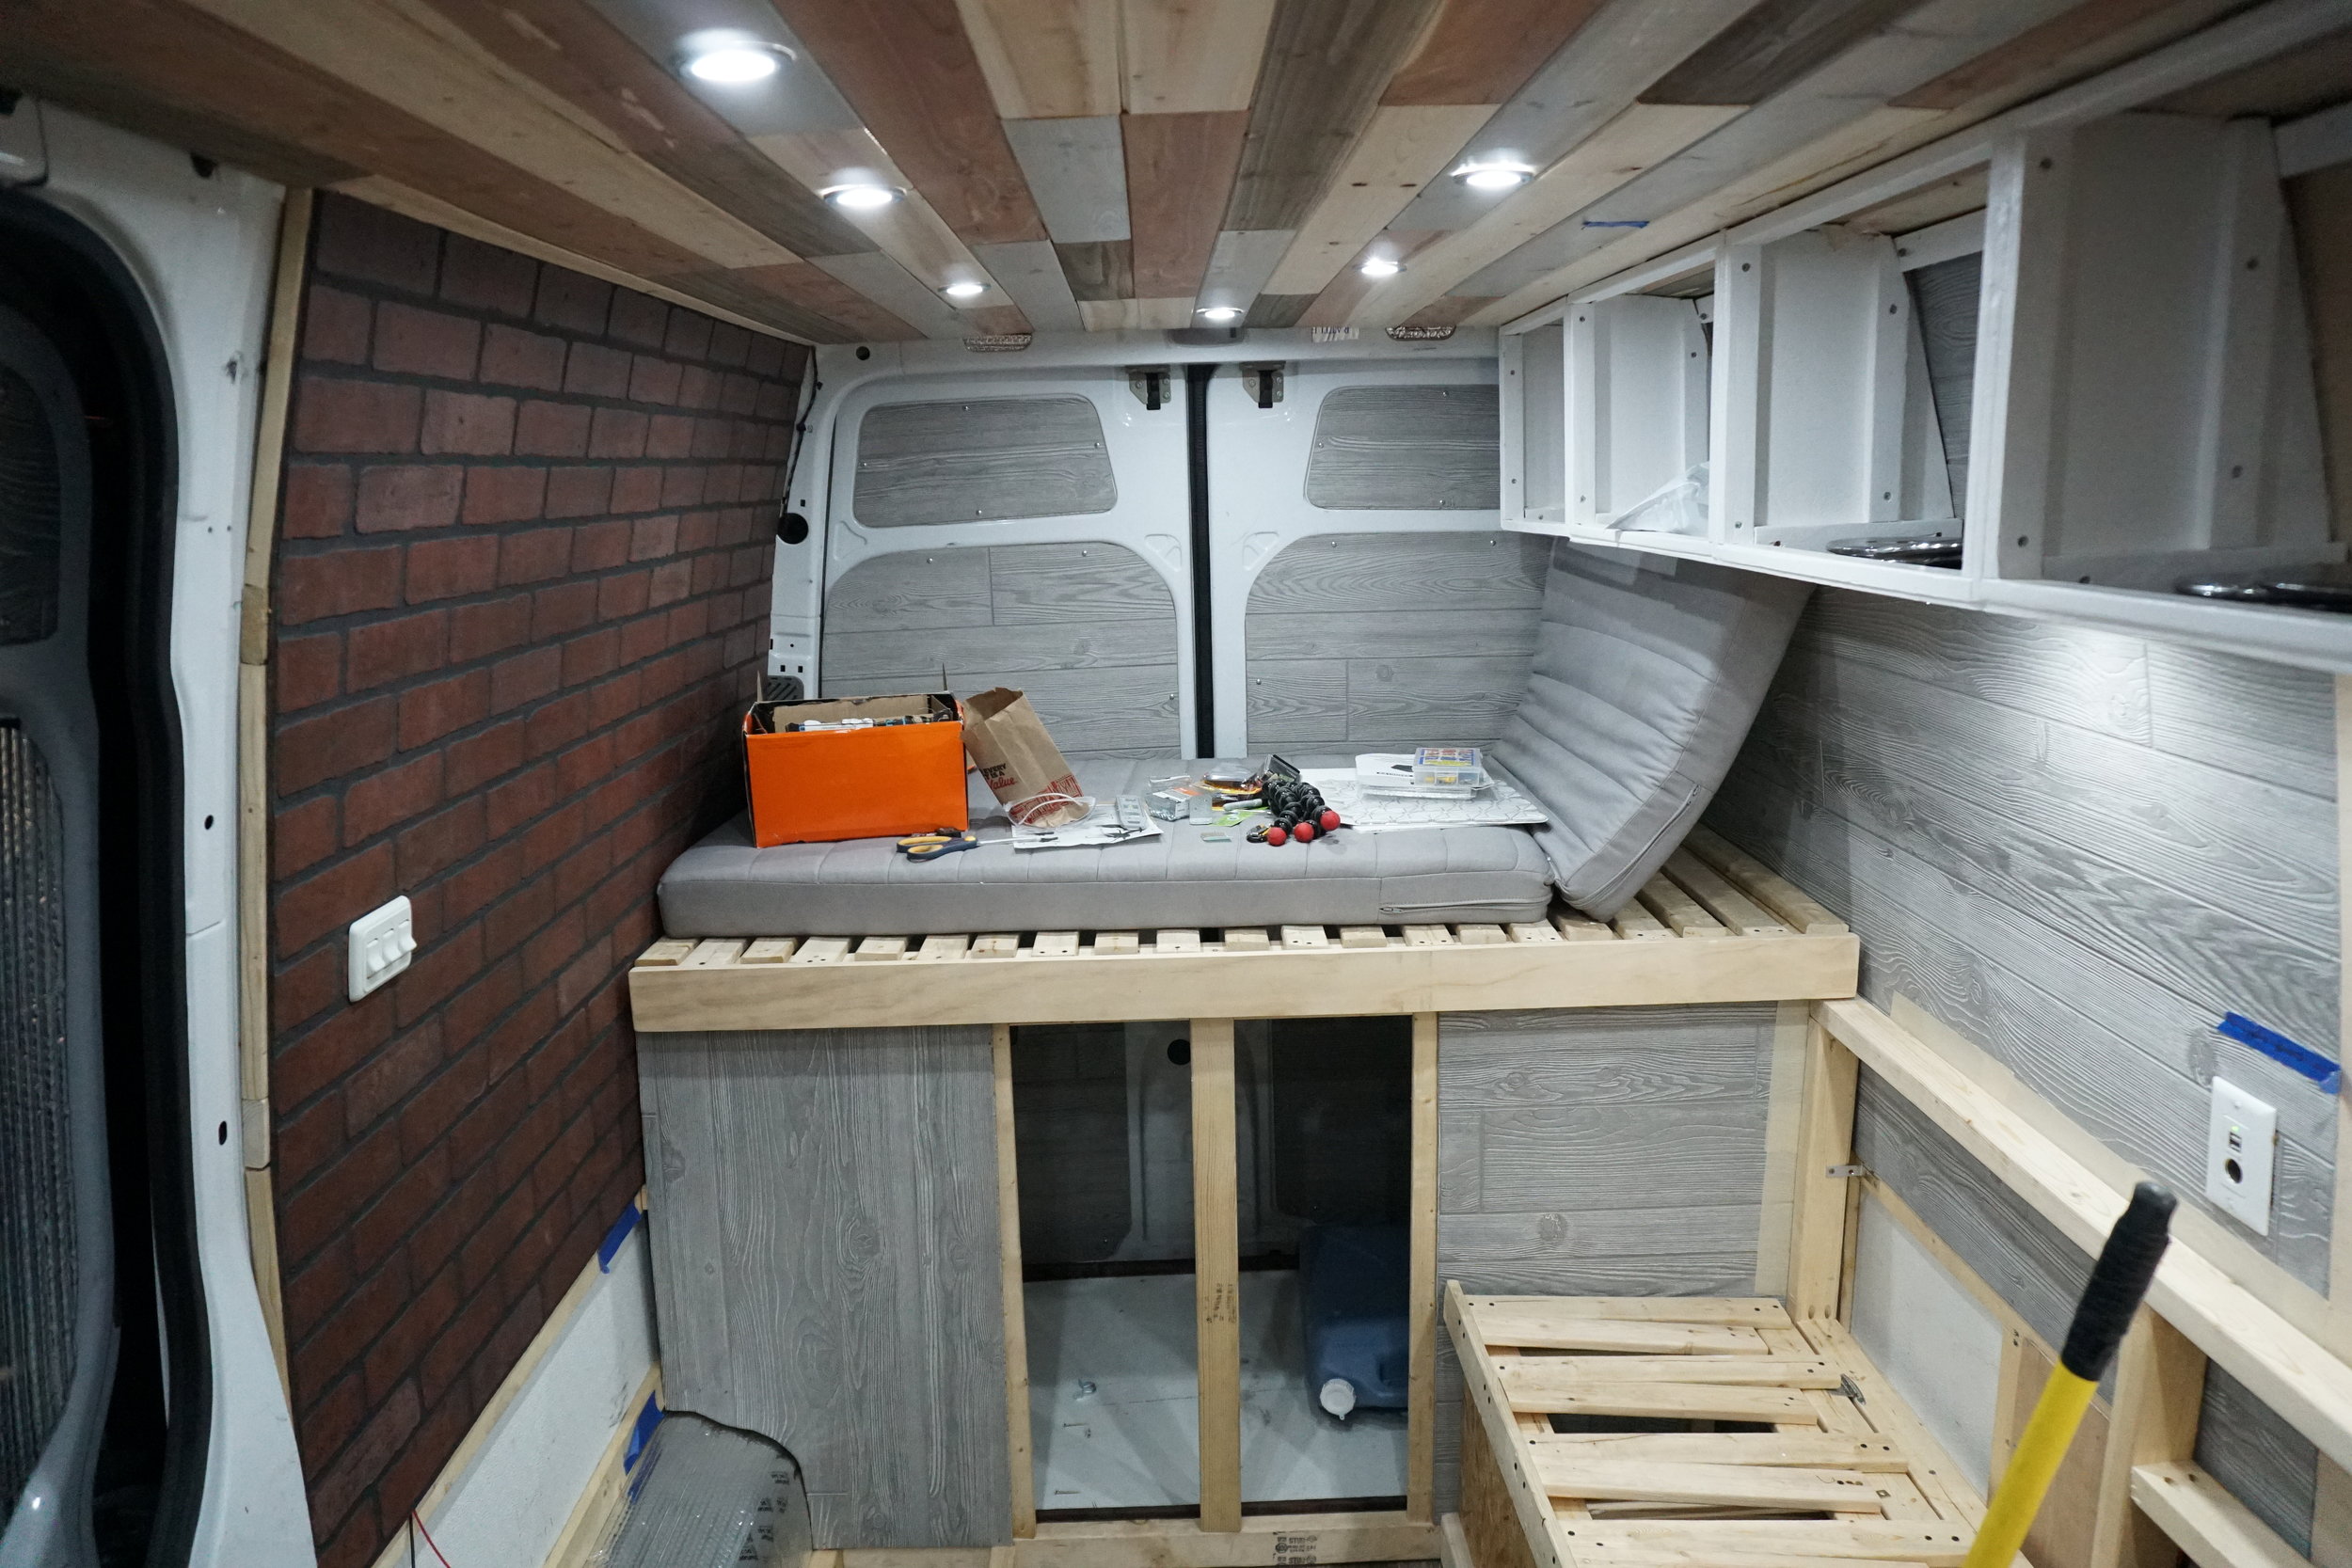
Here, we also had to start thinking about everything that would be in the van. All in all, the cabinets need to be planned specific to your needs and what you are planning on lugging around for the adventure. We wanted one tall cabinet that could hold a majority of our things and wall cabinets for clothes and some food storage as well.

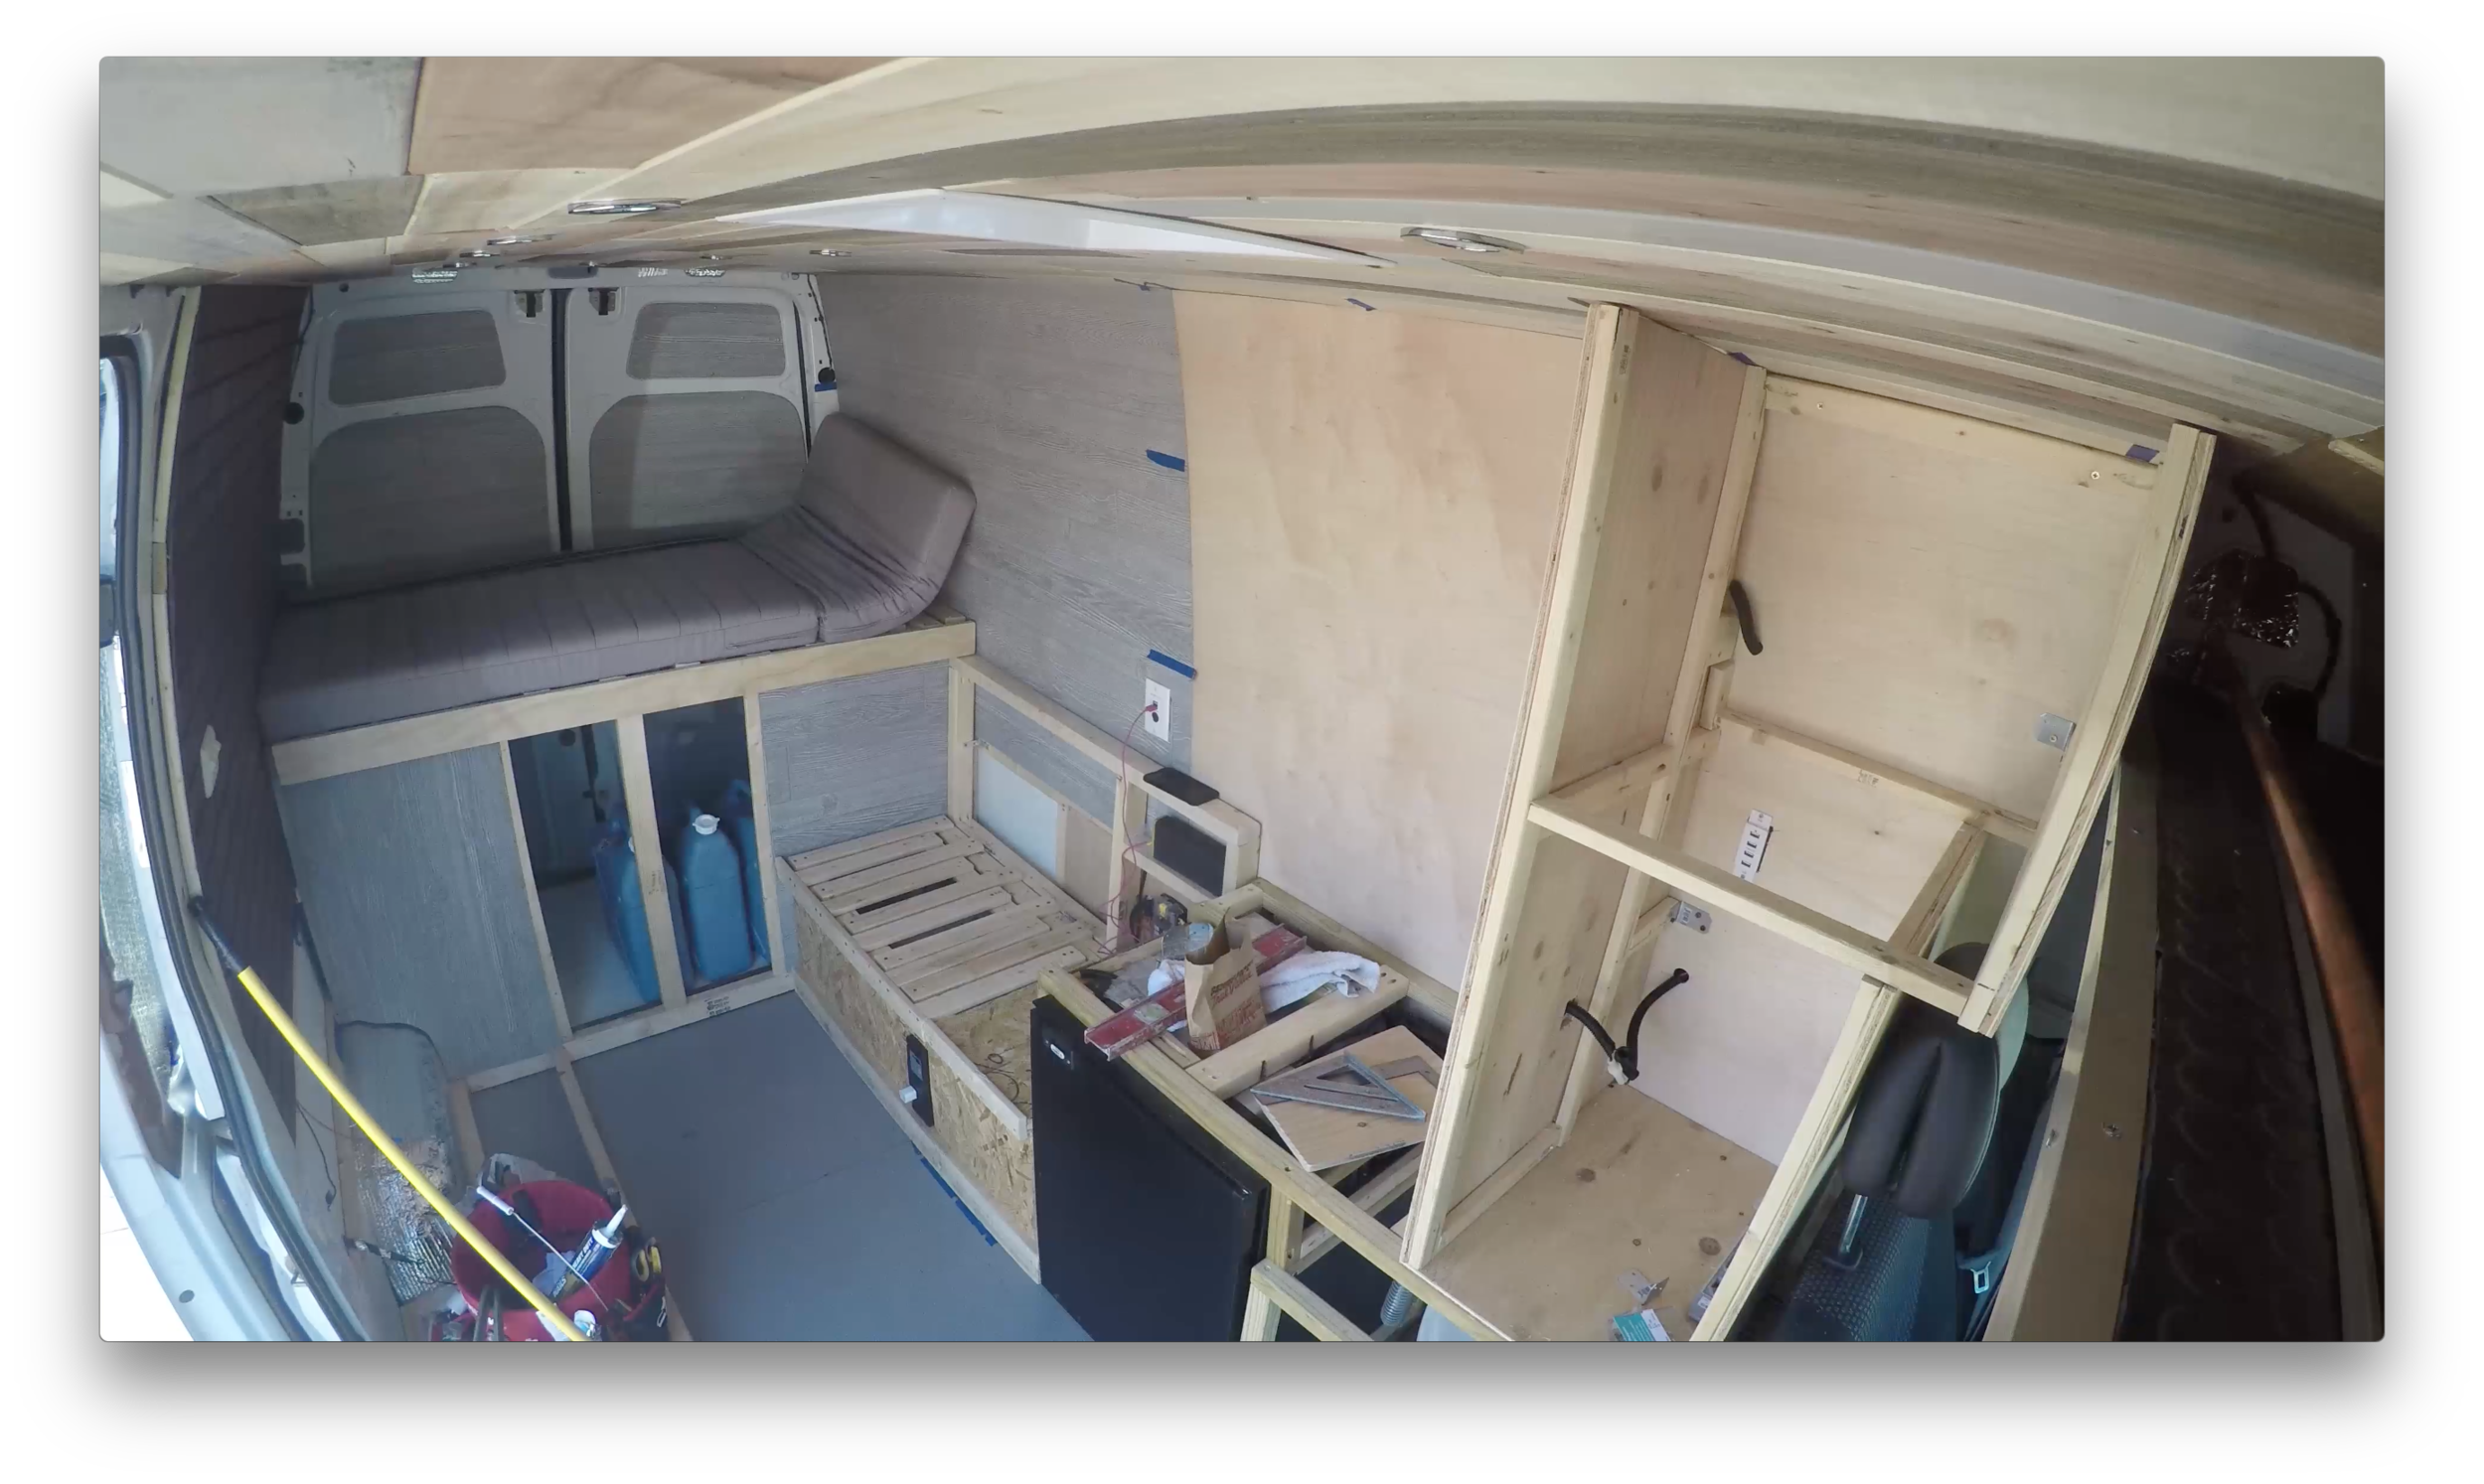


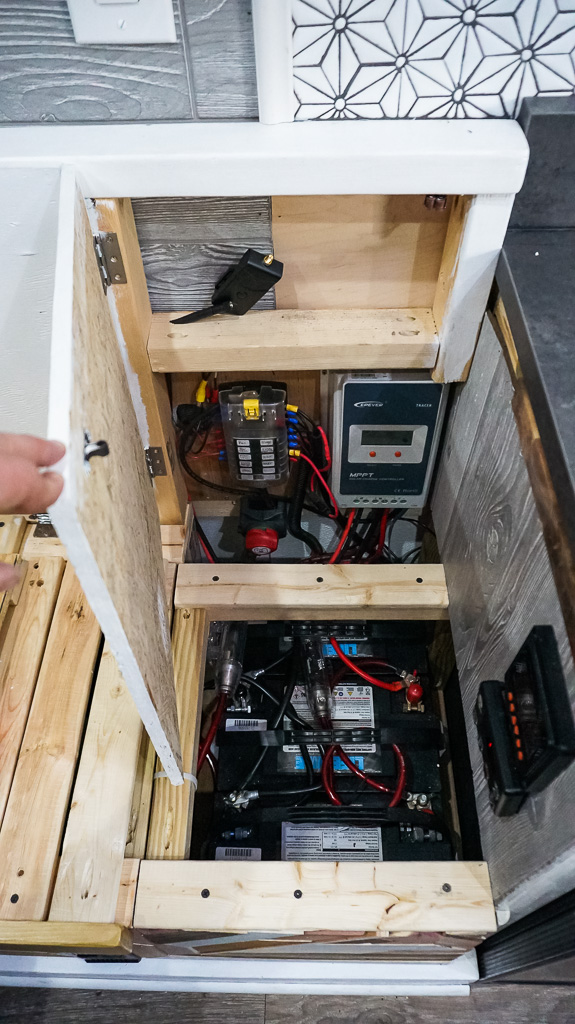
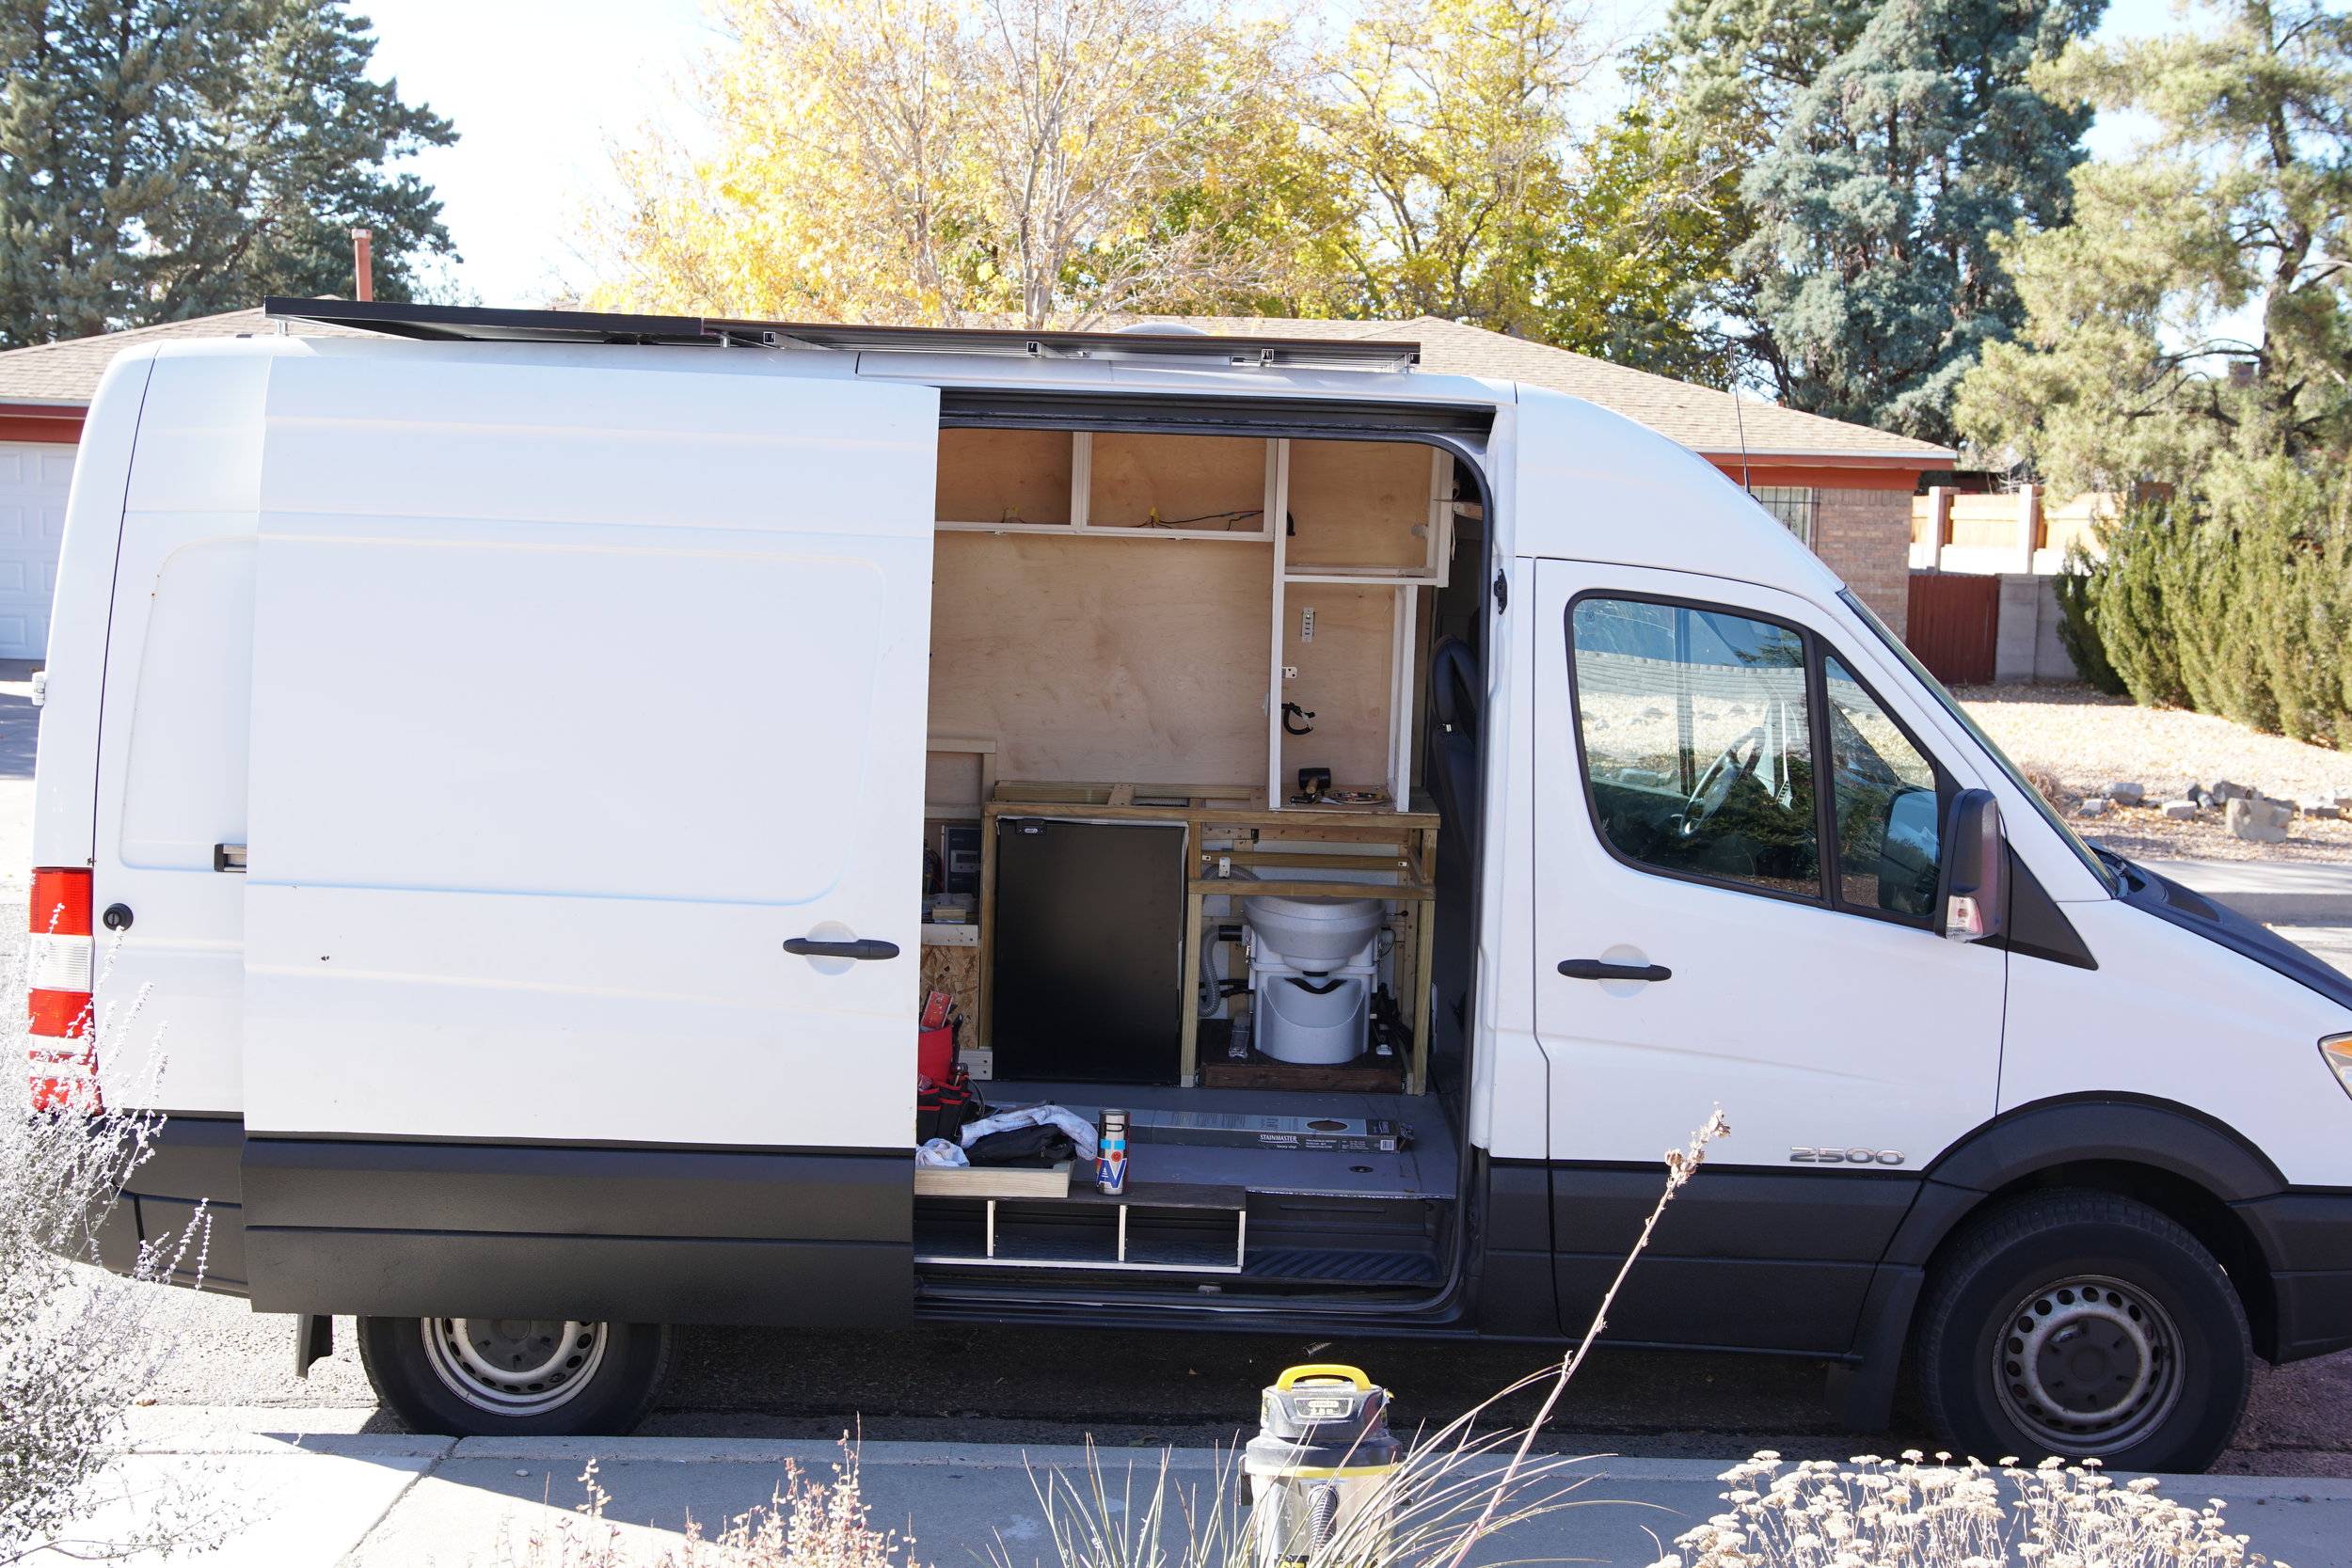
We also had to build around our pull out, Nature’s Head composting toilet, and our Truck Fridge that would sit under the counter.
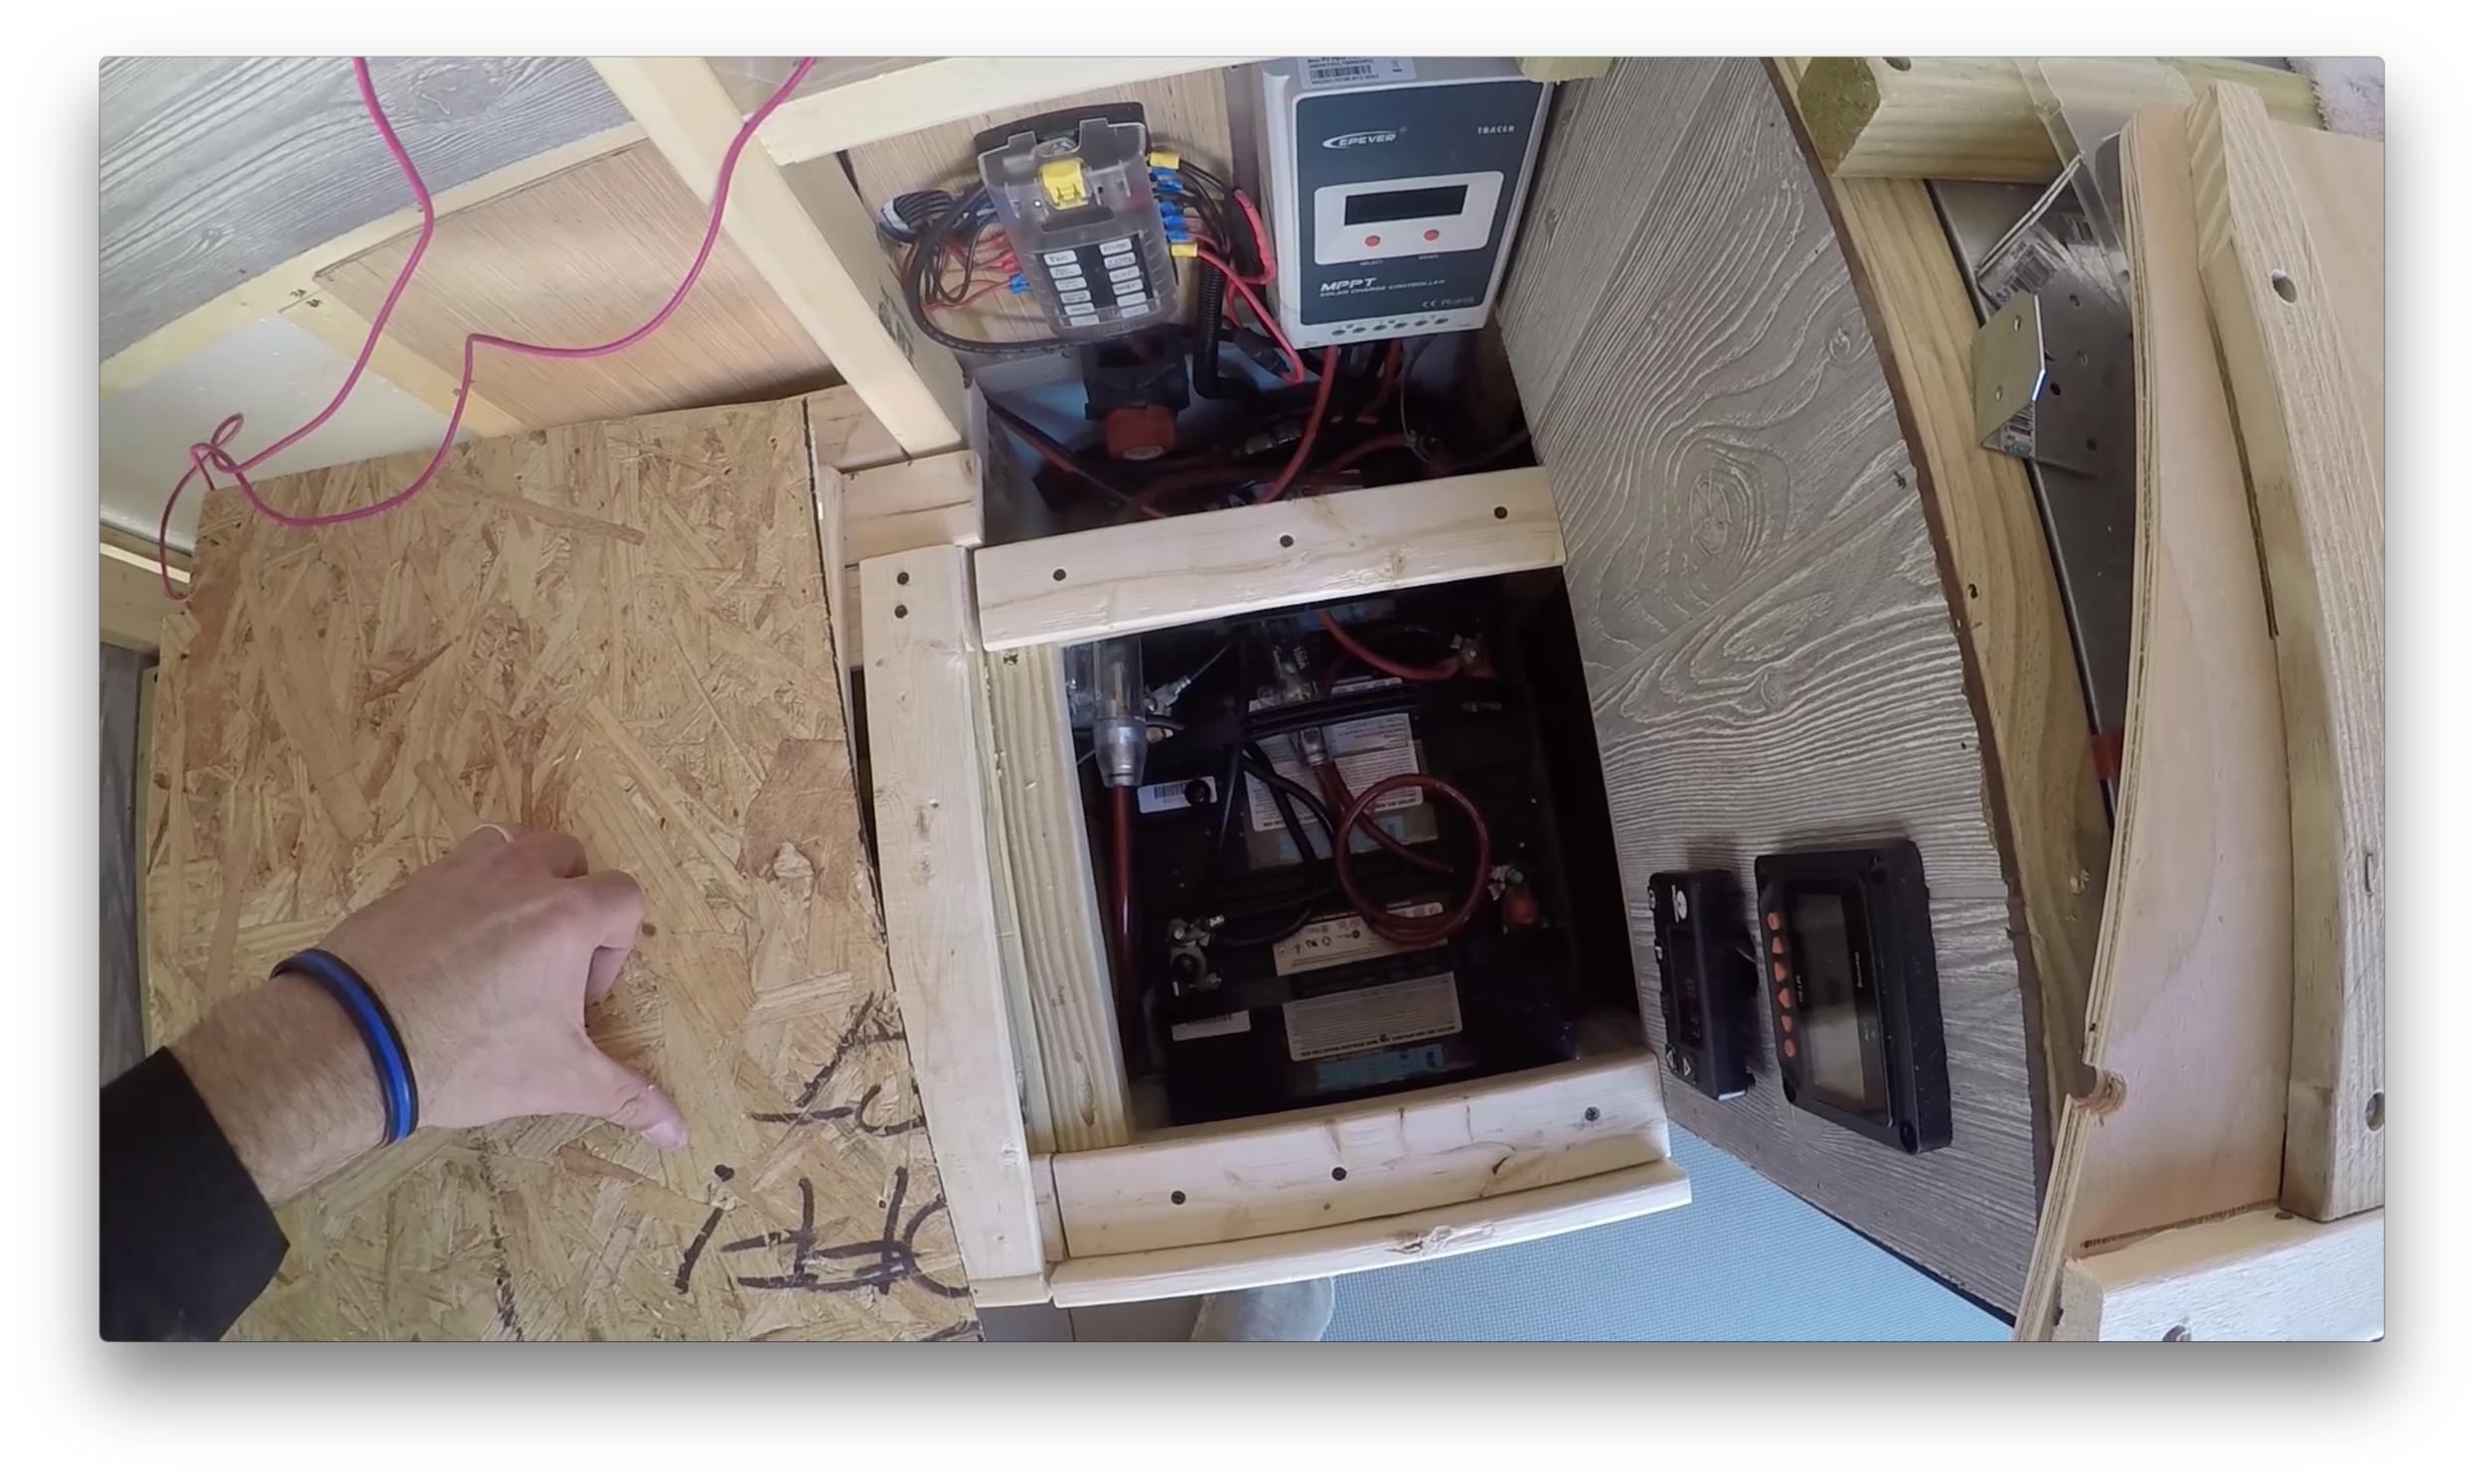
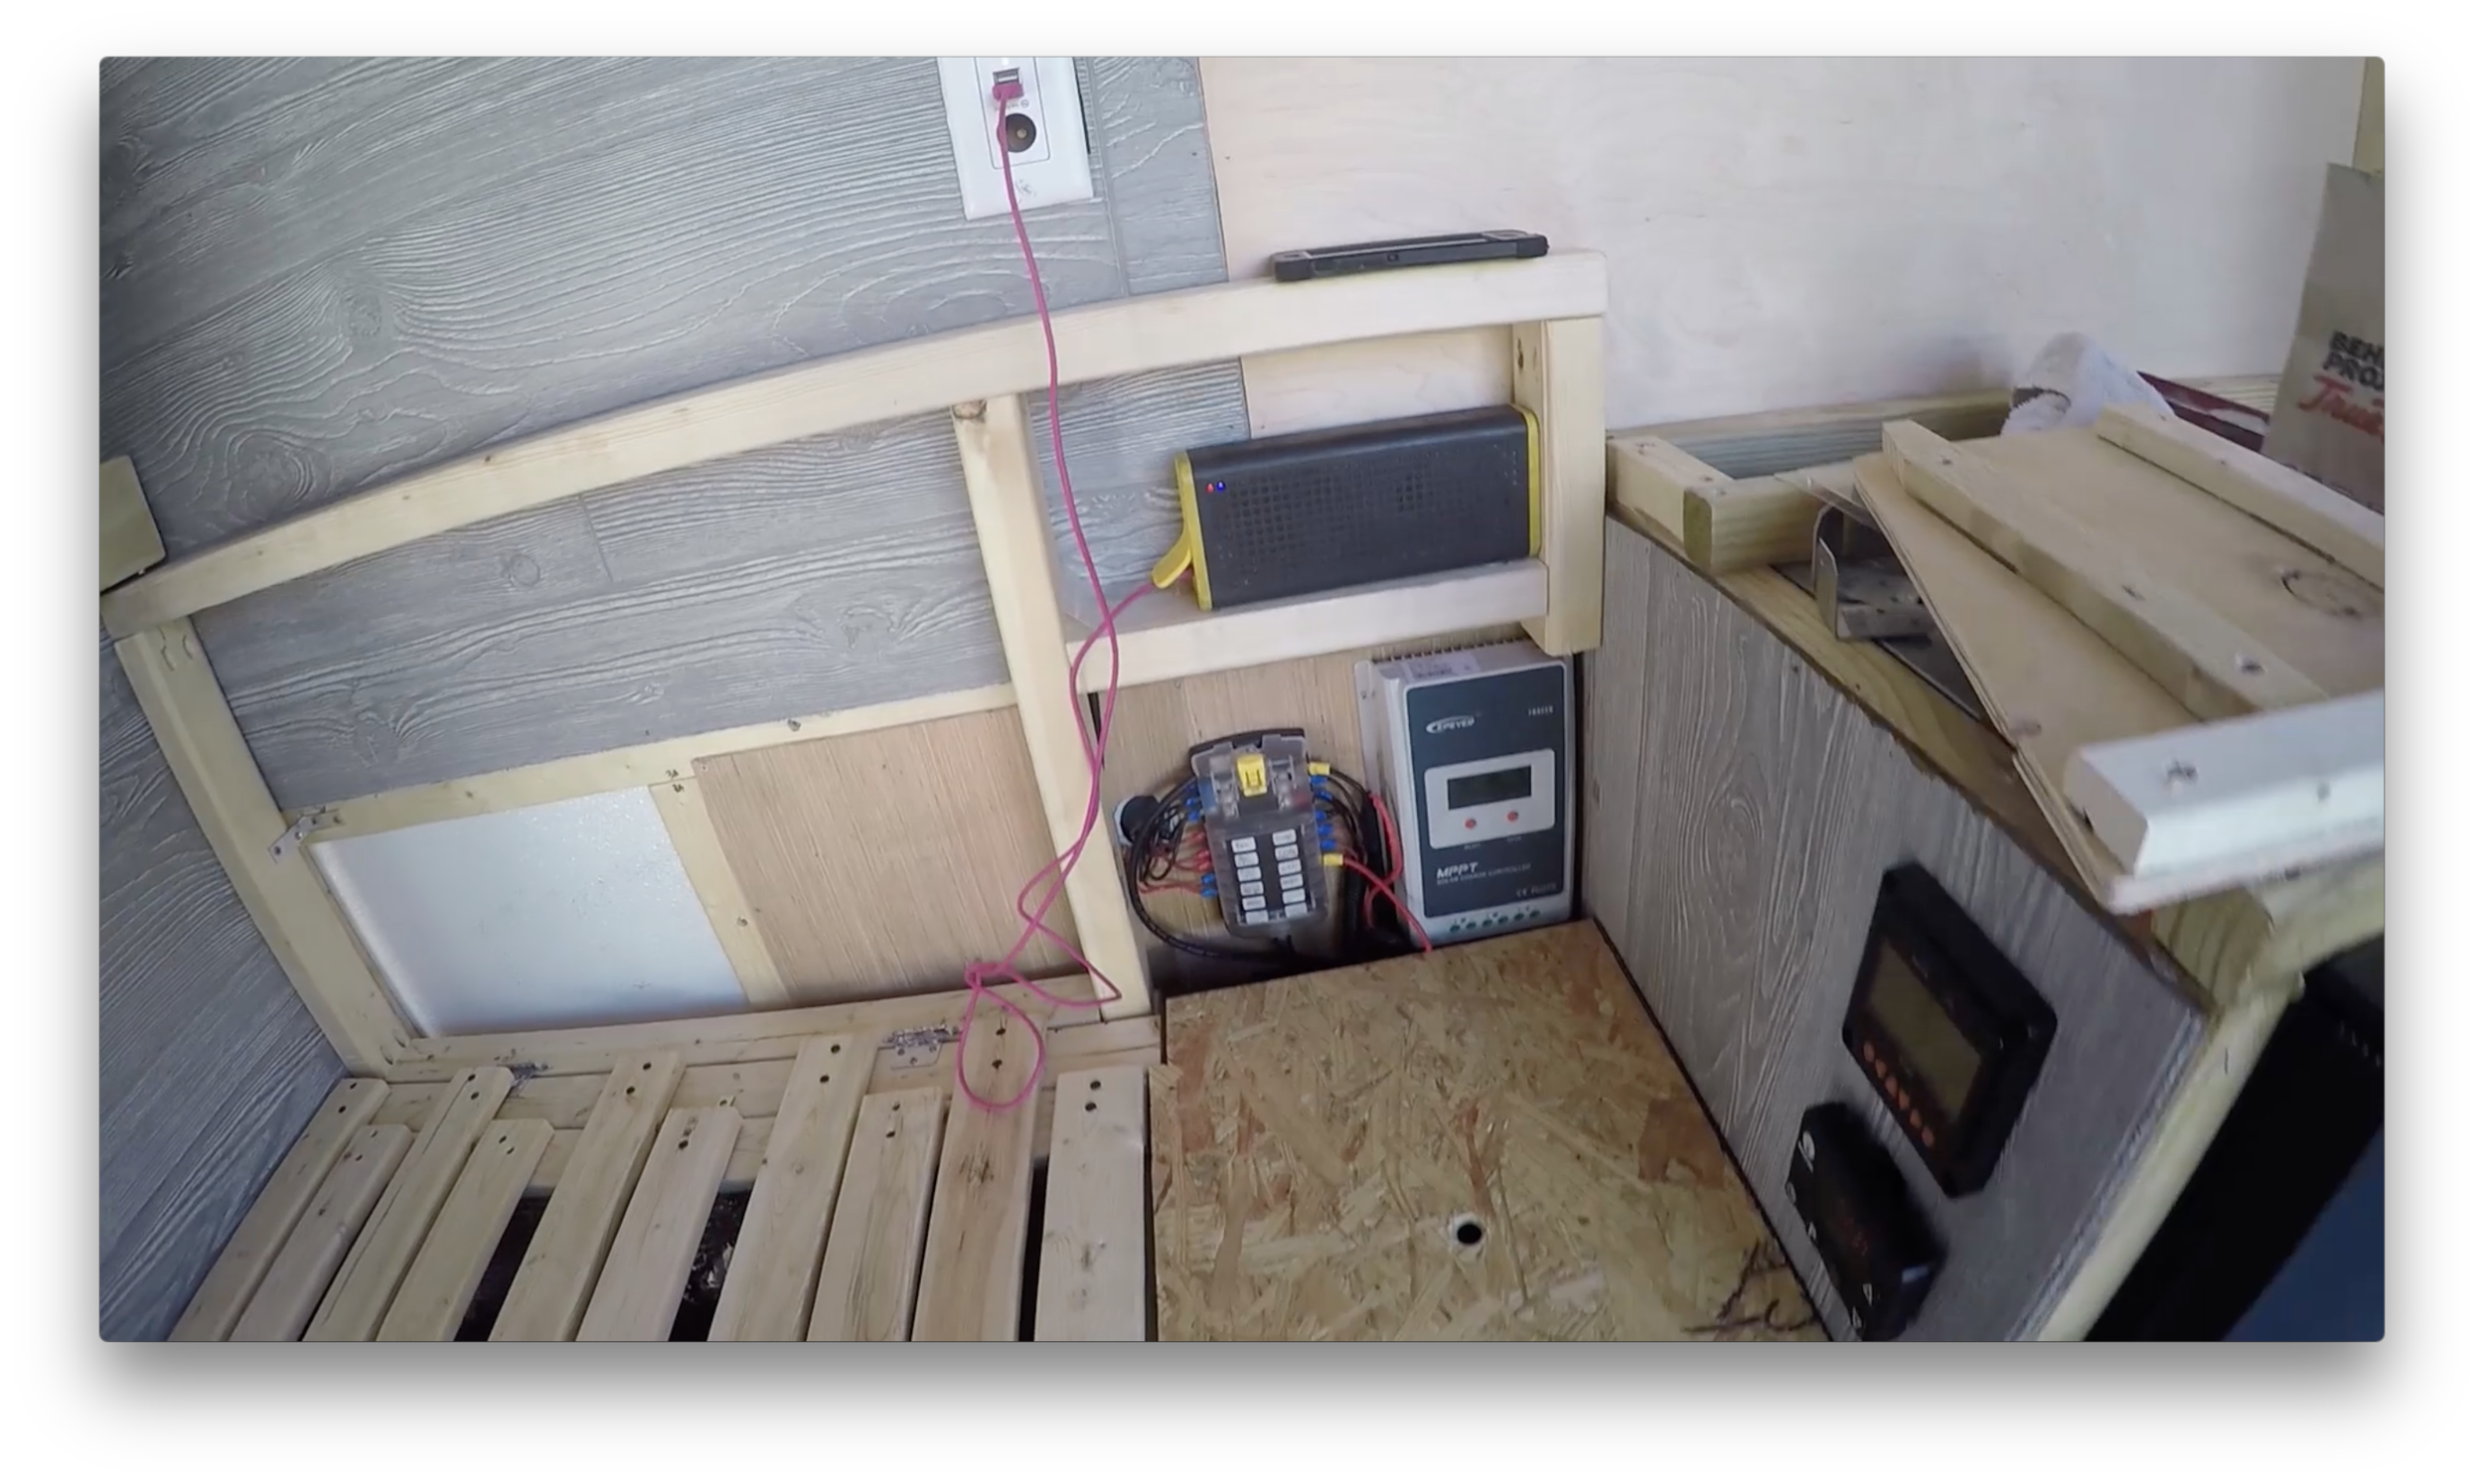
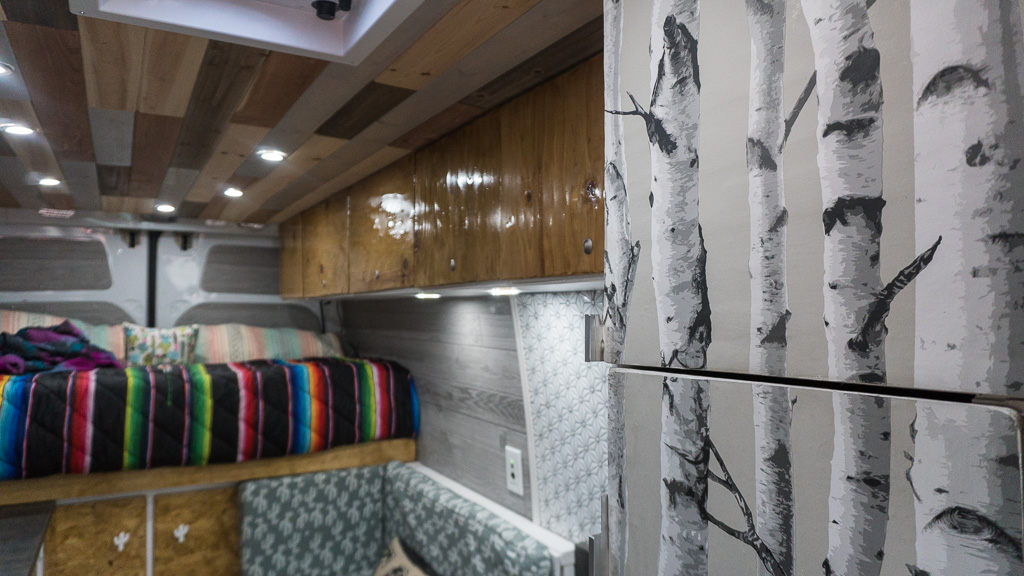
We framed the top cabinets according to out structural ribs under the walls, we framed them out originally, to attach and hold cabinets. So basically, whatever the distance is between each rib, that would be the size of each of our cabinets. Since we are using the ribs to anchor everything, we just made it easy on ourselves and figured we would measure the doors and cut our own, instead of purchasing some pre-fab door fronts, like we planned. Each wall cabinet is a different size, but you can’t really notice, as it goes well with our all over the place style.

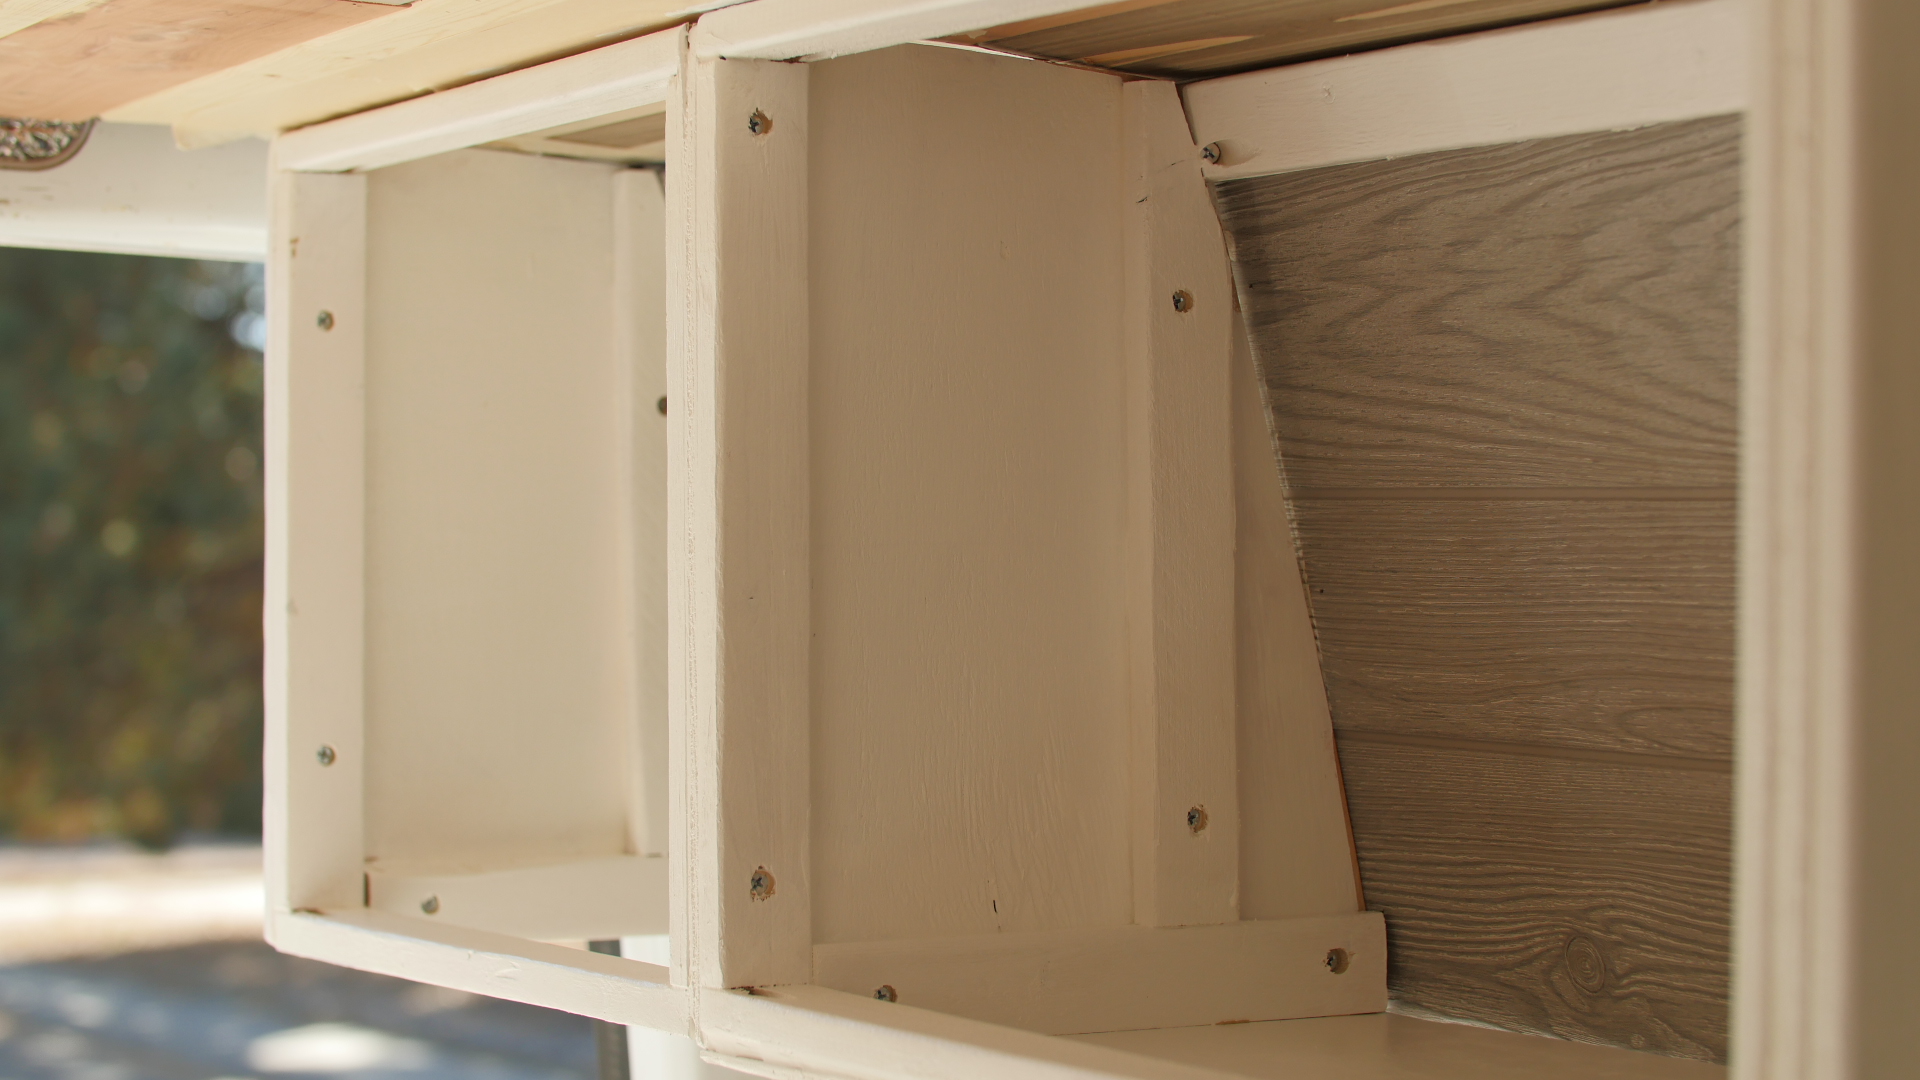

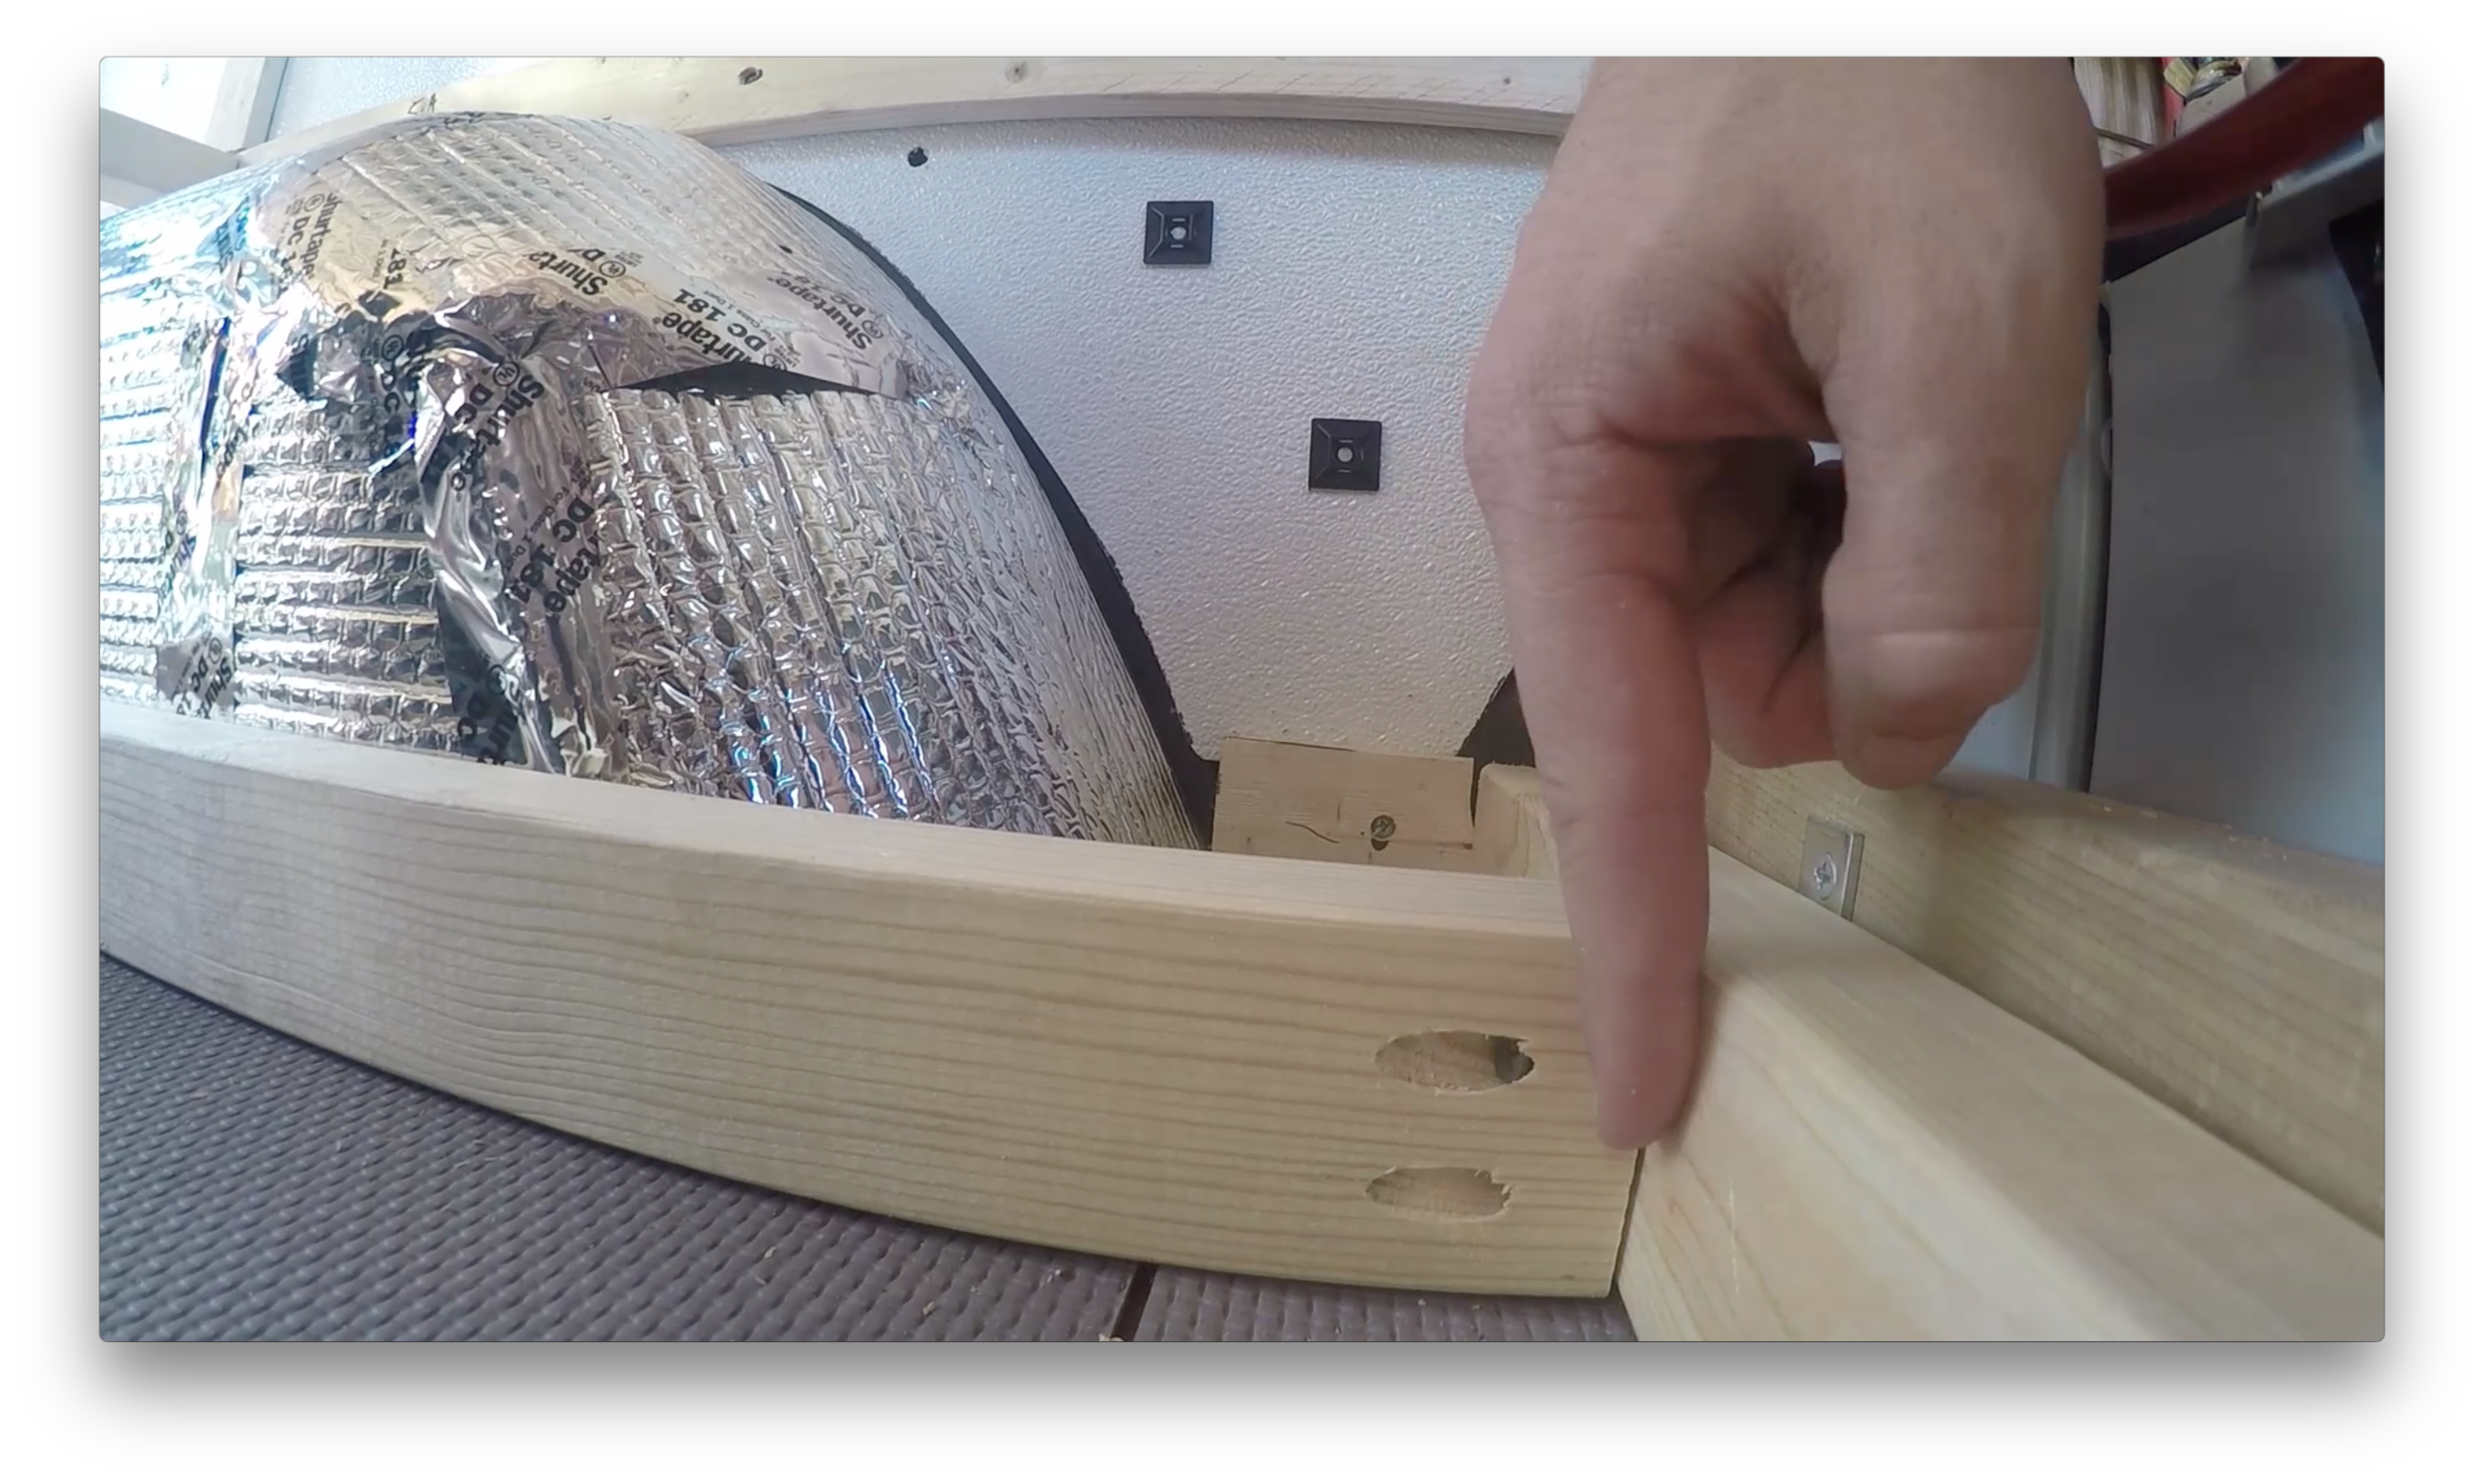
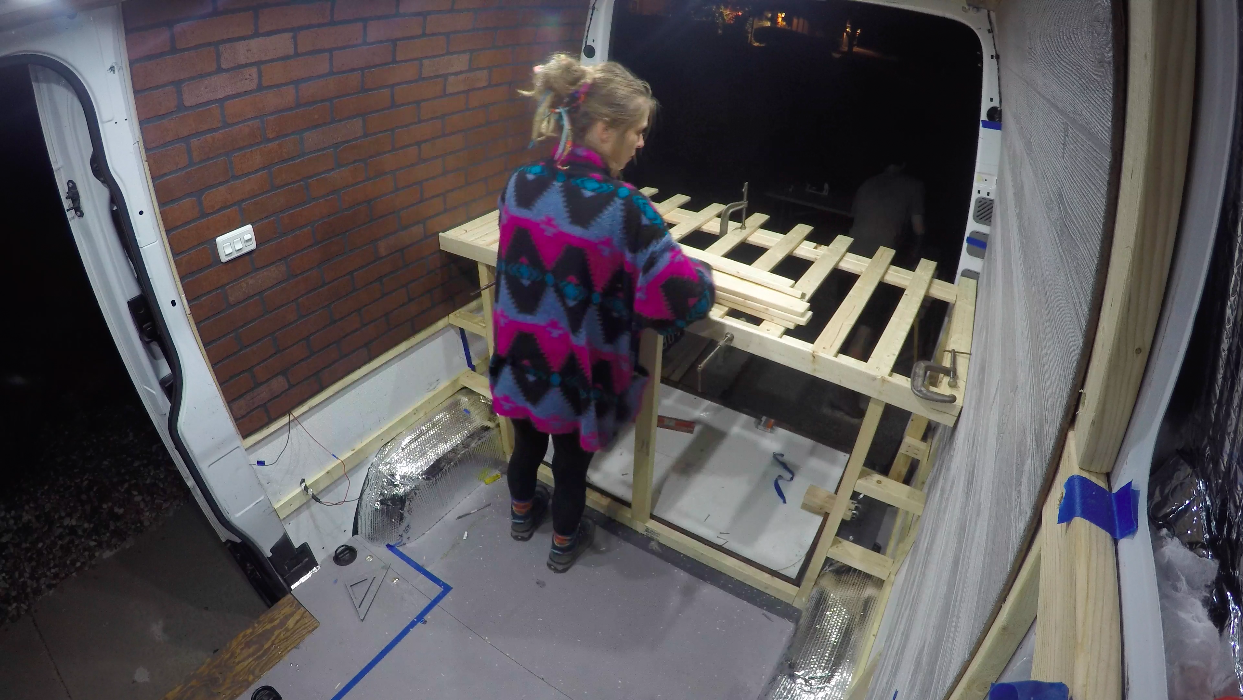
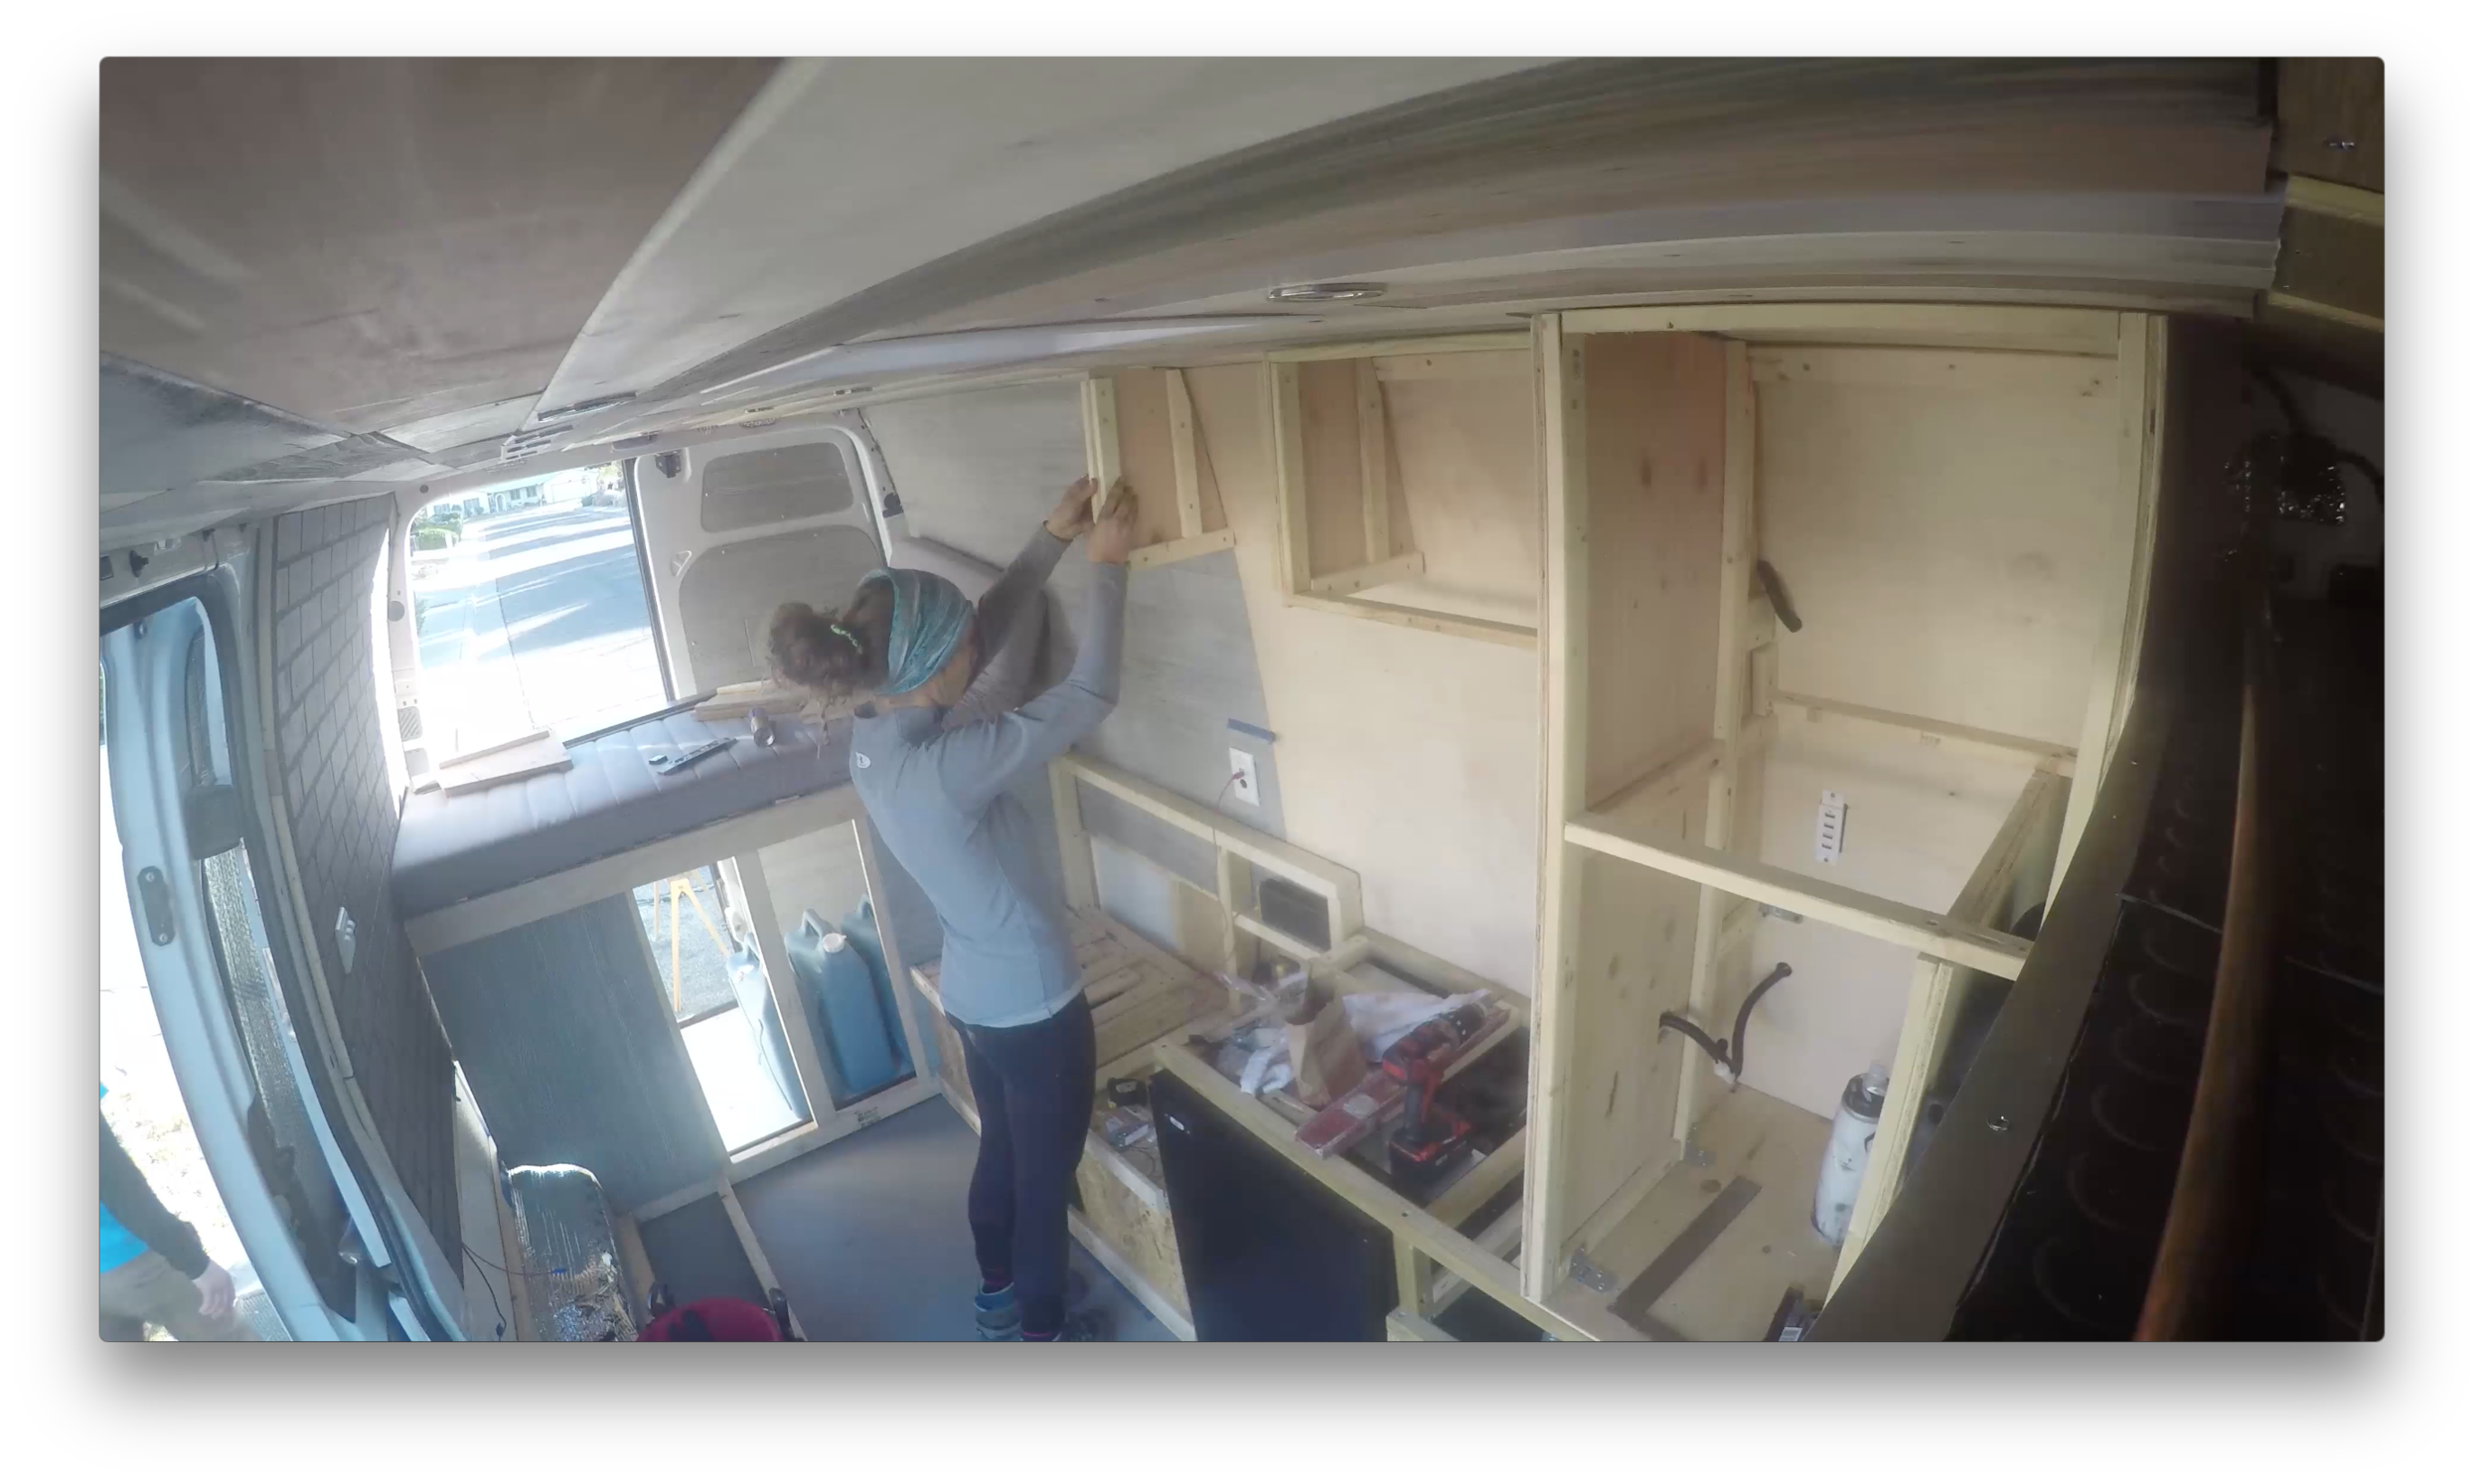
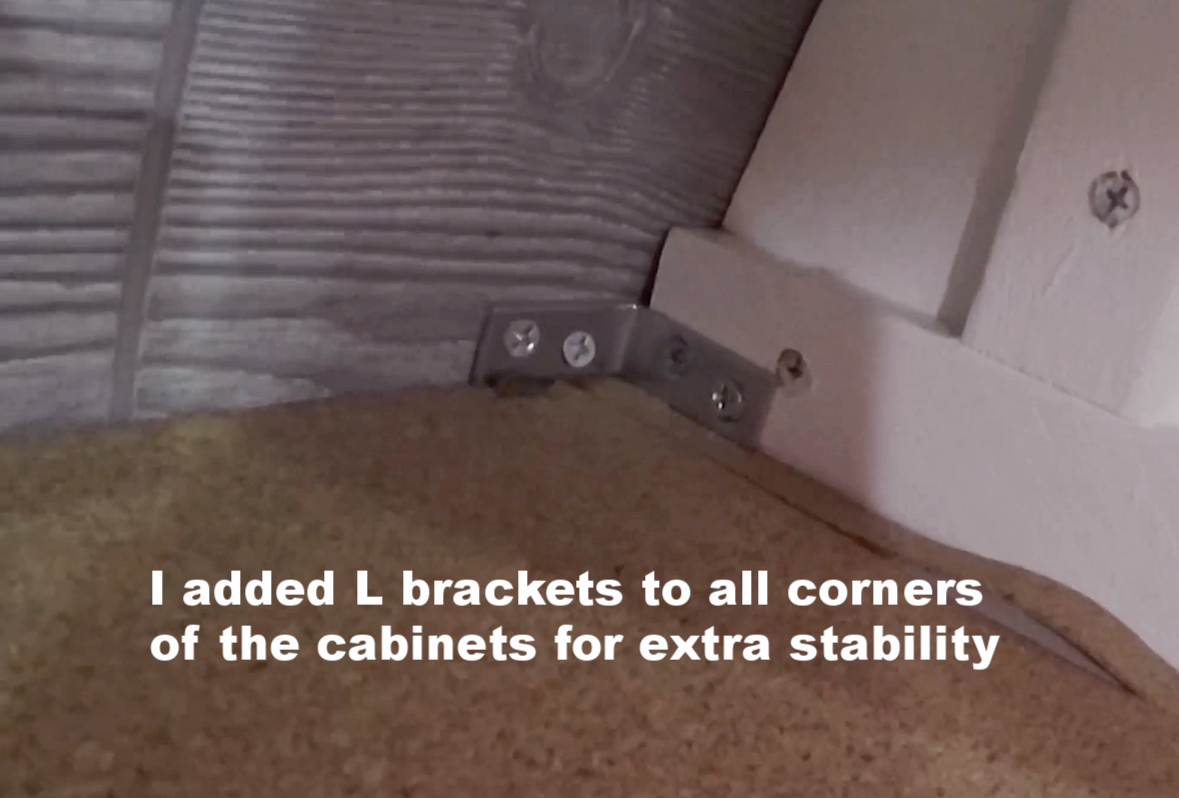
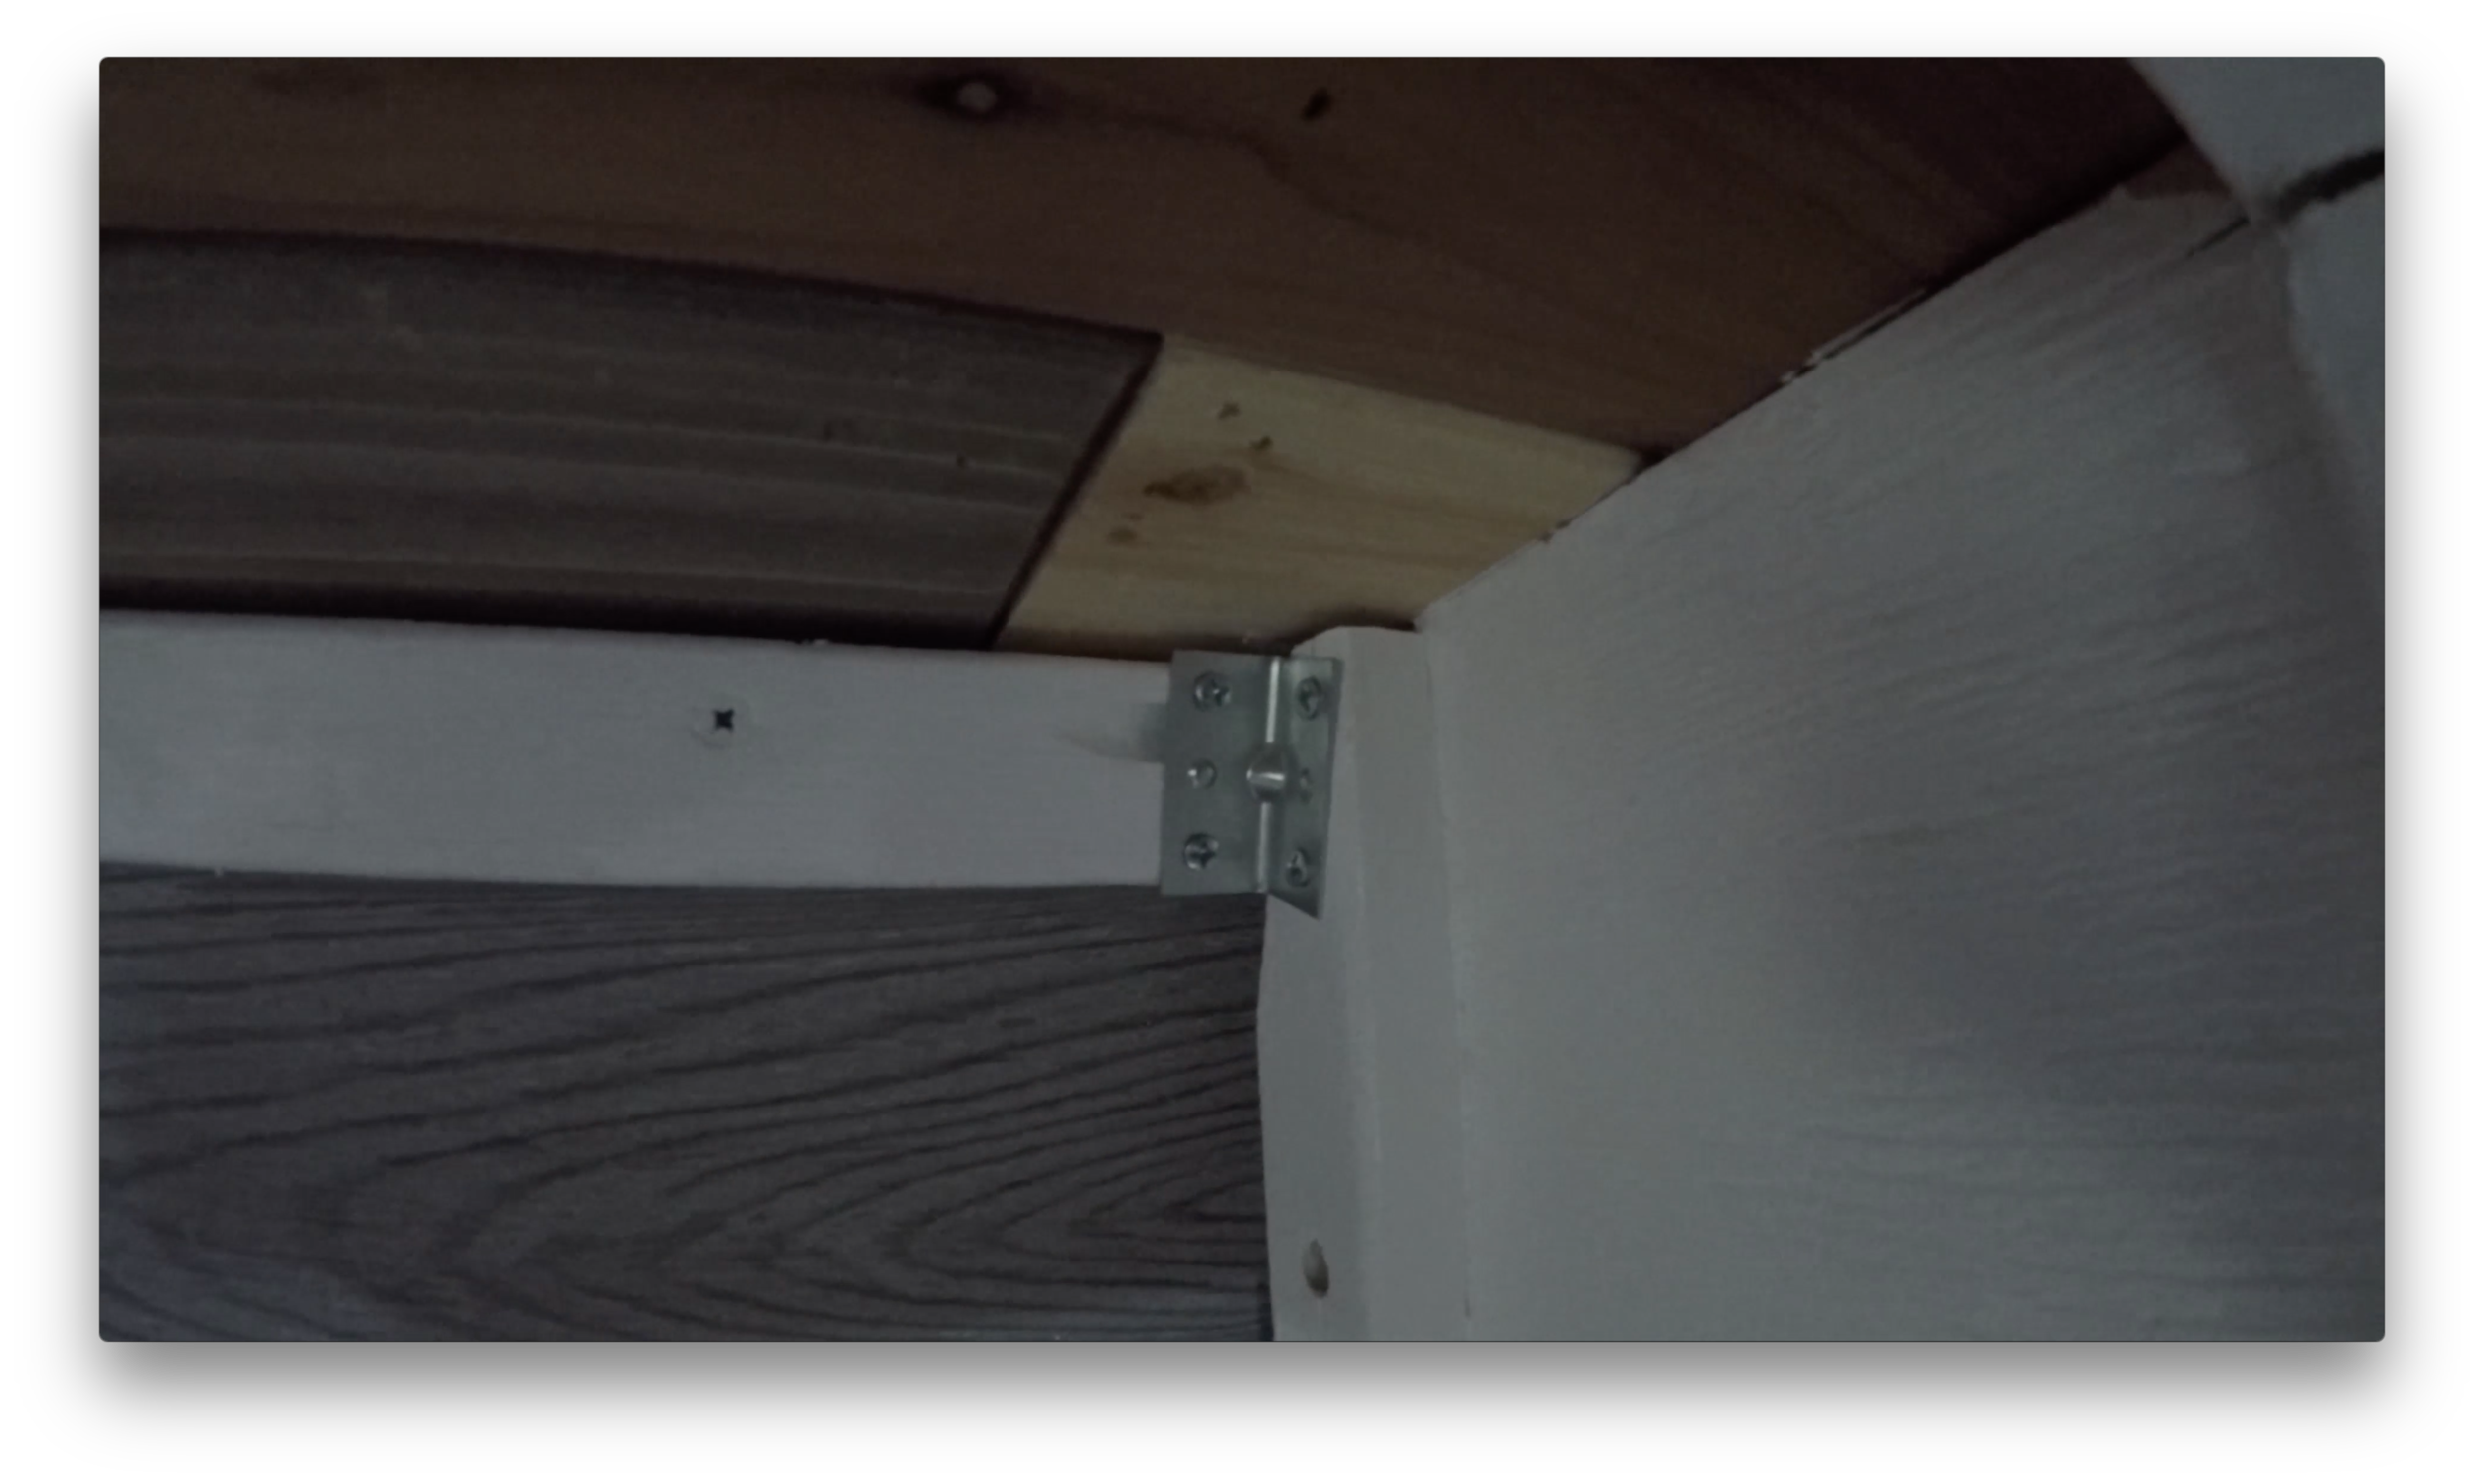
We prefabricated each of the cabinet dividers first and then attached them one at a time cutting the attaching, supporting slats as we went. Here, I would highly recommend adding l brackets to anchor everything to the van and fasten everything together, as well as pocket drilling all support slats.
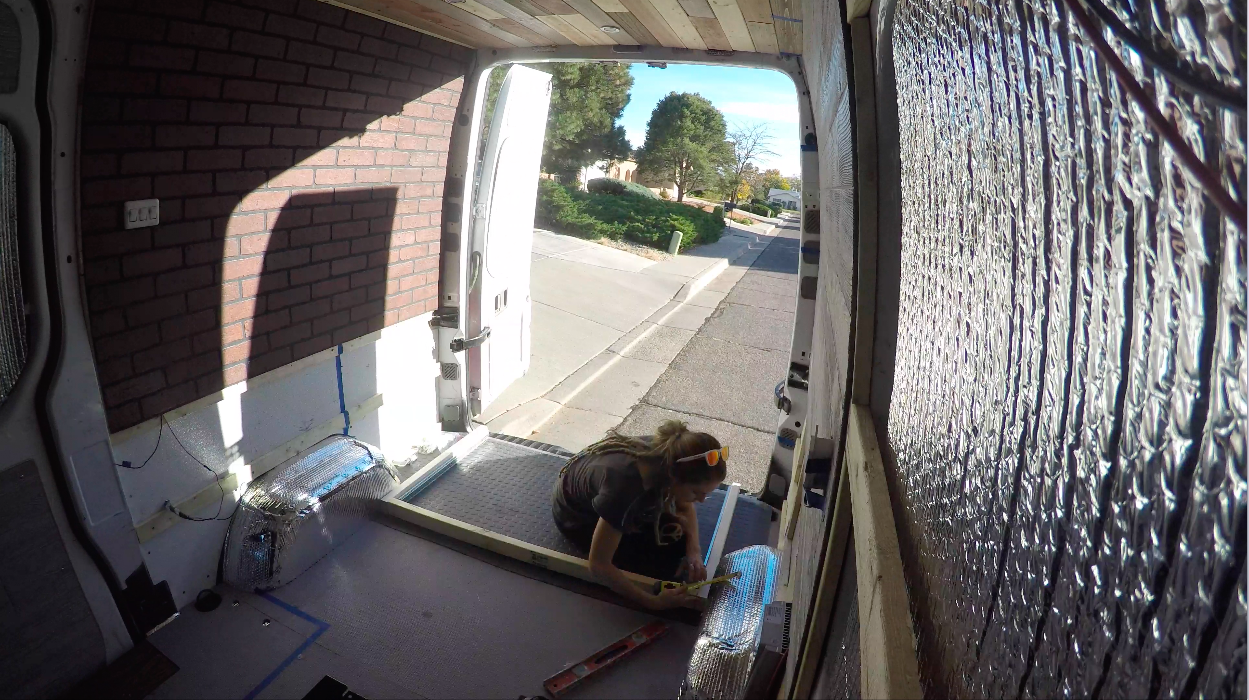
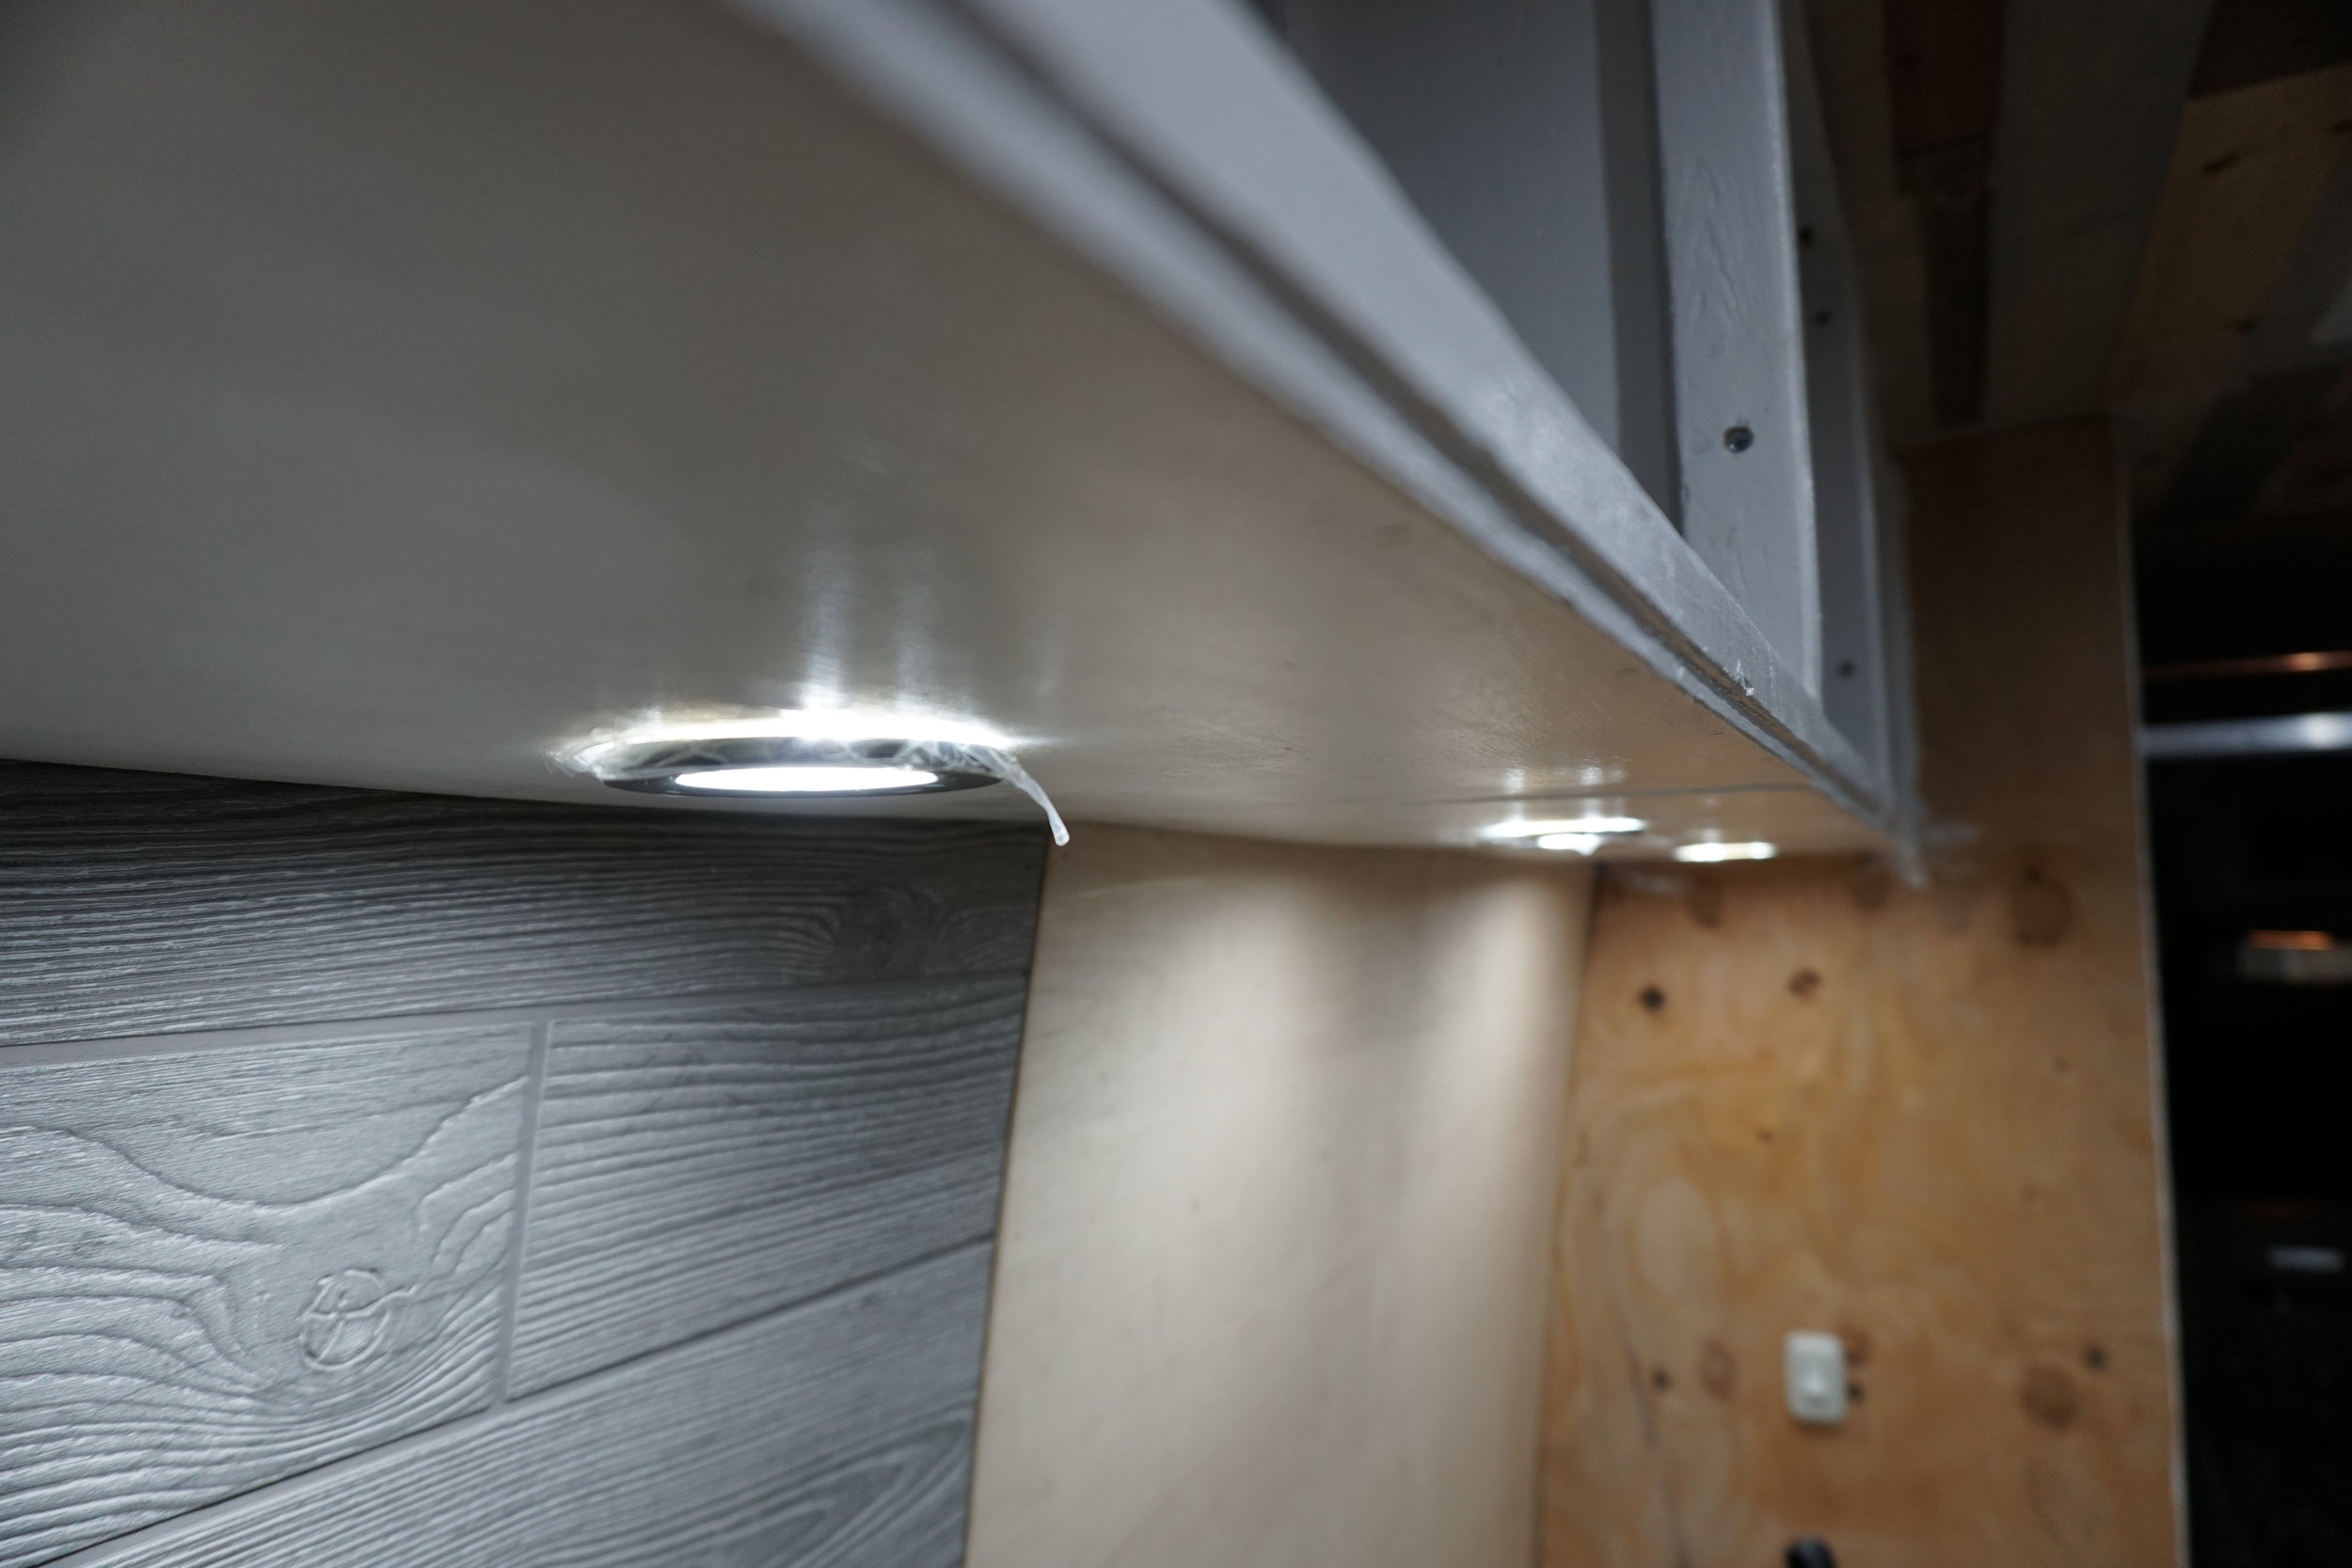
I added a thin sheet of plywood to the bottom of the cabinets and cut holes in them first few for our under cabinet lighting. We also added left over floor in all the cabinets for liners. I really want to stress here to make sure you liquid nail and l bracket anything you think maybe suspect. It will save you some time after some bumpy dirt roads that like to wiggle screws out and shift things out of place. Ours shifted a bit to where it wasn’t noticeable. It was actually took a second to pinpoint what was going on…Our push button latches weren’t catching on the installed catches anymore because of small amounts of shifting from all the dirt roads we’ve been sending it down. Luckily, I’m equipped with tools. So, I fixed it on the road. Also, always keep a few extra L-brackets, of all sizes, on board incase you do hit a rude bump in the road. They can really save the day.
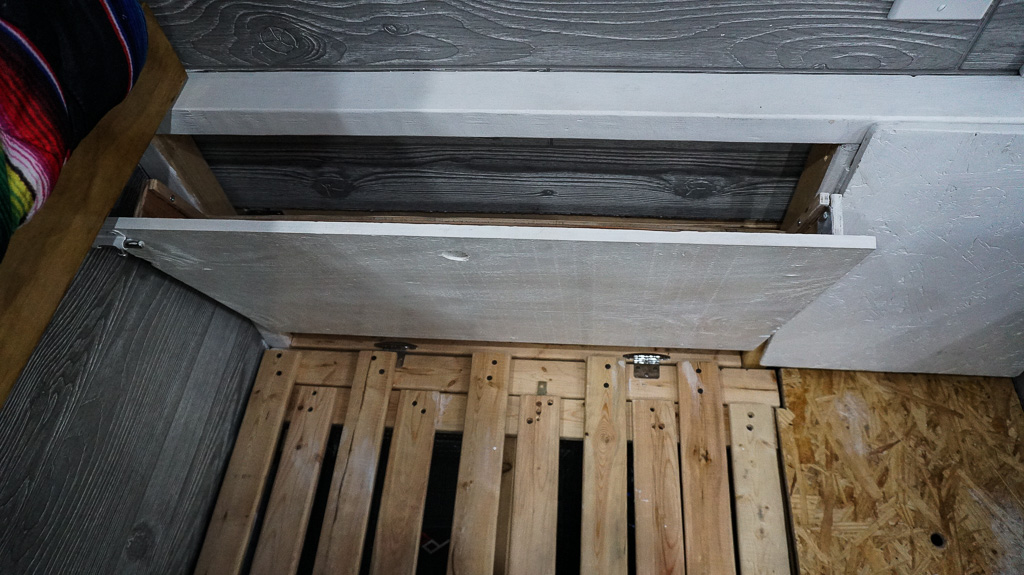
For the tall cabinet above the toilet, we wanted to be able to still put the driver seat back and also have an area for hanging jackets. So we notched the cabinet out a bit, to give the coat rack and seat room. One flaw with our door is on the top of the tall cabinet, we didn't take into account how we would attach the door. So, at the moment, it’s a kind of annoying swing-up door, until we figure something out. Above the toilet, we installed a large drawer for all our cooking, cutlery and other food related utensils. We used a 24 inch fully extending drawer slider here. It’s the same one we used for the toilet. Somehow, this drawer works. With no cabinetry skills, we got lucky on a few of our drawers. For this cabinet, we used plywood for the door and drawer fronts. We painted them white and then applied a wall paper from Etsy, on top of the heavily sanded and painted plywood, to get a nice finish that we were hoping for.
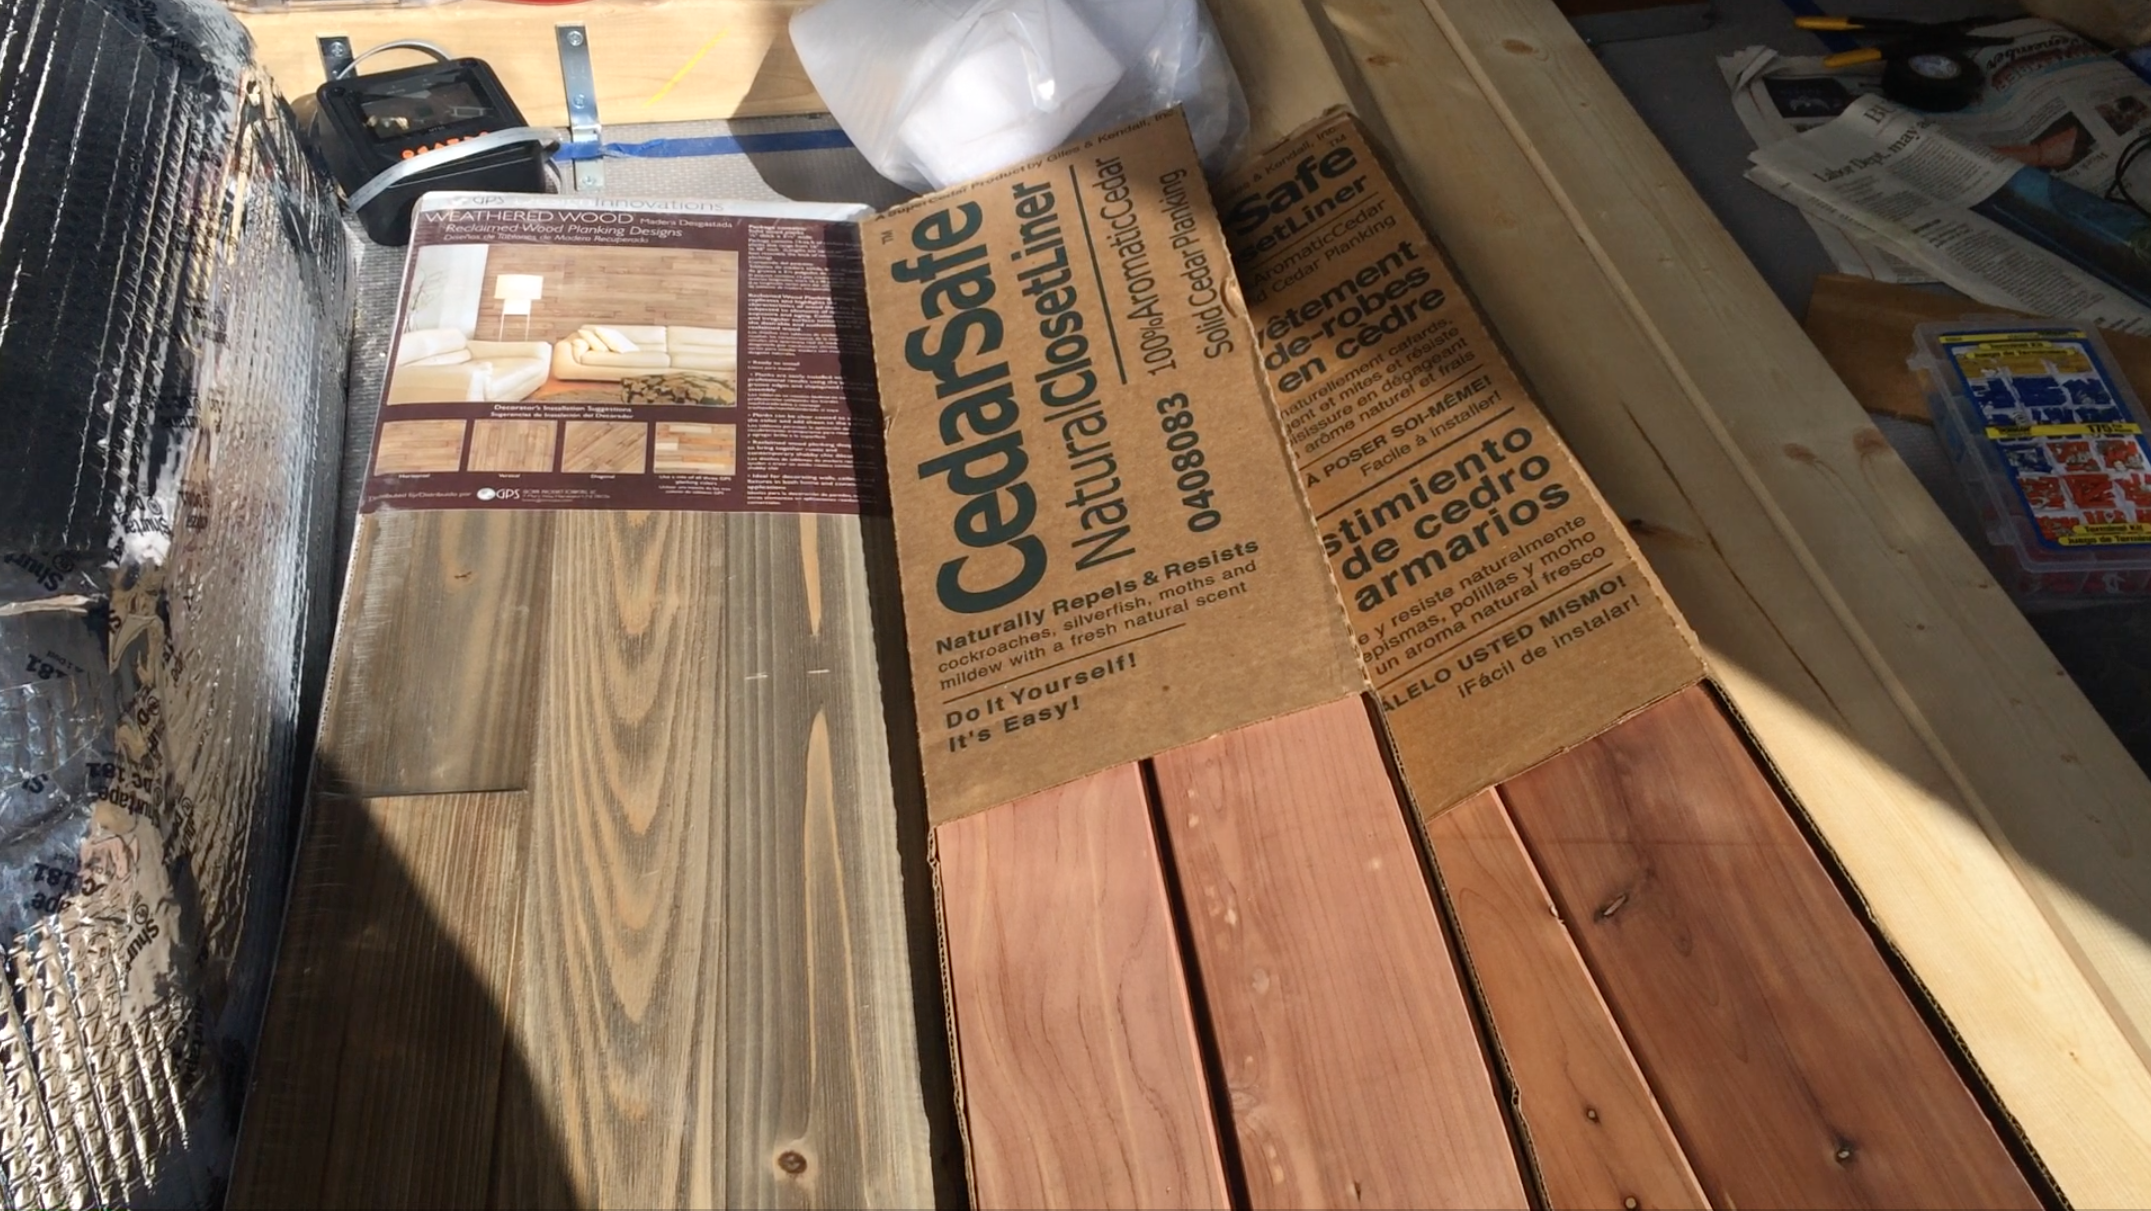
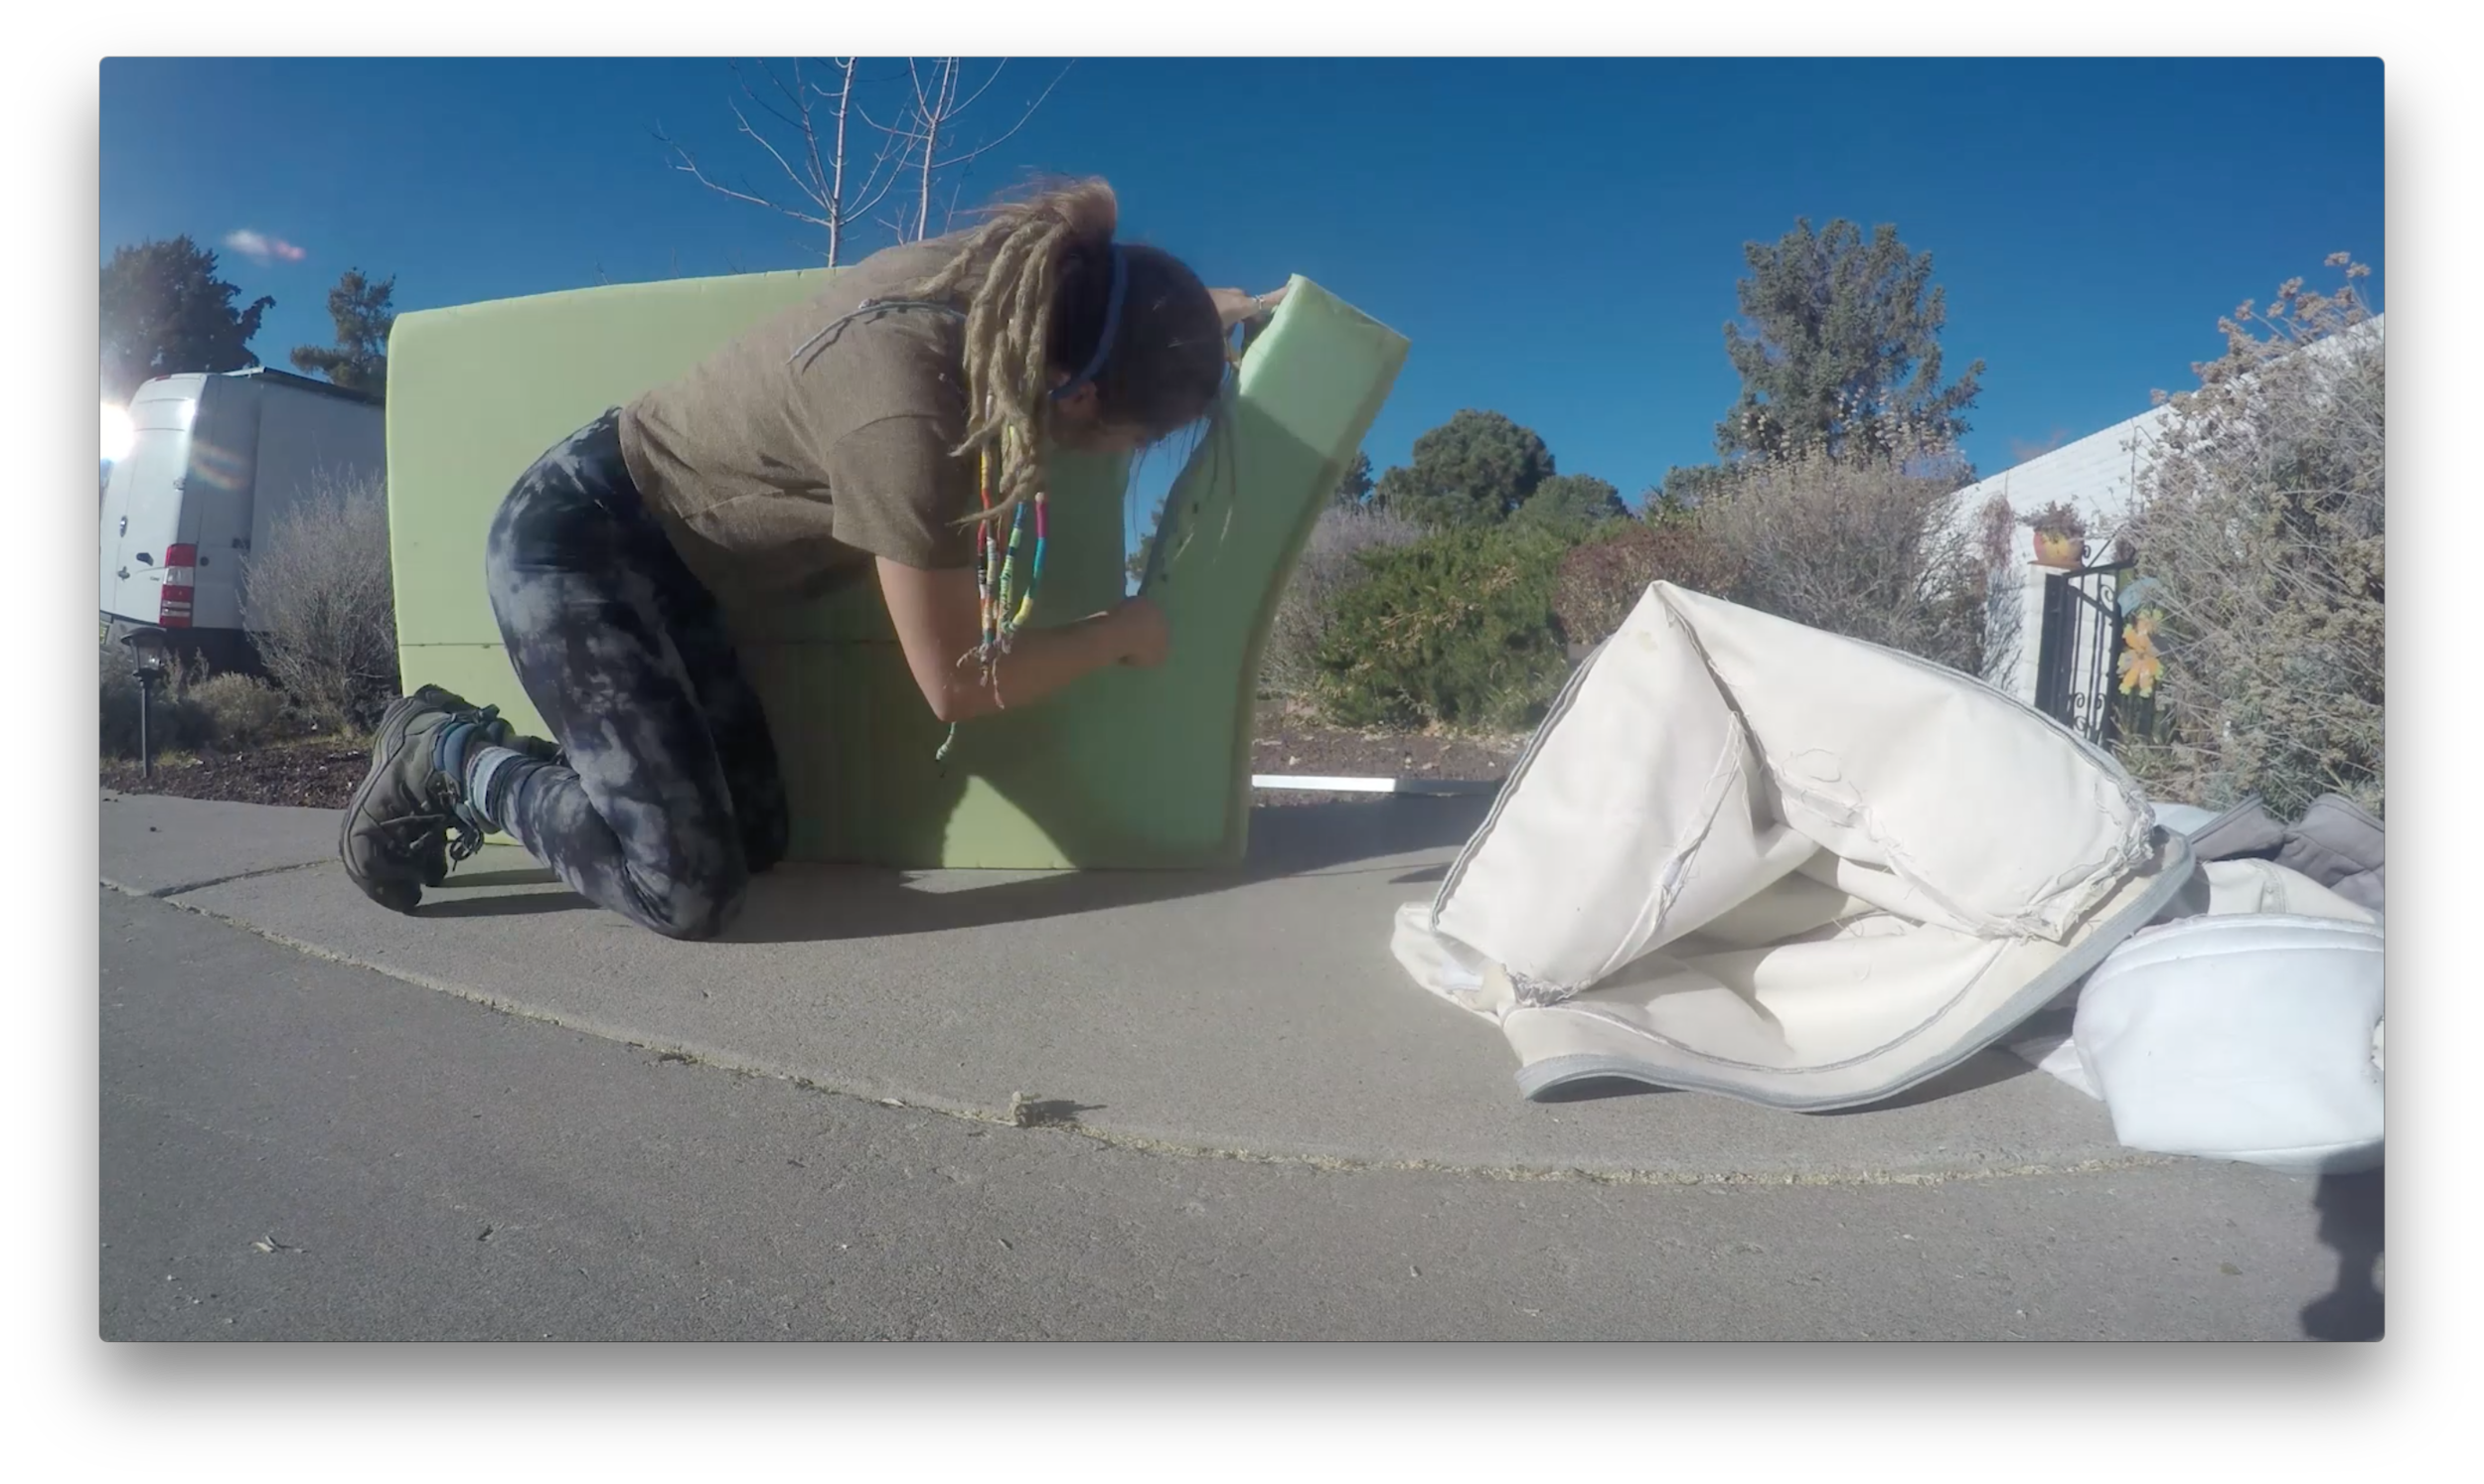
We really struggled on an idea for all our cabinet doors since it’s nearly impossible to find the right sizes for our design that is changing and morphing everyday. We hit the Lowe’s Scrap wood and came up big time. If you don't know, at Lowe’s in the lumber section, they have tons of scrap behind the saw. Most of it is up for the taking or substantially discounted. We got a few damaged pieces of plywood that we cut to size and sanded about as much as you could sand to get them smooth and looking less beat up. After this, we painted them with a Honey Polyurethane Stain. For best results on this, so called, “1-step poly stain” is to give it a nice thin first coat. Let the stain dry for at least 8 hours. Get some fine steel wool (000 or 00) and sand it down to an even finish. (**Use gloves and a mask! If that steel wool gets into your fingers, it will ruin your week, trust us!)
Then, apply another coat and give it more time to dry. We gave ours a few days, because they smell like a basketball court. It took a few days for the smell to go away. Also, remember when dealing with this stuff to wear a mask and have really good air flow where ever you are painting it, preferably do it outdoors. Breathing this stuff in while it is in it’s most volatile state, when it is wet, is ridiculously toxic.
After the doors were dry, they were ready to install. This is one of the most tedious parts of the cabinet install. First off it takes many micro adjustments to get the doors to all align and shut perfectly. Then, after driving for a while they will shift a bit and you will have to adjust. We used these 90 degree hinges and added these hydraulic arms to keep the doors open.
Another pain in the ass was installing the push-button latches to all the doors. Not only is it tedious, it’s kinda risky because when your a beginner like me, you make mistakes. There’s no room for mistakes here, unless you want to cut and paint cabinet doors that takes at least 2 days to dry. But seriously, these push-latches take some serious time and measurements to get perfect. Plus, we were using plywood for our doors. We were not using typical width cabinet doors, which is what the push latches usually are installed with. So we had to cut a spacer and to make the cabinet door seem thicker.
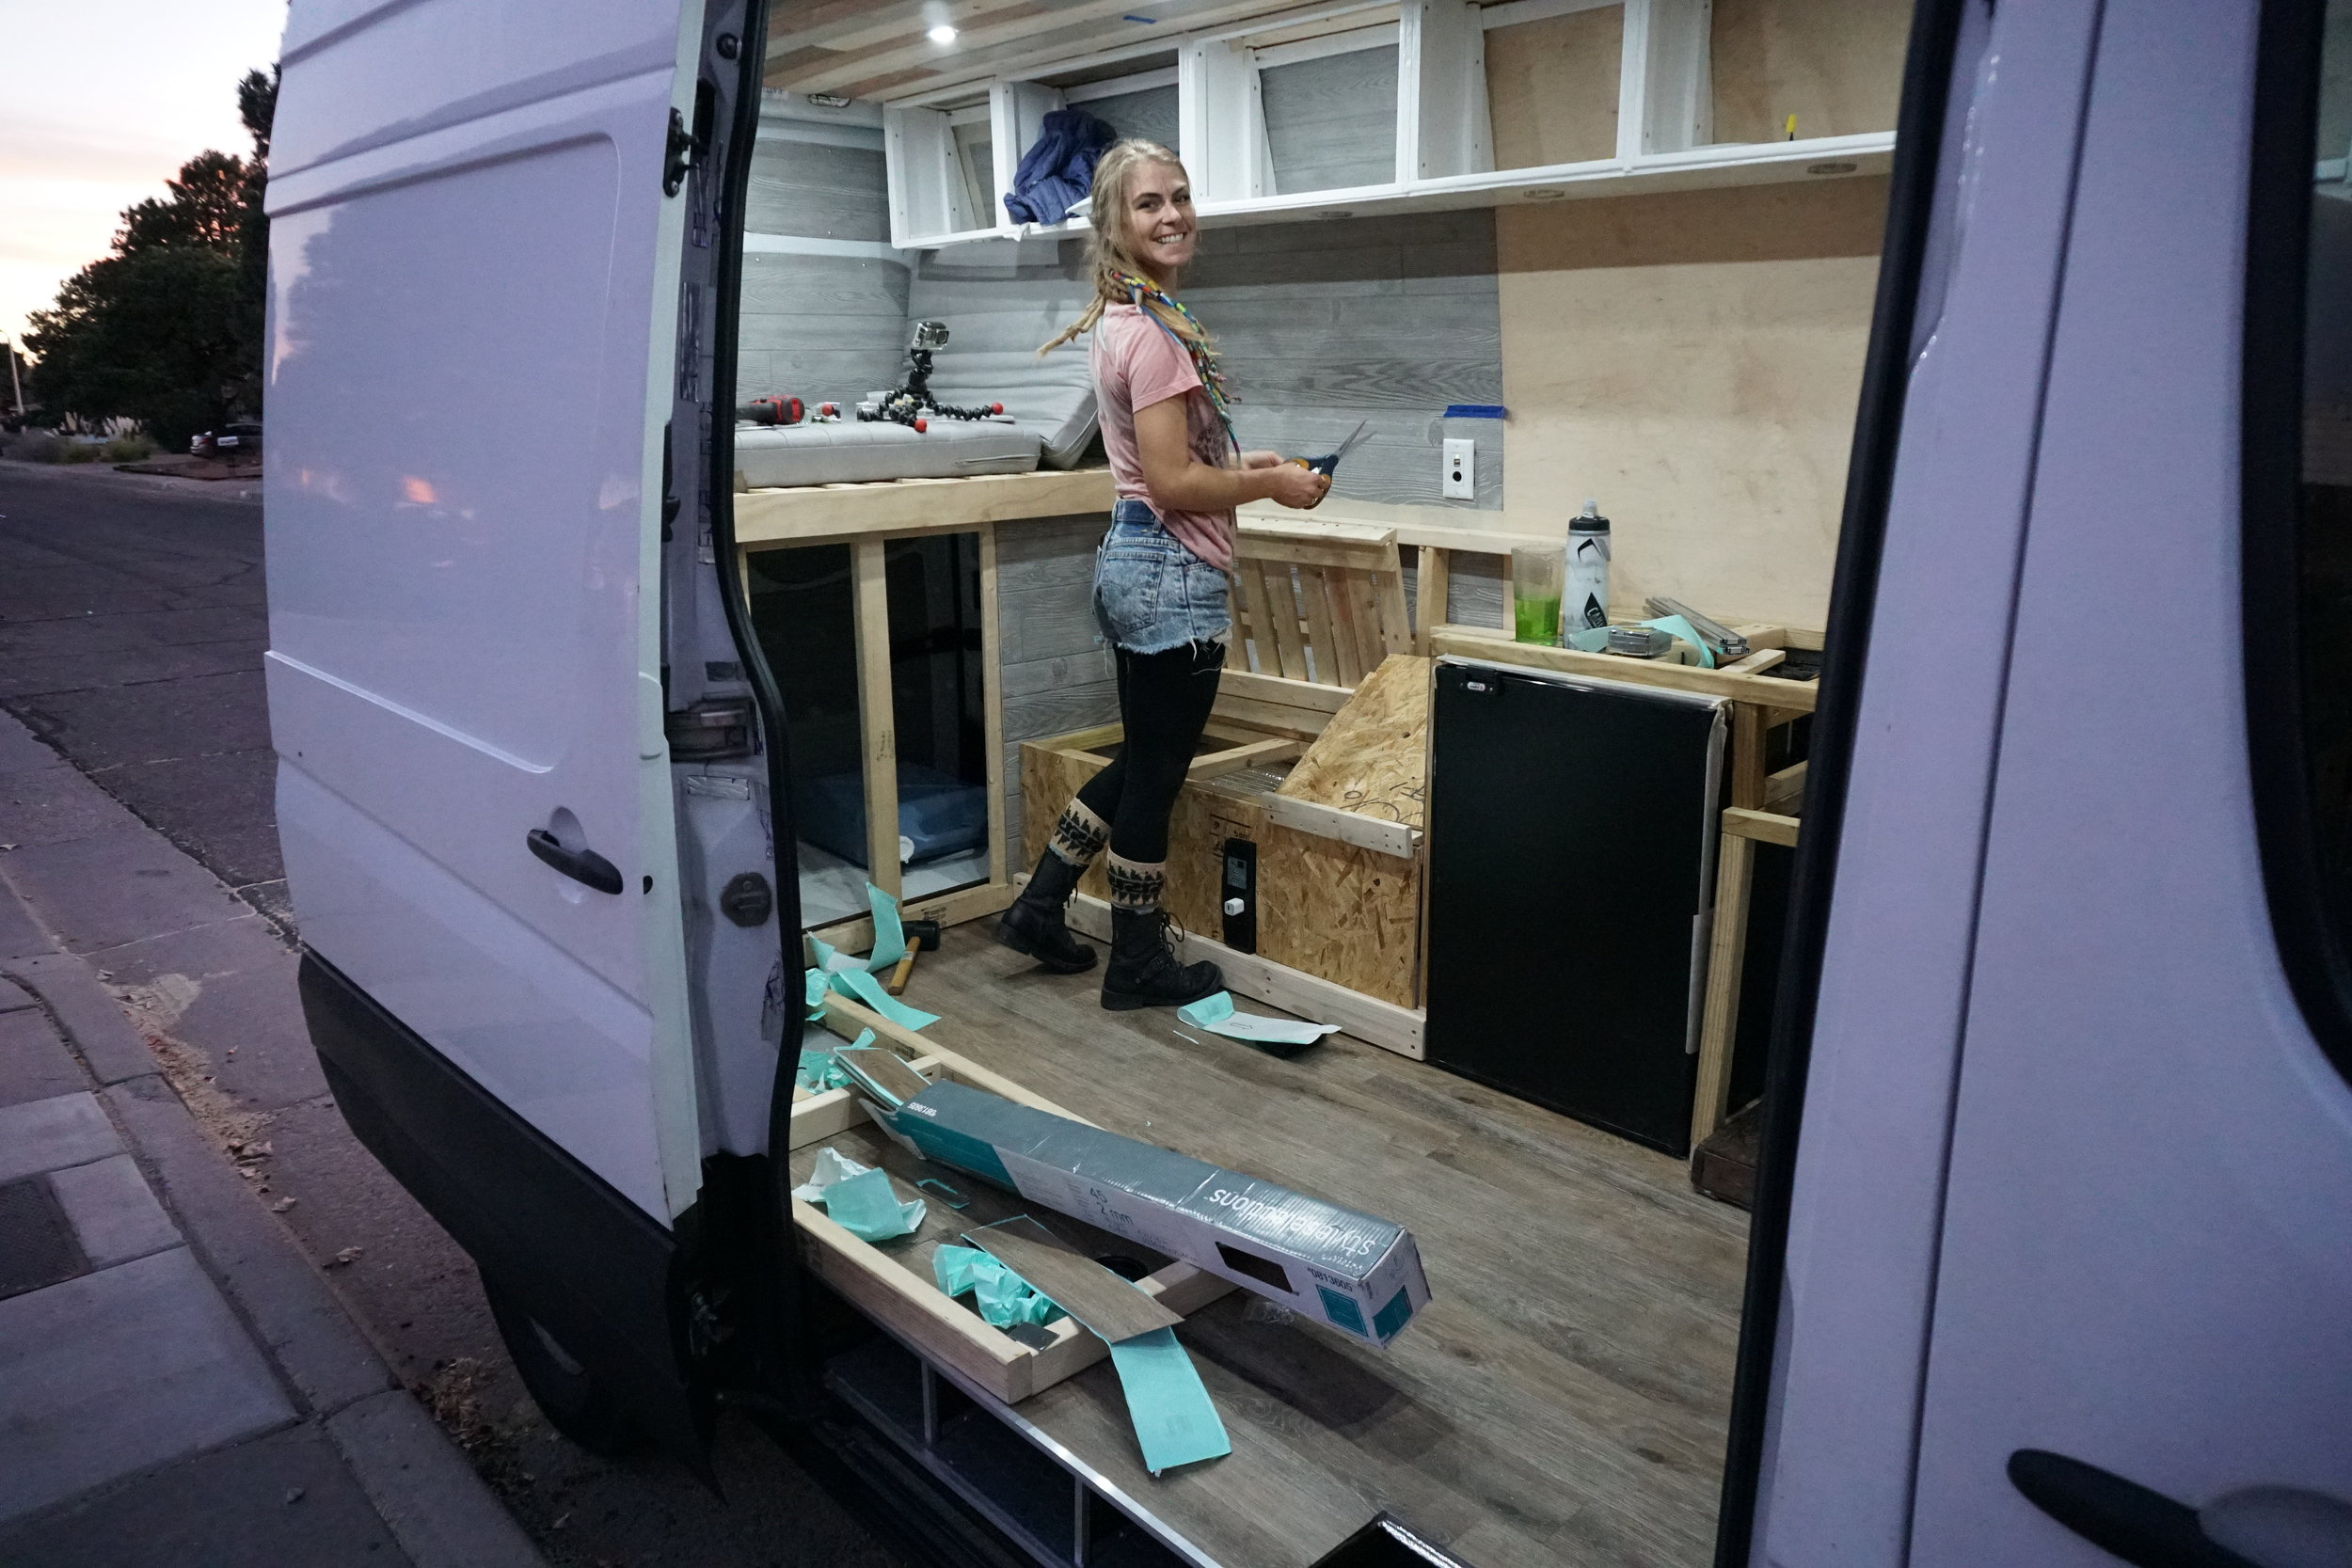
All in all, after doing it. We realized that the hardest part was planning out what we needed on board, in the van, and where it would live. We basically had to build with all of our items in mind. Building it just comes down to framing. Then, you cover it with come pretty doors. Make sure you use correct screws and always use your T Square for every cut and overtime you fasten something, make sure it’s square. It will make life easier in the long run. Check out the video for a better visual idea of how we tackled this project.


Helpful tools: Kreg Pocket Jig, T Square, Chop Saw, Table Saw, Jig Saw, Drill Gun, Circular Sander.