At this point, we were ready to start building. All the prep we were doing prior to this felt like work, tedious work and it still looked like an empty van at the end of the day. We knew we had to start with the ceiling to at least get the lights working. That way we could work into the afternoon since it was getting dark so early.
So we went with a shopping list to Lowe’s. We intended on getting the White Wall Paneling with the lines. But they were out of all but one and it was pretty beat up. We were on a mission to finish this ceiling. So we stood around in the Lumber section of Lowe’s trying to figure out a quick Plan B that we could both agree on again.
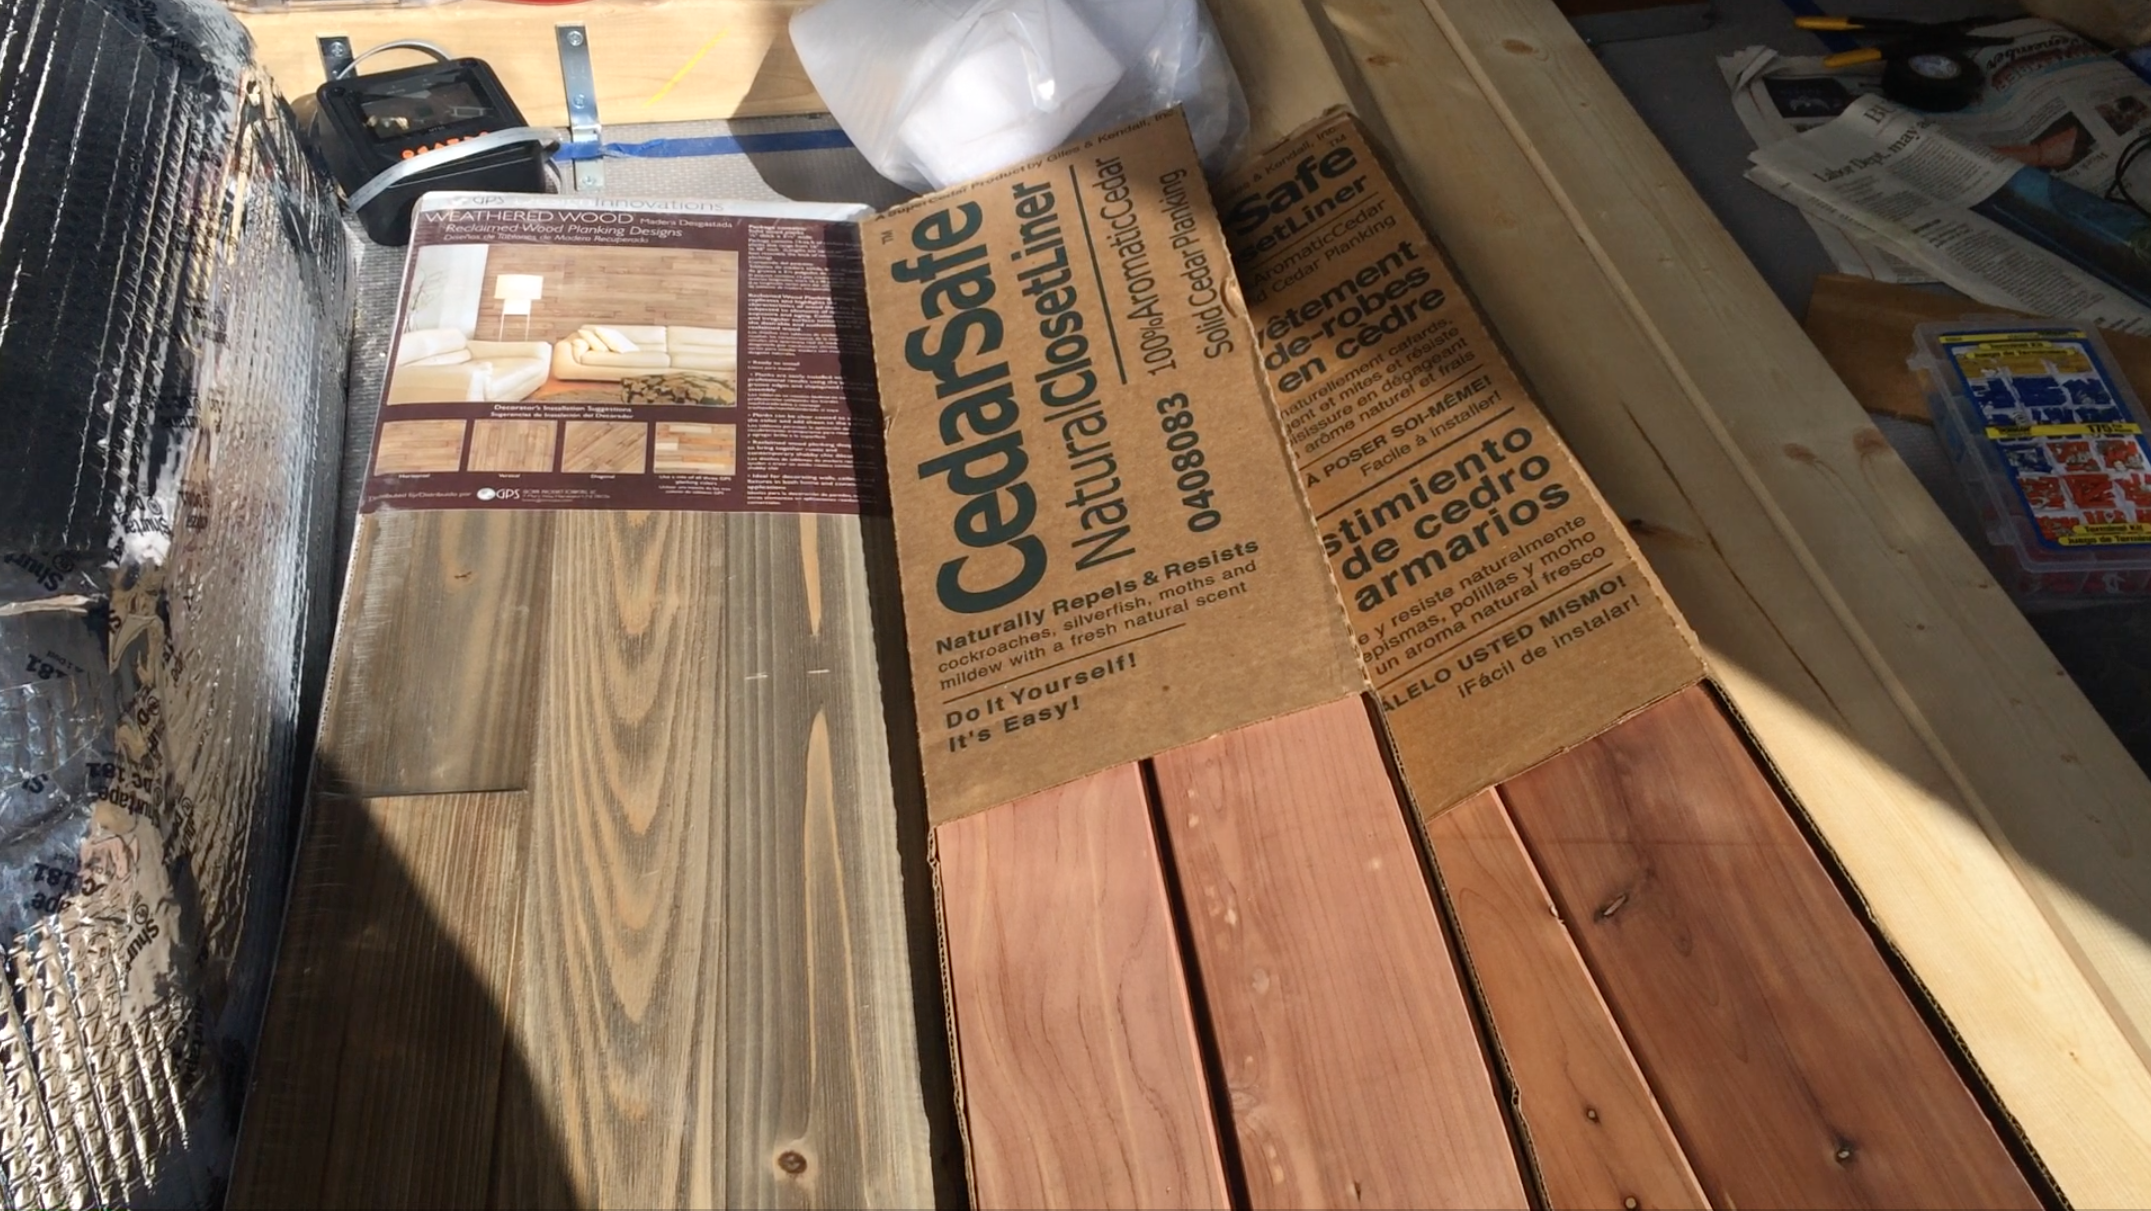
We were in the wall panel section and I smelt the Cedar walking by and didn’t care about the price. I wanted that smell in my van always. Kevin, although he liked the smell too, he was adding up the price and didn’t like the price tag on the Cedar Walk Planking Kit but he knew I wasn’t giving up on that awesome smell. So while I went out to measure to assure him it really wouldn’t be that much, he had come up with an idea to use one pack of all the planks. Get two of the $10 Planks and one pack, we would stain them. We also grabbed one of these to add to the mix.
I loved the idea because it replaced my original idea for reclaimed pallets for the roof, but I wouldn’t have to go searching for them and pull them apart once I found them.
In retrospect, I am glad they were out of that paneling because I love the end result so much better and my van smells like cedar every time I open the door!
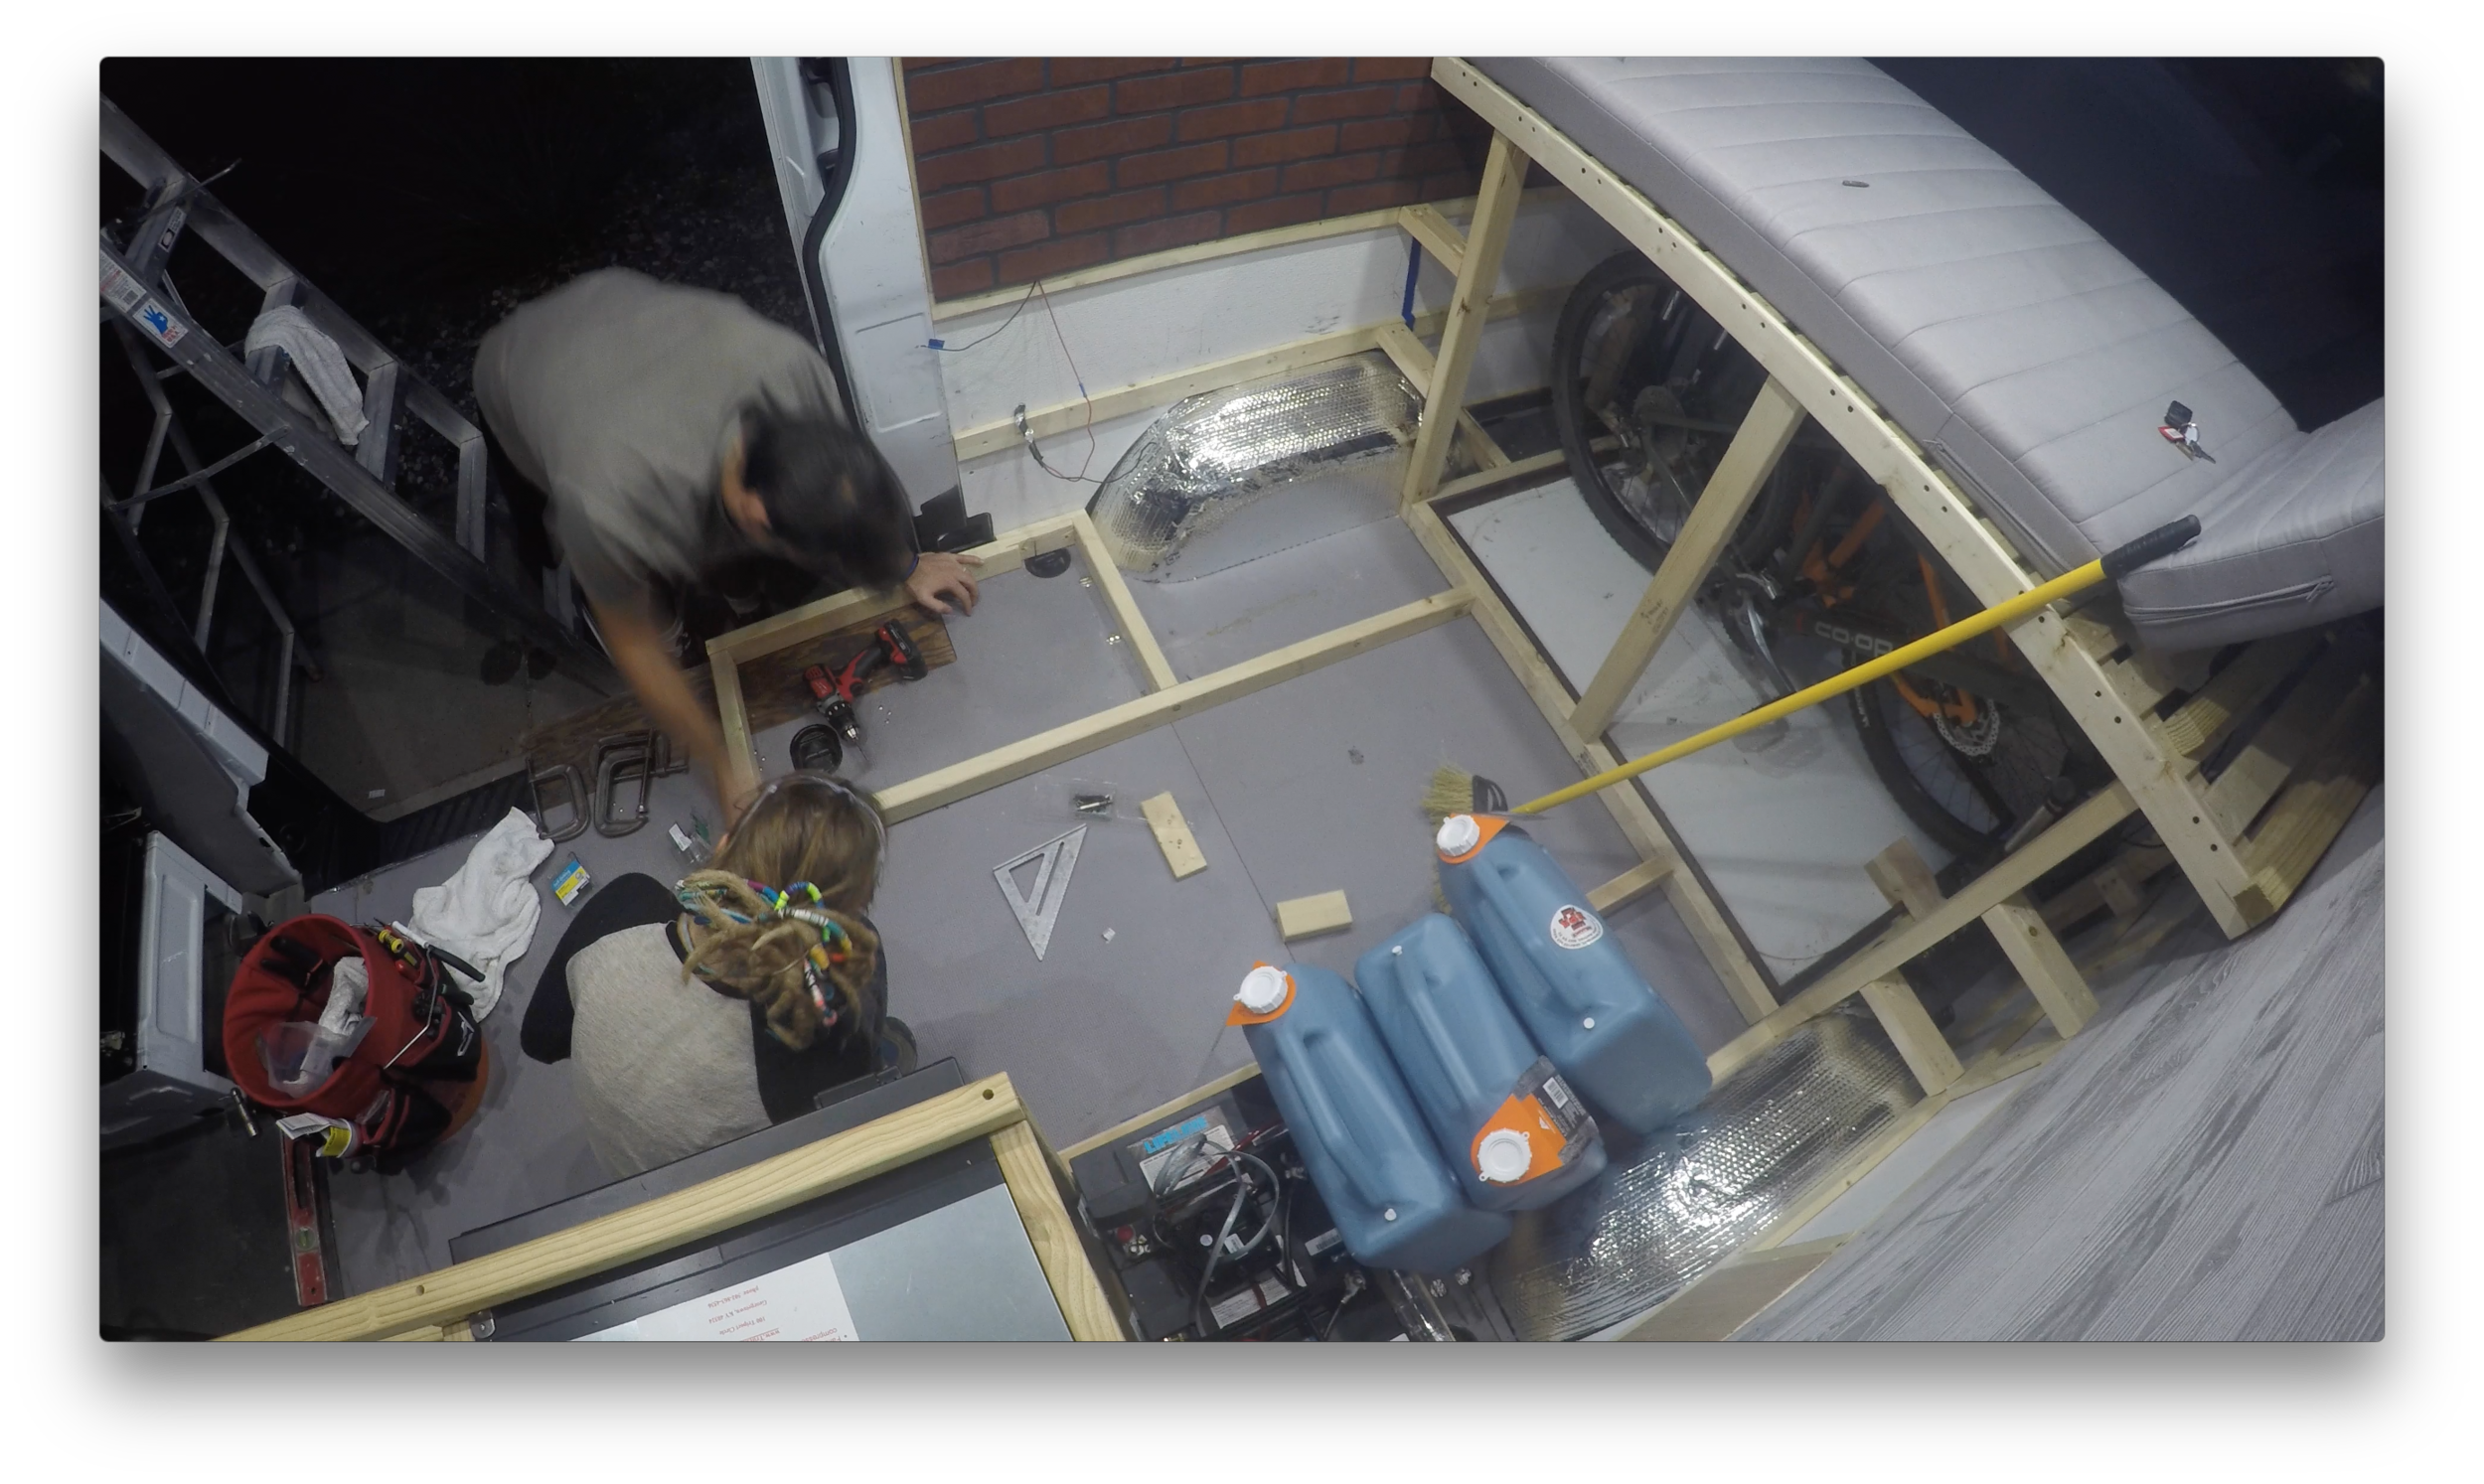
Because I had never used a nail gun before, I thought I better start on the side with cabinets so that I could learn where it would be hidden by cabinets anyways.
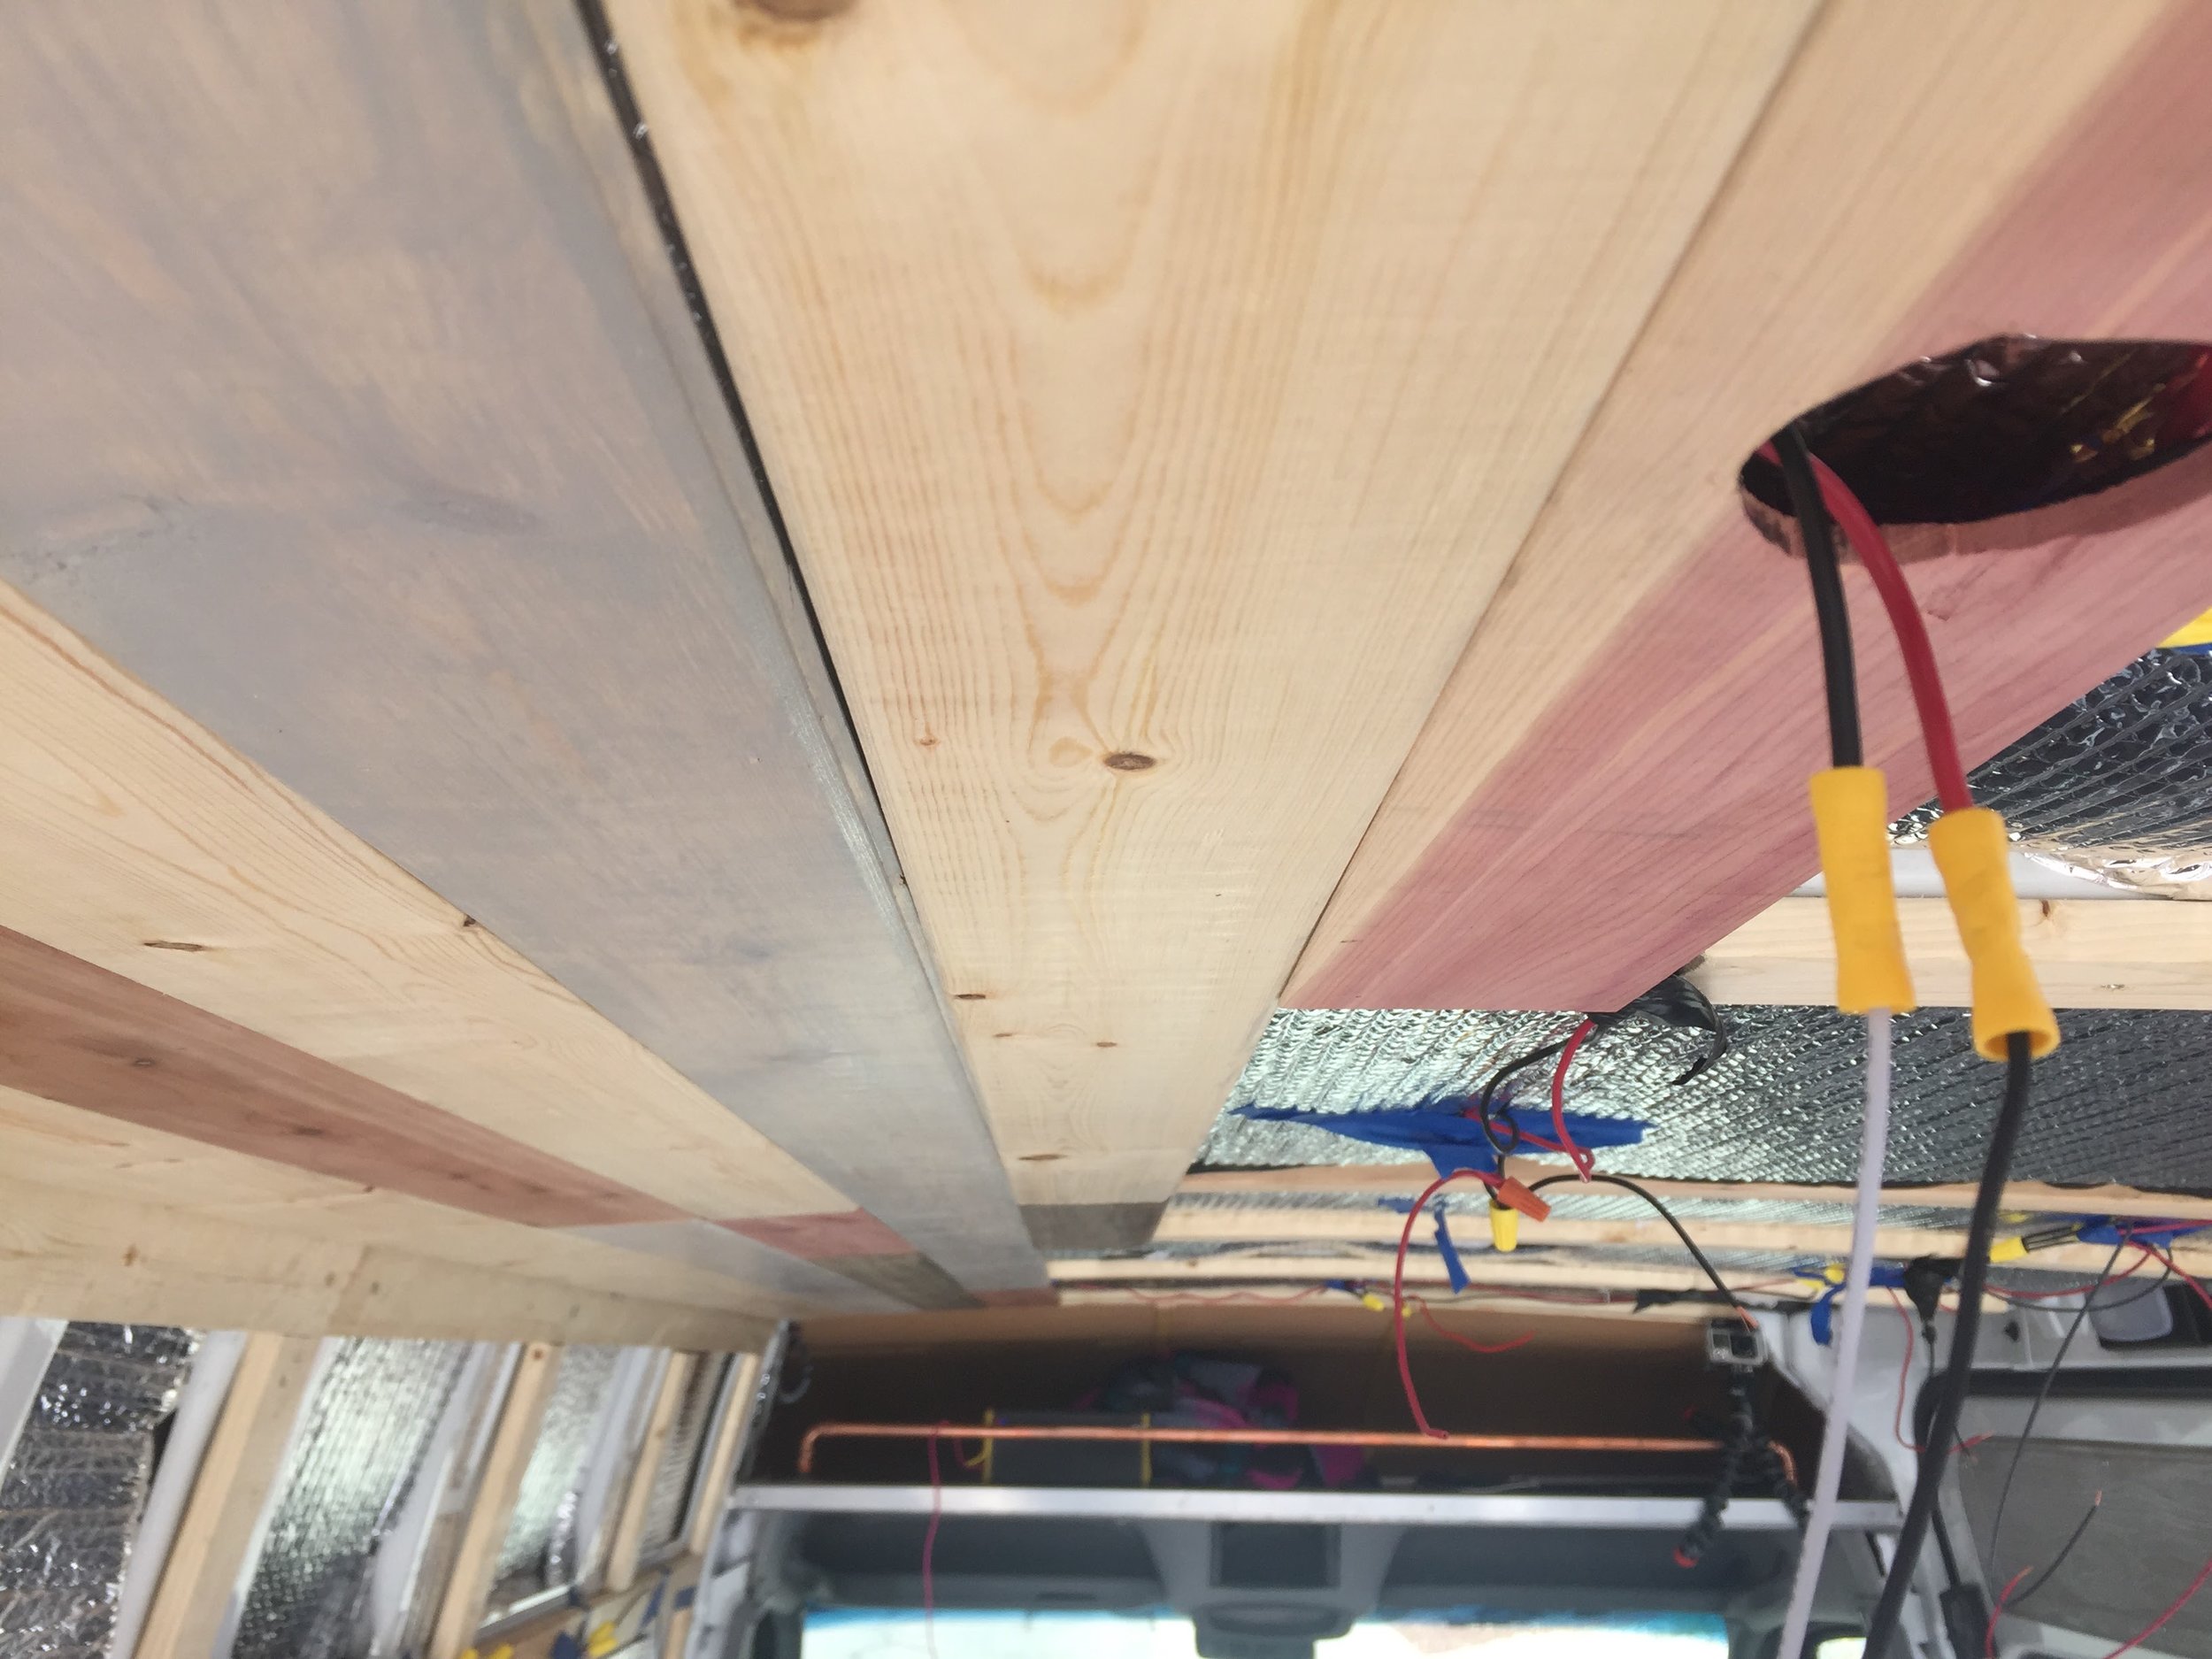
It was pretty straight forward. I started by measuring the distance between the ceiling beams we framed out to prep for the ceiling. That way, the panels would always end on a ceiling beam to have a nail anchor point. Once I had that measurement, I cut the planks, and shot the nails into those ceiling beam to hold them up. I didn’t think about it at the time but, a tiny bit of liquid nails might have helped, but I didn’t use it.
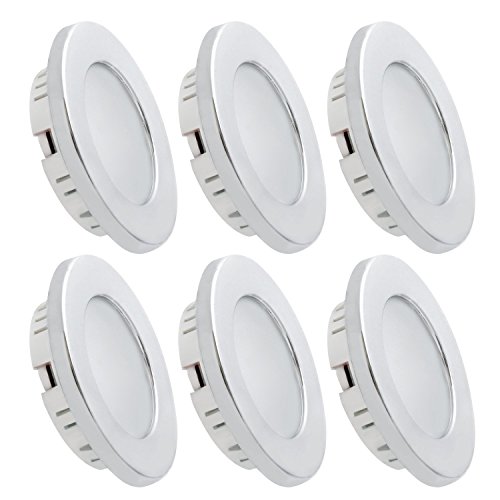
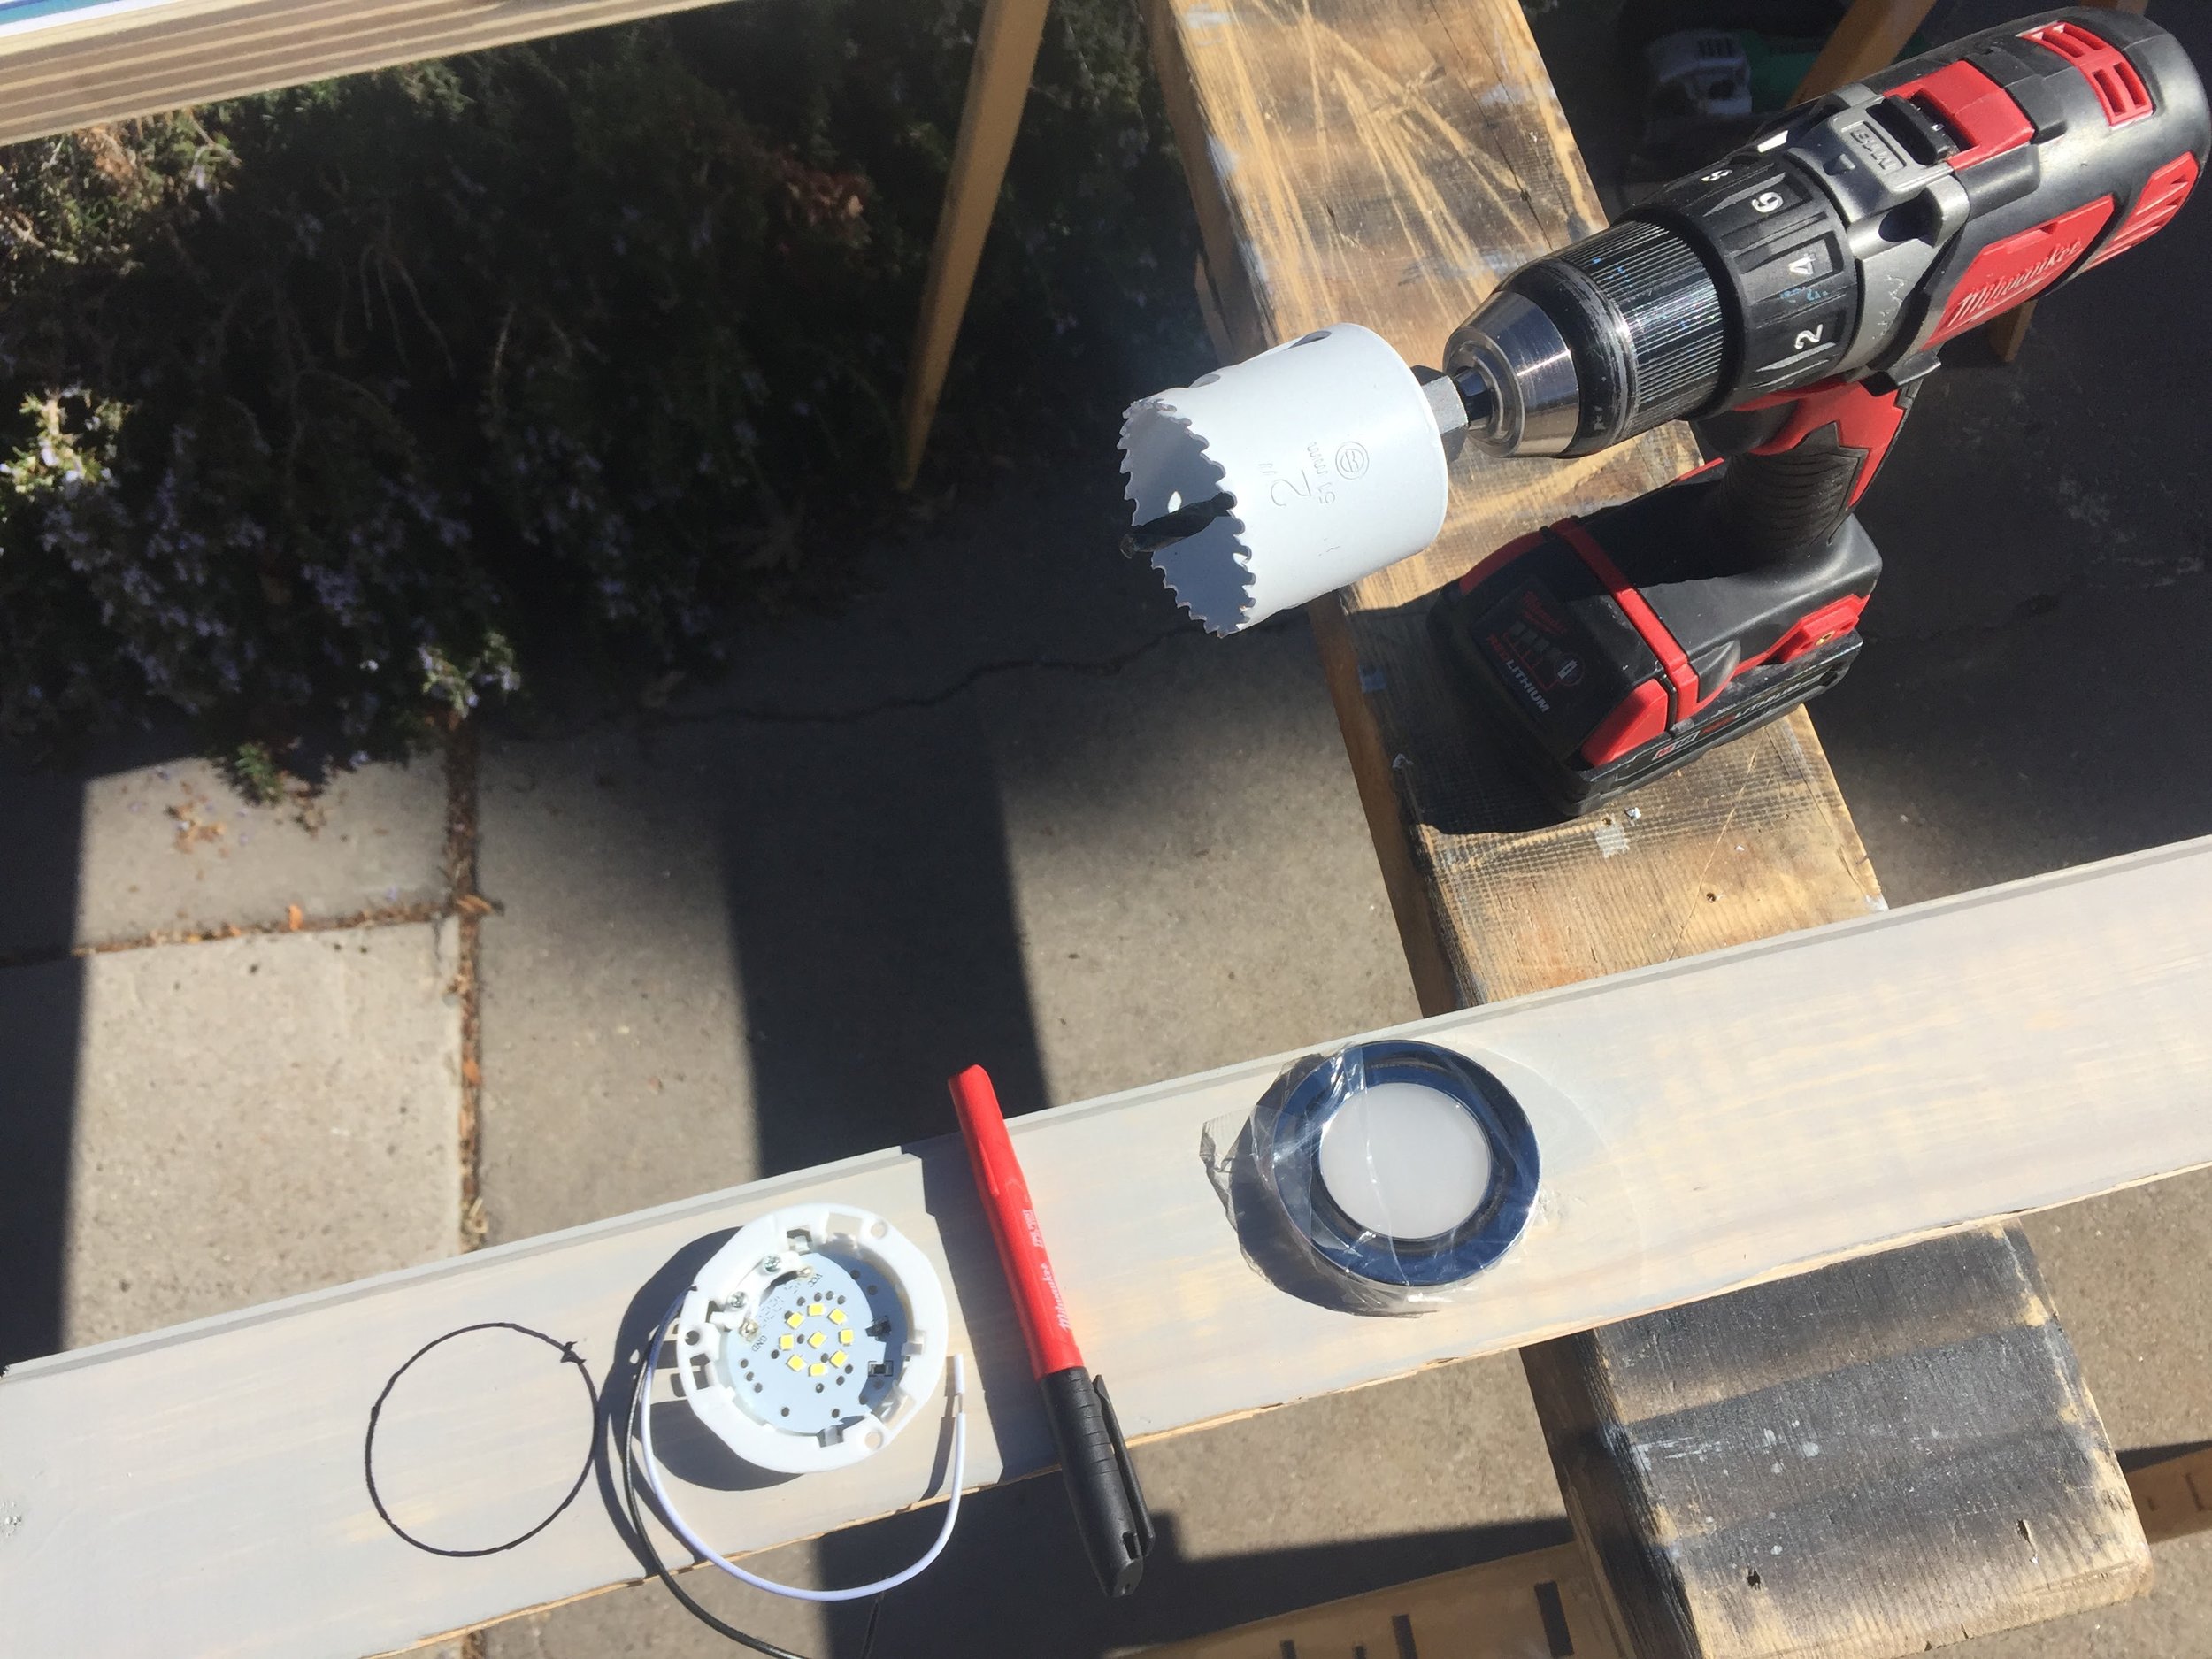
We used the Dream Under Cabinet 12V 2W Recessed LED Lighting. When it came time to cut out a place in the panel to recess those lights, I traced around them, drilled a pilot hole, and jig-saw’d them. You can use a hole-saw here, but I really didn’t feel like running to the store again because the one I already had was a wee-bit too small. Even when I used it, I had to jig-saw anyways.
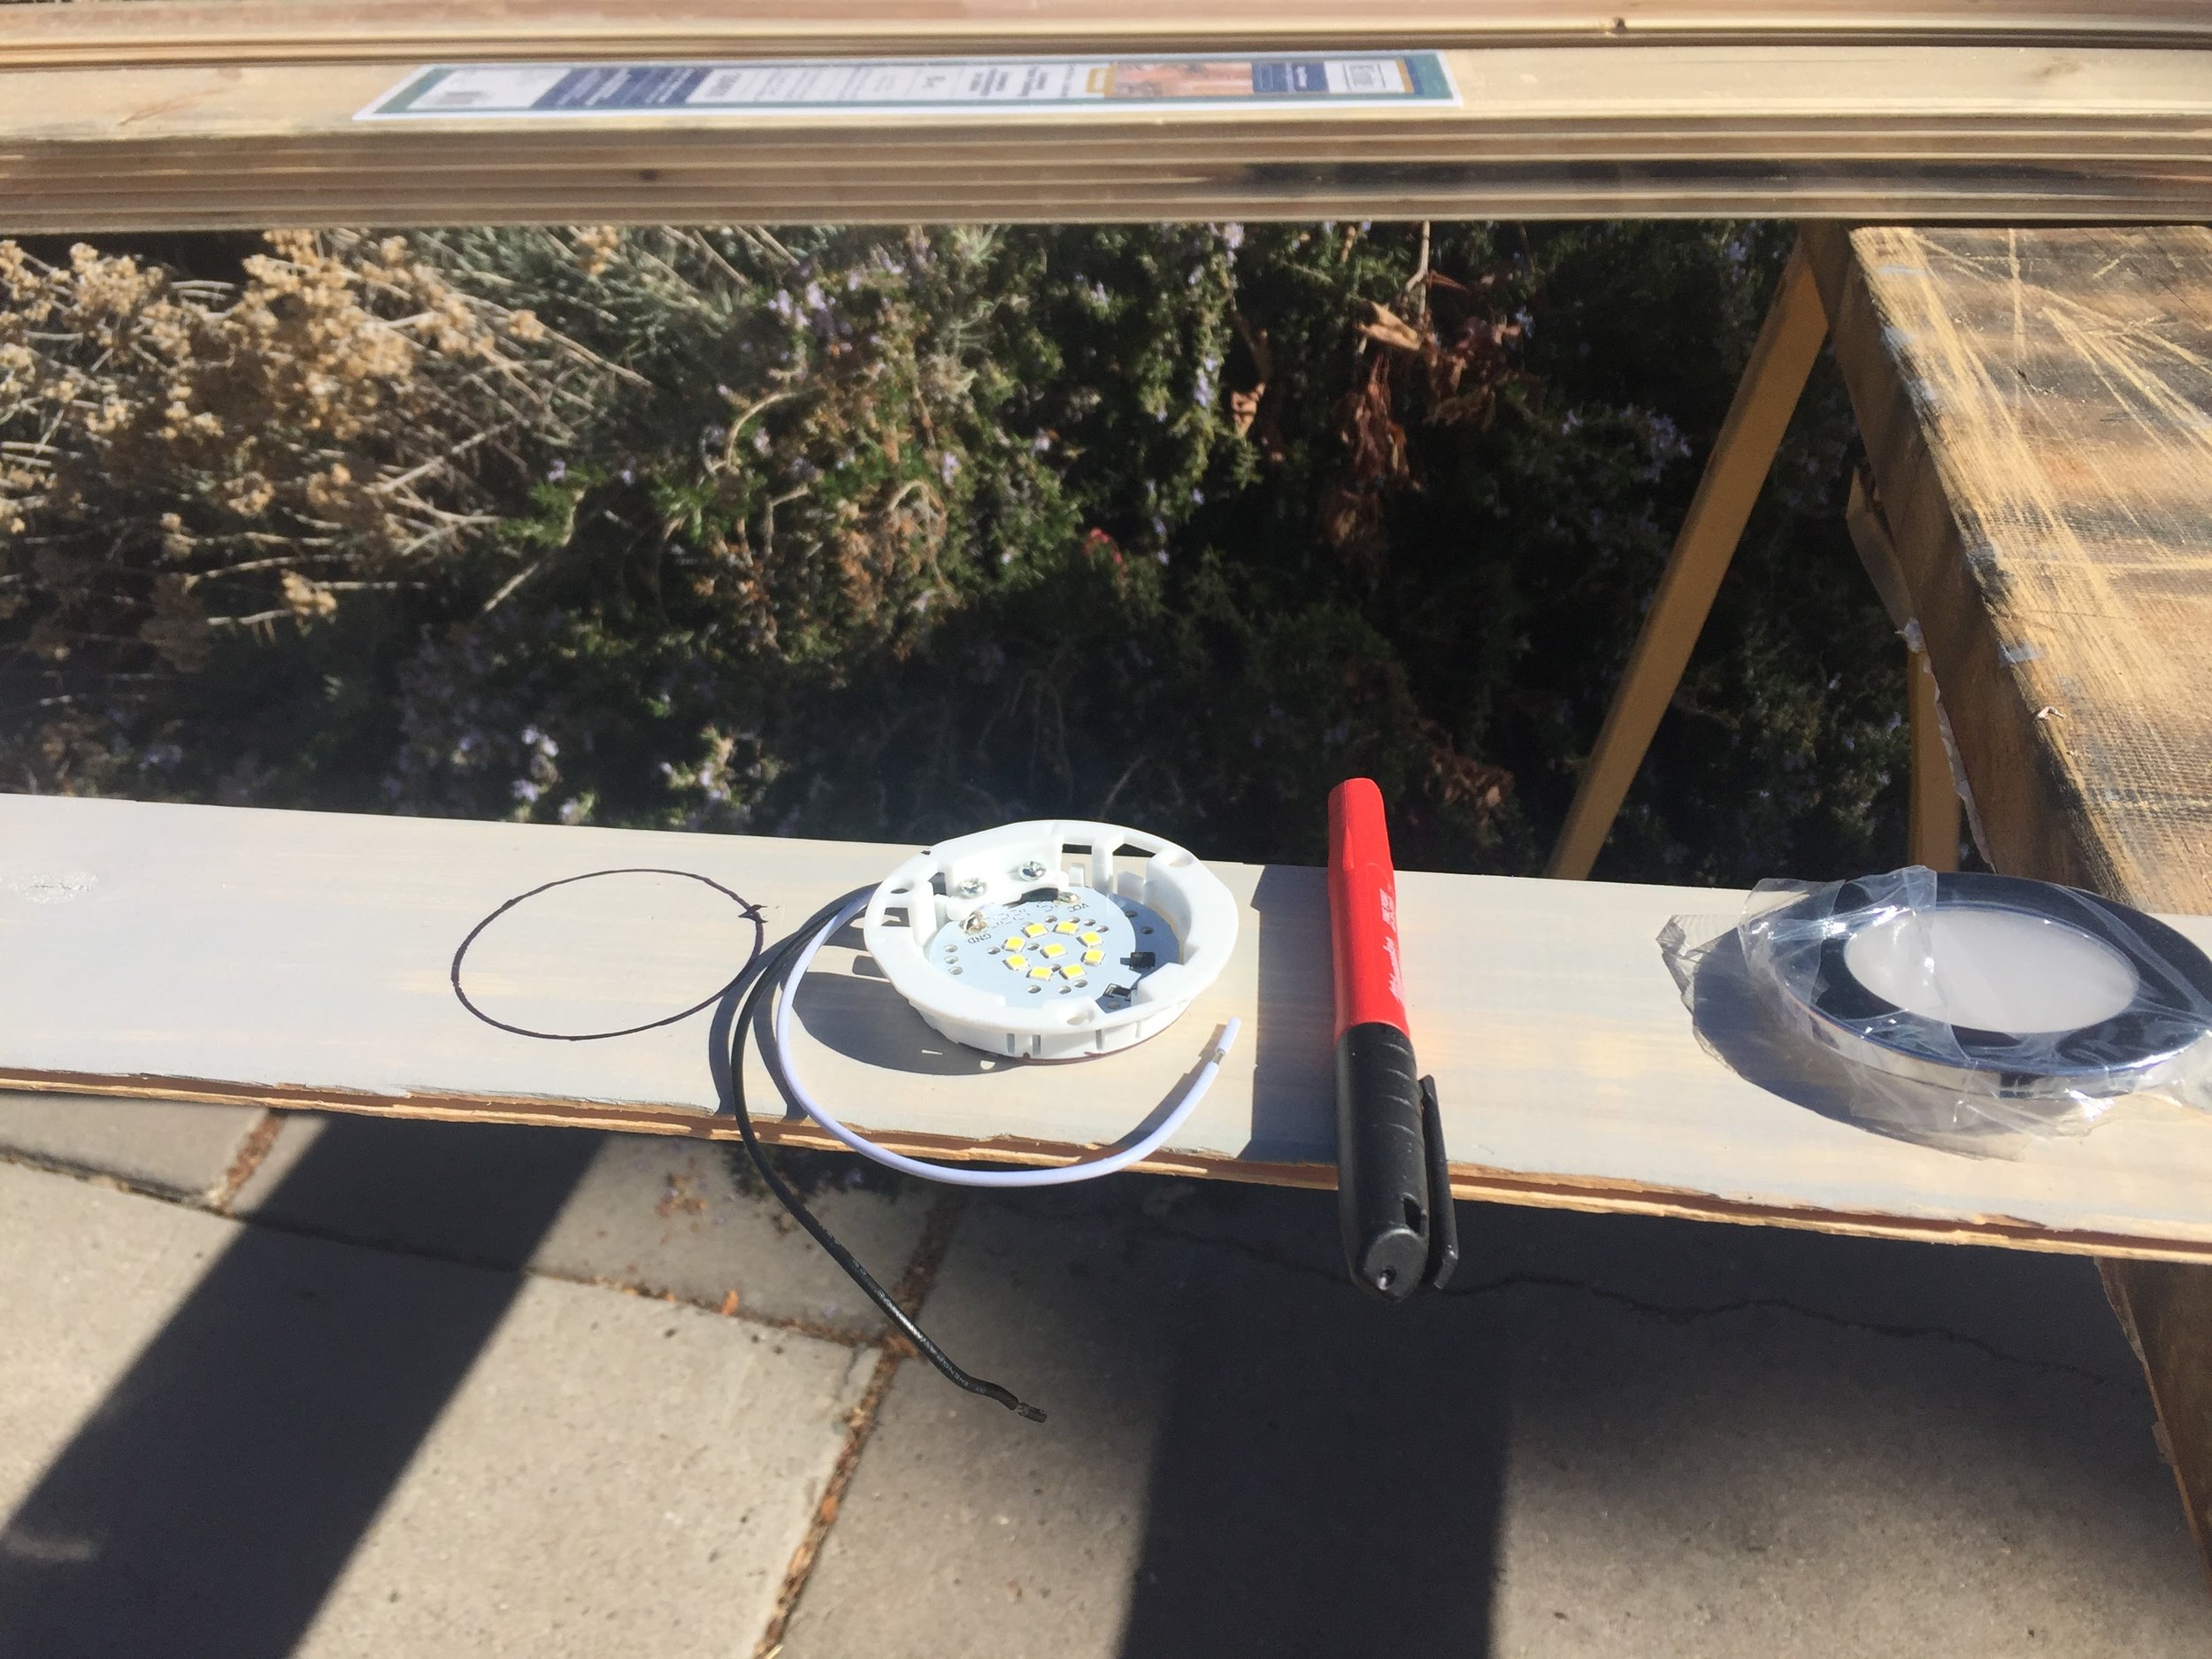


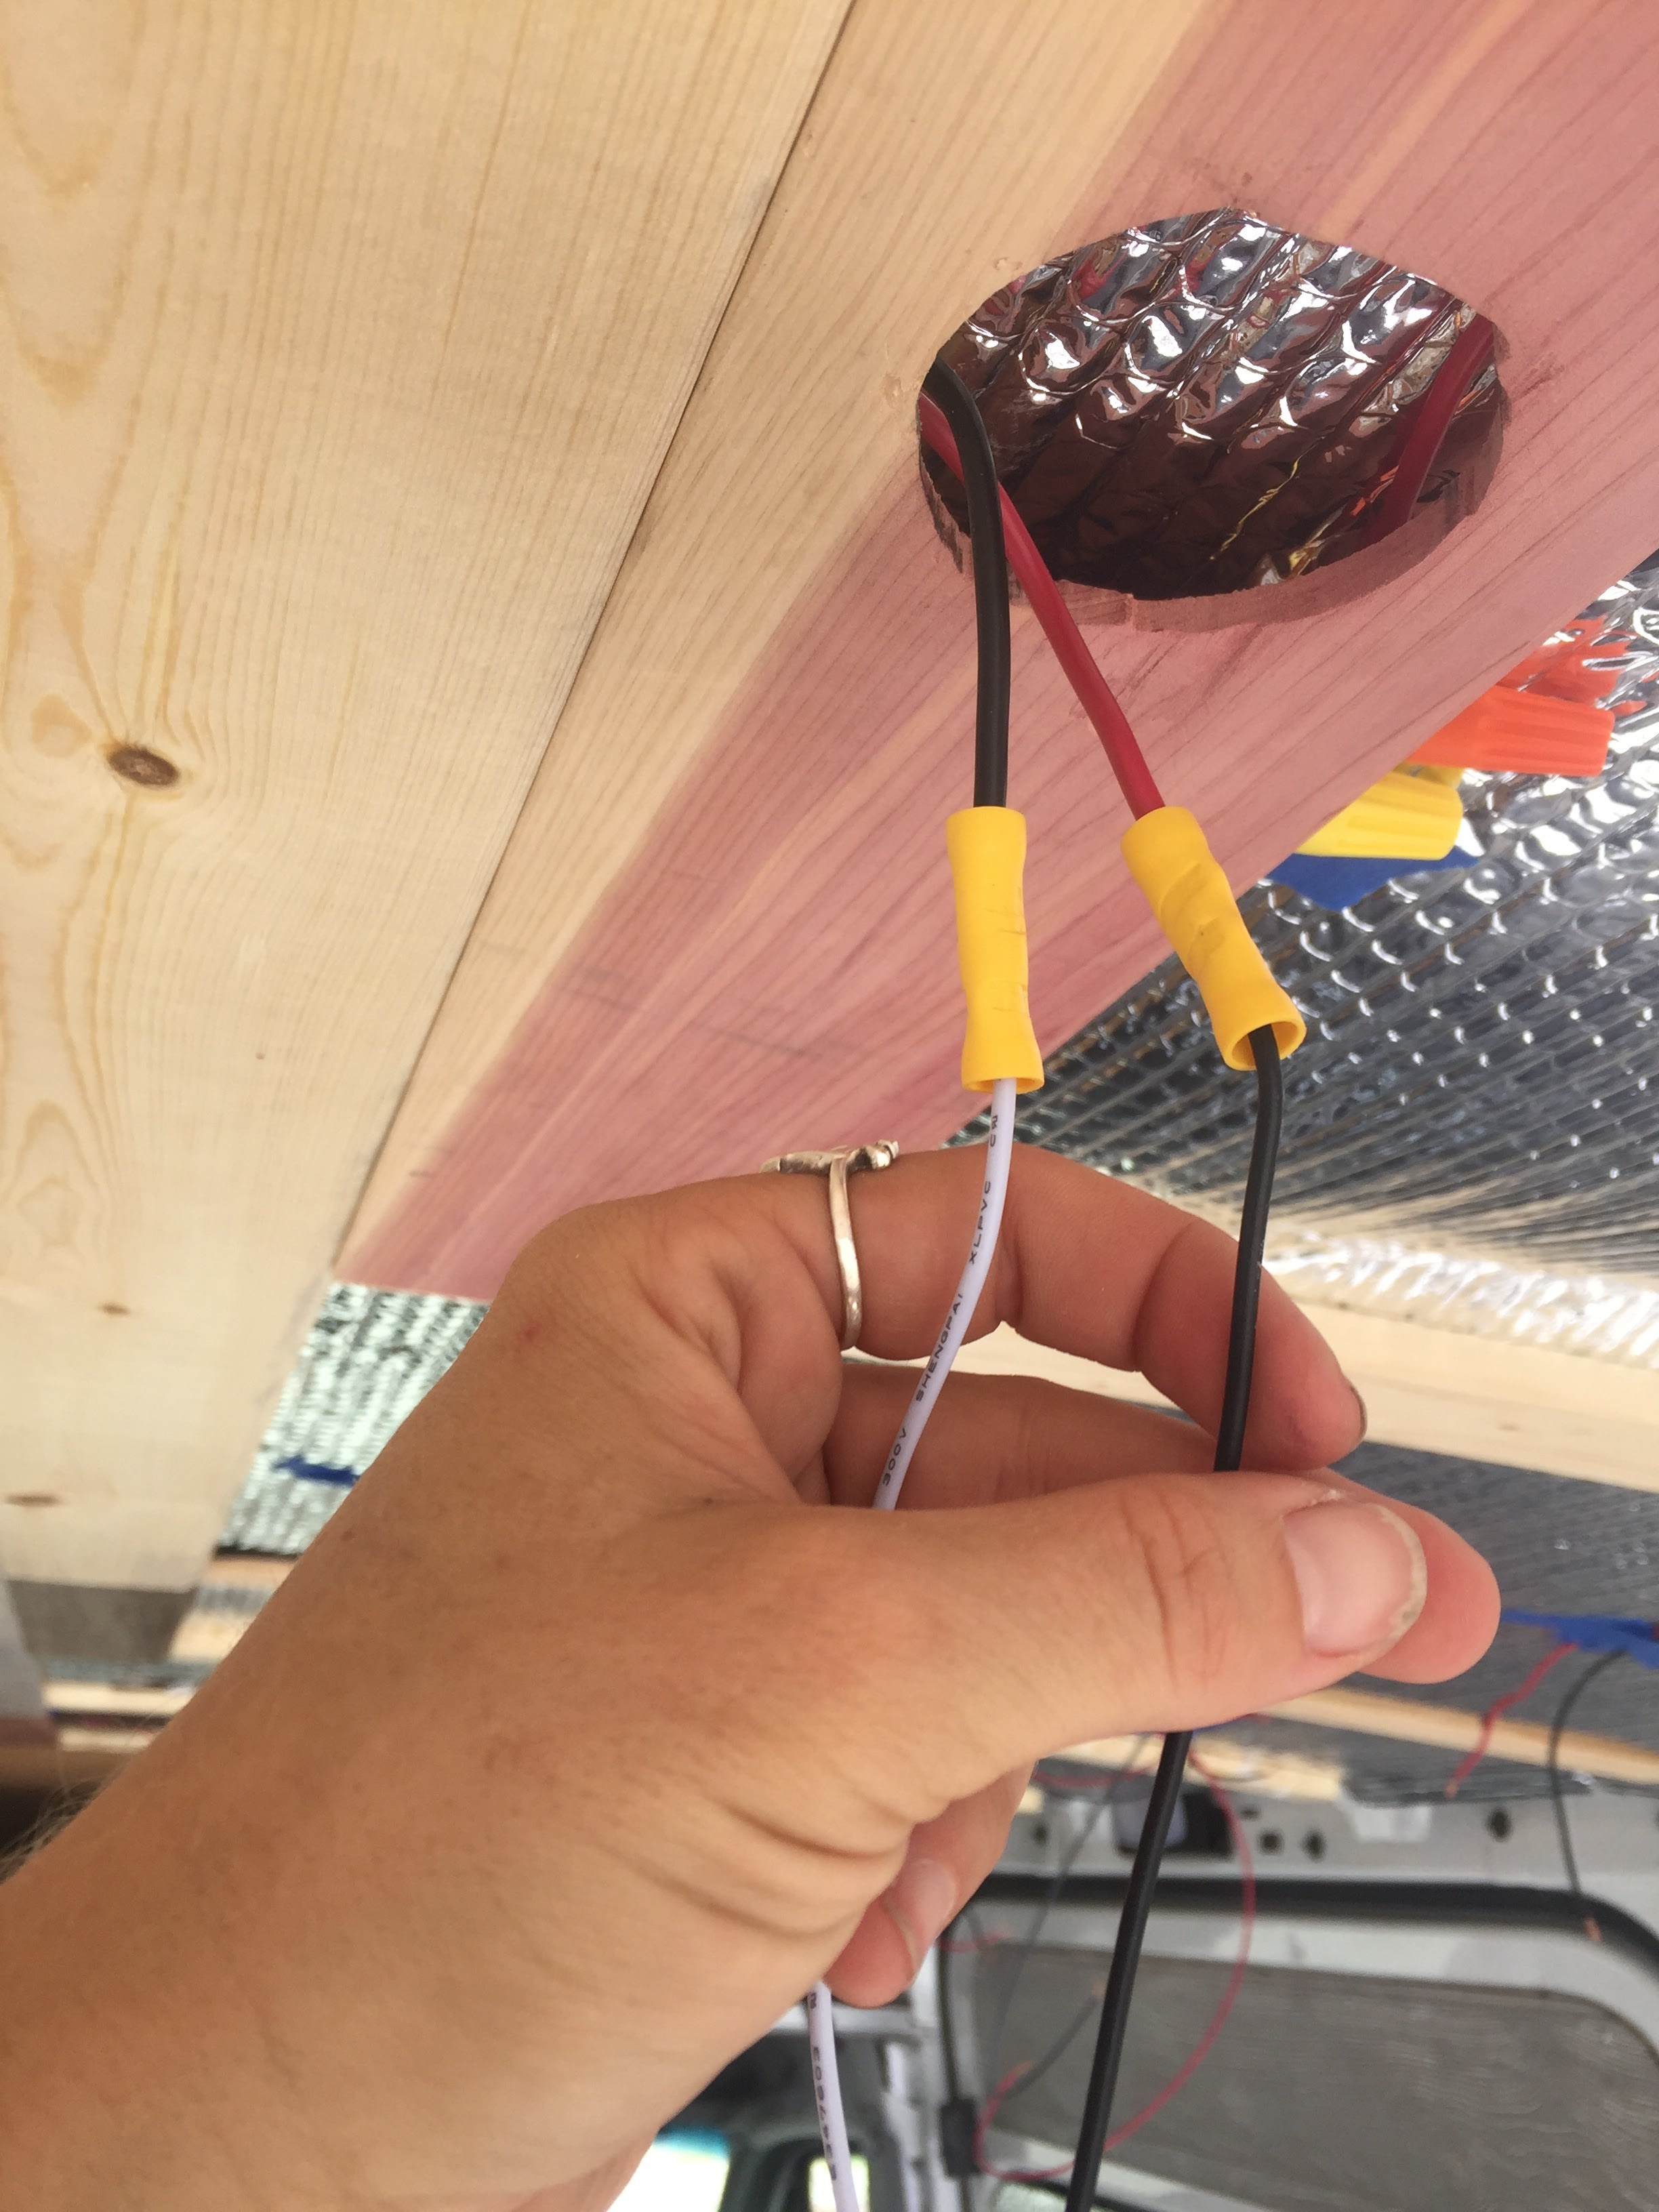
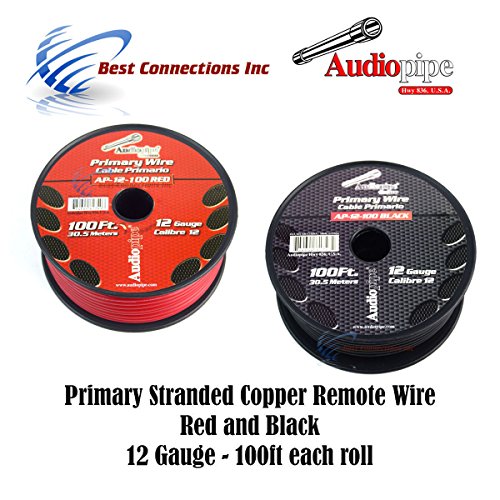
**On these lights, they will have black and white cables. The Black is Positive and the White is Negative**
Jig-saw worked great. The lights are super bright and draw very little power when on. We ordered 12 total lights for the whole van. We have a switch for the back lights to turn on, in the bed area, and a switch for the front lights to turn on, in the kitchen area. (We will also have a set of 3 of these lights under the upper cabinets).
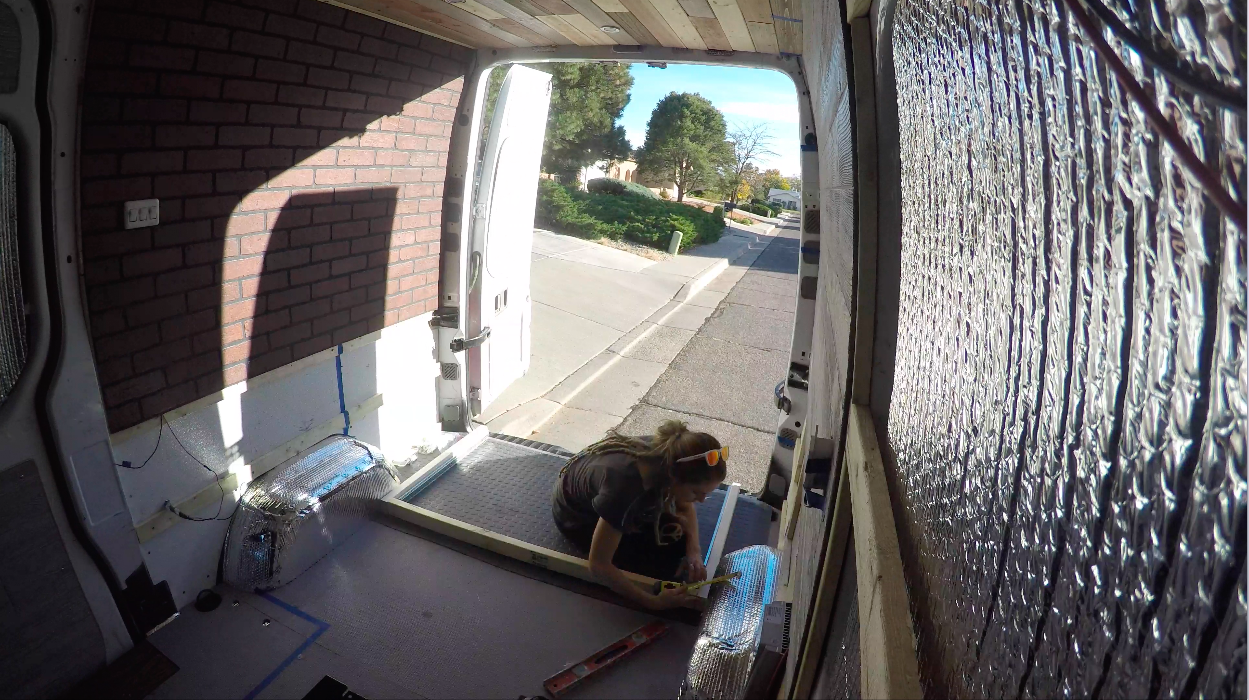
The planks, since they were all different “actual” sizes from each other, it made the tongue and groove not so groovy in places. It made every fit a challenge, but we got creative in places that gave us headaches and we would still do it all over again even tho it took almost two whole days. (I was working by myself for most of it, while Kevin was working-working on a photo/video gig…So, it could go faster with two people).
The only other part that was difficult was the part by the door. There were some major stenciling on panels that were going down in that area.