
How to wire your battery bank in parallel

Once you’ve picked out the perfect location for your battery bank to live, you'll need to start wiring the batteries in Parallel. This is an easy process and you’ll learn a lot along the way.
What you will need here to get the job done is: (Amazon Affiliate Links)
2 or more 12 Volt AGM Batteries - https://amzn.to/2P1c4Bp
8 AWG Cable - https://amzn.to/37tdZVO
Battery Terminal Kit - https://amzn.to/37wQtr3
Wire Snipper/crimper - https://amzn.to/2V5HoTD

Wiring the batteries in parallel
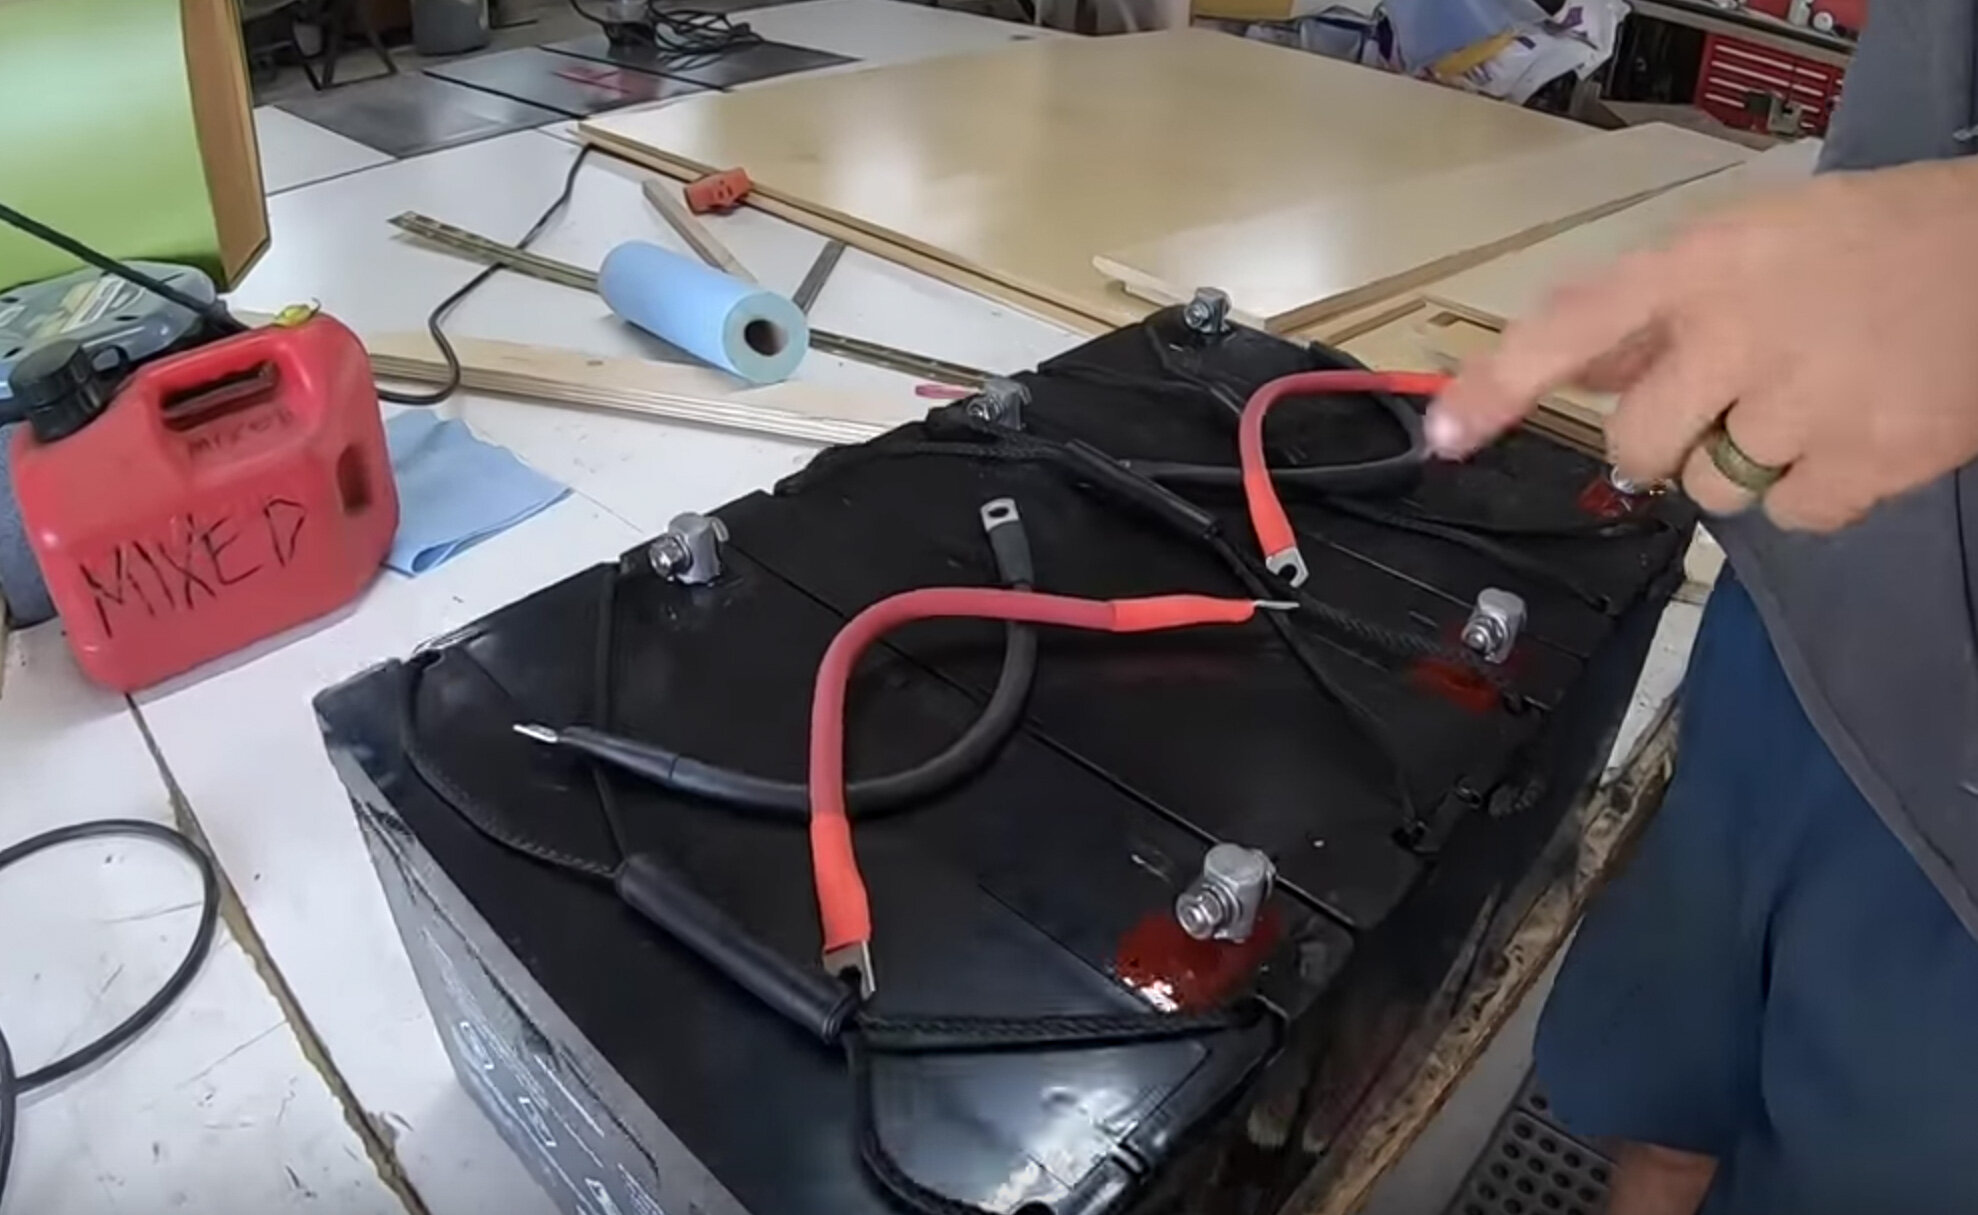
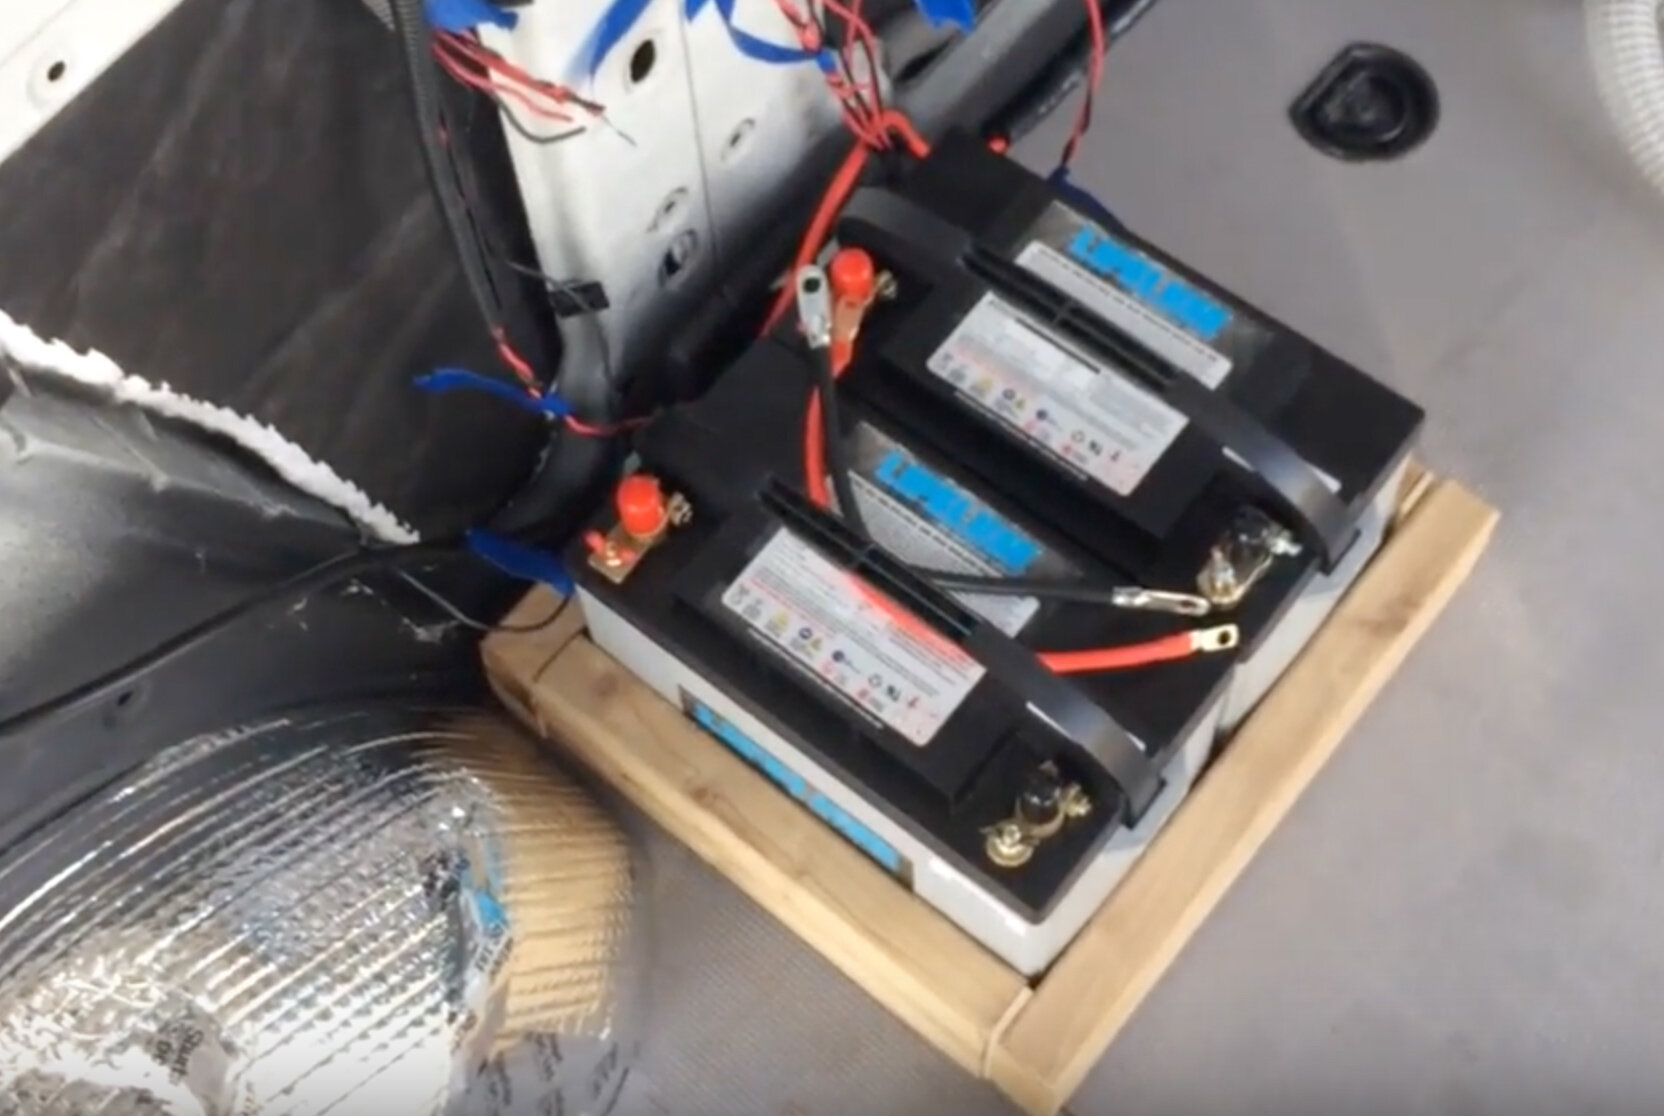
This is a pretty easy straight forward step. What you want to do is wire all the negative (-) connections together and all the positive (+) connections together. What this will do is it will convert your two 12 volt 100 a/h batteries into a 200 a/h battery bank at 12 volts. To do this, you will use the 8 AWG cable and cut it to size and crimp on a battery terminal connector. Make sure you crimp these on as tight as possible, I like to use a vise here and get the connection very solid. If you have loose terminals, you will have voltage drop and your battery bank won’t be working efficiently. I also like to use heat shrink here. You don't need a heat gun; a lighter will do the trick.

Once you have your batteries wired in parallel, by connecting all the positive terminals to each other and the negative terminals to each other. The next step is to establish a positive ground near the location of the battery bank. I like to use the chassis of the vehicle for this. What I do is drill a hole in the body of the van. You will want to sand all the paint and metal shavings off so that you have an metal on metal contact. Now, you will just put a bolt and some washers through the body of the van and make sure you tighten this bolt as tight as you can get it. If you have a bad ground, you will have voltage drop and all kinds of issues with your system. So establishing a solid ground is very critical to the efficiency of your power system.
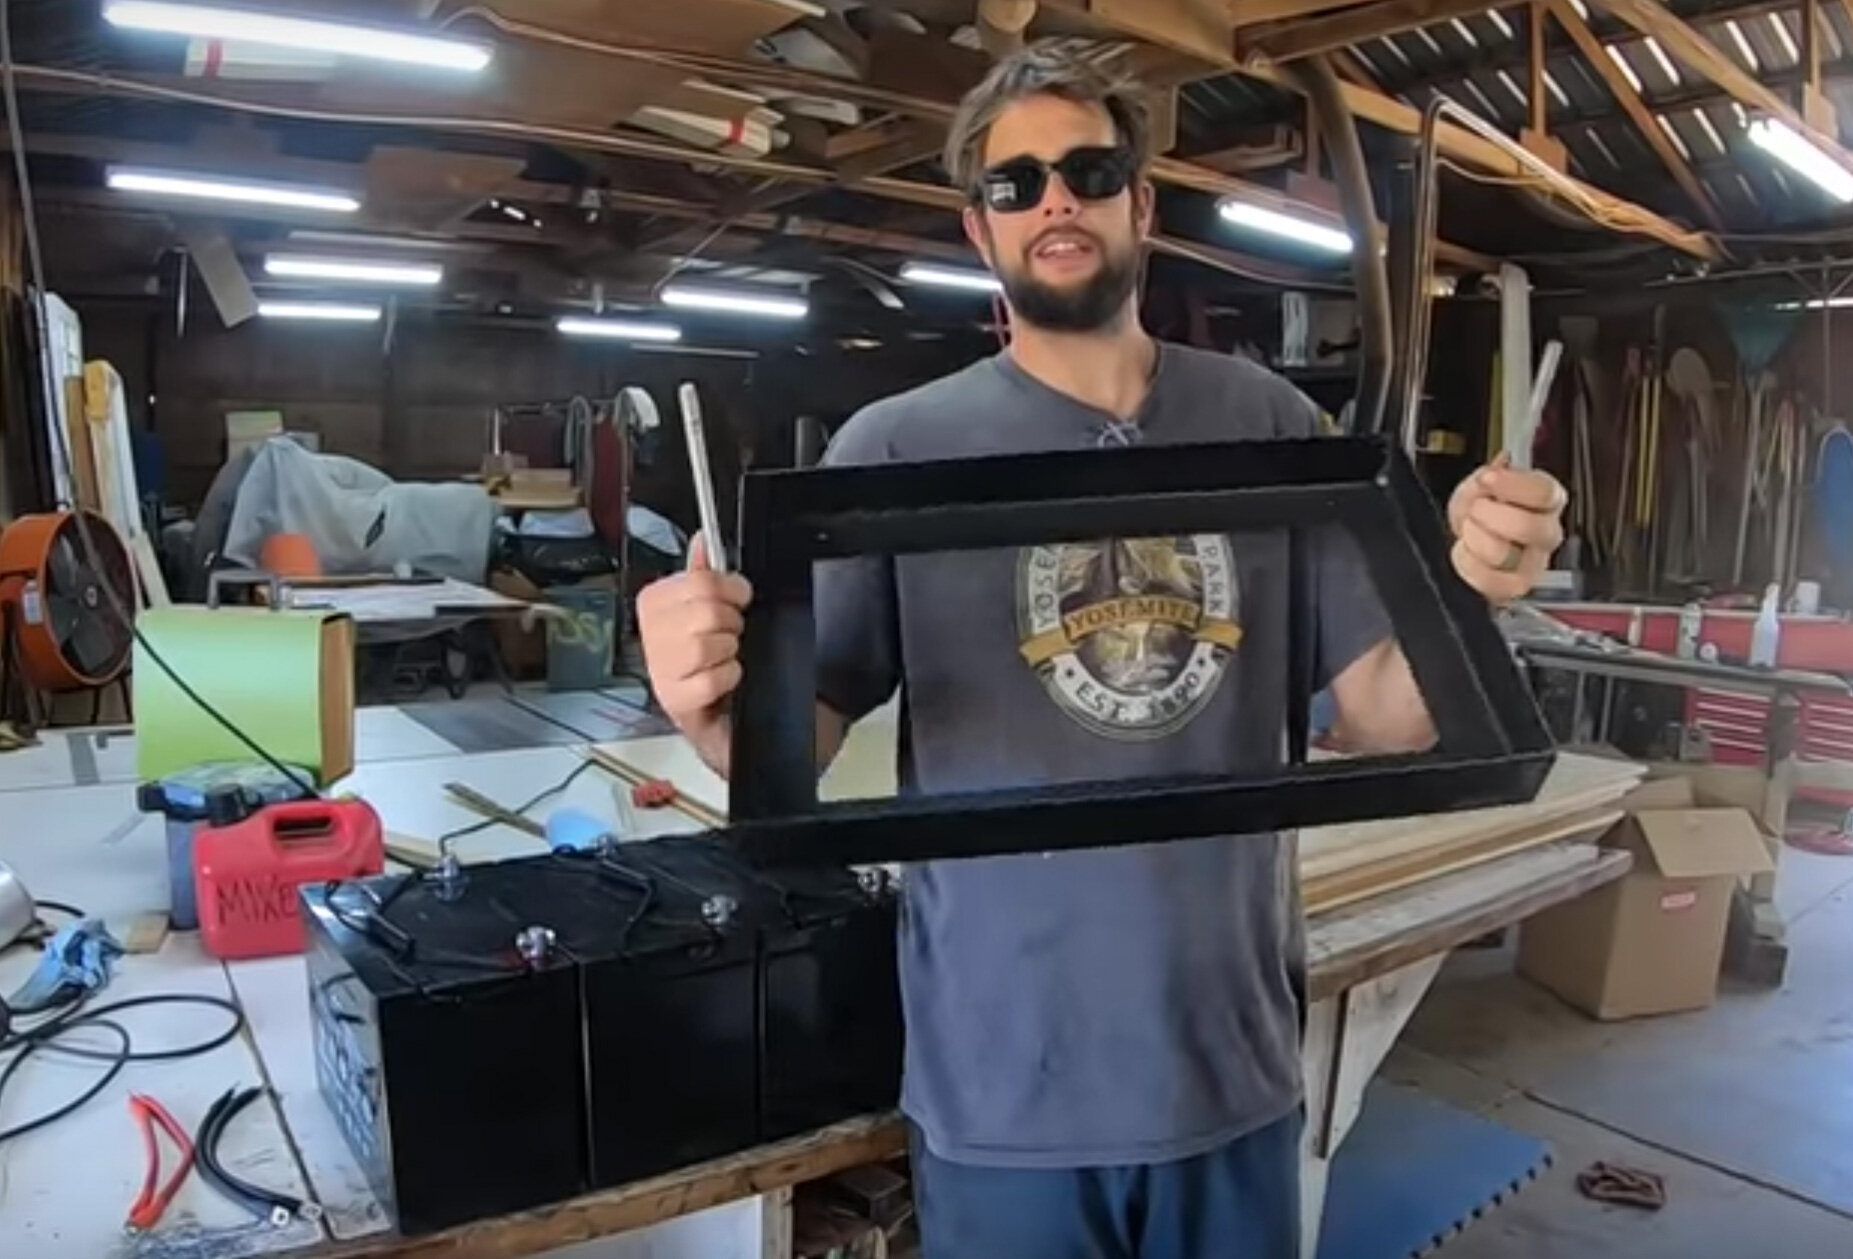
Now that you have your ground connection bolted in and solid, you are ready to build a sturdy frame for your batteries to live in. This is important to keep the batteries from not only sliding around, but also becoming projectiles. You'll want to secure the battery frame to the floor of the van. You can make this out of wood or metal. We are lucky enough to have access to a welder. So, we constructed a very secure metal battery bank box. On previous builds, we have just build a wood frame that fit the batteries perfectly and we never had issues with it. Now you are ready to start running your wire. We’ve included a free wiring diagram below to help you get started.

Download free wiring Guide for your camper van!
