
Gutting The Van
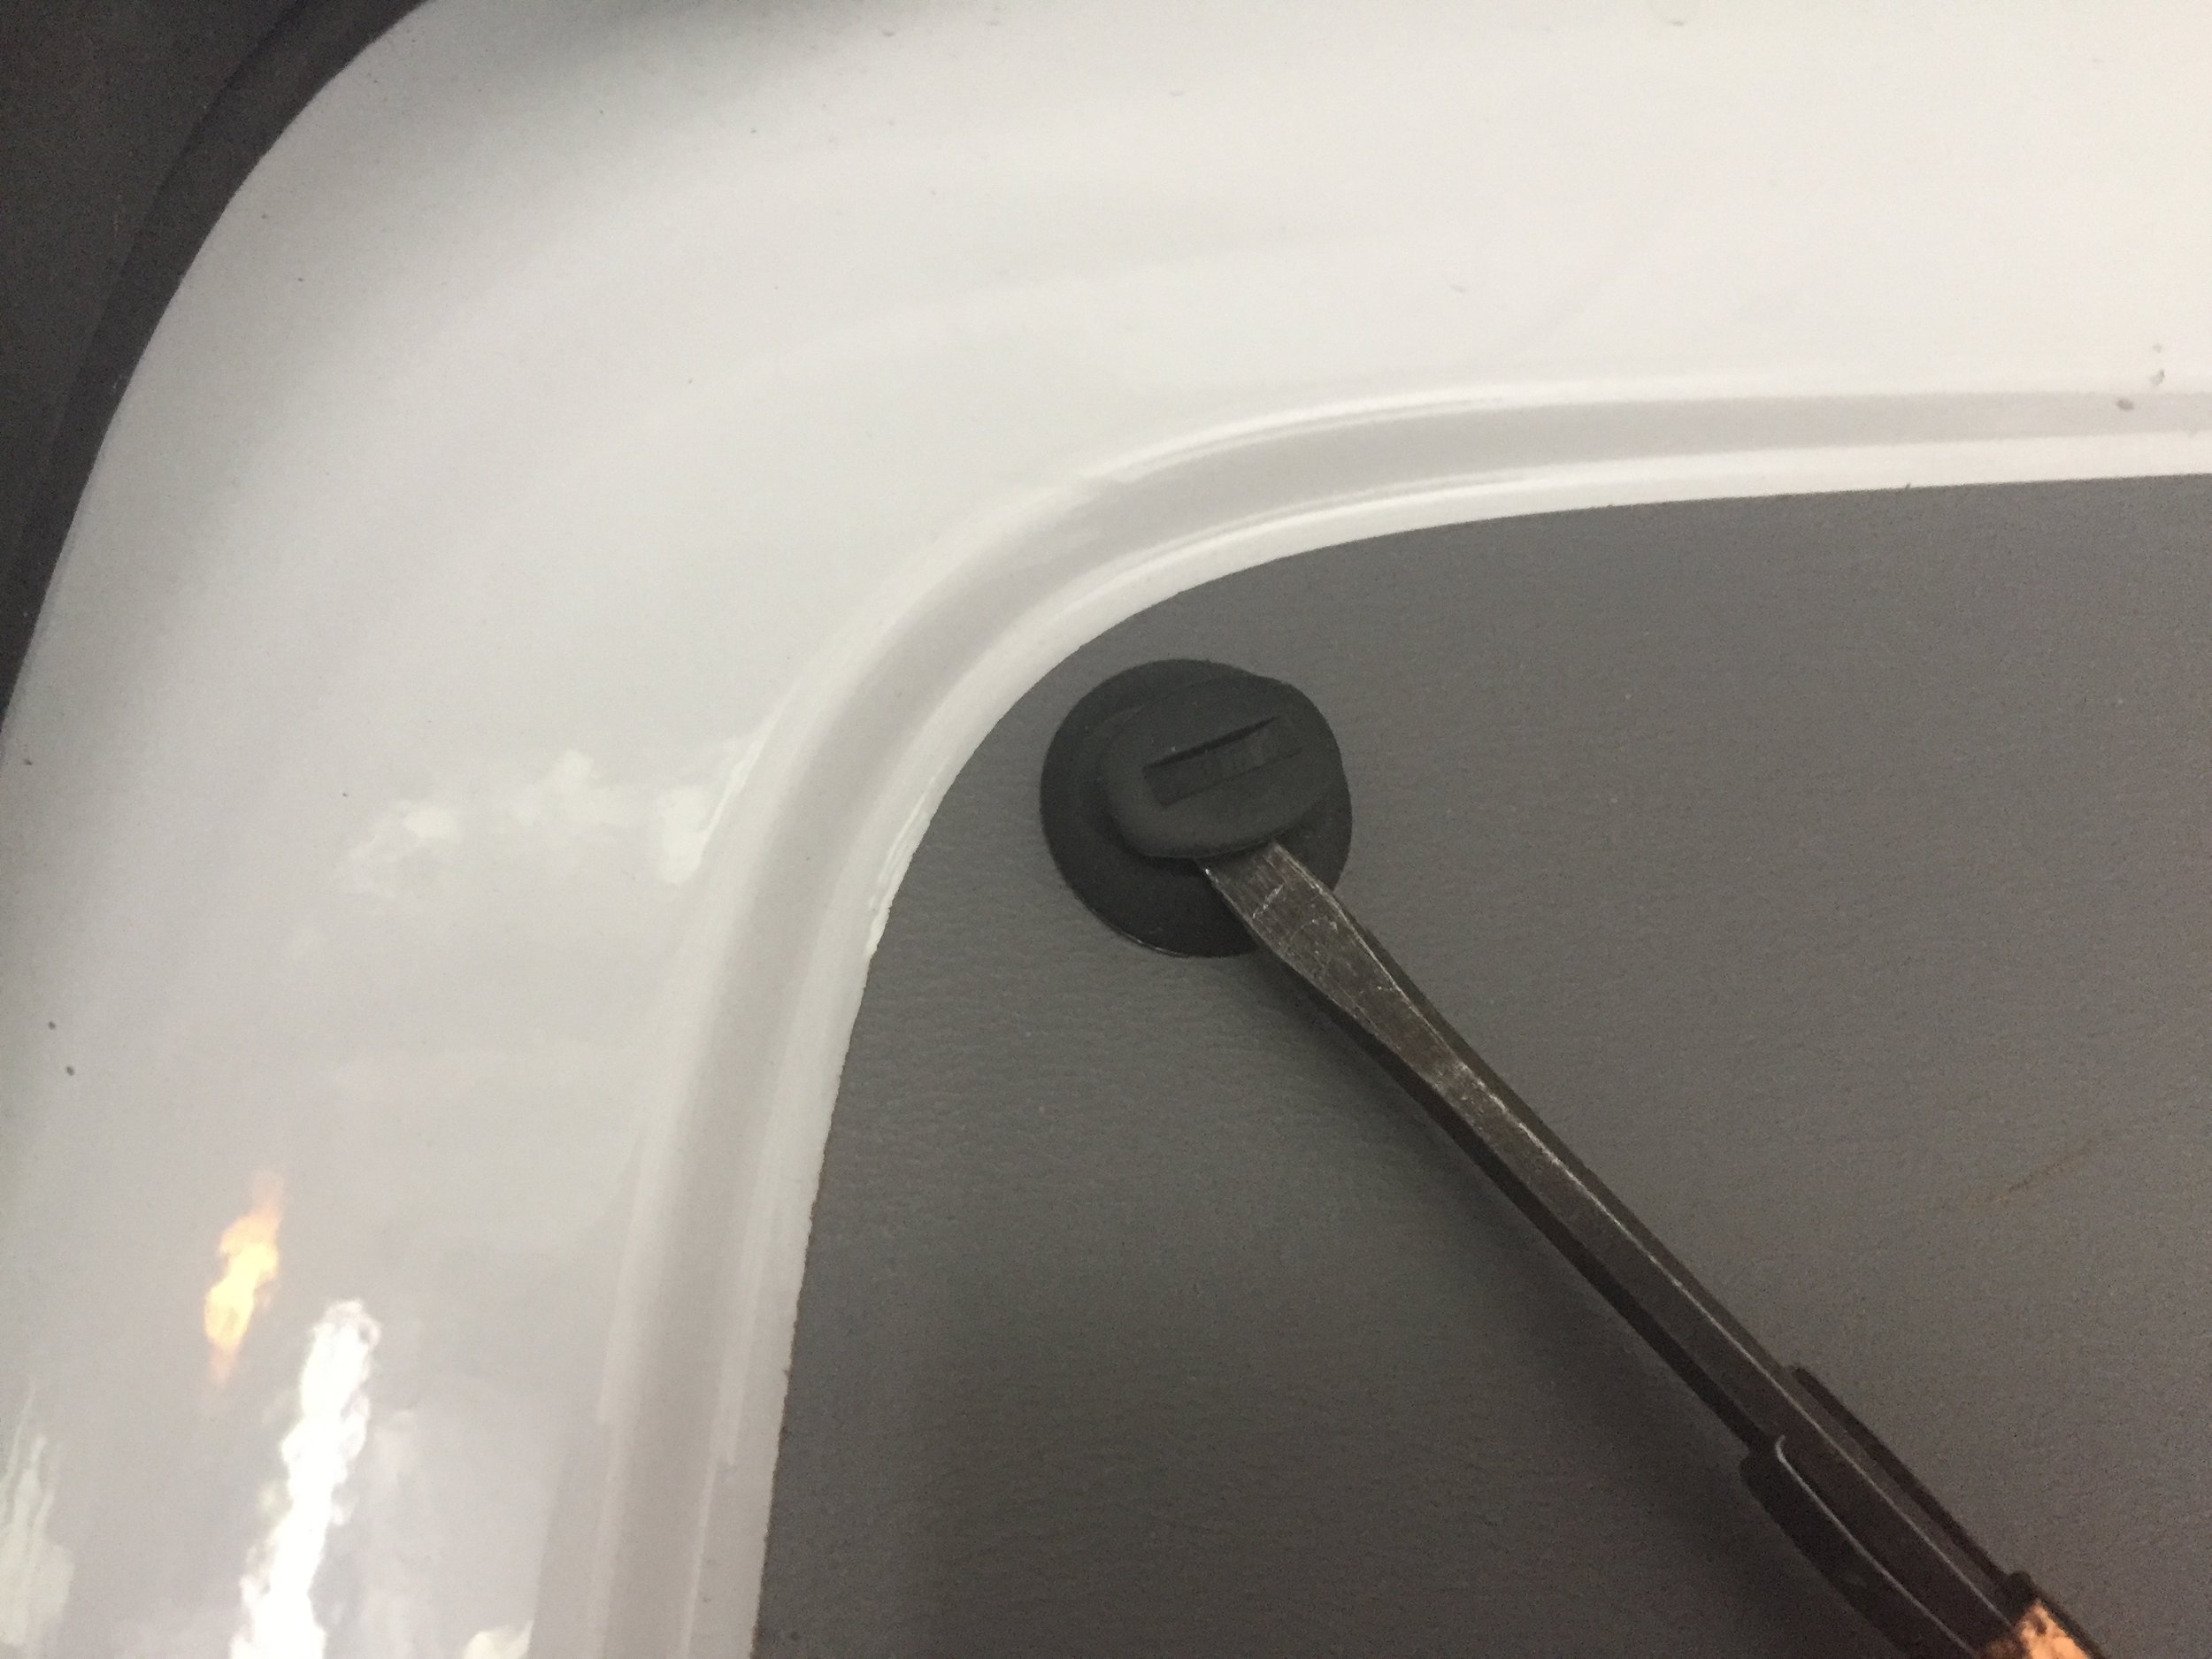
Depending on what model you went with, the work may be just beginning. Sometimes the demolition can take a lot of energy and a big pile of junk to take to the dump or unload some seats, old shelving, or partitions on Craigslist or Facebook Market place.
Painting
Once you have everything out of the van and you have an empty shell, you will want to clean the van, get all the old grime out of there. At this point, you may need to paint the interior and get rid of scuff marks from it’s previous life.
We’ve skipped this step before thinking we were going to cover every surface with wood, but there are some parts of the metal that won’t get covered and you will see all those scuff marks and it will look funny next to all your newly built furniture.
At this point we like to Raptor Line our van as well. We do the exterior and line the floor on the interior, for some extra insulation, on the floor, because the cold really likes to creep up through the floor.
Raptor lining the van is a great way to up the curb appeal, for cheap, and protect your vehicle from rust, as well as, a way to address some existing rust issues. You can find information about how to DIY Raptor Liner your van here.
Take measurements for next step
Once you have everything gutted, cleaned and painted looking like new, you can start taking measurements of the interior. You may be able to find some interior measurements online for your vehicle, as well. Once you get your measurements, you can see what kind of space you will be working with in order to plan your layout in the next step.


This is a great budget friendly conversion guide for those of you converting small vans, on a budget.