
How to Build DIY Camper Van Cabinets - 12 Easy Steps to Professional Face Frames
Now it’s time to give your cabinets a professional look. Face frames will take your cabinets to a whole new level. We highly recommend building face frames they really help clean up the cabinets. Also they will make a world of difference when attaching your door fronts to your cabinets.
We have a very easy to follow step by step video of how we made our face frames in our last build. If you are a visual learner this will really help.
Face fames are a pretty straight forward 12 step process. You not need but it helps to have the following tools.
Table Saw - https://amzn.to/3ooEvt6
Planer - https://amzn.to/2FWDo2n
Mitre Saw - https://amzn.to/3otJNDU
Belt Sander - https://amzn.to/3om5XYF
Palm Sander - https://amzn.to/35yKF1i
Kreg Jig - https://amzn.to/3dTi9ey
Kreg Screws - https://amzn.to/35ArTGy
Quick Screws - https://www.quickscrews.com/
Router - https://amzn.to/2HAVk3x
Router Bits - https://amzn.to/31HlMiL
Nail Gun - https://amzn.to/2HC2Omh

Step 1 - Layout
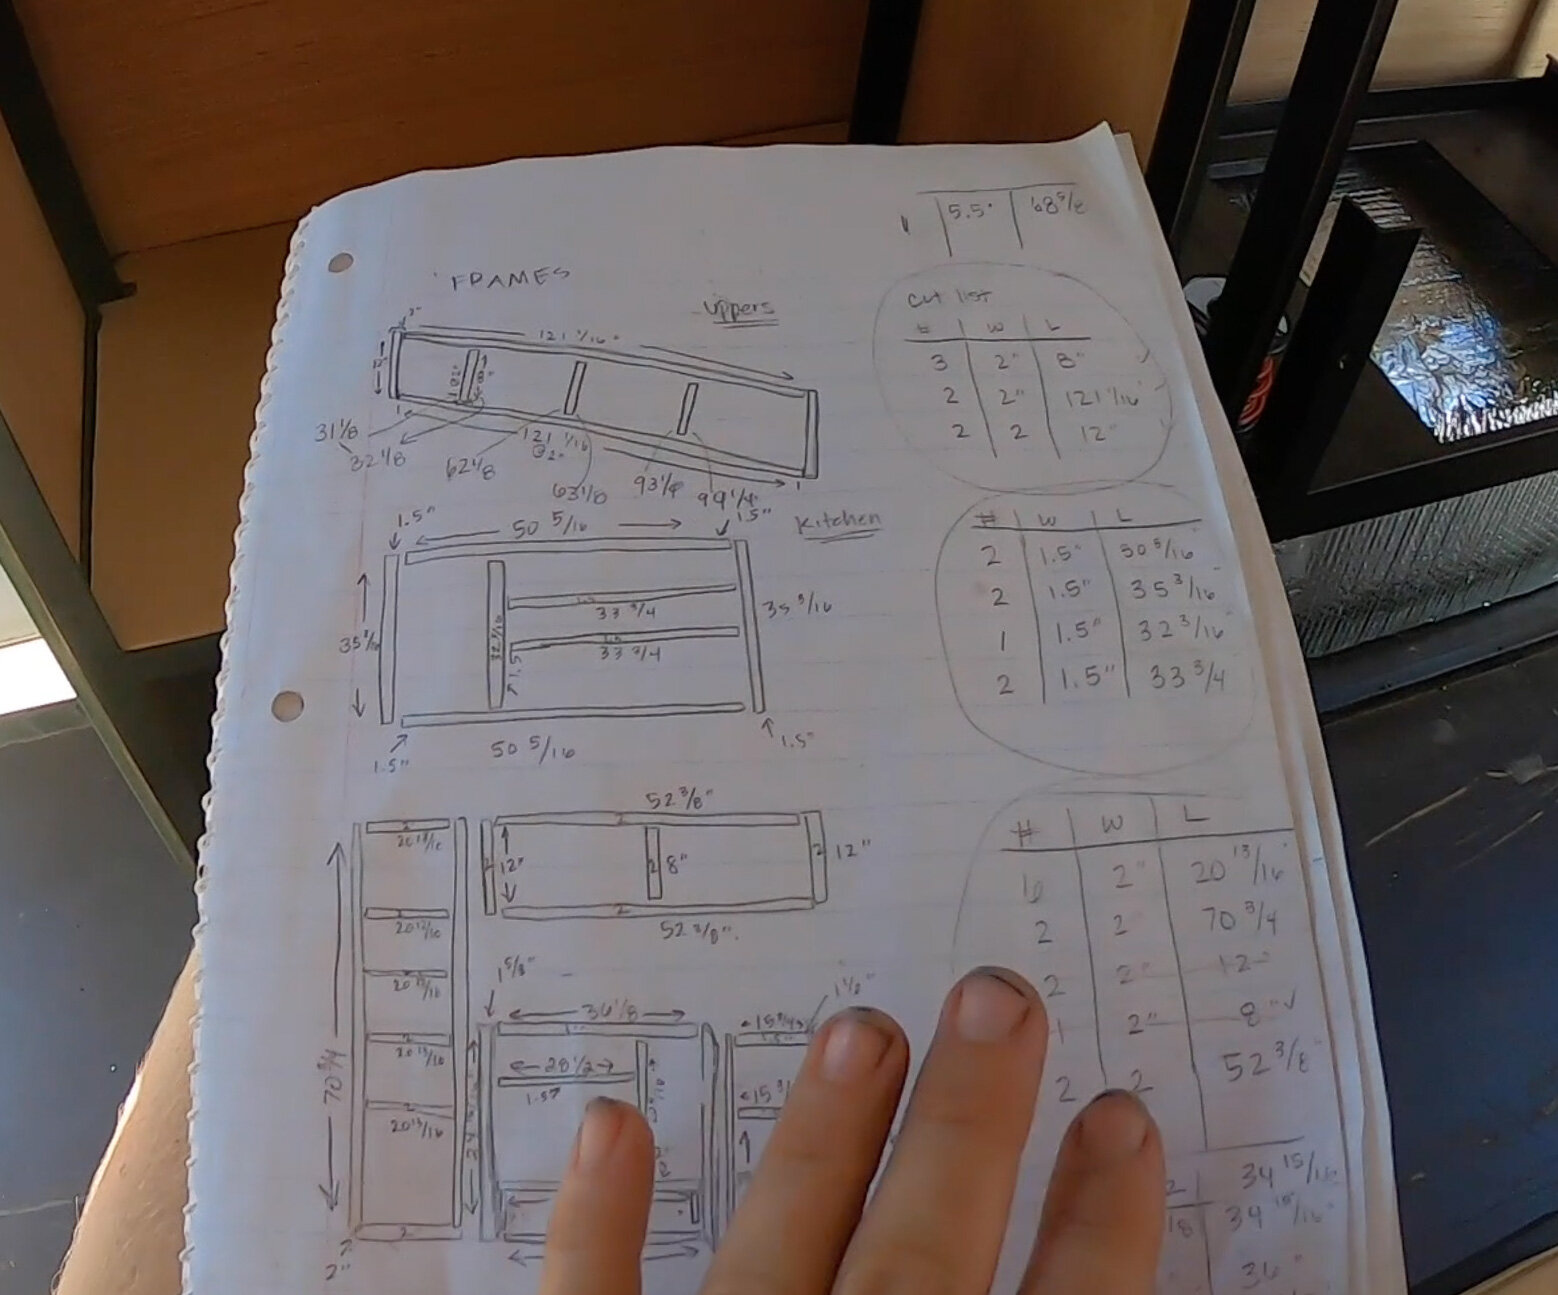
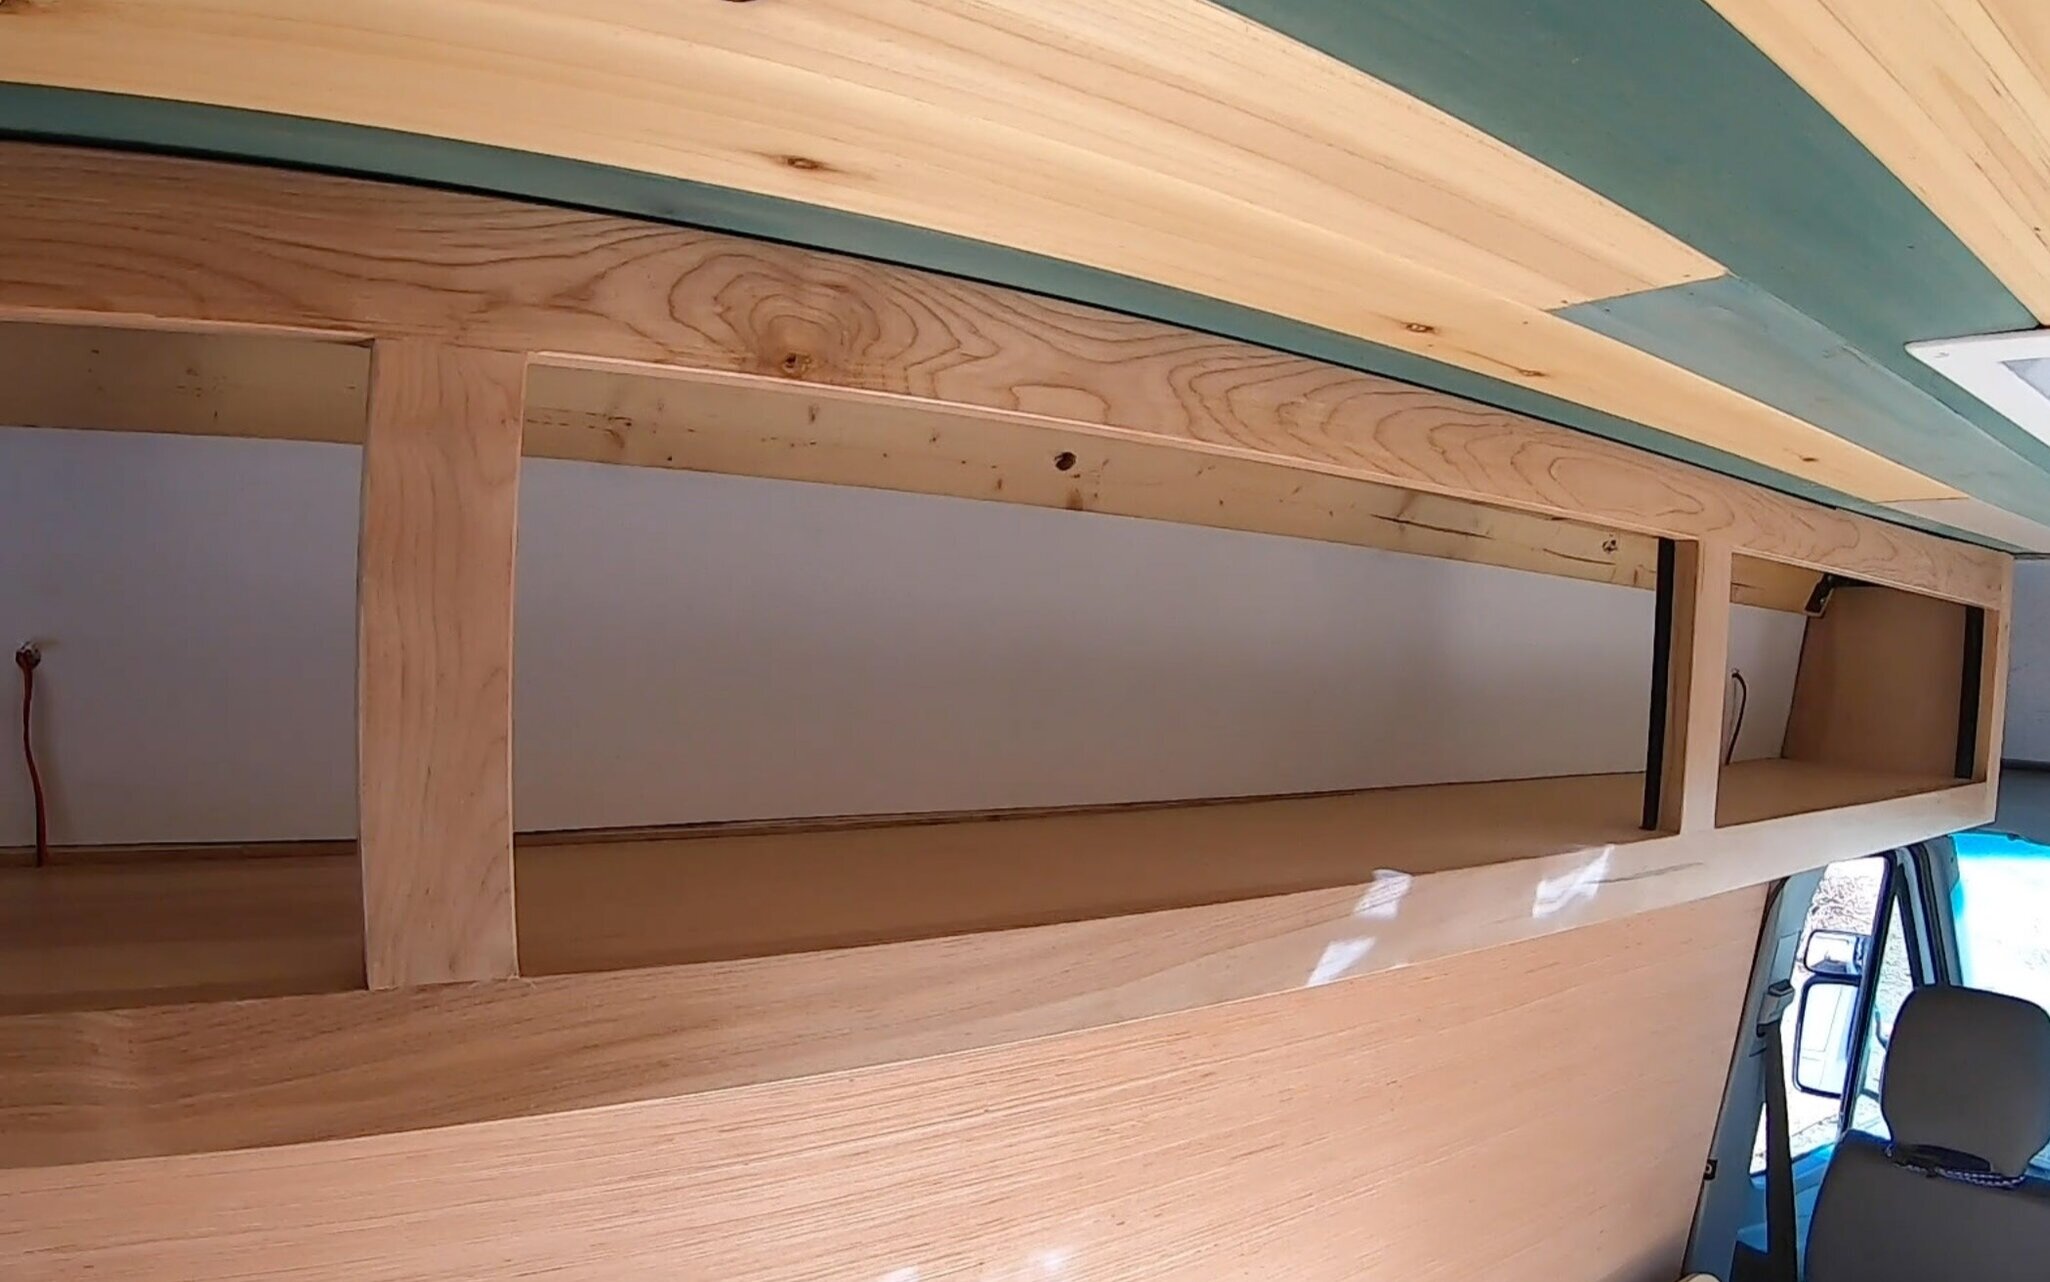
Plan your layout Draw Everything out and take your measurements. We always recommend drawing your layout ahead of time. Remember when framing your cabinet “Sides go long and sandwich” (refer to the photo below.)
Face frame have two to them components styles and rails. Rails are the outer sides of your frames they are always on the outside. They will always run top to bottom and are “sandwiched” with your styles. Your styles are pretty much anything in between your rails and will always be sandwiched. You will need to remember what styles and rails are for steps 6&7
Step 2 - Materials List

Now that you have your layout drawn out and all measurements have been taken. You’ll now be able to make a nice organized materials list so you can see how many boards you will want to buy at your local hardwood supplier. Since lengths and widths will vary on your frames, this will really help you determine how much supplies to purchase.
For your material, you’ll want something light but hardy; we recommend birch. Talk to your local hardwood store and see what they recommend; they are a wealth of information in their field.
Step 3 - Cut All Boards to Width

Once you’ve purchased your materials, we can start ripping with the table saw all your frame widths. We highly recommend measuring out and drawing and writing on your boards (with pencil). This will help you down the road when you are cutting to length. Dani and I like to measure and mark all our frames on the uncut hardwood before running it through the table saw. Remember to leave a 1/8” of extra material because we will plane 1/16” of an inch off each side to clean the frames up. **Don’t forget to reference your layout when you get confused before making a mistake.**
Step 4 - Plane

Now that we have all our widths cut and measured, it’s much easier to plane all the boards at once. ***Remember when cutting your boards to width in step 5 to leave and extra 1/8” on an inch** The planer will help clean up the saw marks and rough edges from the table saw, and mill. What you want to do here is plane each board down 1/16” of an inch on each side.
Step 5 - Cut to Length

Now that you’ve ran all your frames through the planner and your frames are starting to come together. Now its time to cut all your frames to length. Since you measured and marked all your boards in step 3 this should be a quick step. Use a mitre saw cut all your boards to length, don't forget here to account for the saw blade and mind your line so all your exact. Some times this is a measure 5 times process. Always refer to your layout when you are confused.
Step 6 - Kreg Jig
This step is straightforward. Bust out the Kreg jig and jig all your styles. You will want to jig two holes on each side of all your styles.
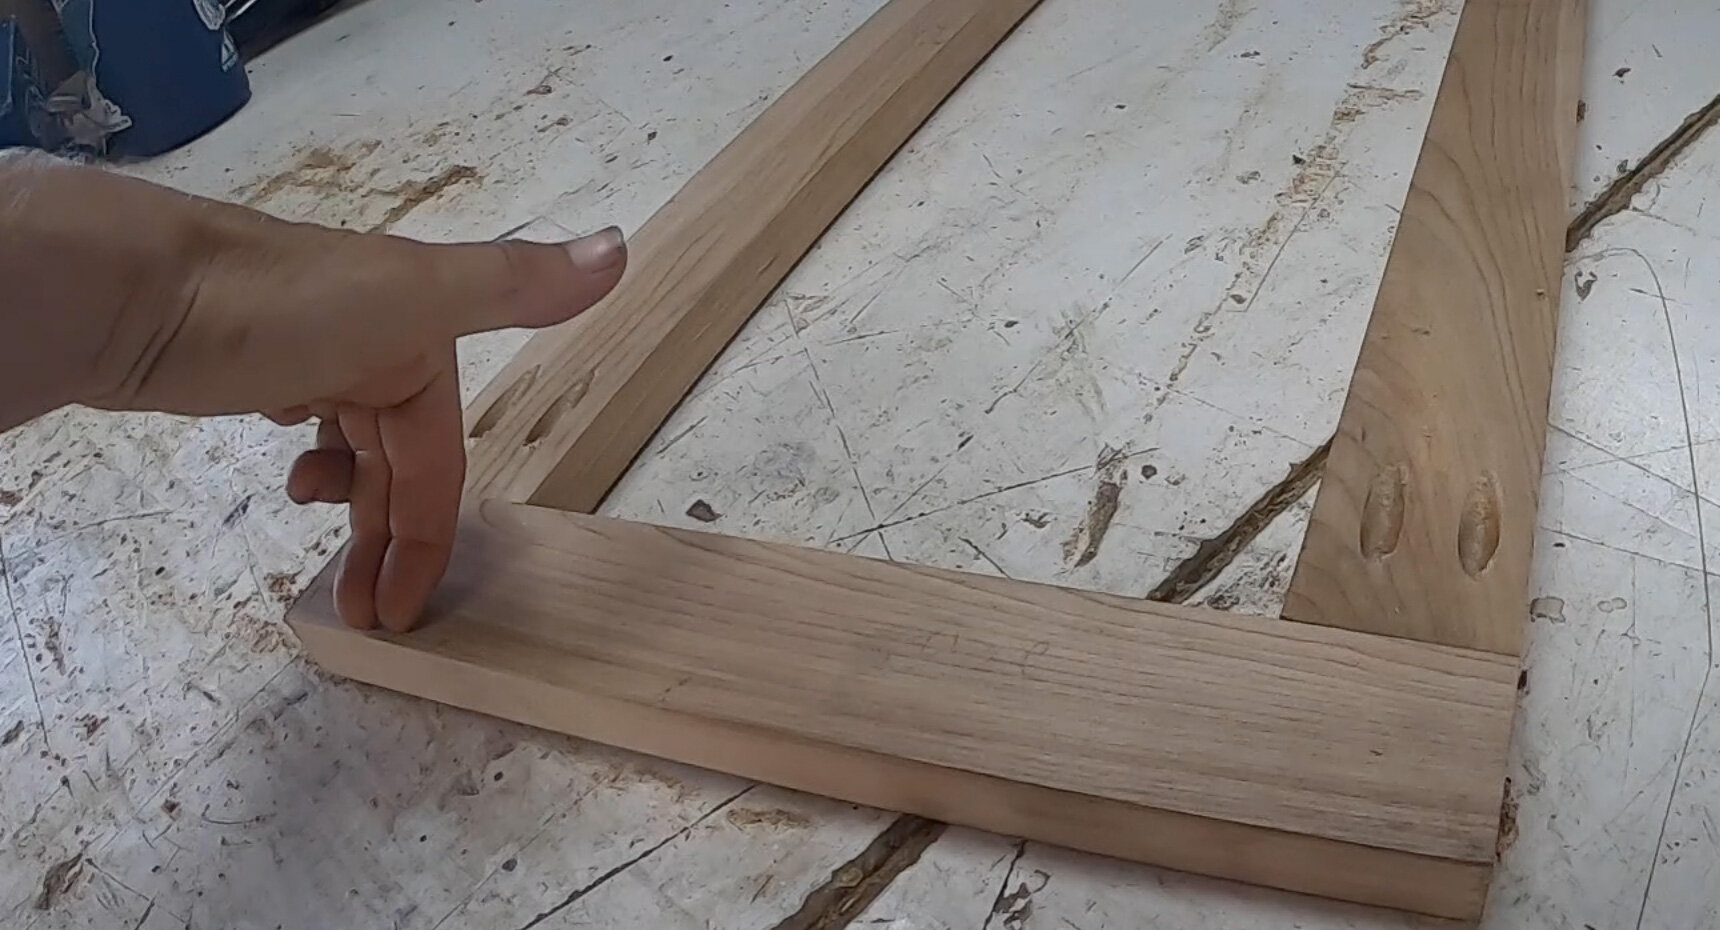
Step 7 - Build Your Frames

Now that you have your frames cut and jigged it’s now time to assemble your frames. You’ll want to use the keg specific screws we highly recommend Quick Screws. Once again remember your styles and rails here when putting together your frames. It helps to measure a center line where your style will be attached on all your rails. Also we recommend using a wood glue like to help keep all the junctions very secure.
Step 8 - Router All Edges

The frames are assembled and looking amazing! Now you’ll want to take a router to al the edges to not only give them a clean look but also to prevent splinters and sharp edges (they can be very sharp!). We just plane around the outside edges and it really helps clean up the small imperfections.
Step 9 - Belt Sand

Now lets get those frames smooth as a babies bottom. You will want to sand just the front of the frames. We will take care of the sides next step. You will now belt sand all your styles first then go back and and sand your rails to eliminate any cross grain scratches that may have occurred while sanding the styles.
Step 10 - Palm Sand
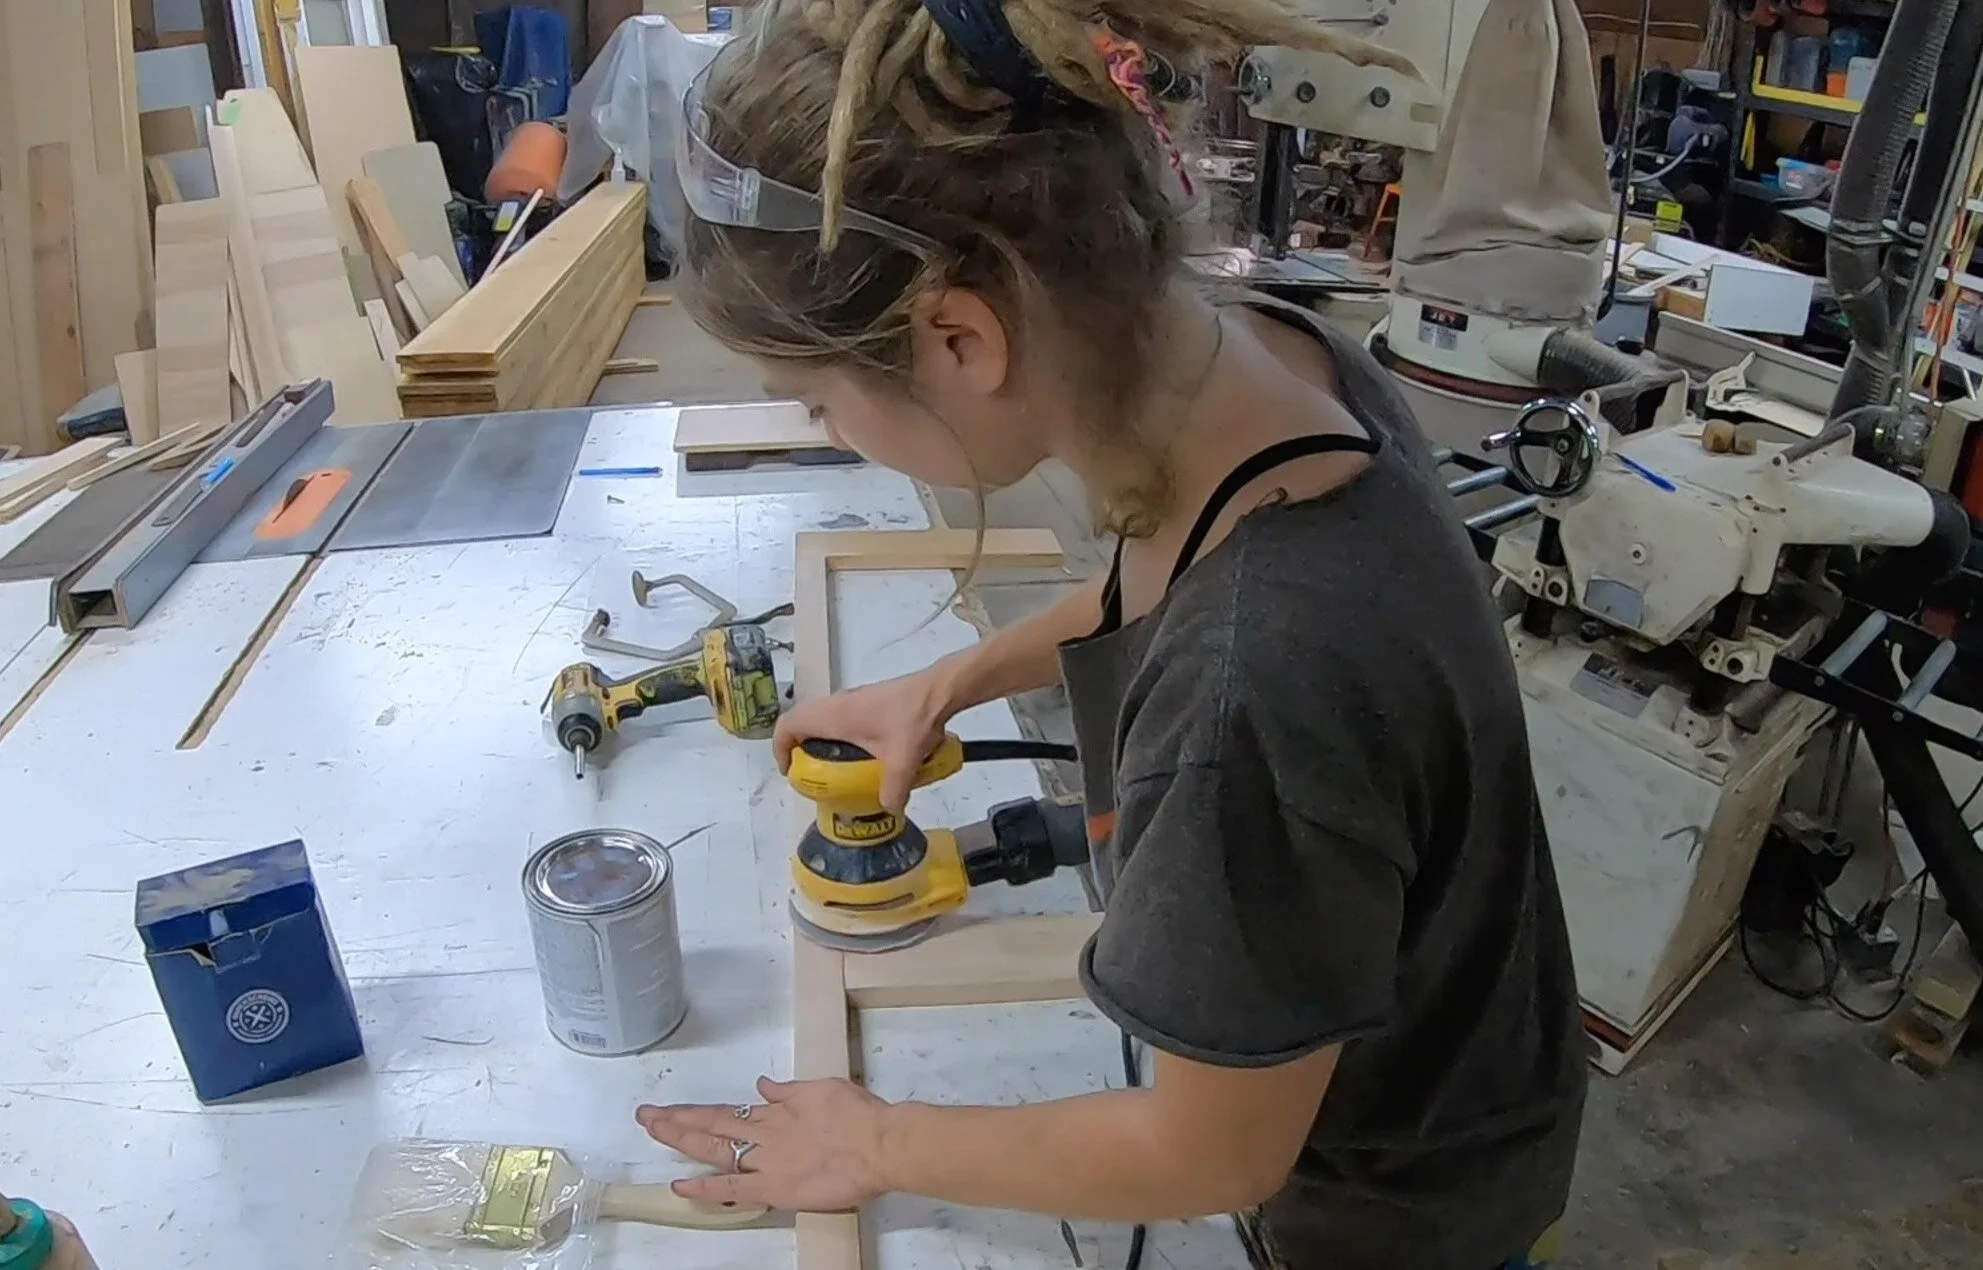
Now get your palm sander and hit all the sides and get them nice and smooth on the outsides and inside of the frame. No need to sand the backsides of the frames.
Step 11 - Paint

Now you’ll want to paint or stain your frames. We highly recommend if you got with a stain to put a sealer coat on top of the stain to keep it from getting dirty.
Step 12 - Install

Once the paint is dry, this can take days; it’s time to install those bad boys onto your cabinet frames. If you went with wooden cabinet frames, we recommend using a pin nailer and wood glue to attach the face frames to your cabinets. If you went with metal cabinets, we recommend attaching them from the back with quick screws. Make sure your hole is pre-drilled in your metal beforehand. Now take a few steps back, high five yourself or your partner, and be proud of what you’ve accomplished.