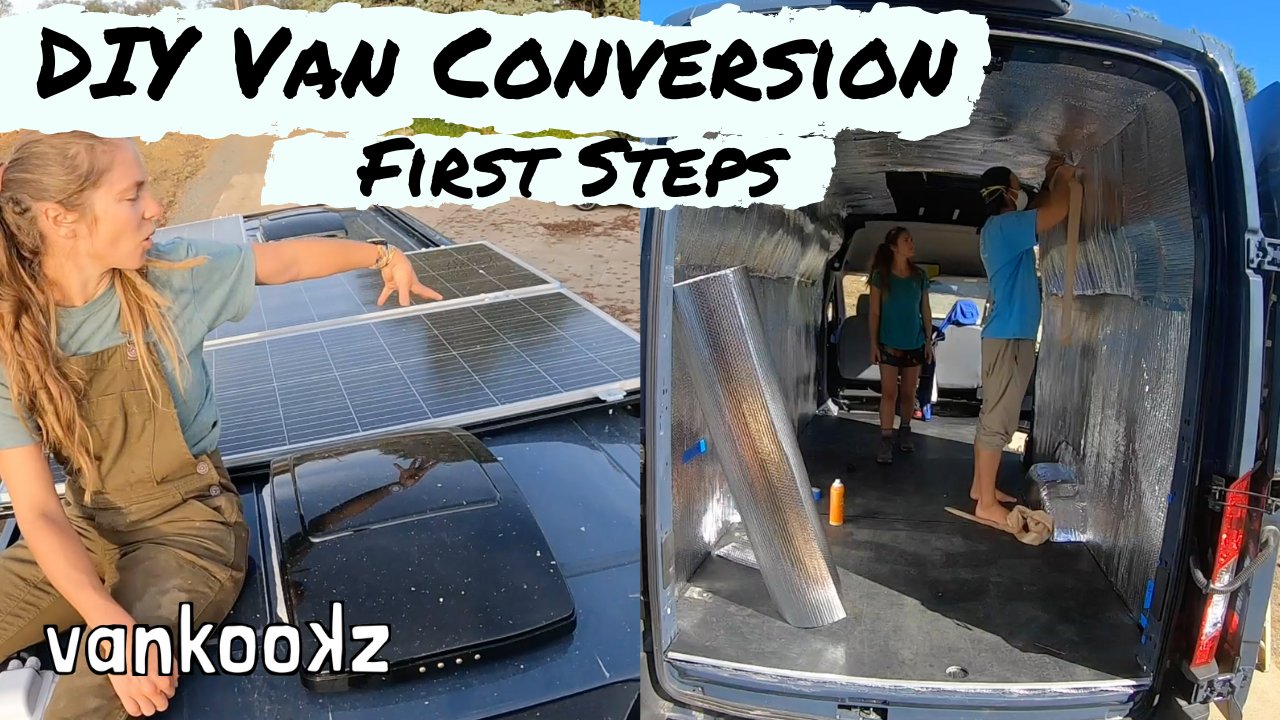
Step By Step How to Wire a 12 Volt Off Grid Solar Power System for a Van Conversion

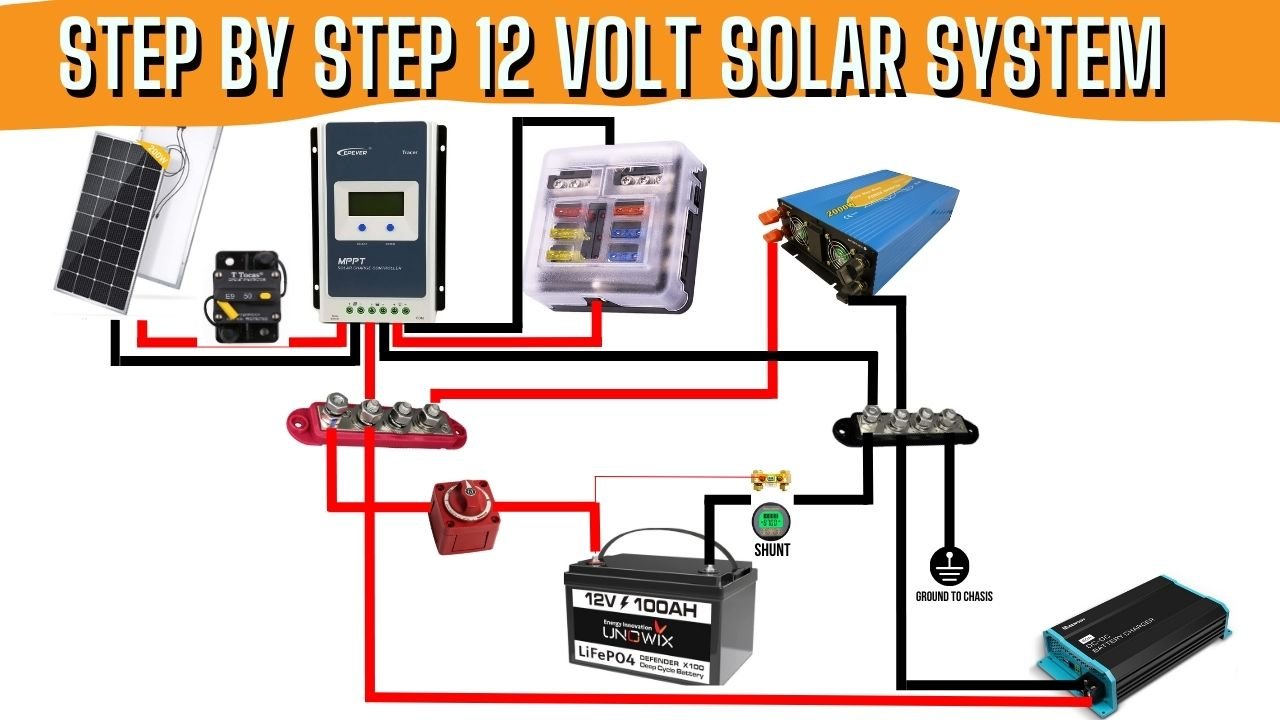
In this video, we give a rundown on how to wire a 12-Volt off-grid solar power system step-by-step to make it as easy as possible for you to get through this daunting task. Check out the diagrams for more information on how to get through this step.

Step by step how to wire a van conversion off gird solar power station.

Get Our Free Wiring Diagrams

COmplete DIY Step-By-Step Van Conversion Masterclass

Step By Step 12 Volt Solar System Video Tutorials

Click the images to access the step-by-step instructional videos

Step By Step Van Conversion Insulation Instructional Videos

Click the Images to Watch the Step By Step Videos

Step By Step How to WIre a 12 Volt Battery Bank

Click the images to go to the step-by-step instructional videos.

Step By Step Solar Panel Installation for a Van Conversion

Click on each image to take you to the step by step videos

How to Install a Roof Fan on Your Van Conversion

Today is the day for the easiest/hardest process of the DIY van conversion.

It's time to cut the first holes in your van. This can be a scary task but fear not! The Vankookz are here to help.

Installing your roof fan is actually one of the easier tasks in the entire van conversion process and you will feel so accomplished once you are done with this step.

You will need the following items to make this happen.

Maxx Air Fan - https://amzn.to/3Fjgk6T

Lap Sealant - https://amzn.to/3kCG7PM

Butyl Tape - https://amzn.to/3FhoQDG

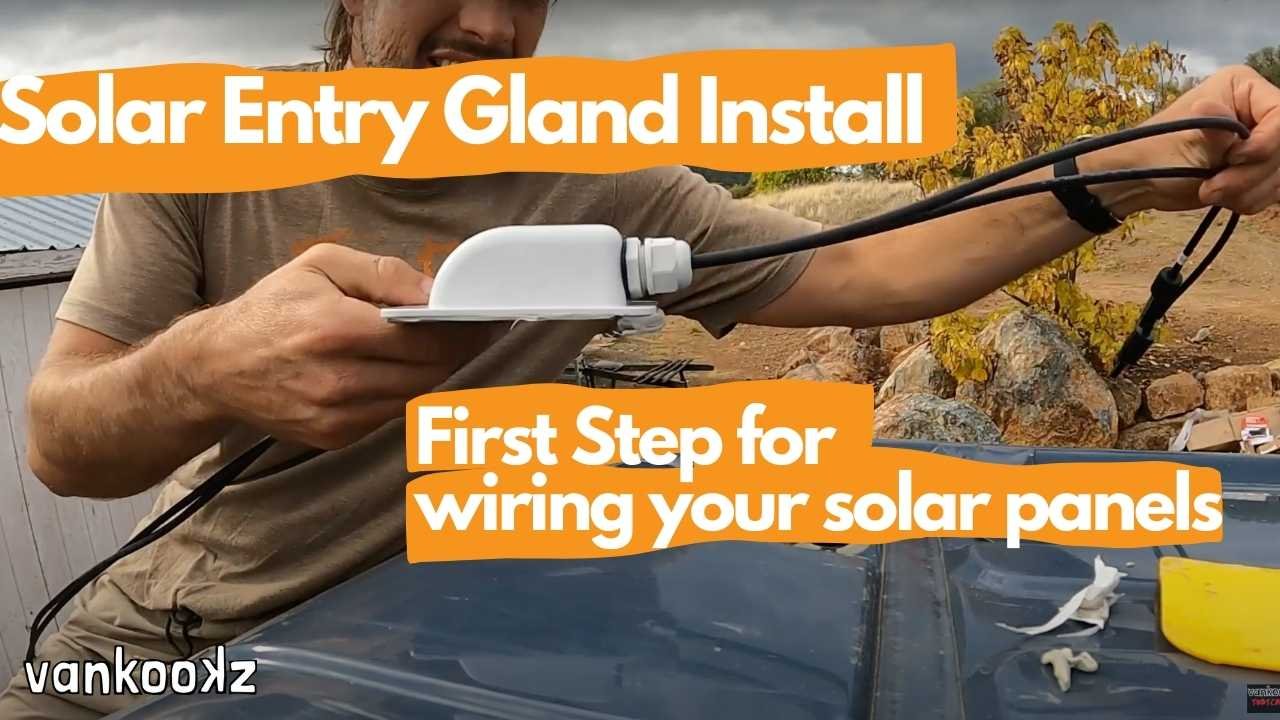
Solar Entry Gland - https://amzn.to/3kAw4KW

This time went with a Maxx Air fan on this van conversion because well let's face it.... It's the best option although it is expensive the other models don't compare. Trust us we have used all of them.

The Fantastic Fan is trash don't waste your time or money with that junk unit.

It's also very important to apply a lot of self-leveling lap sealant around the fan to make sure it's watertight. It's also very important to use butyl tape as well. We have done this process many times and this is the best way to do it. If you follow along with this video you should have zero problems with this installation.

If you are looking for more van build tips check out www.vankookz.com/shop for a complete guide to building your DIY van conversion.

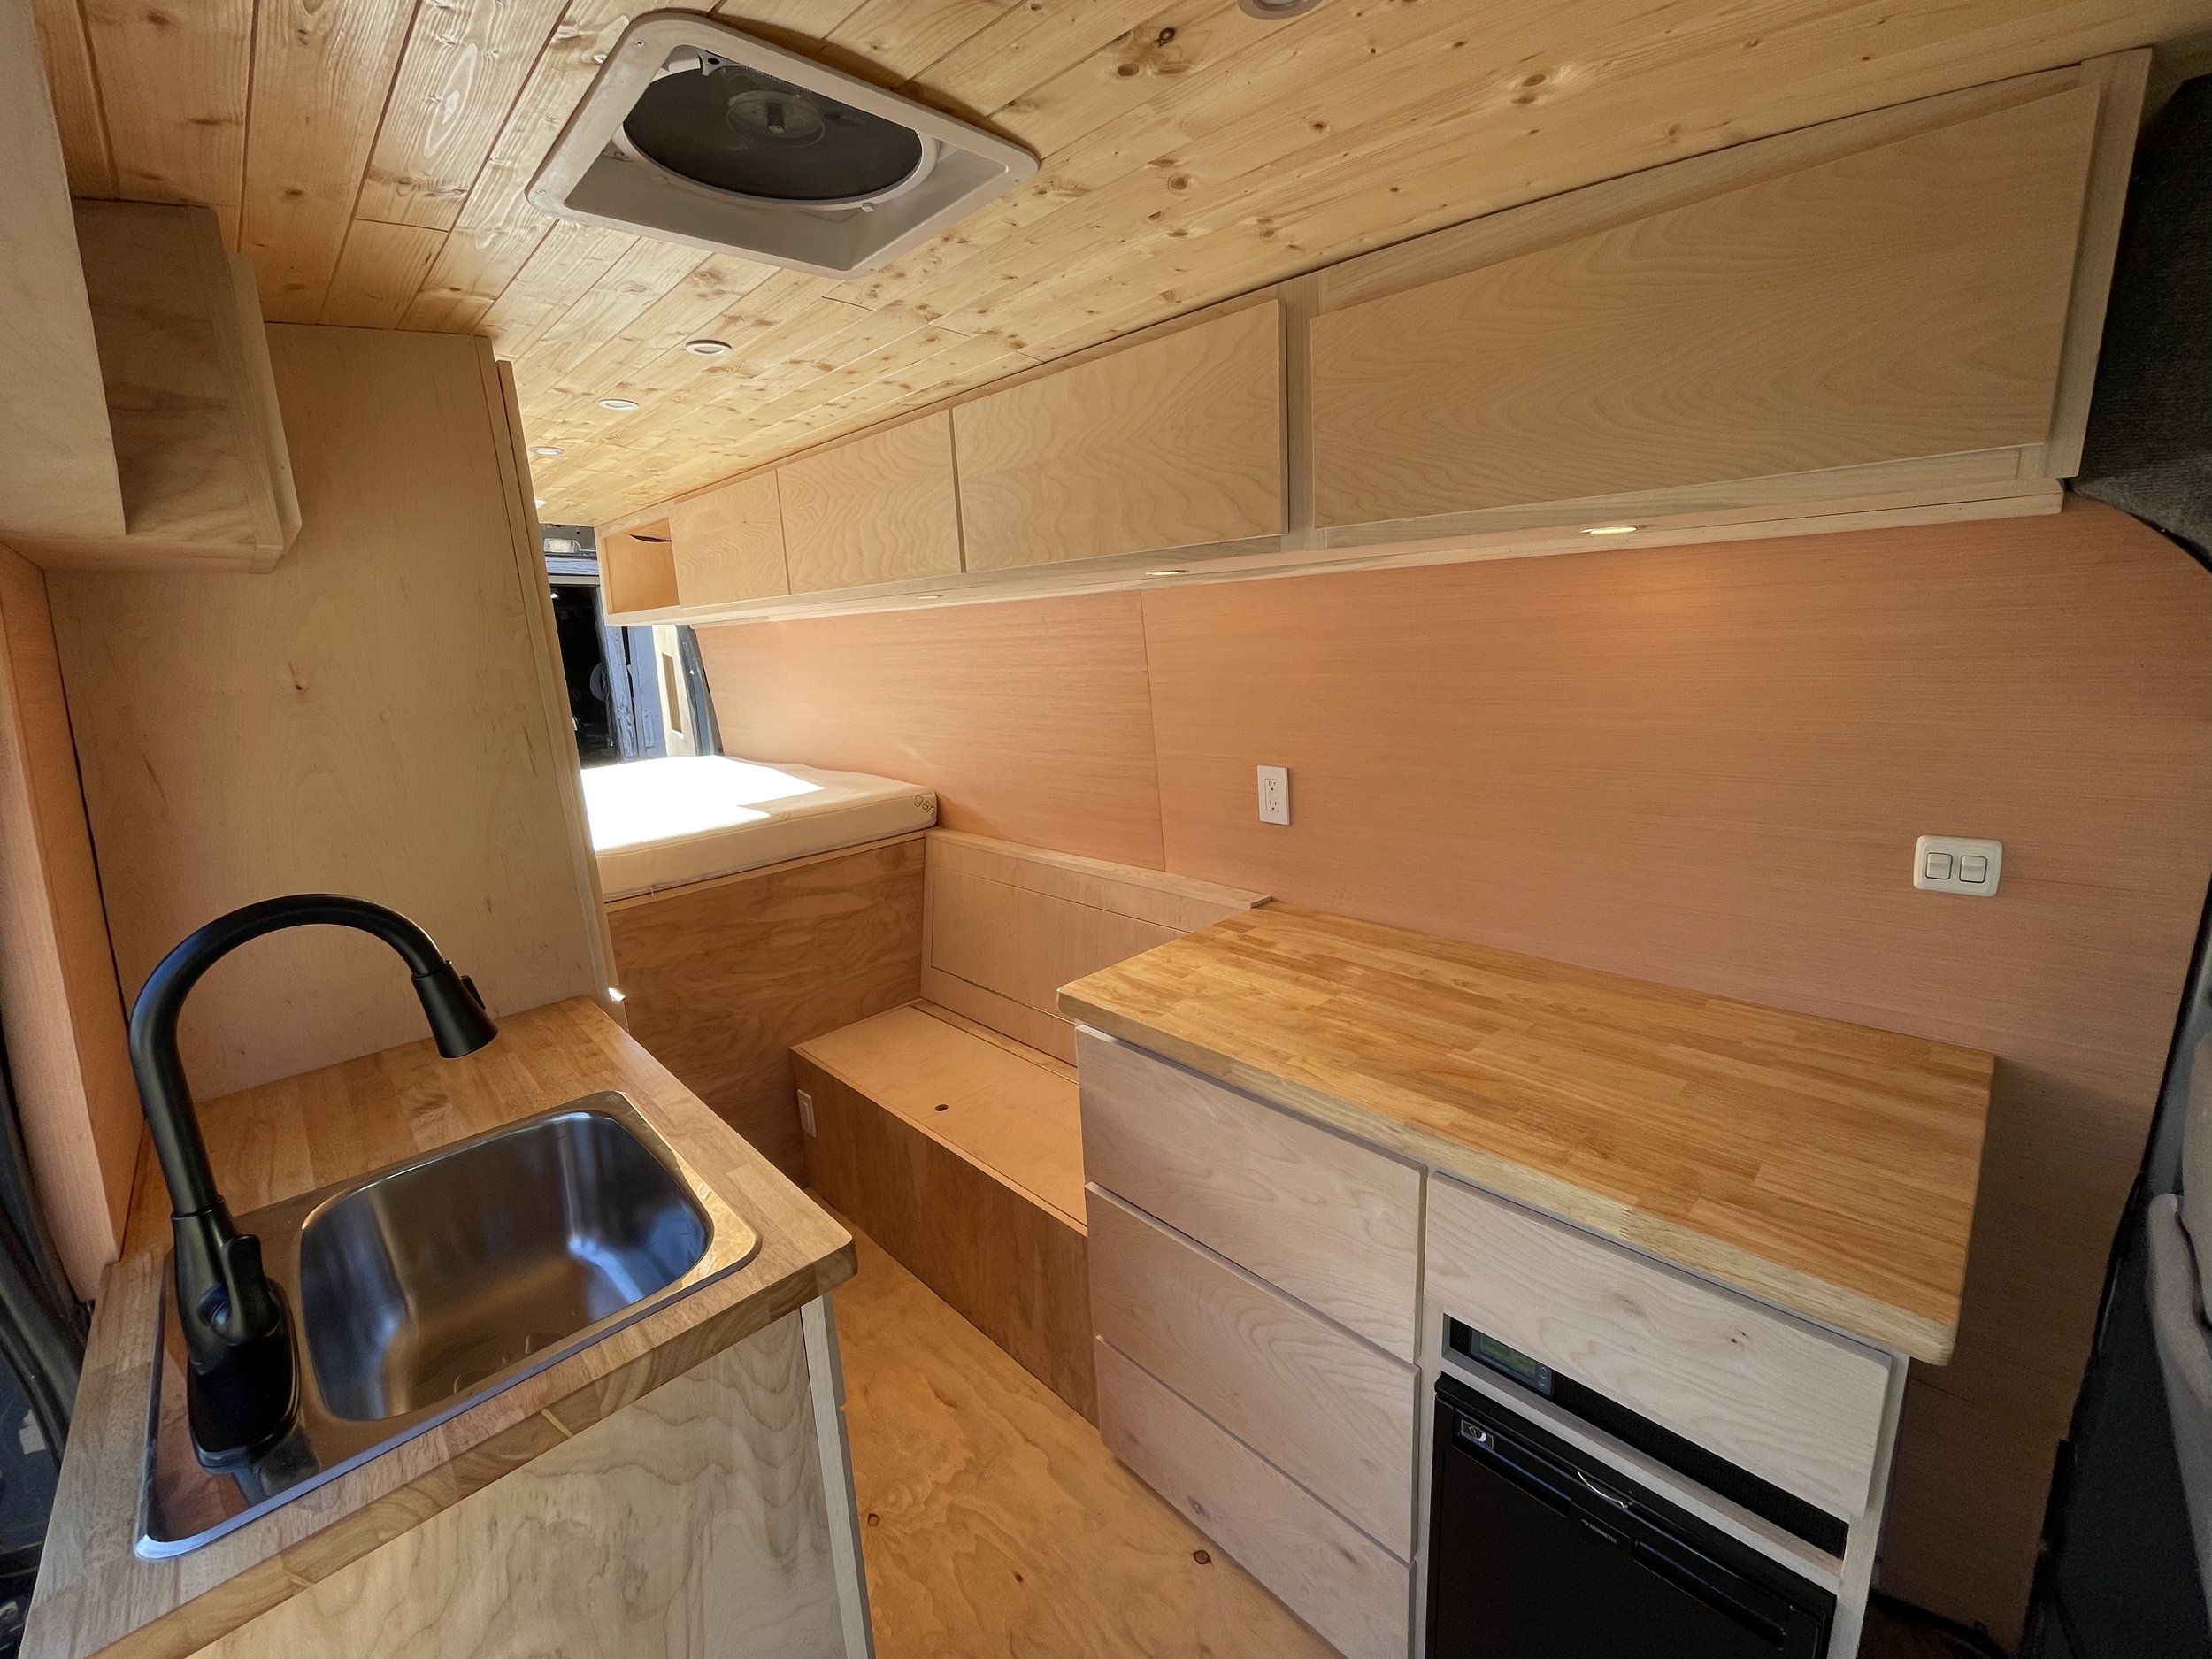
DIY Upper Cabinets in a Ford Transit Van Conversion

Today we are working on Upper Cabinets in a Ford Transit van conversion.  This wasn’t the easiest job to get our heads around.  The Ford has much more curves and contours than a Sprinter or a Promaster.  The main difficulty is the downward curve of the roof after the first roof crossbeam.  We knew there was some problem solving ahead but we started this cabinet project like we tackle all upper cabinet projects in van conversion is to start with the layout first.  

The first step in this project is to draw and measure your layout.  In this step, you will take all your measurements and draw out your face frame layout.  We like to draw the layout first because then we can calculate all our cuts for our face frames.  The next step is calculating your cut list.  Getting all your cut measurements on paper makes for a great reference when you are ripping and cutting all your boards to length.  You will first rip all your pieces to width on the table saw, plane then cut all your pieces to length on a chop saw.  

Once you have cut all your  (Stiles are the vertical pieces of your face frames and rails are the horizontal pieces of your face frames.) It’s now time to assemble your frames.  Remember all your stiles will go long and your rails will sandwich in-between your stiles.  You will assemble everything with a kreg pocket hole jig.  We also highly recommend the proper pocket hole screws for this job as well.  You will kreg all your rails on the top and bottom. If you can fit two pocket holes on each side that is ideal but one is ok.  Also use wood glue as well as the screws.  

Now that you have your face frames built its now time to hang them in the van.  We used small L-Brackets on every roof stud so we had 5 L-Brackets.  This is just to hold the frames in place so we can scribe our sides and cabinet dividers.  We made a kicker with a clamp and some scrap wood to hold the frames in place at the proper distance on each side.  This allowed us to get in with our cardboard and start working on templates.  We always start with cardboard templates before moving on to templates on harder pieces of wood like masonite or ram board, really any scrap thin wood we have.  Once the templates are perfect we then transfer them onto our hardwood.  We cut these out with a jig saw and use the circular sander to clean up all the edges.  

It’s now time to install all your dividers and end caps.  We use a brad nail gun and wood glue and attach all dividers to the face frames.  We nail the frames into the dividers vertically down each stile.  We also nail in a small nailer on the bottom of each section so we can connect the bottom of the cabinet to the face frames.  We now cut the piece for the bottom.  We cut a piece that was about 3 inches over so we could scribe our bottom piece out.  We scribed the back first with our handy pencil and washer tip.  Once the back was perfect we then scribed the front to the inside of the face frame.  This took some time and some shoulder strength but we got it done.  Once it was matched perfectly we nailed it into the bottom of each divider as well as the nailer that we added to the back of the face frame.  For added support, we ran a quarter round along the bottom back edge of the cabinet and nailed that into the van framing as well as the bottom of the cabinet.  

To attach it all to the wall very securely we cut headers for each cabinet compartment and used L-Brackets to attach the header to each divider.  We also nailed the headers to the dividers at a diagonal angle with the nails.  We attached the header with a positive connection to the van framing with 1(1/4)” “Quick Screws”.  This added so much more stability to the cabinets.  

The next step is to cut the doors.  We bought a 3/4” sheet of birch plywood at the hardwood shop and then spent a lot of time laying out our design to match our grain the best we could.  We used the table saw and the miter saw to cut all our door panels out.  Next, we tapped all the edges of our doors with veneer wood banding.  This really cleans up your doors and gets rid of the plywood edging.  Now it’s time for hinges you can use any hinge you want here it does make life easier to install the hinges on the doors now, instead of in the van.  Once all your hinges are on it’s time to hang your doors on and match the grain.  

In the end, you should have a very professional and clean upper cabinet in your van conversion.  Give yourself a pat on the back because you did it!  

..::Parts & Tools We Used::..


How to Build DIY Kitchen Cabinets Van Conversion

Welcome Back to the Channel Ya Kookz!

Today we are teaching you how to build a kitchen in your van conversion. This is a step-by-step guide to building and installing kitchen cabinetry in your DIY campervan. We go through this process step by step the best that we can.

..::Parts & Tools We Used::..

Litheli Impact Driver - https://litheli.com/products/litheli-...

Litheli Drill Driver - https://litheli.com/products/20v-cord...

Milwaukee Right Angle Adapter - https://amzn.to/3p8uulD

Liquid Nail - https://amzn.to/3pCUwwS

Table Saw - https://amzn.to/3pxbUTL

Battery Powered Brad Nailer - https://amzn.to/3GnrLuZ

Chop Saw - https://amzn.to/31fOWZ3

T- Square - https://amzn.to/2xnD7hg

Measuring Tape - https://amzn.to/2xoT2eY

Kreg Jig - https://amzn.to/3xB0qSN

Kreg Jig Screws - https://amzn.to/3zFUpHI

Clamps - https://amzn.to/3mYm8M5

Jig Saw - https://amzn.to/3tK0jDH

Circular Sander - https://amzn.to/3aYqFLK

Sandpaper - https://amzn.to/3tKzGP0

Router + Bits - https://amzn.to/3HCDvf8

Wood Banding for Door Fronts - https://amzn.to/3mUScAC

Thanks for watching ya kookz

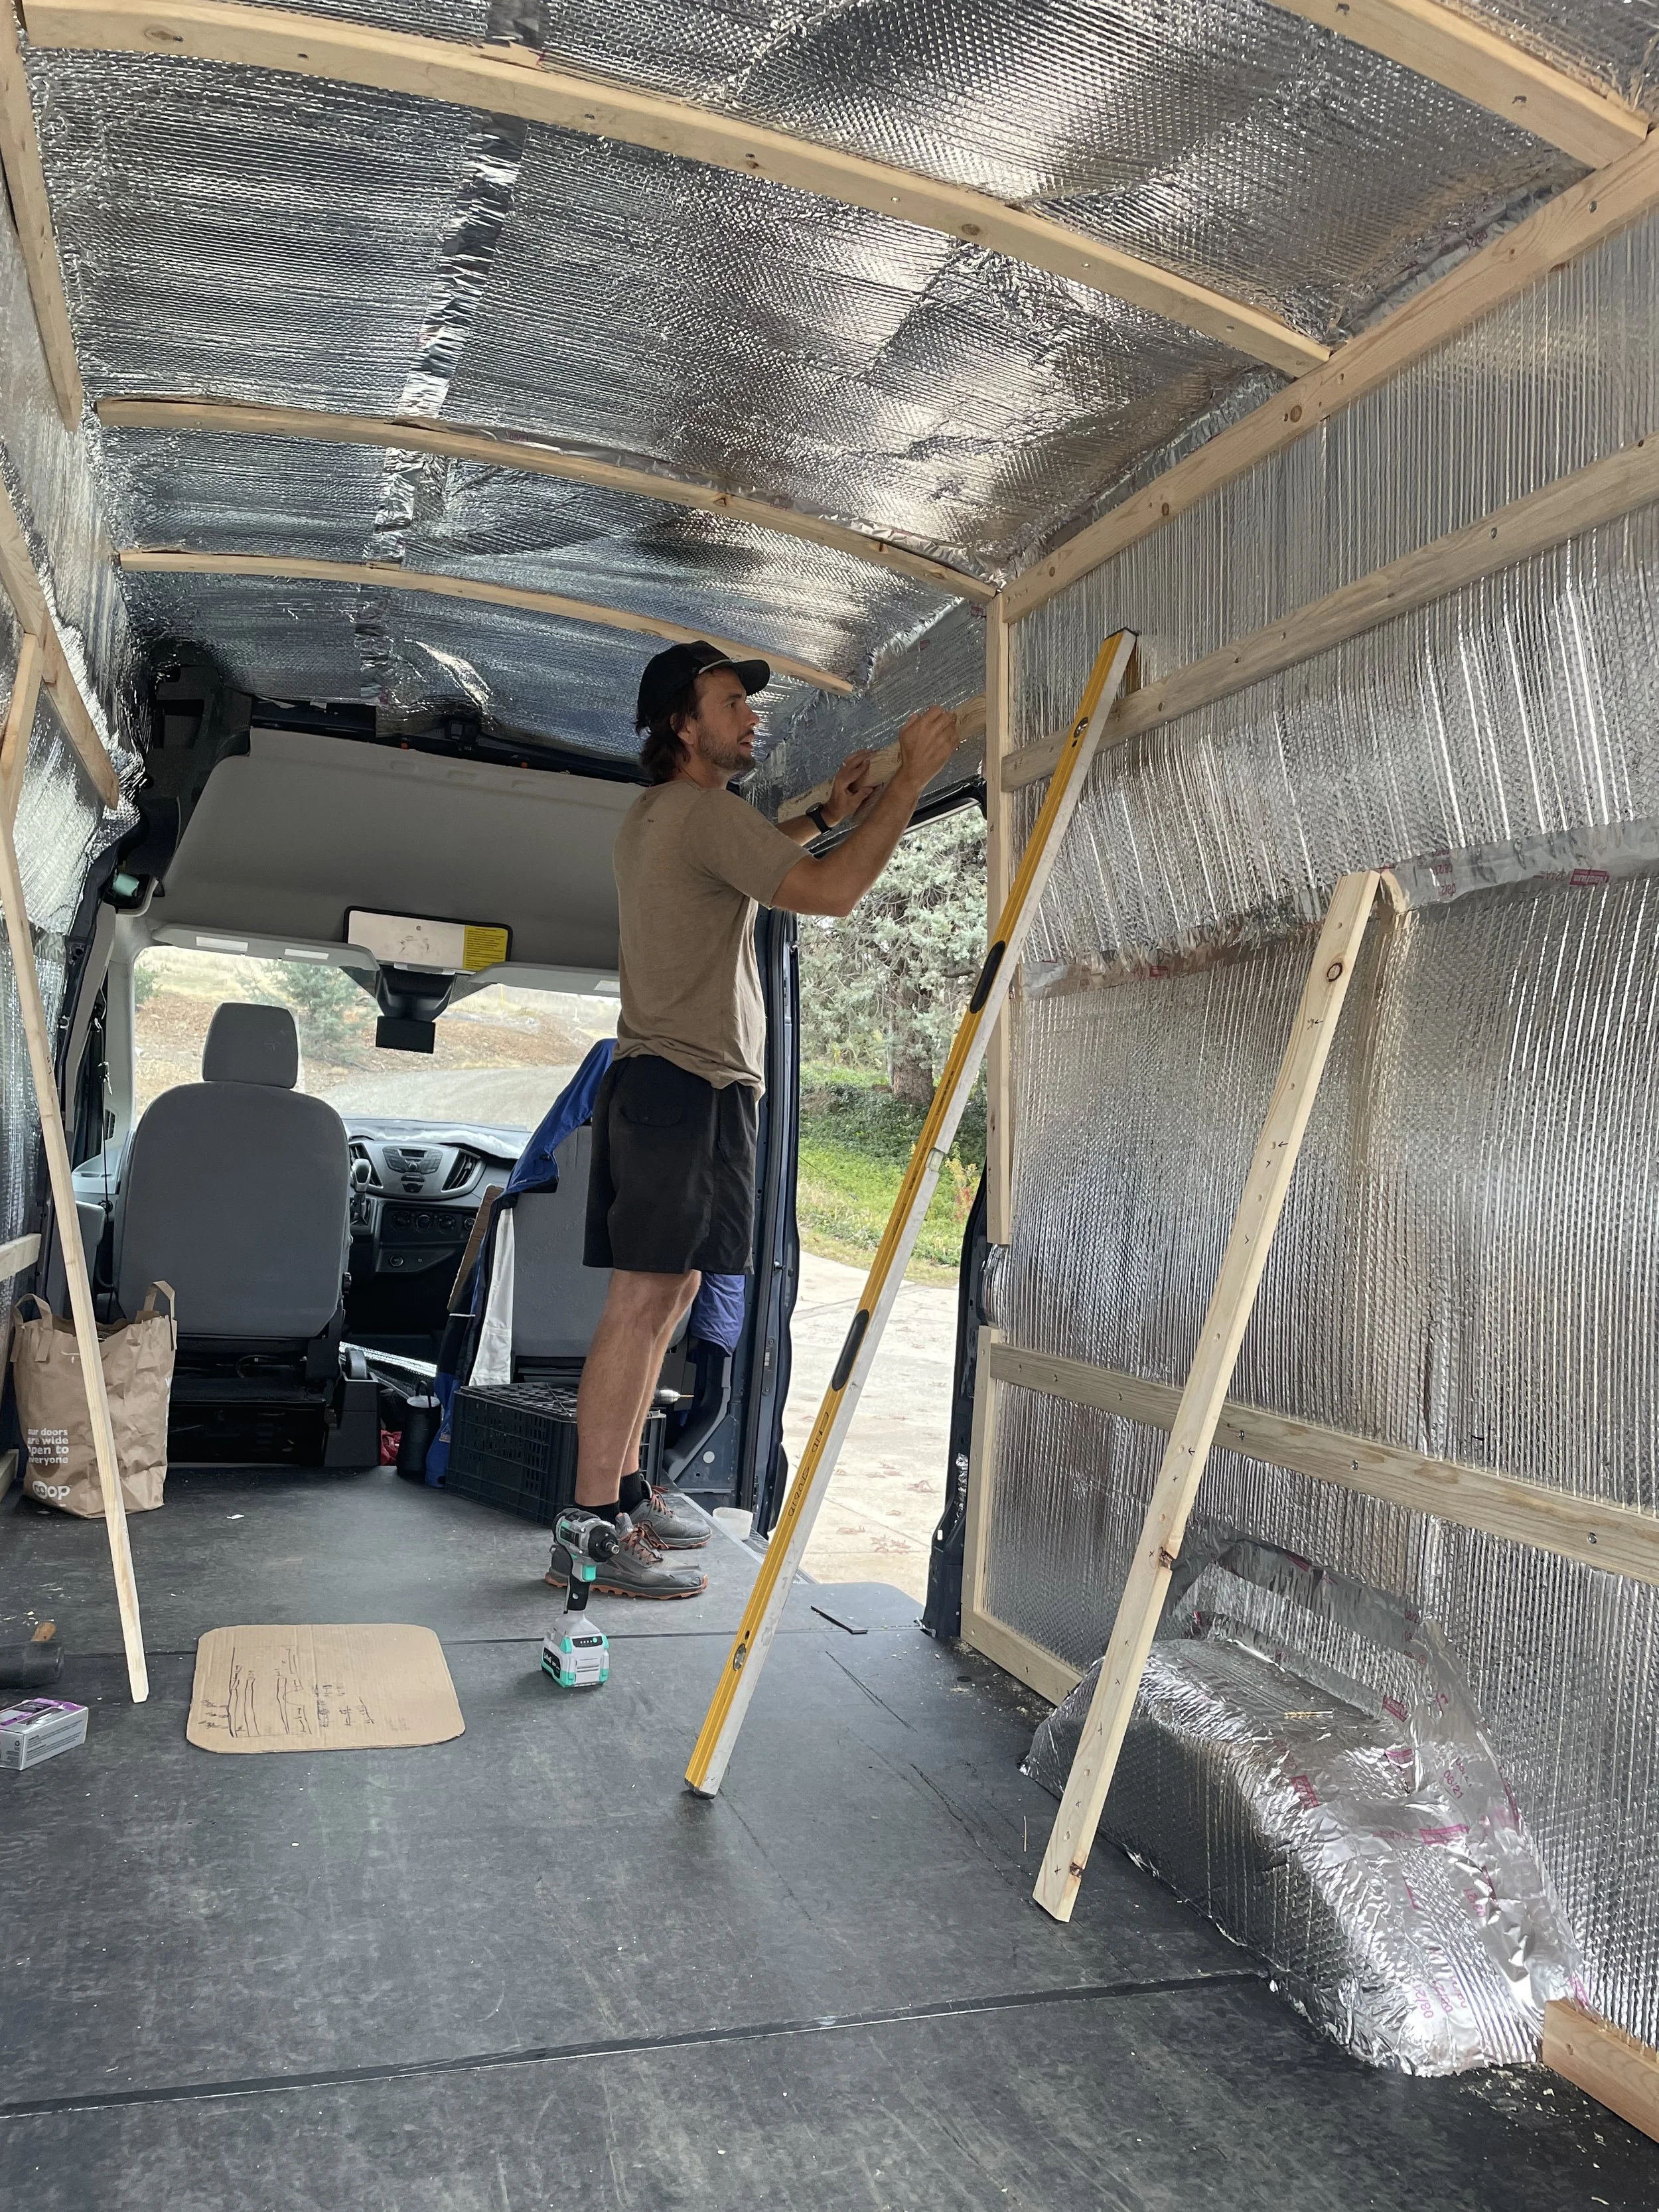
Van Conversion First Steps | Mounting Solar Panels on a Transit Van & Insulating with 3M Thunsulate

This episode is all about the first steps. Are you wondering what the first steps are in a van conversion? We believe that the first steps are to get the solar panels on the roof and the insulation is done.

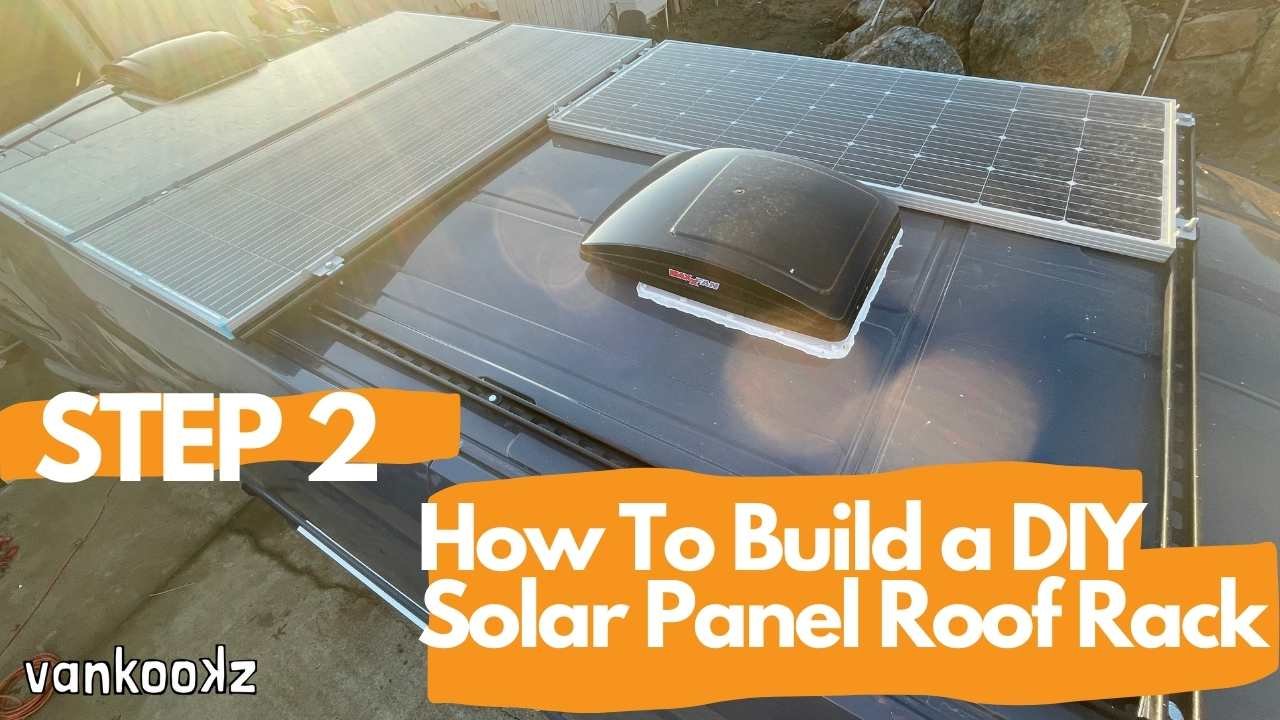
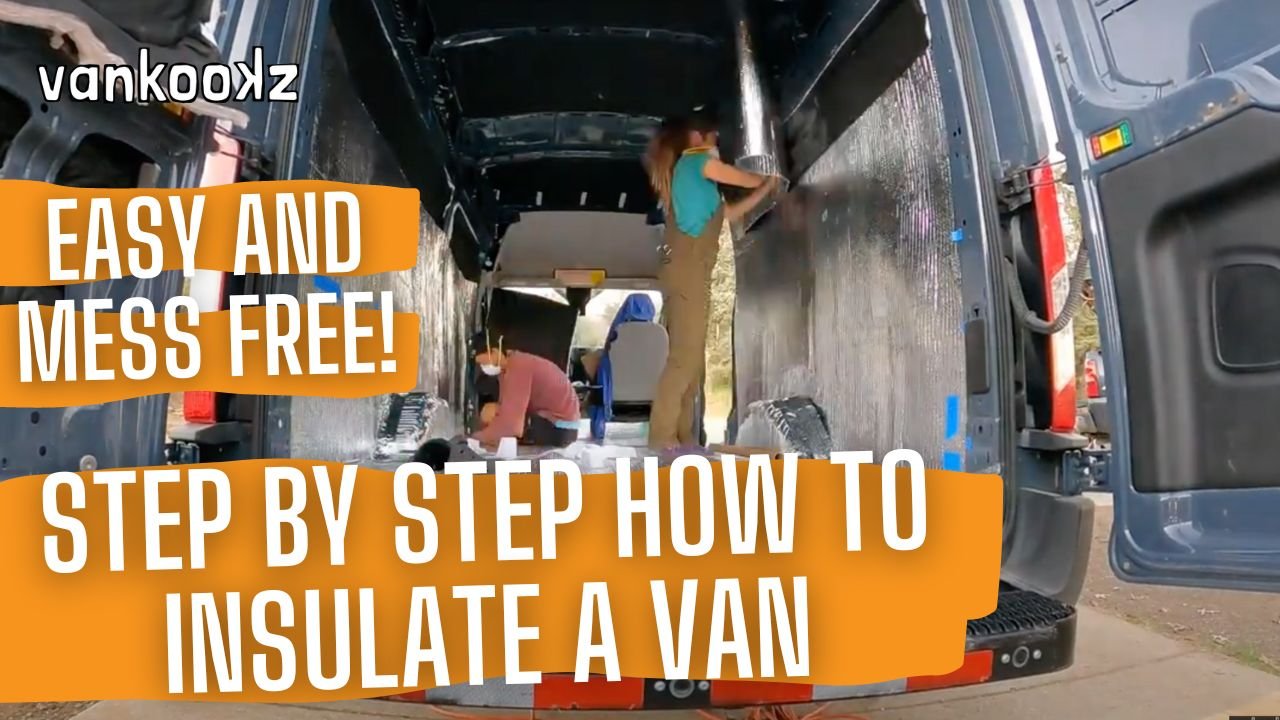
Today, we are installing a custom unistrut roof rack as well as insulating the van with Thinsulate and Reflectix. We will have more videos coming soon on exactly how we made the roof rack as well as how we insulated the van.

We will have much more informational videos coming this week! If you are looking to dive deeper into DIY van conversion videos, stay tuned we have some great tips and tricks coming soon.

Here are a few products we used in this build.

How to Build a Bed Frame in a Van | Ford Transit Van Conversion Bed Design

Check out Mattress Insider for the Perfect Mattress for your Van Conversion https://shareasale.com/r.cfm?b=1526801&u=1628820&m=96524&urllink=&afftrack=

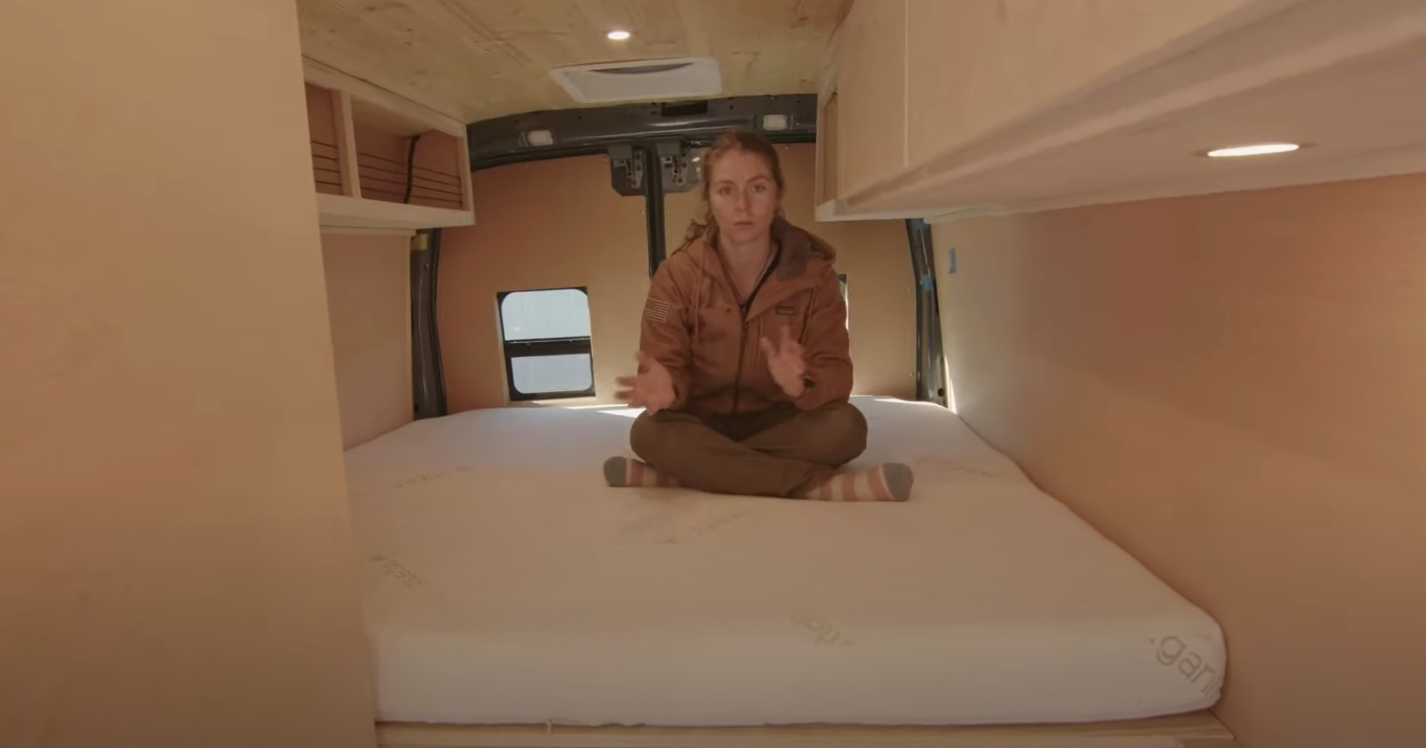
Welcome Back to the Channel Ya Kookz! Today we are building a bed frame in the Ford Transit.

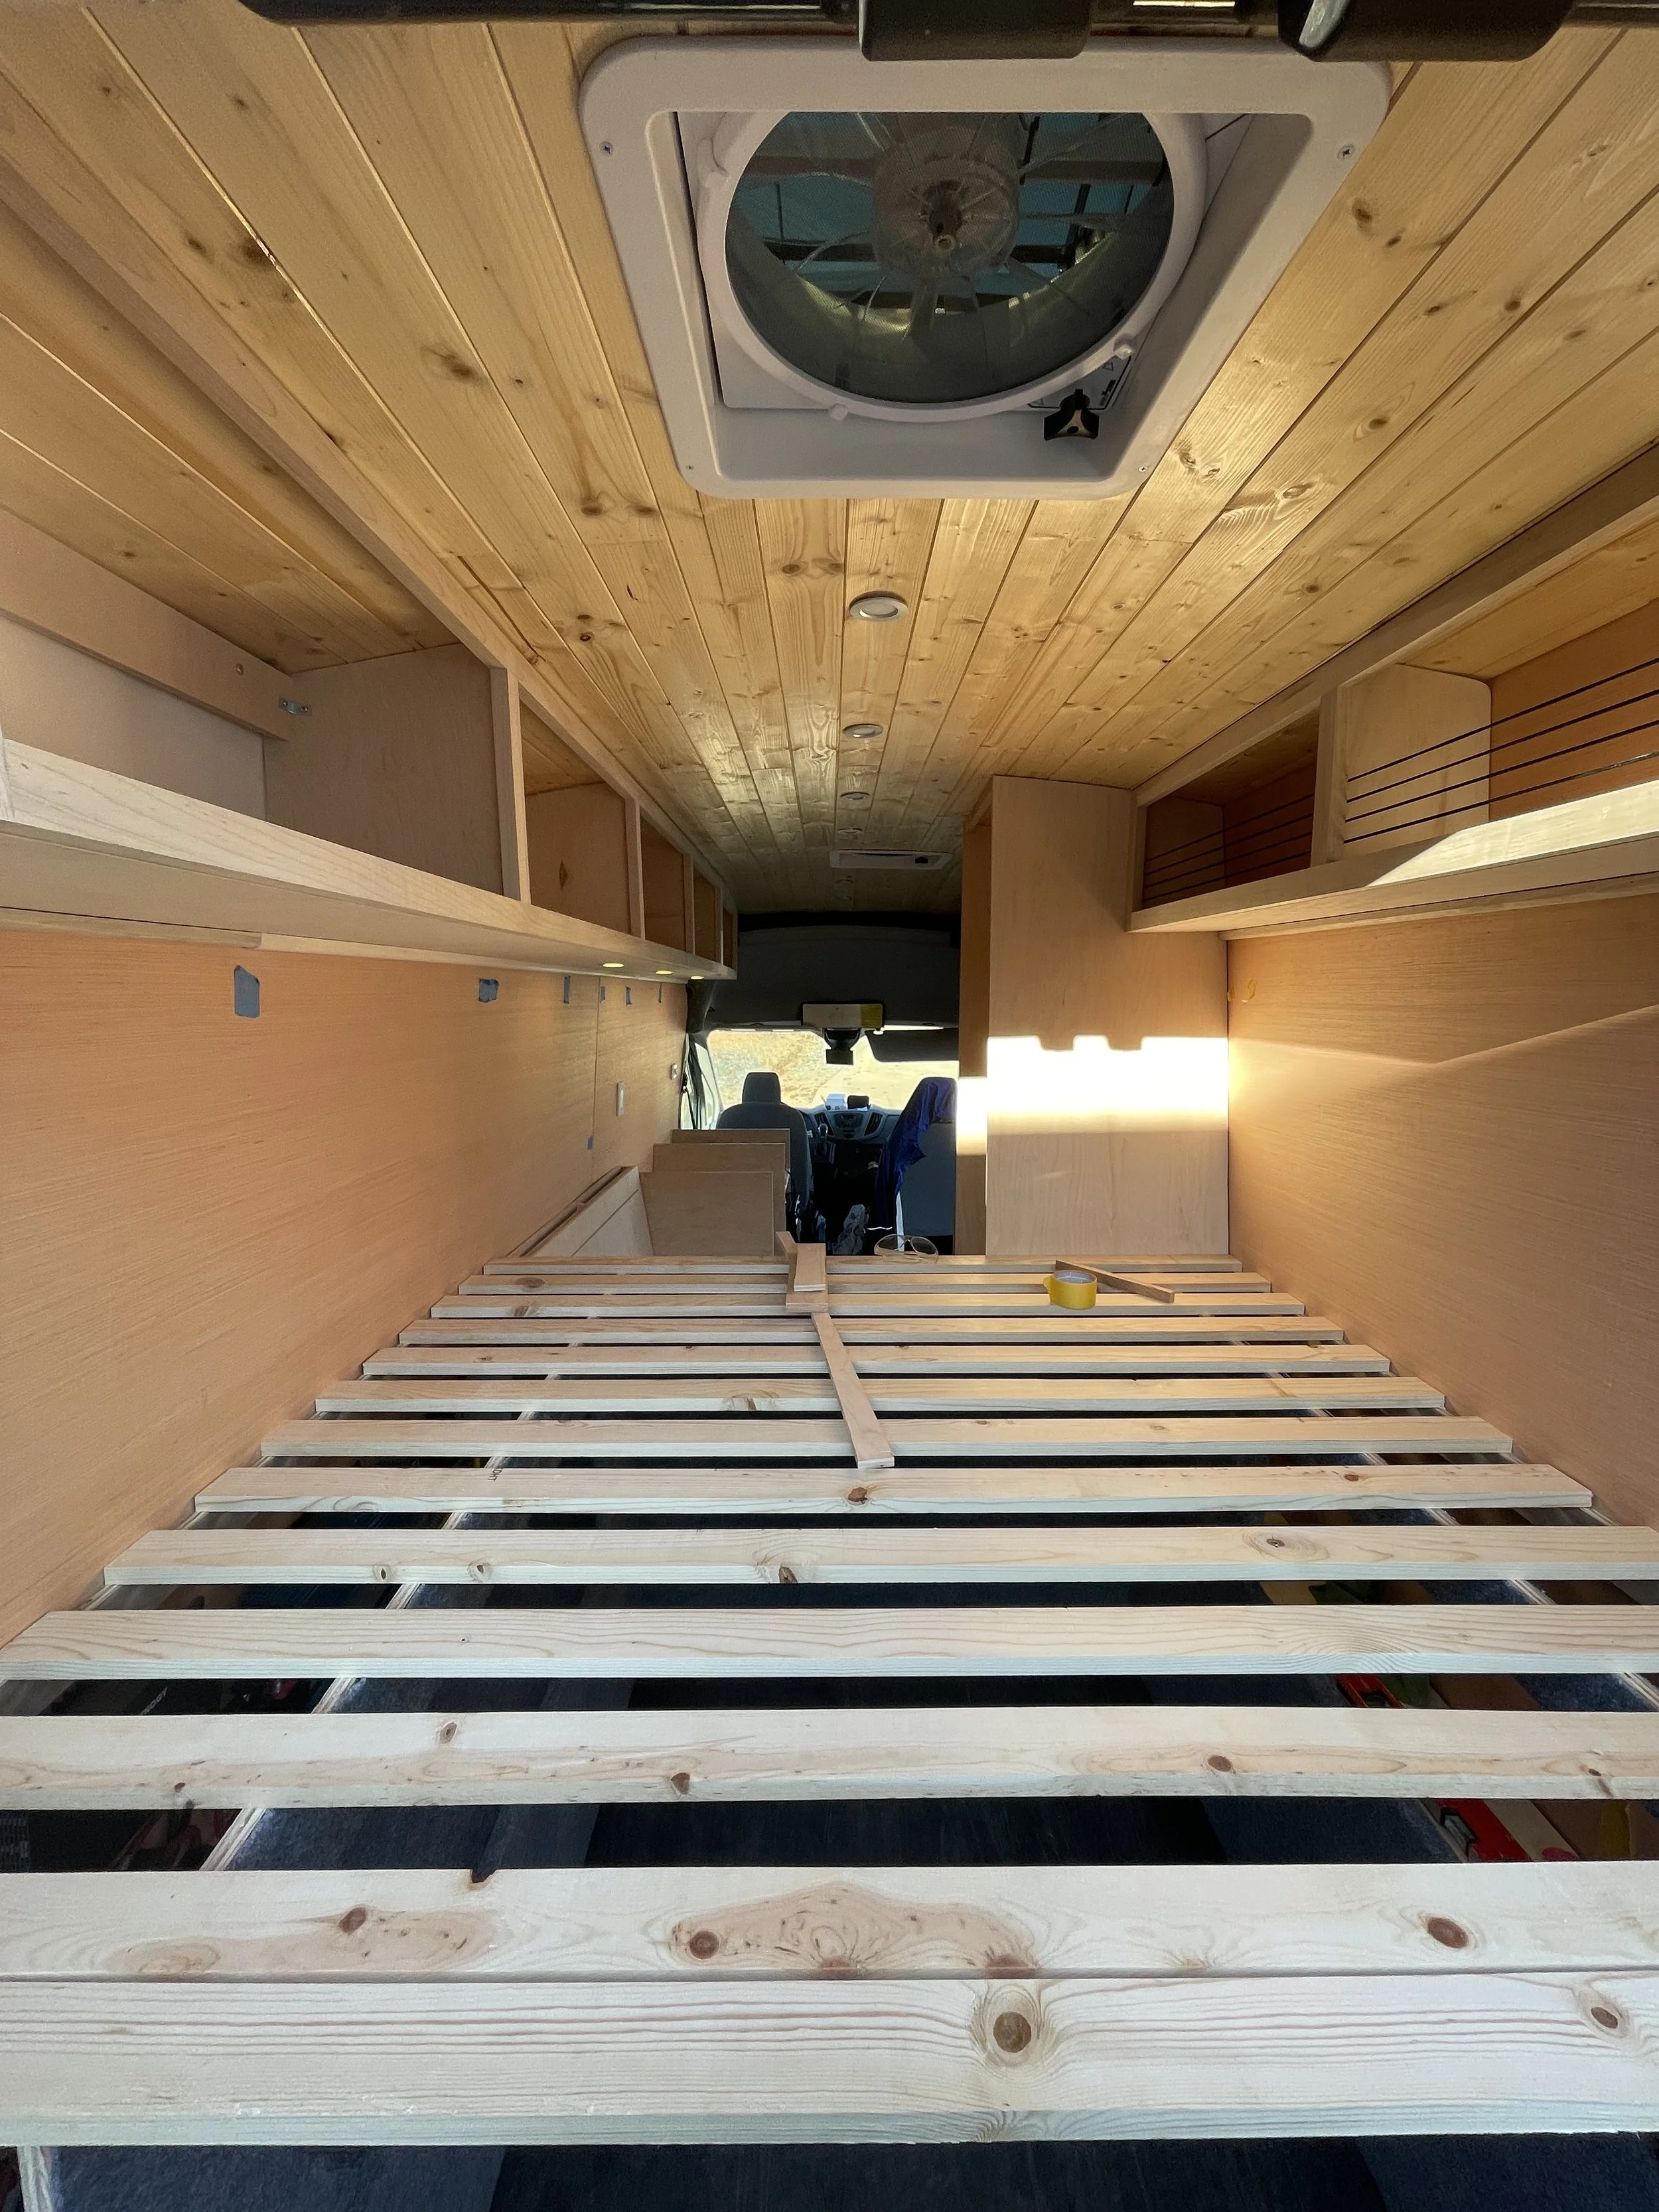
We wanted to find an easy way to build a bed frame in a van conversion that was simple and easy to replicate. We also needed plenty of storage under the bed frame for bikes, a battery bank, and water tanks. We found this style of bed frame pretty straightforward and easy to assemble.

We hope this helps you with designing a bed for your van conversion.

Tools we used

Check out Mattress Insider for the Perfect Mattress for your Van Conversion https://shareasale.com/r.cfm?b=152680...

Use coupon code "share5" at checkout for an extra 5% off

Today we are showing off one of our favorite purchases for this last van conversion the 4.5" Custom Deluxe Sofa Bed Mattress from Mattress Insider.

This is hands down the best experience we've had with a mattress for van life. The custom mattresses from Mattress Insider are made to order and perfect for any odd shape van conversion bed design. All we had to do was measure the bed frame and all the obscure nooks and crannies and call in our measurements to a Mattress Insider representative and in a few weeks, we had a made-to-order van mattress at our door.

Another awesome thing about Mattress Insider's custom mattresses is they come with a custom mattress cover already made. All you have to do is put it in place and you are done. In past builds we have cut our own custom mattresses and had to even sew custom mattress covers. We will never do that again thanks to this great service that Mattress Insider offers.

The Mattress we used in this video was the 4.5" Custom Deluxe Sofa Bed Mattress and you can find it here. https://shareasale.com/r.cfm?b=1526801&u=1628820&m=96524&urllink=&afftrack=

Amazon Ford Transit Ladder Install and Review

Check out the ladder here - https://amzn.to/3IwPEBu

Today we are installing and reviewing the Surco 093TL Stainless Steel Van Ladder for Ford Transit (High Roof). This ladder is a pretty sweet deal it cost around $250 and is installed in under 30 minutes. We think it's a great addition to any van conversion especially if you want to get up on your roof to clean your panels.

Installing Windows in a Van Conversion | What is the Best Budget Van WIndow?

Today we are installing the Vintage Technology 14-16 Premium WIndow (https://www.teardroptrailerparts.com/windows.html).

We bought these windows for $120 each and we are very happy with them. No need to spend a fortune buying a name-brand window when Frank from Vintage Technologies can hook you up with a great product that's functional and affordable.

We hope this video helps and leave a comment about what you think about these windows.

Products we used

How to Wire an ANL Fuse Blade for a Your Van Conversion 12 Volt System

ANL Fuse Holder - https://amzn.to/3pUiWm8

Wire - https://amzn.to/3AWBs3B

Wire Terminals - https://amzn.to/3e5DiX3

How to Wire AC Outlets in a Van Conversion | Wiring a Breaker Panel to a Power Inverter

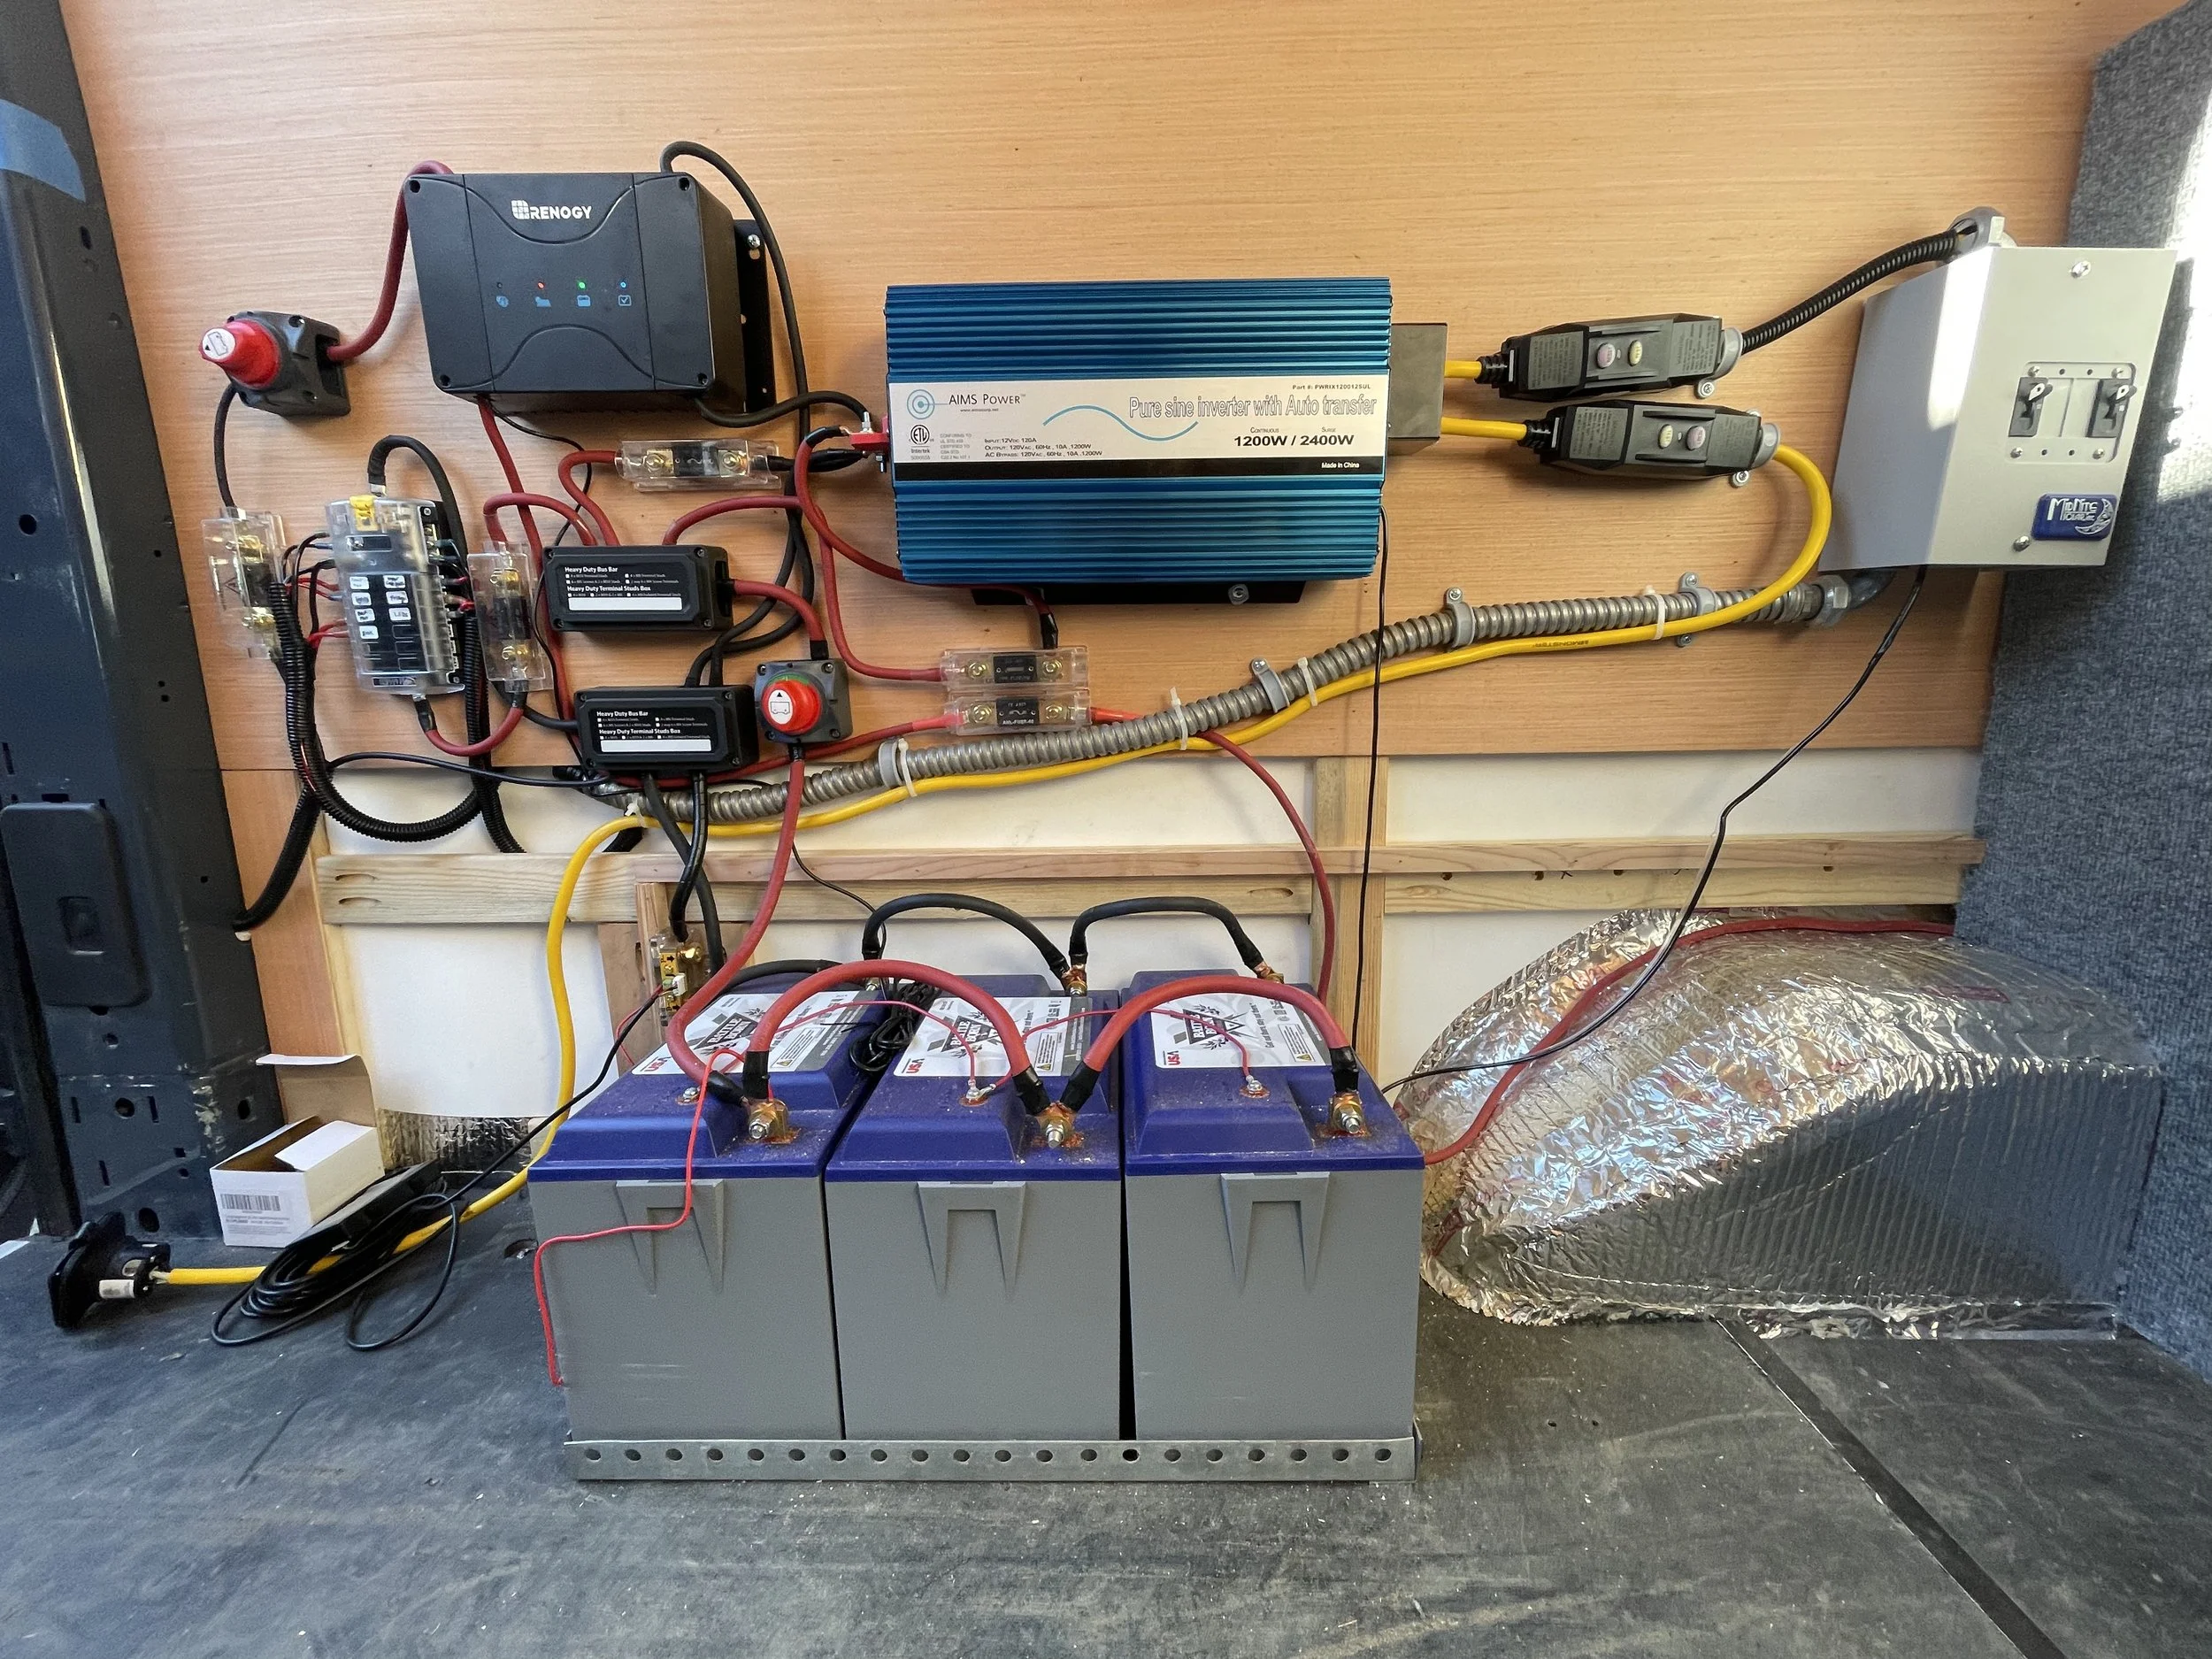
Today we are installing our Aims Power pure sine 2000W inverter to a MidNite Solar breaker box and we will also be wiring two 120 volt AC outlets in the van from the breaker panel.

I really enjoy installing all the electrical components in a van conversion and these are easily my favorite steps. Wiring the breaker panel is very straightforward and only takes a few hours.

I will recommend checking out the links below and making sure you have everything ordered and ready to be installed. I had to wait a while to get a few parts and it really delayed the electrical installation and I had to start working on upper cabinets.

I really liked this power inverter, especially with the auto transfer built-in. I like the idea of being able to charge the unit via shore power. It was also very easy to set up the shore power input.

Be very careful when doing this project always check your connections with a multimeter to see if they are hot. I installed a few kill switches so I could completely kill my system while I was working on this project. You can get seriously injured or die when working with this inverter so take this project seriously. If you have no idea what you are doing call your best electrician friend and have them help you. Or call a licensed professional.

I made this video because I had a hard time finding a video that ran me through the parts I needed for this project as well as the steps to do it. I hope this helps some of you kookz out there.

---Parts & Tools---

https://www.vankookz.com/diy-ford-transit

Installing a Renogy DC to DC MPPT Charge Controller | Wiring a Solar Charge Controller

Download Your Free Renogy DC to DC MPPT Wiring Diagram

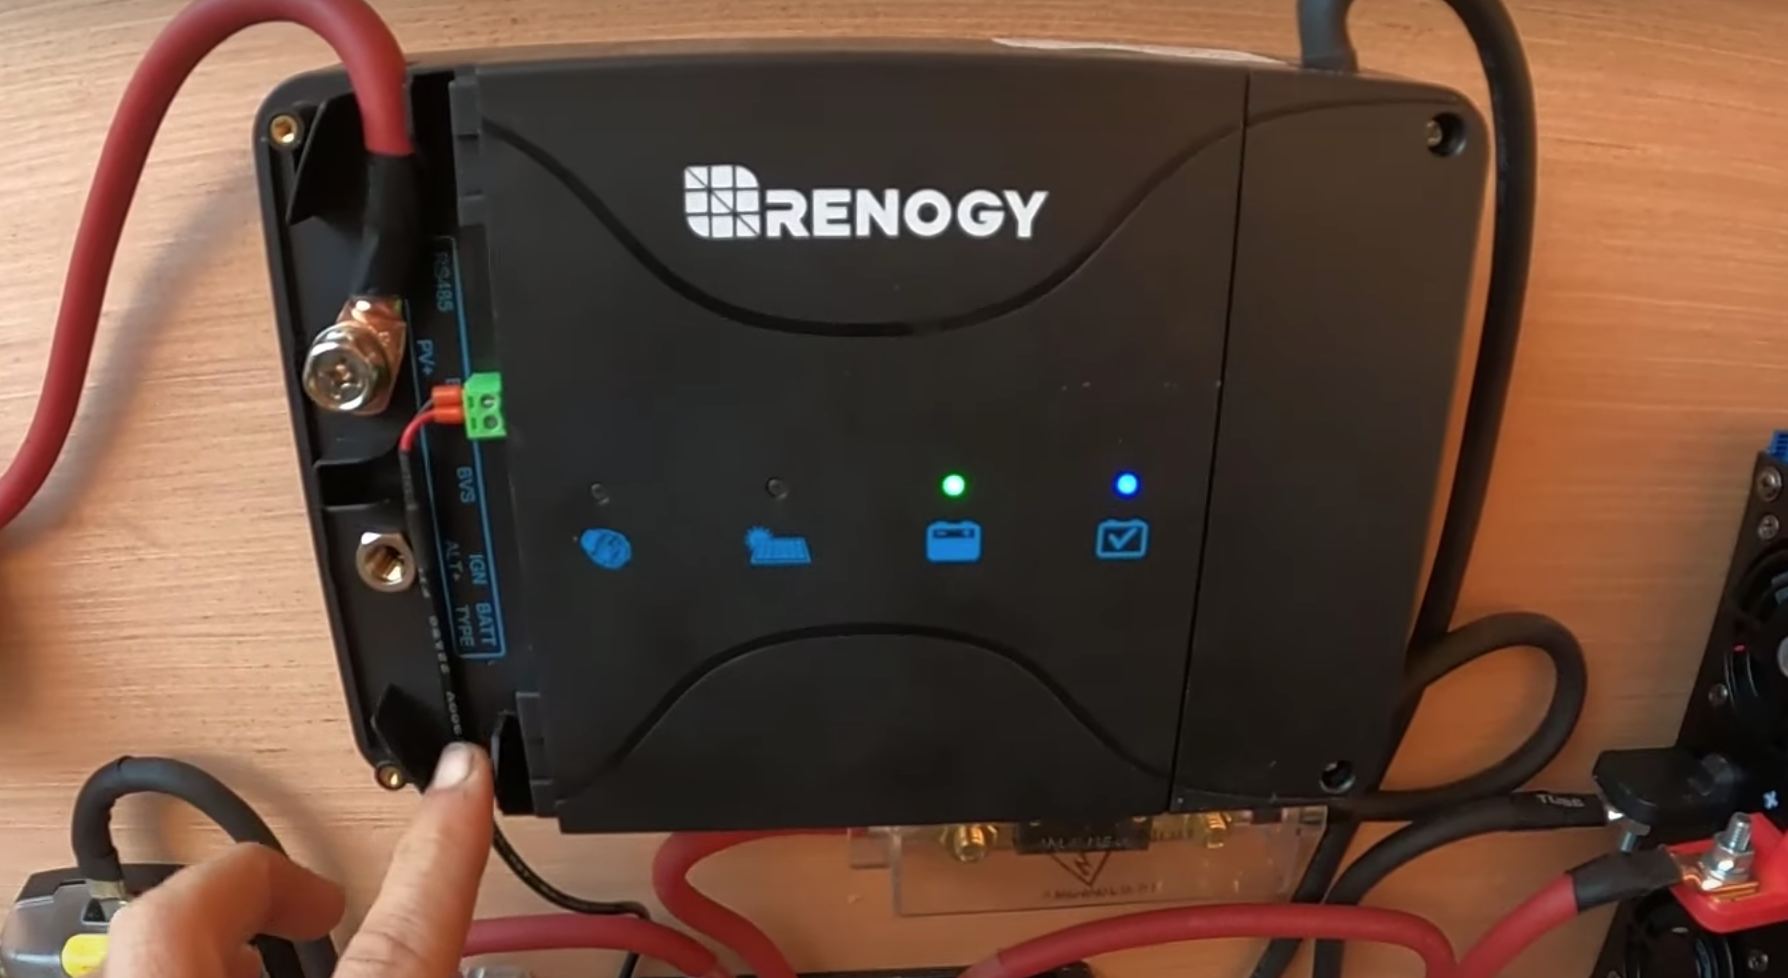
Today we are installing the Renogy DC to DC MPPT Charge Controller (https://amzn.to/3NXDJiJ).

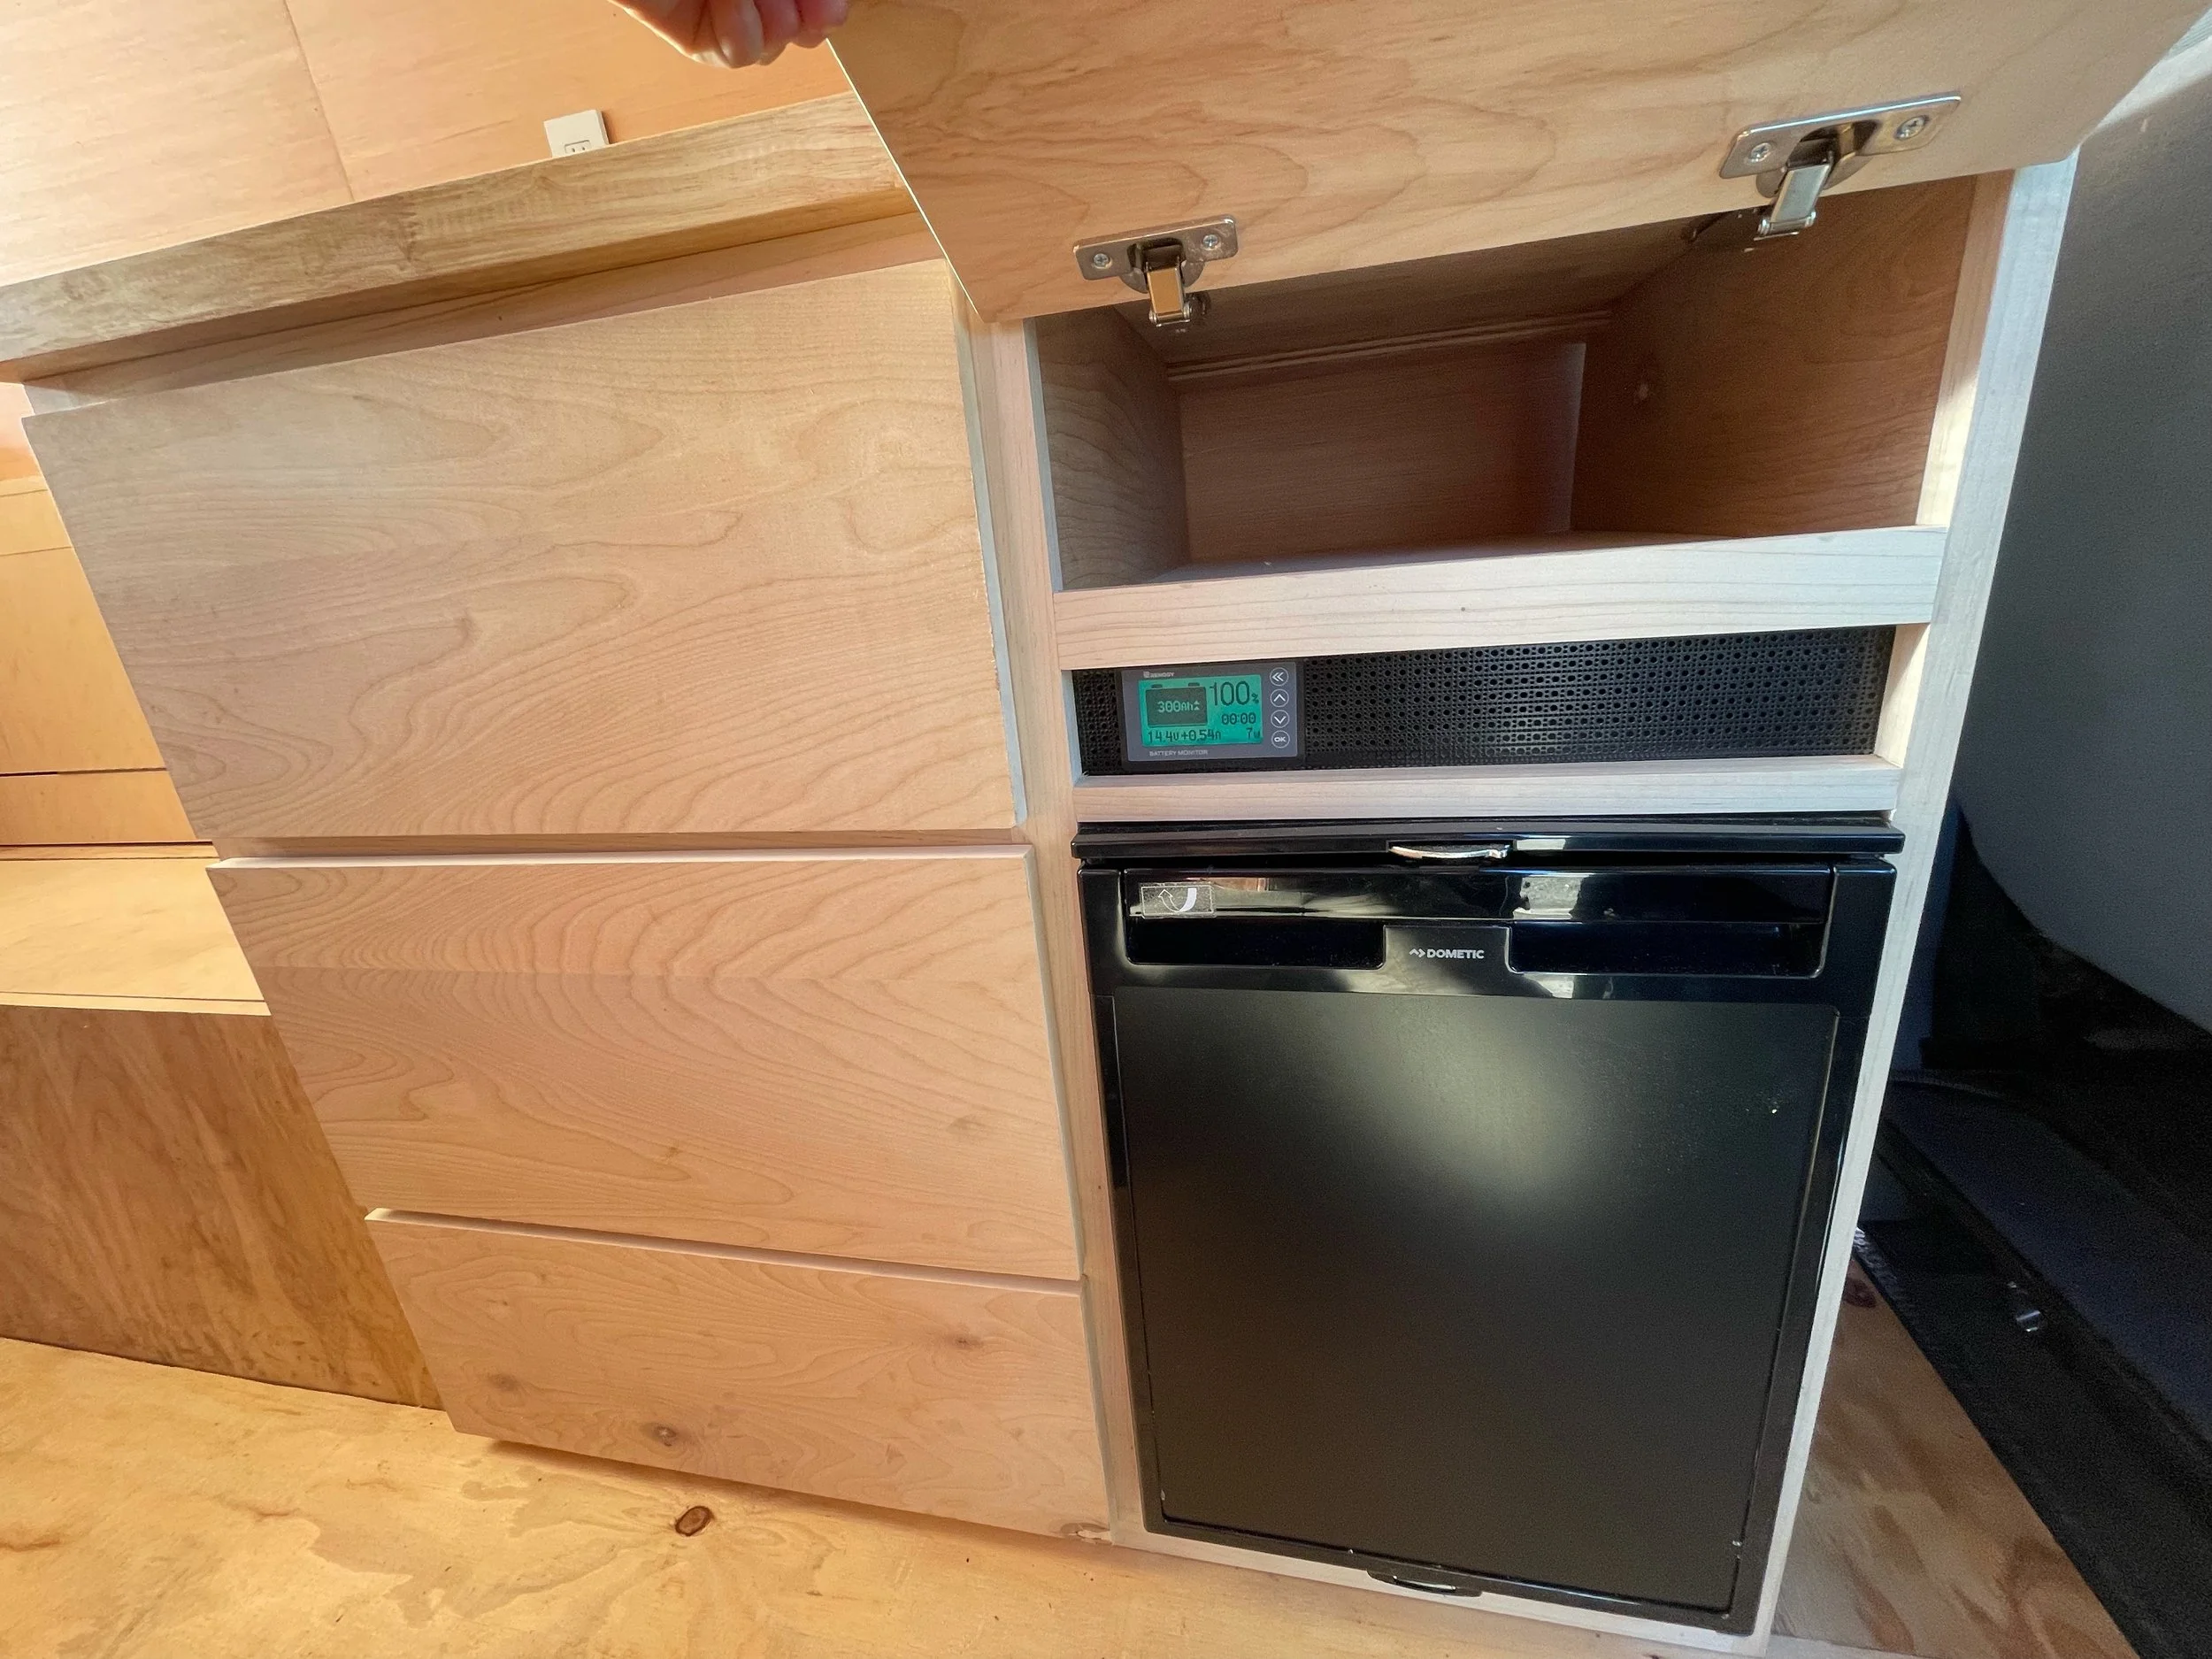
Although I have had troubles with this unit in the past, it is a really cool charge controller and I do recommend it. This charge controller has the capabilities to charge both your house batteries and your starter batter from your solar panel. It also has the built-in DC to DC charger to charge your lithium batteries while you drive as well as from the solar panels. It really is an awesome unit for van life. The only downfall to the unit is it's only capable of inputting 25 volts from your panel. So if your array puts out more than 25 volts this isn't the unit for you.

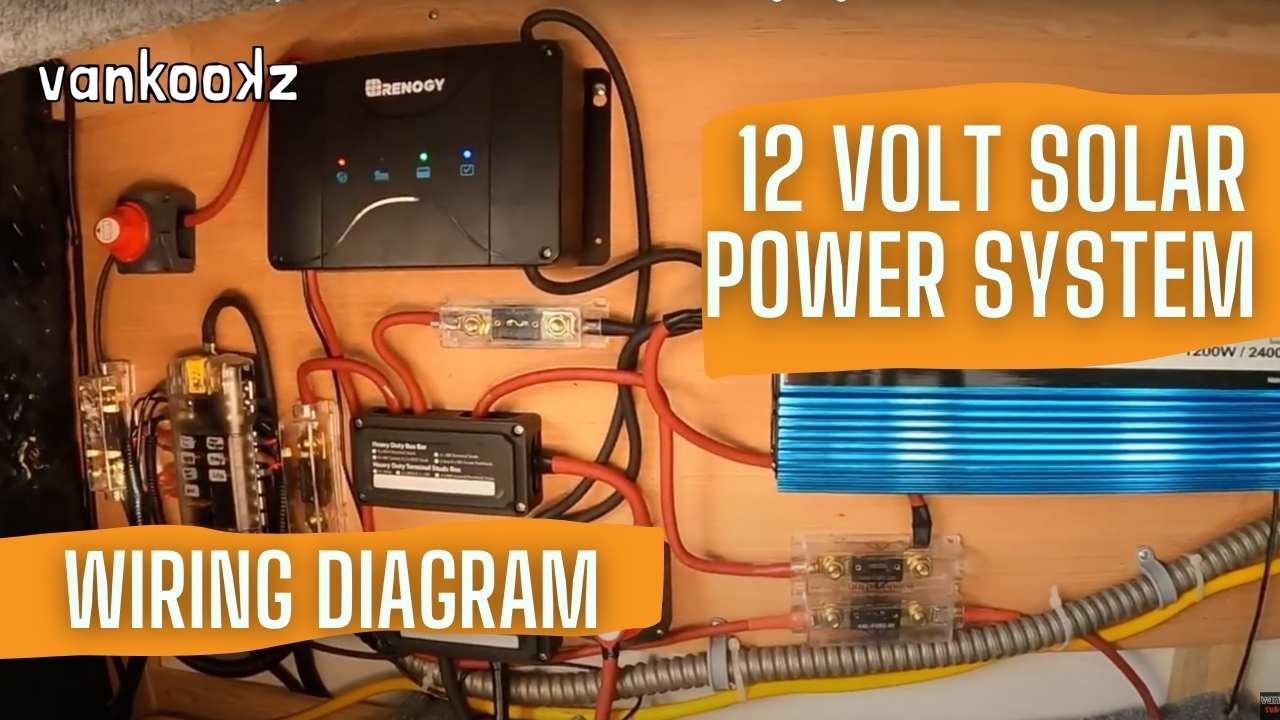
In this video, I go through a few basic components of the van conversion solar system and also show you how to do a few wiring basics. My camera died while I was wiring the whole system and had no idea so I missed a few key parts of wiring the charge controller. However, I cover everything I missed at the end of the video with a wiring diagram breakdown of the entire system.

I hope in the near future Renogy can develop a DC to DC MPPT Charge Controller that can input more than 25 Volts. Because this really is a pretty awesome all-in-one unit for your van conversion.


..::TOOLS & PARTS::..

I hope this video was helpful to you kookz and we will be back soon with more wiring videos.

Check Out Our DIY Van COnversion Ebooks

How to Set Up a 12 Volt Solar Power System

Today we are installing the Renogy DC to DC MPPT Charge Controller (https://amzn.to/3NXDJiJ). Although I have had troubles with this unit in the past, it is a really cool charge controller and I do recommend it. This charge controller has the capabilities to charge both your house batteries and your starter batter from your solar panel. It also has a built-in DC to DC charger to charge your lithium batteries while you drive as well as from the solar panels. It really is an awesome unit for van life. The only downfall to the unit is it's only capable of inputting 25 volts from your panel. So if your array puts out more than 25 volts this isn't the unit for you.

In this video, I go through a few basic components of the van conversion solar system and also show you how to do a few wiring basics. My camera died while I was wiring the whole system and had no idea so I missed a few key parts of wiring the charge controller.

We also installed our Aims Power pure sine 2000W inverter to a MidNite Solar breaker box and we will also be wiring two 120-volt AC outlets in the van from the breaker panel. I really enjoy installing all the electrical components in a van conversion and these are easily my favorite steps.

Wiring the breaker panel is very straightforward and only takes a few hours. I will recommend checking out the links below and making sure you have everything ordered and ready to be installed. I had to wait a while to get a few parts and it really delayed the electrical installation and I had to start working on upper cabinets. I really liked this power inverter, especially with the auto transfer built-in. I like the idea of being able to charge the unit via shore power. It was also very easy to set up the shore power input.

Be very careful when doing this project always check your connections with a multimeter to see if they are hot. I installed a few kill switches so I could completely kill my system while I was working on this project.

You can get seriously injured or die when working with this inverter so take this project seriously. If you have no idea what you are doing call your best electrician friend and have them help you. Or call a licensed professional.

I made this video because I had a hard time finding a video that ran me through the parts I needed for this project as well as the steps to do it. I hope this helps some of you kookz out there.

..::PARTS::..

Grounding House Batteries to the Van Chassis

Today we are showing you how to establish a solid ground connection for your van conversion's battery bank. This is a very important step in installing your battery bank into your van conversion. Establishing a solid ground connection will assure that there is no voltage drop and also help you troubleshoot any issues with your system.

The first order of business is using the proper wire gauge. I would recommend a wire gauge between 2 and 4 stranded copper. I always measure extra wire when working with this thick battery cable because if you cut too little you will waste your expensive cable so always leave a little wiggle room for your wires.

Next, you will want to cut, strip, and crimp your wire. It is very important to have a very tight positive connection on your battery terminal lugs. If this connection is loose it can cause voltage drop and other voltage issues so make sure you crimp the connections as tight as possible. If you don't have a vise I highly recommend buying heavy-duty wire crimpers.

Once you have established a strong and tight crimp you will need to drill a hole in the bottom of your van. We love having a step bit on hand during any van conversion this makes drilling holes in the metal a dream. I didn't show this in the video but after I drilled the hole I went through and filed the hole really well with the file and also put in some lap sealant in the hole to ensure the wire didn't rub up against any rough edges and cause a short.

Now that the hole is cut you will run your wire down through the hole to where you will ground the cable to the chassis. You will want to pre-drill a hole here first otherwise you will be fighting with the metal of the van chassis for quite a while. I used a stainless #6 1.5" self-drilling hex head screw for my ground connection I also used 3 x 1/4" washers to make sure I had a nice solid positive connection to my washers, screw, and chassis.

Now you will want to set up a common ground. I like to use a bus bar but you can set up all common grounds to the negative battery terminal if you would rather do that. I just find the bus bars to help really clean everything up in this process.

Once you have set up all your ground connections it's now time to wire the batteries in parallel. When wiring your battery in parallel always start with the ground connections first before moving on to the positive runs. Also, when attaching your cables make sure they are tight but do not over-tighten the battery terminals.

Now that all your batteries are wired in parallel you can now test to make sure each battery voltage is the same. You can do this with a multimeter and set it to DC Volts. Put the red and black prongs on their correct terminals and measure the battery voltage. It should have the same reading across all your batteries. If you are getting different readings check your connections and crimpings to ensure they are tight.

Once your batteries are wired in parallel you are ready to start wiring the rest of your 12 Volt system. Now check the ground connections on our system. We will start here by using a multimeter and setting it to Ohm to check the continuity. Once it's set to Ohms you will want this reading to be closest to zero as possible. If it's anywhere near 1 you have a bad connection and will most likely experience a voltage drop or a short to ground. I have a pretty good video example in the video that shows you how to easily test your ground connection.

Way to go! You have now completed wiring your own 12-volt battery bank. Give yourself a pat on the back and have a mini celebration. Next, we will be moving on to wiring the whole system. Happy Building ya kooks!

..::TOOLS & PARTS::..

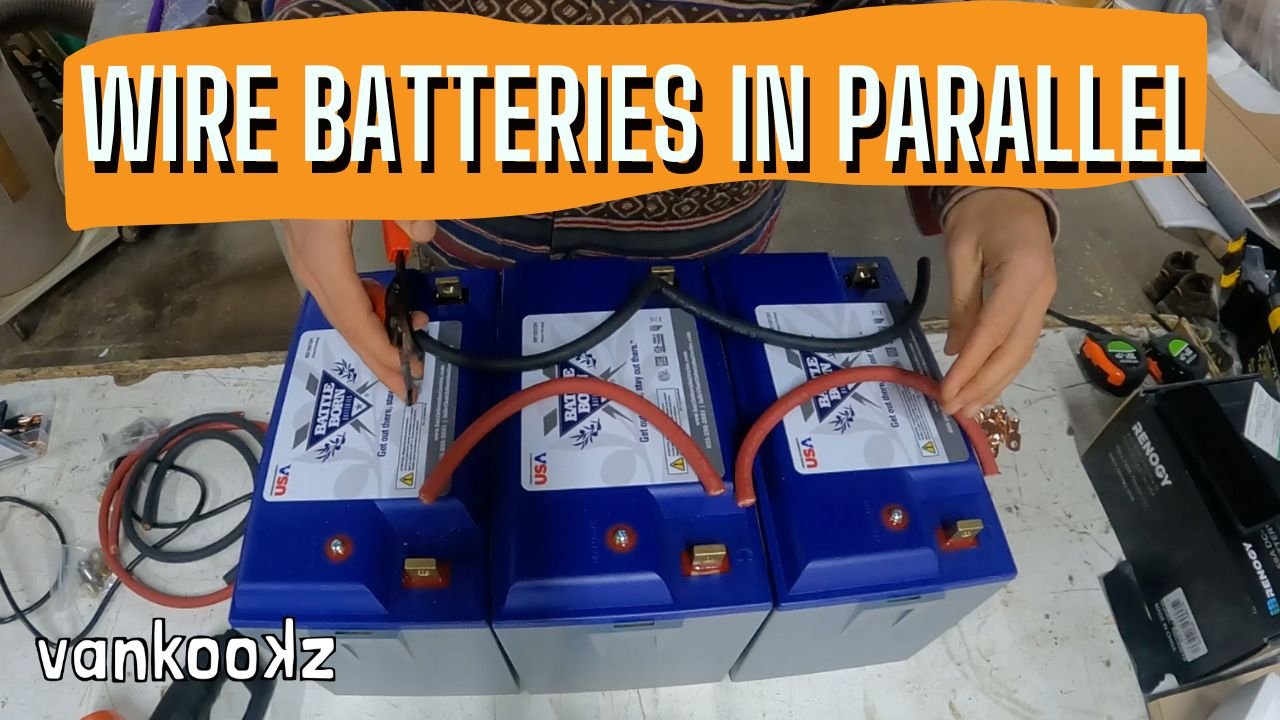
Wiring LifePO4 Batteries in Parallel - Battle Born Heat Enabled Batteries

Today we are wiring our Battleborn Batteries in parallel this is an easy and straightforward task that should give you some confidence to start wiring your 12 Volt system in your van conversion.  
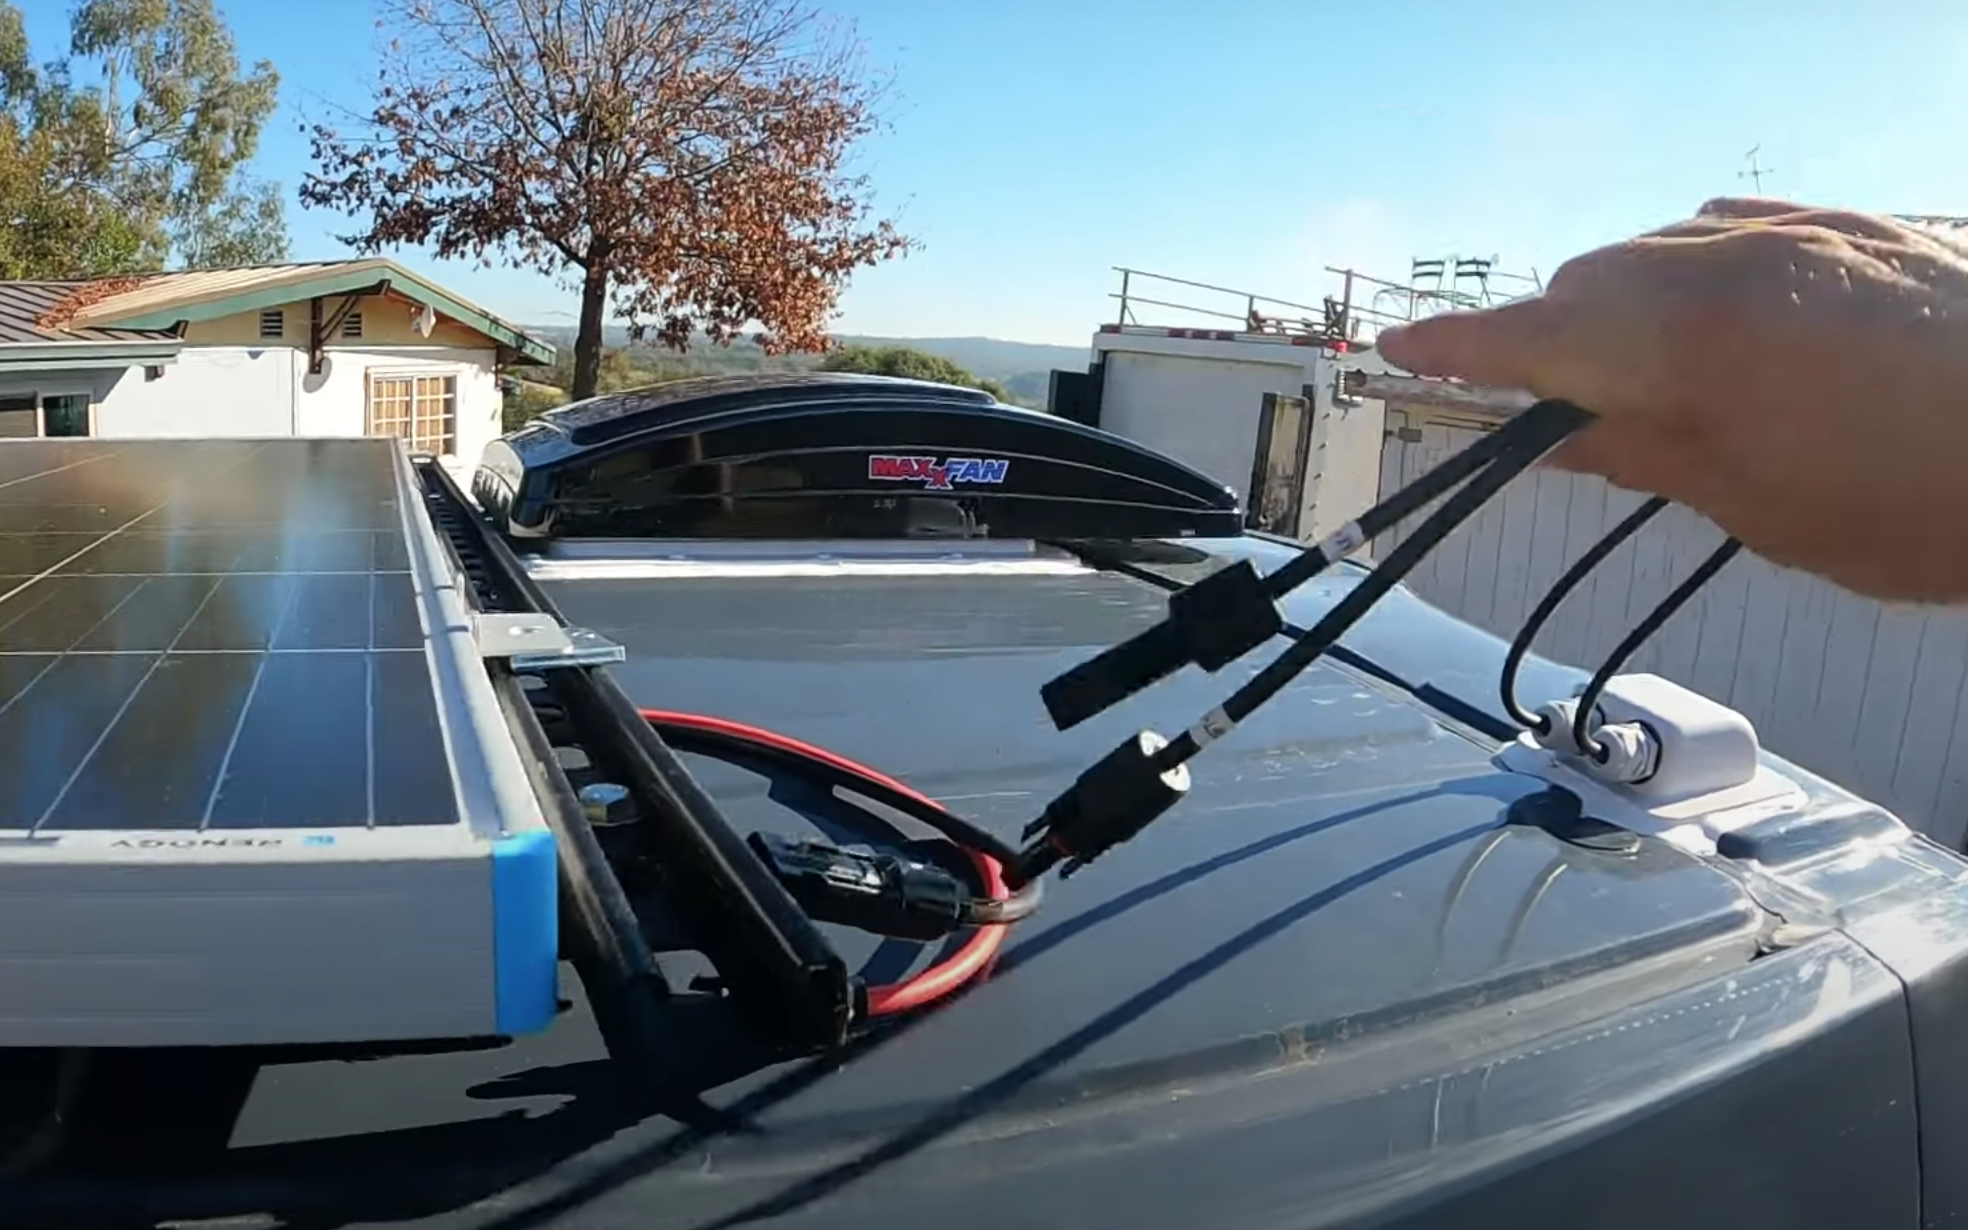
Here are the tools I used in this video.  If you don’t have a vice grip you can buy heavy-duty cable crimpers to do the trick as well.  

The first order of business is cutting your cables.  Make sure you cut all the cables the same length this is very important for the longevity of the batteries.  Next, you will want to strip the ends of the wires to put on the copper lugs.  Whatever you use to crimp this make sure you have a very tight and positive connection on the lug.  You can test it by giving it a good tug to ensure it is tightly secured.  Make sure you slide and put your heat shrink on first before you crip your lug otherwise you might not be able to get it to slip over the lug.  Once the lugs are secured use your heat gun or a lighter to apply the heat shrink to your cables.  Once they are crimped and heat-shrunk they are ready to be installed.  

You should have already established a secure ground connection either to the chassis of your van or to the secure ground that you have created.  You can always get your ground by checking the resistance or ohms on a multi-meter. 

  When wiring your battery in parallel always start with the ground connections first before moving on to the positive runs.  Also, when attaching your cables make sure they are tight but do not over-tighten the battery terminals.  This can damage the batteries for good and you may not get a return on them as it will void the warranty.  Use a socket set or a Phillips screwdriver (depending on the battery) to tighten the lugs to the battery terminals.   Now that all your batteries are wired in parallel you can now test to make sure each battery voltage is the same.  You can do this with a multimeter and set it to DC Volts.  Put the red and black prongs on their correct terminals and measure the battery voltage.  It should have the same reading across all your batteries.  If you are getting different readings check your connections and crimpings to ensure they are tight.  

Once your batteries are wired in parallel you are ready to start wiring the rest of your 12 Volt system.  

Congratulations you have started the first project to wiring your own 12-volt solar system.  Give yourself a pat on the back and have a mini celebration.  

Happy Building ya kooks!  

Running Electrical Wire in a DIY Van Conversion

Tools

Wiring

120V AC Wiring

We will be running 12/14/16 gauge wires for all the 12-volt accessories and 12 gauge stranded wire for all our 120-volt AC outlets. This is a very straightforward process. You will need to have a diagram and a layout in place before you start wiring. You will need to know where all your accessories (fridge, lights, outlets, and switches) are and where your battery bank and 12-volt fuse panel as well as your power inverter will be.

You will want to start wiring all your lower draw accessories first running your 16 gauge wire to all the areas where you will be power lights, led lights, and any other low draw accessories,

Next, you will want to wire all your 14 gauge accessories this will be things like your roof fan and your USB outlets, and anything that will need a little bit more amperage than the 16 gauge wire accessories will need.

Then you will want to go through and run wire to where all your 12 gauge accessories will be these will be things like your fridge, 12-volt heaters, 12v water heaters, sink pump, and anything else that requires more amperage.

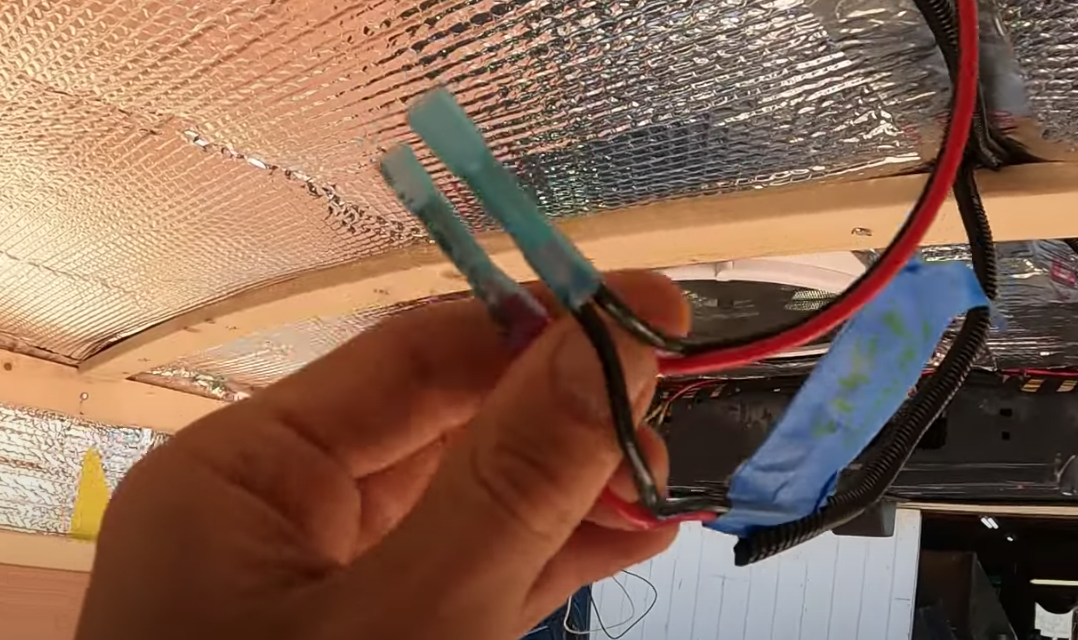
You will want to be sure to mark each wire for what accessory it goes with. Use tape and a marker and mark what each wire corresponds to on both ends. This will make your life so much easier when you are hooking up your 12 Volt fuse panel. as well as once walls get installed so you will know what each wire goes to.

After you will want to run your wire for all your 120 Volt AC outlets. You will want these to start at where your power inverter will be and end where you will have wall outlets to power 12 Volts AC units like laptops/blenders/and cooking appliances. Also, make sure you are marking with the sharpie and tape which each wire corresponds to so when you are hooking up your inverter you will know what cable corresponds to which outlet. This will help because some outlets will require larger breakers. I like to write mine out as follows (15 Amp Kitchen Outlet)

Once all the wires are run it’s time to clean up the mess. I like to use a 3/8” and 1/2” plastic conduit and clean up the rat's nest of wires. This will make your life so much easier when it comes time to slap on your walls.

I will also note that before you put your walls on it helps to draw out a diagram of where all your wires run behind the wall. I will draw a diagram and also make each wall with tape and measurements of where the wires are being the studs. You do not want to put a nail or screw through your wires as this will cause a short and blow a fuse or will render your wire useless.