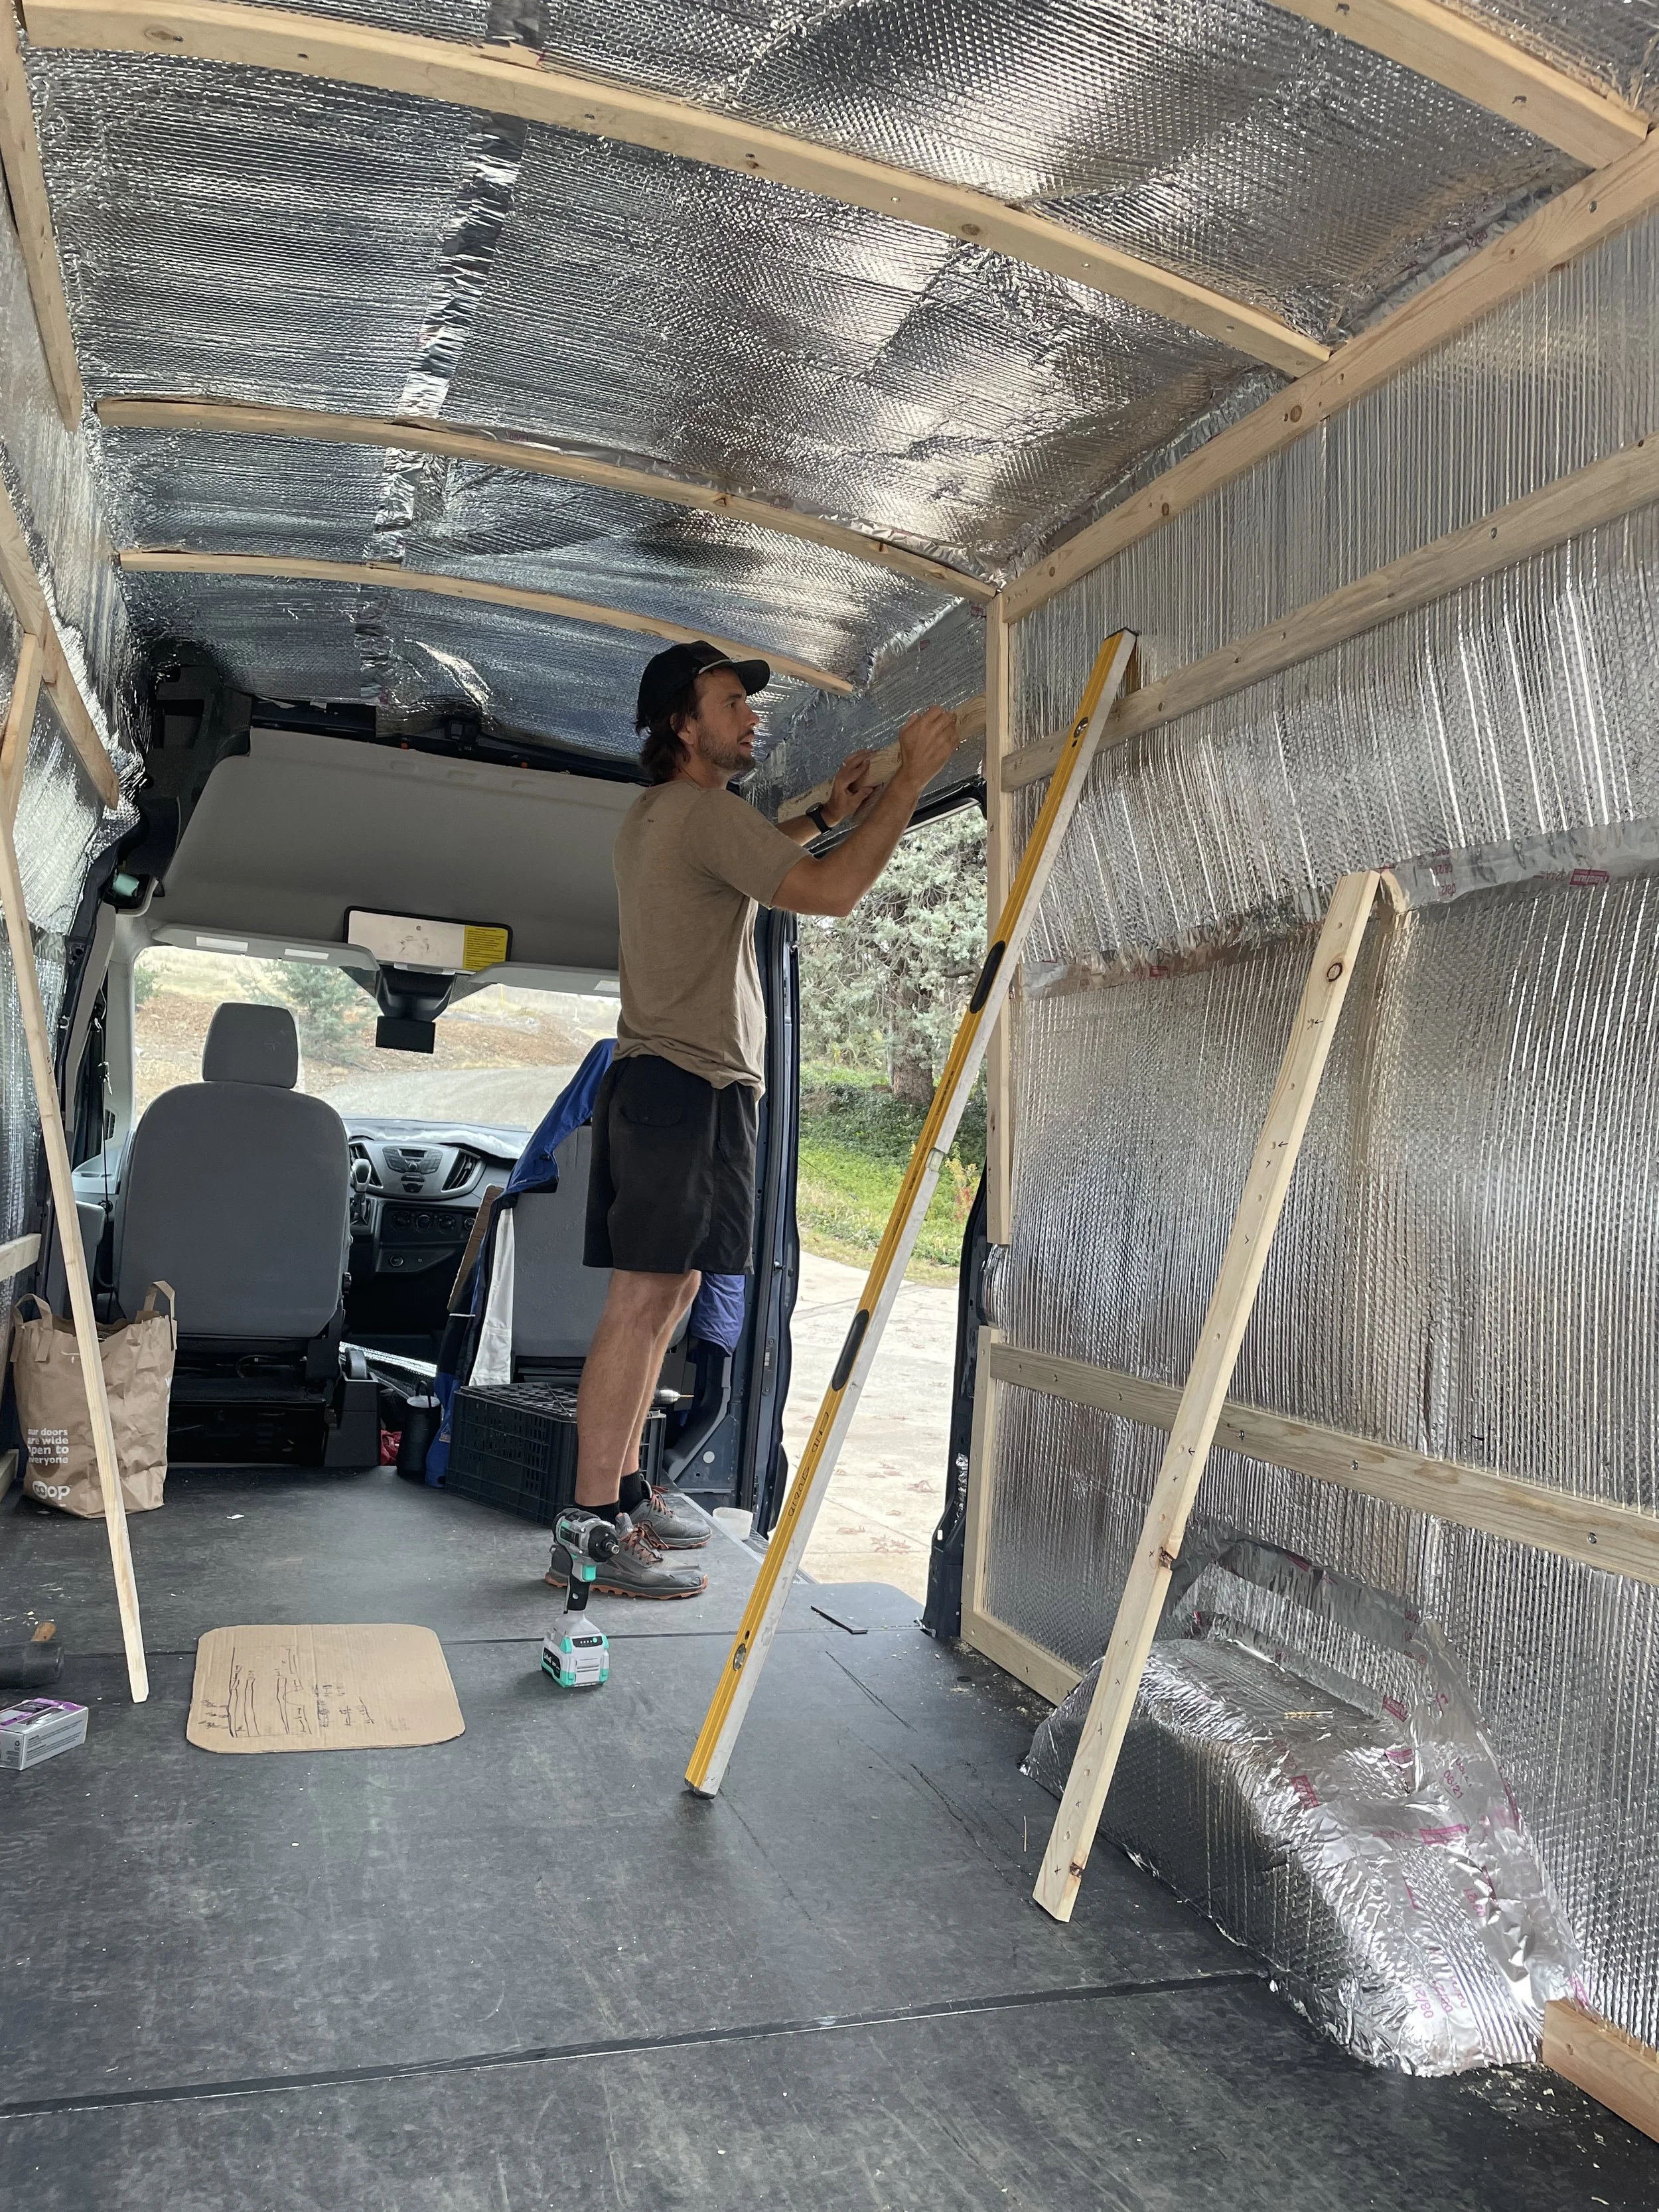
Today we are attaching walls to the van.
If you followed our framing video (https://www.youtube.com/watch?v=jwRkMm-47CE) that will make this step much easier. We use a combination of Poly Wall and Revolution Ply to get a nice finished product.
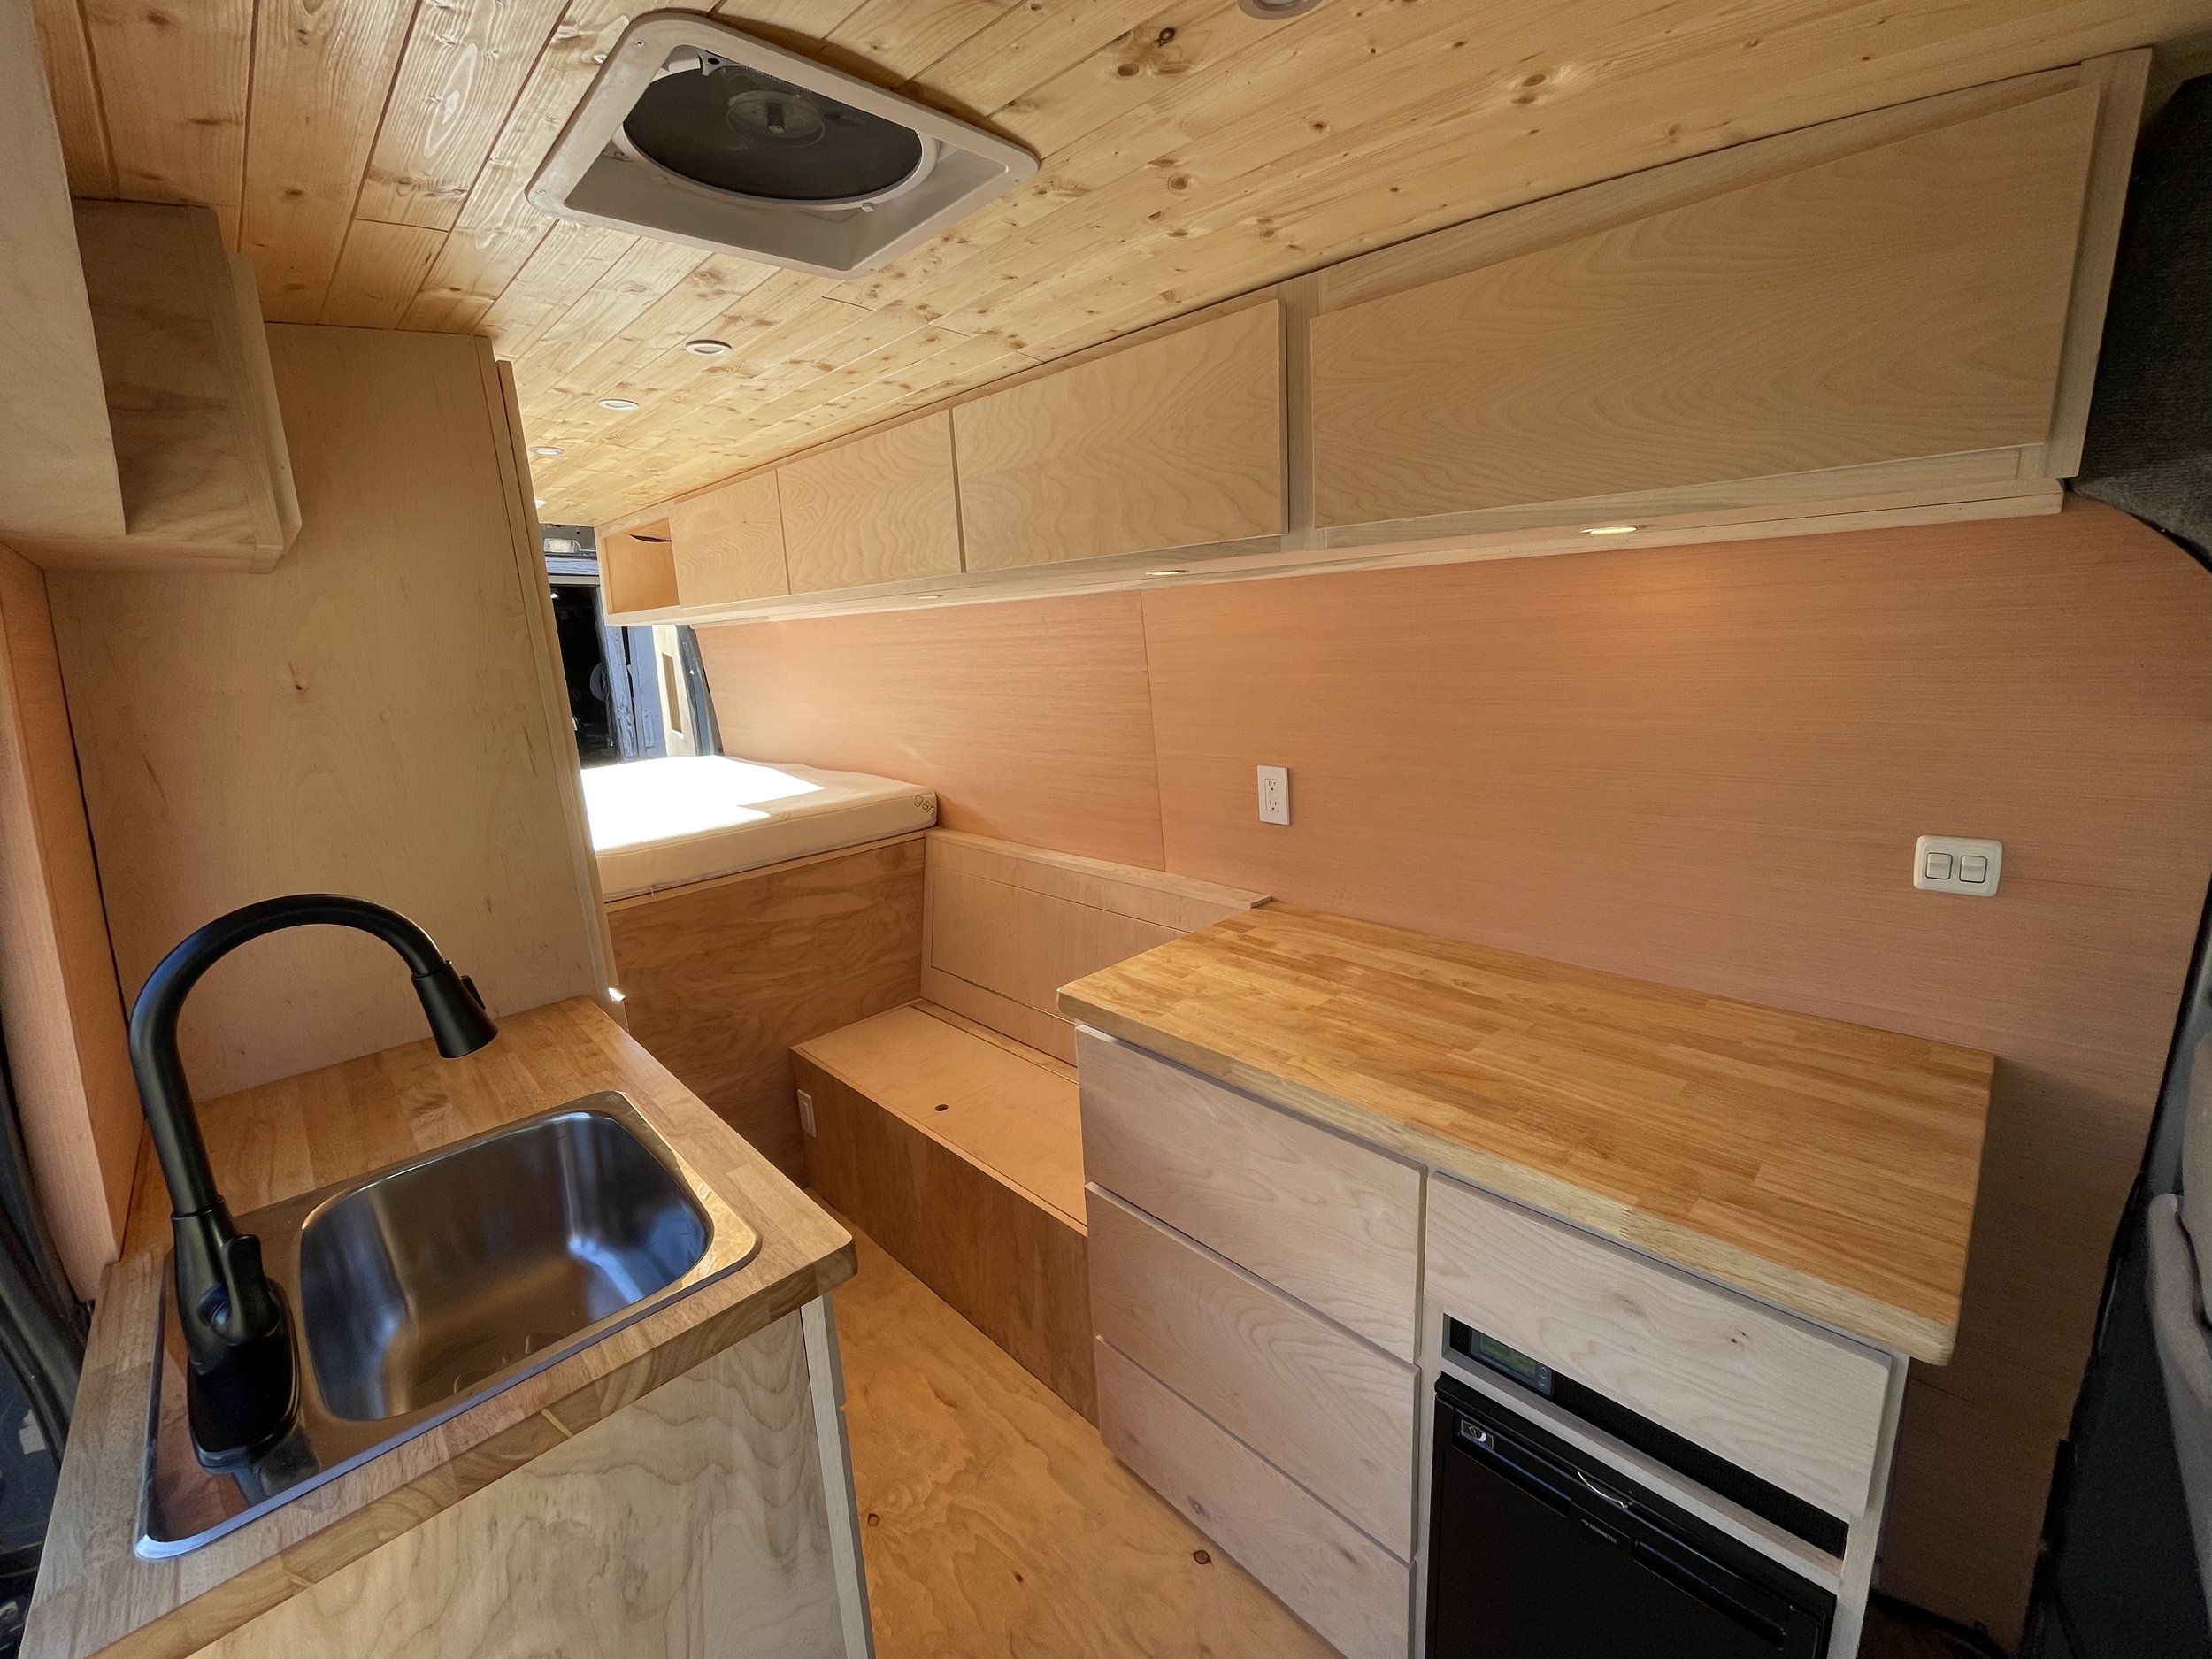
We used Revolution Ply 5mm Poplar Plywood, from Lowe’s. Once finished, it has a great look to it and is affordable and easy to work with. You will want to cut all your plywood to size depending on your design then attach it. We used Liquid Nail and a pin nailer to attach our walls to the frame.
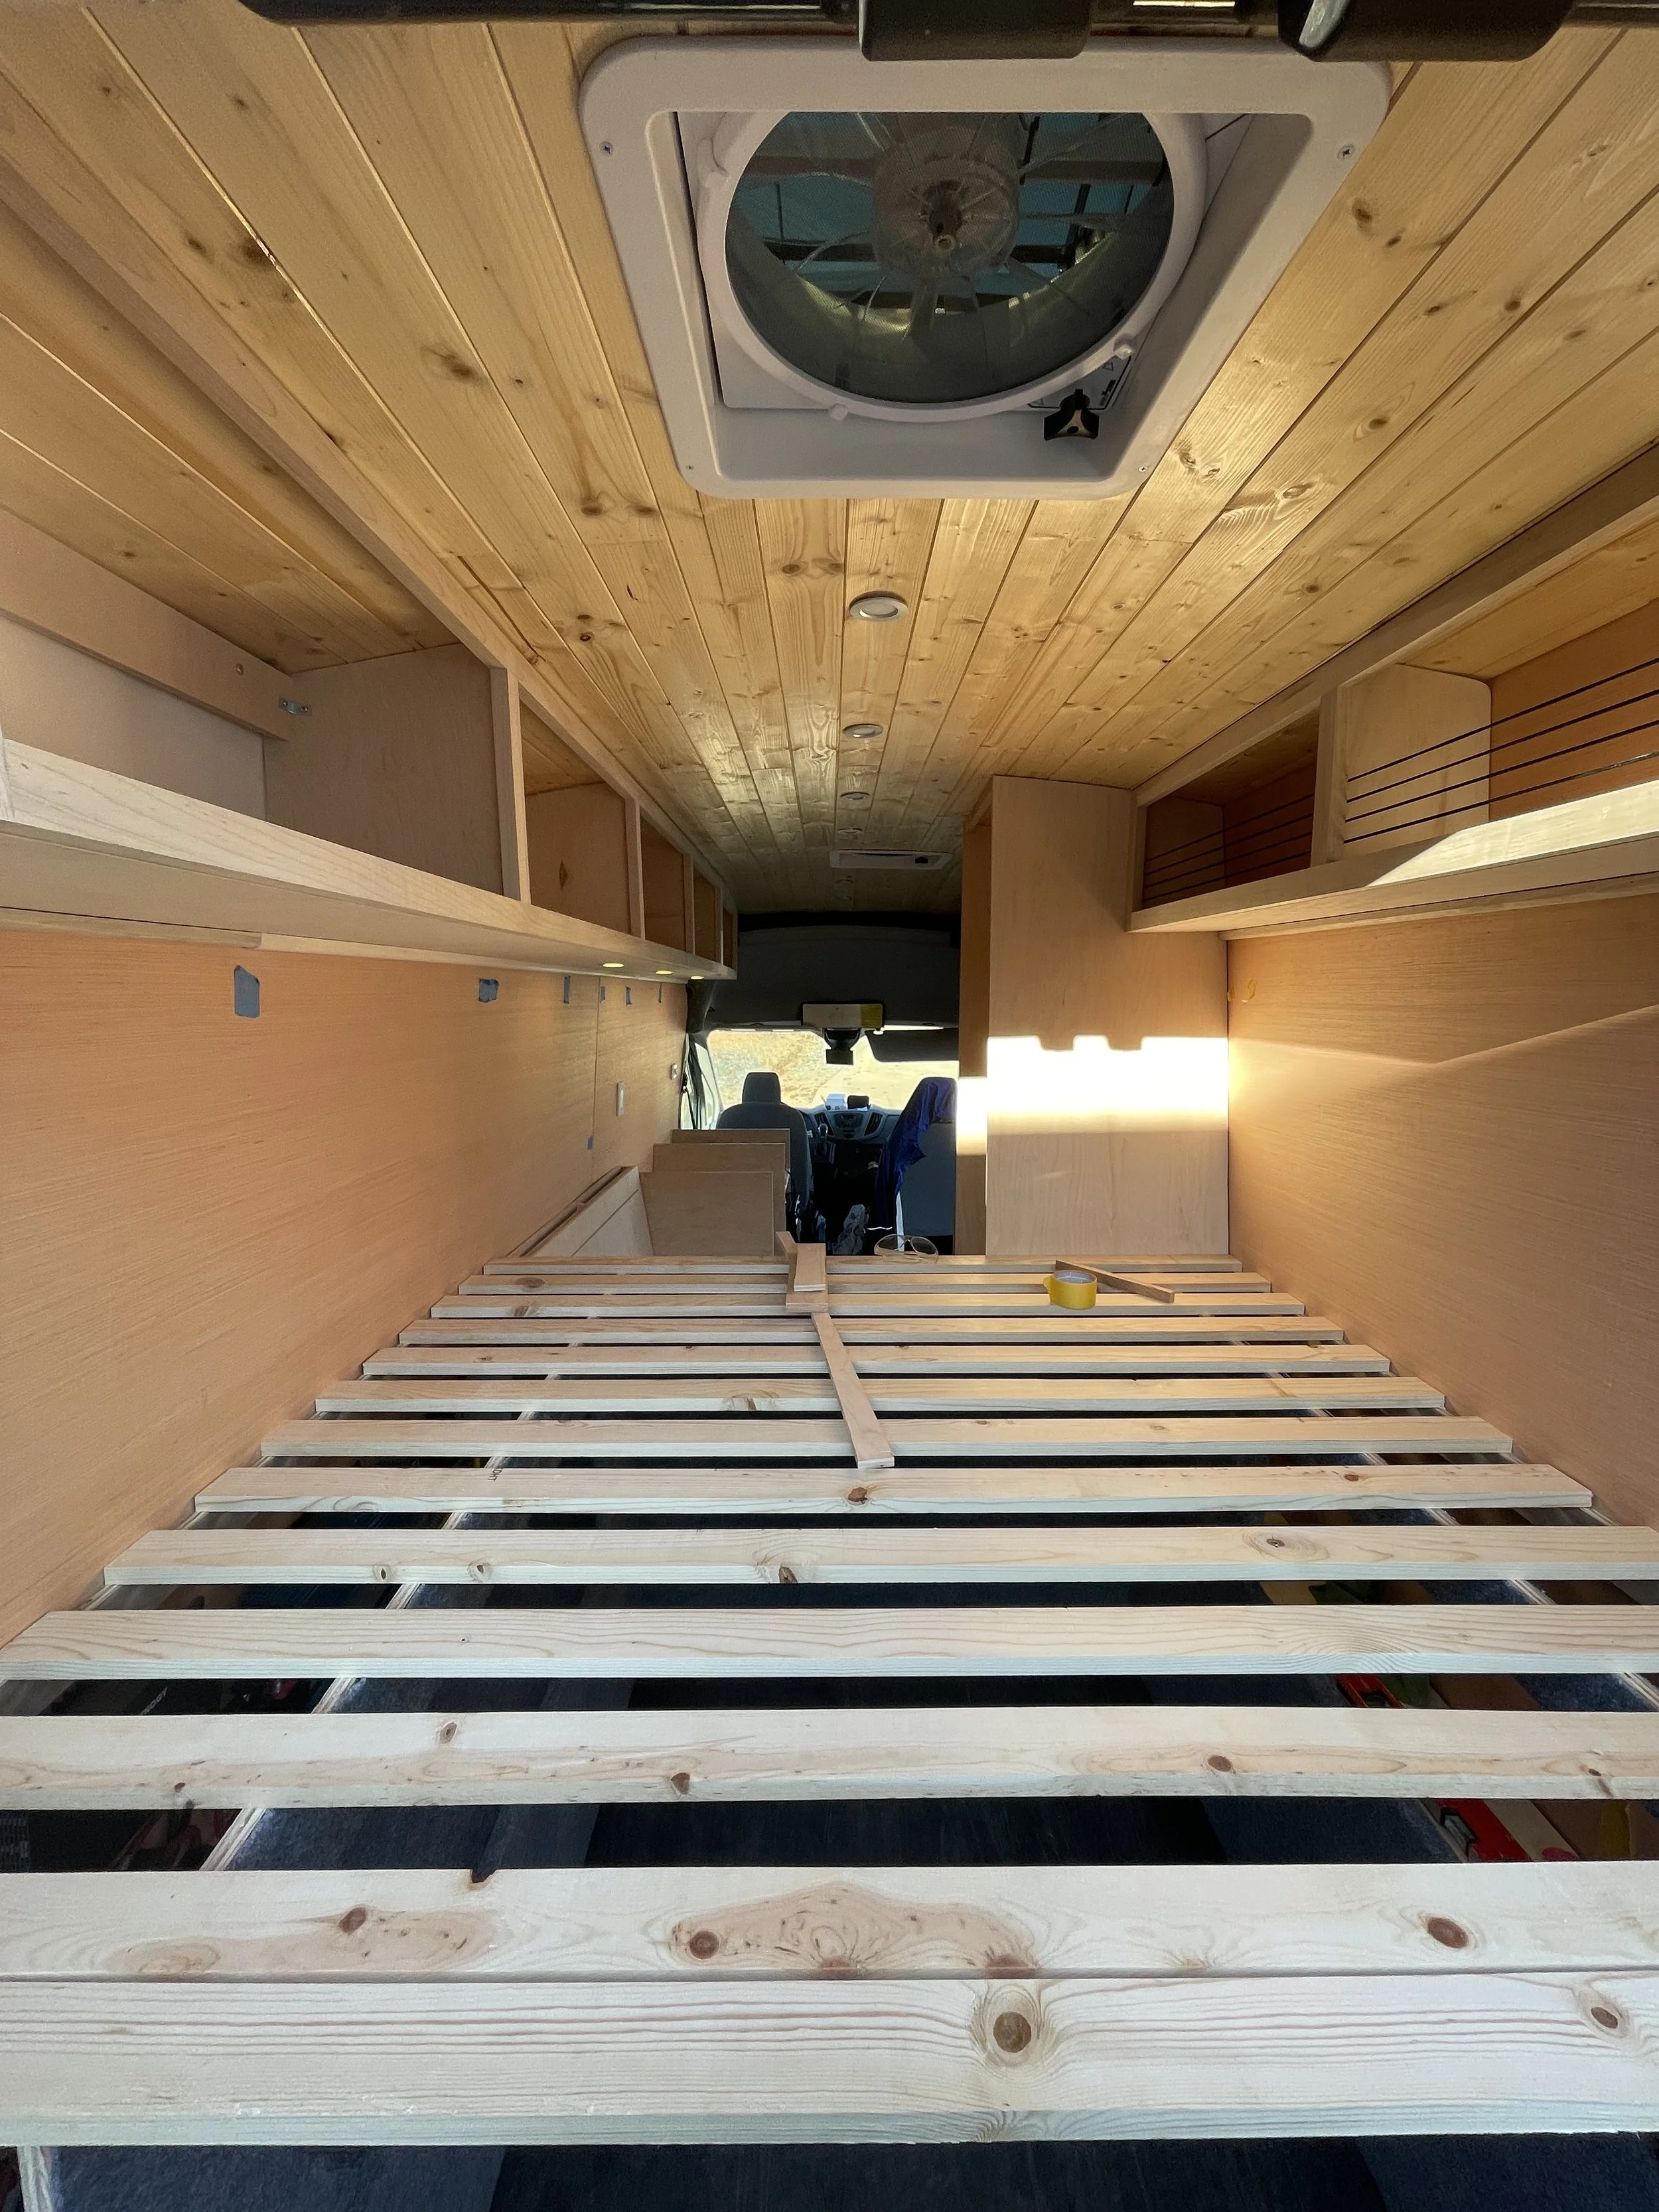
Here, you may realize you need to add some framing to attach your walls more securely. Also, don’t forget to cut out holes for wiring and for your outlets.
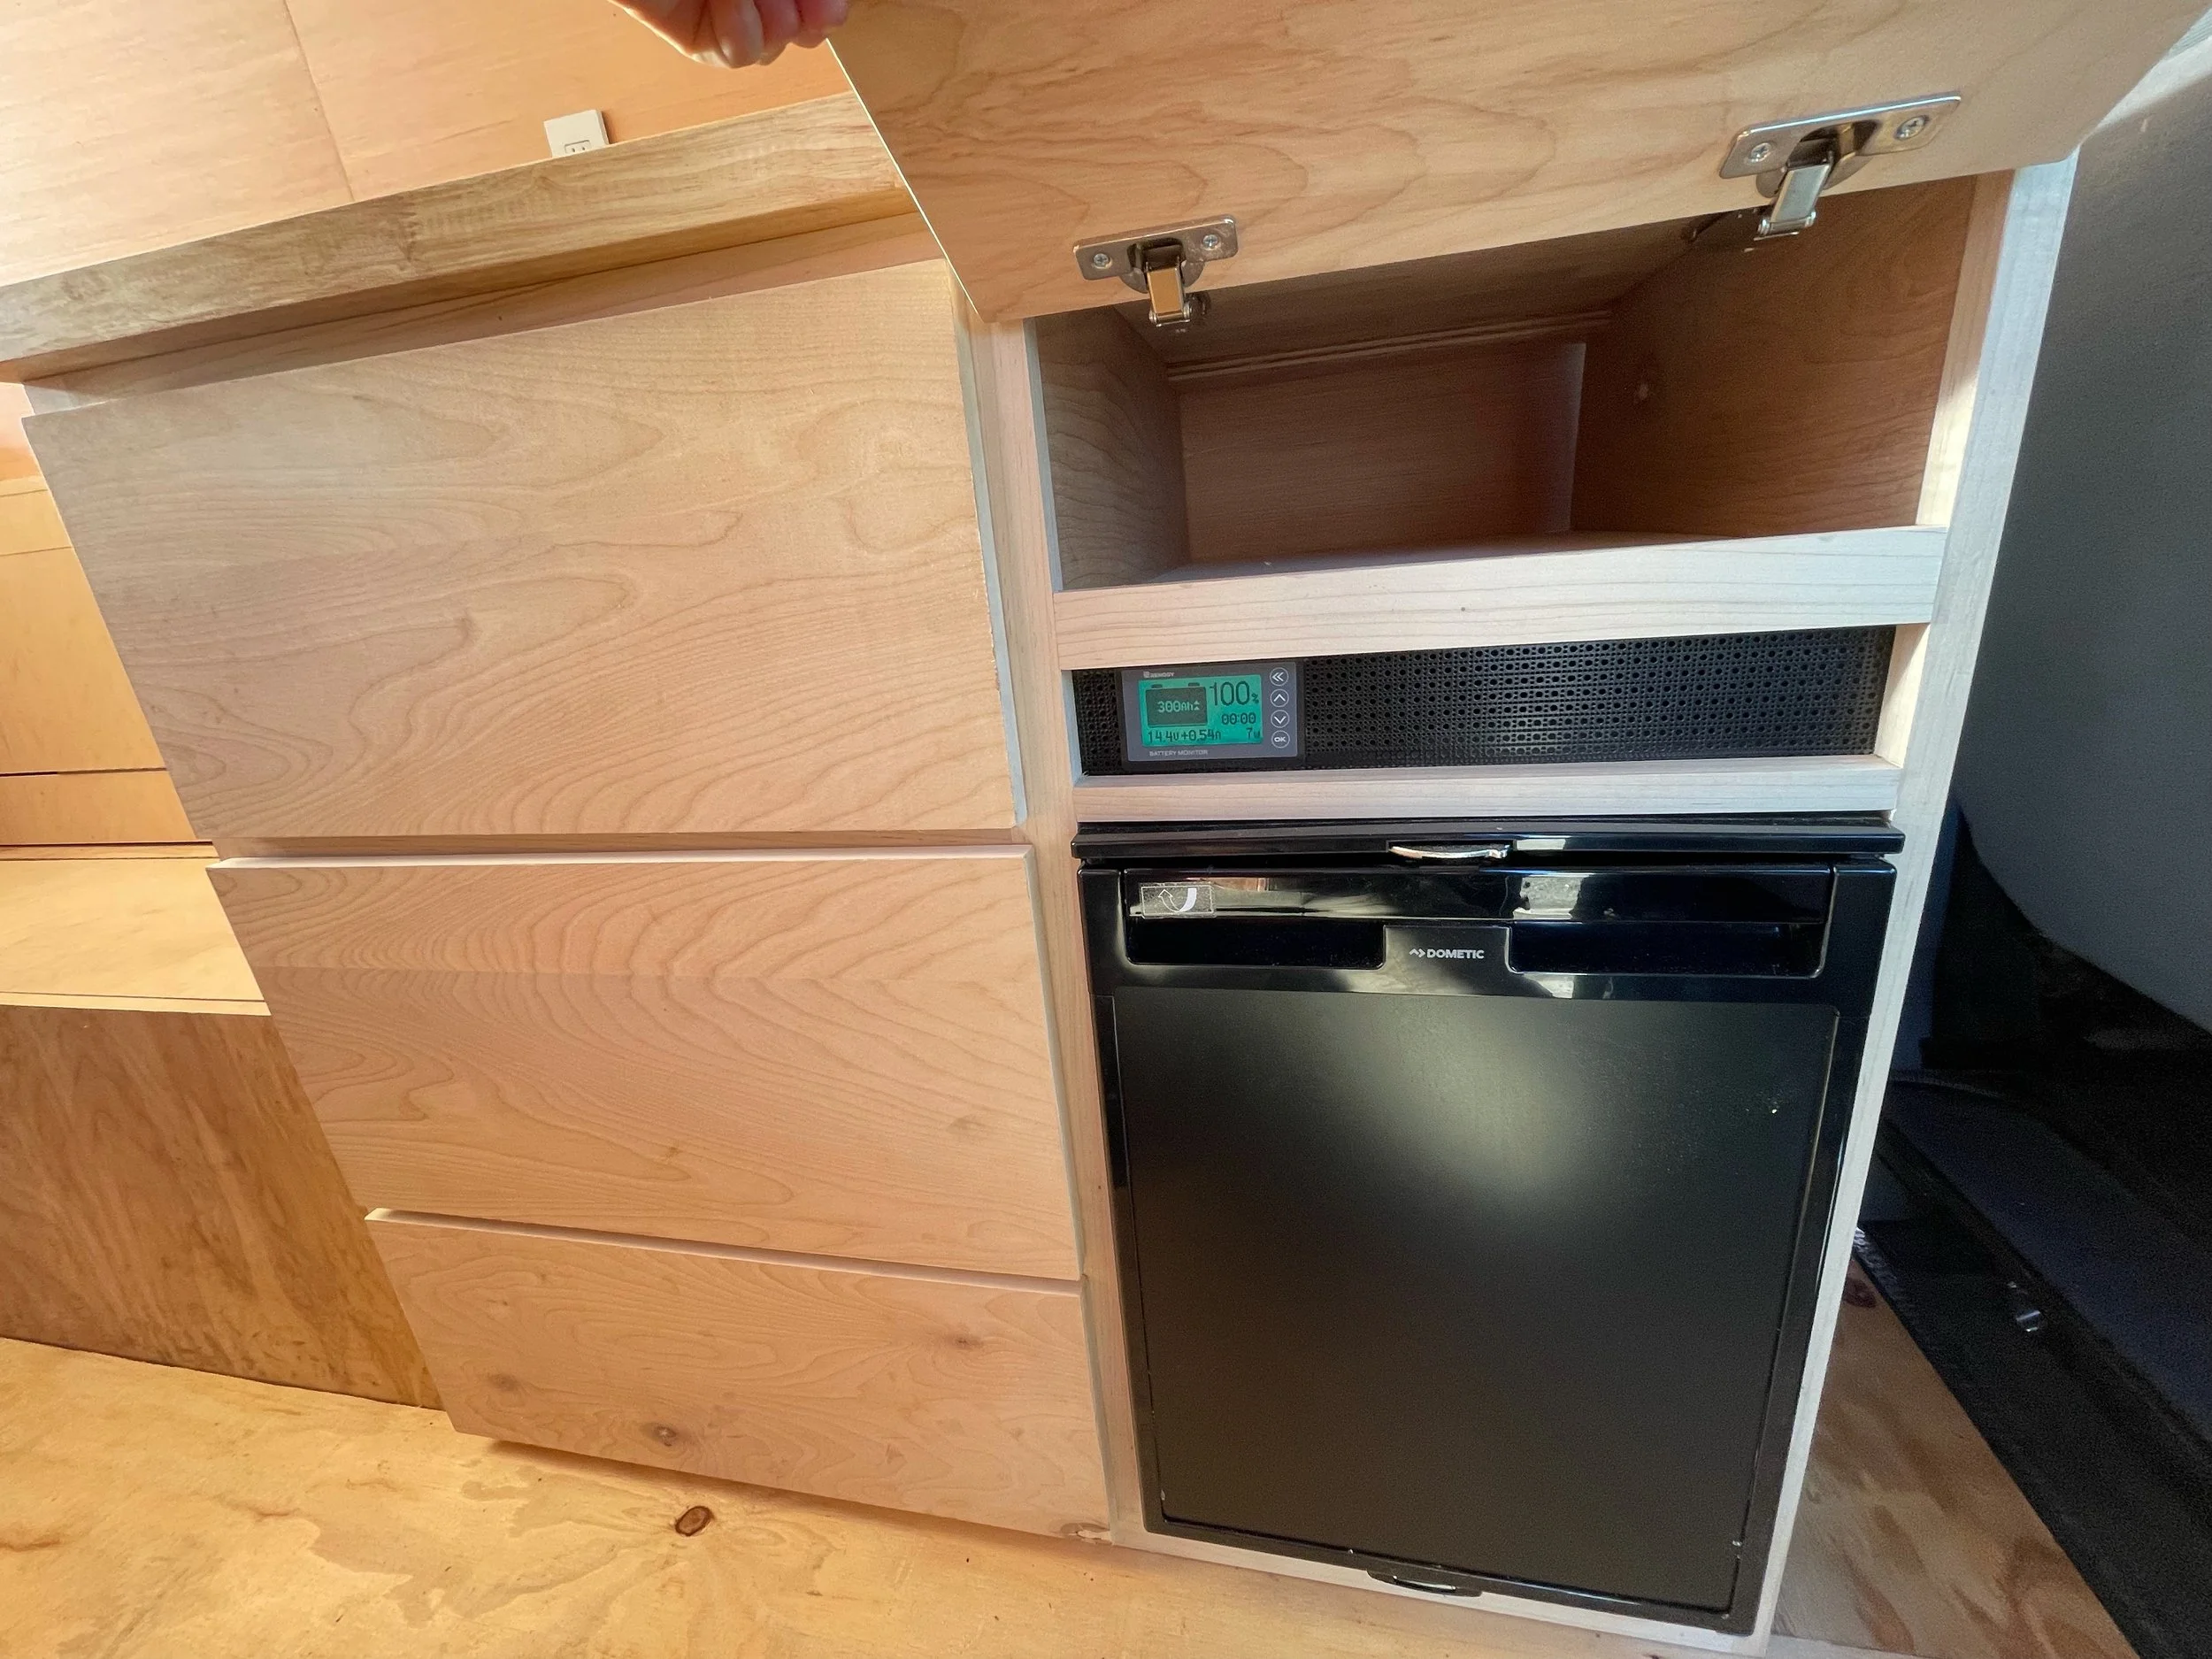
Additionally, to save some space, we used a rot and water-resistant Plas-Tex poly wall plastic panel. We used this because we wanted to gain an inch of storage above where our upper cabinets are going to go. Also, they are removable. So, if you wanted to wire some additional electronics to the system, the wires are easily accessible. This came in handy throughout the build multiple times. We also used the Plas-Tex on the lower half 16” of the van where the cabinets will be covering the walls and you will have a water/rot-proof wall in case you have any vancidents.
We have a 26-gallon water tank along the wall and we figured this will help protect if anything were ever to happen to the tank. This was extremely easy to install and we used 3M 90 Adhesive spray to attach the Plas-Tex to the insulation.
It came out looking really nice and it has a nice texture. So, it will look finished inside the upper cabinets.
What we used
Revolution Ply - https://www.lowes.com/pd/RevolutionPly-5mm-Poplar-Plywood-Application-as-4-x-8/50121135
Poly Wall - https://www.lowes.com/pd/Parkland-Plastics-48-in-x-8-ft-Embossed-White-Matte-Wall-Panel/3436816
Tools we used
Litheli Impact Driver - https://litheli.com/products/litheli-20v-cordless-1-4-hex-impact-driver-2-0ah-battery-charger?aff=4
Litheli Drill Driver - https://litheli.com/products/litheli-20v-cordless-3-8-drill-driver-2-0ah-battery-charger?aff=4
Liquid Nail - https://amzn.to/3pCUwwS
Table Saw - https://amzn.to/3pxbUTL
Battery Powered Brad Nailer - https://amzn.to/3GnrLuZ
Insulation
Thinsulate Insulation - https://amzn.to/3gMGpAo
Reflectix - https://amzn.to/3oV2Tlo
3M Adhesive Spray - https://amzn.to/3acQ0zo
3M N95 Respirator - https://amzn.to/3ad54gm