
If you've made it this far, then maybe, you’ve watched our previous insulation post (https://youtu.be/gmGD8R0YYes).
Welcome to the next exciting step of your van conversion. Installing framing for your, walls, and ceiling in your van is easier than you would think and we are here to help. Most supplies come from your local Home Depot or Lowe’s.
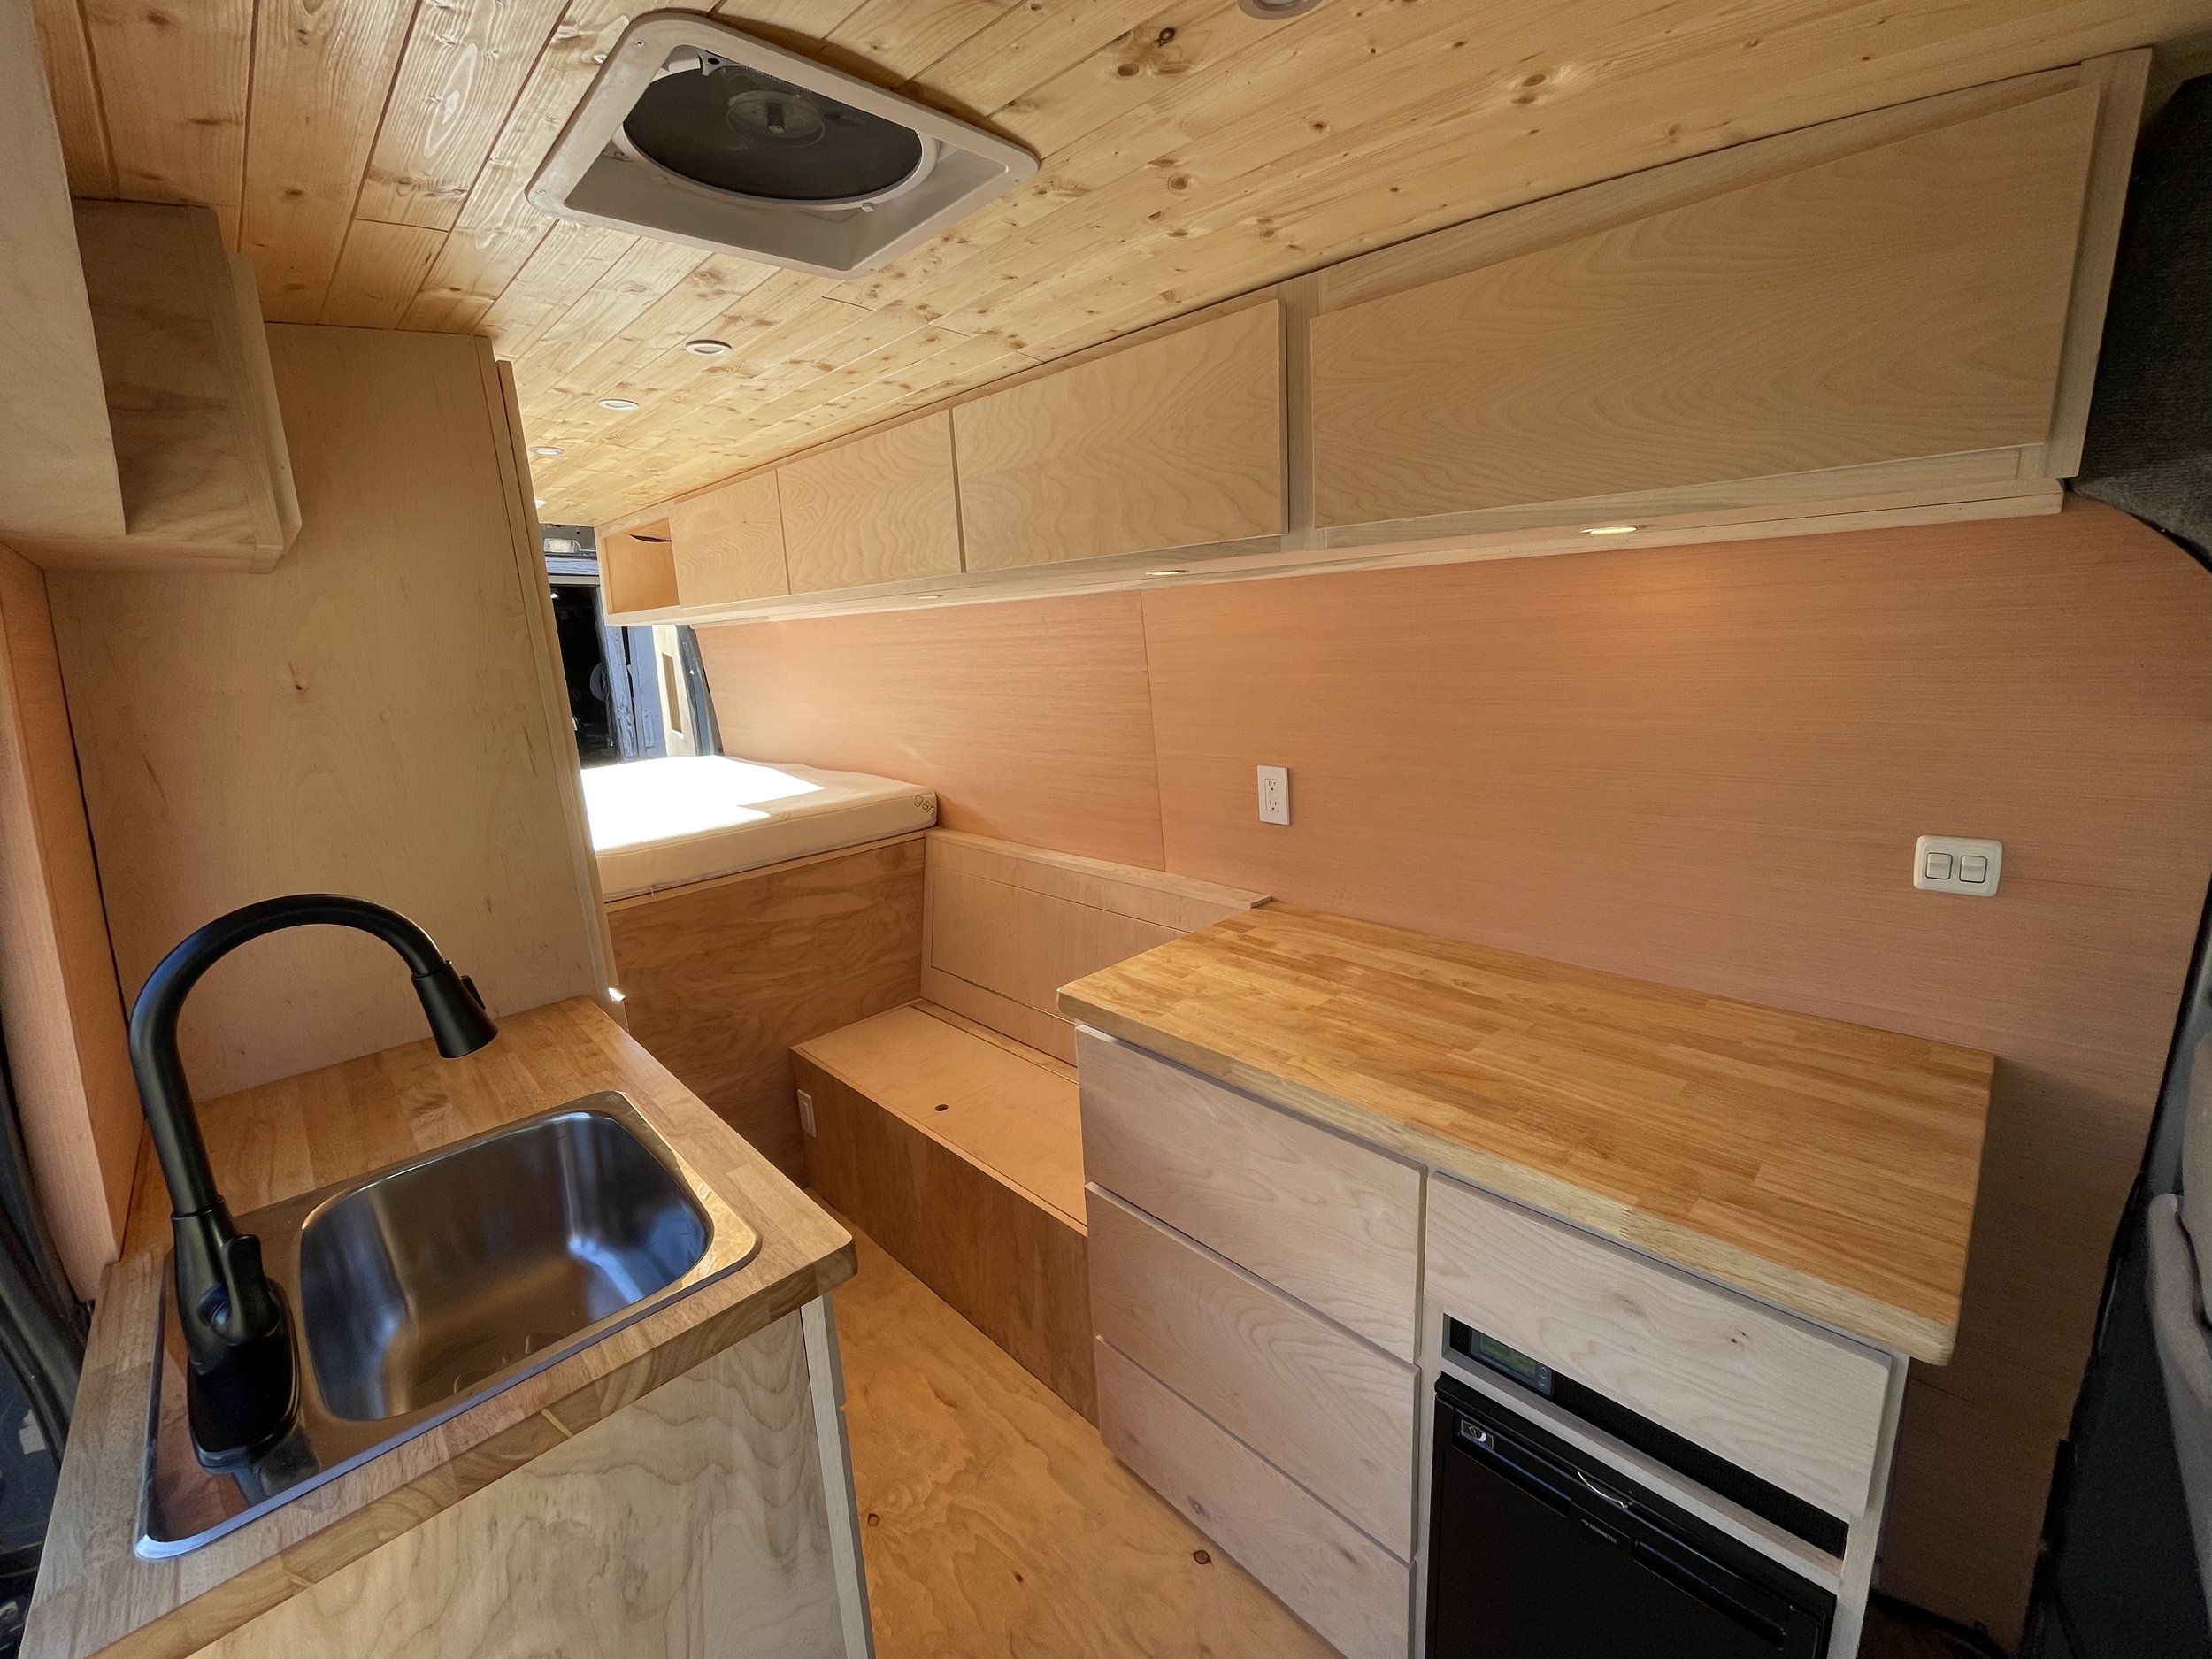
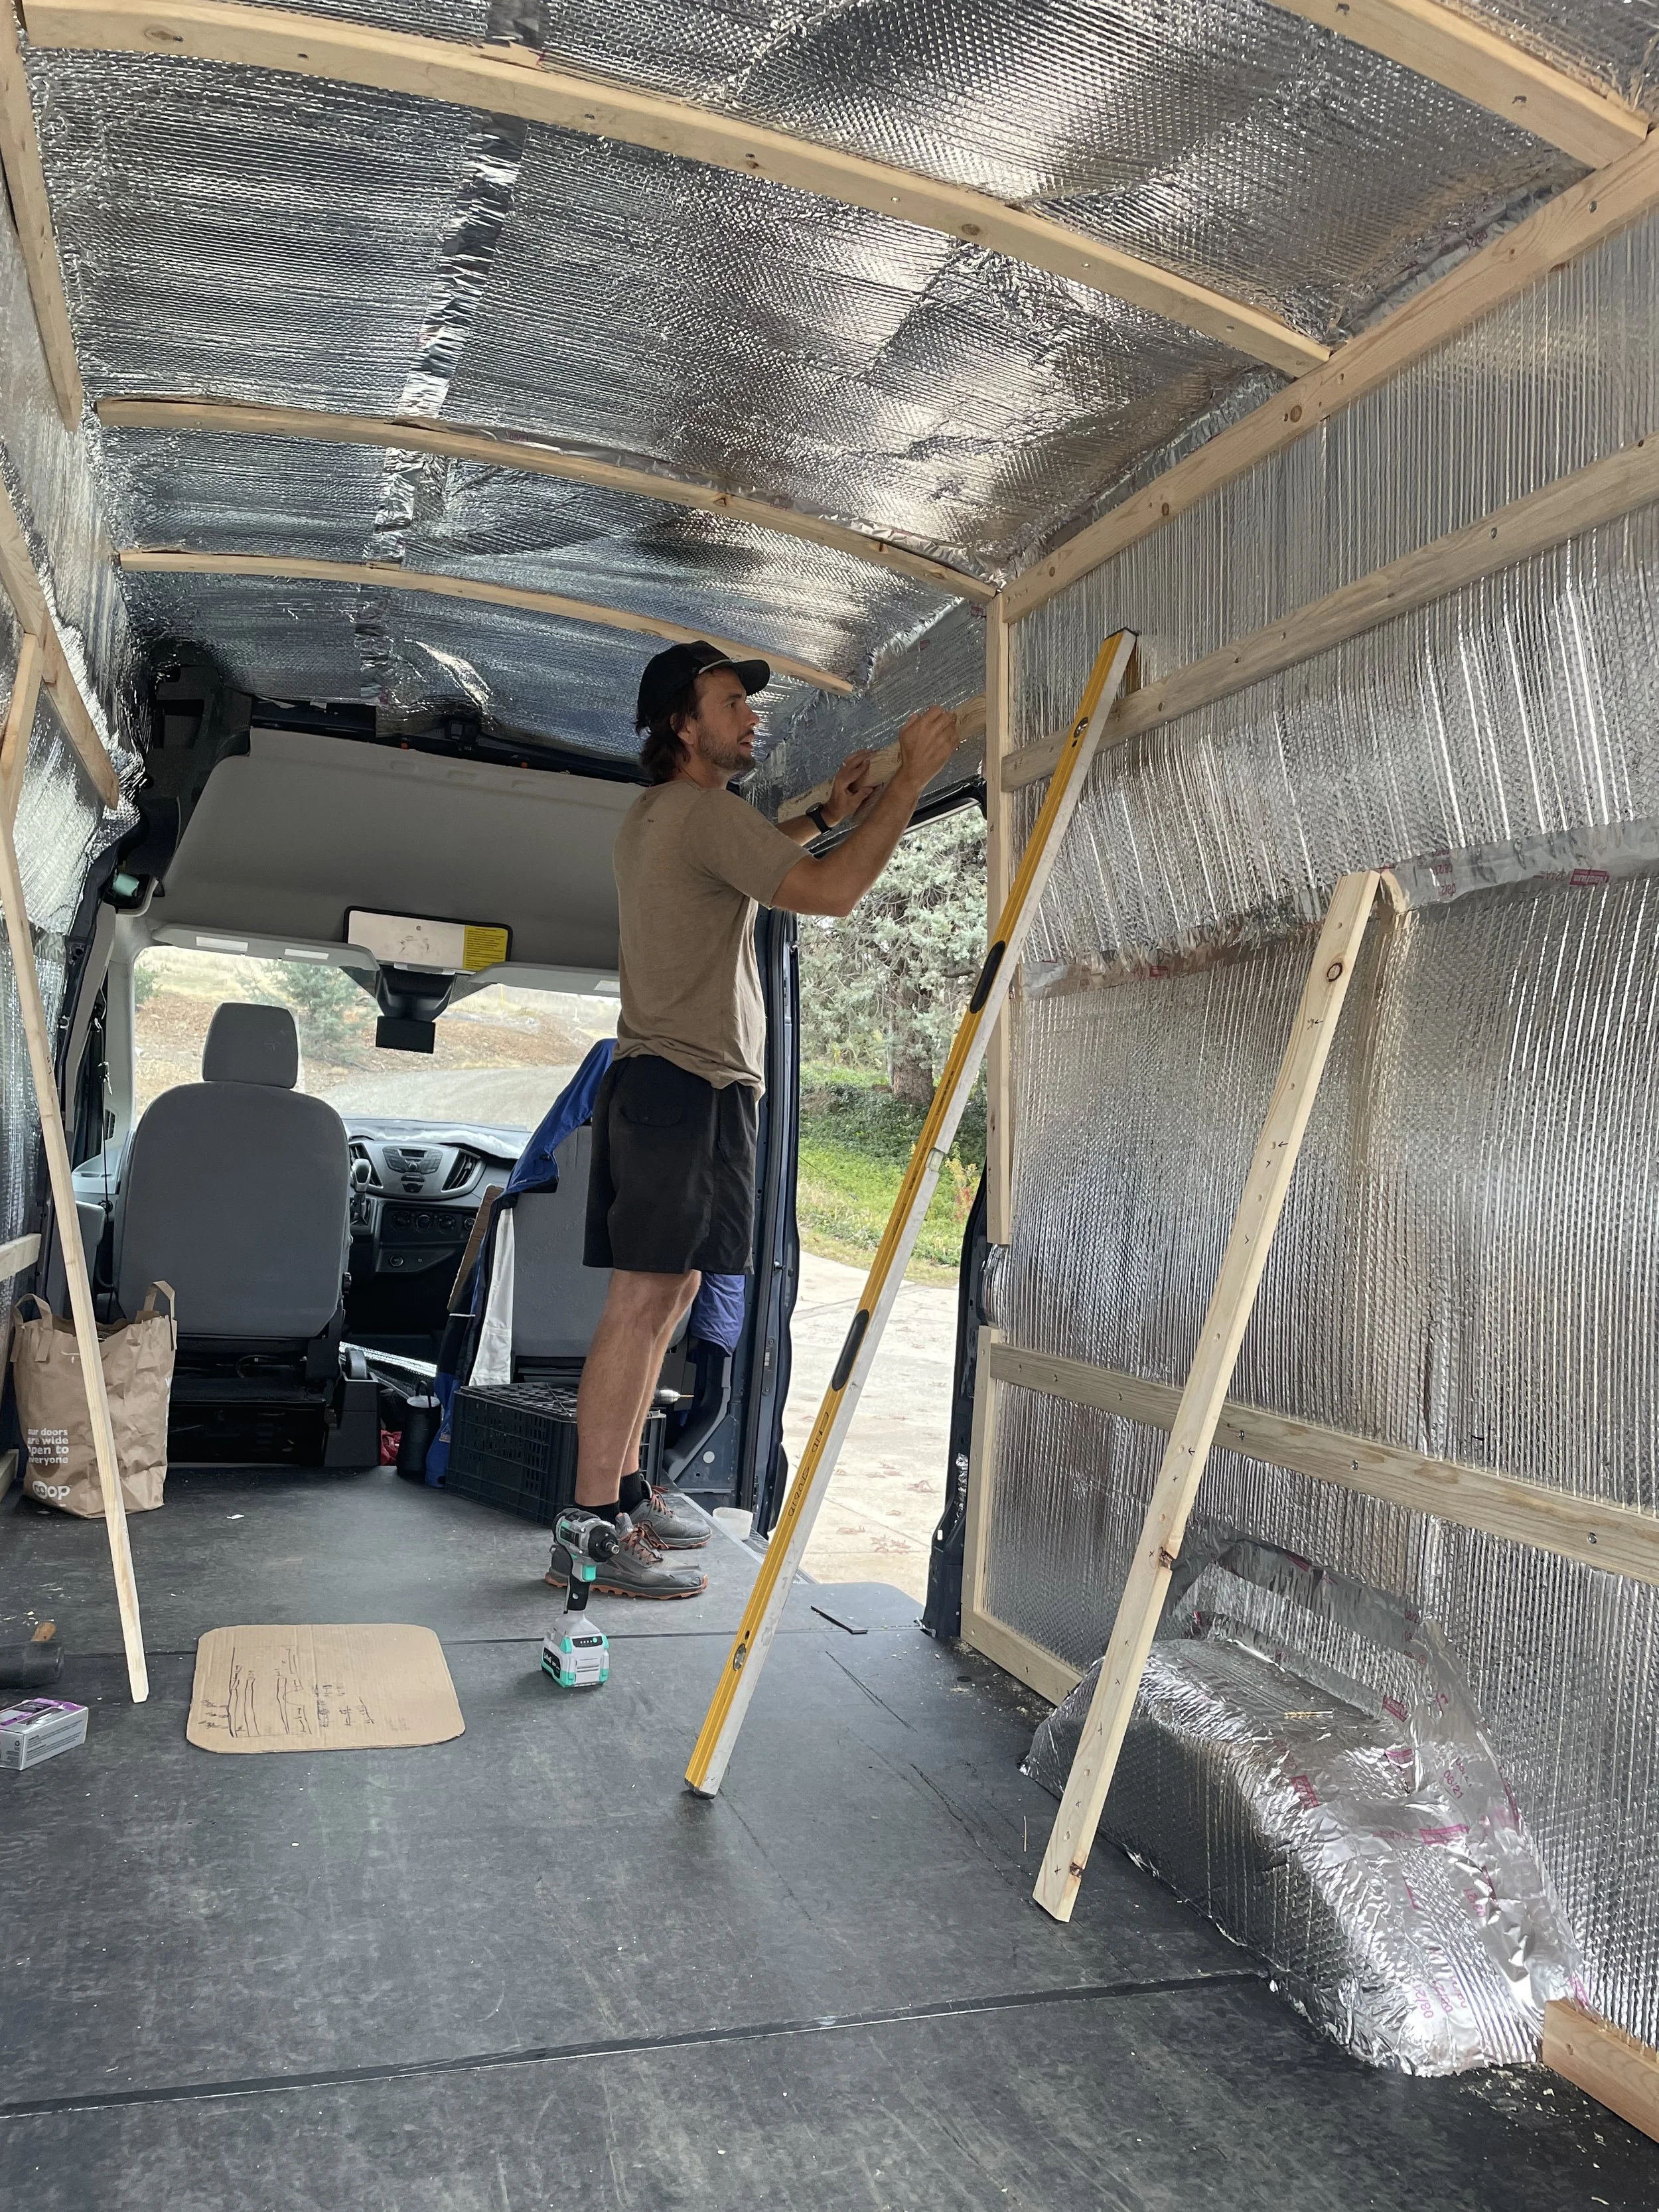
What you’ll essentially want to do here is create a nice frame to attach your interior walls to, as well as, frame some wall support for upper cabinets and countertops and to also secure them all to the van. So they do not become projectiles.
We use 1 in. x 3 in. furring strips from the Home Depot to frame the walls, along with some 1 1/2 in. #10 Self-Tapping Hex Head Sheet metal screws. Now, you will want to measure all your wall heights and lengths along the interior ribs of the van and along the floor and the ribs on the ceiling. Once you are done, draw out your wall framing diagram so it makes more sense and to reference.
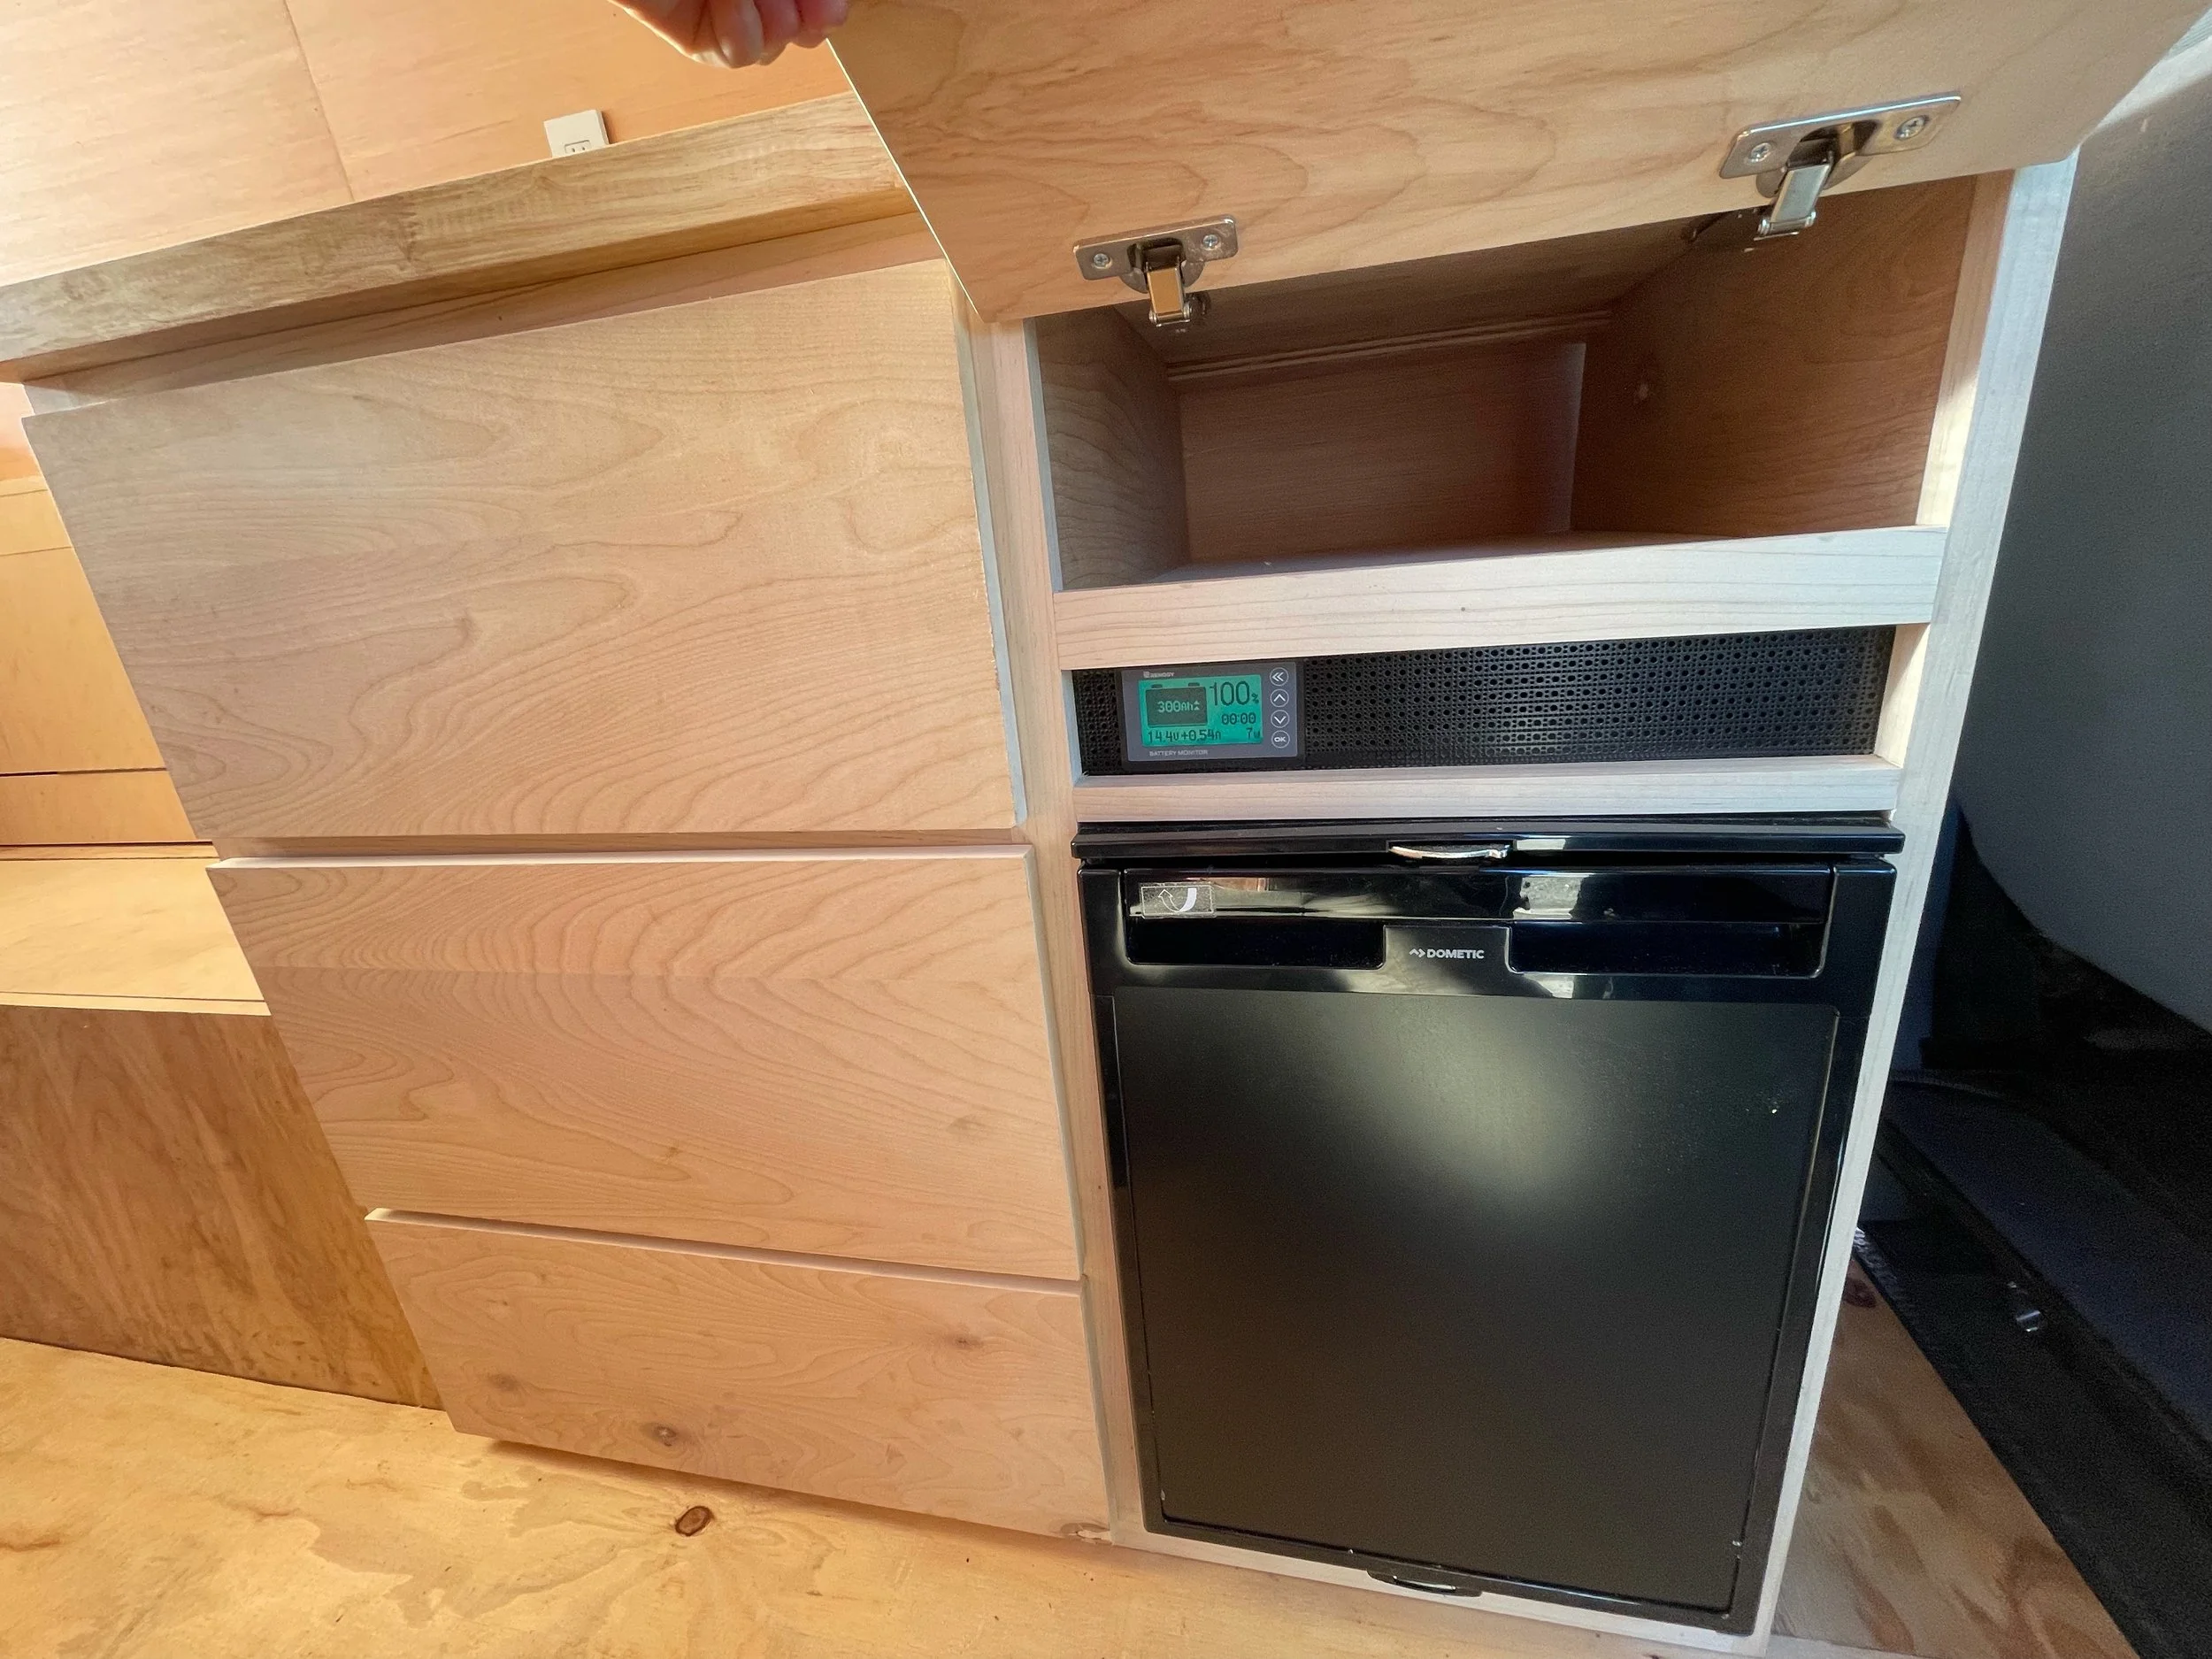
Remember to add framing where you will have cabinets so you will be able to attach the cabinets to the wall. Also, note that you may need to add some furring strips where two pieces of the interior wall come together. So that way, they can also be attached to the van walls. (If there is no metal rib to attach your furring strips to ensure you have an anchor point for your walls, you will need to attach a furring strip with pocket screws, so you don’t send a screw thru the side of the van)
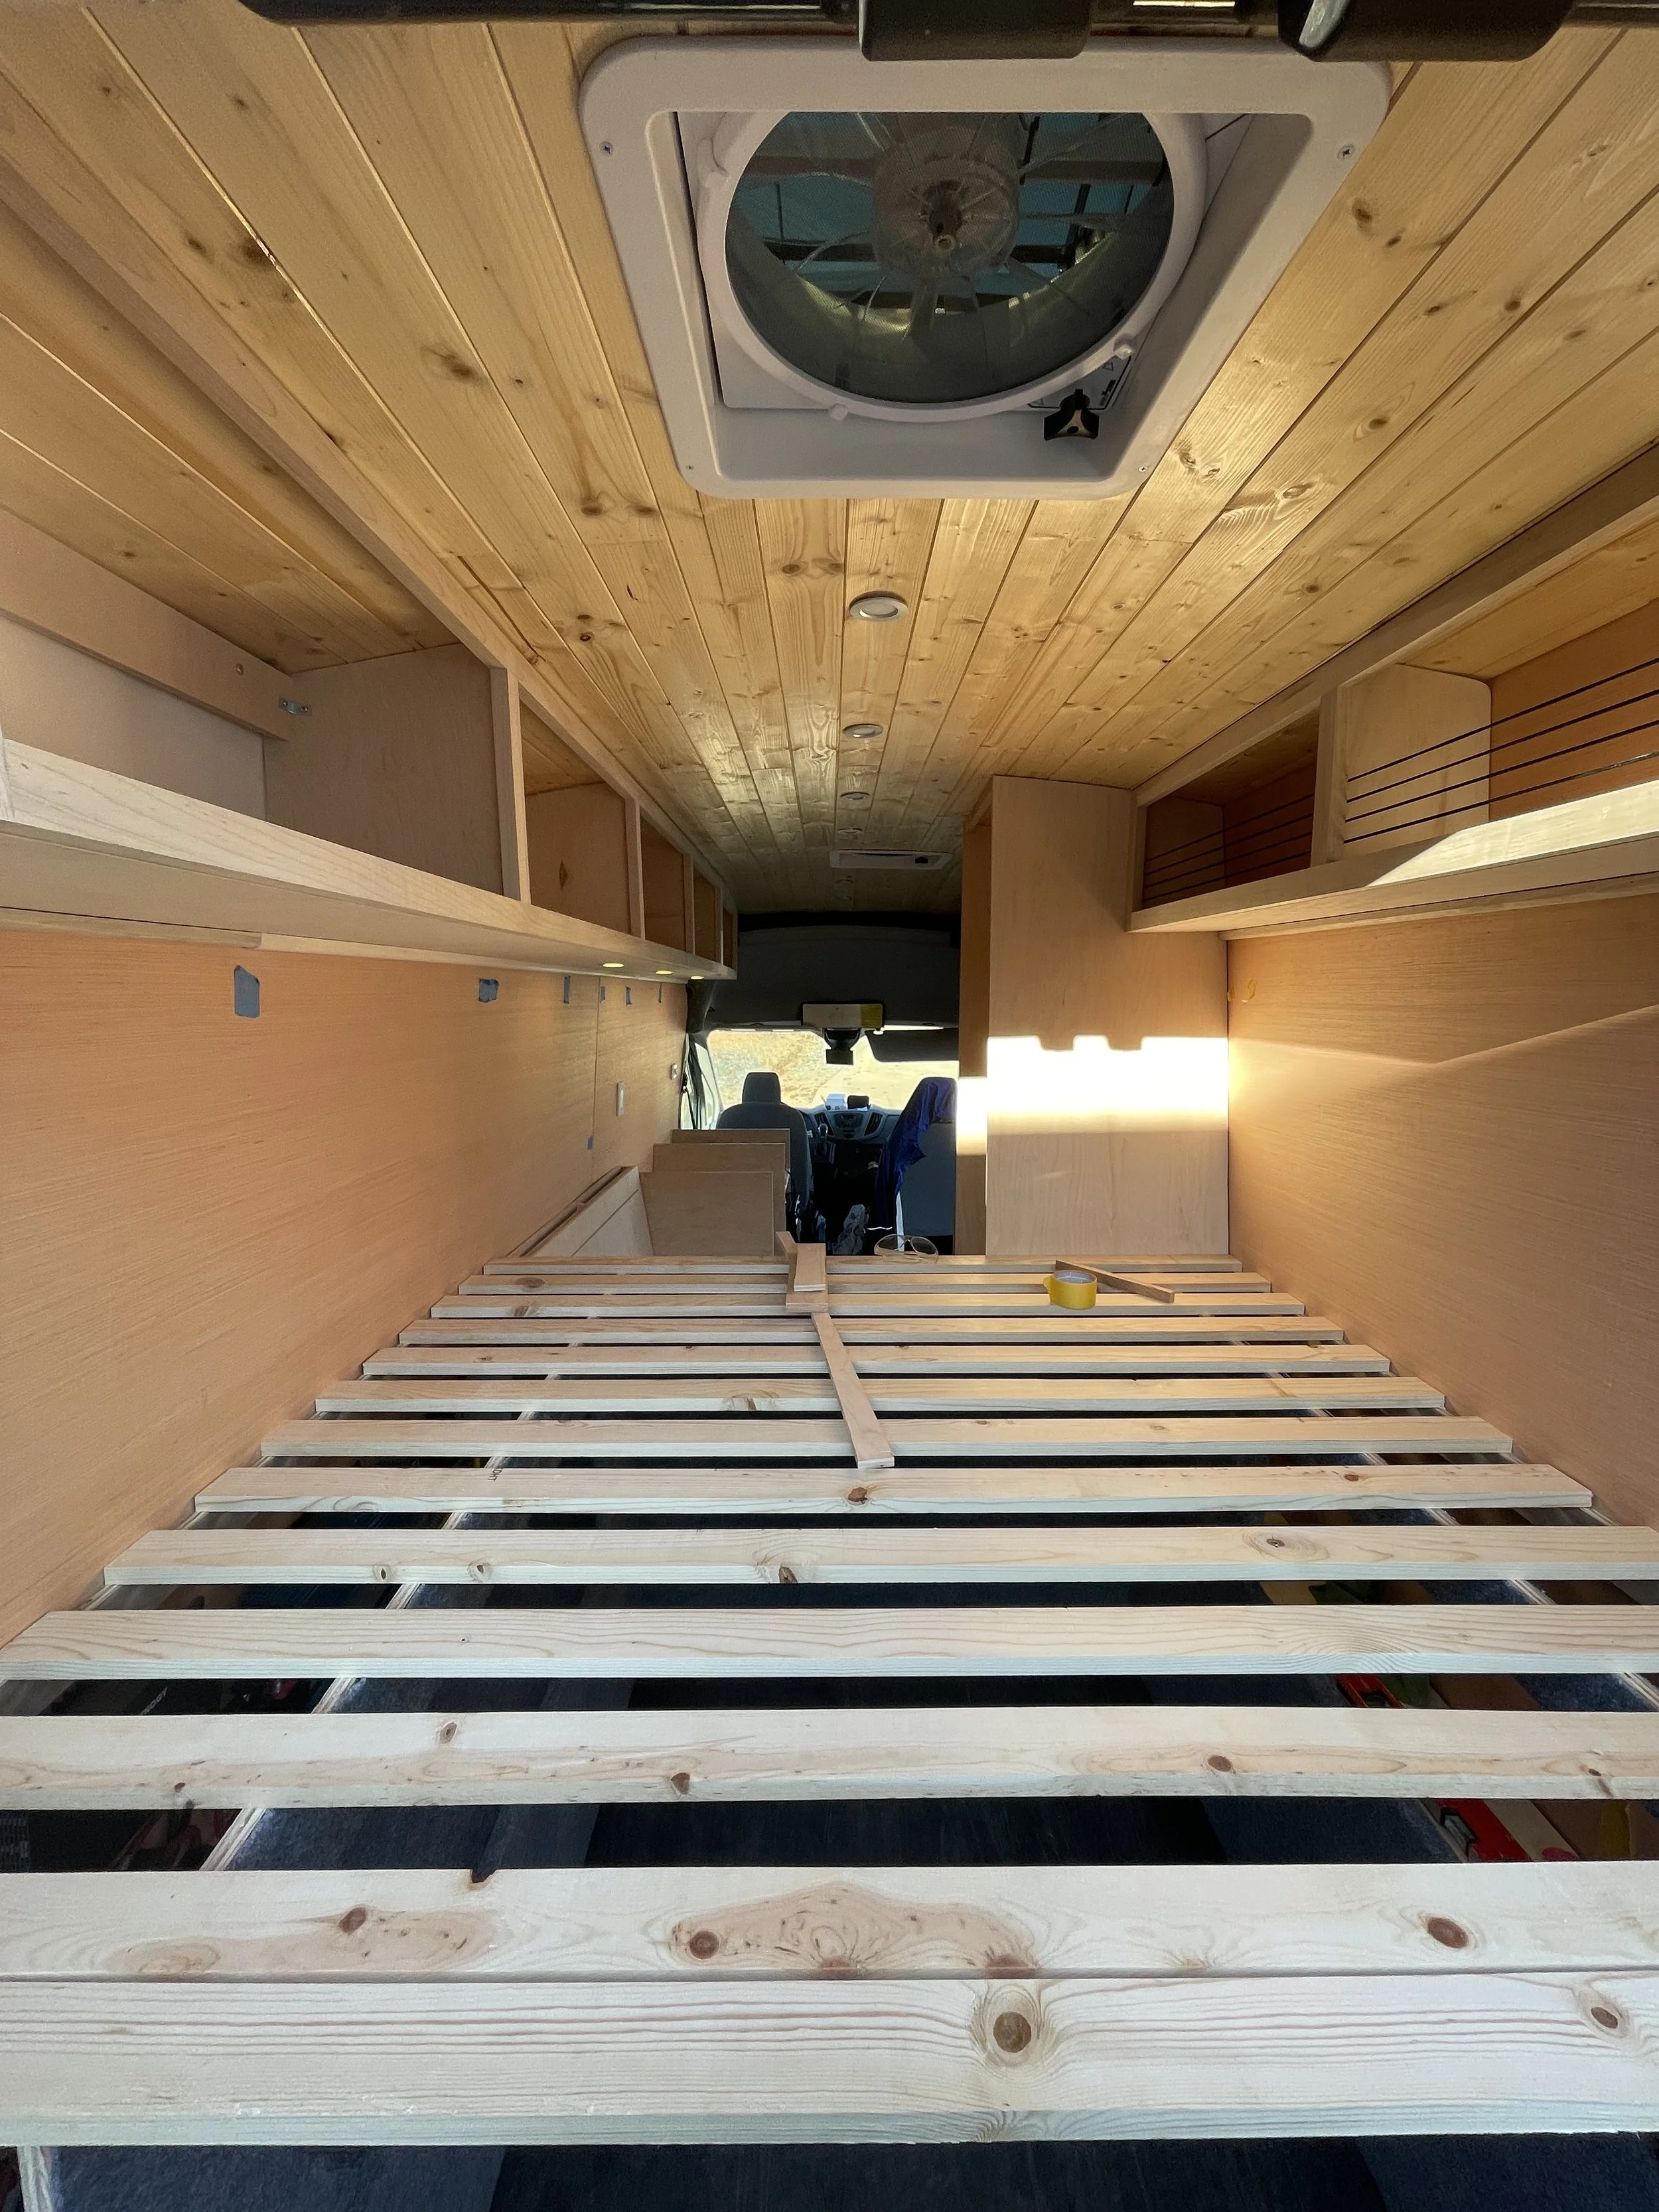
You will cut all your boards and install them to the van ribs with the 1-1/2” self-tapping hex head screws (Note: Screw size will vary between vans). You will also want to countersink all screws so that your walls/ceiling lay flush to the frame. The Sprinters have large cavities behind the wall ribs so you have plenty of room. ALWAYS double-check your screw length so you don't send a screw through the outside of the van.
From here, you are just attaching the strips to the van matching your diagram and this should go pretty quick.
Tools we used
Litheli Impact Driver - https://litheli.com/products/litheli-20v-cordless-1-4-hex-impact-driver-2-0ah-battery-charger?aff=4
Litheli Drill Driver - https://litheli.com/products/litheli-20v-cordless-3-8-drill-driver-2-0ah-battery-charger?aff=4
Chop Saw - https://amzn.to/31fOWZ3
Kreg Jig - https://amzn.to/3xB0qSN
T- Square - https://amzn.to/2xnD7hg
Measuring Tape - https://amzn.to/2xoT2eY
Insulation
Thinsulate Insulation - https://amzn.to/3gMGpAo
Reflectix - https://amzn.to/3oV2Tlo
Adhesive Spray - https://amzn.to/3acQ0zo
3M N95 Respirator - https://amzn.to/3ad54gm