
Tools
Wire Strippers - https://amzn.to/38SHIyp
Wire Cutters - https://amzn.to/3lZebFV
Plastic Conduit 3/8” - https://amzn.to/3GQj1iF
Plastic Conduit 1/2” - https://amzn.to/3m1hYTq
Heat Gun - https://amzn.to/3N8p44n
Wire Connectors - https://amzn.to/3PTlAUT
Wiring
12 Gauge Stranded Wire - https://amzn.to/3NlRxE1
14 Gauge Stranded Wire - https://amzn.to/3N8nIGP
16 Gauge Stranded Wire - https://amzn.to/3lWWRBD
120V AC Wiring
Marine Cable (12 Gauge Stranded) - https://amzn.to/3LYqE7q
Jacketed Cable (12 Gauge Stranded) - https://amzn.to/3wWchet
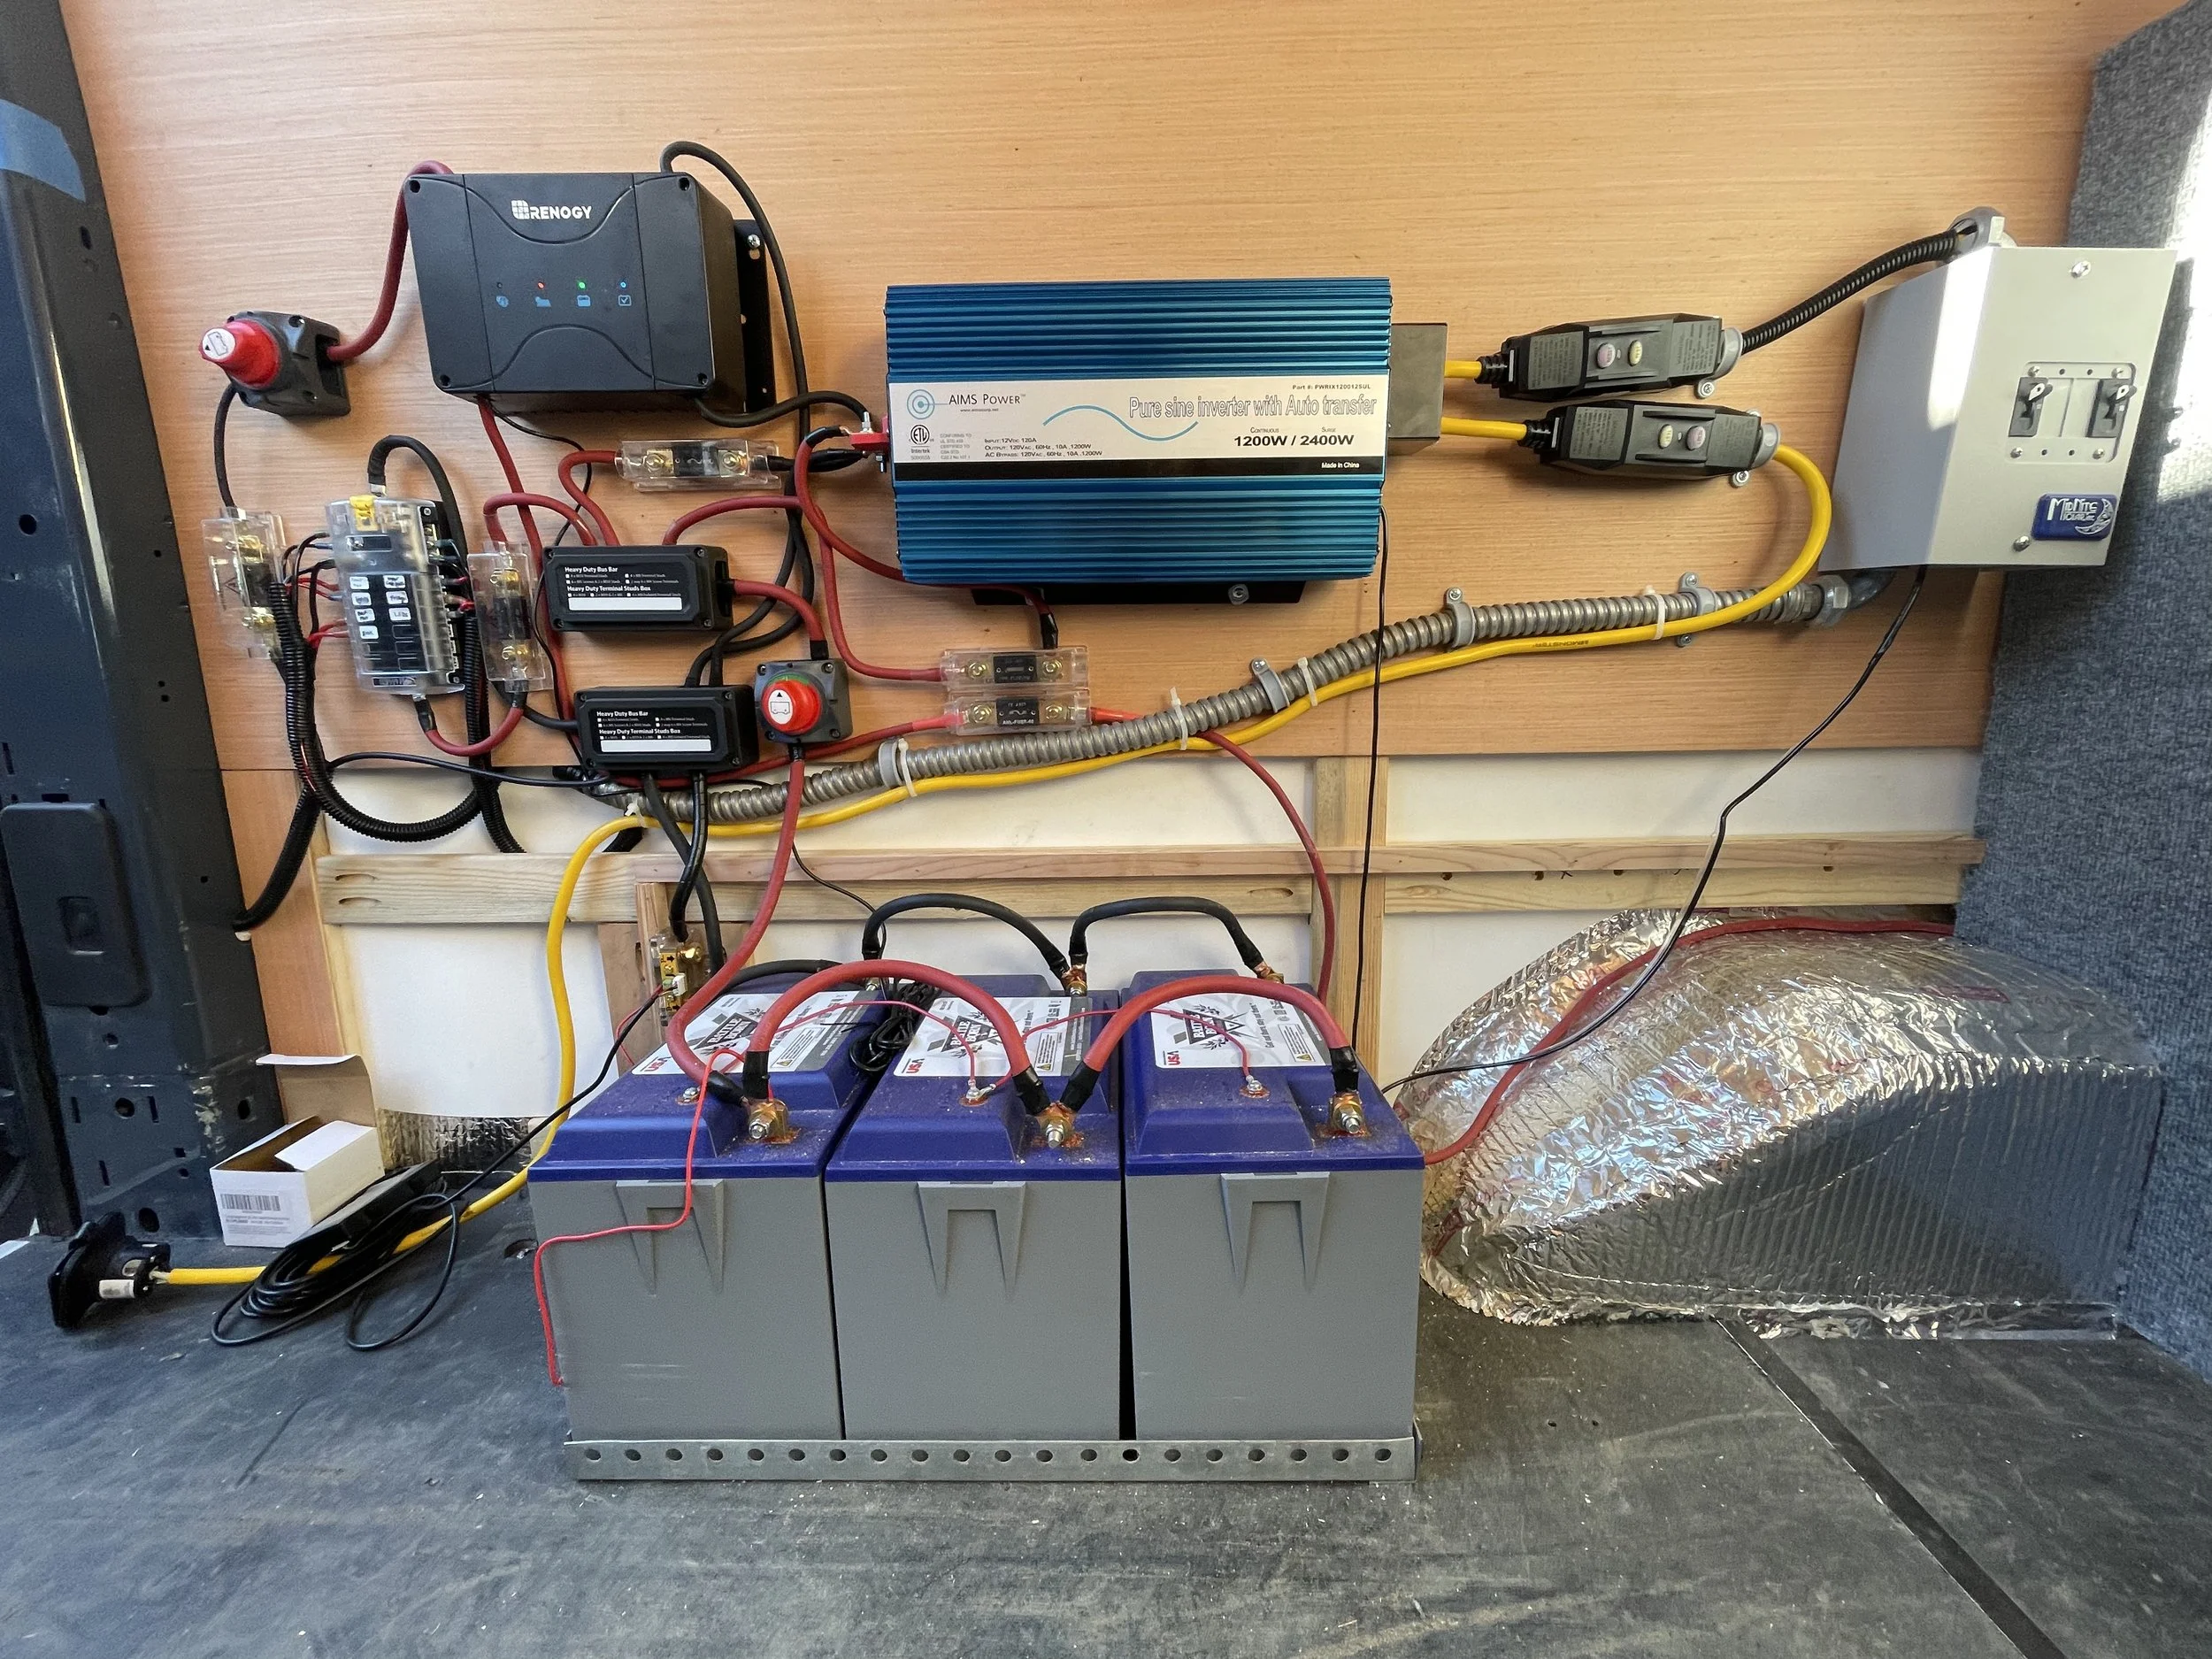
We will be running 12/14/16 gauge wires for all the 12-volt accessories and 12 gauge stranded wire for all our 120-volt AC outlets. This is a very straightforward process. You will need to have a diagram and a layout in place before you start wiring. You will need to know where all your accessories (fridge, lights, outlets, and switches) are and where your battery bank and 12-volt fuse panel as well as your power inverter will be.
You will want to start wiring all your lower draw accessories first running your 16 gauge wire to all the areas where you will be power lights, led lights, and any other low draw accessories,
Next, you will want to wire all your 14 gauge accessories this will be things like your roof fan and your USB outlets, and anything that will need a little bit more amperage than the 16 gauge wire accessories will need.
Then you will want to go through and run wire to where all your 12 gauge accessories will be these will be things like your fridge, 12-volt heaters, 12v water heaters, sink pump, and anything else that requires more amperage.
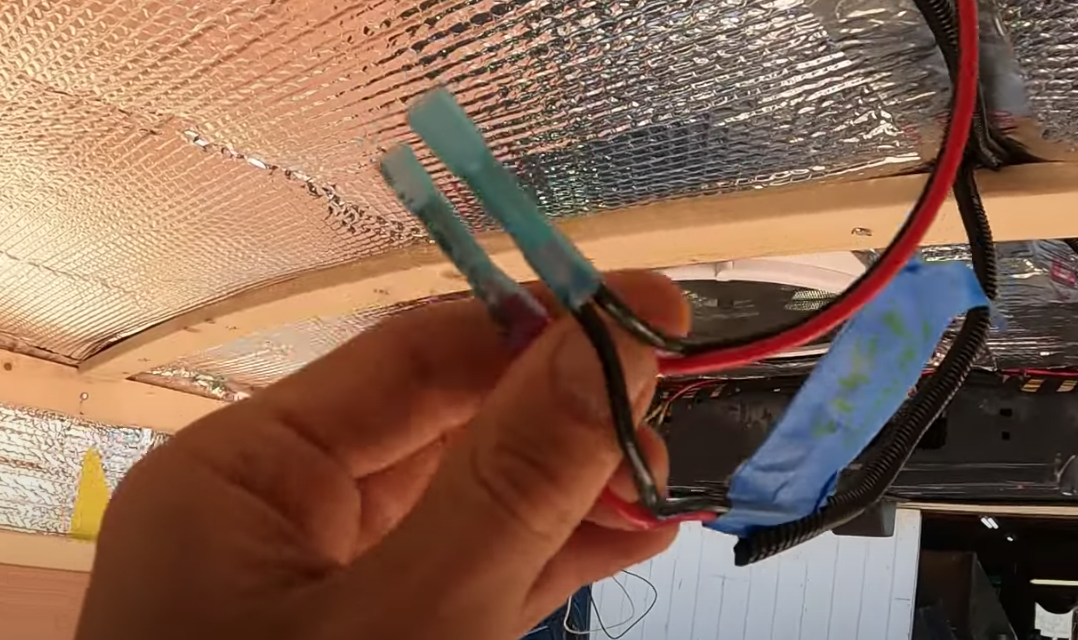
You will want to be sure to mark each wire for what accessory it goes with. Use tape and a marker and mark what each wire corresponds to on both ends. This will make your life so much easier when you are hooking up your 12 Volt fuse panel. as well as once walls get installed so you will know what each wire goes to.
After you will want to run your wire for all your 120 Volt AC outlets. You will want these to start at where your power inverter will be and end where you will have wall outlets to power 12 Volts AC units like laptops/blenders/and cooking appliances. Also, make sure you are marking with the sharpie and tape which each wire corresponds to so when you are hooking up your inverter you will know what cable corresponds to which outlet. This will help because some outlets will require larger breakers. I like to write mine out as follows (15 Amp Kitchen Outlet)
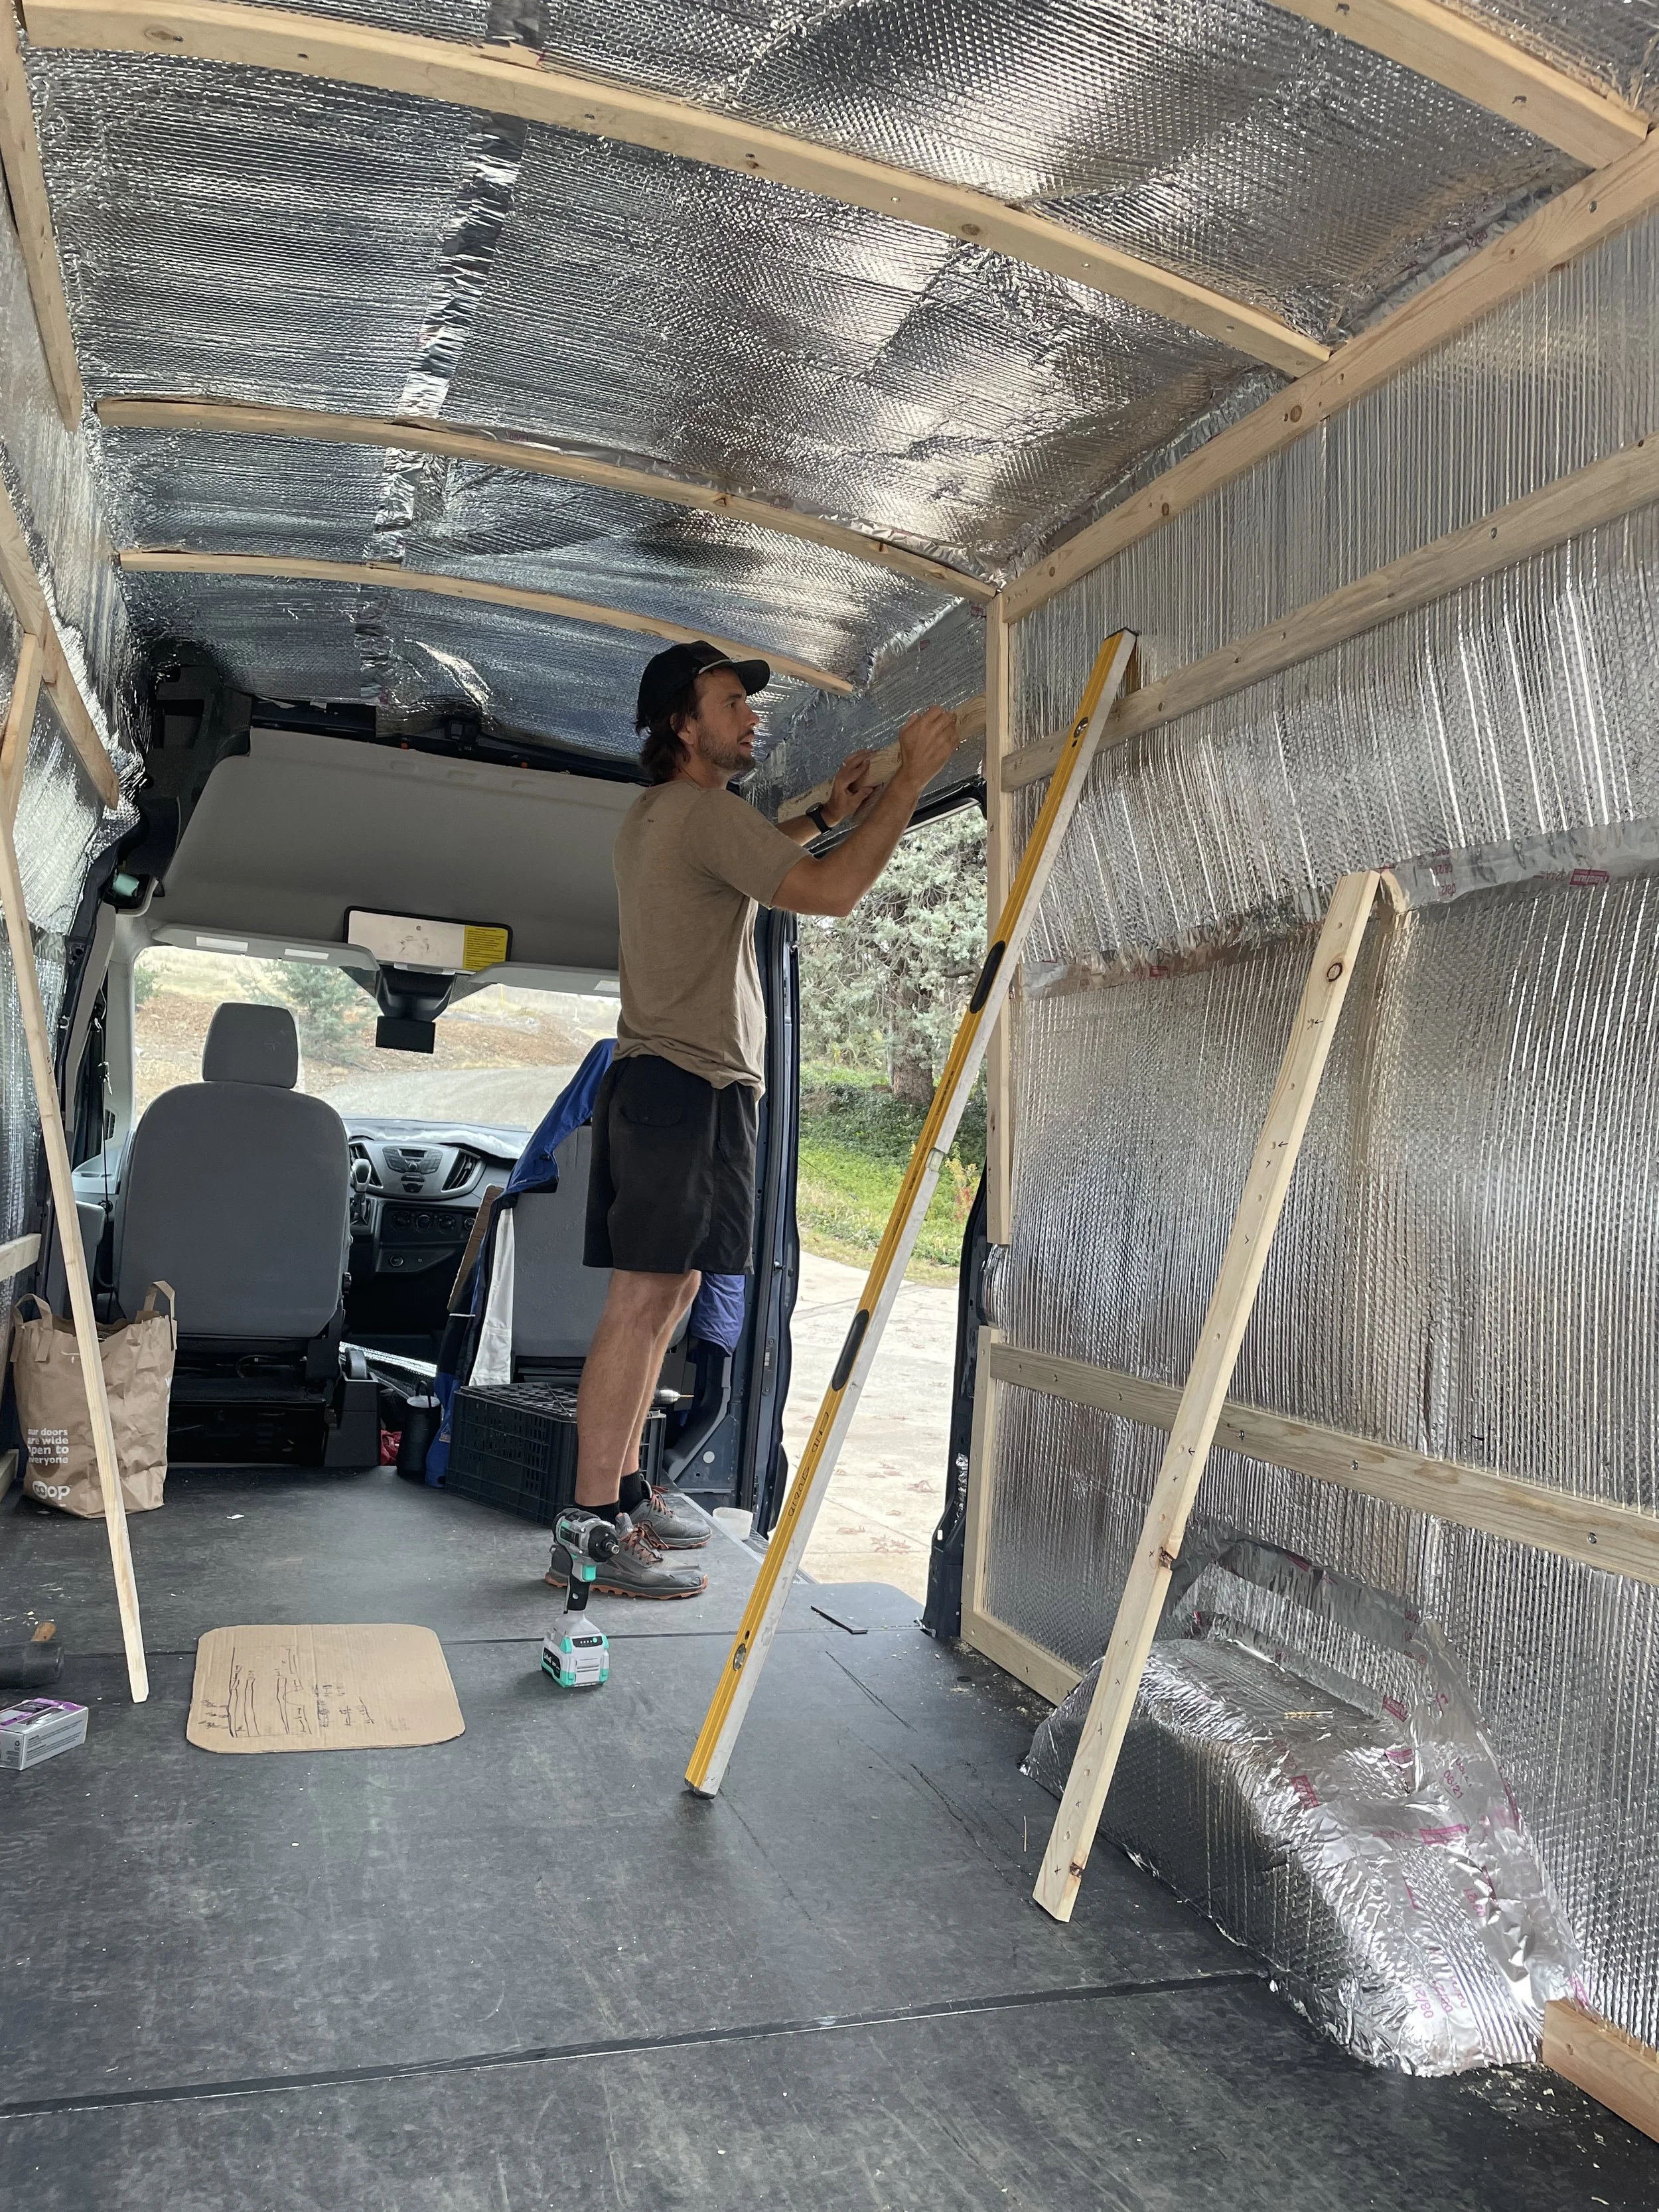
Once all the wires are run it’s time to clean up the mess. I like to use a 3/8” and 1/2” plastic conduit and clean up the rat's nest of wires. This will make your life so much easier when it comes time to slap on your walls.
I will also note that before you put your walls on it helps to draw out a diagram of where all your wires run behind the wall. I will draw a diagram and also make each wall with tape and measurements of where the wires are being the studs. You do not want to put a nail or screw through your wires as this will cause a short and blow a fuse or will render your wire useless.