If you've made it this far, then maybe, you’ve read our previous insulation post. If not, welcome to the next exciting step of your van conversion. Installing framing, walls, and ceiling in your van is easier than you would think and we are here to help. Most supplies come from your local Home Depot or Lowe’s.
Step #1
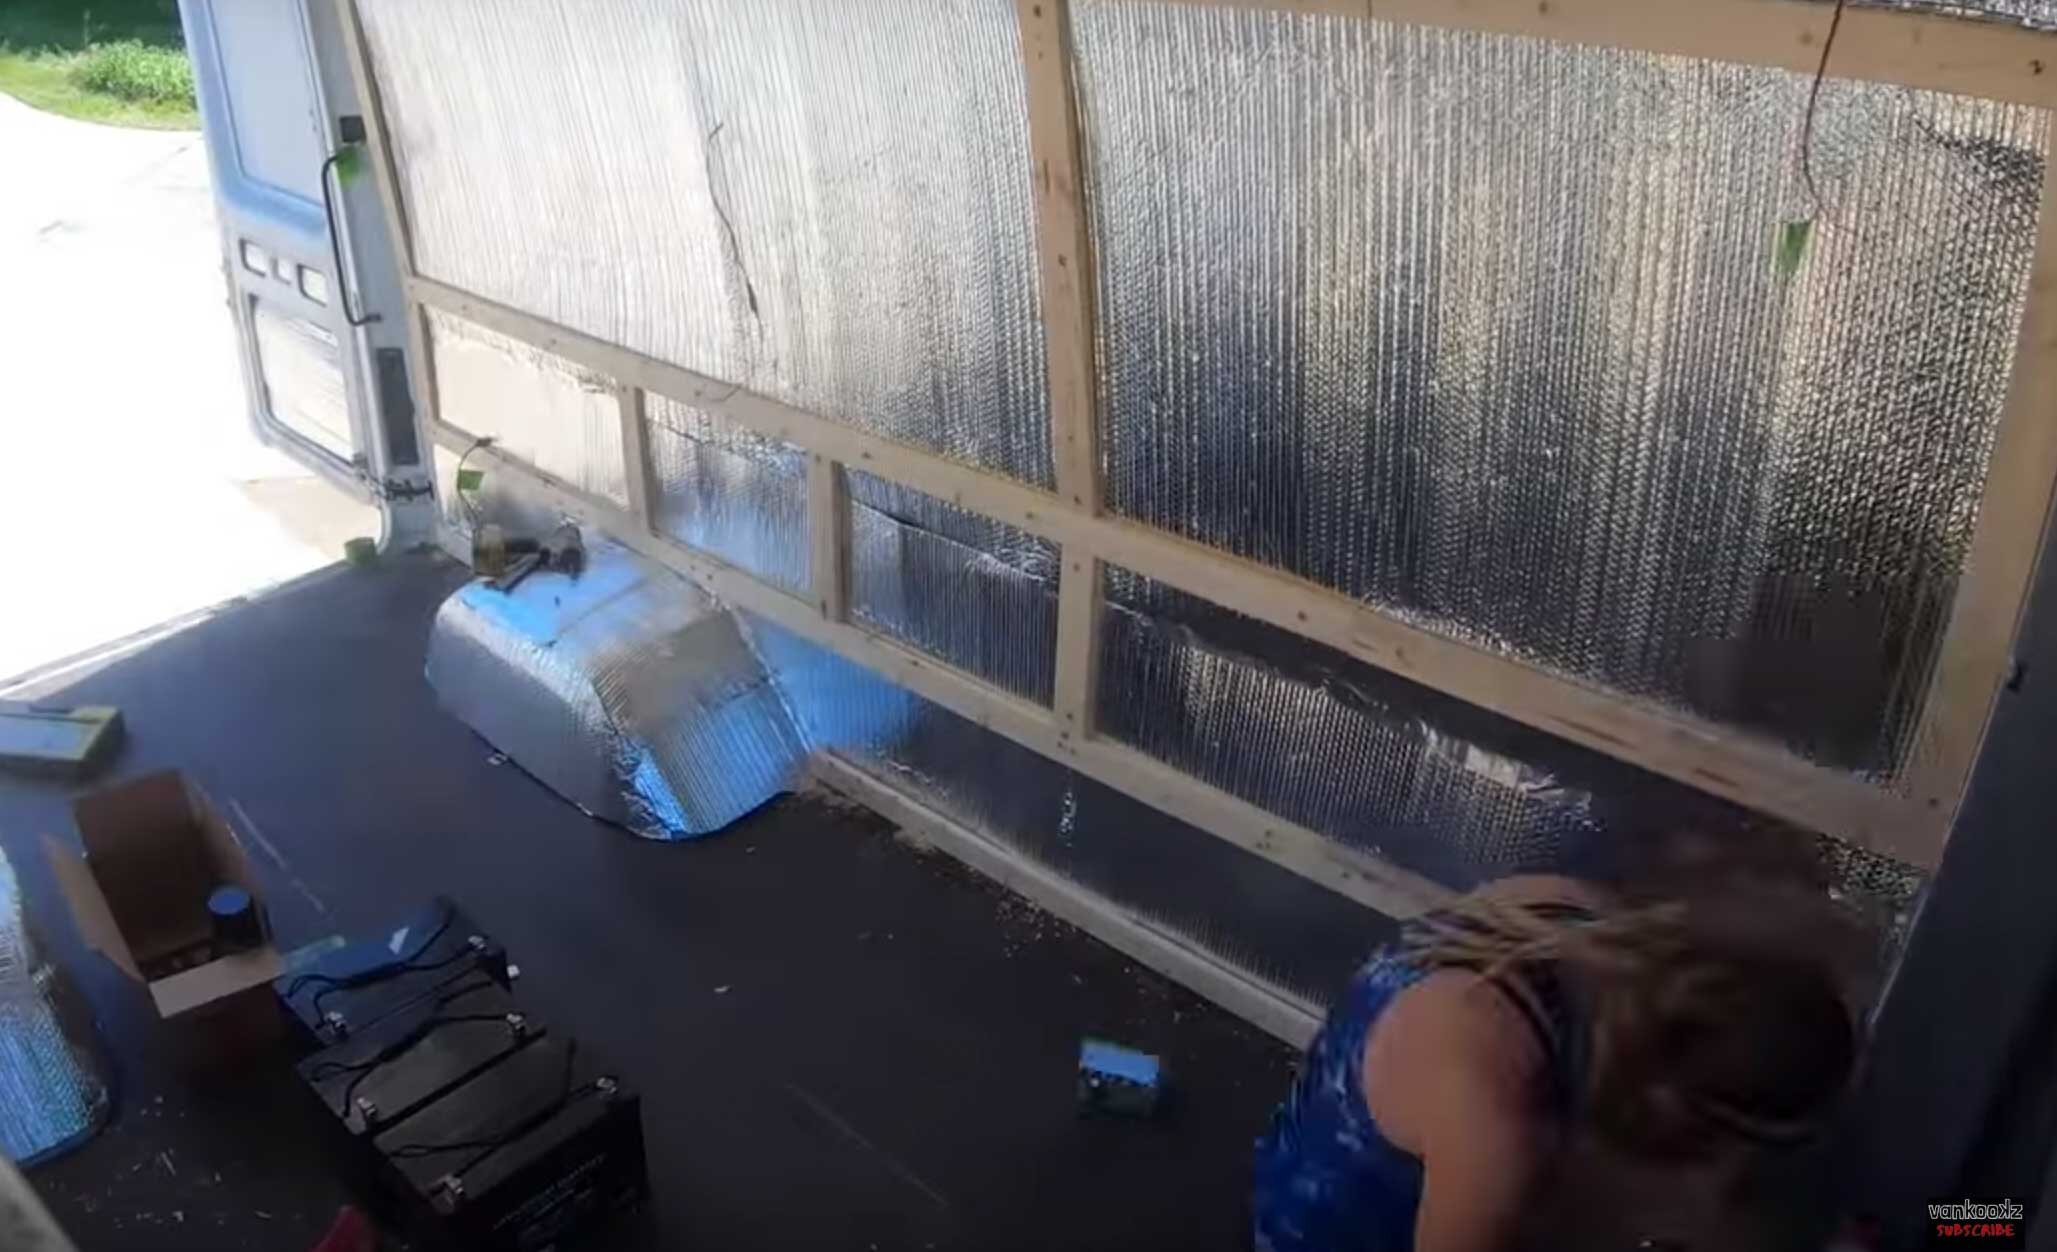
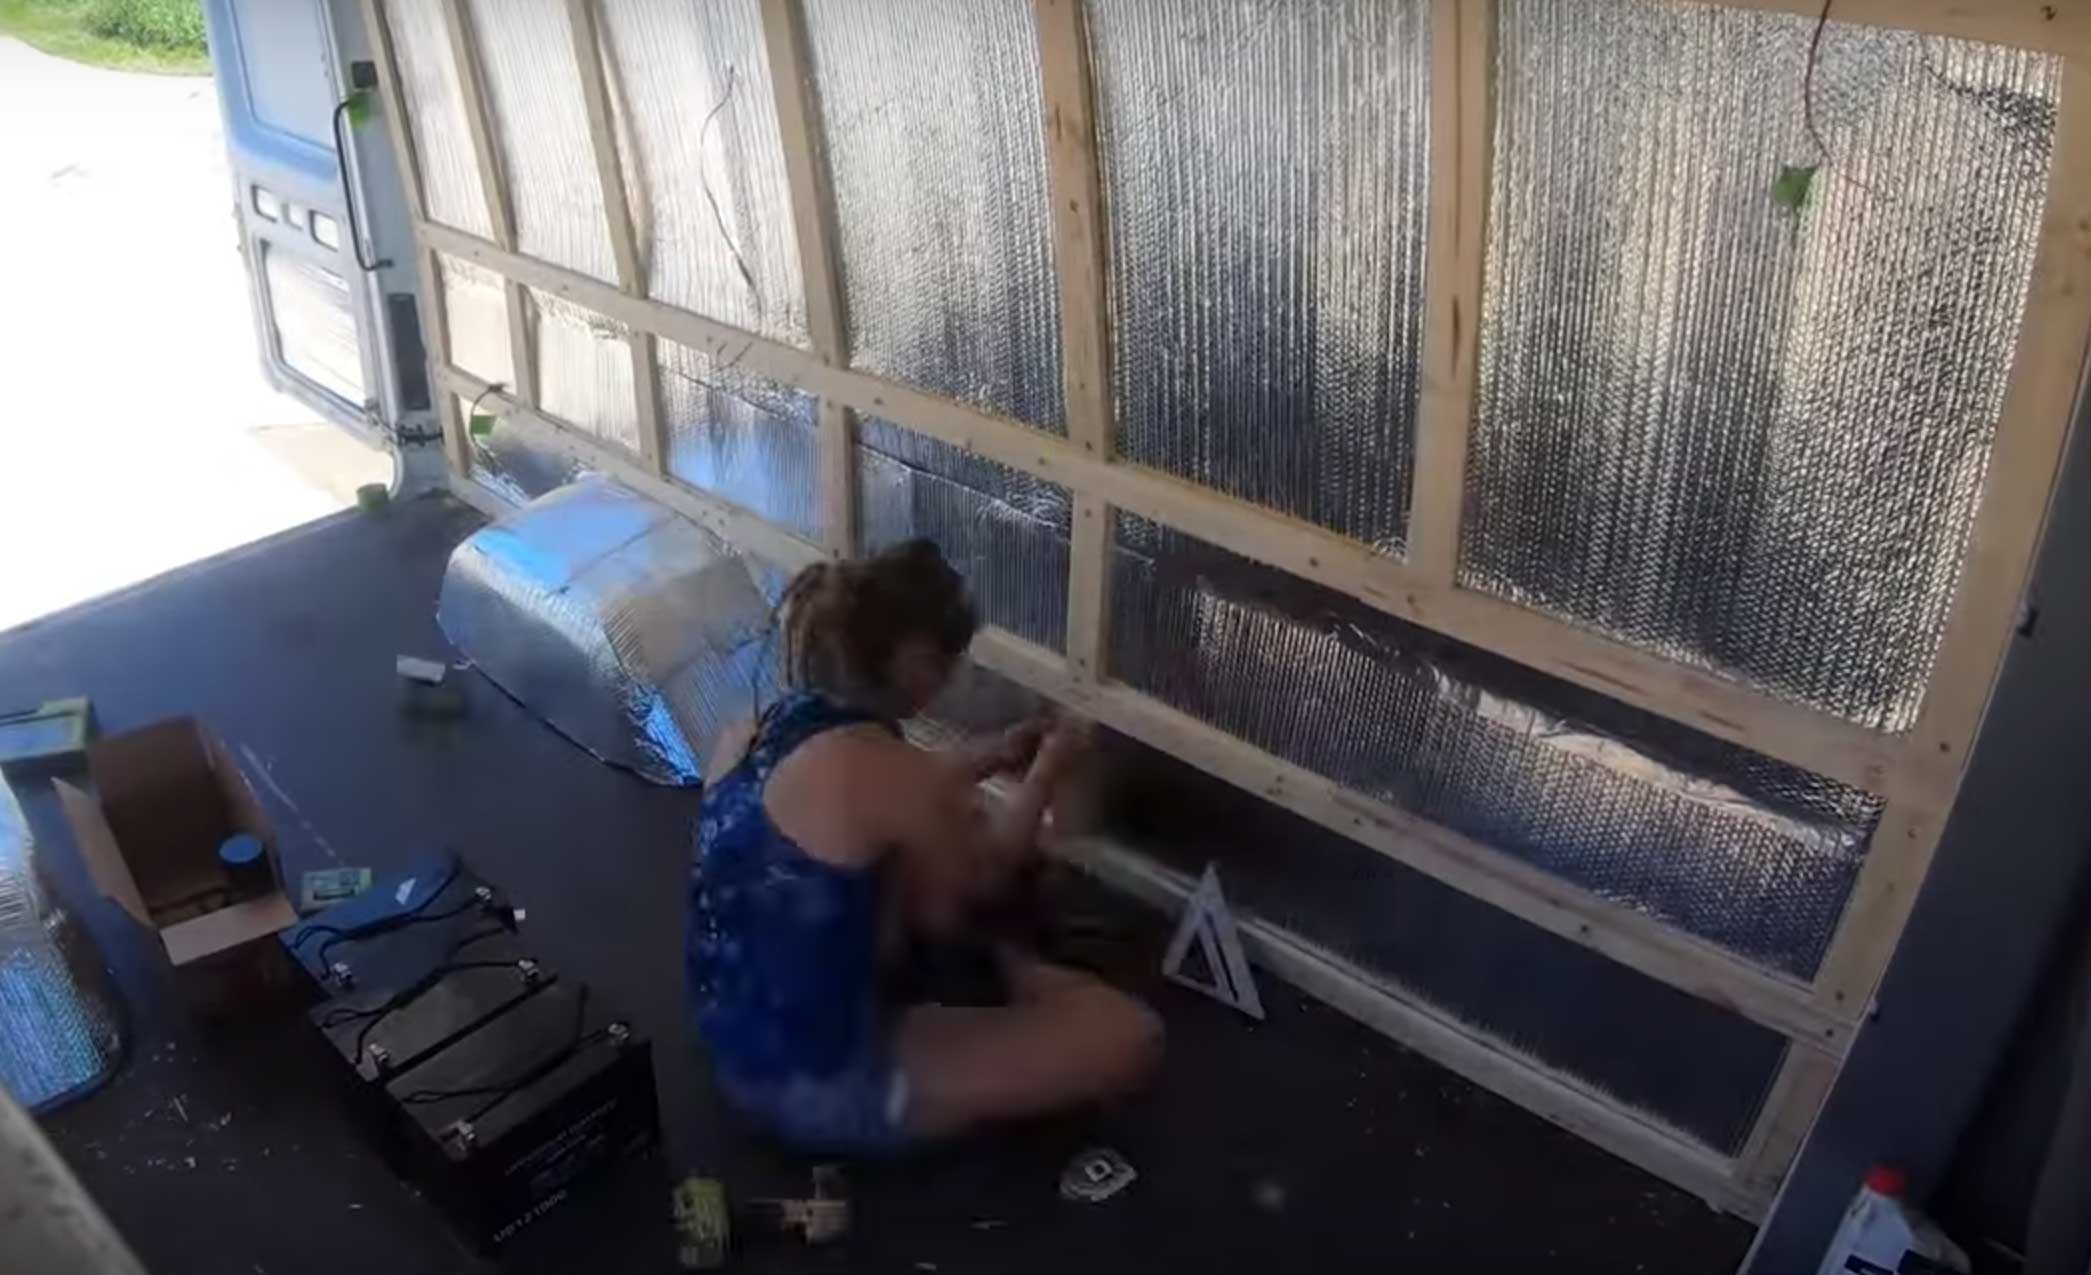
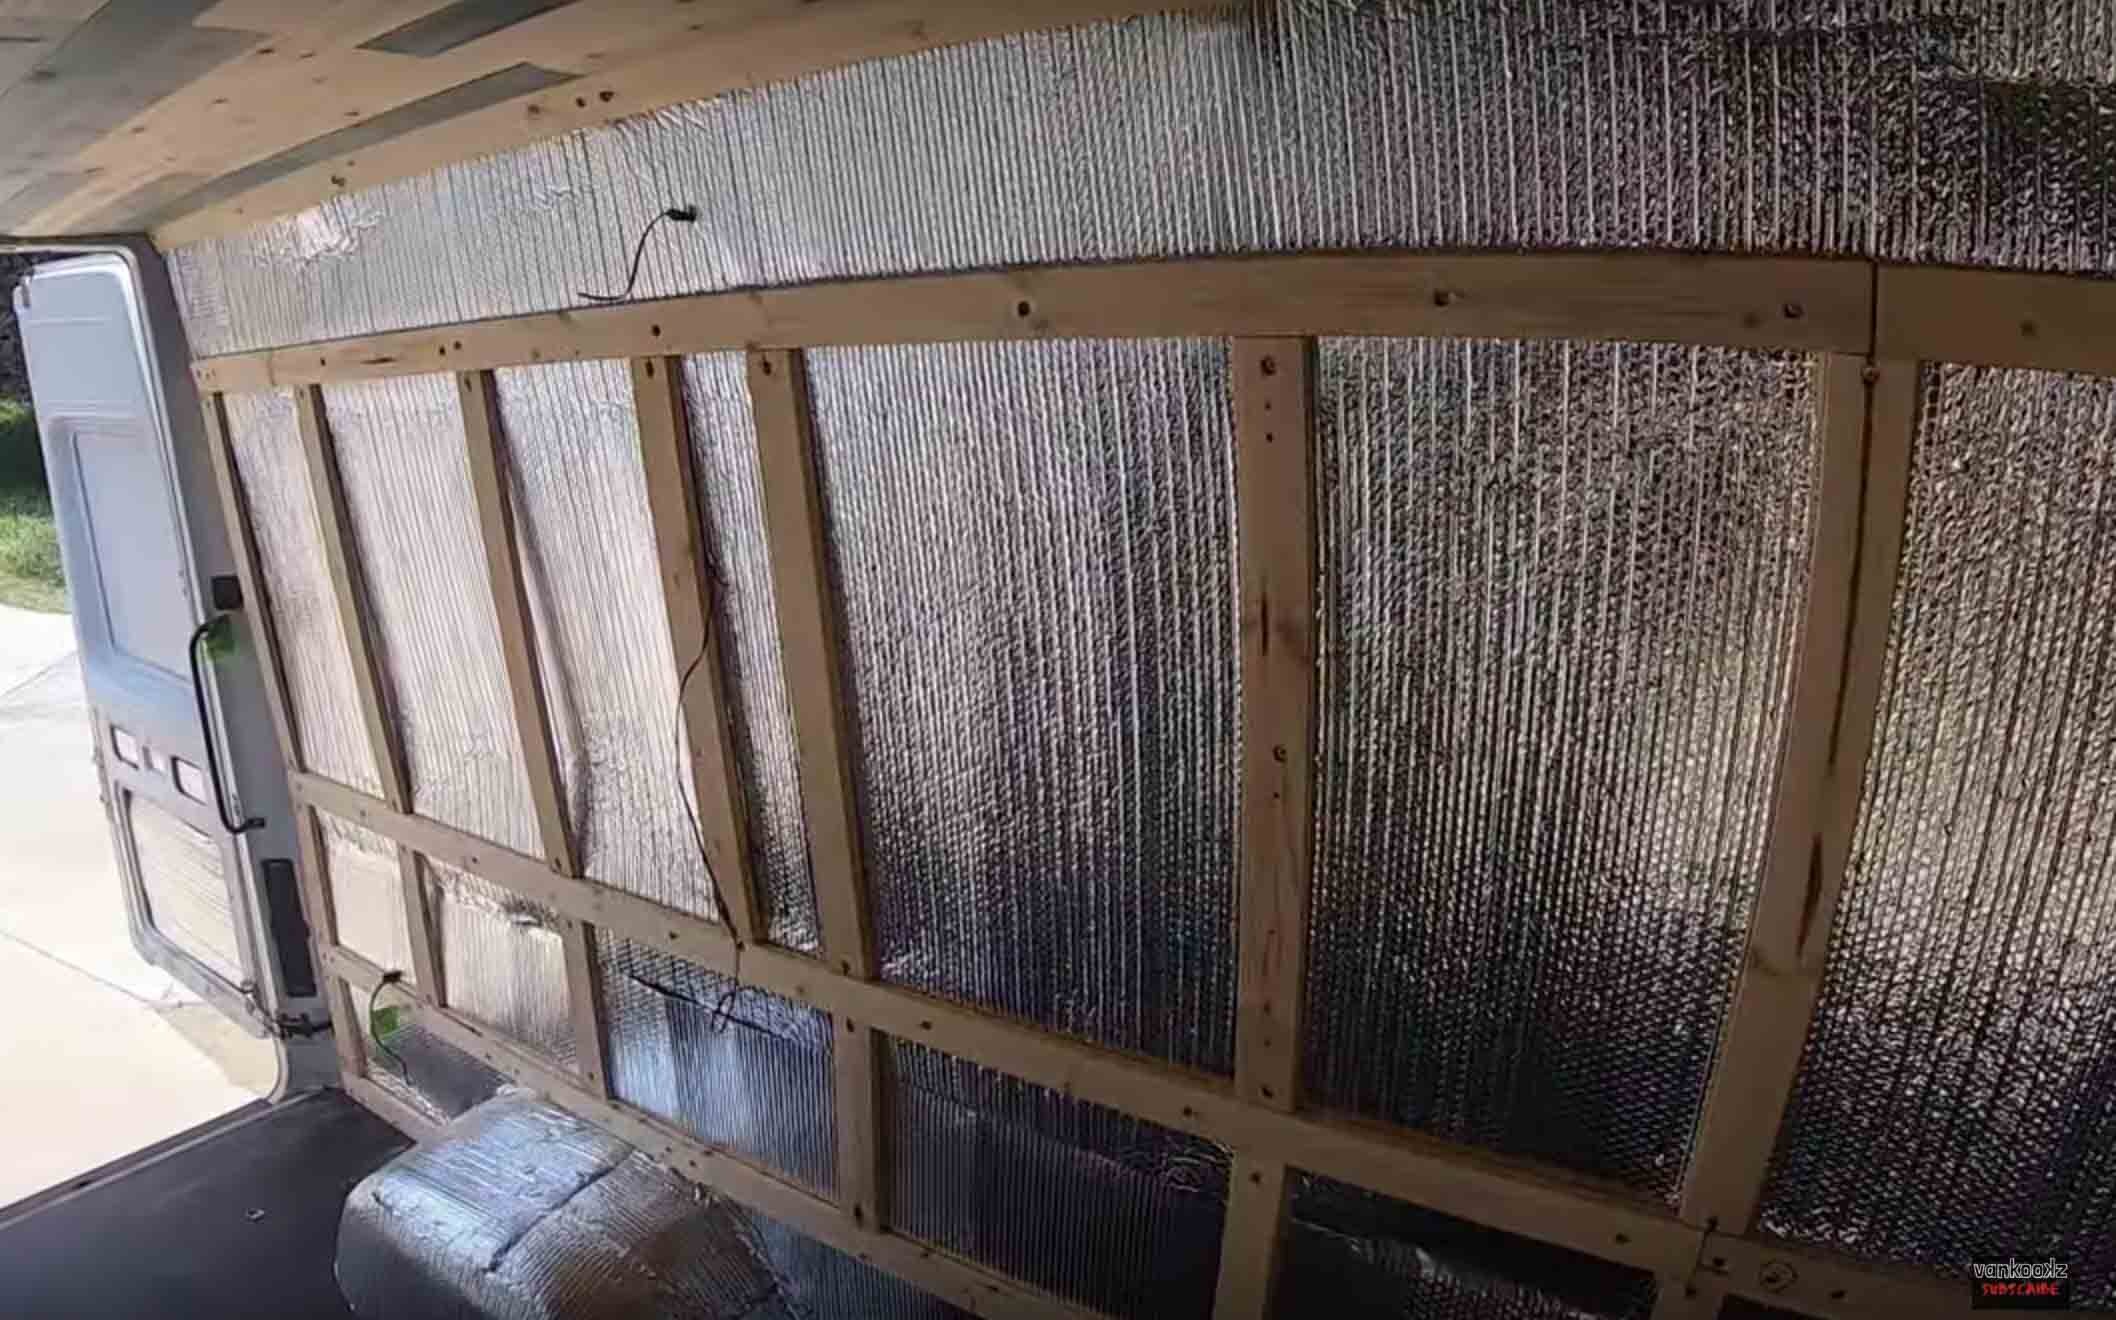
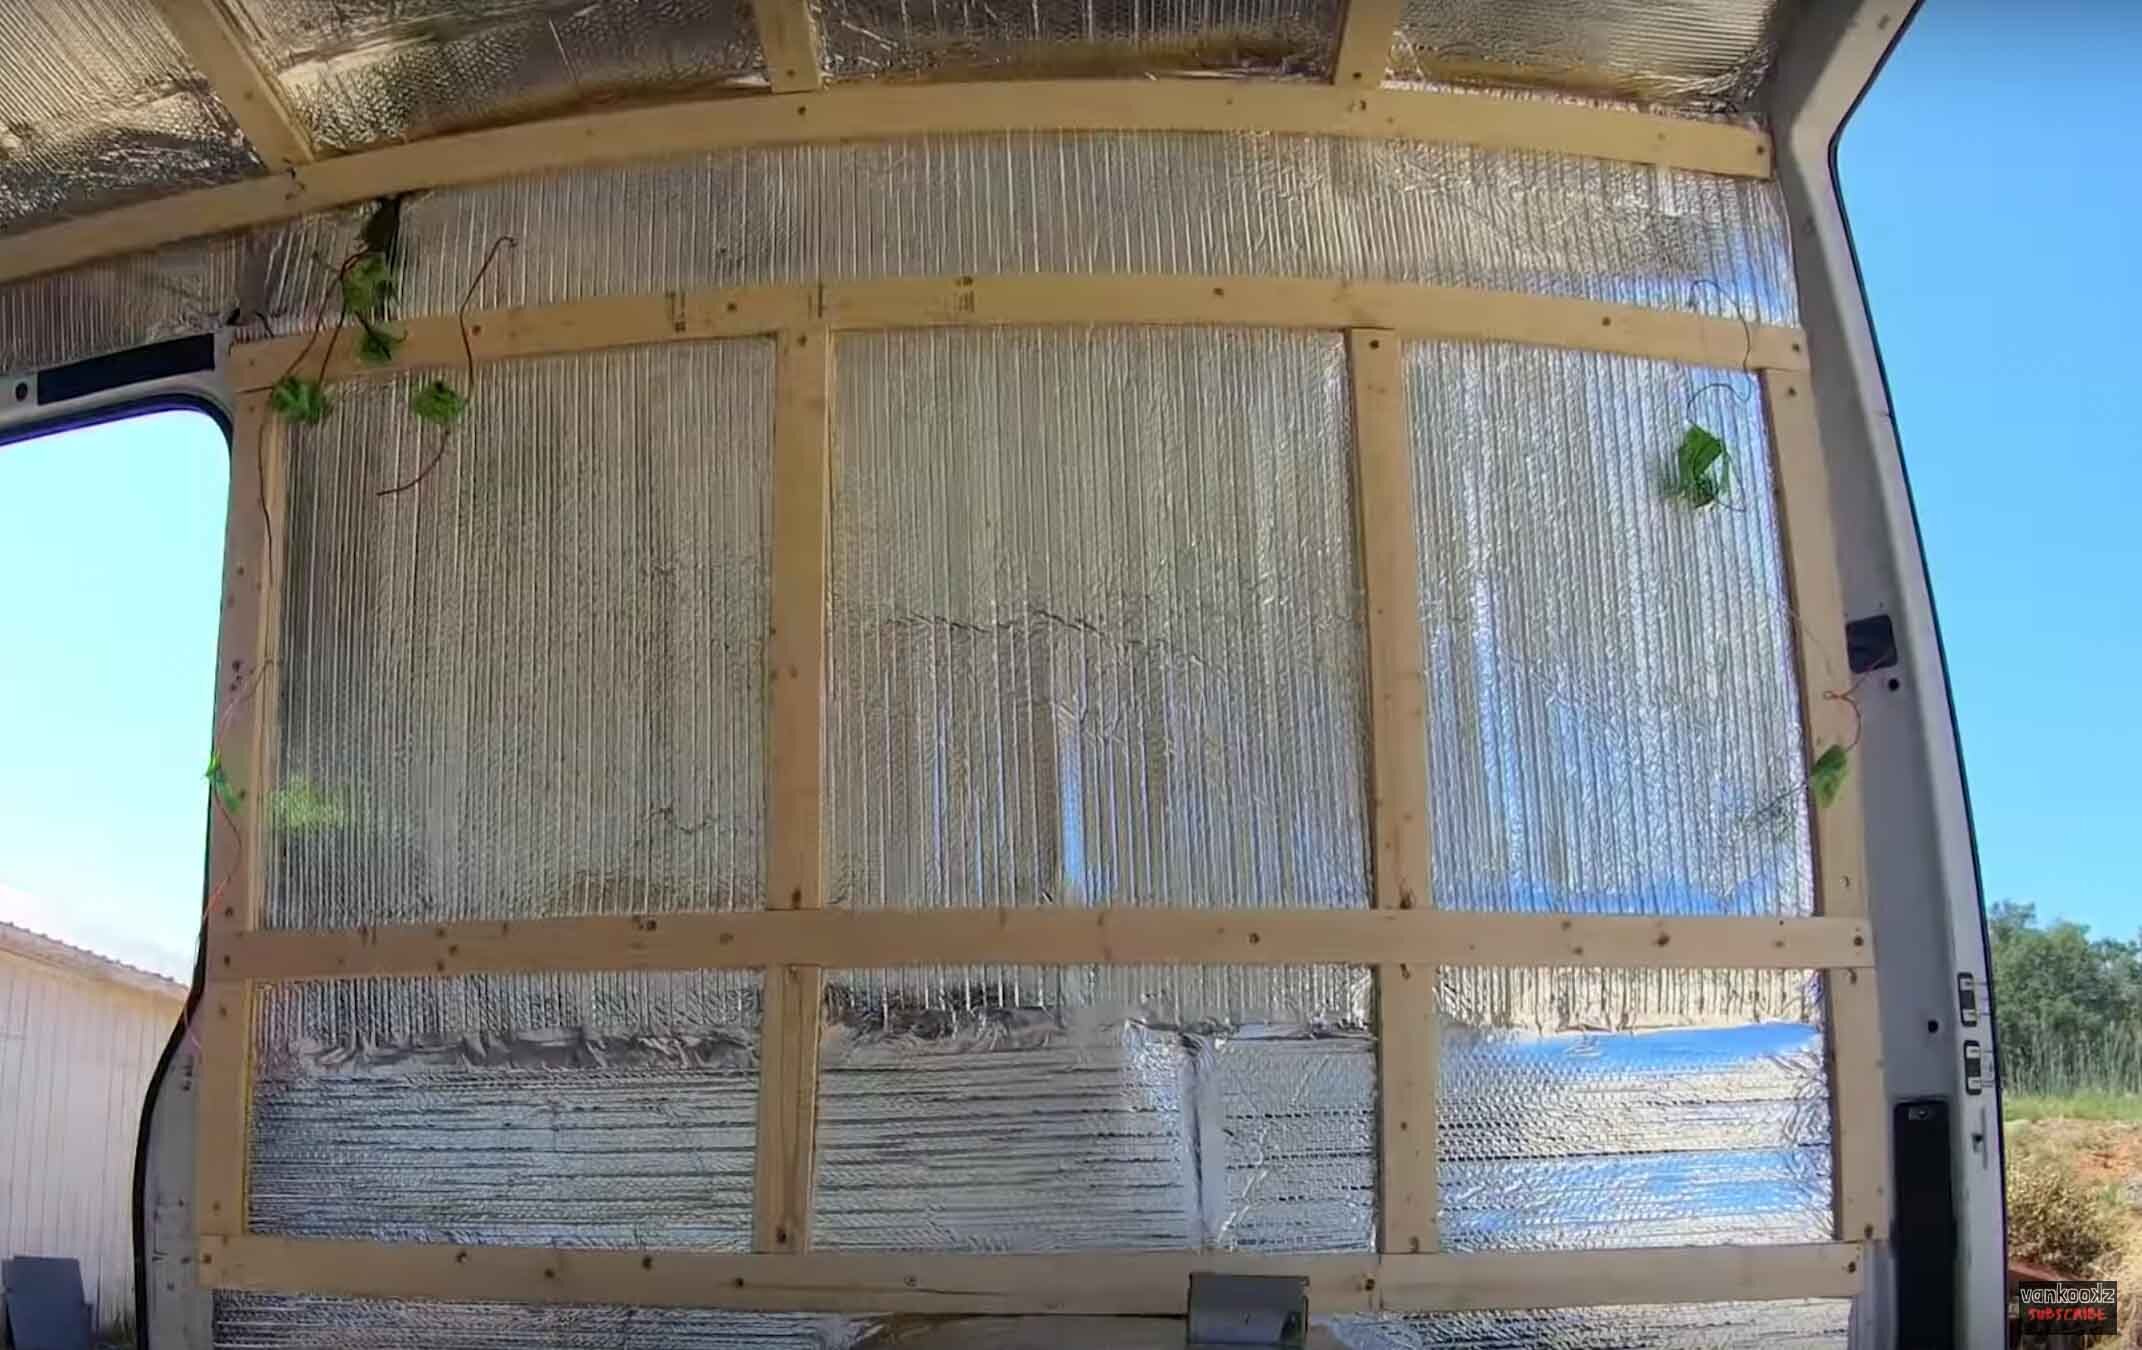
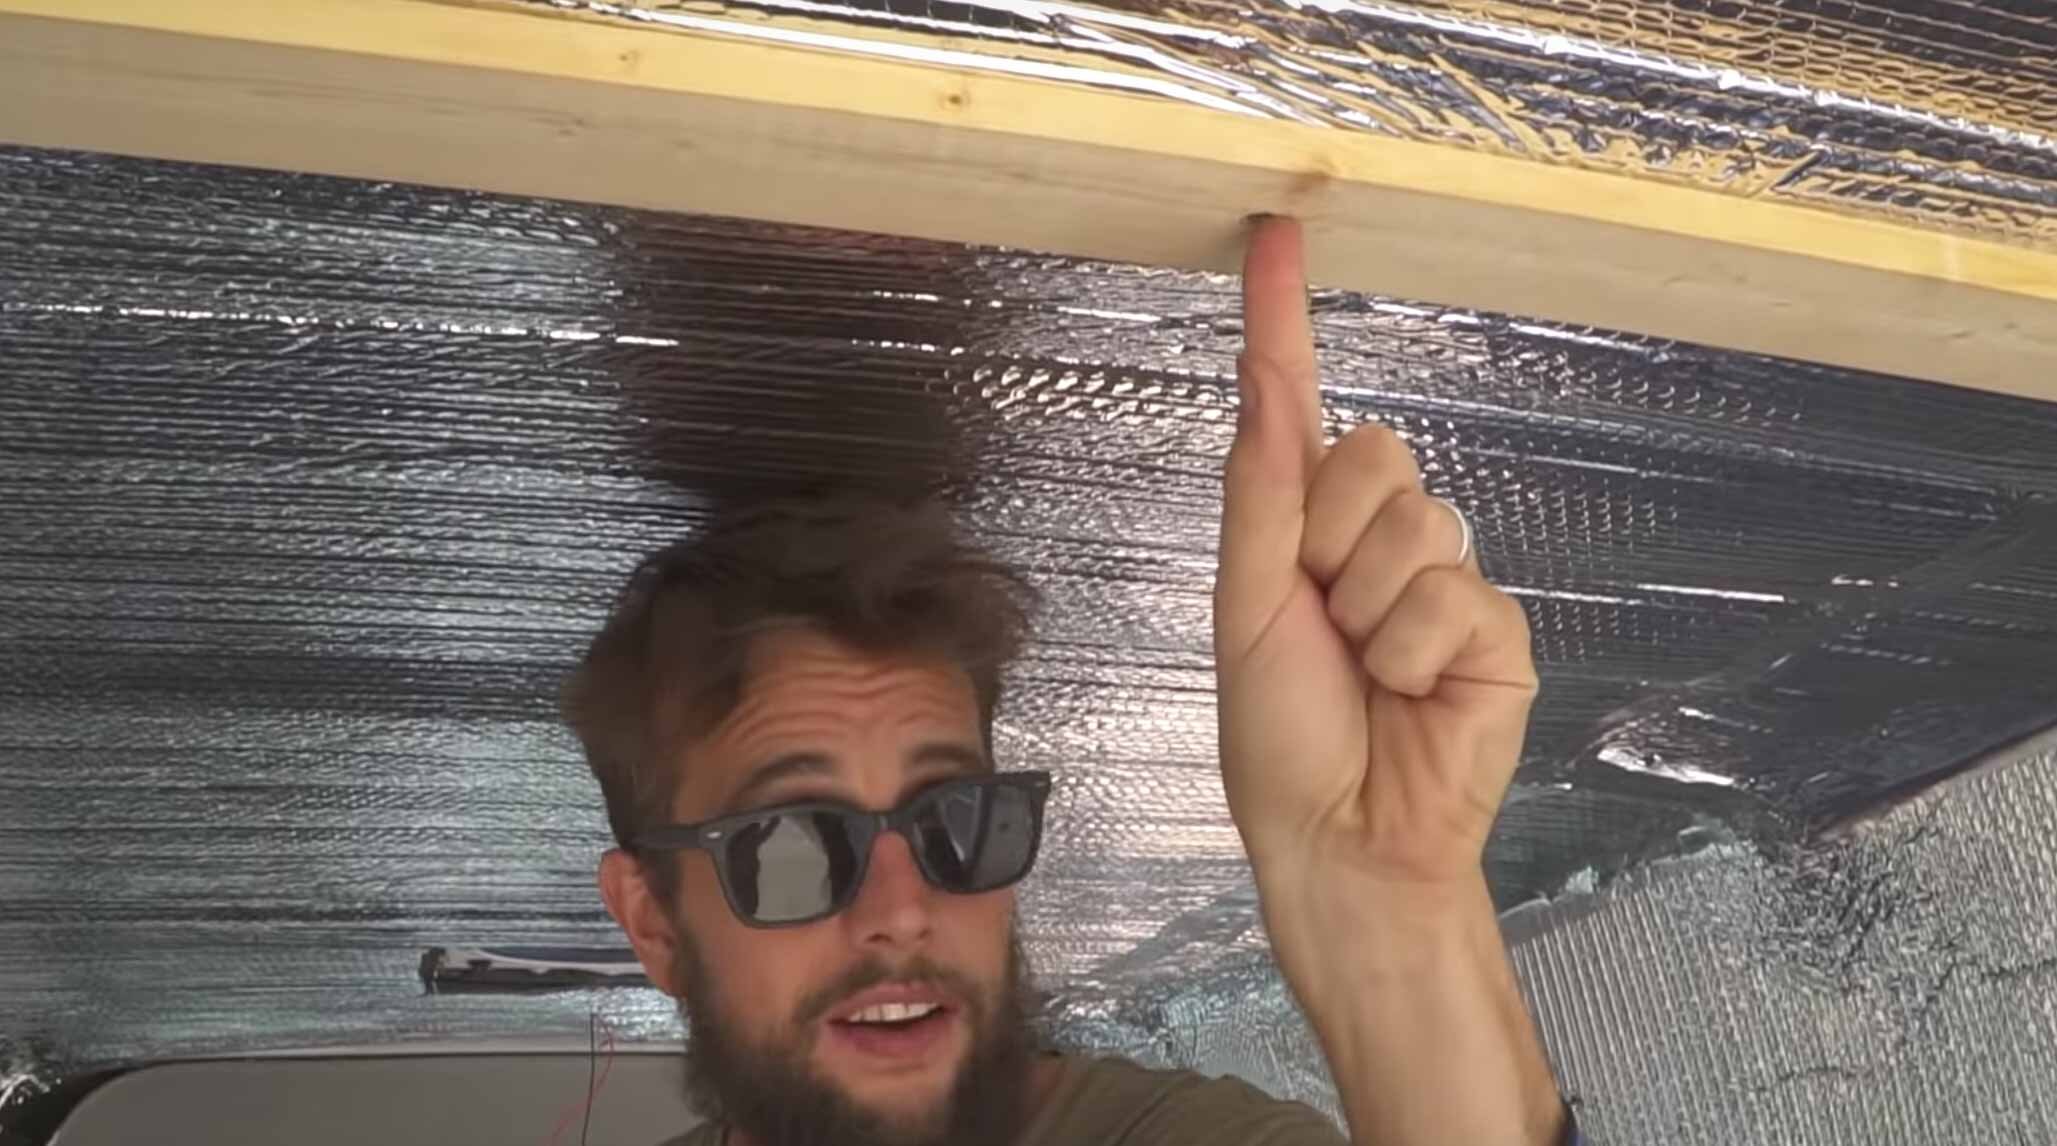
What you’ll essentially want to do here is create a nice frame to attach your interior walls to, as well as, frame some wall support for upper cabinets and countertops and to also secure them all to the van. So they do not become projectiles. We use 1 in. x 2 in. furring strips from the Home Depot to frame the walls, along with some 2 in. Self Tapping Sheet metal screws.
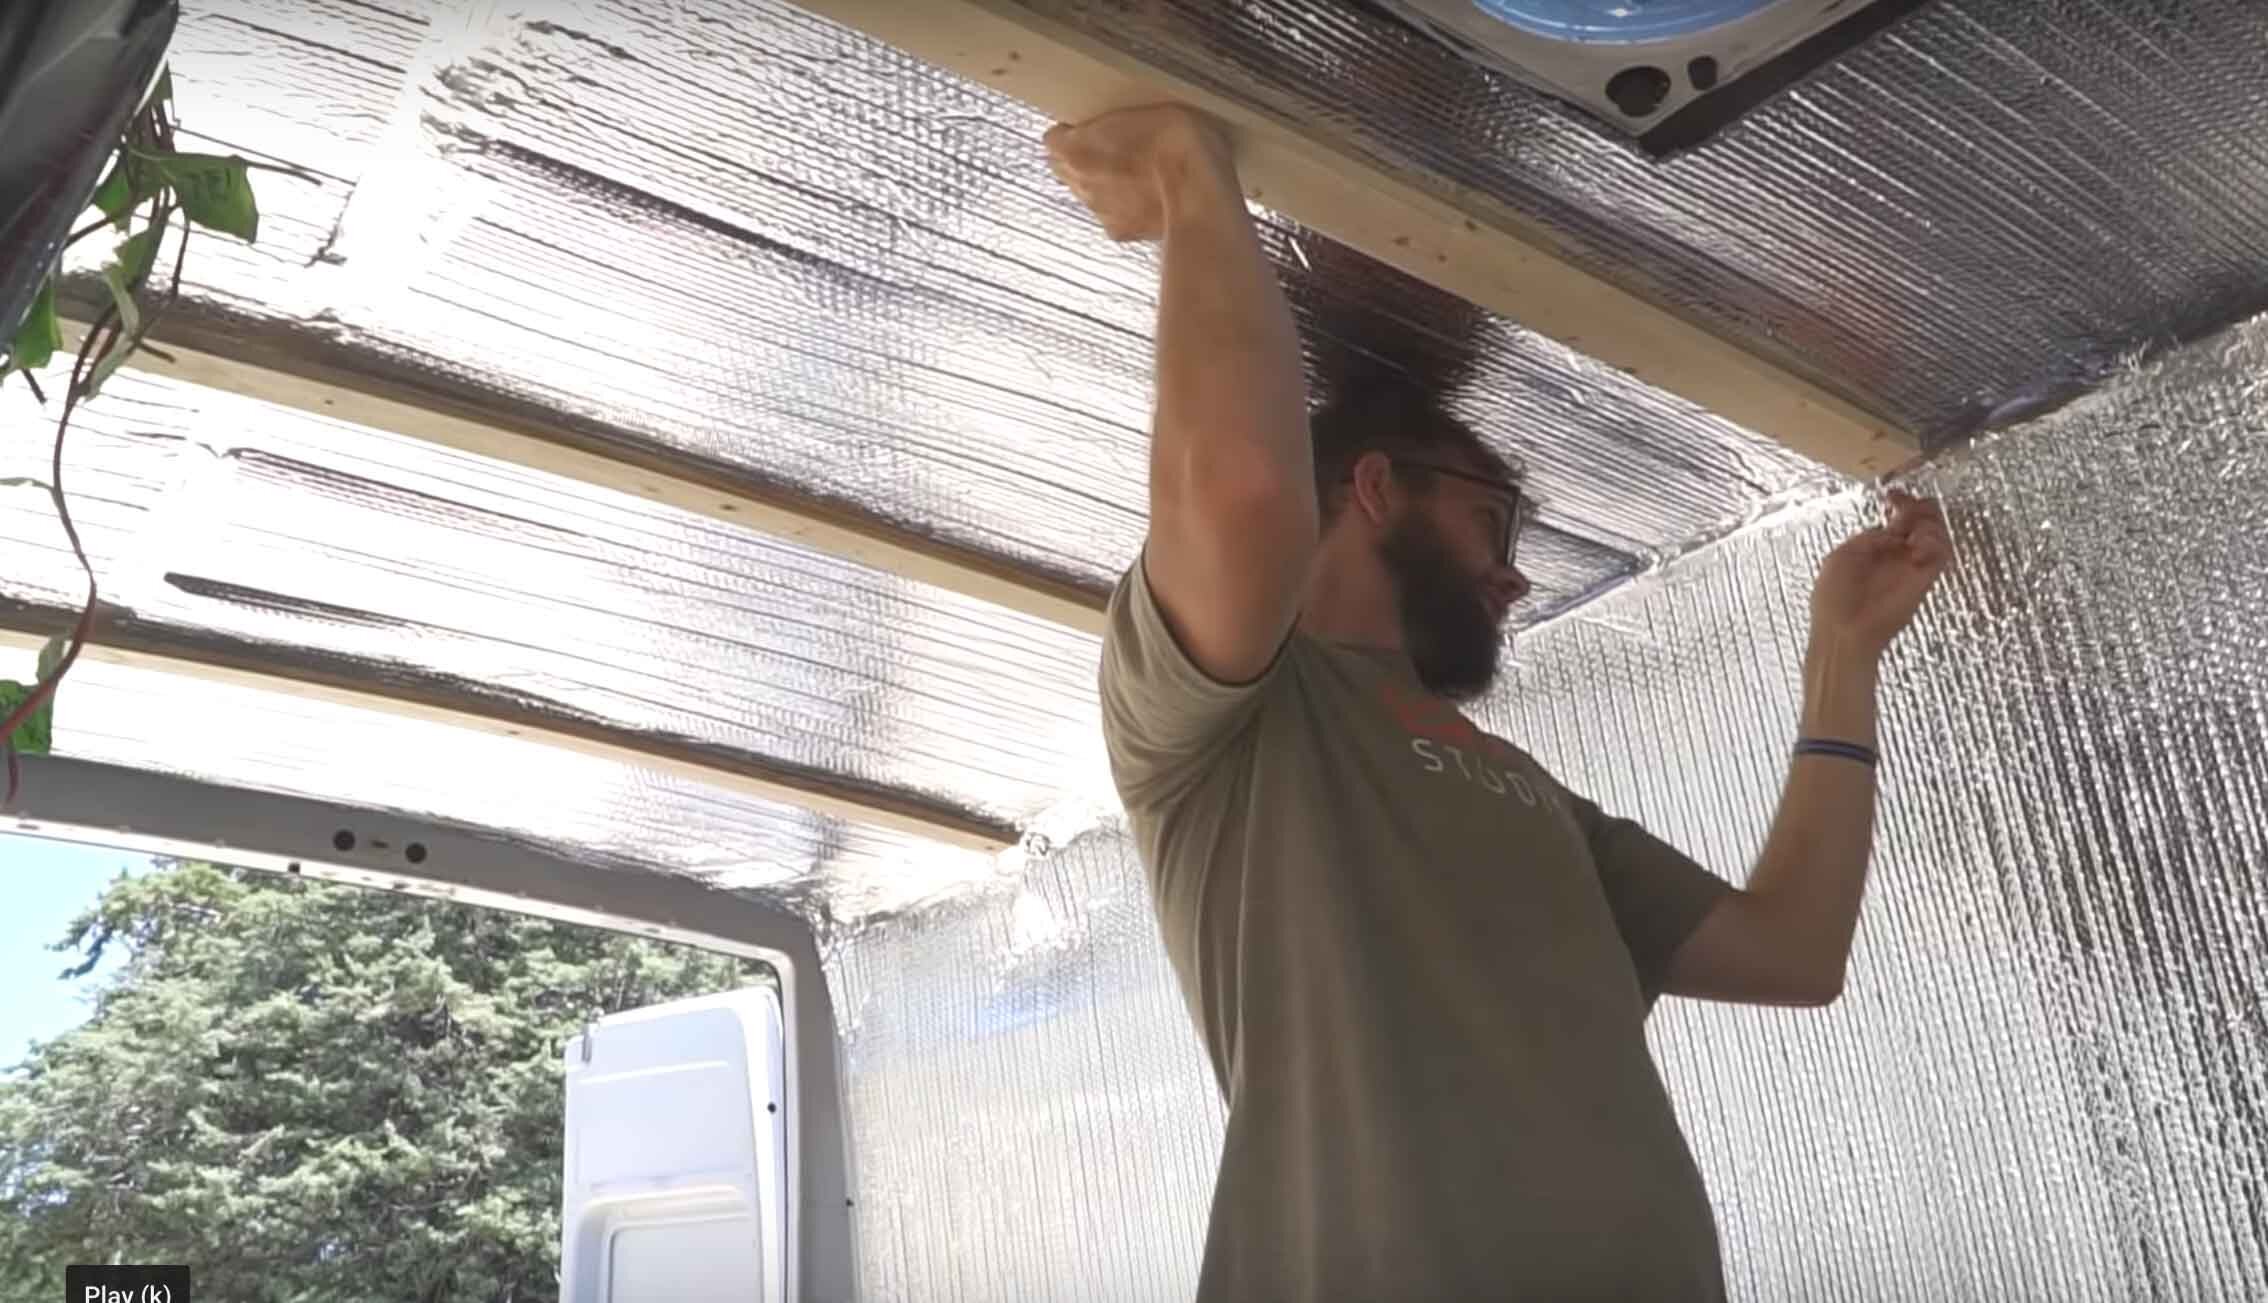
Now, you will want to measure all your wall heights and lengths along the interior ribs of the van and along the floor and the ribs on the ceiling. Once you are done, draw out your wall framing diagram so it makes more sense and to reference. Remember to add framing where you will have cabinets so you will be able to attach the cabinets to the wall. Also, note that you may need to add some furring strips where two pieces of interior wall come together. So that way, they can also be attached to the van walls. (If there is no metal rib to attach your furring strips to ensure you have an anchor point for you walls, you will need to attach a furring strip with pocket screws, so you don’t send a screw thru the side of the van)
You will cut all your boards and install them to the van ribs with the 2” self tapping screws (Note: Screw size will vary between vans). You will also want to countersink all screws so that your walls/ceiling lay flush to the frame. The Sprinters have large cavities behind the wall ribs to you have plenty of room. ALWAYS double check your screw length so you don't send a screw through the outside of the van. From here, you are just attaching the strips to the van matching your diagram and this should go pretty quick.
1 in. x 2 in. x 8 ft. Furring Strip Board - Home Depot
Self-Tapping Sheet Metal Screws - Home Depot

Step #2
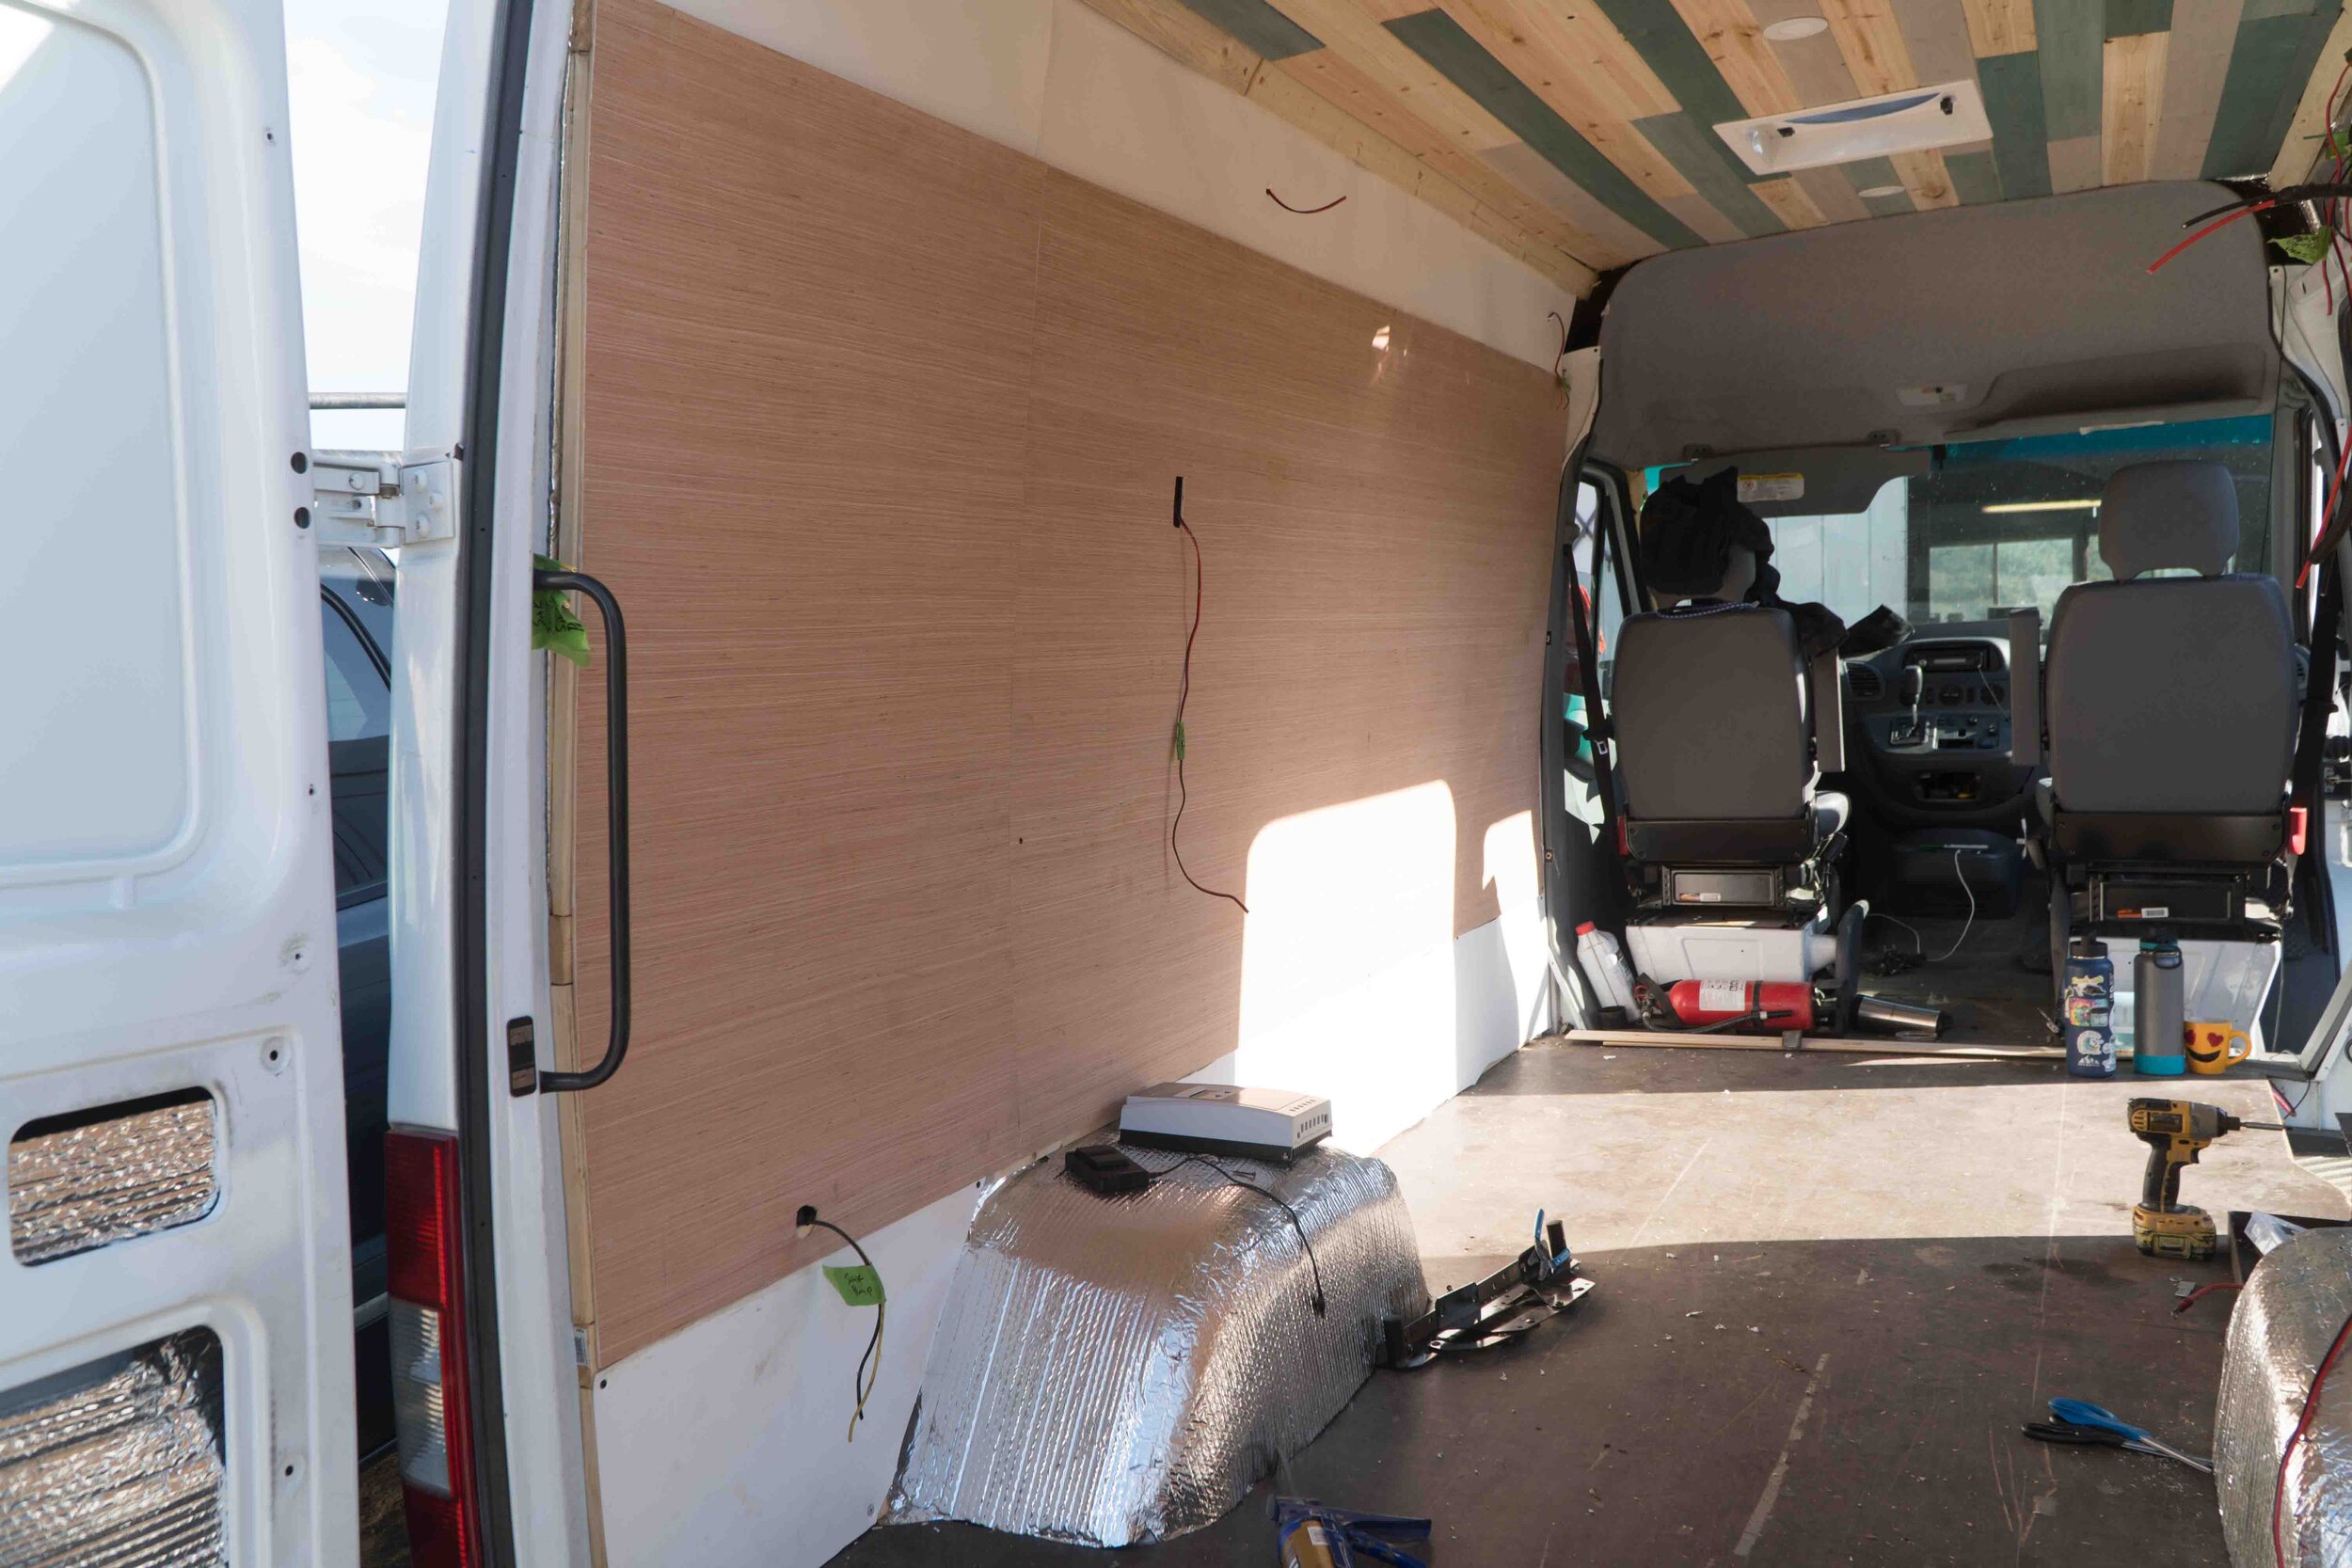
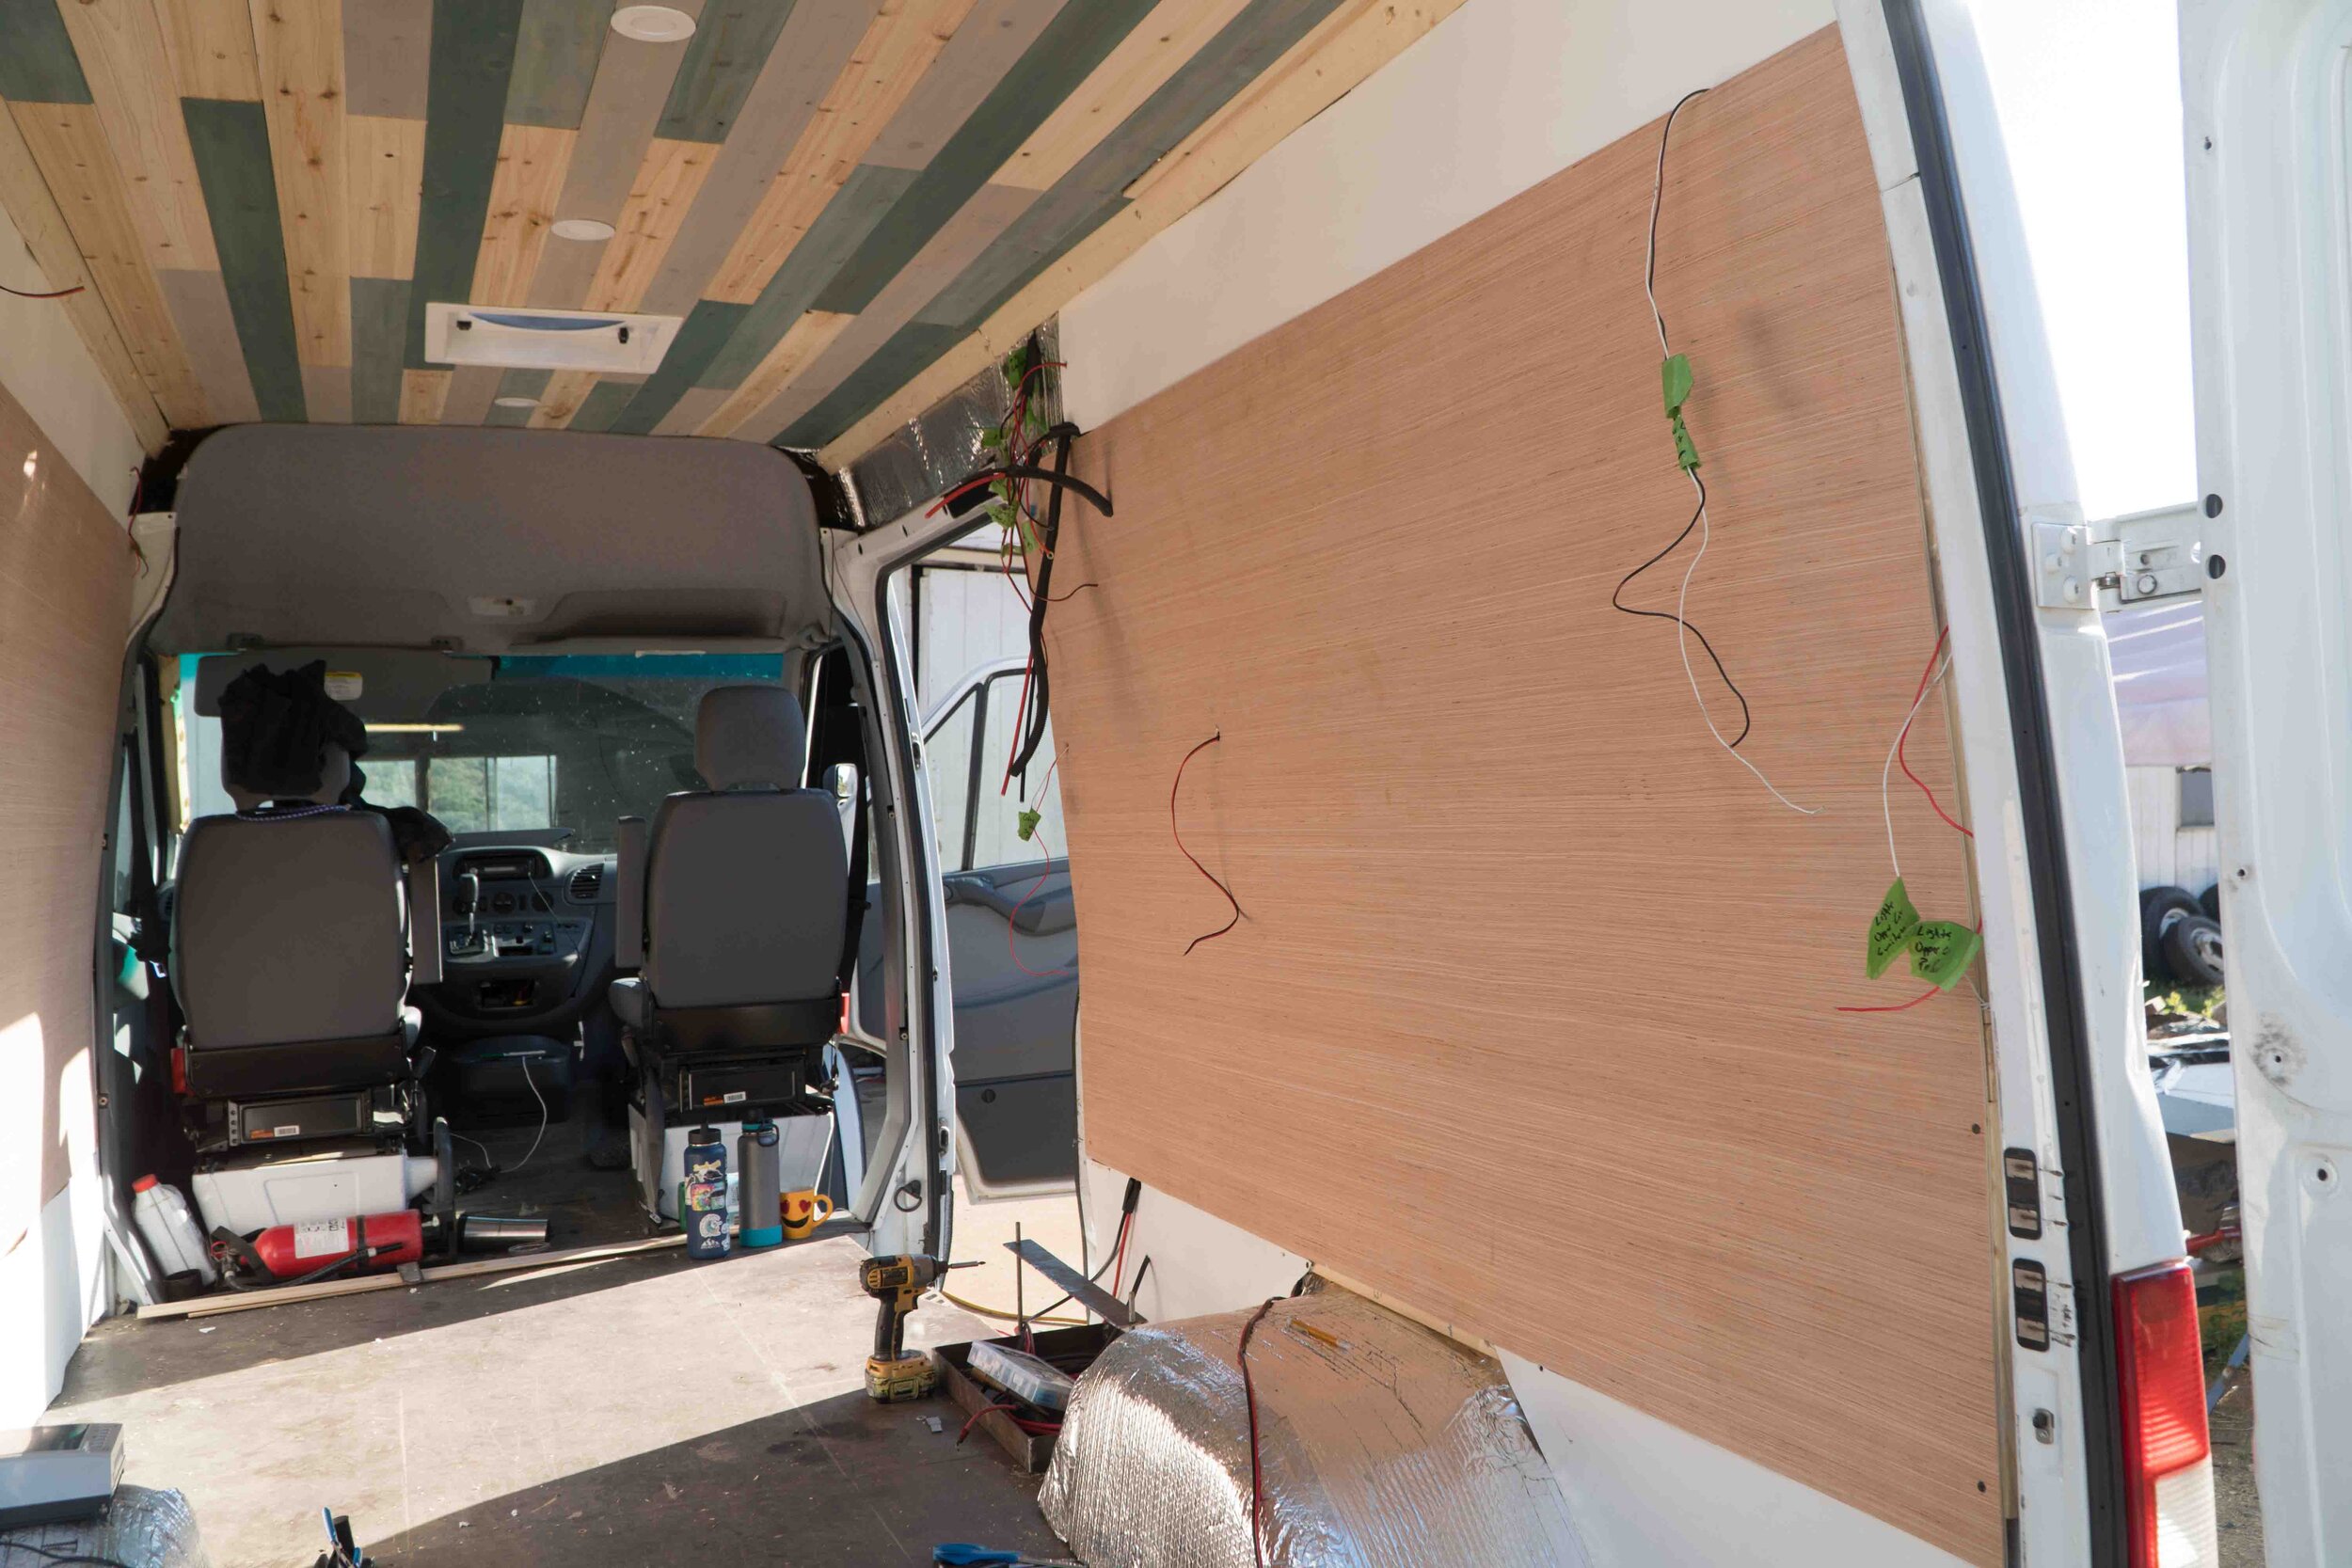
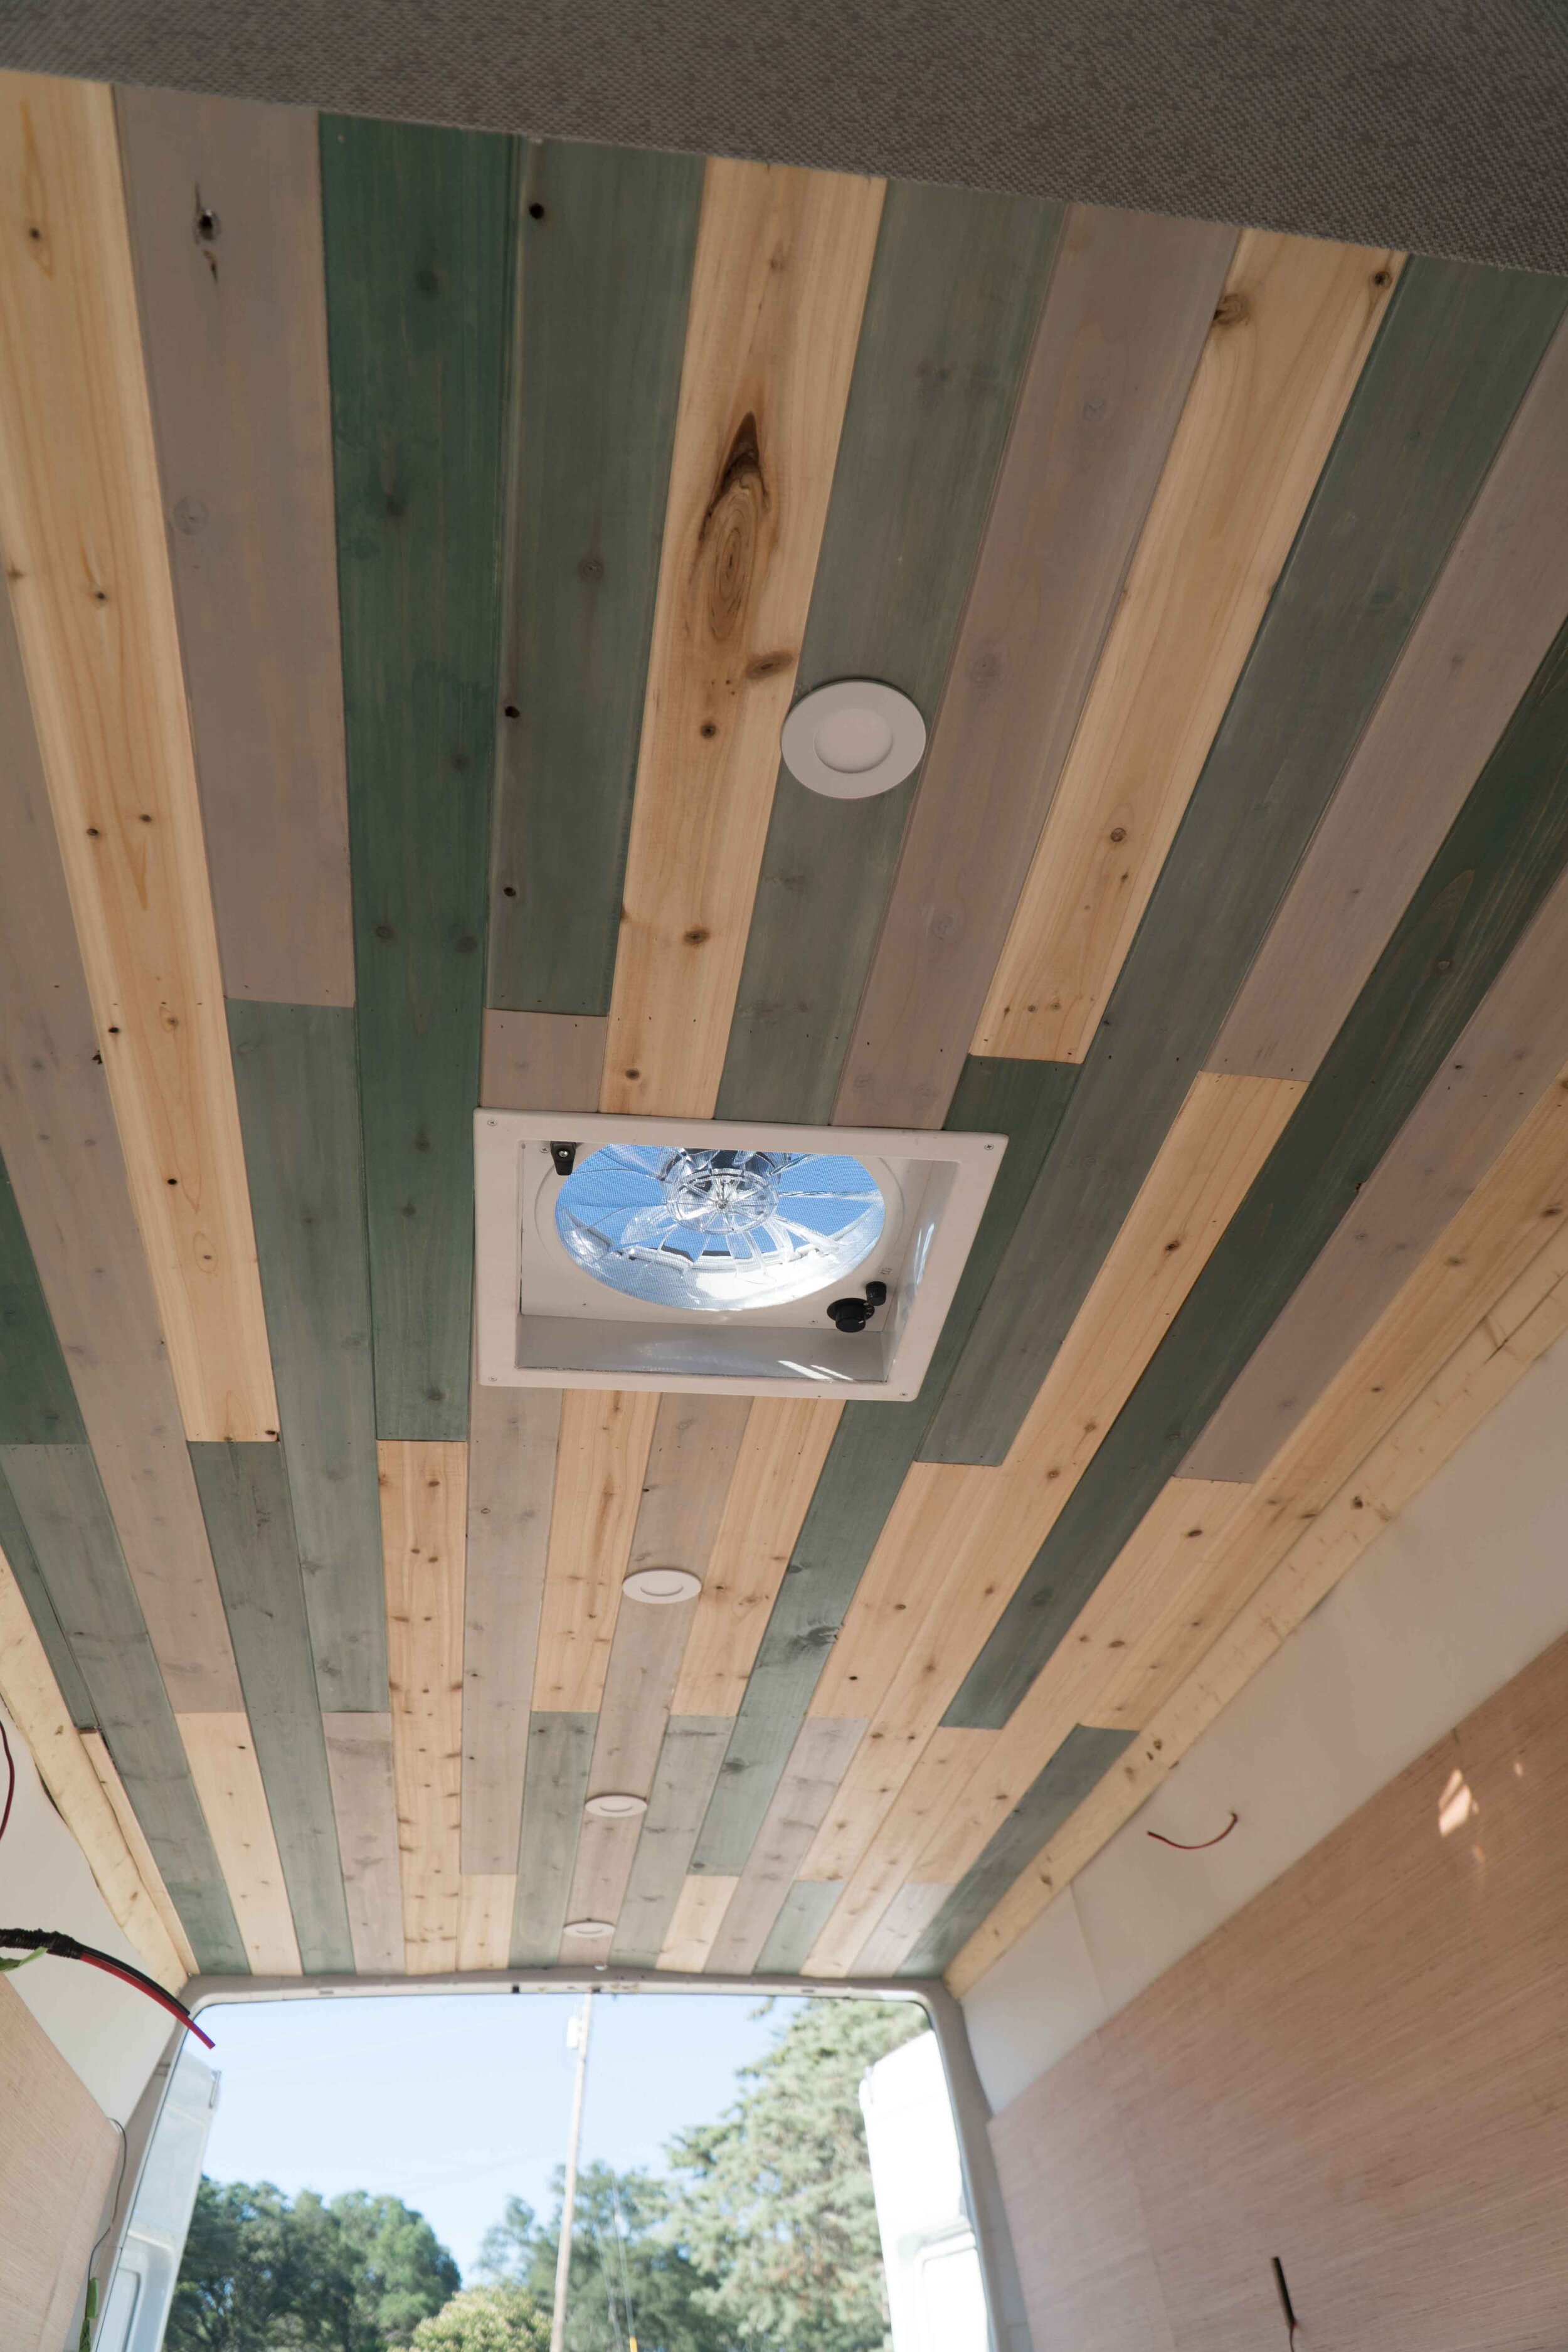
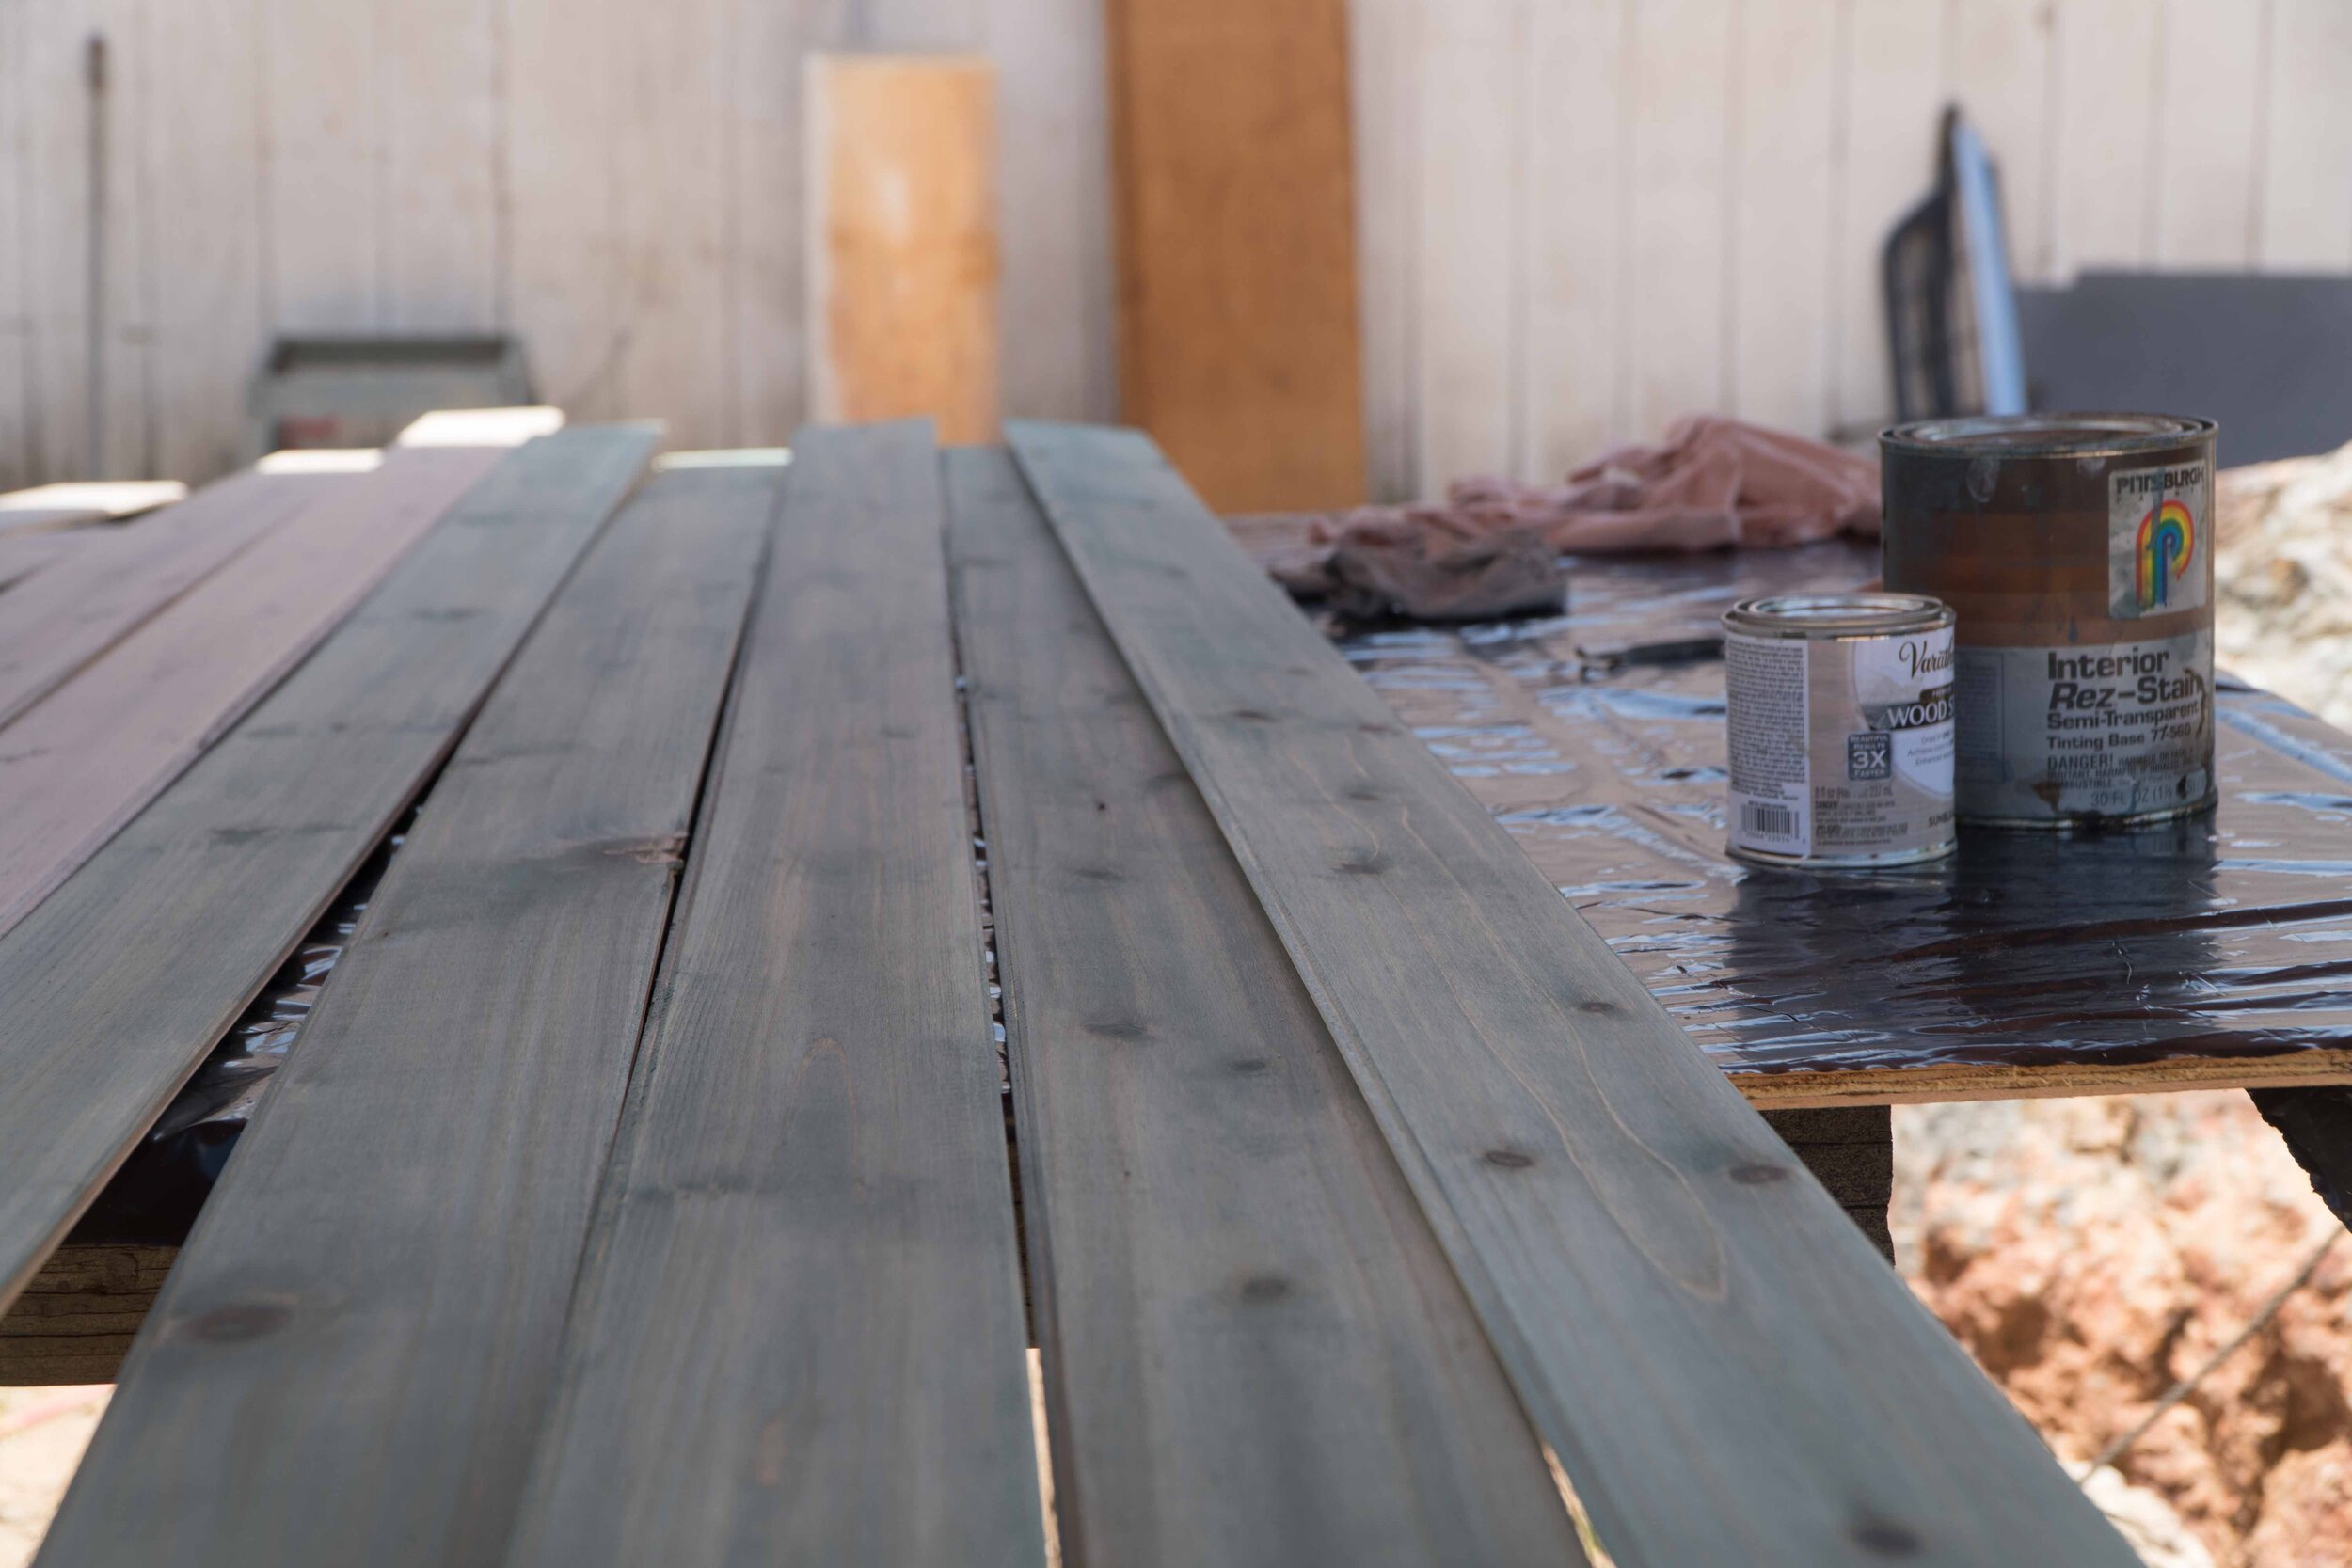
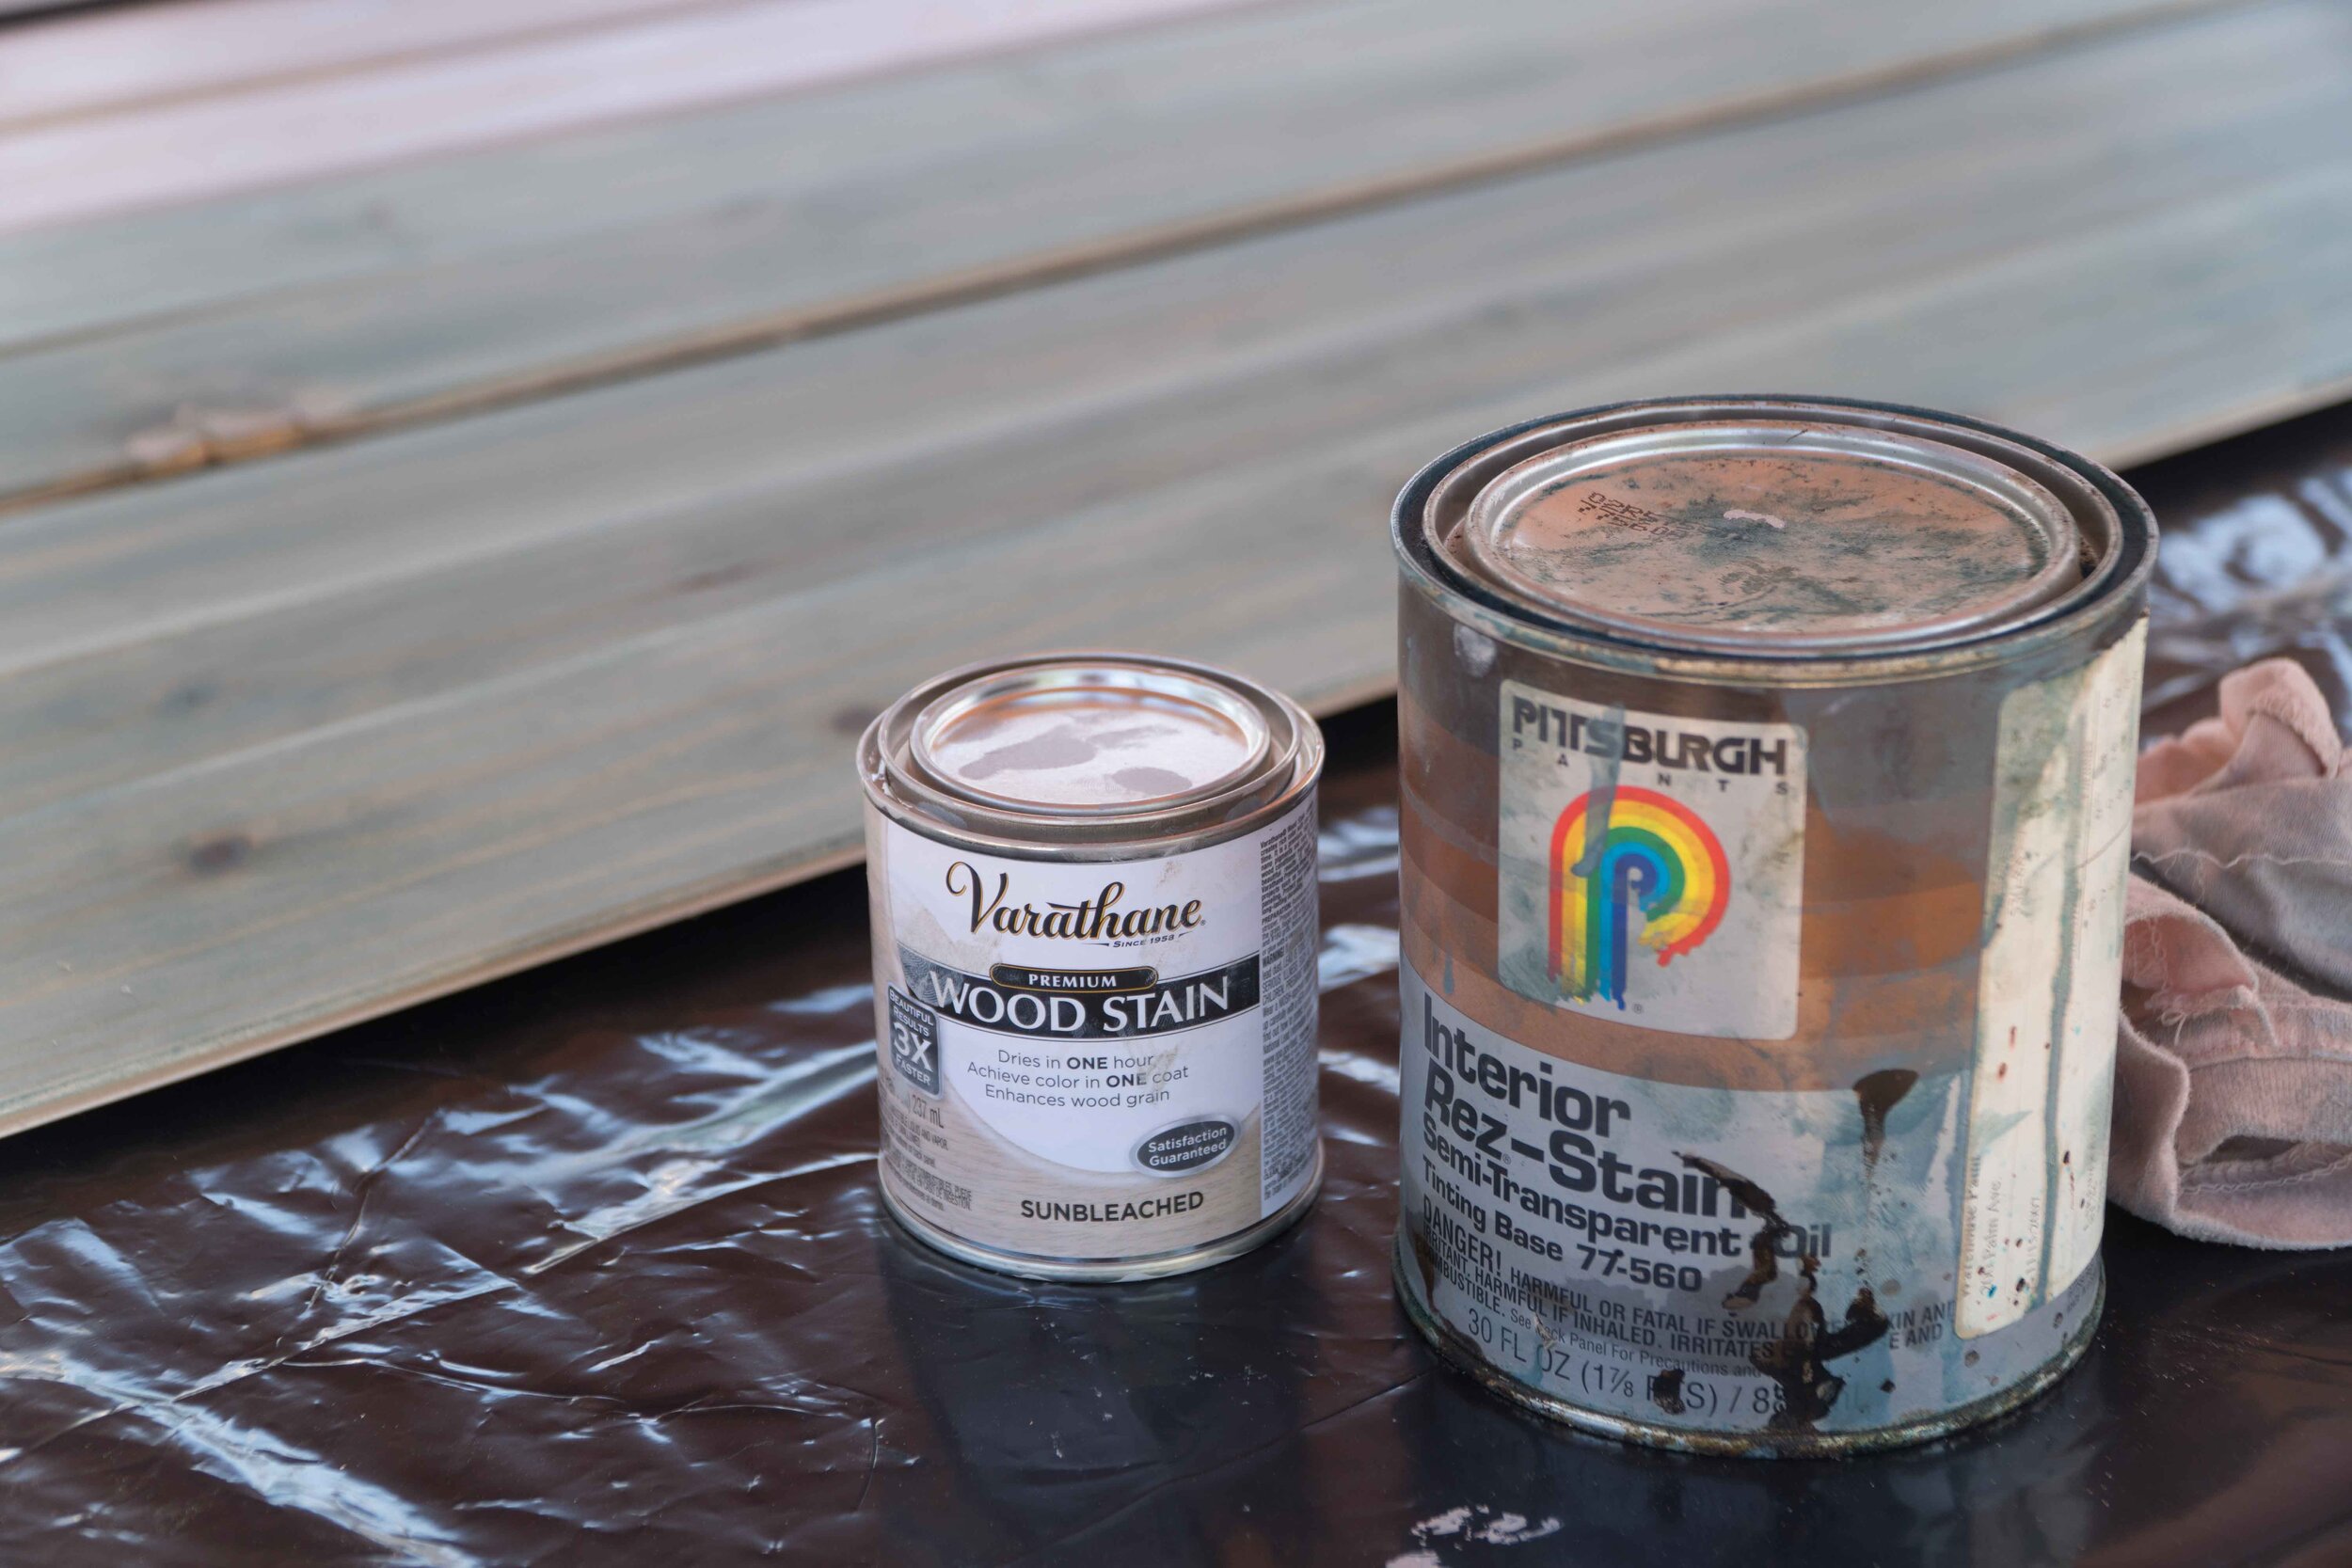
Next, we will install the tongue and groove ceiling. In the past three vans, we have really liked the tongue and groove ceiling, with an assorted color look. This look takes a bit of extra prep as you will have to stain each board a different color. We chose three different stains and left one natural.
After you stain the boards, you will want to decide your layout and start installing them with a pin nail gun. It takes a bit to get the layout perfect, but we just measured, cut and installed, as we went, changing the color and trying not to have to many alike colors next to each other. You will want to install your roof fan before this step so make sure you don’t cover up the area where you want your fan. This could leave you more work than you would like to do. Check out this post on how to install your roof fan. From here it’s just putting each piece in place and nailing it in as you go. You can use liquid nail or any other adhesive to keep it on even better.
Tongue and Groove Pine - Home Depot
Step #3
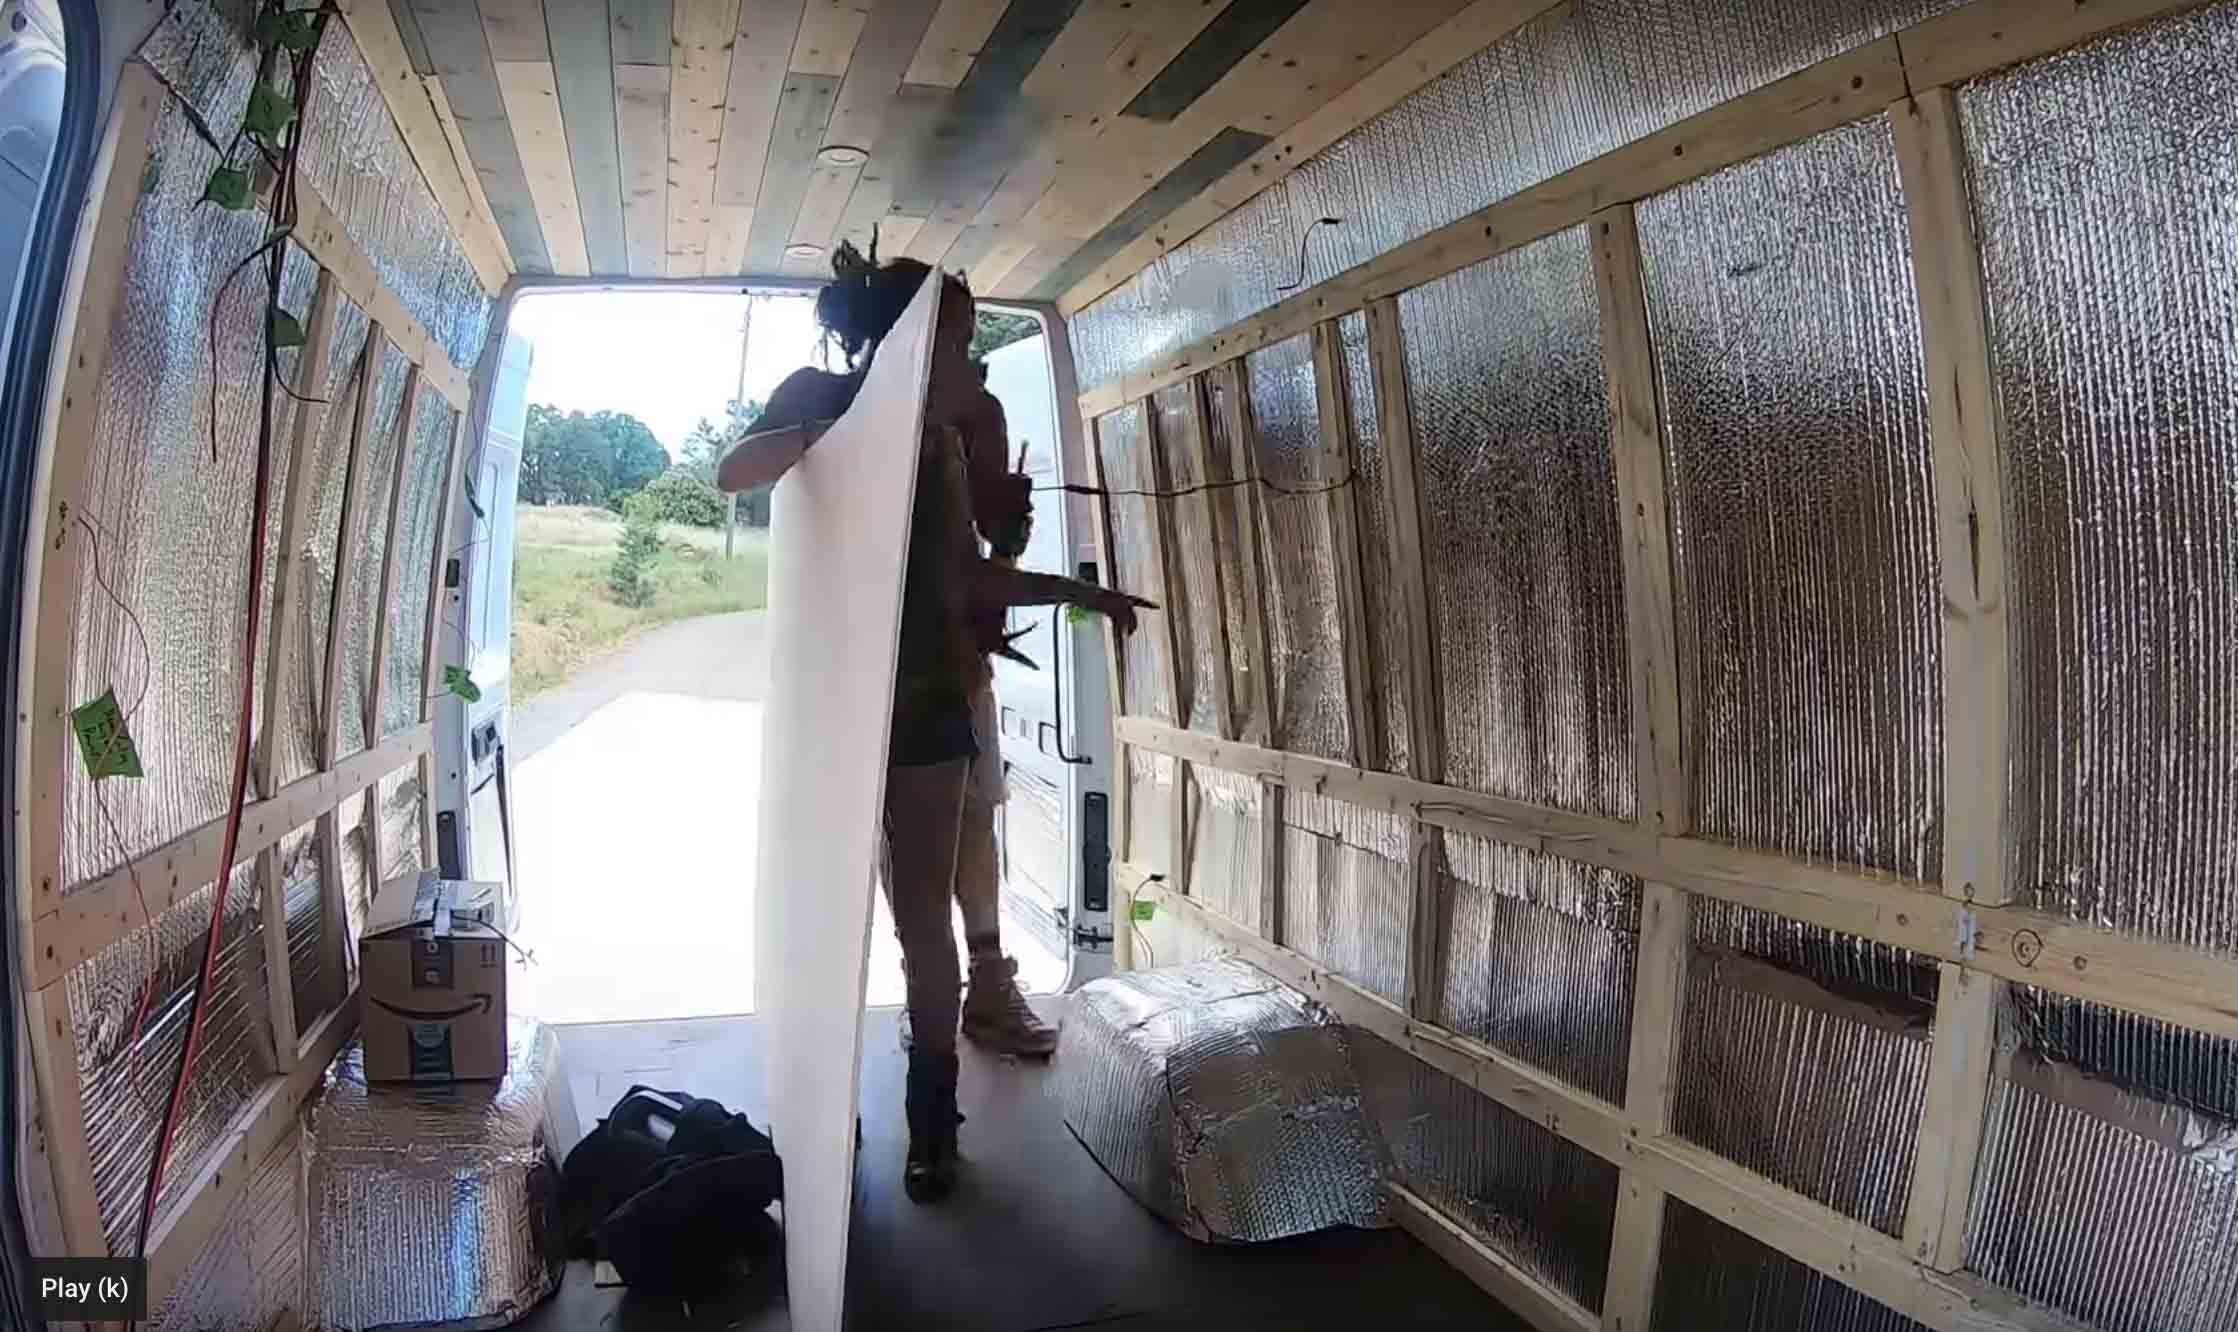
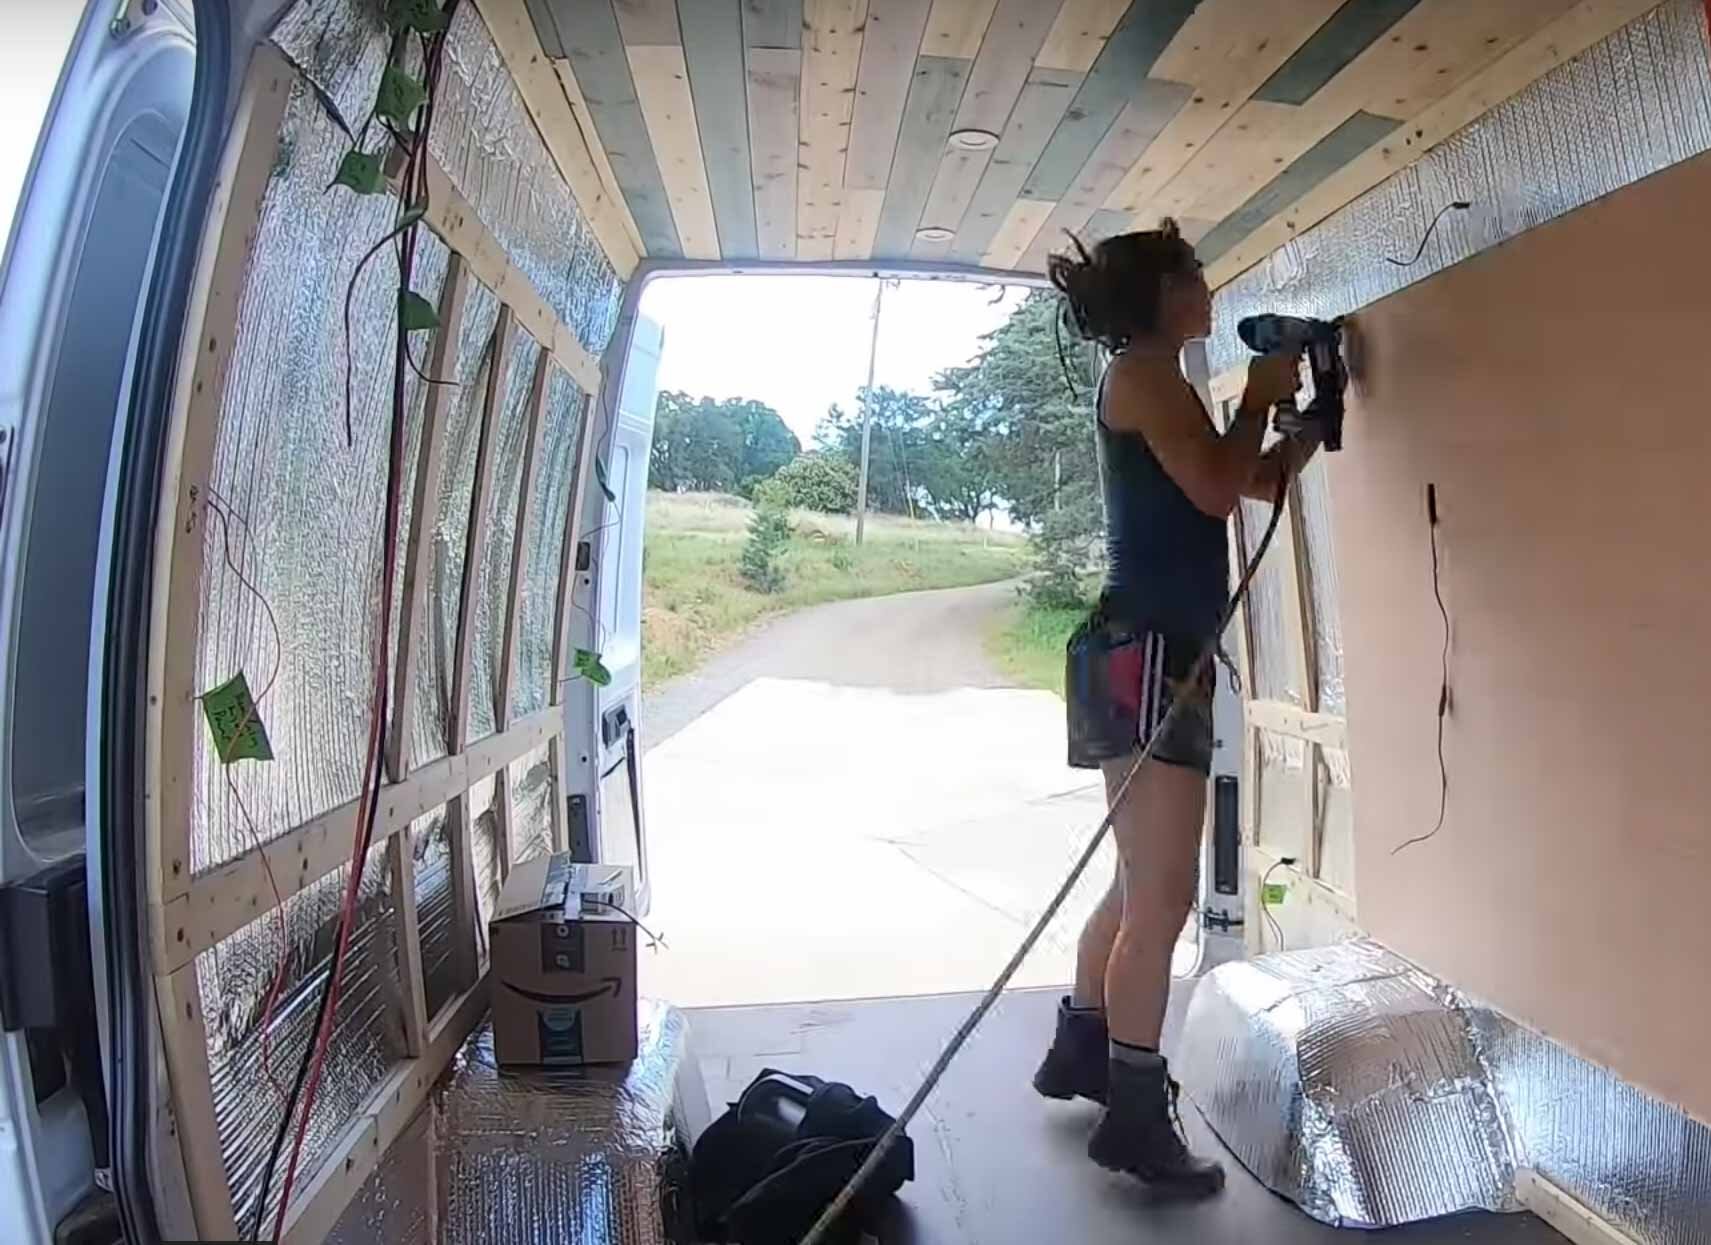
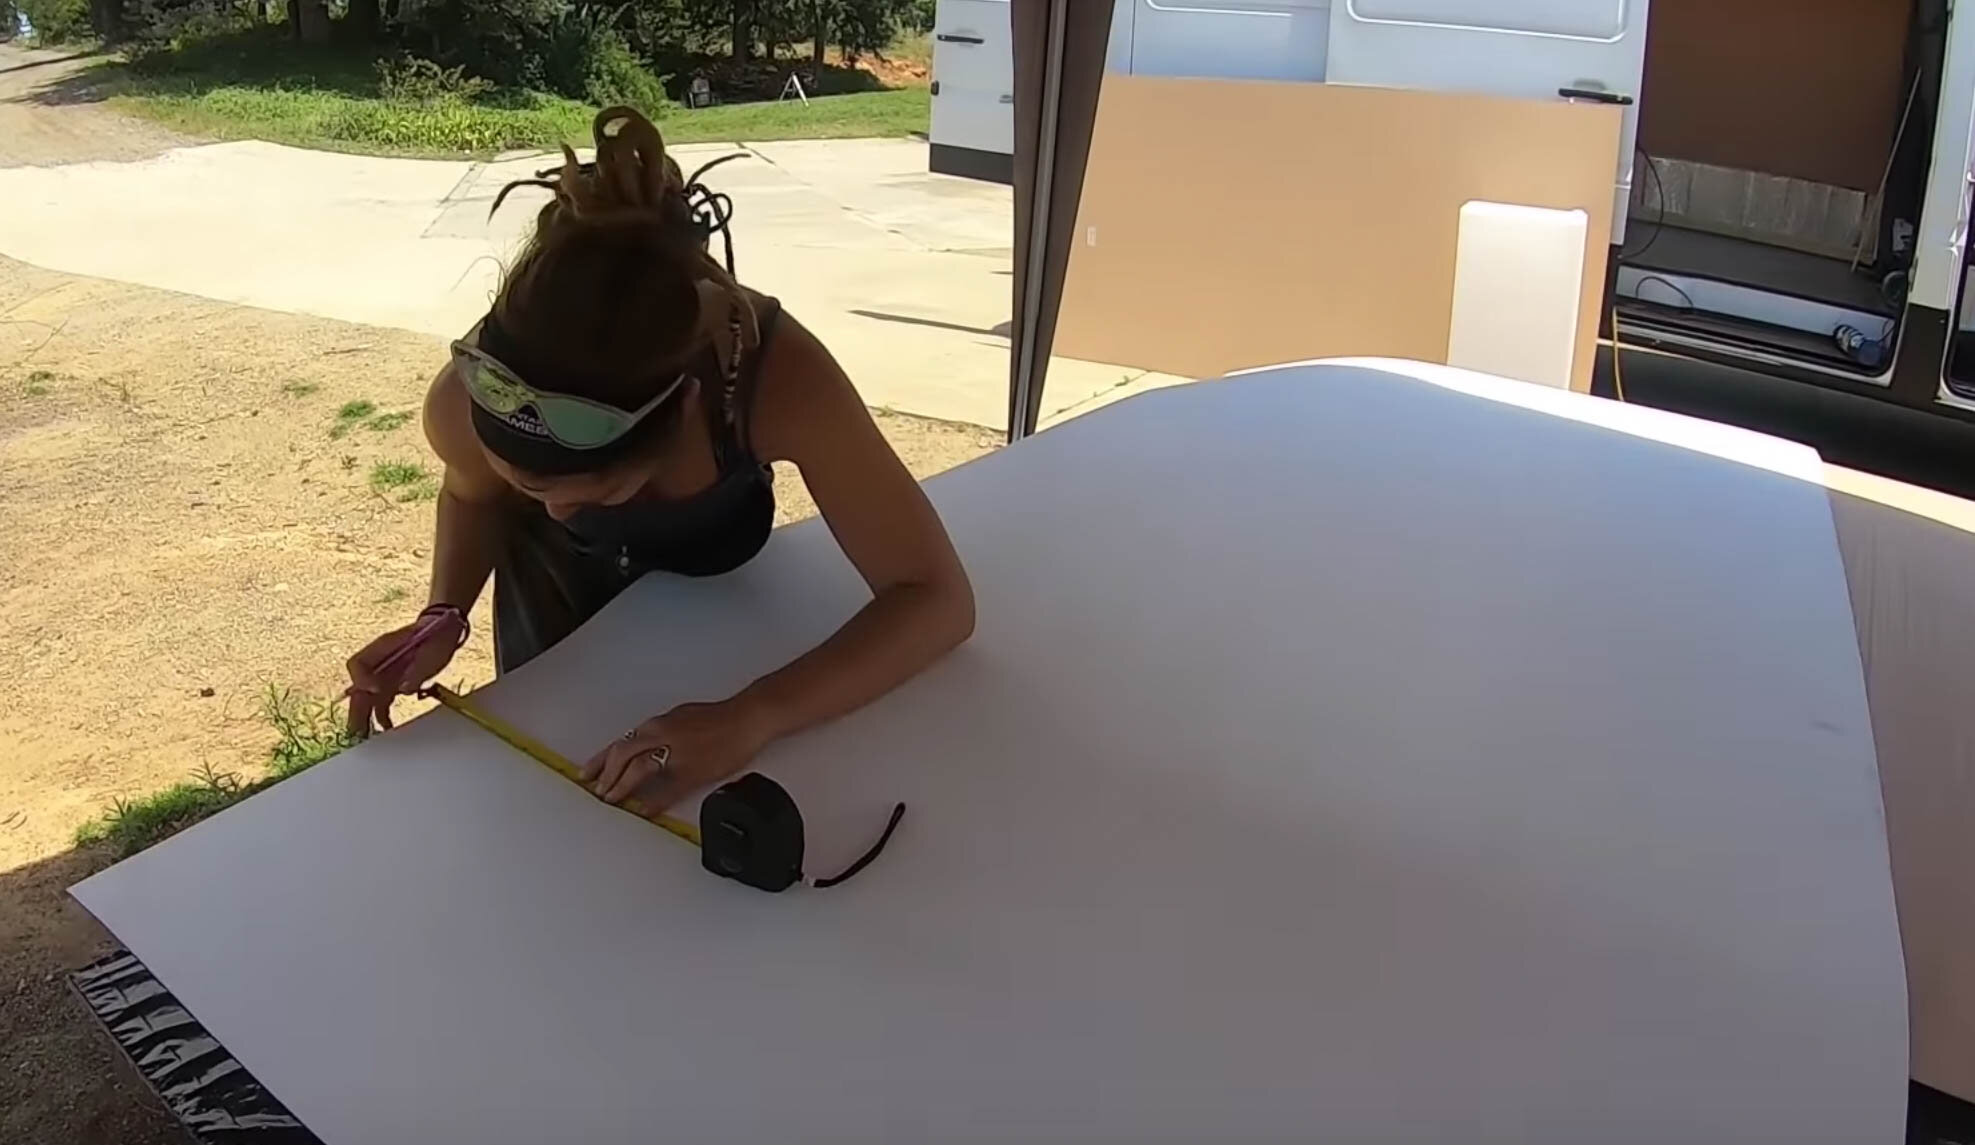
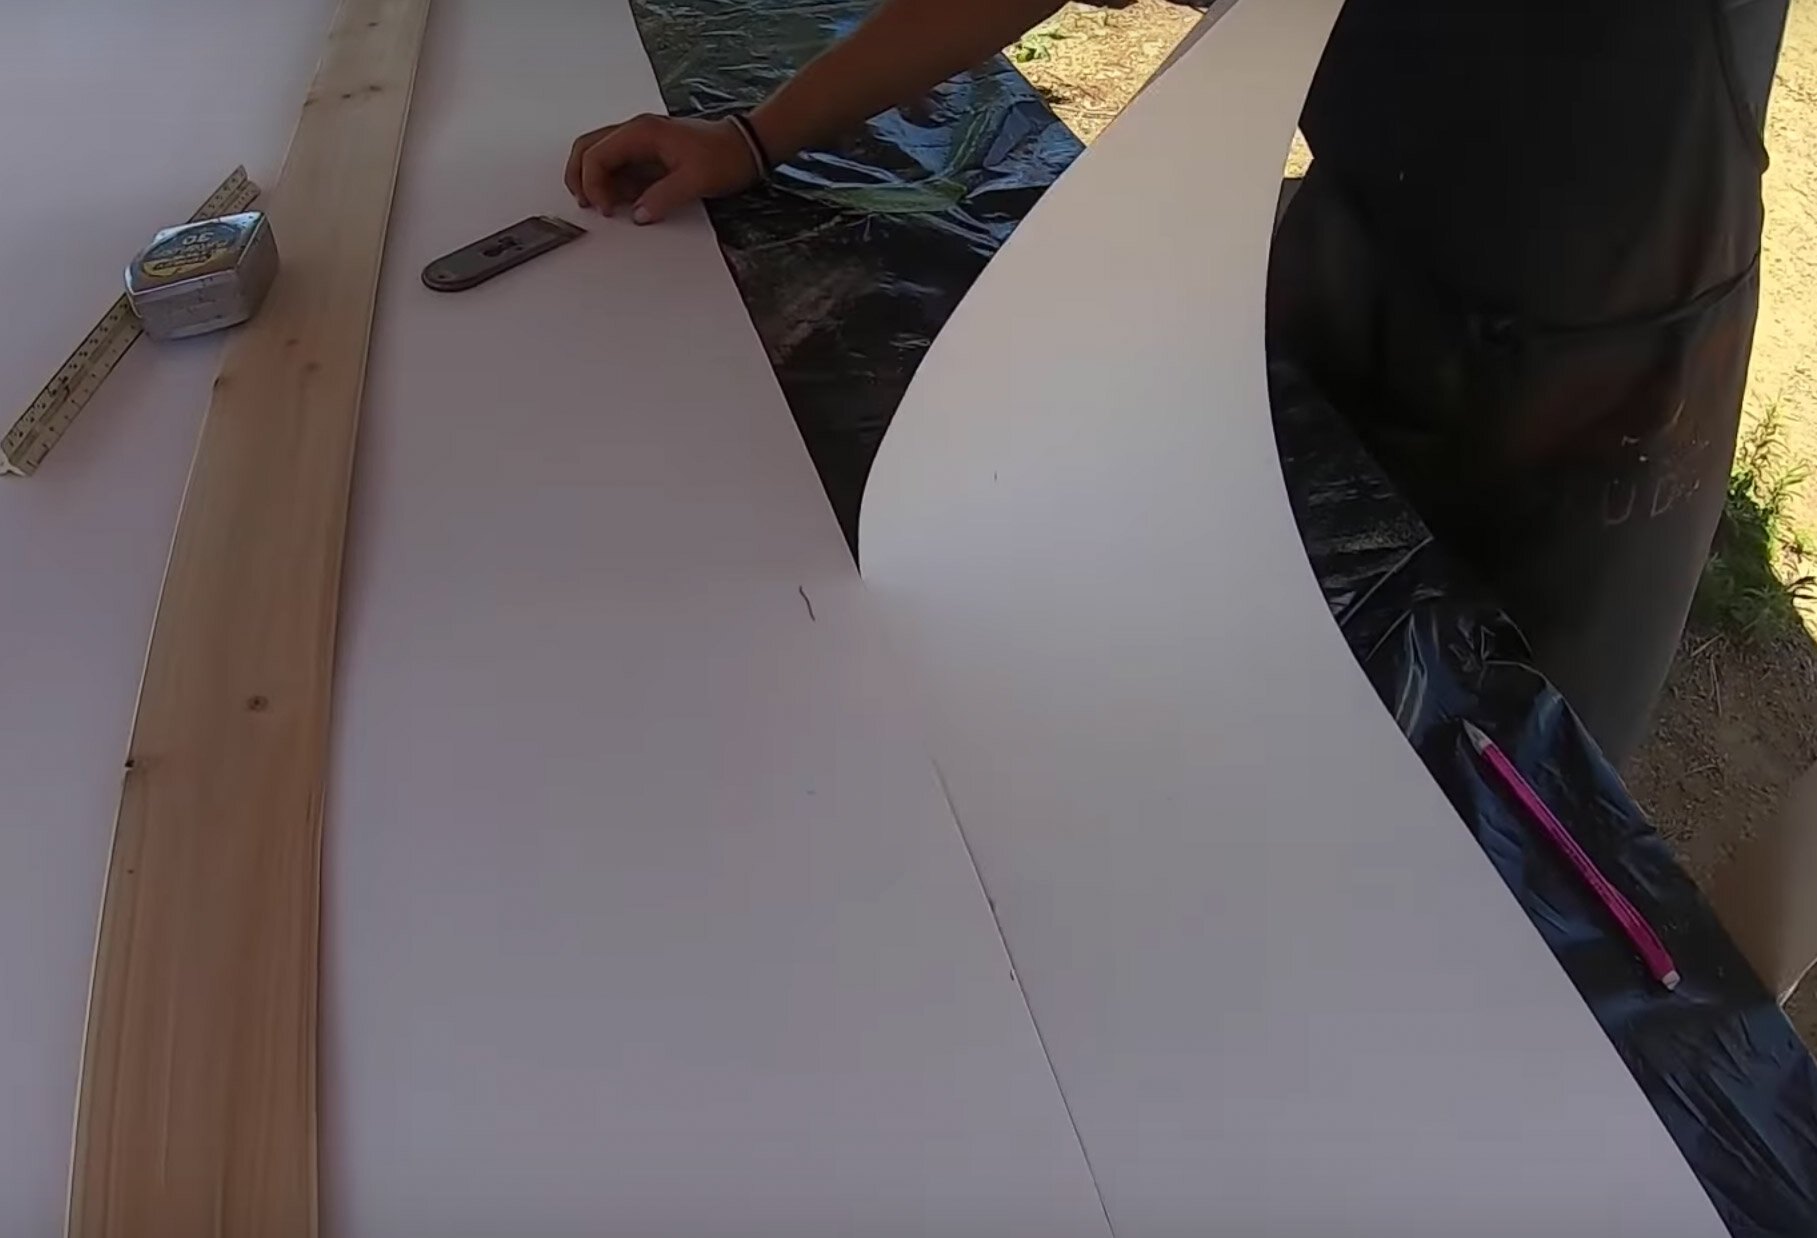
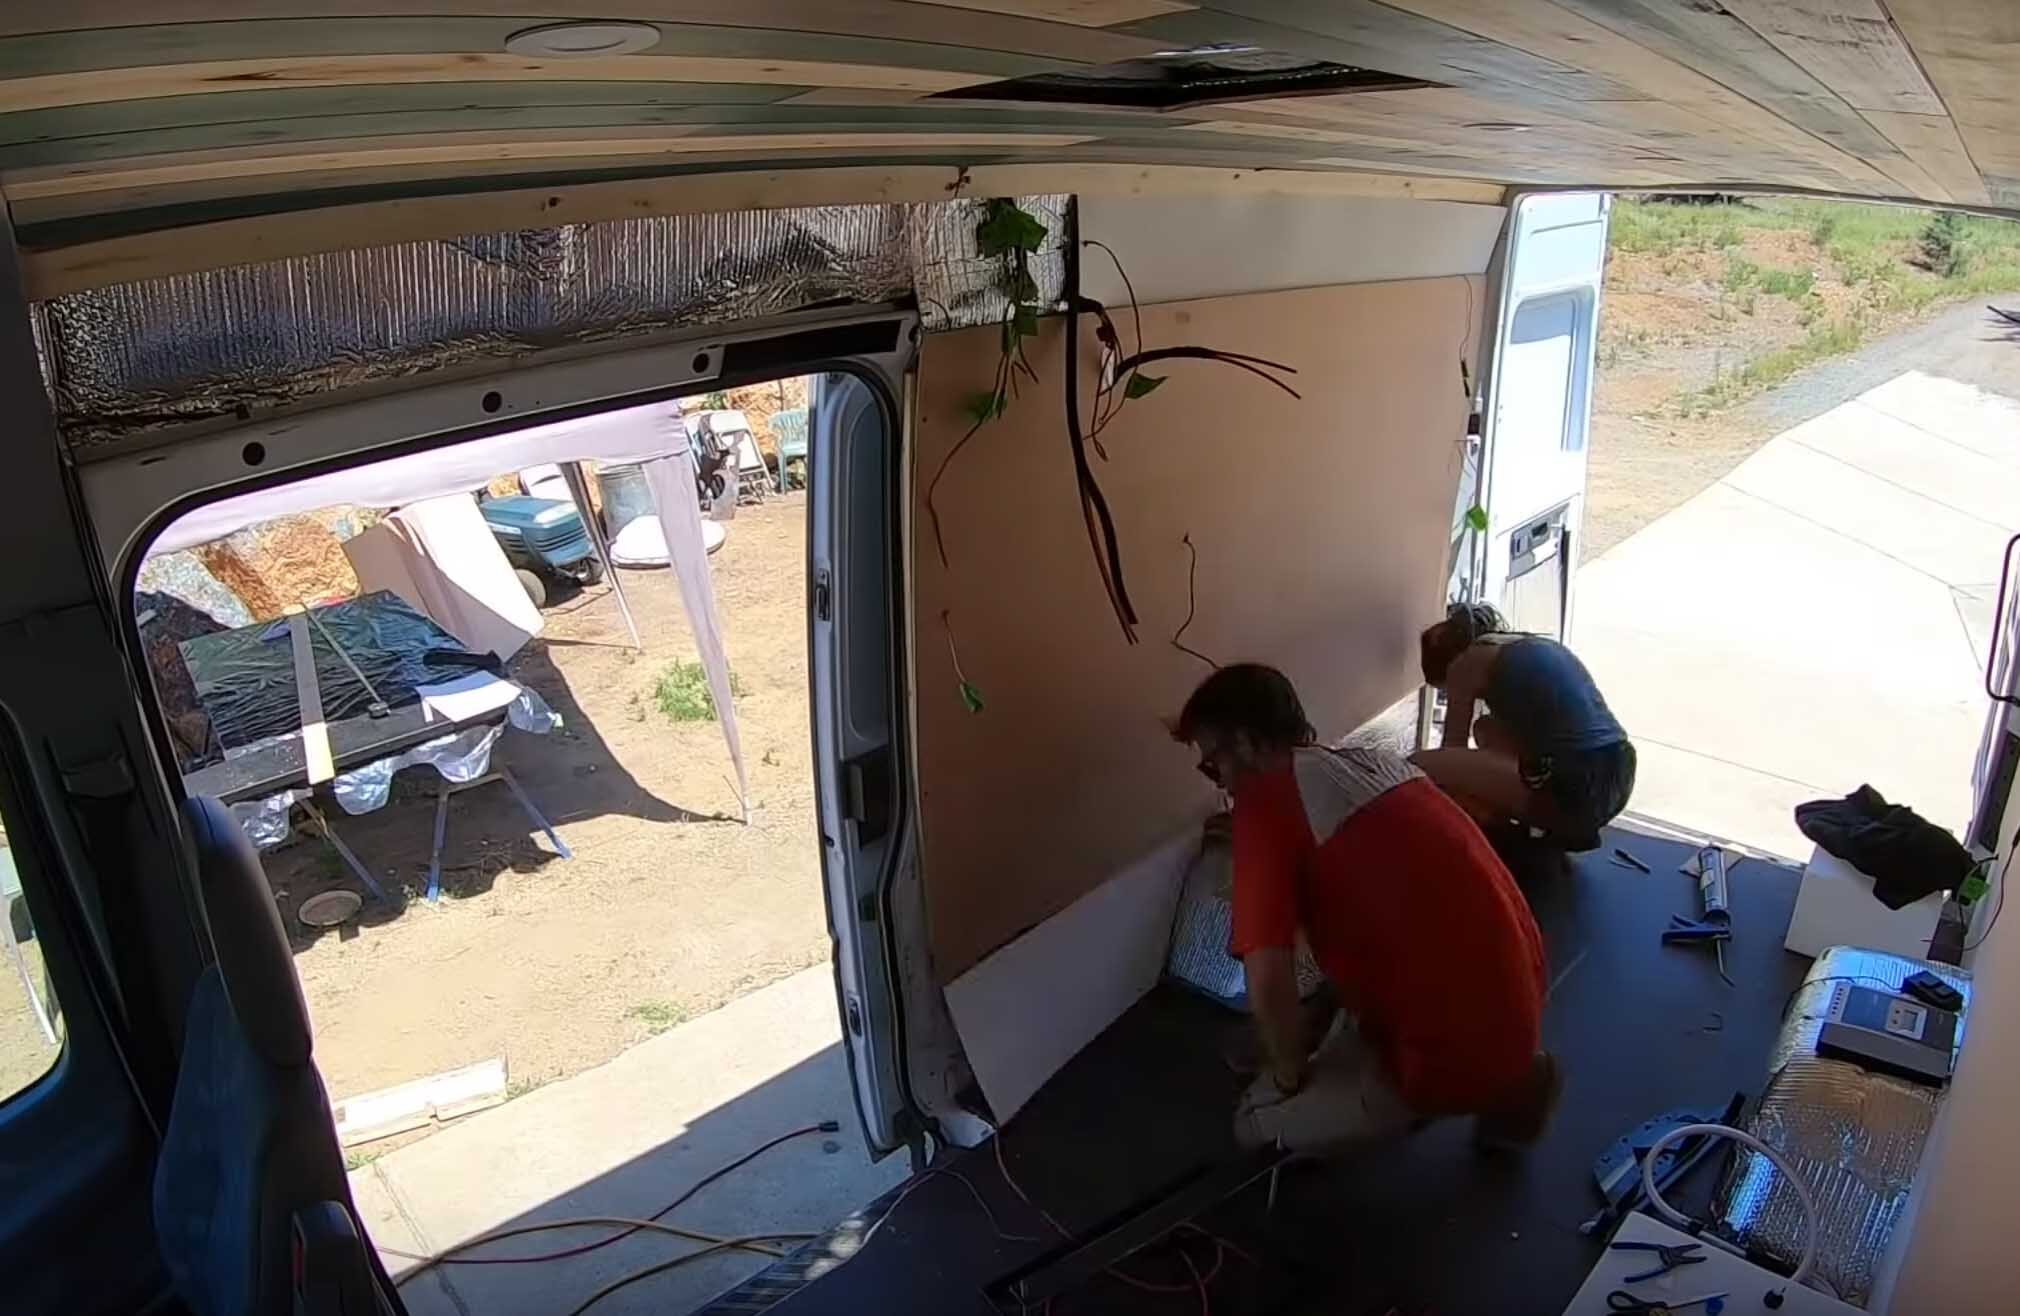
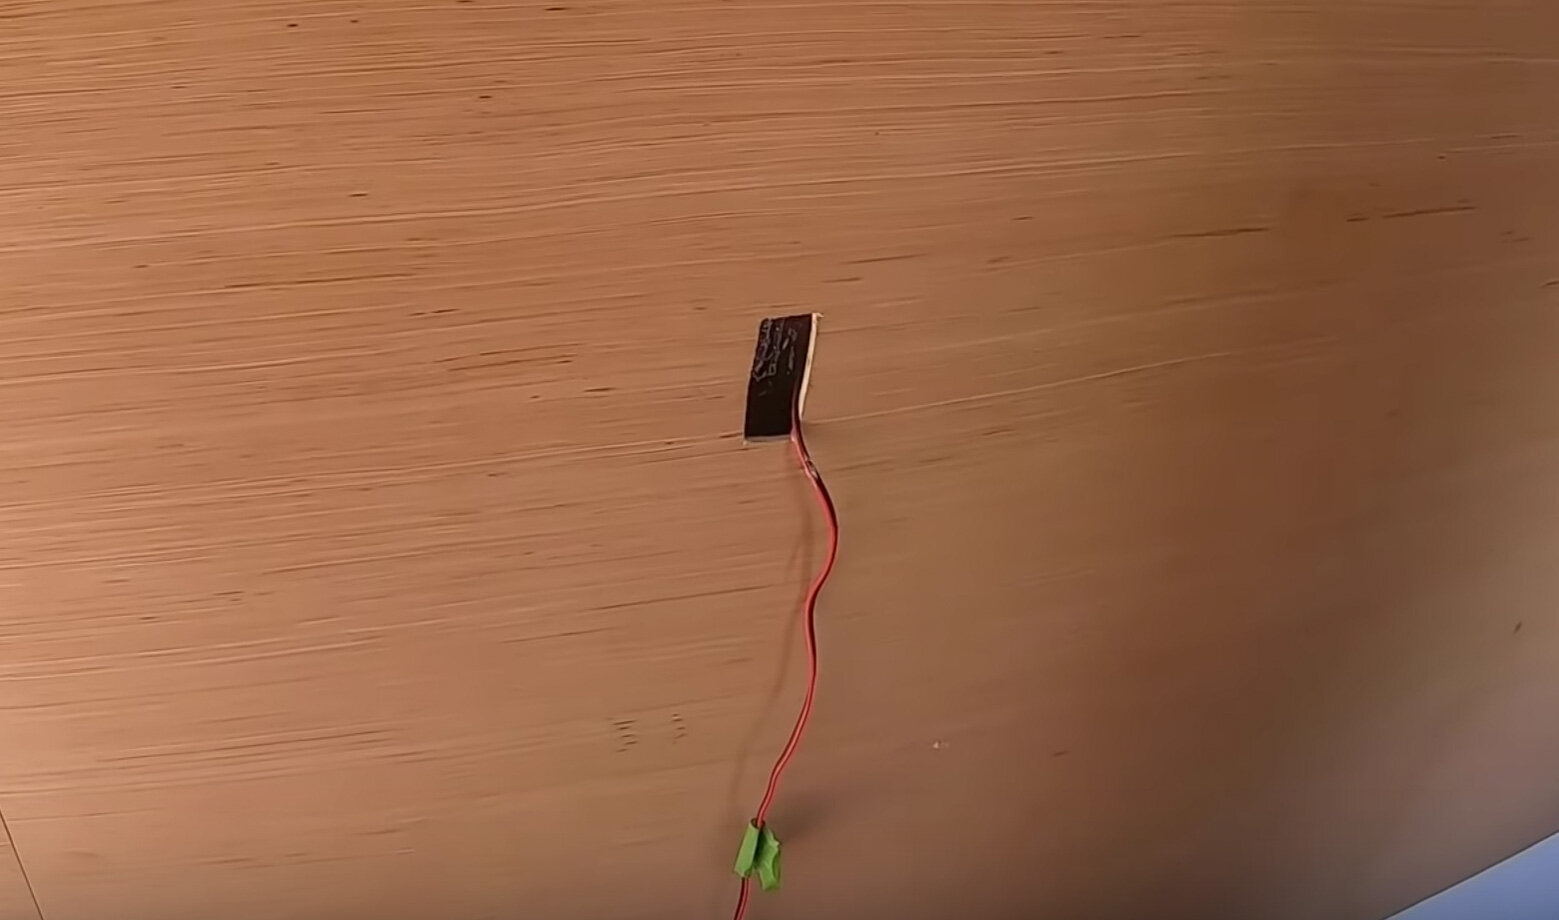
Next, you will attach your walls. We used Revolution Ply 5mm Poplar Plywood, from Lowe’s. Once finished, it has a great look to it and is affordable and easy to work with. You will want to cut all your plywood to size depending on your design then attach it. We used Liquid Nail and a pin nailer to attach our walls to the frame. Here, you may realize you need to add some framing to attach your walls more securely. Also, don’t forget to cut out holes for wiring and for your outlets.
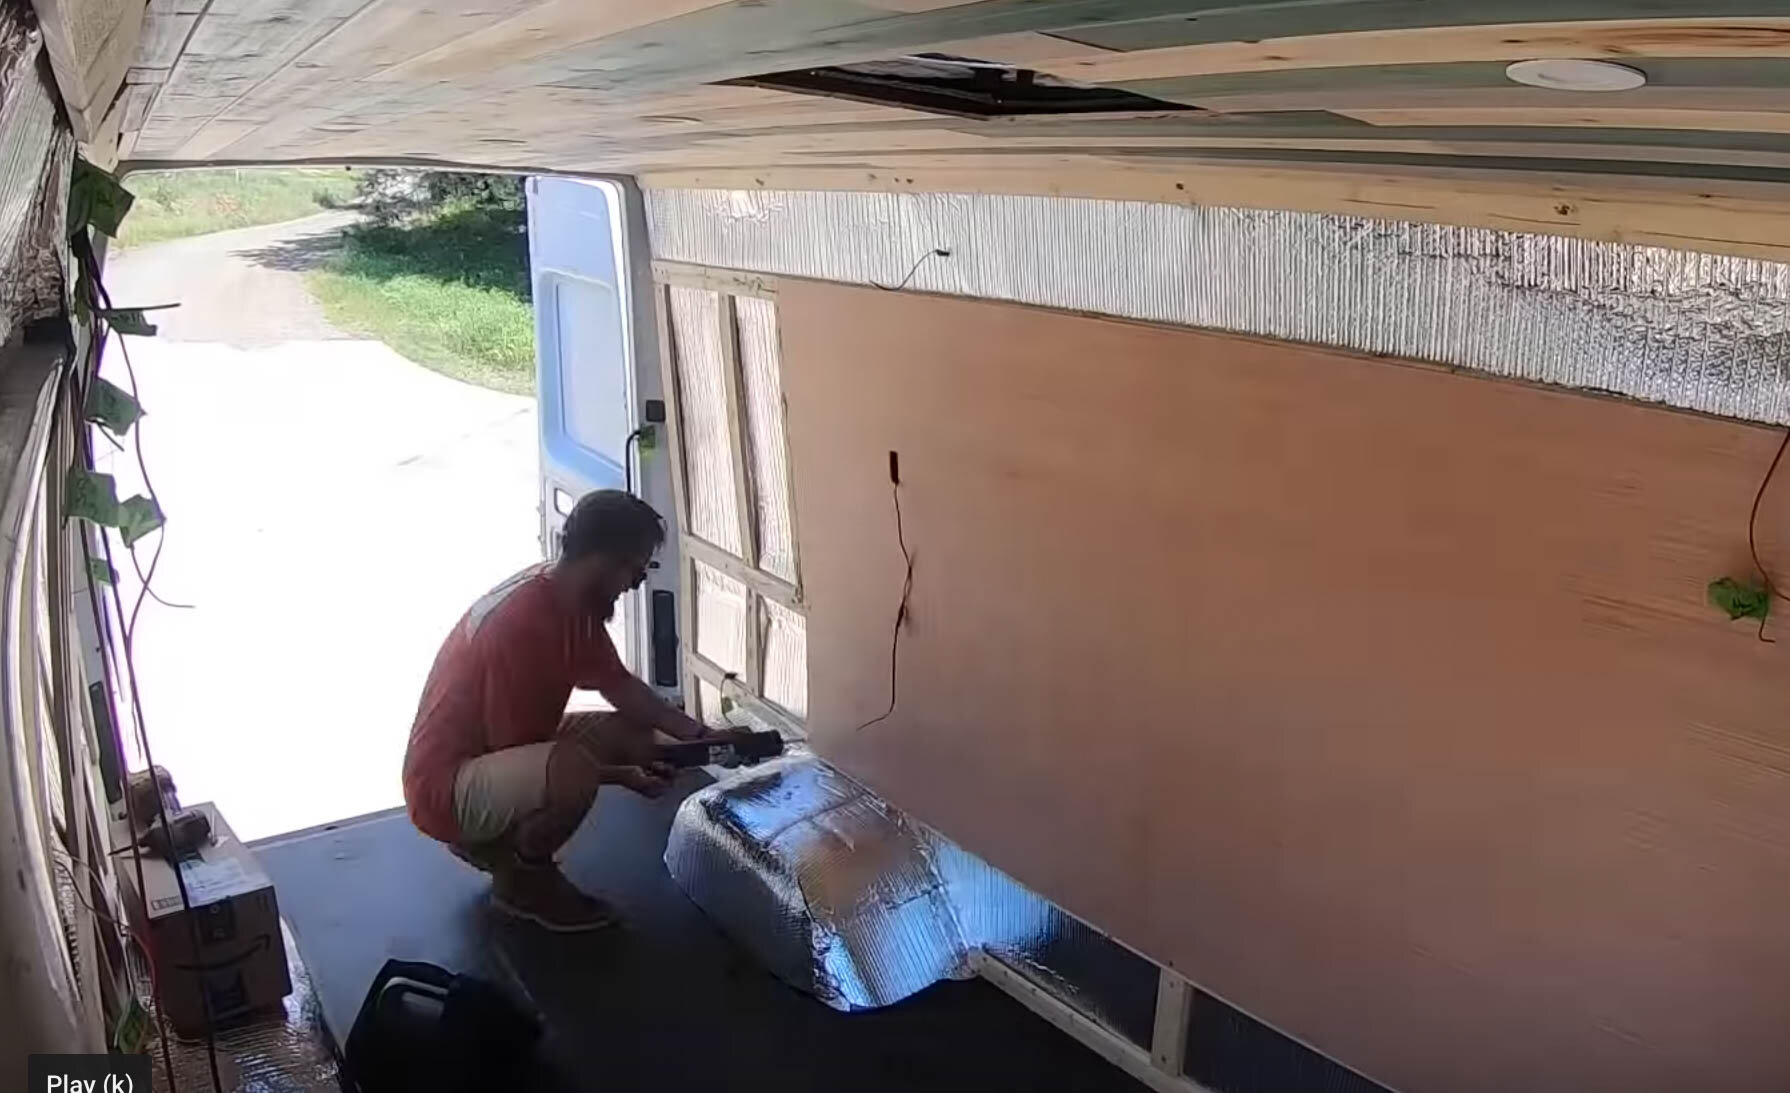
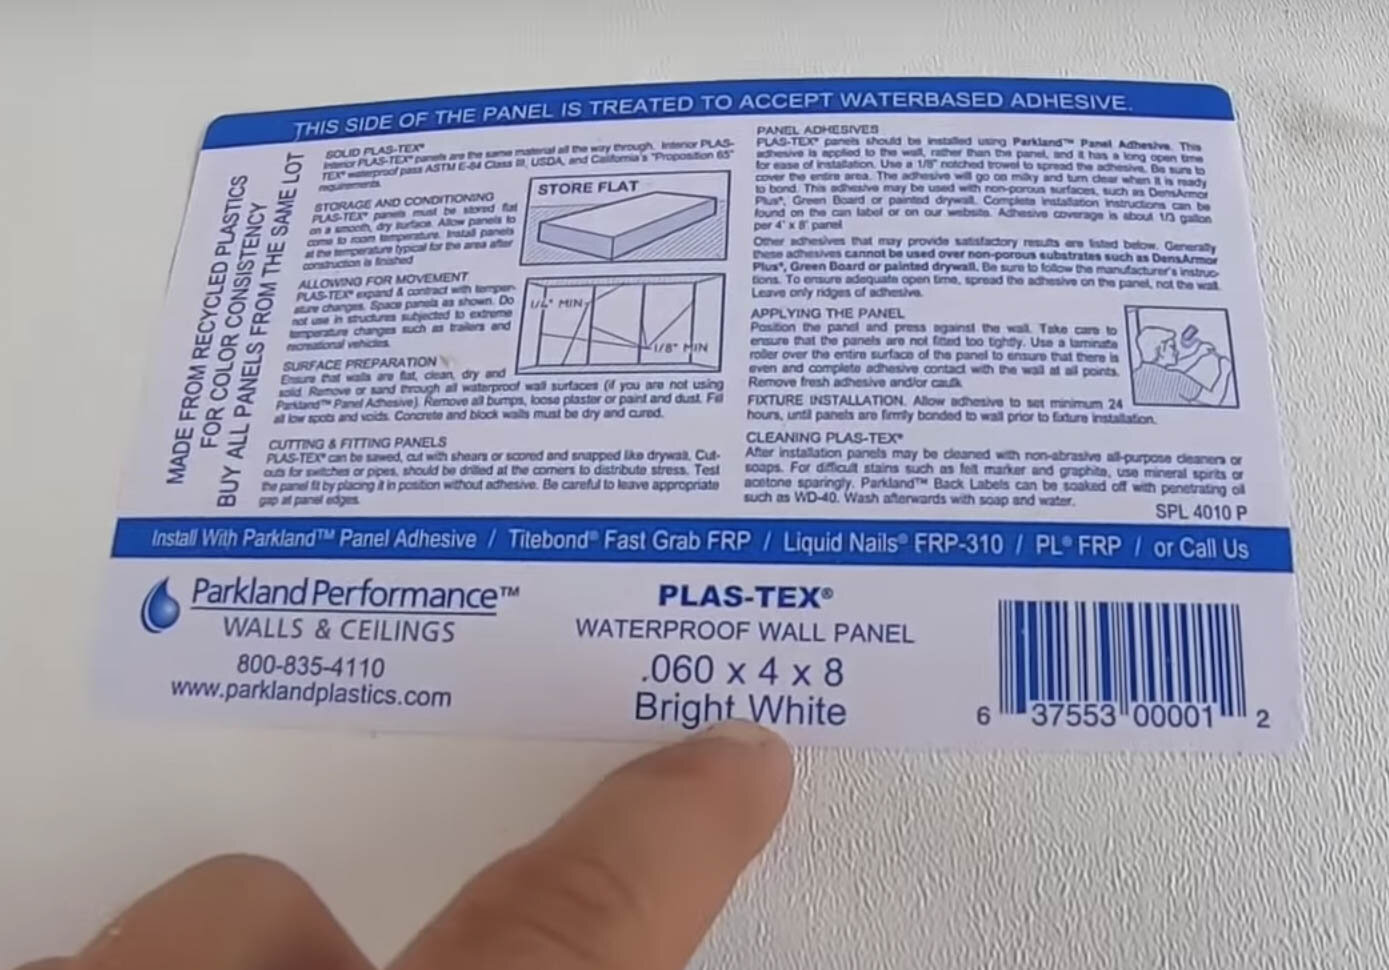
Additionally to save some space, we used a rot and water resistant Plas-Tex poly wall plastic panel. We used this because we wanted to gain an inch of storage above where our upper cabinets are going to go. Also, they are removable. So, if you wanted to wire some additional electronics to the system, the wires are easily accessible. This came in handy through out the build multiple times. We also used the Plas-Tex on the lower half 16” of the van where the cabinets will be covering the walls and you will have a water/rot proof wall incase you have any vancidents. We have a 26 gallon water tank along the wall and we figured this will help protect, if anything were ever to happen to the tank. This was extremely easy to install and we used 3M 90 Adhesive spray to attach the Plas-Tex to the insulation. It came out looking really nice and it has a nice texture. So, it will look finished inside the upper cabinets.
RevolutionPly 5mm Poplar Plywood - Lowe’s
Plas-Tex - Home Depot