This was a shot in the dark. I had seen this mostly on aftermarket van conversion company builds. And I had seen a couple on some DIY builds around on the internet and I loved the idea of making that a muddy shoe storage area to utilize that space, especially because our Sink was going to be sitting over some of it anyway. But, I had found no how to’s, no Youtube videos anywhere!
So, I hope this helps you out in brainstorming a way to make the Slider step your shoe storage!

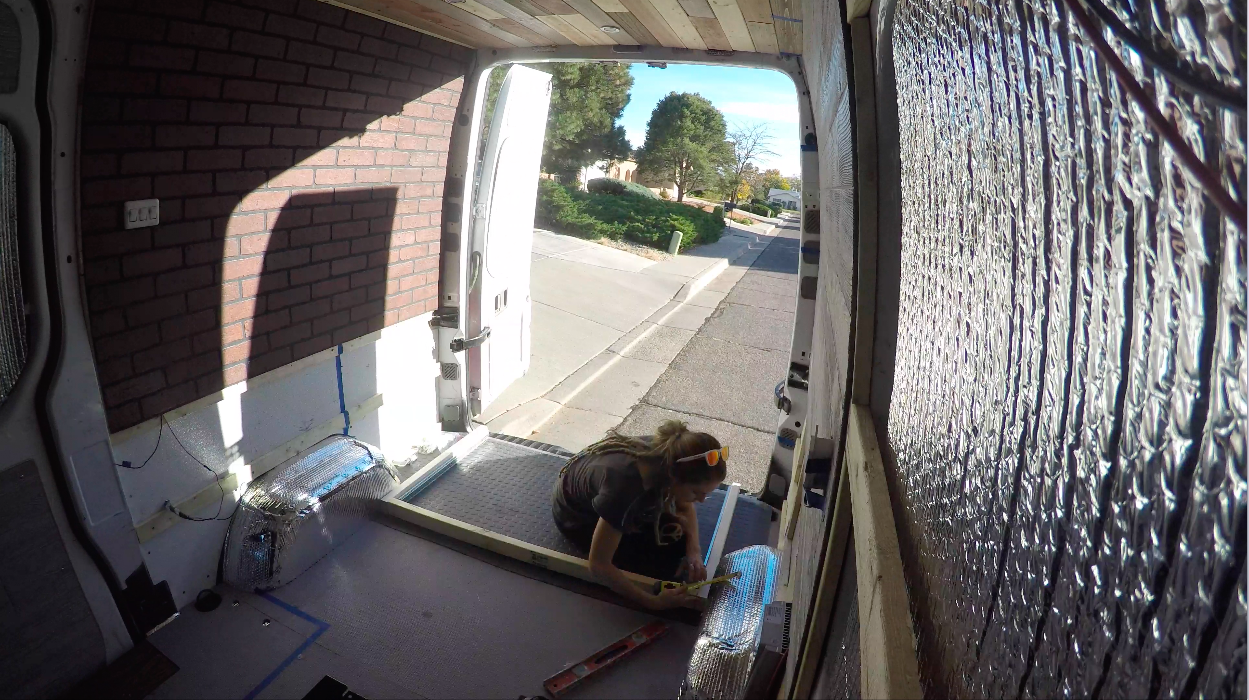
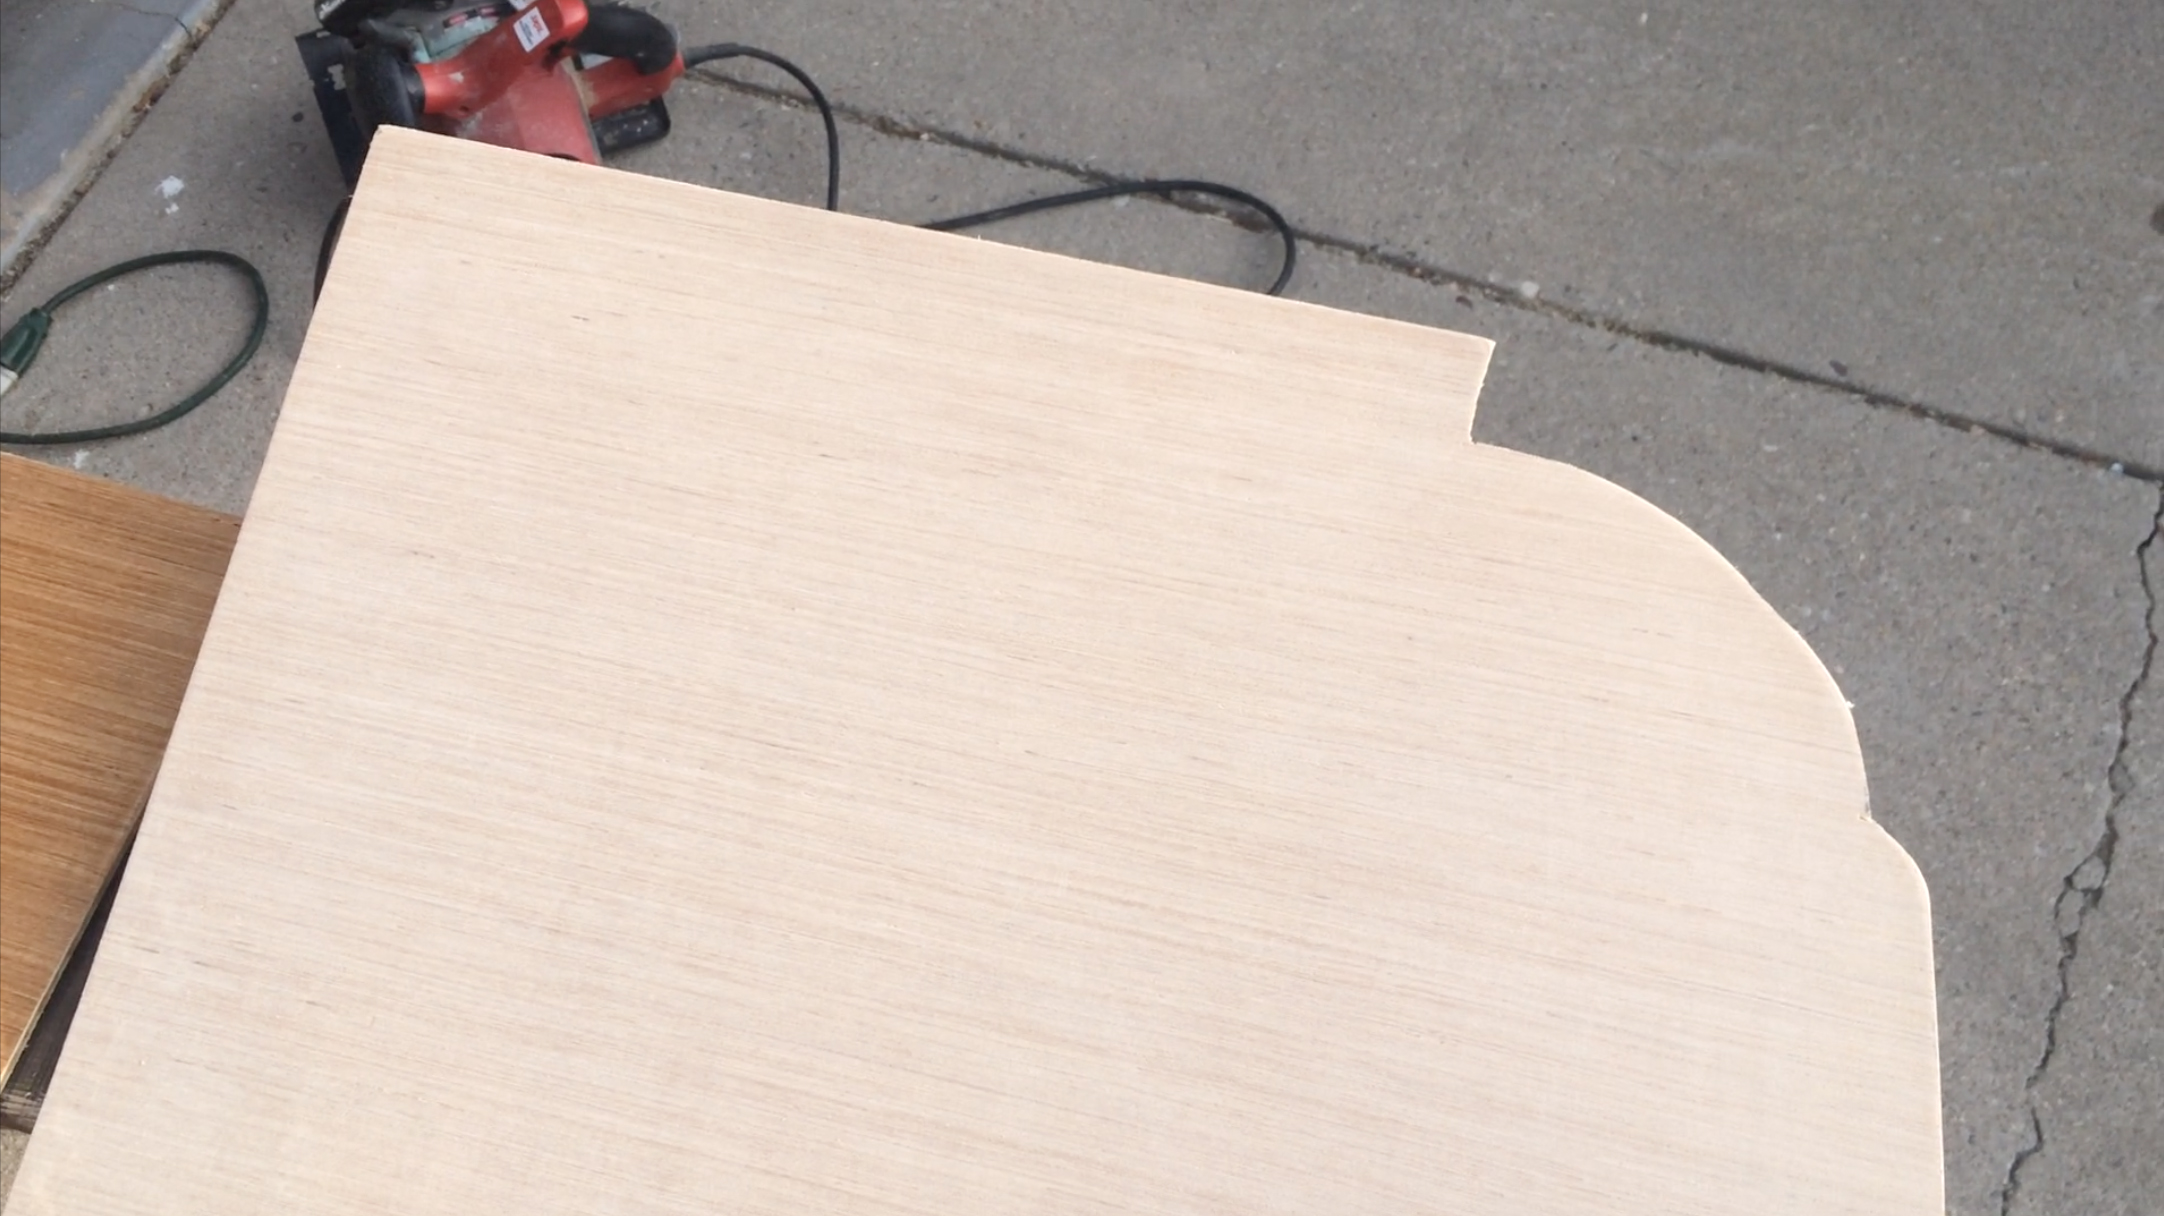
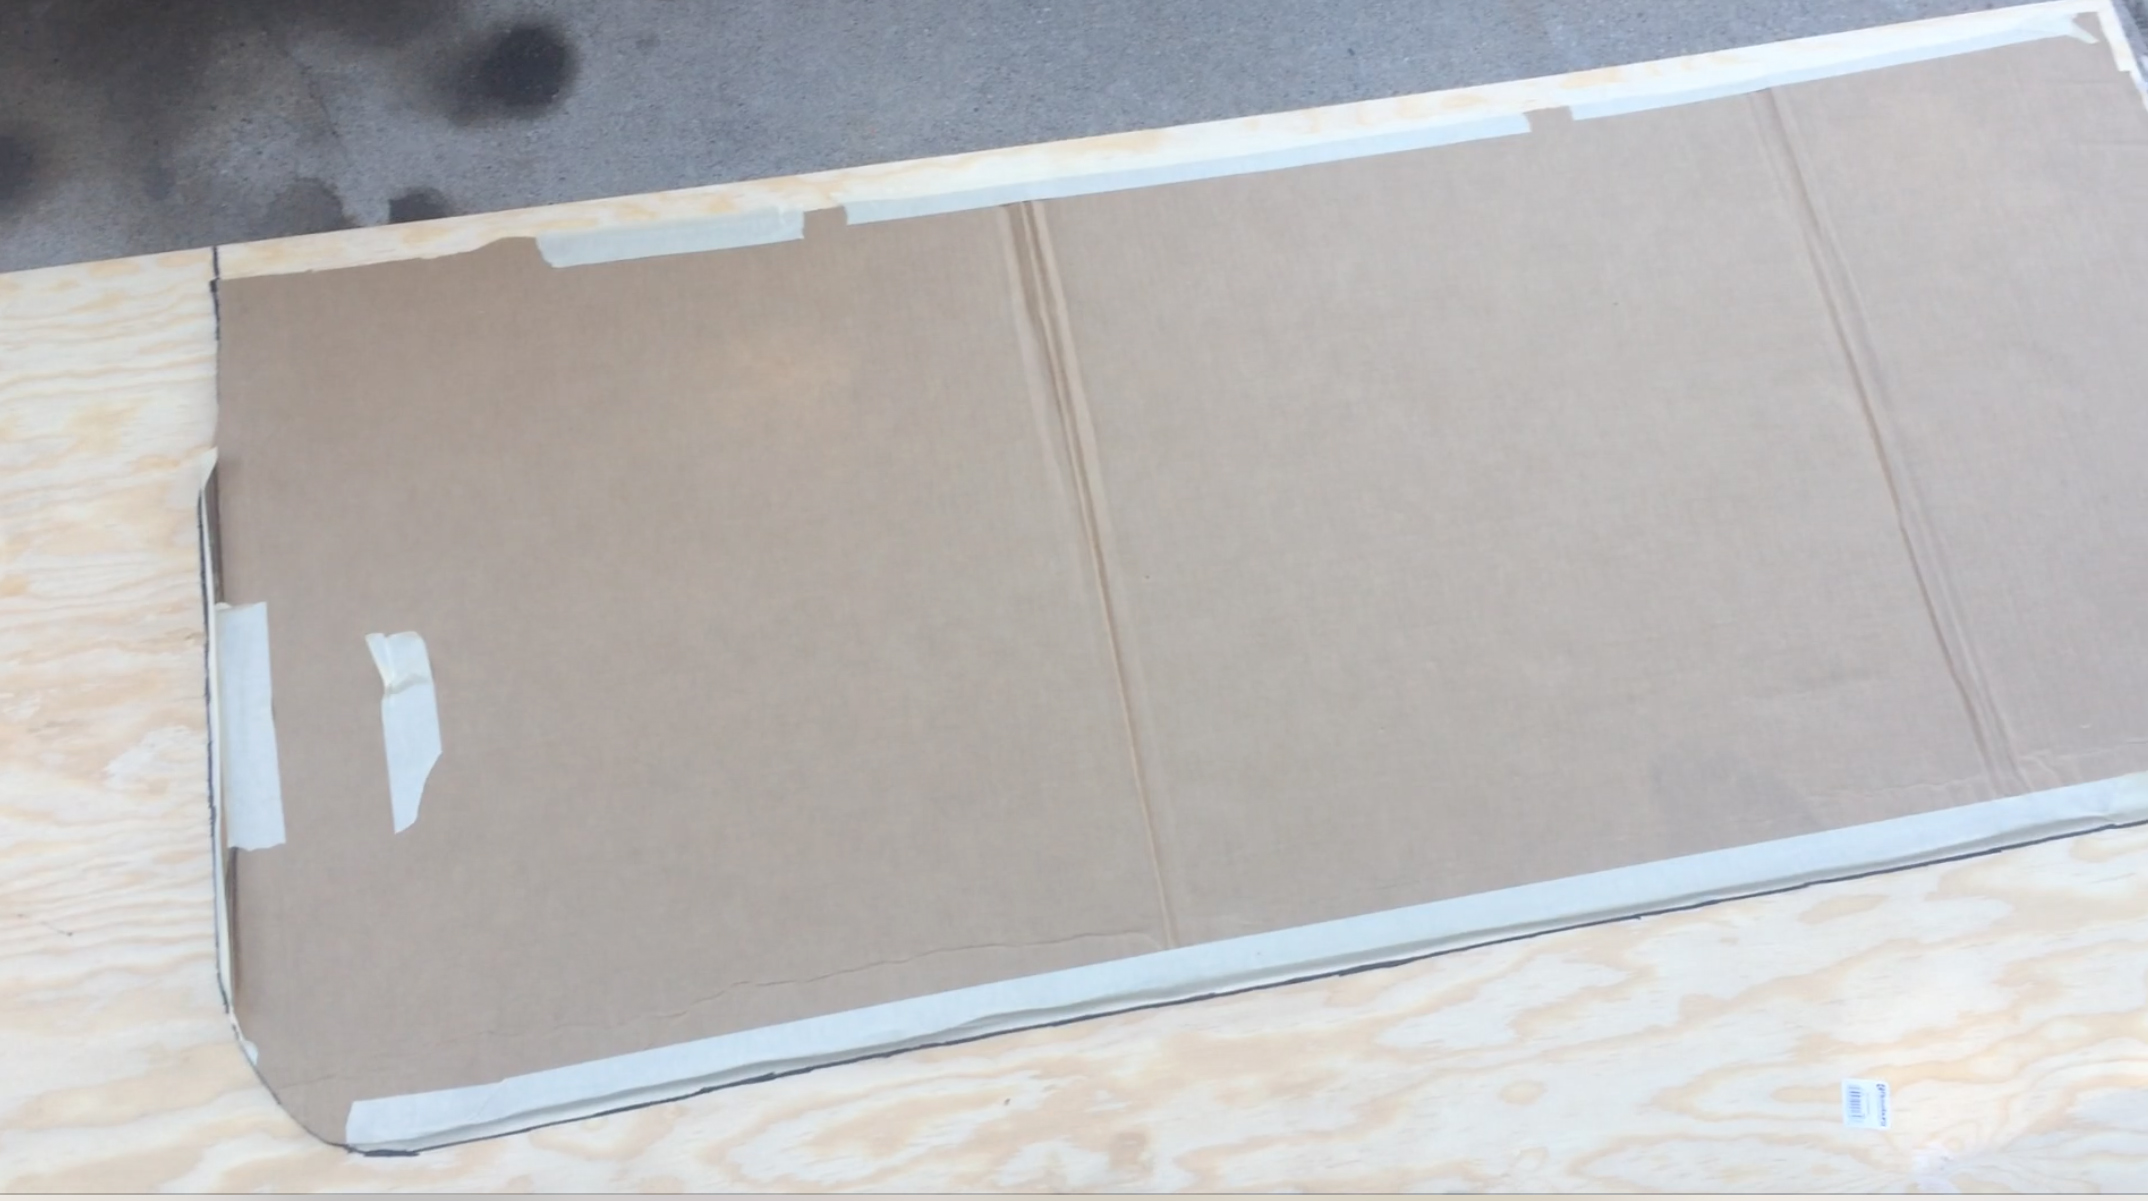
First, my go to—stenciling the step out on cardboard. I used a stencil here because seeing it 3D always helps for me. I cut my stencil out on some left over plywood we used on The Attic. I wanted the plywood to sit flush with the floor. That way we could lay our flooring over our addition and hopefully it would look build-in.
Luckily, at both ends of the step, where it comes to a corner, the corner piece sticks out a bit so it can act as a perfect support for the plywood. I didn’t want to make the step go all the way across towards the front cab because it becomes a huge step for anybody to clear. So, I left enough room to still have a comfortable step up area into the van.
Once the top piece was cut out of stencil, I measured and cut out the bottom piece. It is slightly shorter because the contouring of the step. I measured the shoe box dividers that would also act as support. Then, cut those out.
Now that I had my anchor and support point on that fortuitous lip on the corner, I had to figure out where and how I was going to give the storage top support for the rest of the box, but also keep the flooring flush with it.
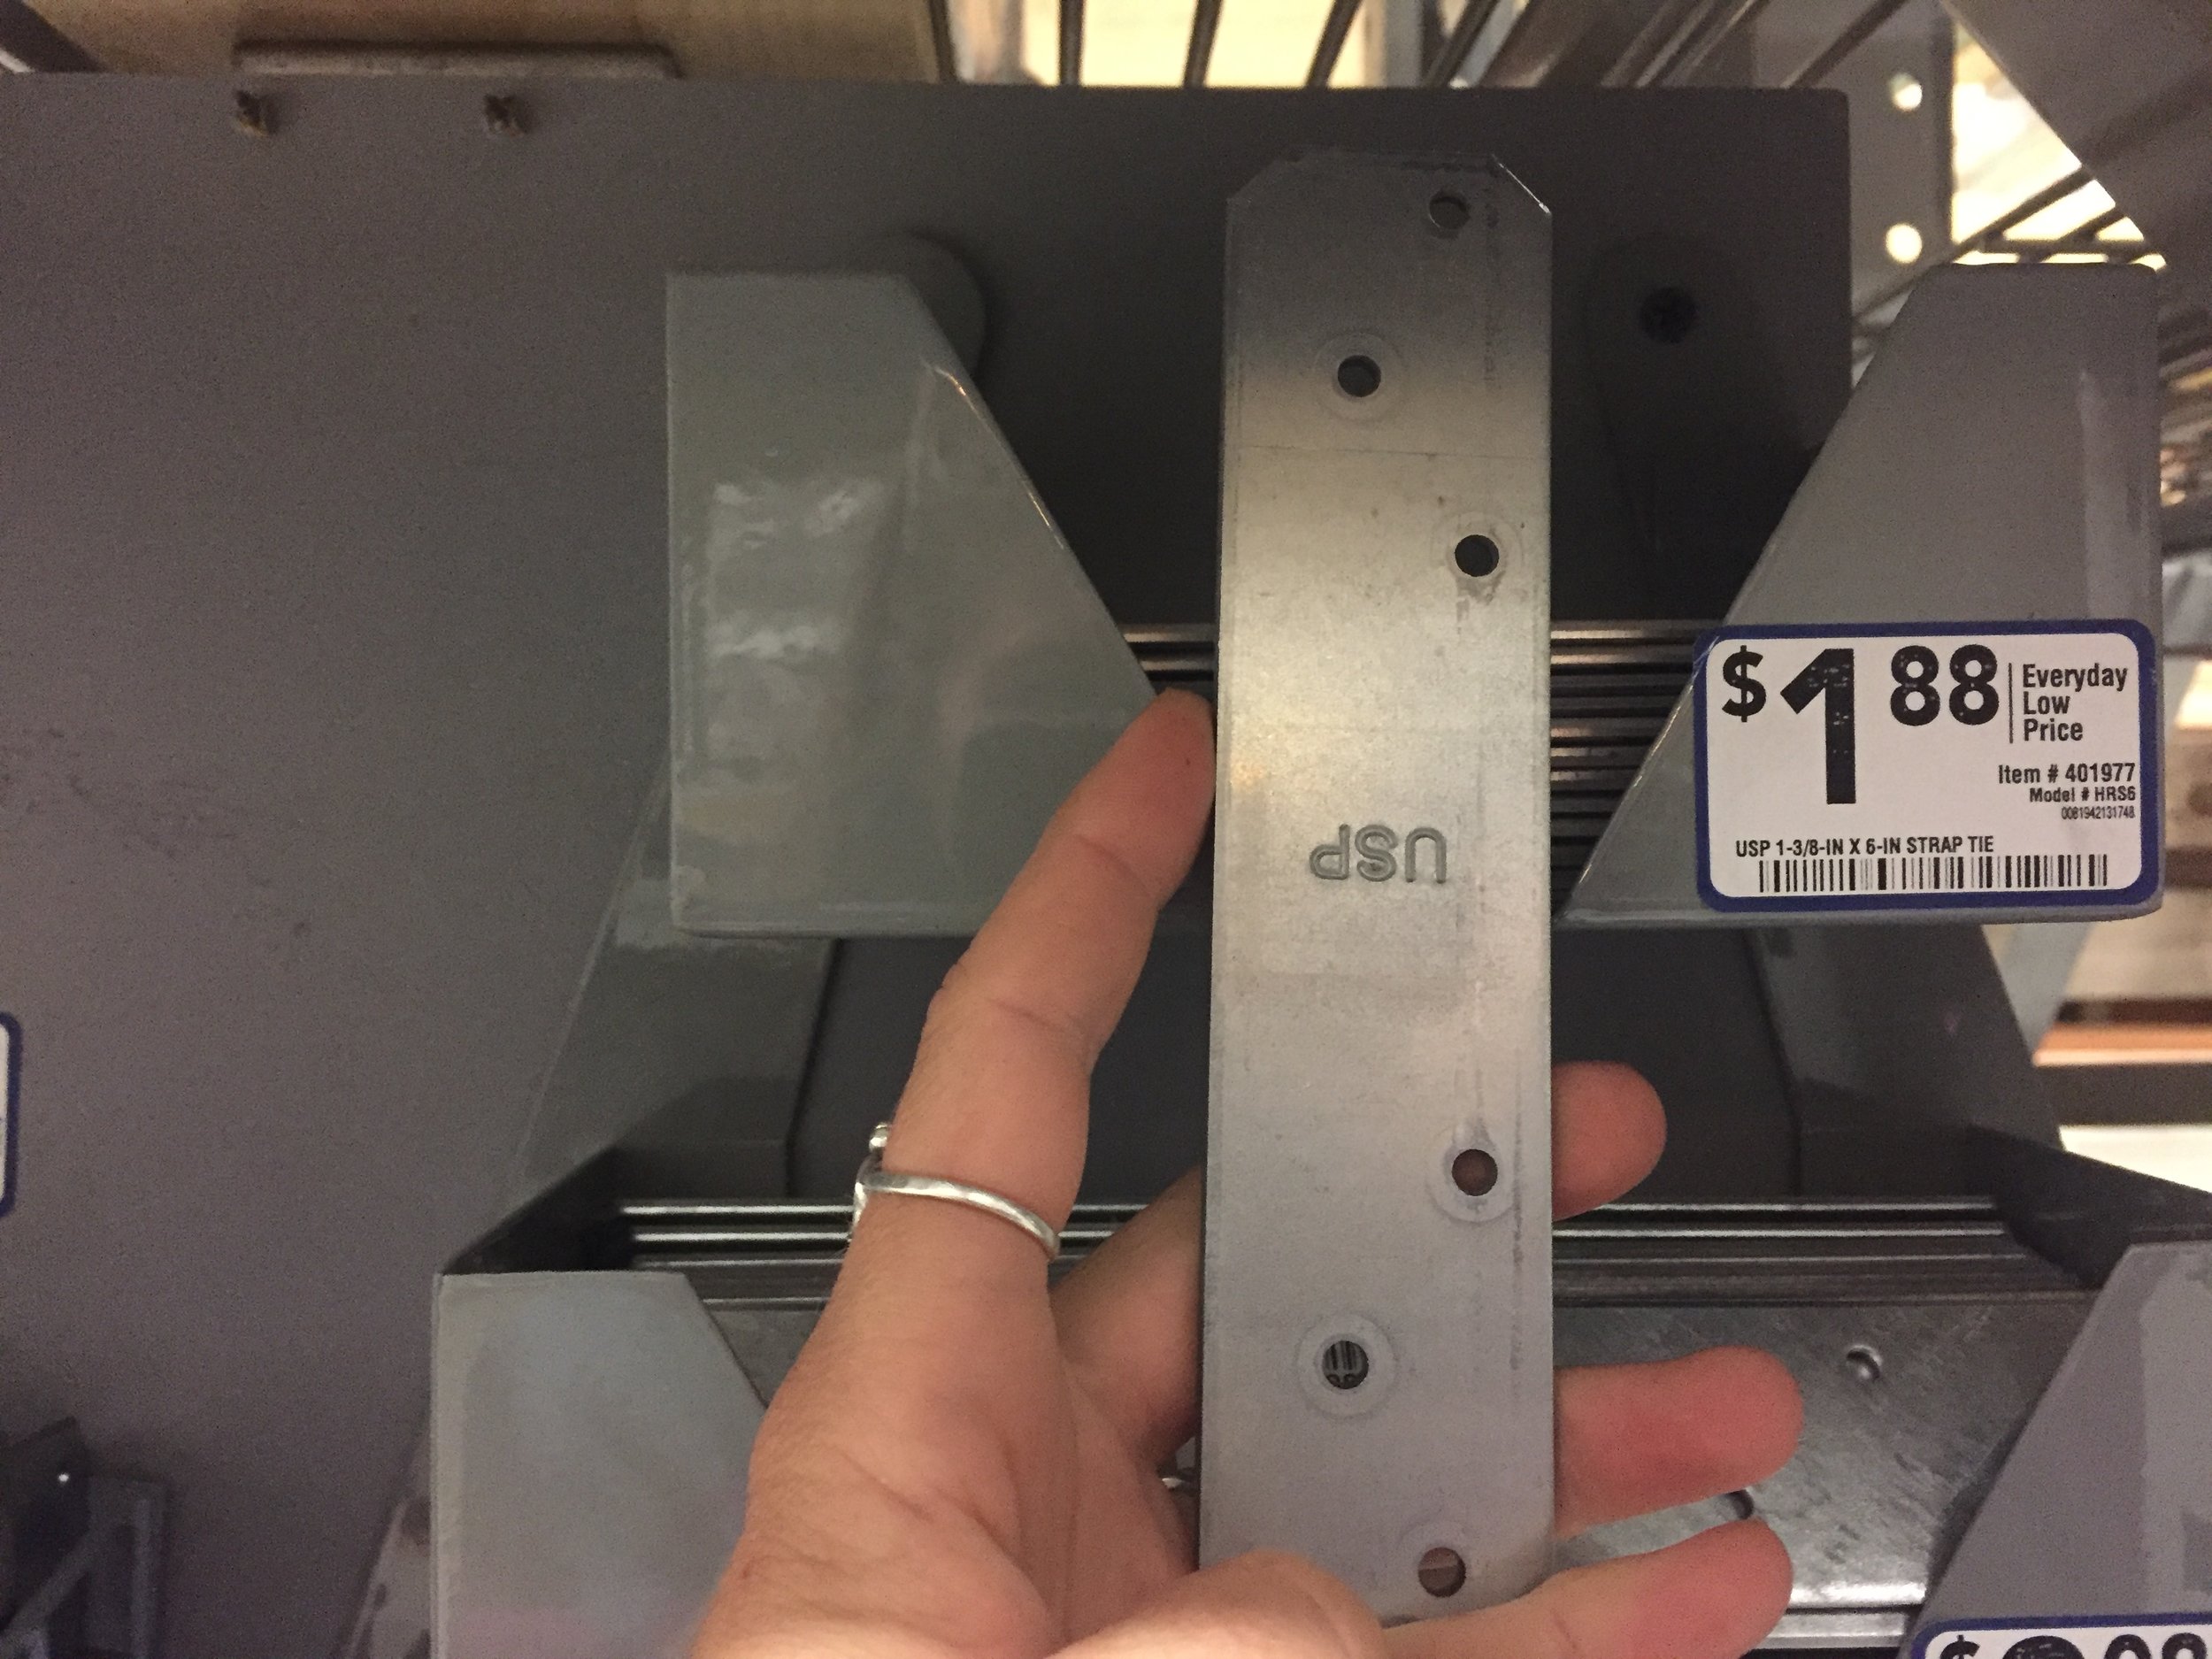
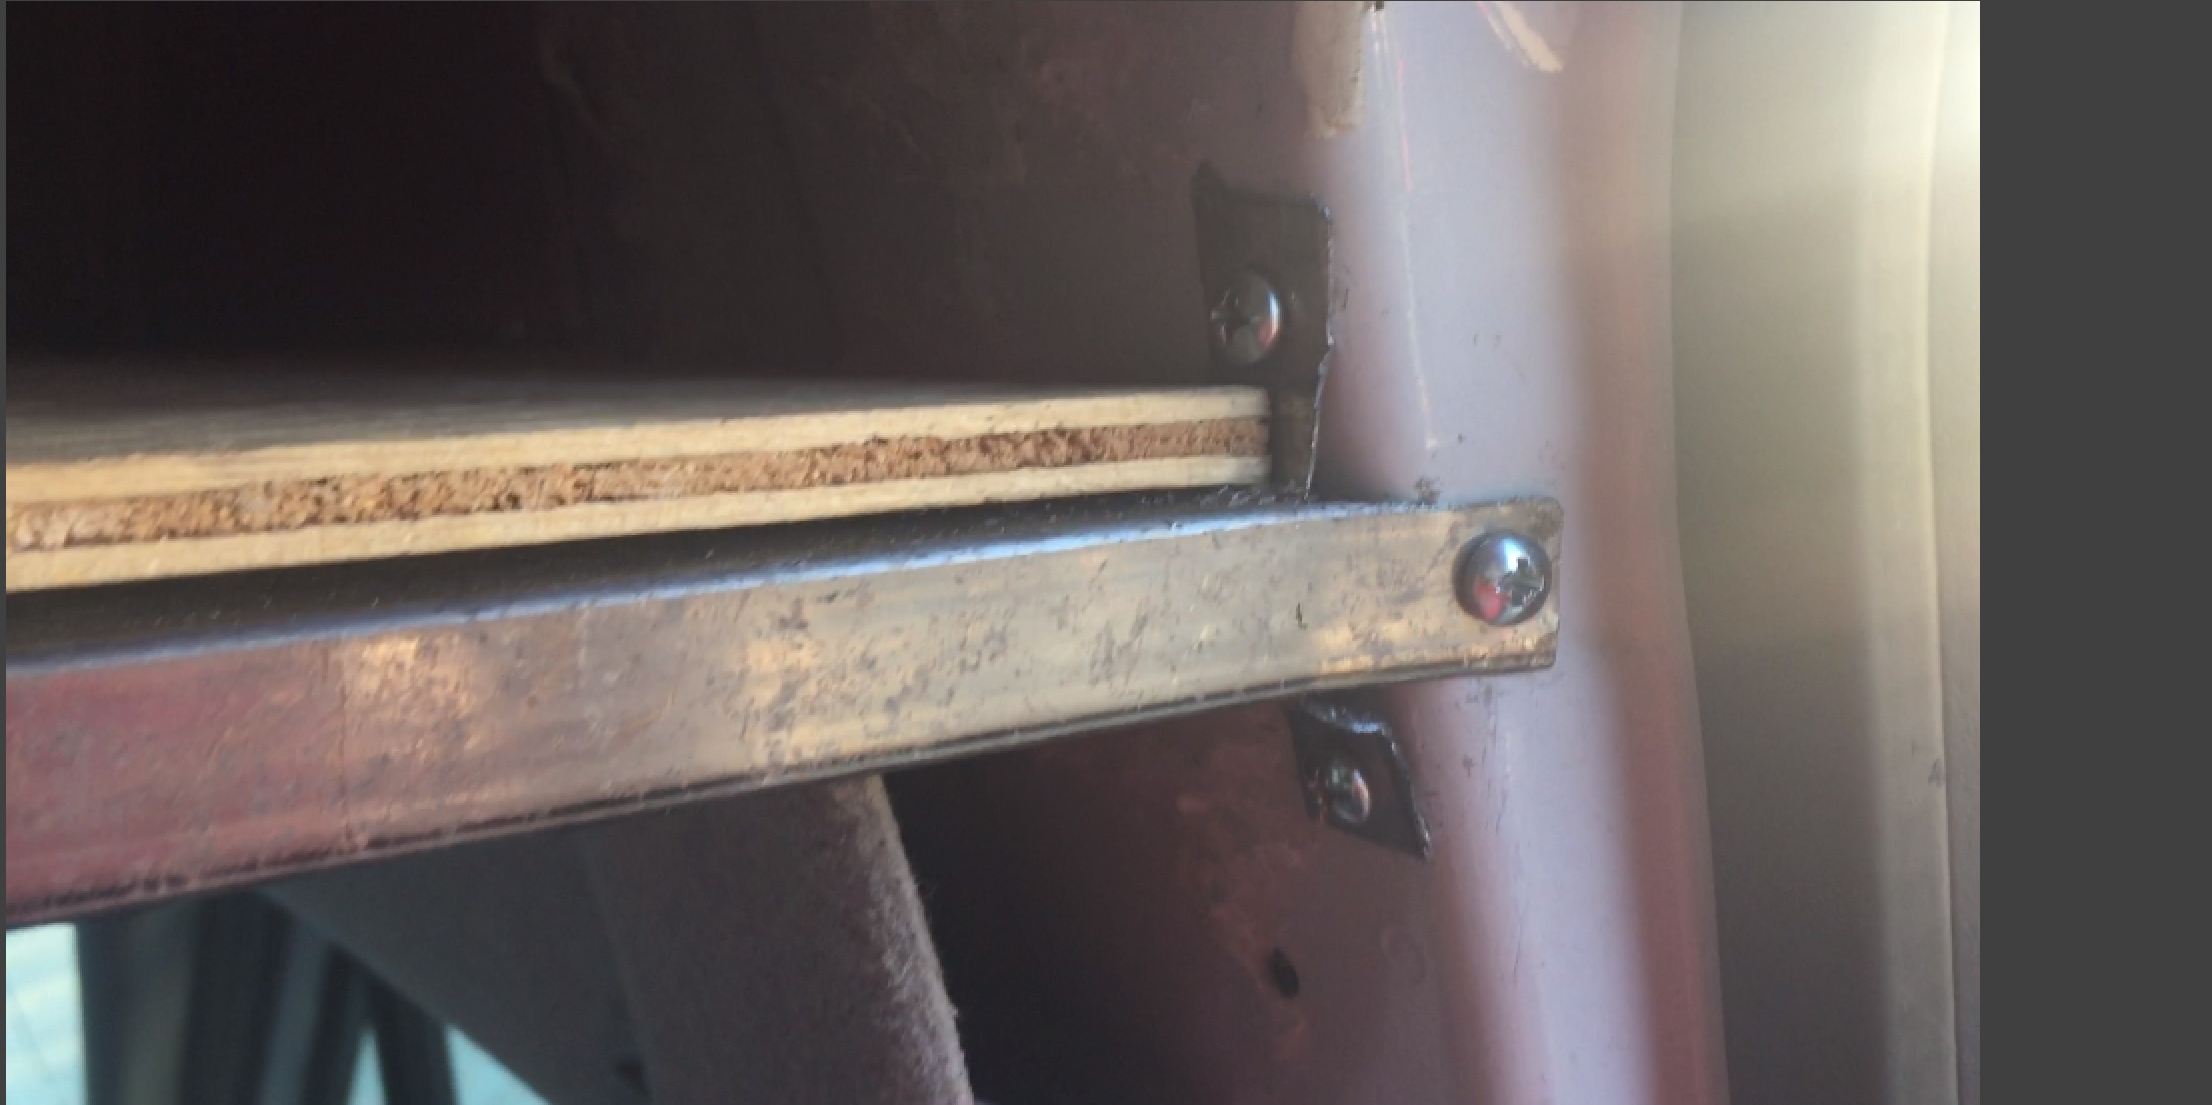
I used some 4-5” flat metal braces with 6 holes. These live in the Structural Hardware area of Lowe’s, where the joists are. I don’t know what they are called, but I had walked passed them many times in Lowe’s noting their existence and useful possibilities. Their time had come.
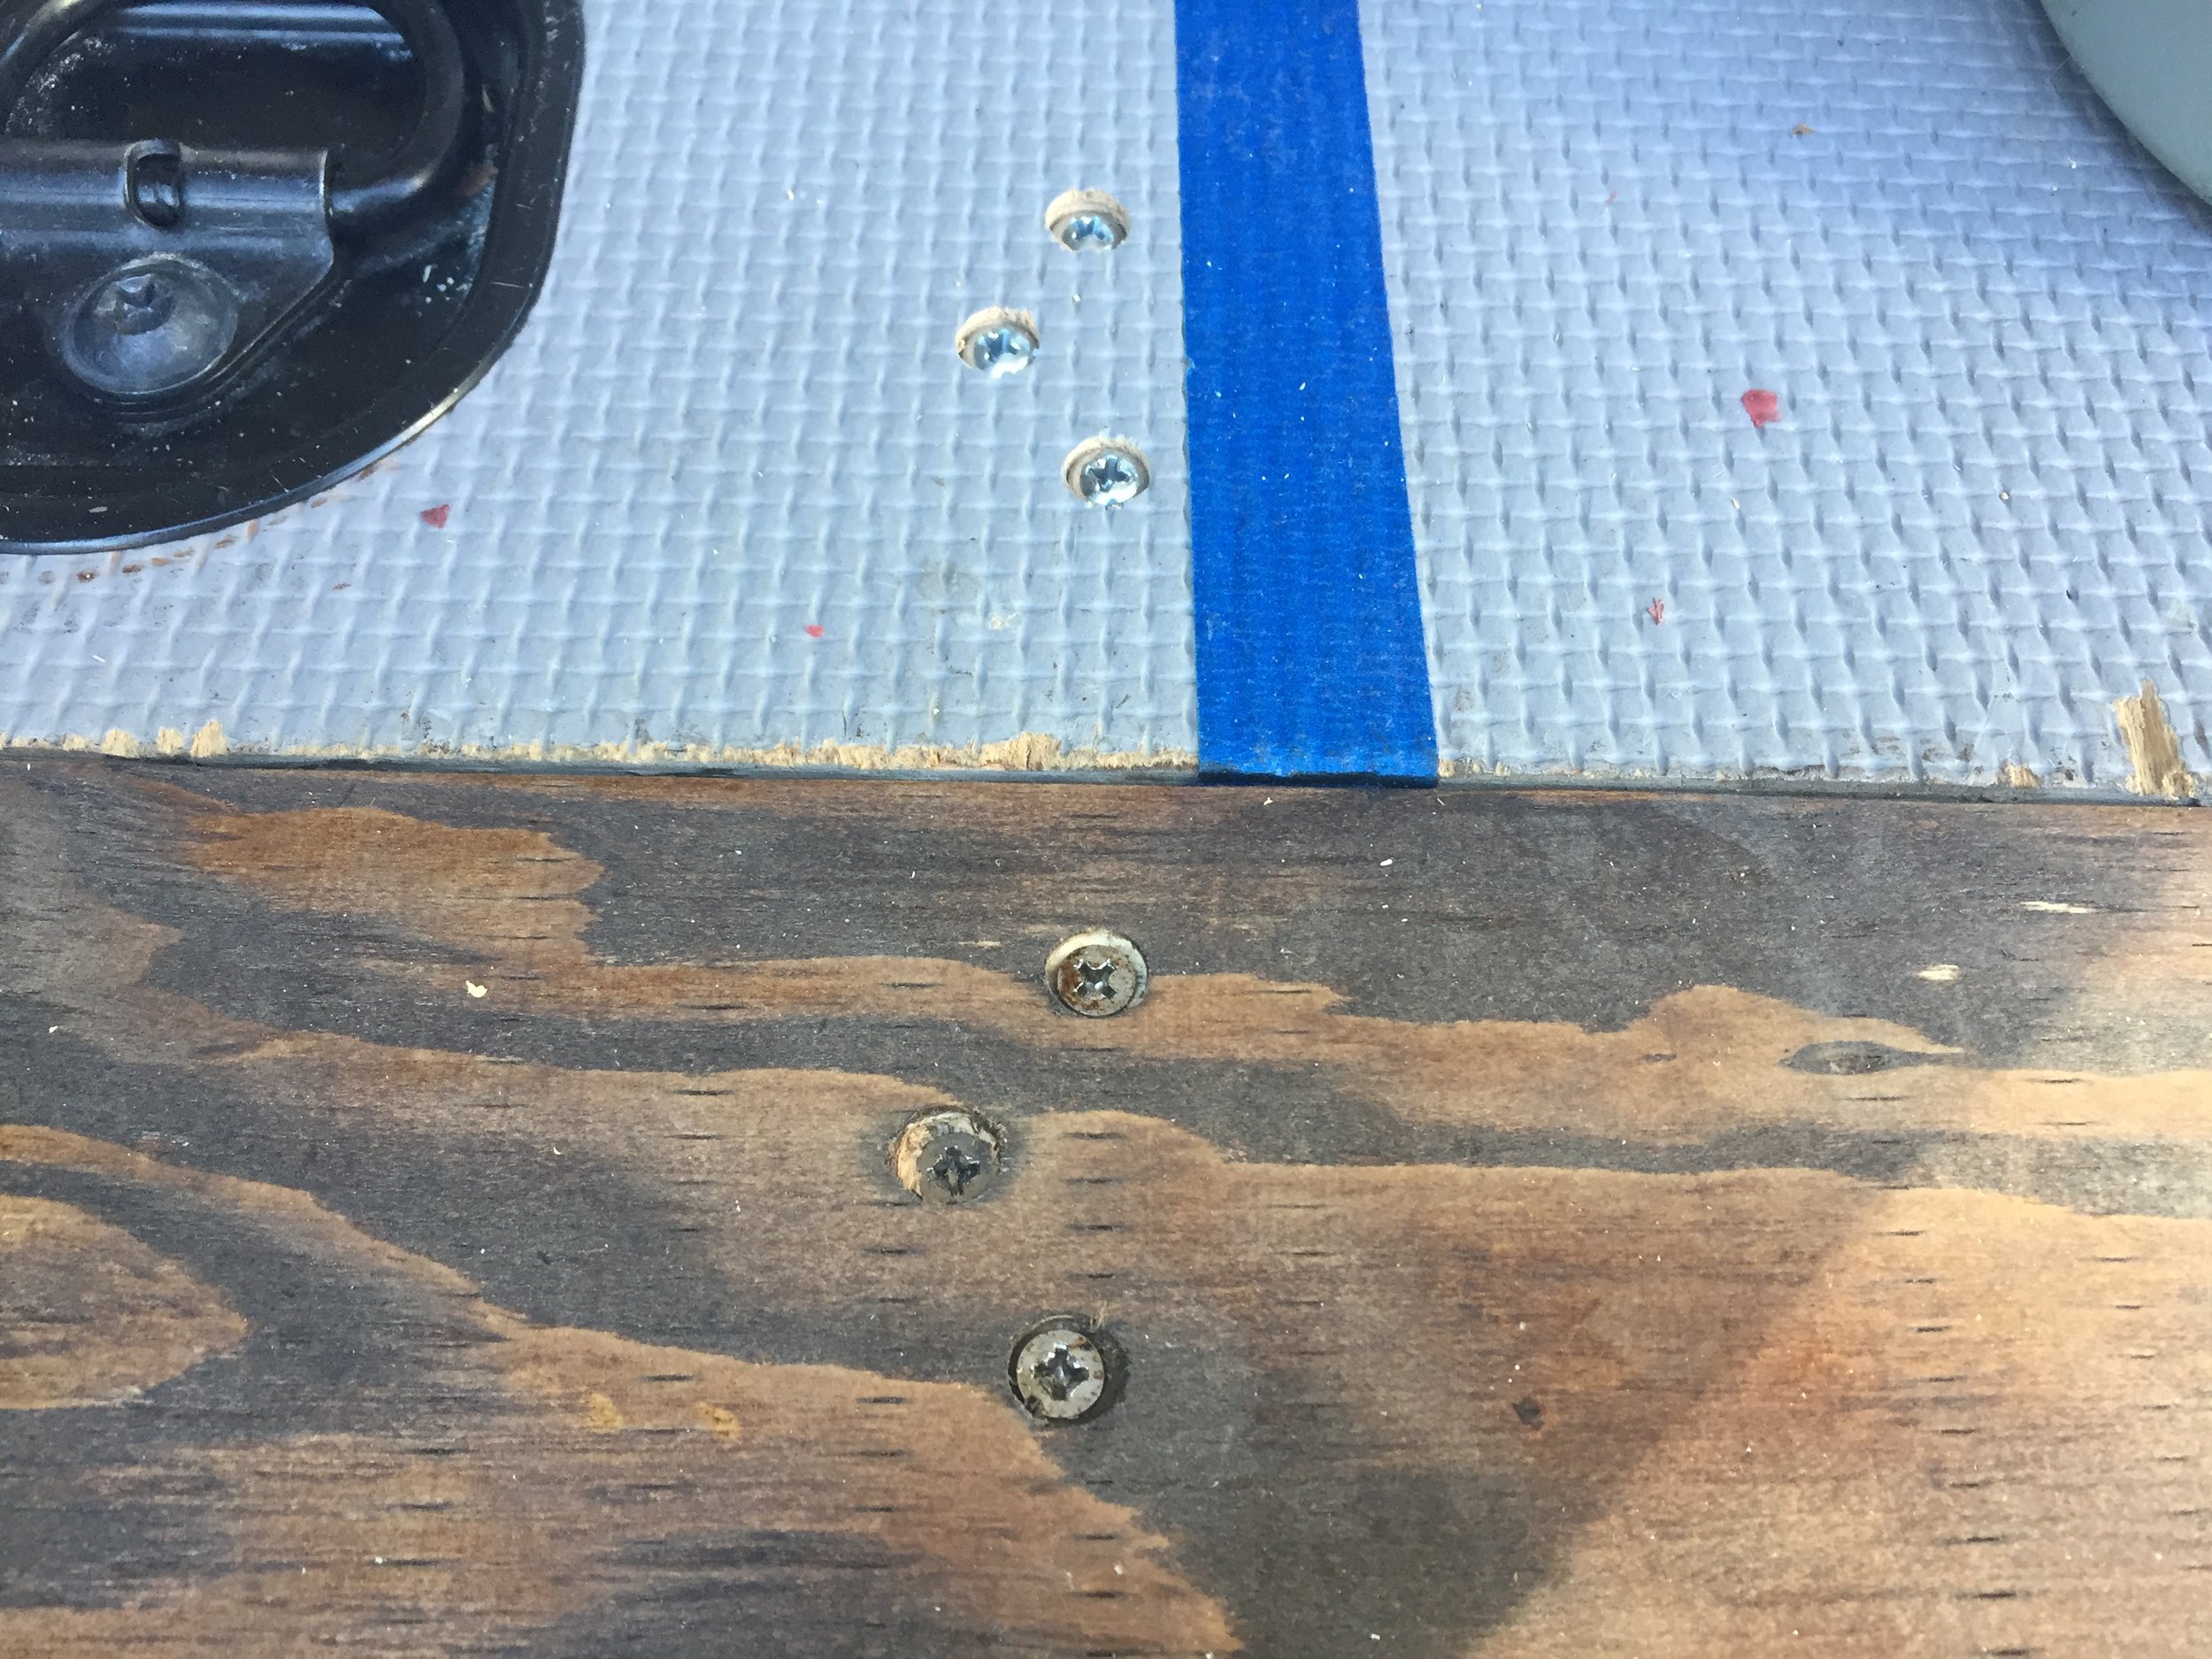
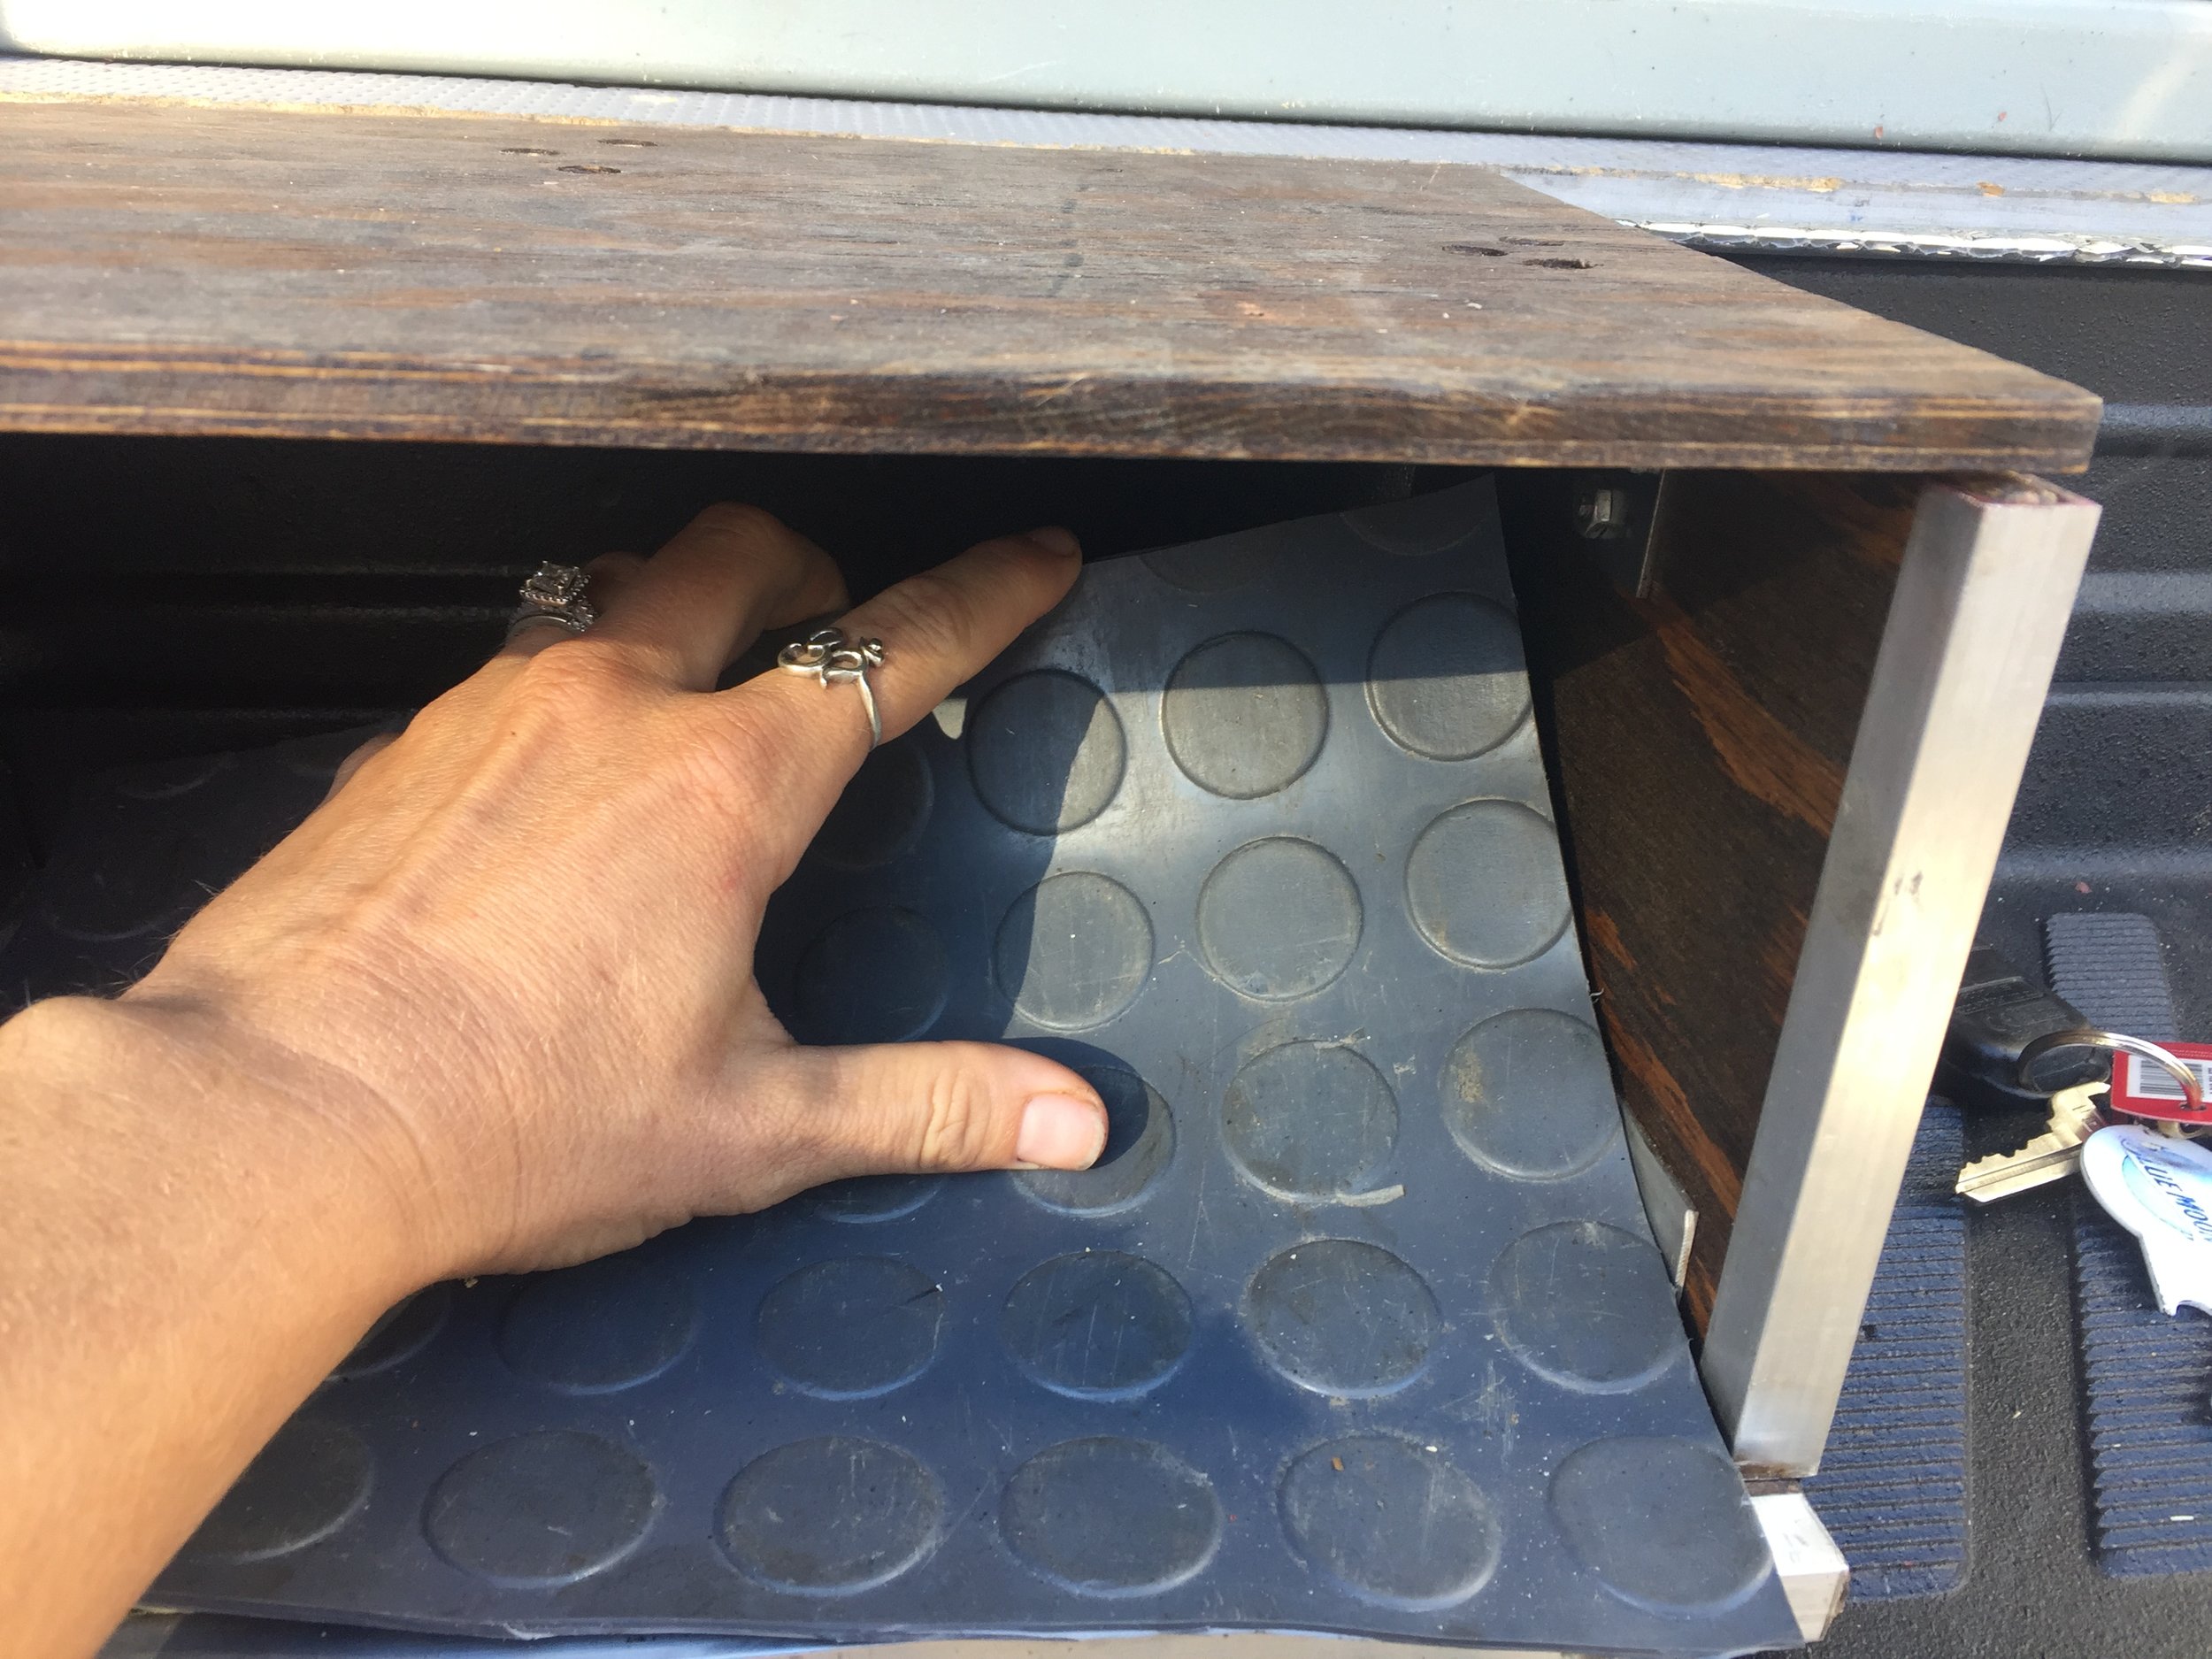
I slid them in-between the subfloor so they would hang out enough to hold my shoe box top up, from underneath to sit flush with the floor and support weight if someone used it as a step up. It looked like it was going to work perfectly if I countersunk and used small nuts and bolts. So I pulled them out and placed them on top, marking the holes to pre-drill. When the holes were pre-drilled into the sub-floor, I slid the braces underneath my pre-drilled holes and moved them around until they lined up. Then, I marked and pre-drilled them onto the box top. I installed just the top. It was pretty sturdy already!
Once the box top was floating in place, I placed the bottom piece down. Then, I slid my dividers in where they were going to go and I marked the holes for these corner braces on each side of the divider.
Once I had all my holes marked, I removed the floating shelf so that I could drill the holes for the nuts to hold those corner braces up against the top and still sit down into the wood, again to sit flush with the flooring. Once I had the box top and dividers connected, I went back and pseudo-installed so it was floating again, without a base, but with dividers this time. I slid the bottom piece in place and marked where the dividers would land on the bottom piece.
I had a piece of angle aluminum left over from The Attic Build lying around so I tried to see if that would work, instead of more corner braces. The upper corner braces were fine because you couldn’t see them, but I wanted it to look nice and finished inside on the places you could see. I liked the way that it looked and it was functional. So, I went to Lowe’s and grabbed another Aluminum angle. I also grabbed some Aluminum channel to fit over the divider fronts to finish it an make it look nice. I measured giving it enough space in the front to allow that new channel I picked up to fit on divider and not bump into the brace. The design is to brace them on each side with the angle aluminum. So I marked off where they would sit. I pre-drilled holes in the aluminum angles being careful to keep them consistent so that a machine screw can slide thru one side, the wood divider and out the other side to be fastened with a nut on the other side.
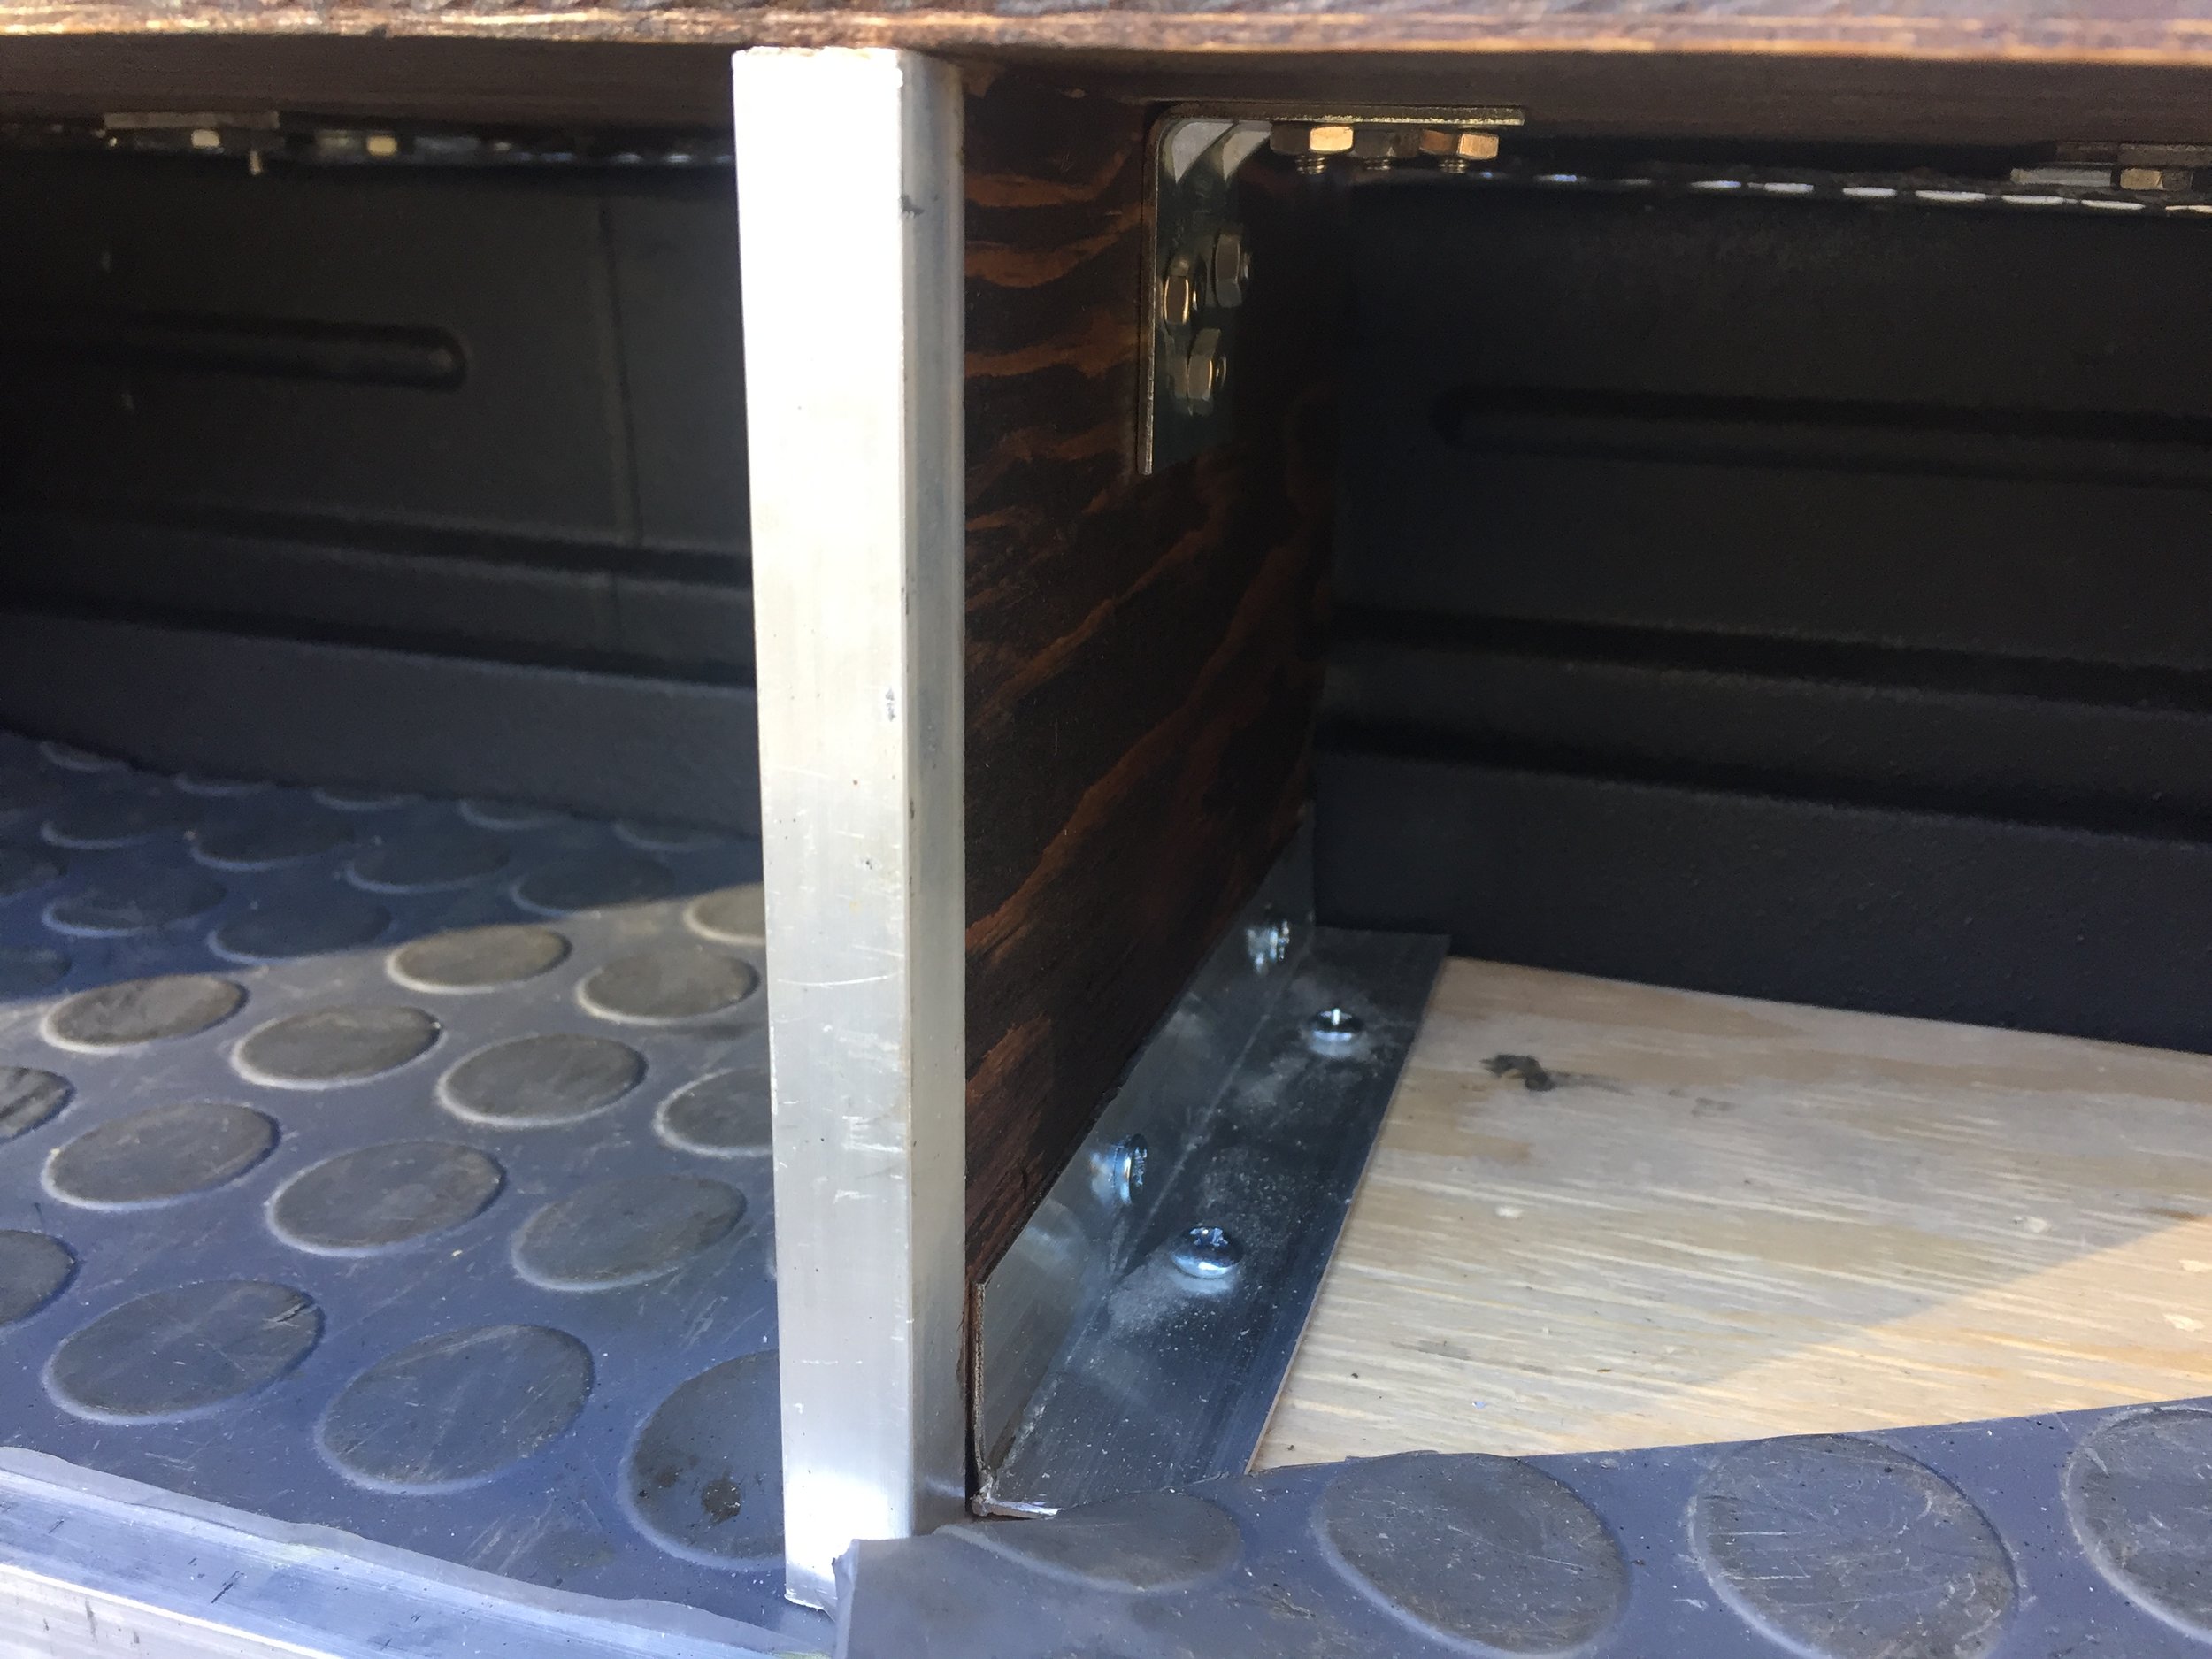


I took the whole thing off again. So that I could get the freshly cut aluminum angles in place to mark off a pre-drill on my dividers. I marked off the corner first. I made sure it was a right angle and actually put one machine screw and nut thru it just so to make sure to get the others lining up correctly. I marked off all their corresponding holes from their aluminum angles and took the screw and nut out. I installed the angles to the bottom, with out the top on. I used the same gauge plywood as a little spacer as I did this.
Once the angles were all installed to the base, I was able to just slide the dividers into place and then secure them with machine screws and bolts. I slid the finished box into the braces in the van and secured it down with machine screws and bolts.
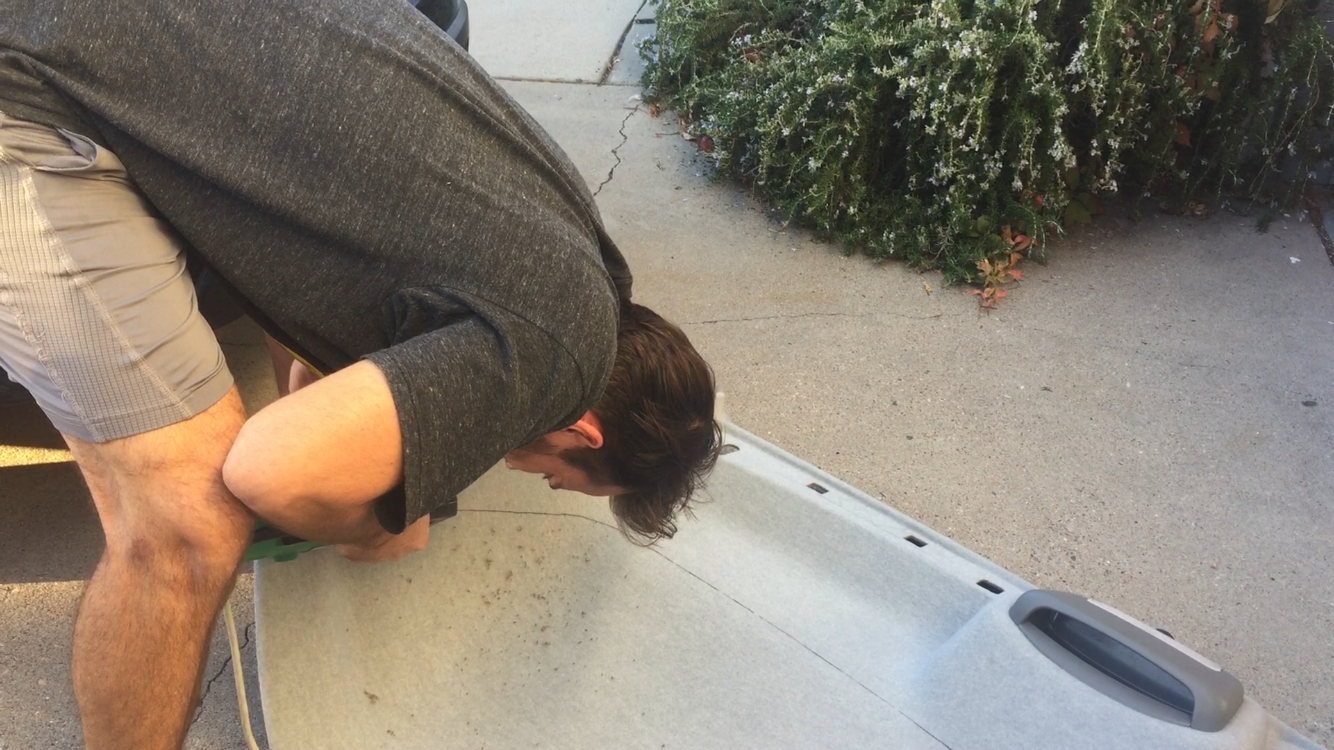
Probably no the best time to stain, but I really was making this box as a prototype while Kevin was out of town (that's also why there is a lack of building pictures, sorry), but it ended up working perfectly and taking forever so I didn’t want to make another one. So, I stained it a really dark color, while it was installed, to kinda blend with the dark step. It really muted that loud just-built plywood-look.
I re-used some more of the rubber floor matting that came with the van to put on the bottom of the box to protect them and make it easy to clean.


Then, I measured and cut the channeling and glued it on with Gorilla Glue (kinda of a messy cure… I would use something else. I just did it to avoid screwing into the aluminum finish).