Step 1

Phase 2.1: Climate Control - Sound Deadener: FatMat Rattle Trap

2.1 Sound Deadener: FatMat Rattle Trap

We ordered the FatMat Rattle Trap  because this is our third van build. And this time, it is our home in the US, not a temporary adventure rig to get us around a foreign country cheaply. So, are taking our time and we’re gonna do everything we wish we could have had in our past vans. Sound Deadener is one of them. It reduces road noise by absorbing vibrations giving you a nice smooth ride. Our slider door has a lot to say when we are driving. We are hoping this FatMat Rattle Trap will silence the slider road rattle.  

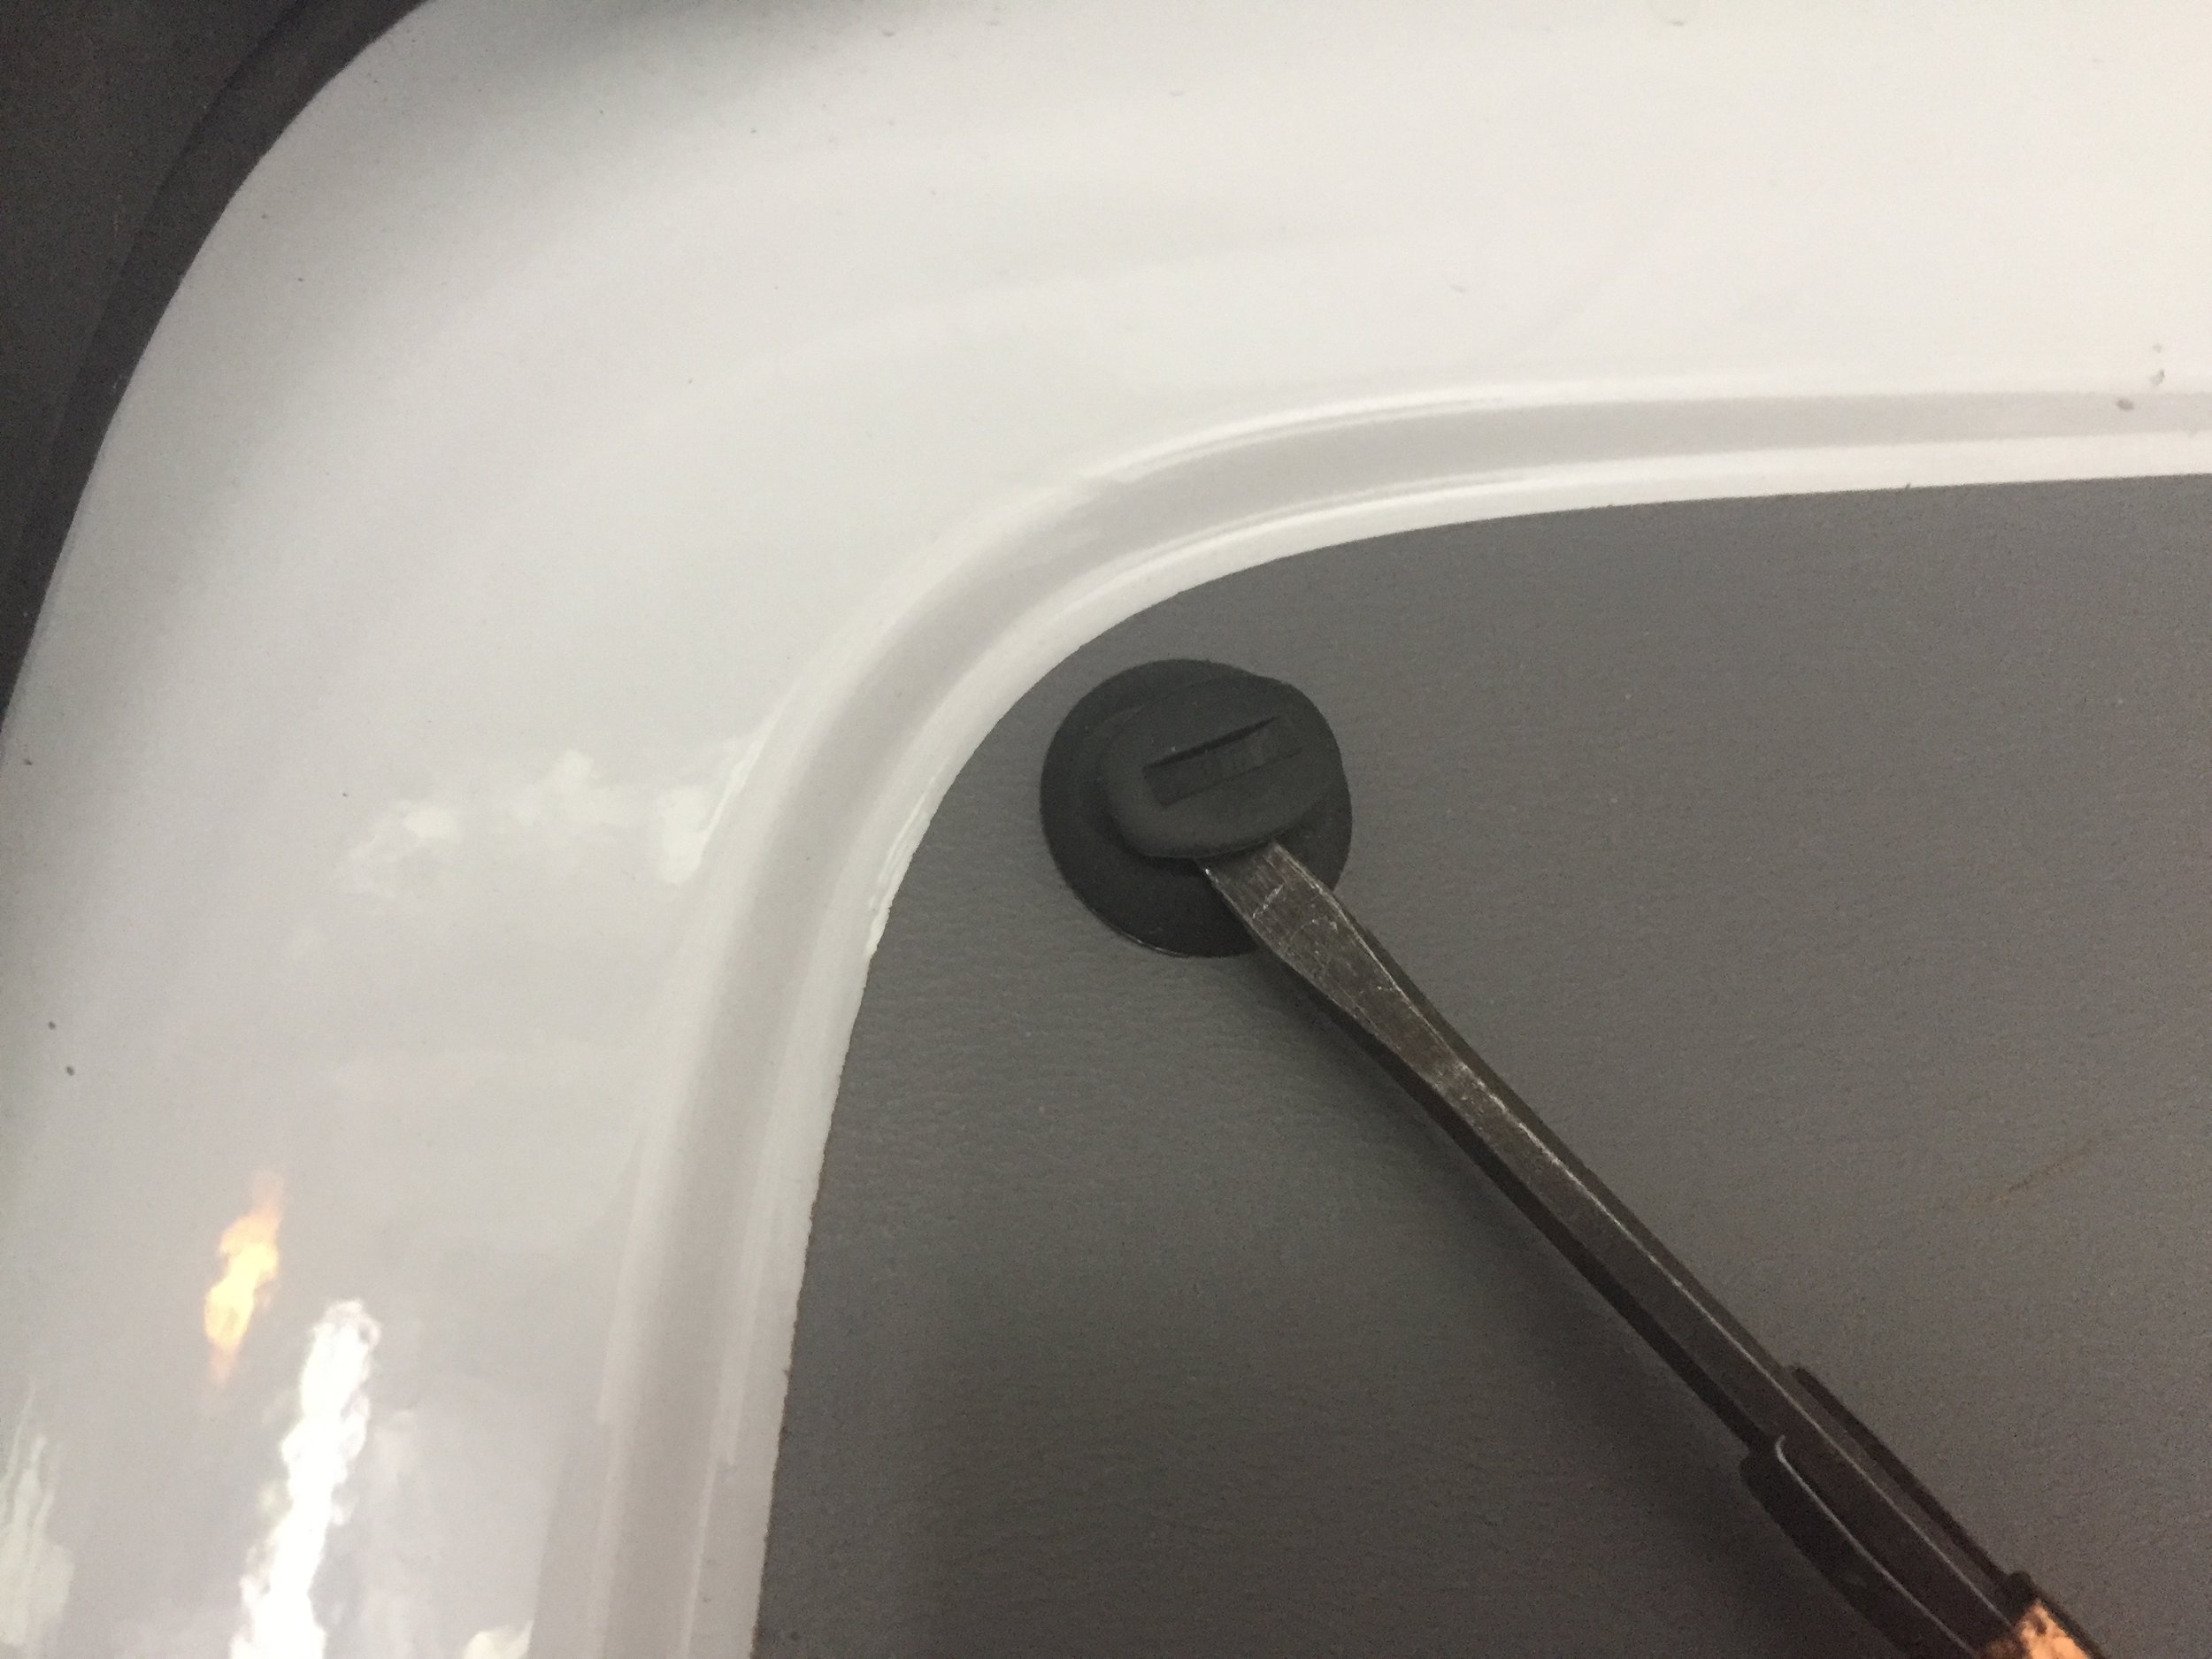
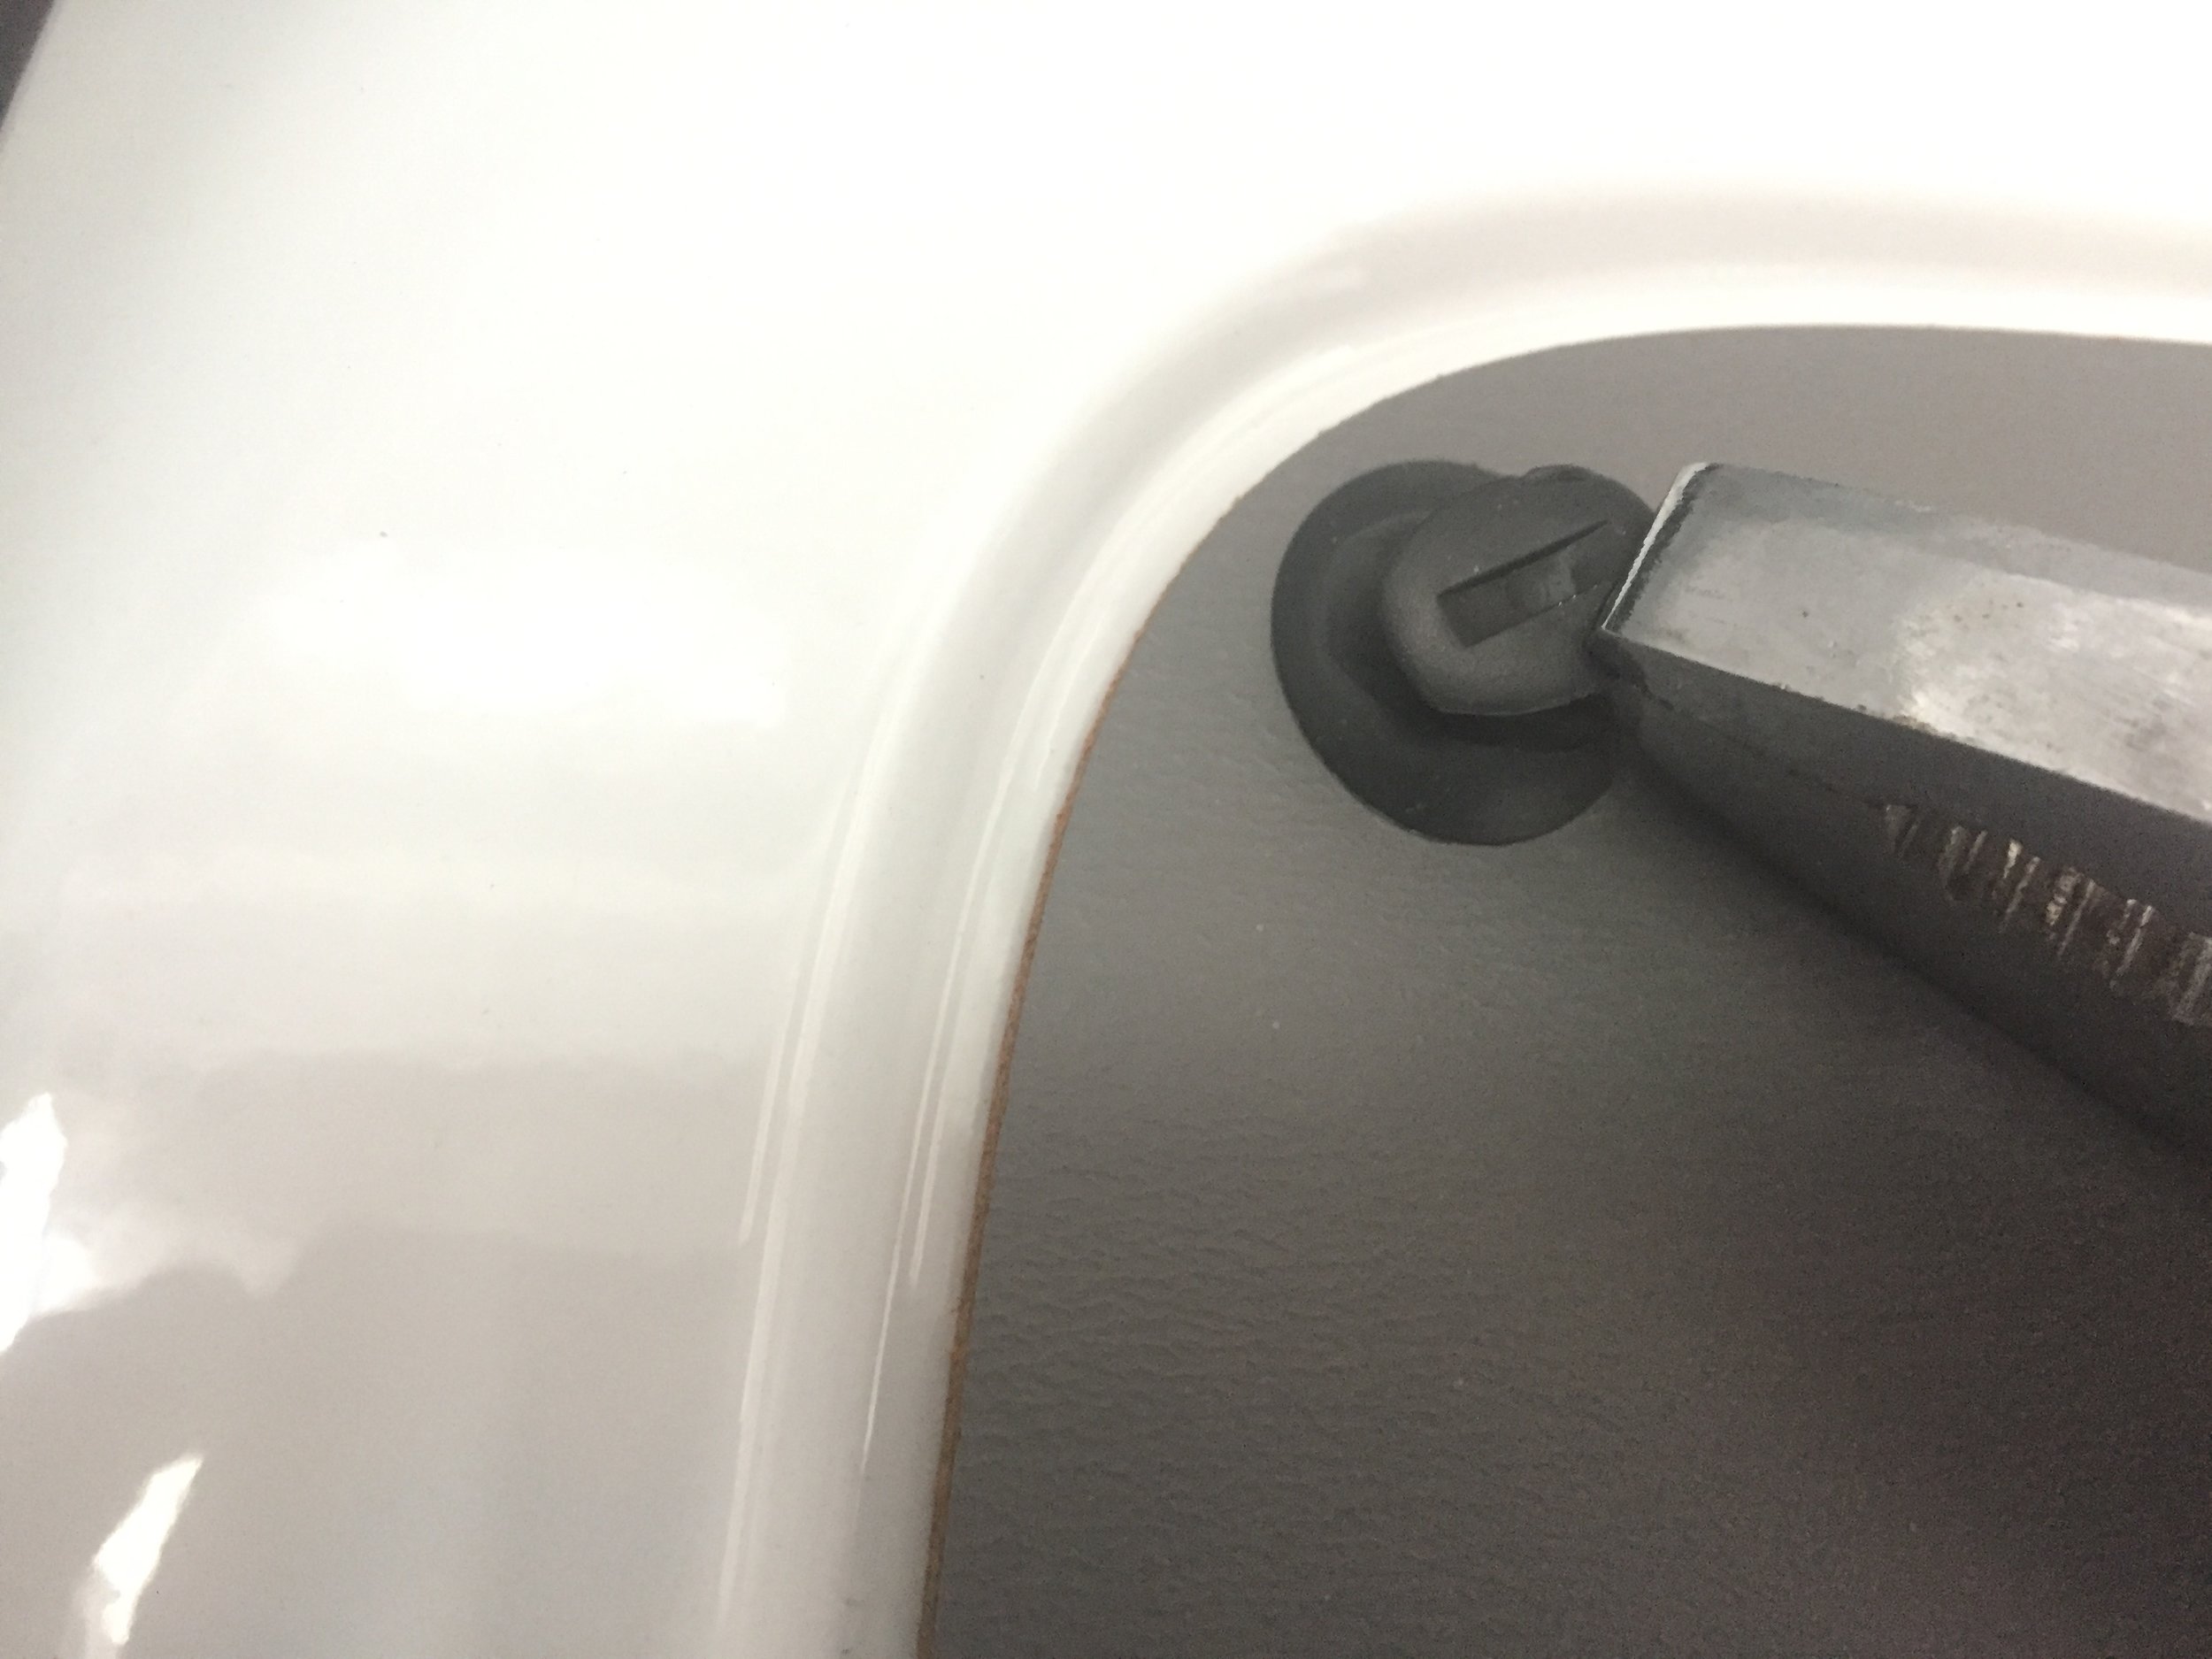
First, we wiped down the area with some alcohol to give the Rattle trap the cleanest surface to bond. 

The kit, from Amazon, comes with a roller and a box cutter. You can literally get started when it arrives at your doorstep. 

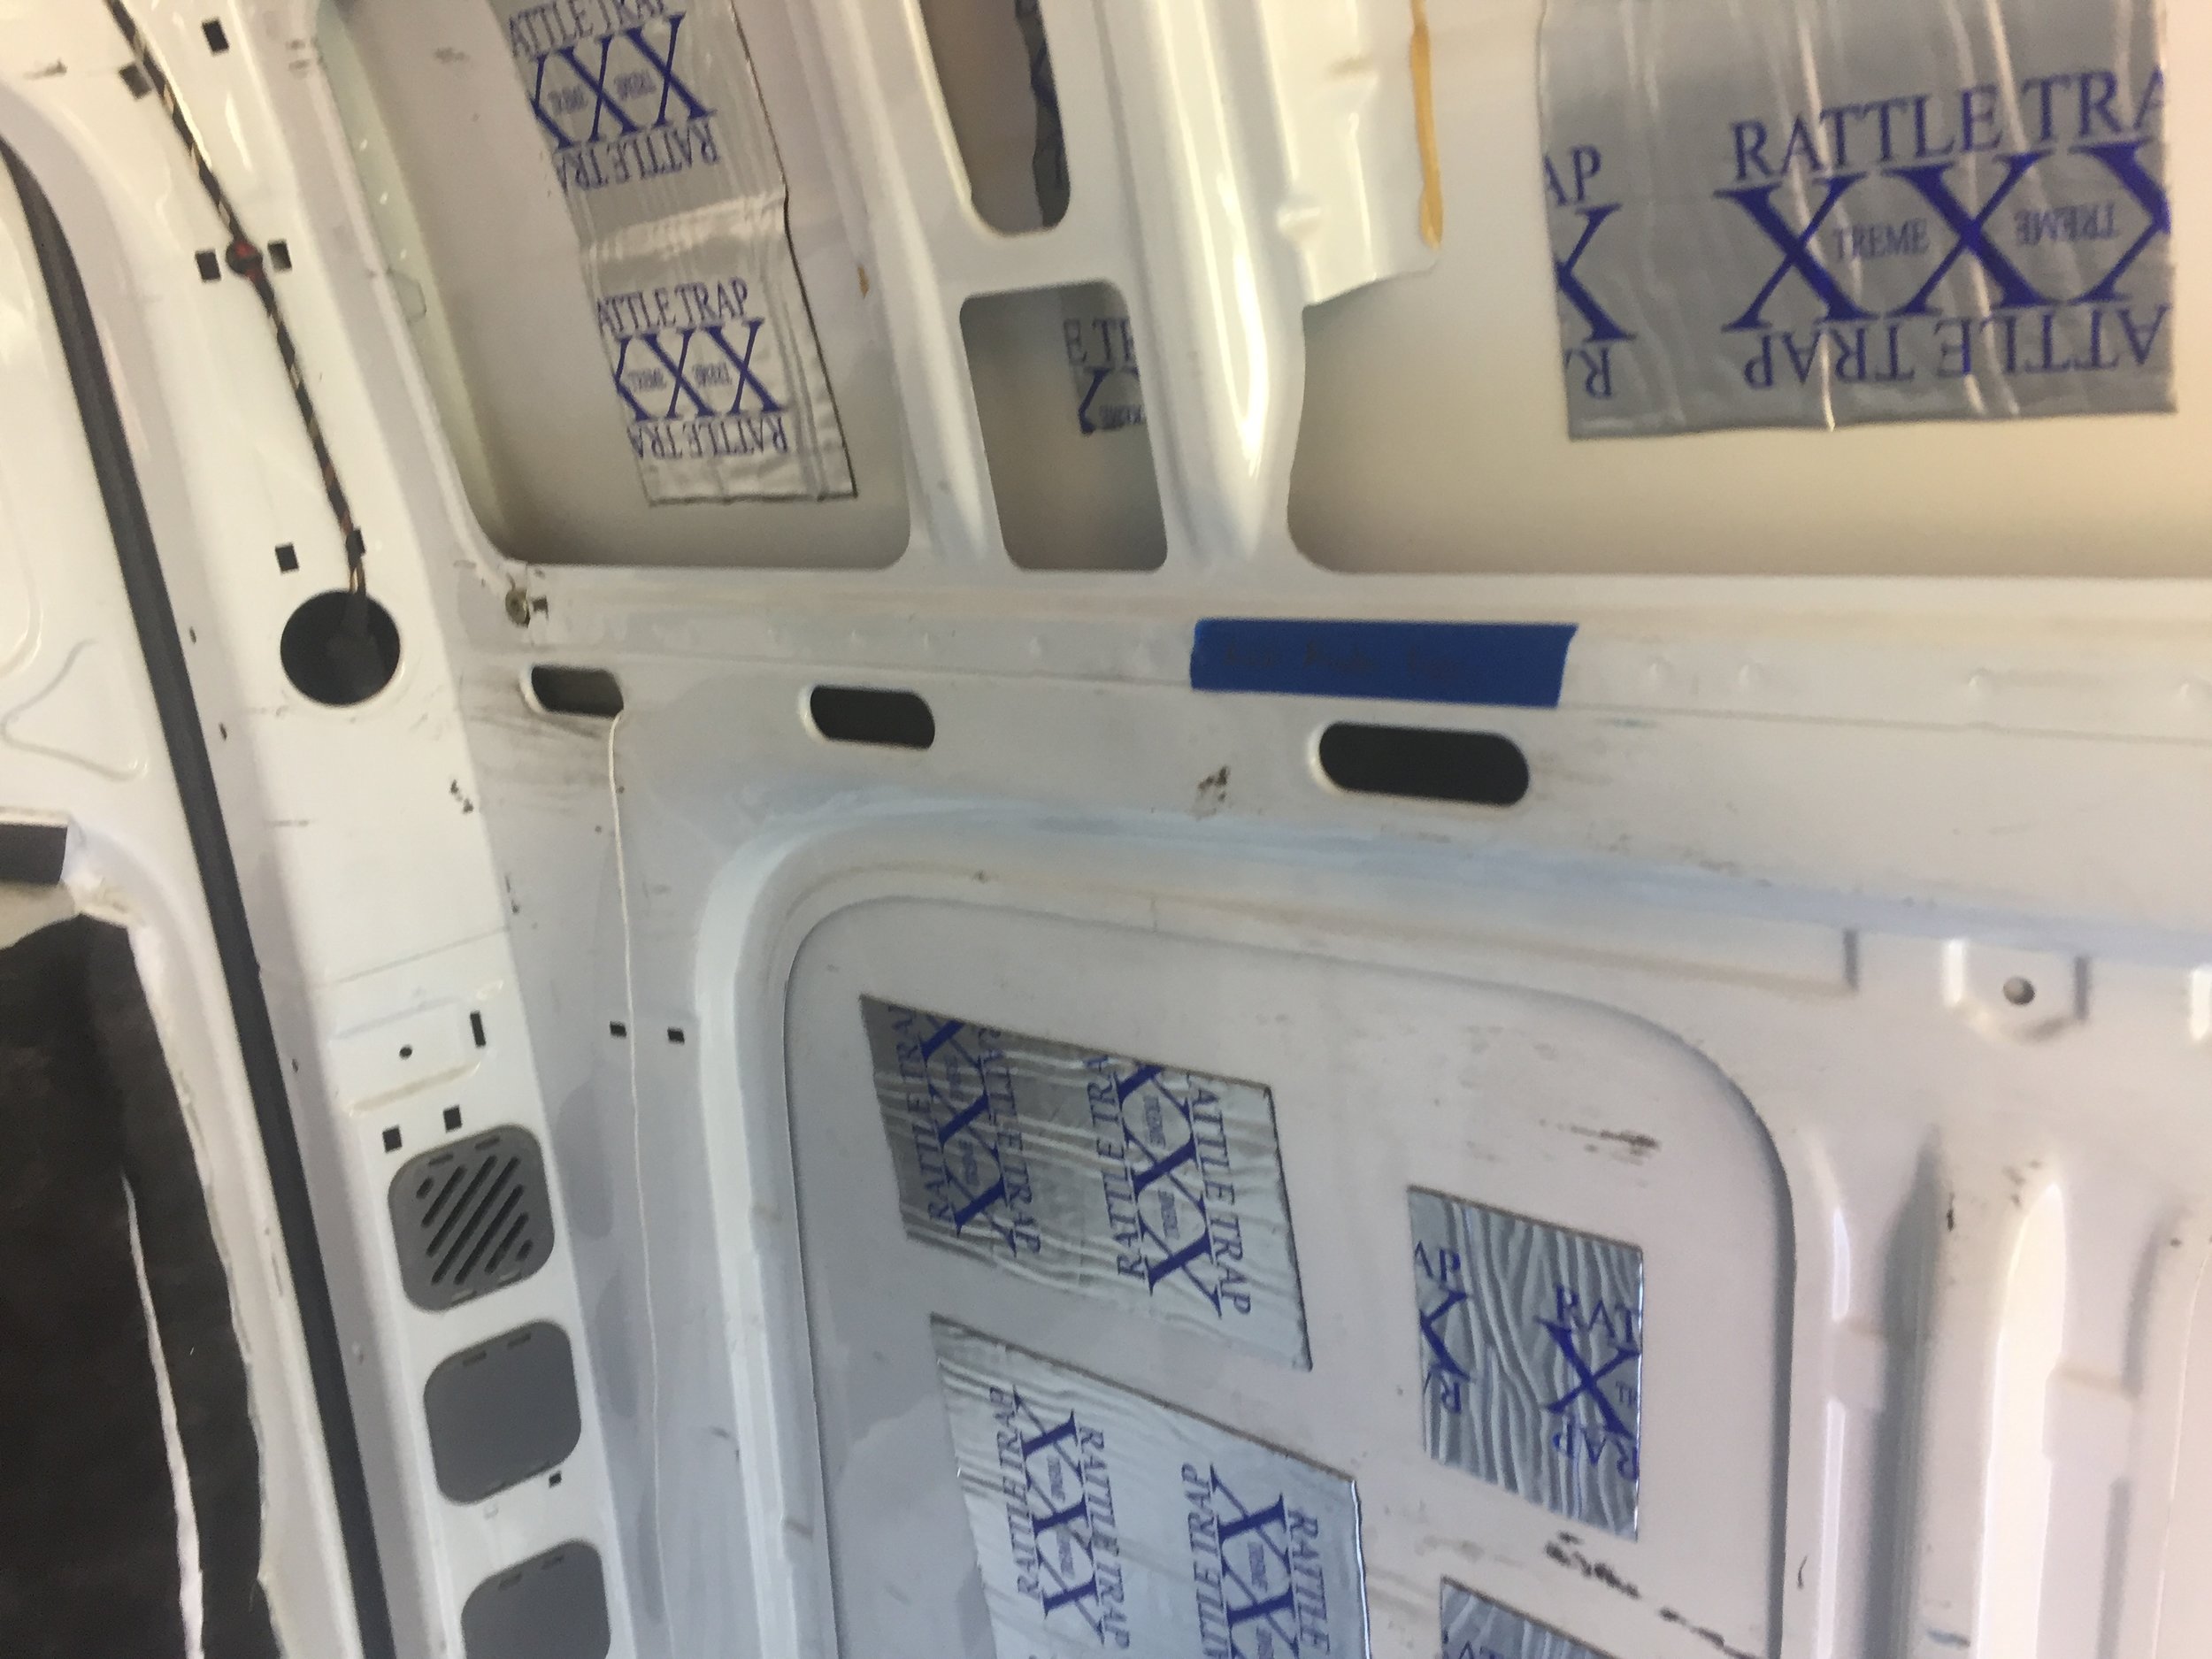
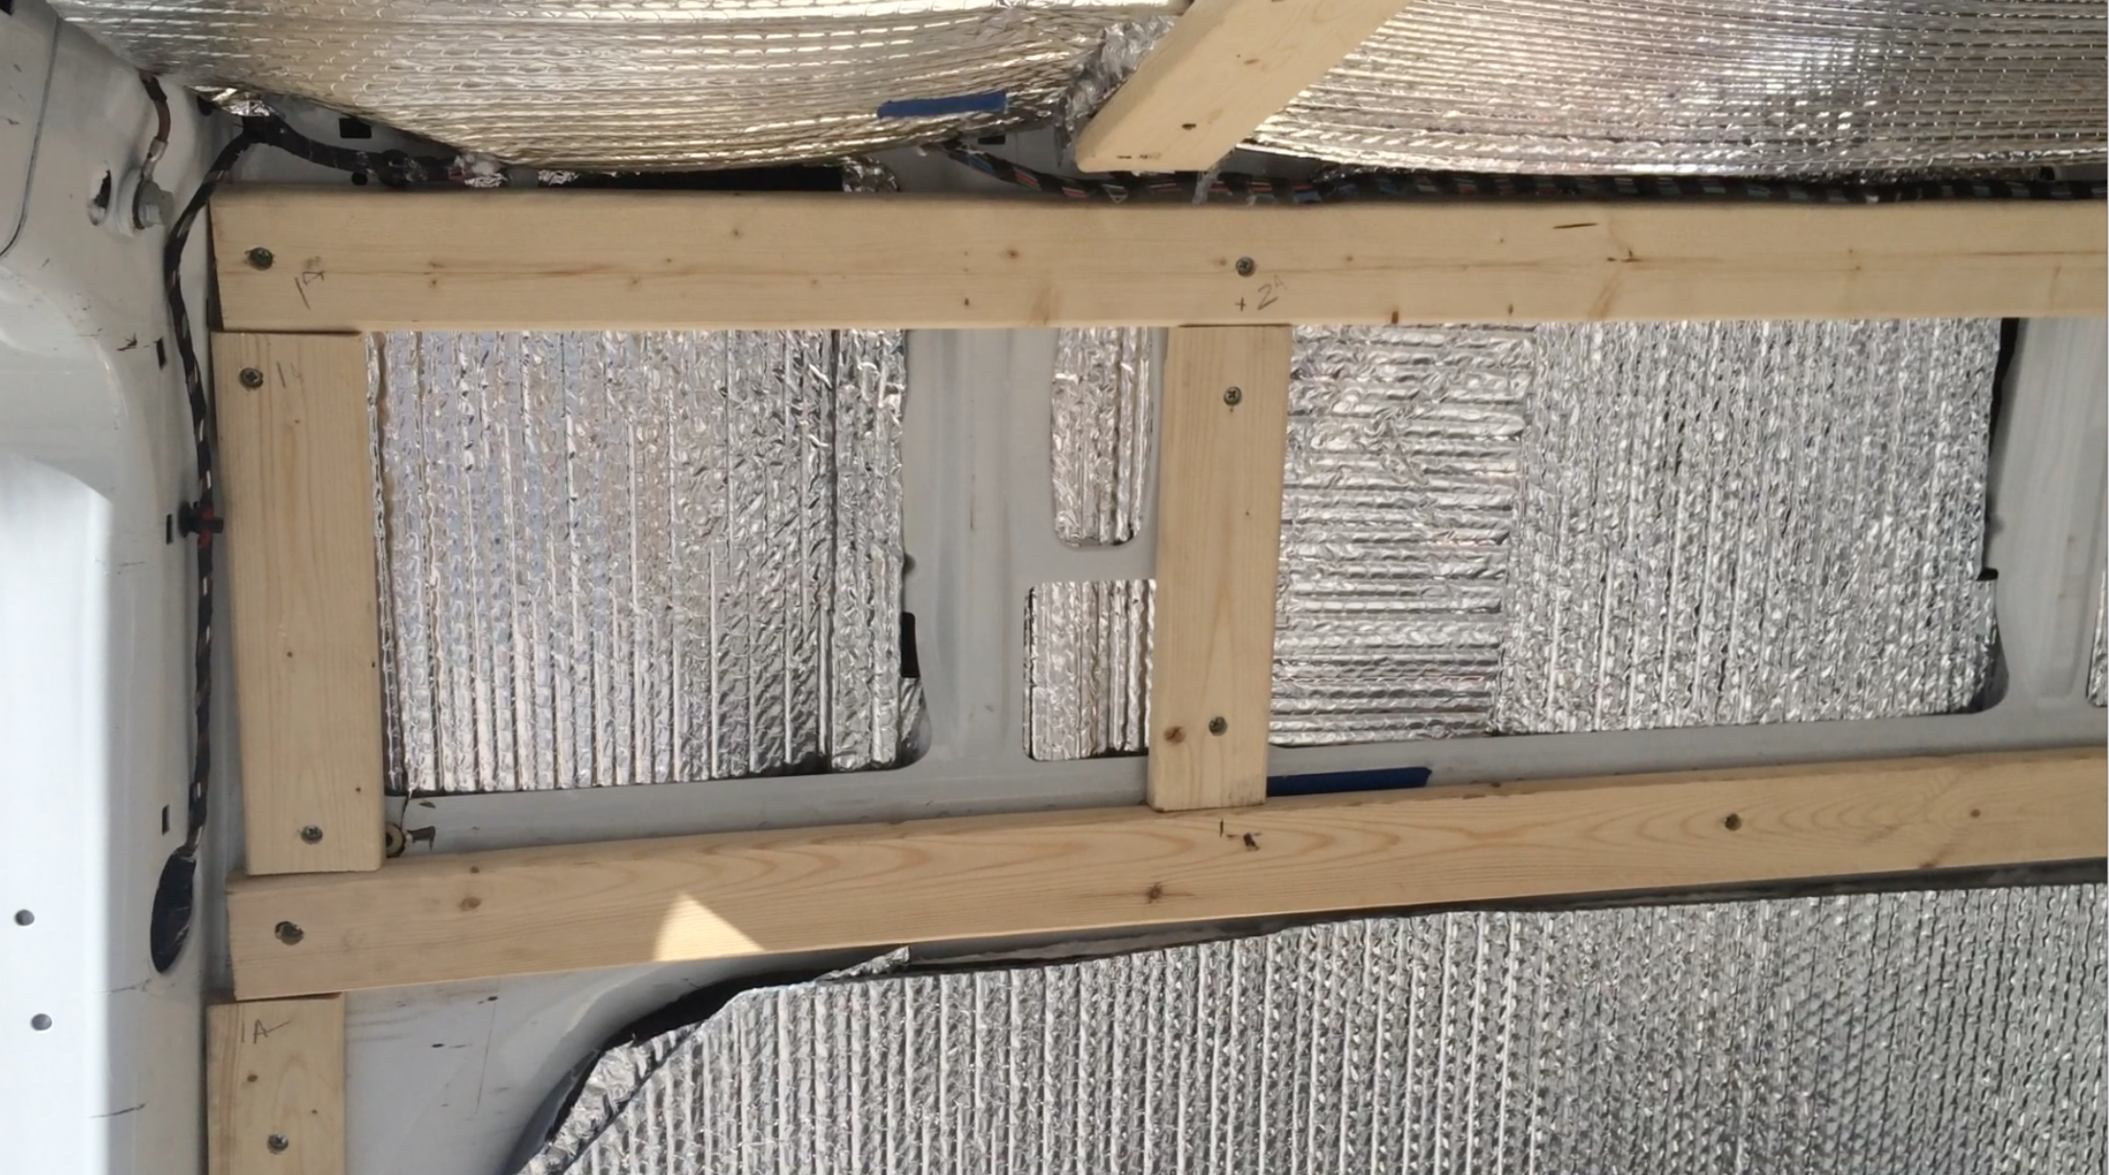
With this stuff, you don’t need to fill the whole surface. And word on the street is, there is no waste with this stuff…even a 1”x1” piece will trap a good amount of rattle. For some of the identical panel sizes, I pre-cut a couple of them to make the process go faster. The most awesome part about this stuff is the adhesive is amazing. It smells a bit like tar, but the smell doesn’t linger. There is no heat gun involved, just cut, peal, and stick. Give it a couple roll overs with the roller making sure to get out any bubbles. Careful with this stuff. Once it goes on, it stays on or it leaves a pretty sticky residue behind if you do get it off.

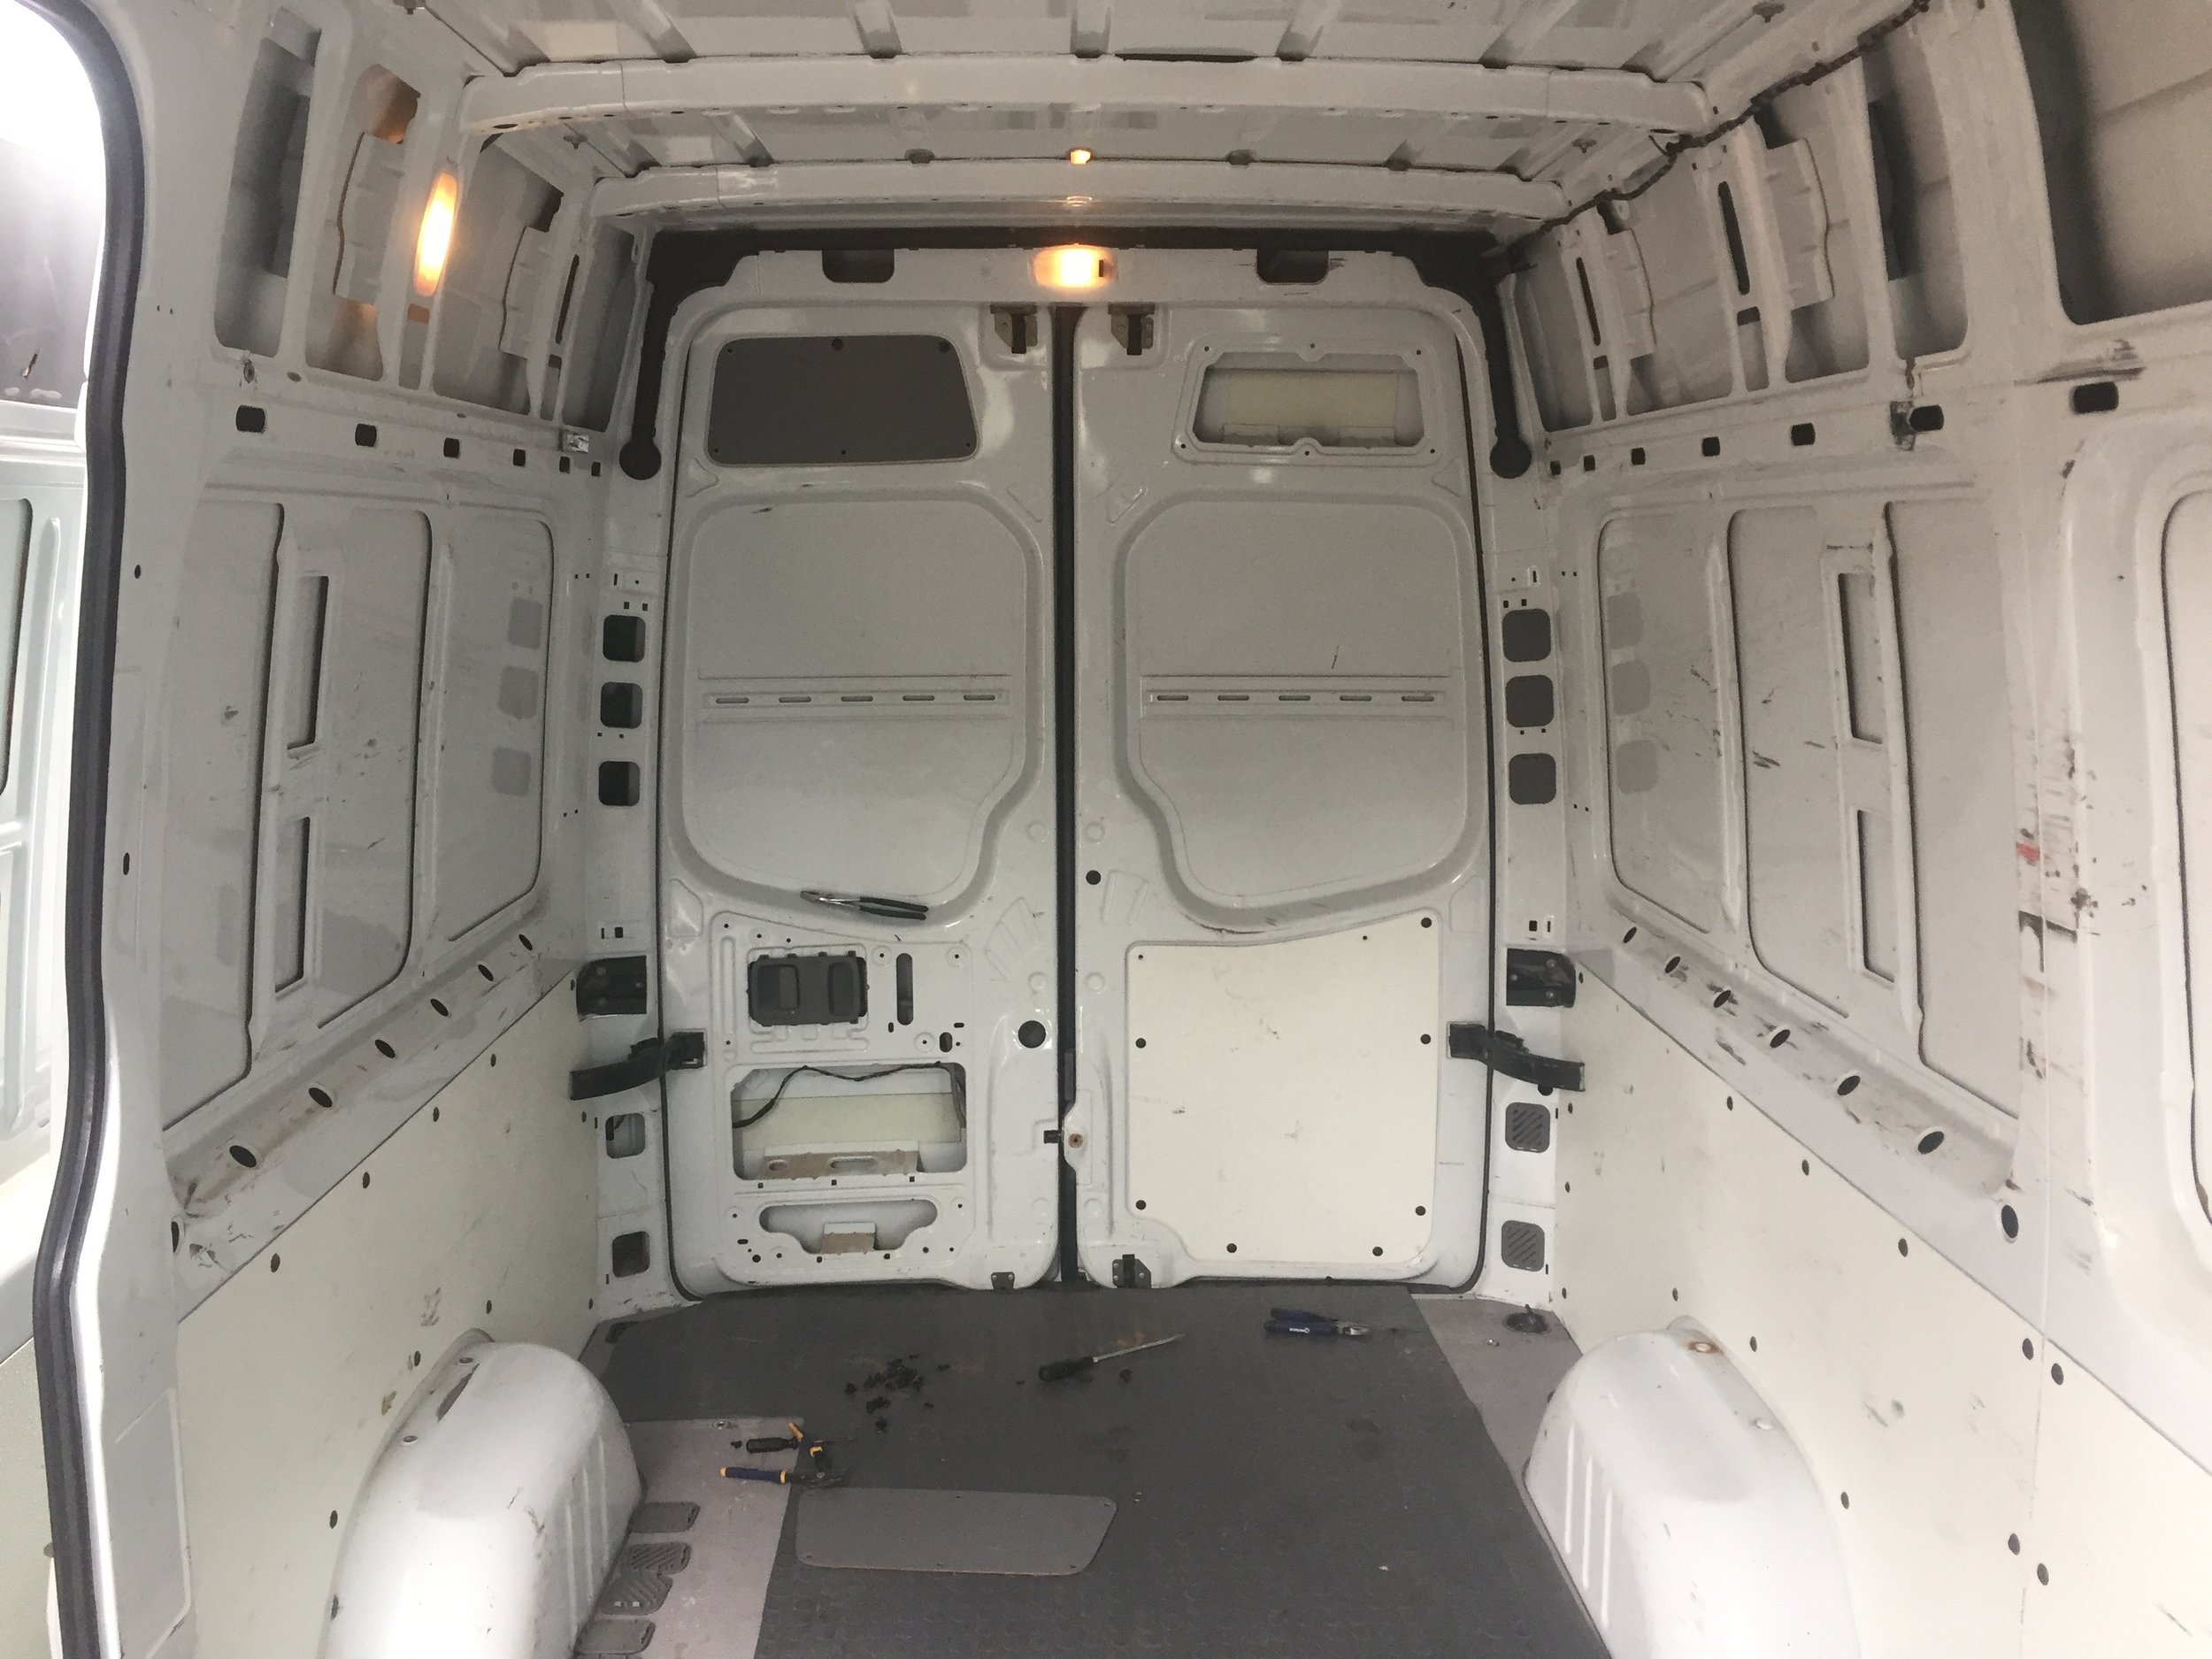
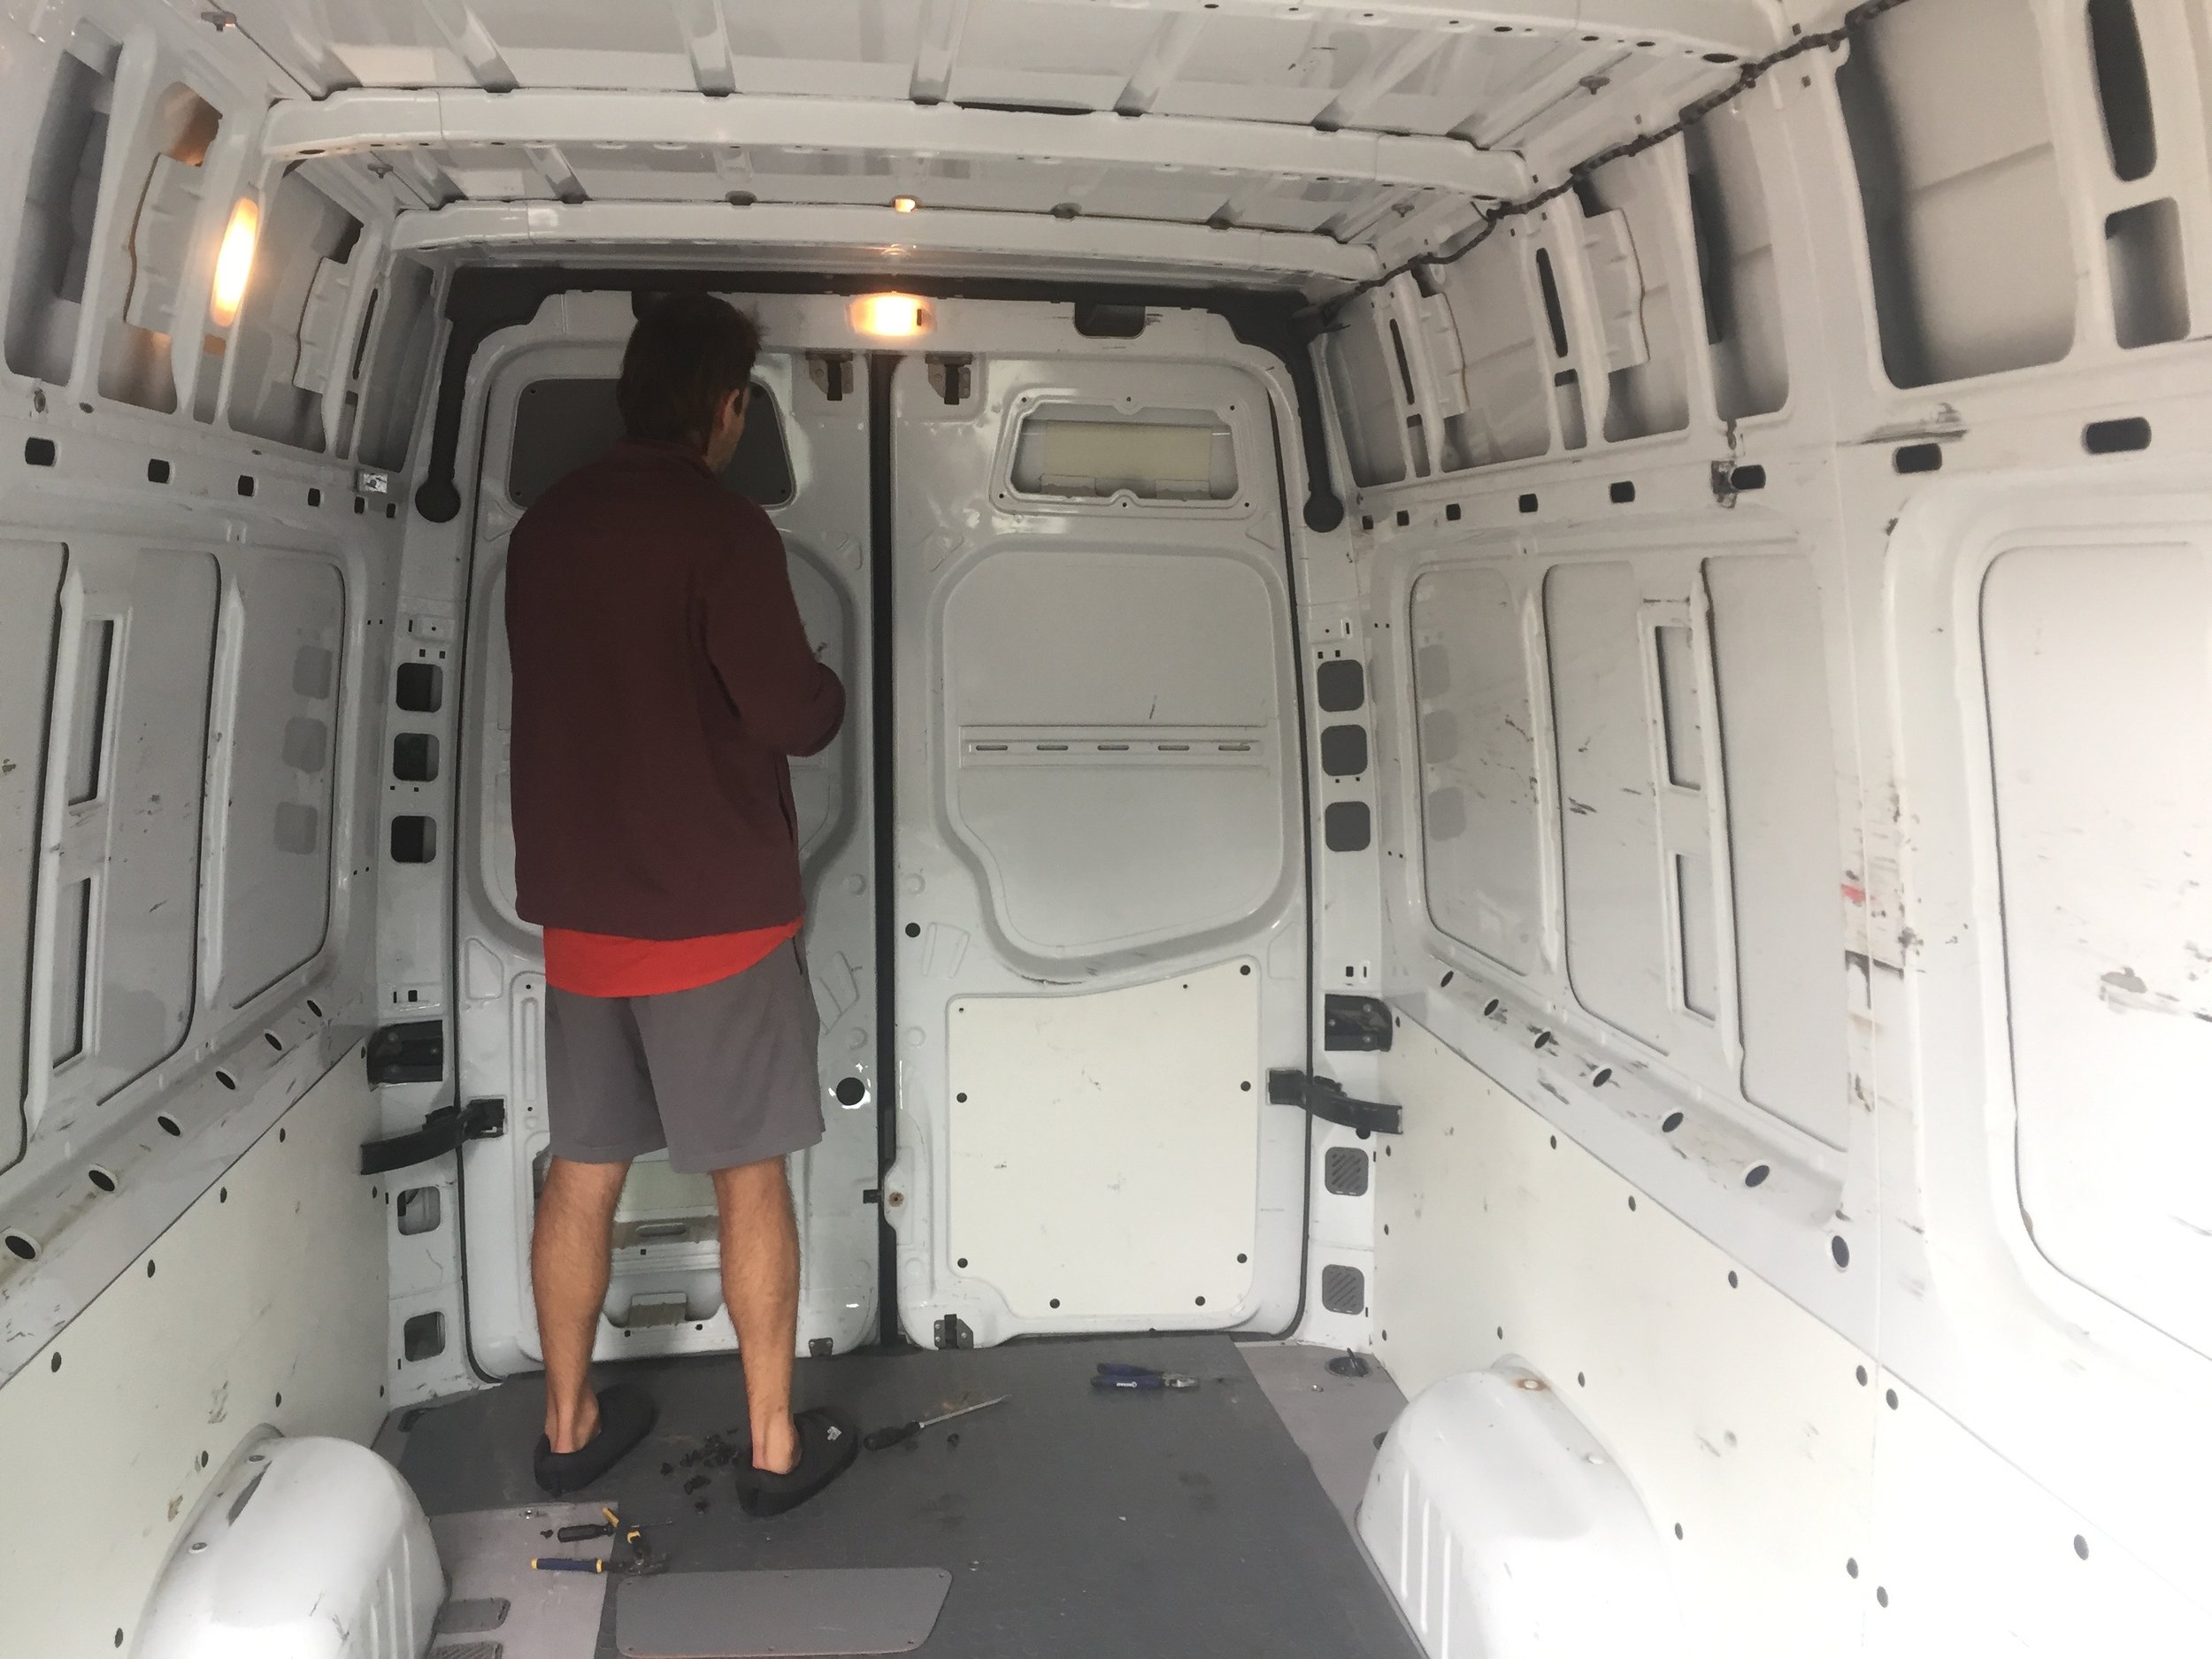
We made sure to hit all the insides of the slider door where it sounded like the rattle was coming from. We also concentrated heavily on the wheel wells. But the 50ft roll, from Amazon was more than enough for the entire van. 

What we used  - http://amzn.to/2hOFulO

Phase 1.2: Addressing the Rust and Raptor Liner Hood and Trim

After gutting everything out of the van so we could have a clean canvas, we addressed some big rust issues on the door panel. For about three days, we sanded all the small problem areas pretty good and we cut out and patched the huge rust section from the door panel trim that was letting in water overtime. 

Once we got the trim off, we were able to look at the problem area. It seemed that the trim was letting water in between the trim and the door and it would just pool there because of the contours of the van and get stuck thus, causing a massive ugly rust spot.

Randomly after fixing the rust, I came across a comment on a YouTube video.  Someone from Australia commented that [in Australia], this was a recall issue where Dodge or Mercedes would fix issue prior to it causing rust and body damage. Since I have a used ’07 Sprinter, I figured we had missed that window of opportunity to get it fixed, if it were even offered in the US. 

So, we came up with our own solution and preventative measures. We created a Raptor Liner Trim all the way around. We painted and tapped over three days:

Day 1: 

We tapped off the exterior. Then, we sprayed degreaser on all exposed to-be-painted areas and let it dry.  After that was dry, we sprayed an adhesive promoter over that. After about 15-20 minutes of letting that dry, we sprayed the Raptor Liner over the existing stock grey trim and continued the paint line around the back and on to the hood of the van. We tried to seal the grey trim to the van by taping off a clean line about an inch above the trim. So that way the Raptor Liner would create a nice paint seal on the trim seam. 

Day 2: 

We tapped and painted the interior of the doors for the trim to make it look consistent when the doors were open. Here, we included the interior door steps into this line as well. We did the same method: Tape off, Degreaser till dry, Adhesive Promoter till dry then, Raptor Liner.

Day 3:

There was some extra paint after the trim was double coated. So, we used the last of the kits to do the interior floor. This will give us some extra insulation and moisture barrier. 

We had some “help” actually spraying the Raptor Liner because we had never done it before and were too scared to mess the paint job up! In the end, we were over charged for all the elbow grease that we put in sanding jobs and prepping jobs for the easy stuff to be done, like the paint job. It’s a long mechanic ripping you off story that we will spare you. You always save money doing it yourself! But, we ignorantly paid $480 for two sets to paint, but I have found them here, on Amazon for $108.96 for one set, with a free gun. 

First (kinda expensive) lesson learned with the van: There’s gonna be a lot of stuff we are intimidated by with this build, but nothing YouTube and other experienced Bloggers can’t help us with prior to paying someone else to do it. We are here to share those lessons with you so that your build can hopefully go smoother than ours did. 

So, that is $217.92 for two sets, with two guns. (The paint is thick and gunks up the gun sometimes. So, an extra gun would be nice! We just soaked our one in acetone every night.) If you have an air compressor, you are good to go with this set. On our third day of painting, we actually ended up having to paint the floor ourselves. Since a sub-floor was going over it, and after watching for the past two days, we weren’t intimidated. At that point, we realized painting was the easy part! You just gotta make sure you paint it under the shade (and protected from dust) or inside a well ventilated garage. Make sure it is not in direct sunlight when spraying your vehicle. We were (still are) beating ourselves up for not doing it ourselves the entire time. So don't be scared. We plan on addressing the rest of the body later, by ourselves. 

How Long did the project take?

All in all, the project took us 3 days prep + 3 days taping and painting. 

But, this depends on your sanding situation. We only worked afternoons and we had a lot of tiny rust spots and a really big ugly rust spot that ended up needing to be cut out and a new piece re-welded. If you don’t do the interior bottom, then you will only have 2 days painting and tapping. 

The cost of our project vs. the cost of your DIY project: (granted you have a air compressor and more confidence to paint right off the batt ) 

Raptor Liner Kit: $240 x 2 = $480  

2 spray guns = $30

4 rolls of Automotive tape = $31.95  

Degreaser & Adhesion Promoter= $100

Getting the Mechanic to paint our Van, after our prep = $330

Our Cost: $971.95

Raptor Liner Kit: $108.96 x 2 = $217.92

4 rolls of Automotive tape = $31.95  

Degreaser & Adhesion Promoter= $100

Painting it Yourself: $0

Your Cost: $349.87

Phase 1.1: Gutting out the Van

We removed the partition and the shelving units and sold them on Craigslist. 

Then, we removed the side paneling from the van. So that we could sound deaden and insulate. 

To remove the side panelling from the inside of your Sprinter Van, there are panel trim clips that you will need a flat head screw driver and some pliers to remove. Wedge the flat heat under the center round piece and use the leverage of the screw driver to lift that center piece up. Then, take your pliers and pull it out. Sometimes, the outside piece comes too. That is perfect, because we are taking it all out.