Phase 7

Phase 7.2: Multifunctional Ottoman

We had always planned to have an Ottoman for use with the couch as well as the swivel seat.  After getting comfortable in the van during the build and testing it out we realized that building the ottoman was the missing piece.  We also needed the ottoman for laundry, coconut coir, and other random things.   

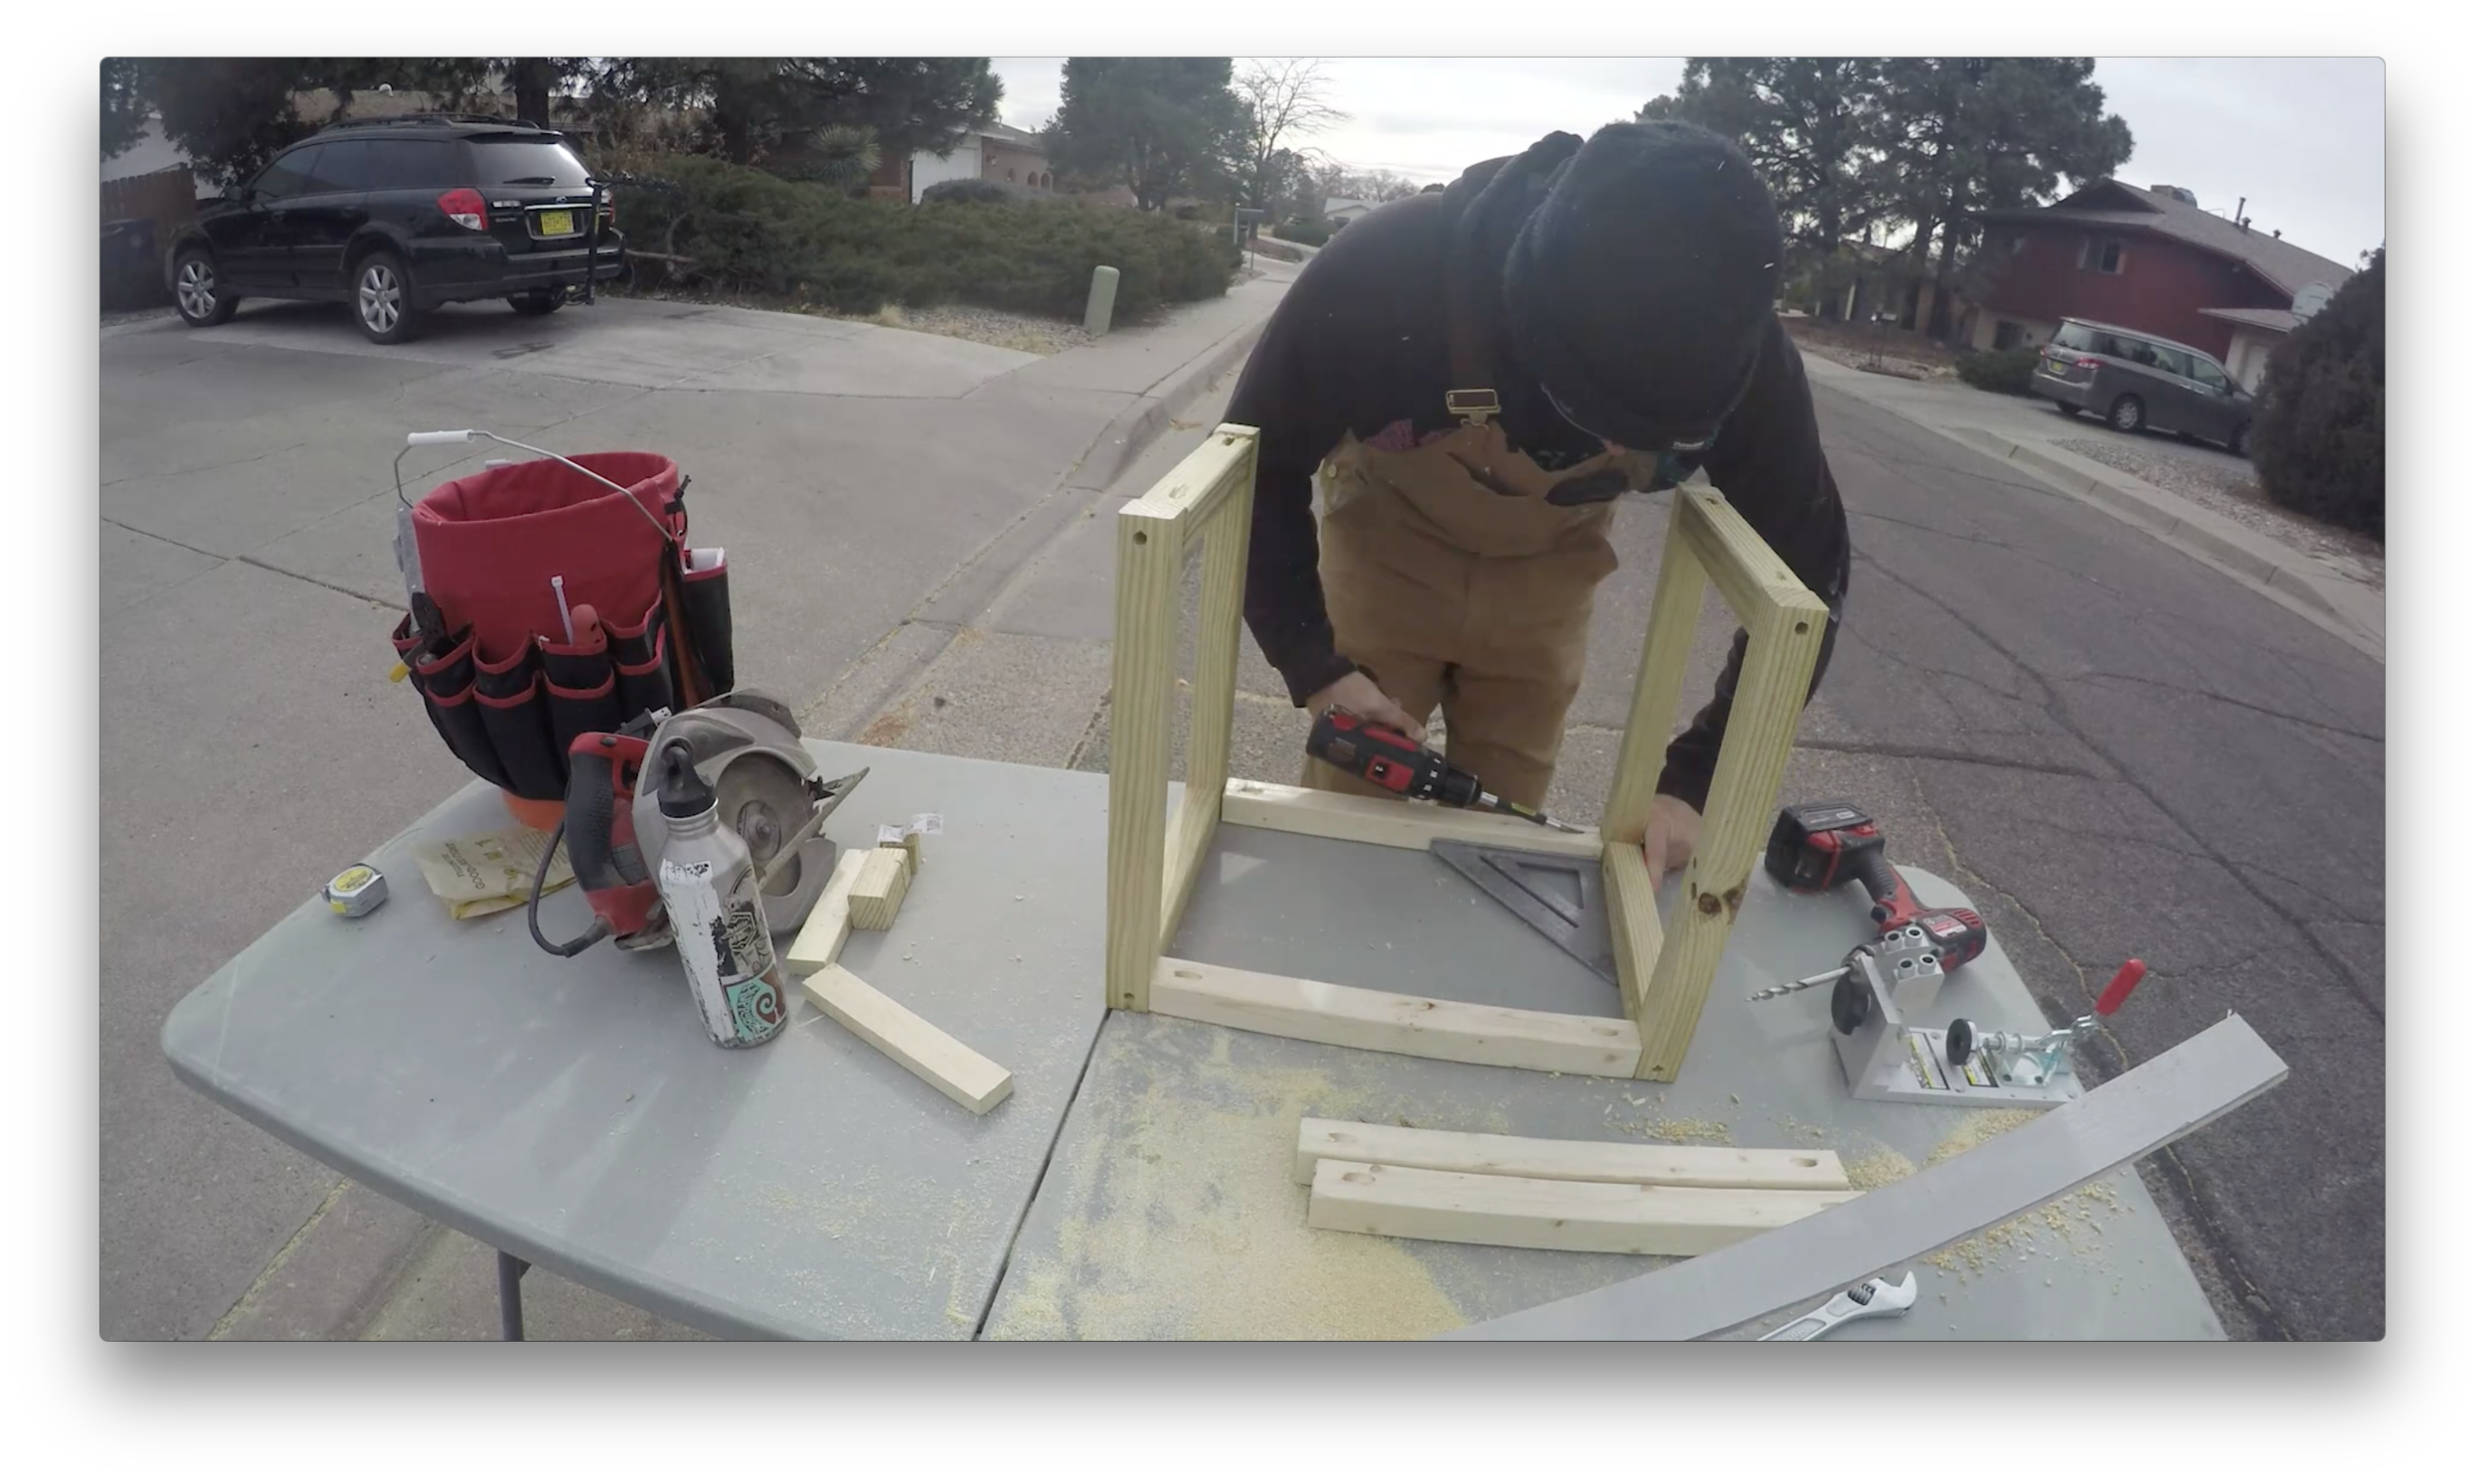
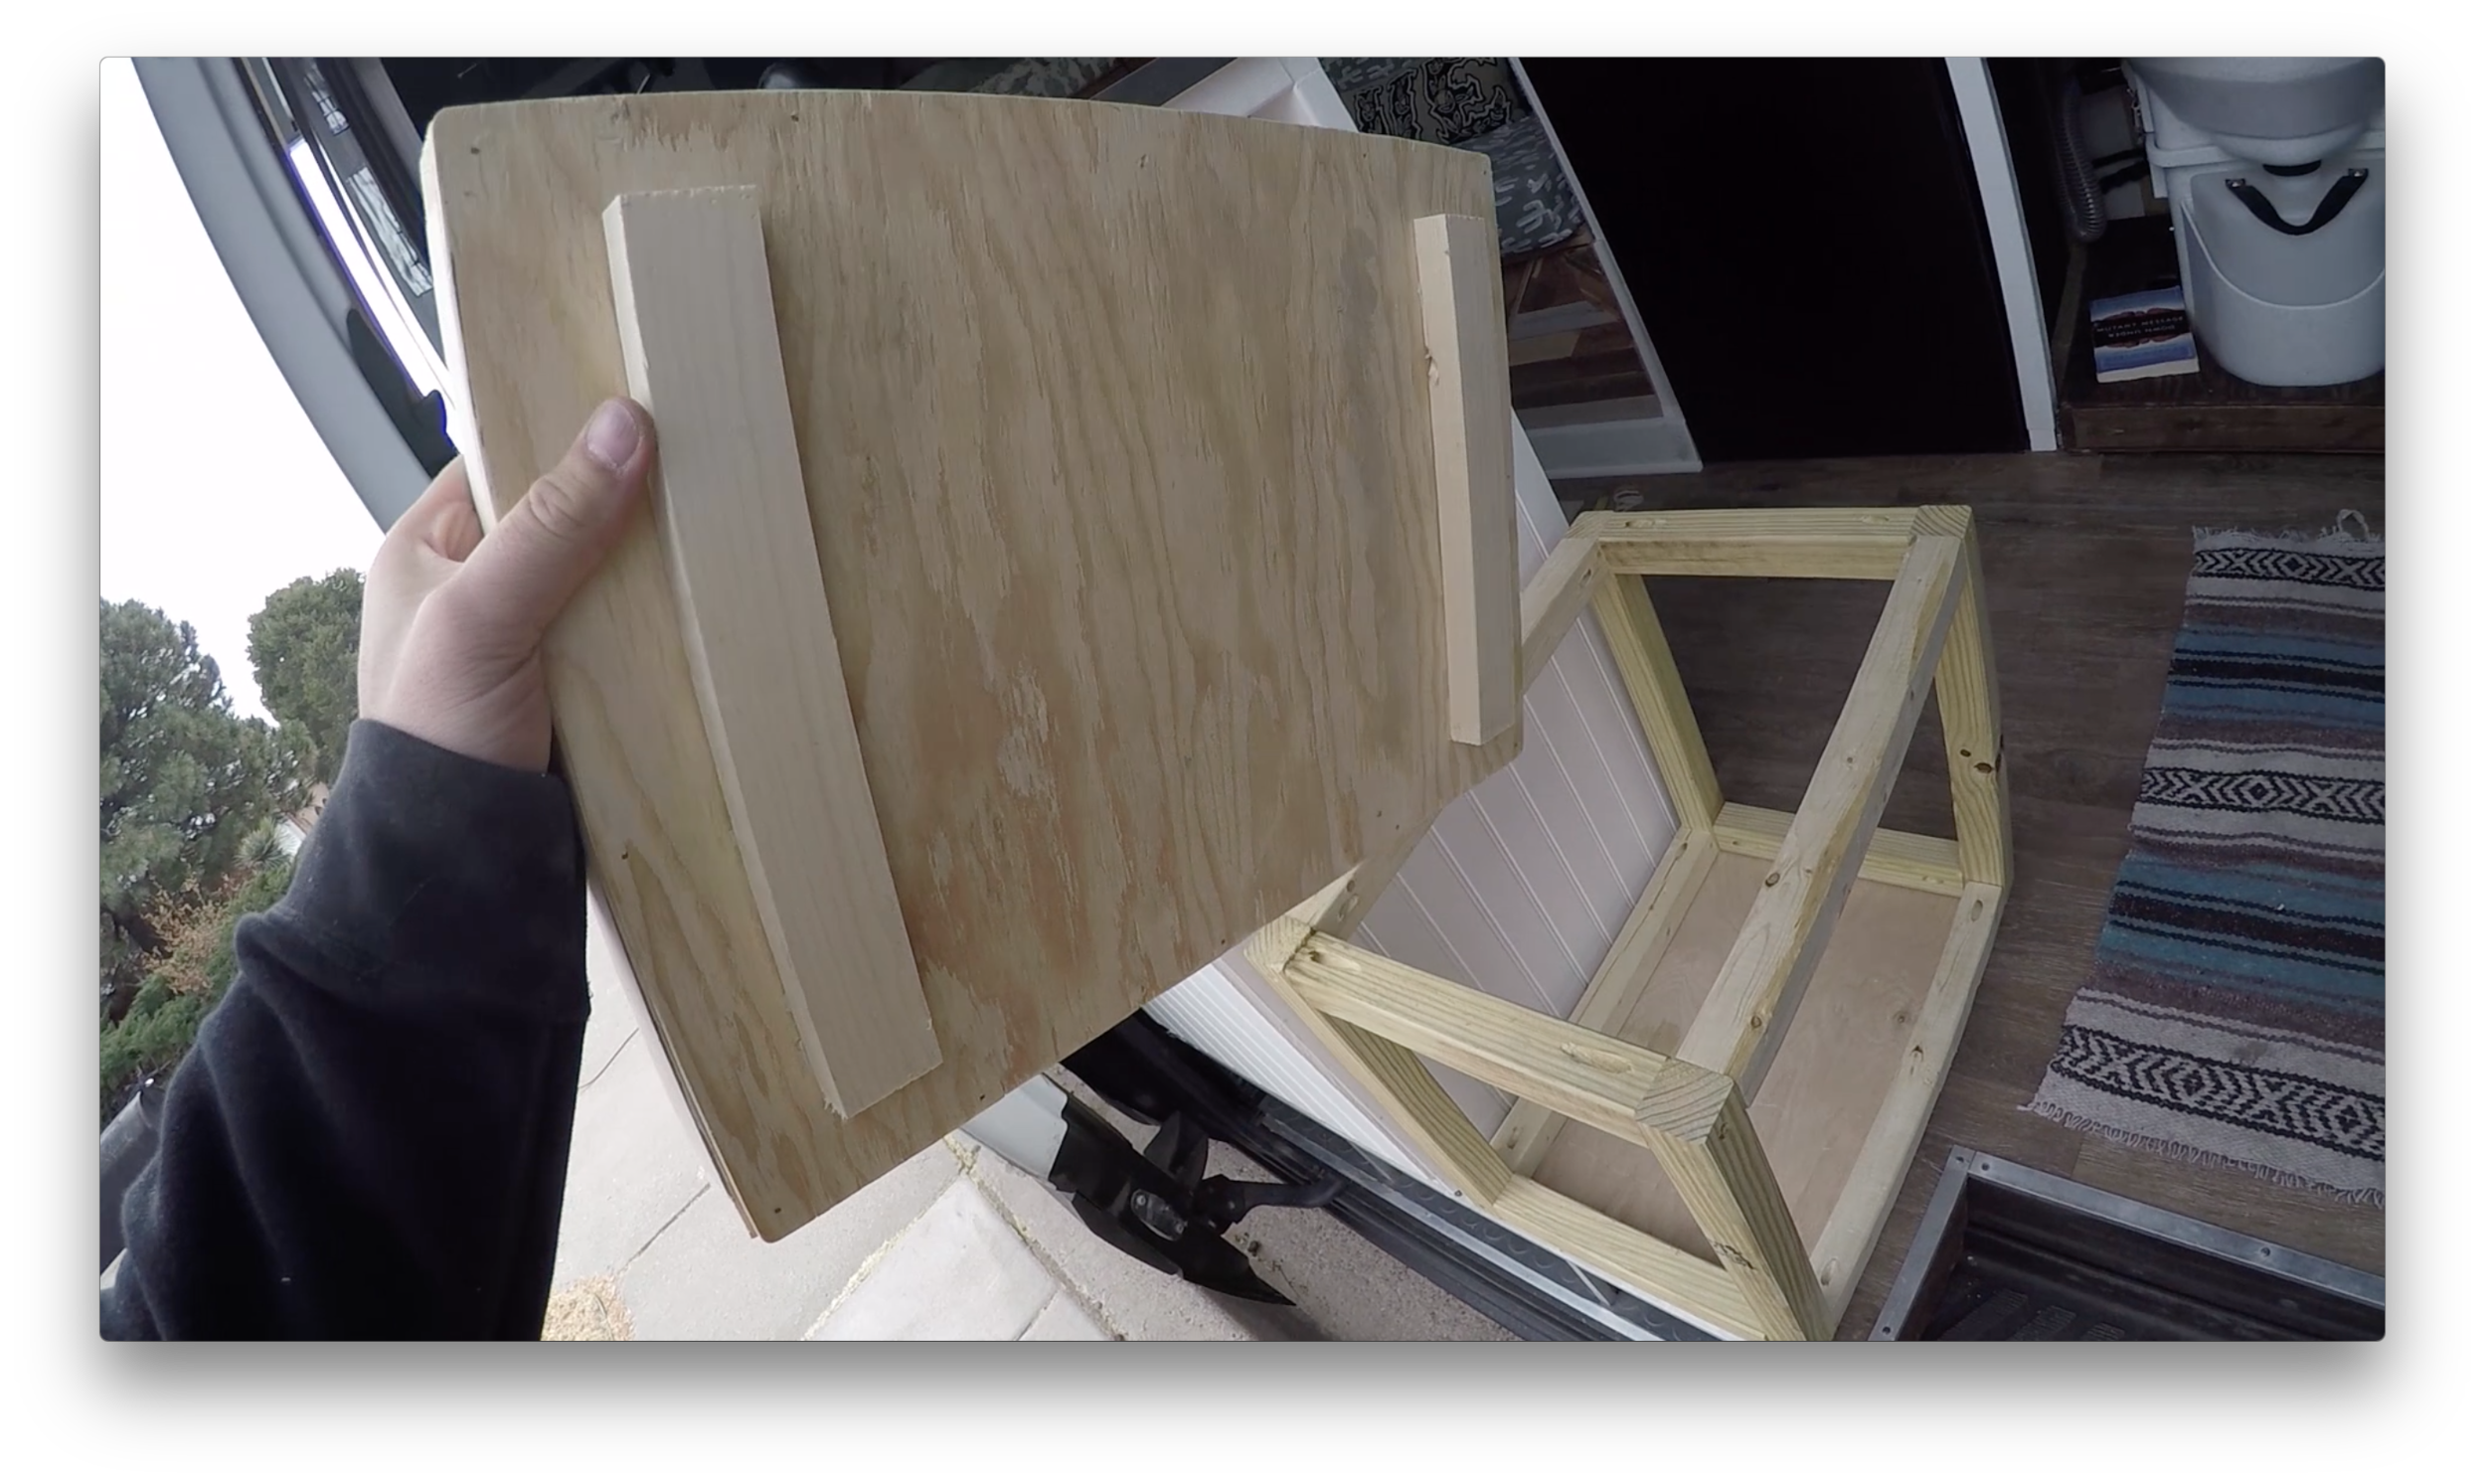
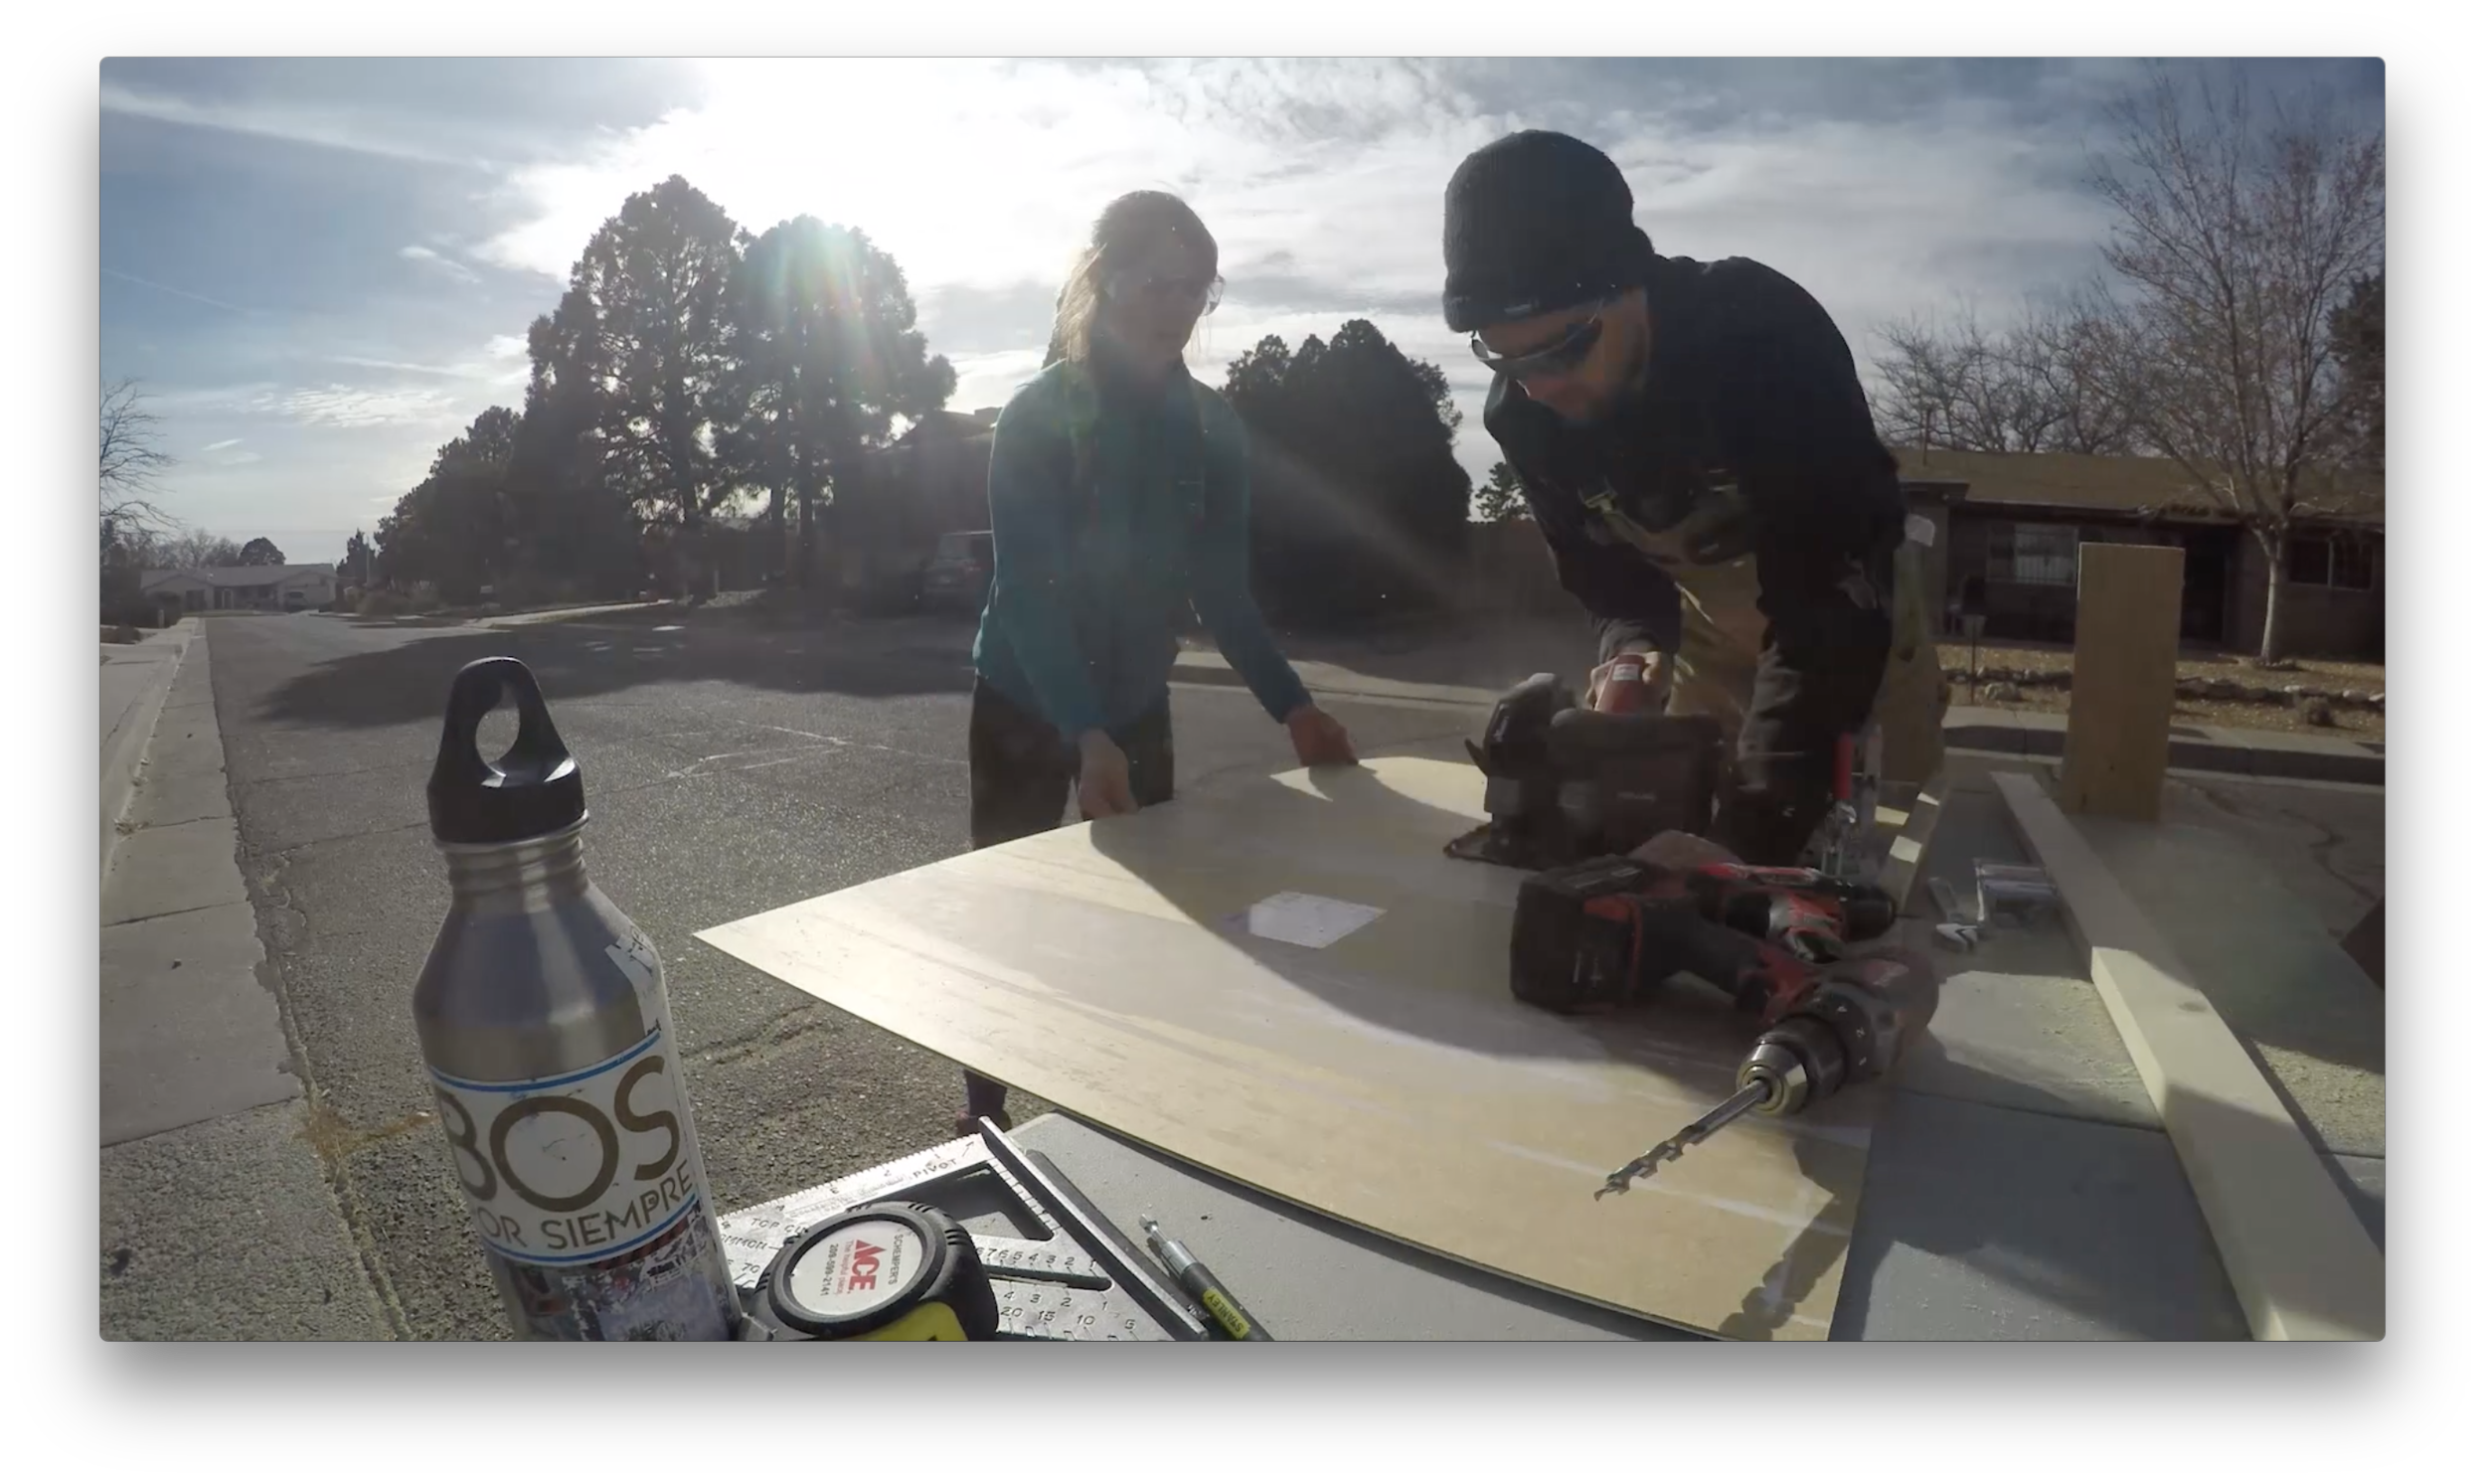
The ottoman was a quick and easy build, that was almost made with all scrap.  I measured the height of the couch and built a frame out using 1x1’s.  I used the beaded masonite that we used for the kitchen countertop siding.  The cushion was made from the remainder of the couch cushion.  The cactus fabric was sewed by Dani and was left over from the couch.  We put short office type carpet on the base so it could slide easier and not scratch the flooring.  We pin nailed all the siding to the frame and used caulking to clean up the edges, we could have used siding to clean it up but we were ok with the caulking.  

This was a very straight forward build and didn't take much time.  It is a mandatory piece for our van.  It is very multifunctional piece all in all it’s storage, laundry, an ottoman, a step for the bed, an extra seat, and the cushion doubles as a bed extension.  

Phase 7.1: Building the Kitchen Cabinets

We are just going to refer to the passenger side of our van cabinets as the kitchen, since the majority of kitchen type items live in these cabinets.

After knocking out the cabinets on the driver side of the van, we knew a little bit more about cabinetry and framing.  So, the kitchen seemed to be an easier task.  The first order of business was to design and build out a frame that would house our water where we it would be accessible.  We used 2x3’s for the framing and attached the base to the van with some heavy duty L Brackets.  After we framed the countertop out, we started framing out individual doors and drawers.  Once we framed a majority of it out, we learned from prior jobs that it’s easiest to paint in this stage.  So, we painted the frame white with a few coats. We used thinner cabinet grade wood for framing out the doors and drawers.  We were able to use scrap wood from our walls to line the sides and bottoms of the doors and drawers. 

One of the more difficult parts of this build was finding a countertop that we both enjoyed and was small enough to fit in the van.  We found that all the Home Depot and Lowe’s pick and pull countertops were ugly and way too deep.  We even thought about a natural live wood slab but after looking at the specialty wood retailers in our area, we decided that they were too heavy and too expensive.  We finally found what we needed at IKEA.  It took nearly a decade to ship, but once it arrived it was the perfect style and fit for the van.  The countertop that we ended up going with, is the IKEA Ekbacken concrete effect and it was cheap, at only $100 to do the entire van. Plus, it fit our look and style more than the ugly pick and pull choices, so it was the best option for us.  Also since this countertop is made for a kitchen island, it’s a bit slimmer and has finishing on all sides, which was nice because we had to flip it around for countertop on the driver side.  

Once we finally got the countertop, the job really went by quick. We actually needed it, physically, to measure correctly making sure the bed functioned and slid out on top of it, as it would rest on it. Once we had it all measured out and the sink where we think we wanted it, we used the stencil provided with our Dawn sink to cut out the sink basin with a jig saw.  We used a hole saw to cut out our faucet hole.  Installing the sink, faucet, and plumbing was much easier than anticipated.  I think once you get in a flow in the van build and knock out a few tasks that you never thought you were capable of, everything else seems so much easier or less intimidating.  We attached the countertop on with liquid nail and some long wood screws that we countersunk from the bottom.  We caulked around the edges where the countertop met the wall. 

Next step was hooking up the plumbing.  We went with a Shurflo Pump with the Silencer Kit, as well as, a Shurflo Accumulator and a Shurflo water strainer.  I had read and seen videos on YouTube of other van lifers complaining about how loud their pumps were.  I watched one video where someone had just used wire to attach the pump to the wood because they claimed the metal screws cause it to vibrate more that it should.  So, I decided to go with this tactic, because why try something that has proven to be loud, why not try an alternative. If it didn’t work, I could still revert to the screw method. I used some of my old 14 gauge electrical from my electrical install and used it to almost suspend the pump off a stud in the sink frame.  The video below will give you a better visual idea at how I did this.  I’m not sure if it’s the wire tie up, the Shurflo Accumulator, or the Silencer Kit, but the sink pump isn’t very loud, at least not enough for me to complain to the internet about it.  

For freshwater and grey water tanks, I just went with the industry standard Reliance six Gallon Jug.  I have three for these for fresh water so 18 Gallons of Fresh and 6 gallons for grey water.  This is a very easy and cost effective system.  I highly recommend installing the quick release to the grey water drain. That way you can release it easier when dumping it.  We used 1.25 inch tubing for the grey water drain and 0.5 inch tubing for the water intake.  

With the easy parts out of the way, it was time for the tedious work of building out the cabinets.  We went with two large doors to access, refill, and dump the water tanks easily.  We have a small drawer to the right of the sink that sits in front of the pump mounted in the back. To the right of that drawer, we have a large three tiered food storage drawer on 18 inch fully extending drawers rails in the middle.  To the right of that, we left two cubbies open, one for our propane tank and one for a catch all, so far anyways.  We also added a small fully extending 18” drawer, above the cubbies, for all our charging accessories.  Above all that is one of the most functional parts of the kitchen counter is the 24” pull out butcher block that acts as extra counter space, while cooking, and as a table for the couch.  Dani painted a nice simple wood stain on the pull out table with a variety of stains and it really turned out nice.  

Other than countertops, one of the other tough choices was what on earth do we use for door fronts?  Well lucky for us we got heaps of scrap wood from Lowe’s.  I know we’ve mentioned this before, but every time we go to Lowe’s, the first thing we do is inquire about the scrap wood and the “damaged” wood to see what we can work with before we make a purchase. One day, we were able to have basically a 4x8 sheet of plywood that was barely damaged for free.  At the time, we didn’t need it, but we took it home.  After it sat in the garage, we figured to hell with buying other wood and spending more money just to make door fronts.  I figured we could just sand it down really nice and finish it with a nice polyurethane and stain.  We went with the Honey Pine and it really looks amazing.  It’s surprising how many people ask us what our doors are and I tell them it was scrap plywood that we finished and they are usually amazed.  I know construction plywood isn’t usually used in finishing furniture but we really liked the outcome and it goes nicely with our look.  Check out how we finished the wood for the door and drawer fronts below.  

Once the doors are installed, the most annoying part of this whole process begins. Installing those pesky little push button latches to keep everything closed…I don’t know why, but it took me quite a bit of time to do this process.  I broke down a basic way to do it below.  

After everything was framed up, door and drawer fronts were added, and the buttons were installed, we used beaded white board to cover up the guts of the plumbing area.  Dani added a nice little book shelf on the edge of the kitchen counter, as well for extra storage. So, no space is left unused.  

We are pretty impressed with out outcome.