
Easy, Replicable, DIY Electrical System for an Off Grid Van, RV, Bus, Car, or Tiny home


The VW Vanagon is pretty tight on space so having some massive battery bank is out, unless you are a very power hungry camper. We are not, so we are going with a simple DIY set up that anyone can mimic and thrive off the grid.
Things we need to electrify:
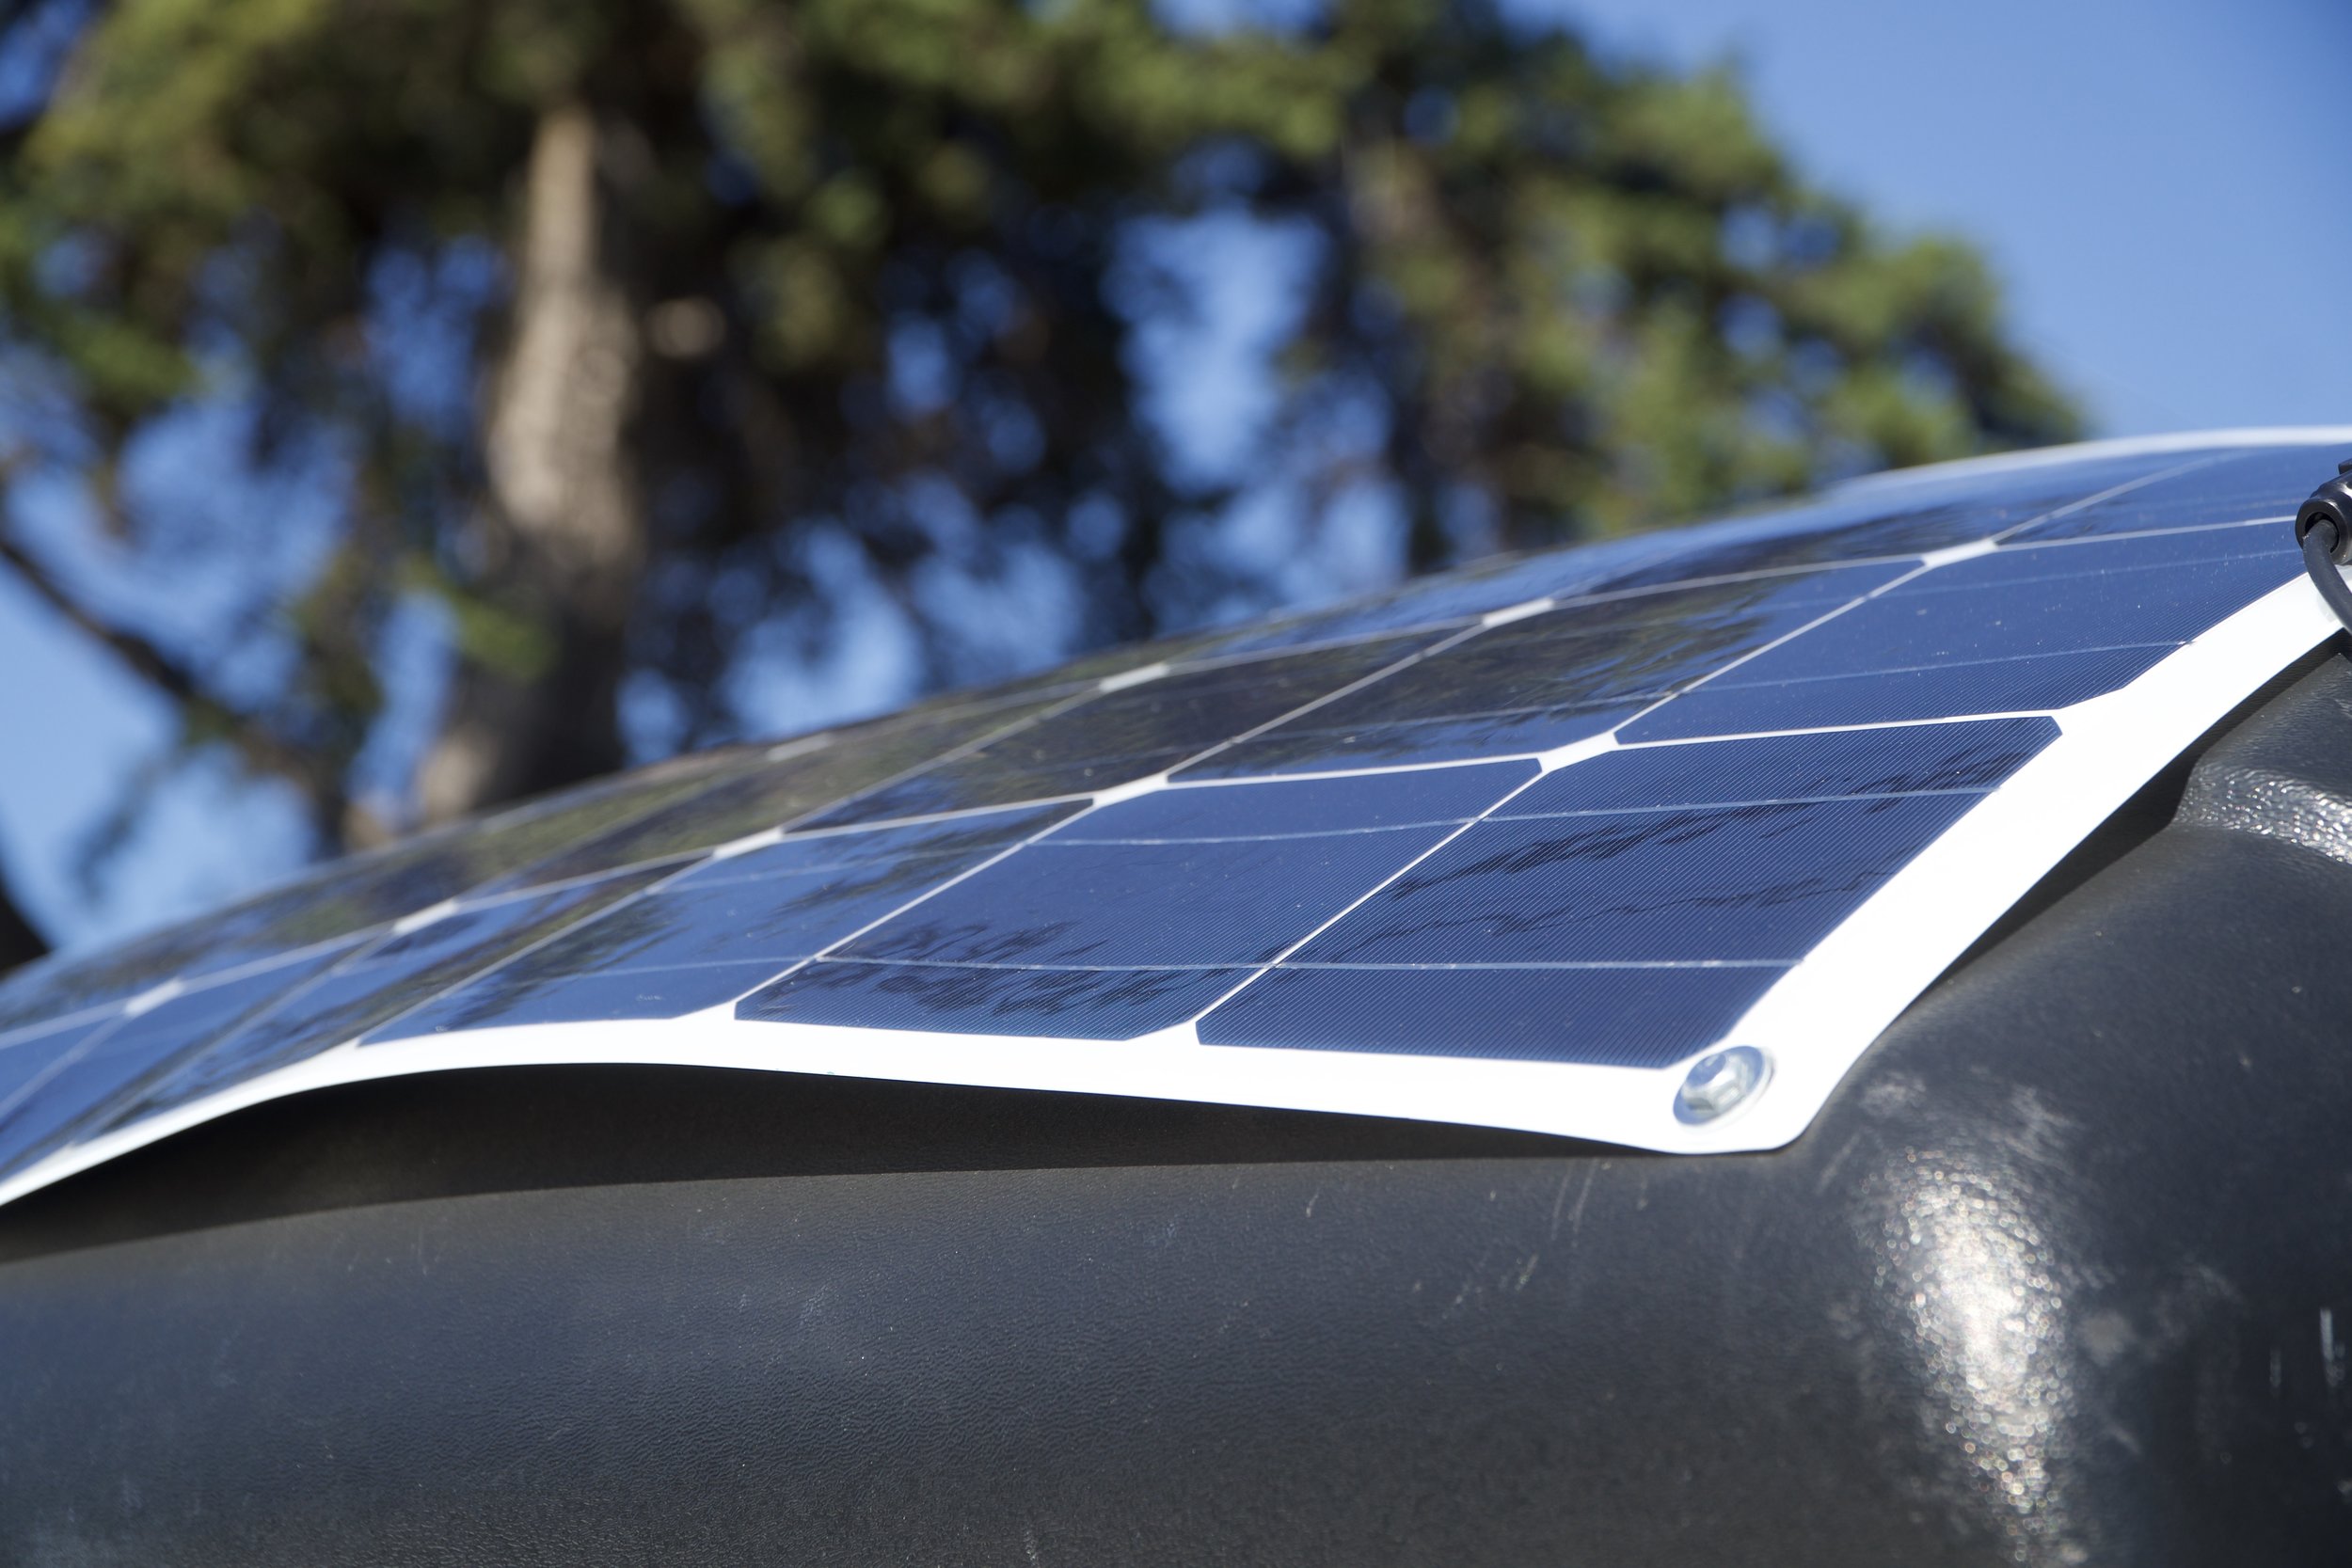
200 Amp Marine Battery, from Auto Zone, that will be powered by a 160 Watt Mono Flexible Solar Panel. Our biggest power draw will be our Dometic CF-18 Fridge/Freezer which will most likely be running 24/7. Other than that we will only be dealing with 12 volt LED Lights and a sink pump so we will keep the draw very low.

One of the most important things, when planning your 12 volt system, is to decide what accessories (lights, sink pump, and ceiling fan) you will want to be running, as well, if you want a fridge (which we believe is mandatory). Also, think about what you would like to plug into a 110V Plug (Computers, blenders, chargers, camera batteries). Once you decide what you will want to be running, then, you can decide on battery bank size and solar panel wattage.
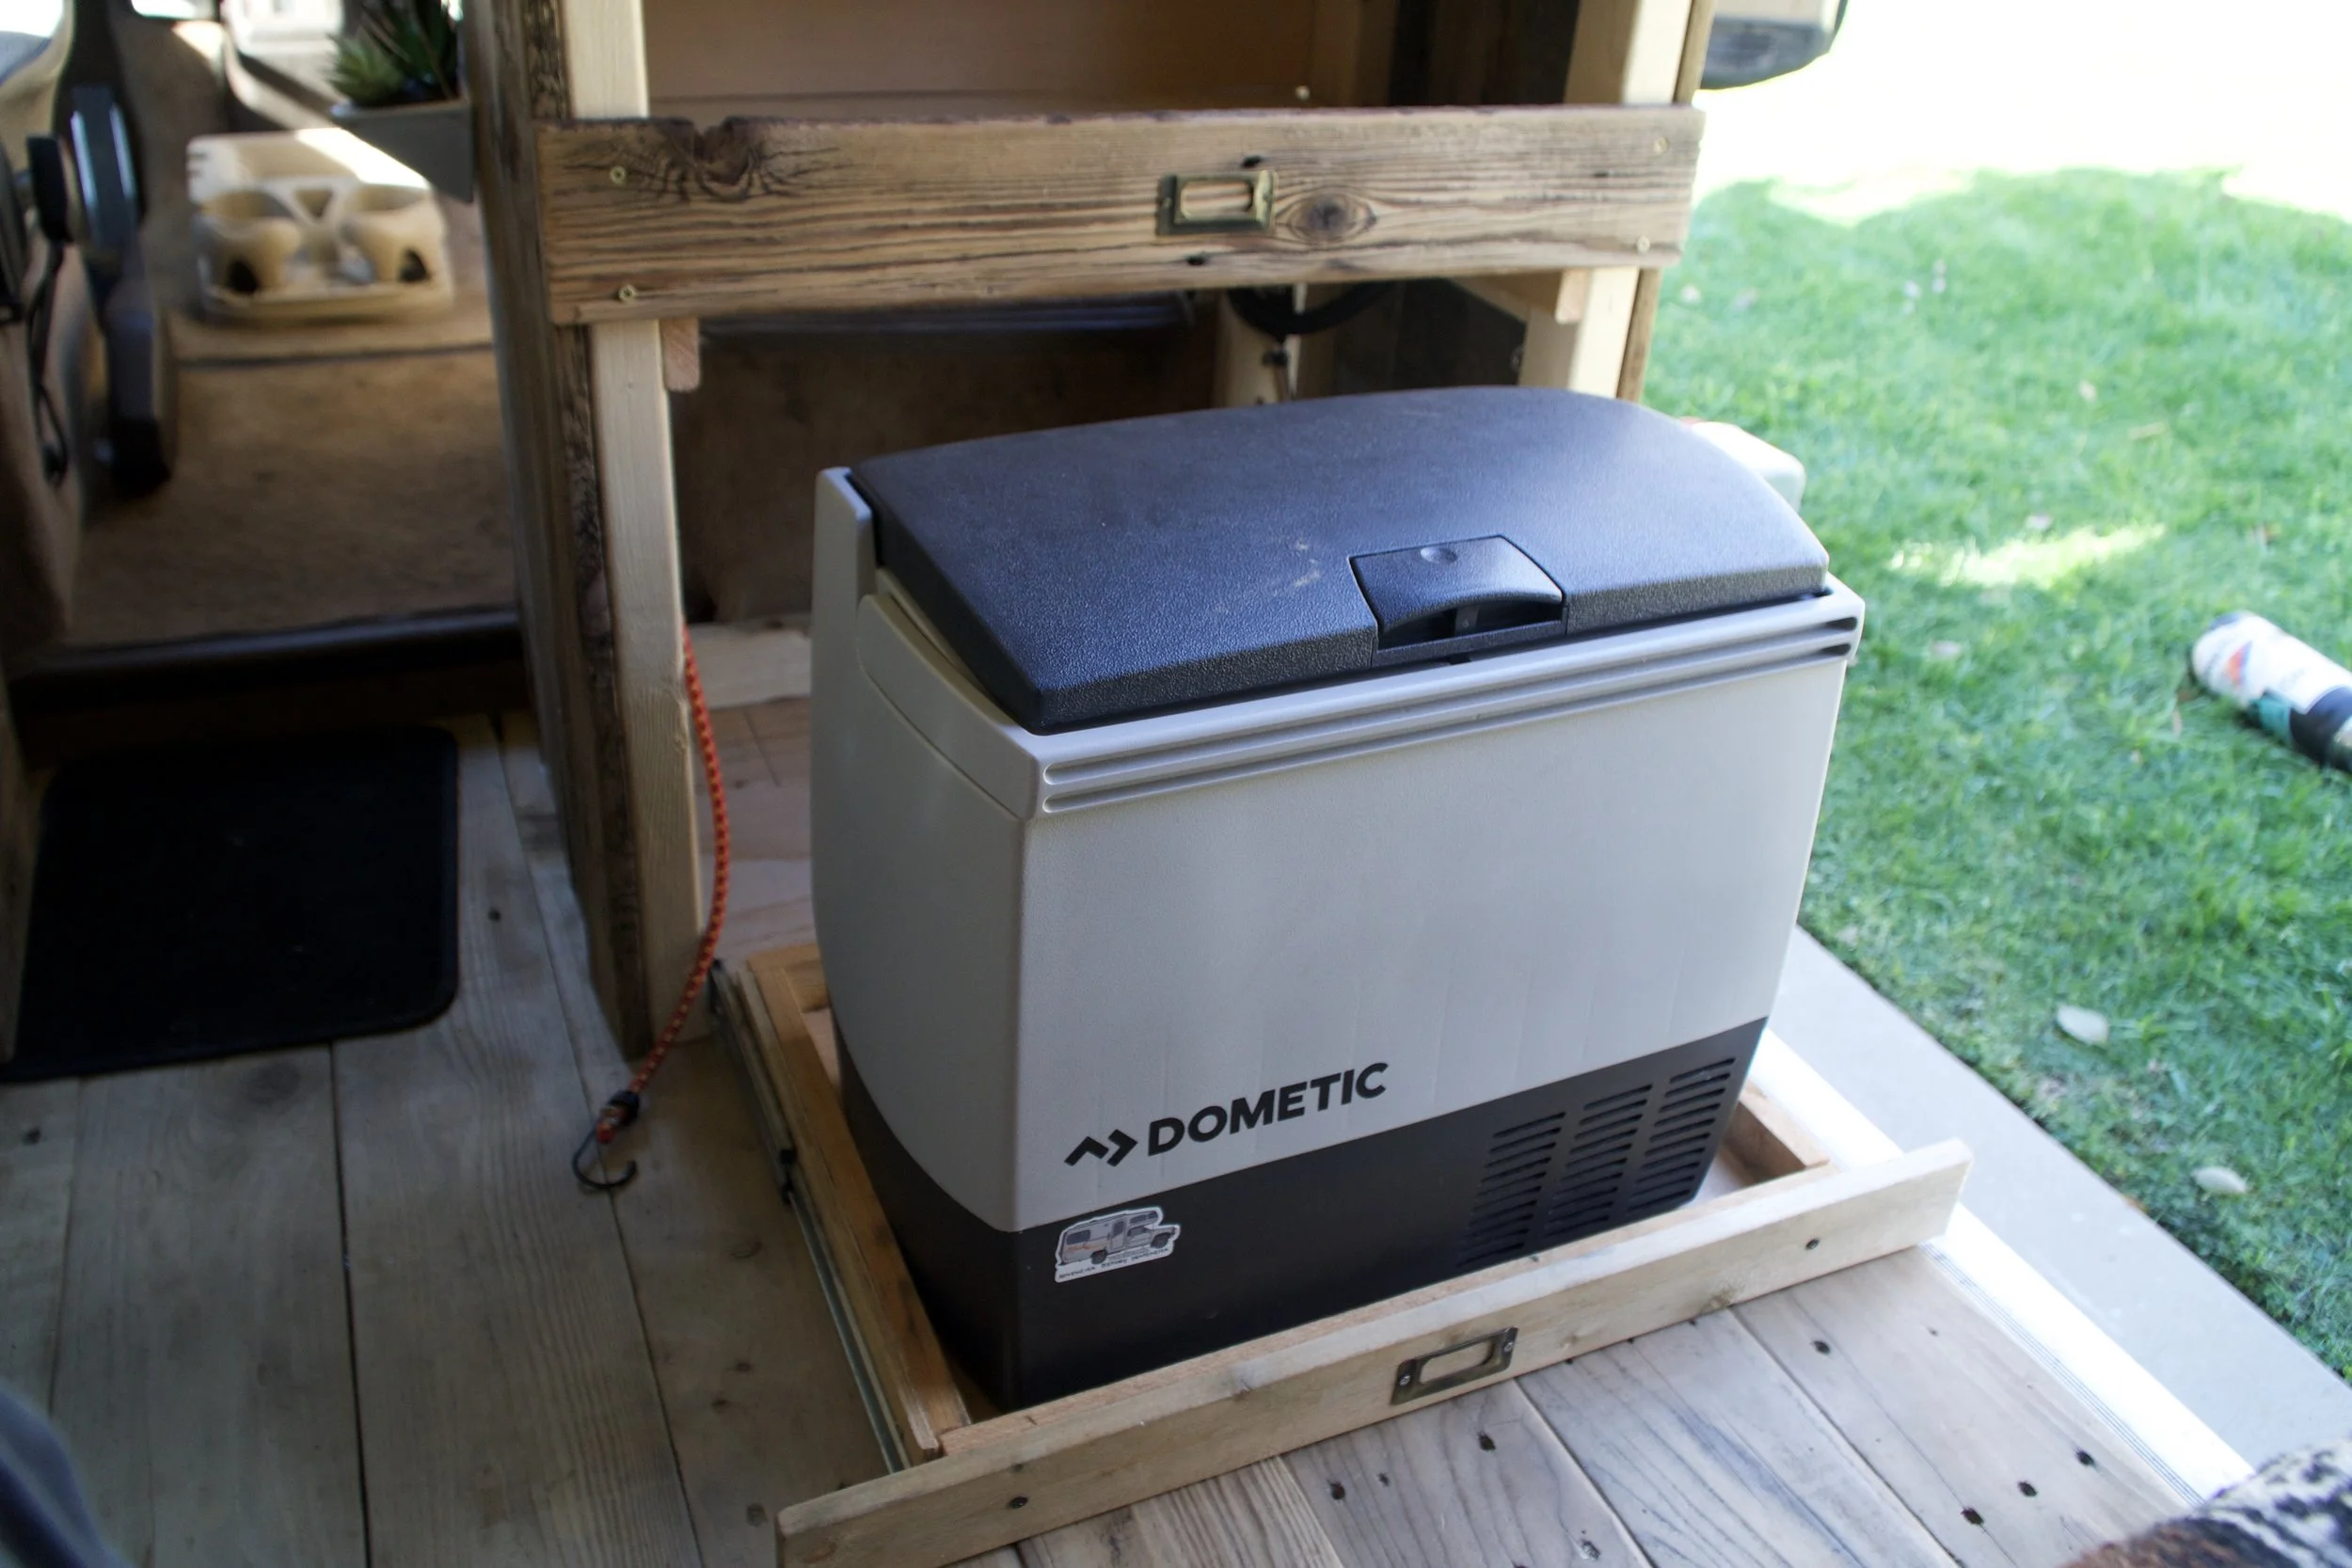
In this van, we will have a Dometic CF-18 fridge/freezer that is very efficient and will use about 0.3 - 0.6 amps, when the pump kicks on, and that kicks on every 15-20 minutes. It has a high/low battery draw switch. We always keep it in “low” because the fridge is so efficient even on low.

We have a few LED lights and a sink pump that have little draw on the battery. We will also have a power inverter that we will rely on to charge our computers and power our 900W Ninja blender. Since the two main draws our the inverter and the fridge, we will at least need 200 amp hours of battery and 160 watts of solar to power our lifestyle.
Luckily, the big ole 200 amp battery fit under the existing couch perfectly. So, we put together a little brace to hold it in place. So that way, it’s not sliding around everywhere while driving.
From here, we will wire all the appliances to a small little Fuse Box and run the cords from the fuse box to the proper appliances. I’m using a mixture of wires. For all the small low draw items I’m using a 16 gauge, lamp wire, with two wires in one, which makes wiring so easy! For the fridge, I actually bought a wiring kit with a female 12 volt power hook up.
I’ve added a few of my drawings below to show how I planned to wire my appliances. The toughest part here is deciding exactly where everything will go, physically in the van, like switches, lights. outlets, and really anything related to power. You have to sort that out first.
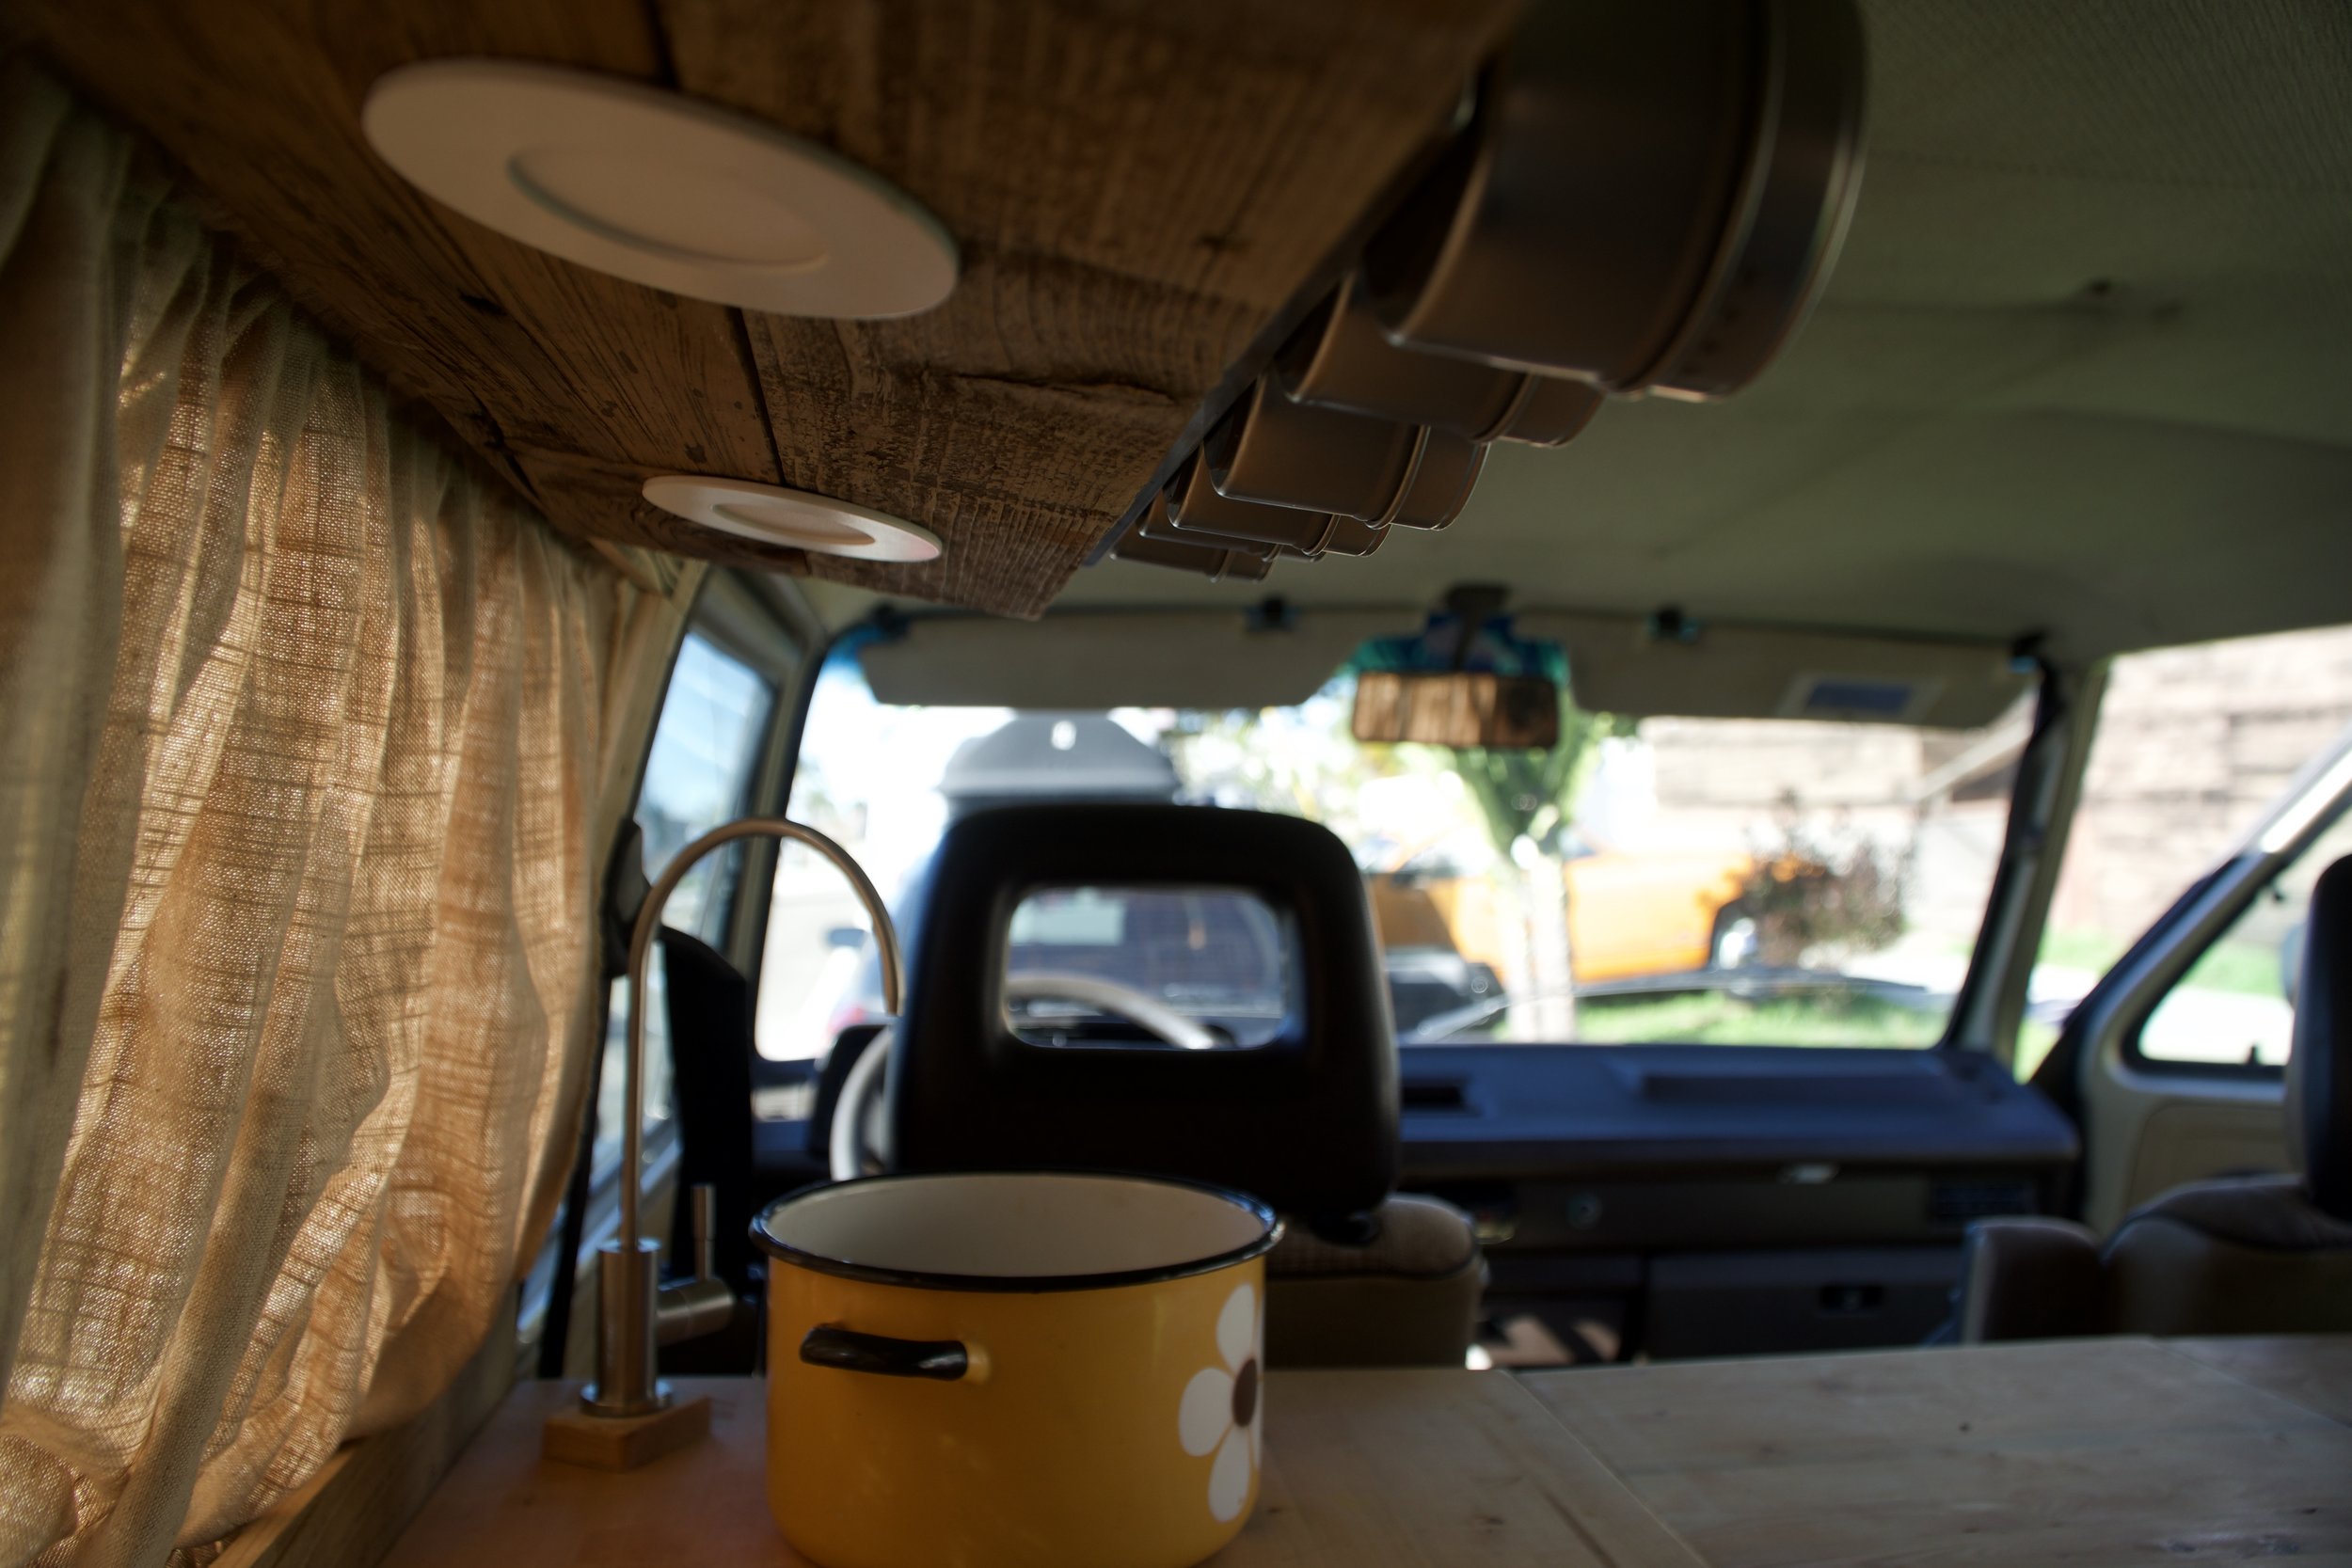
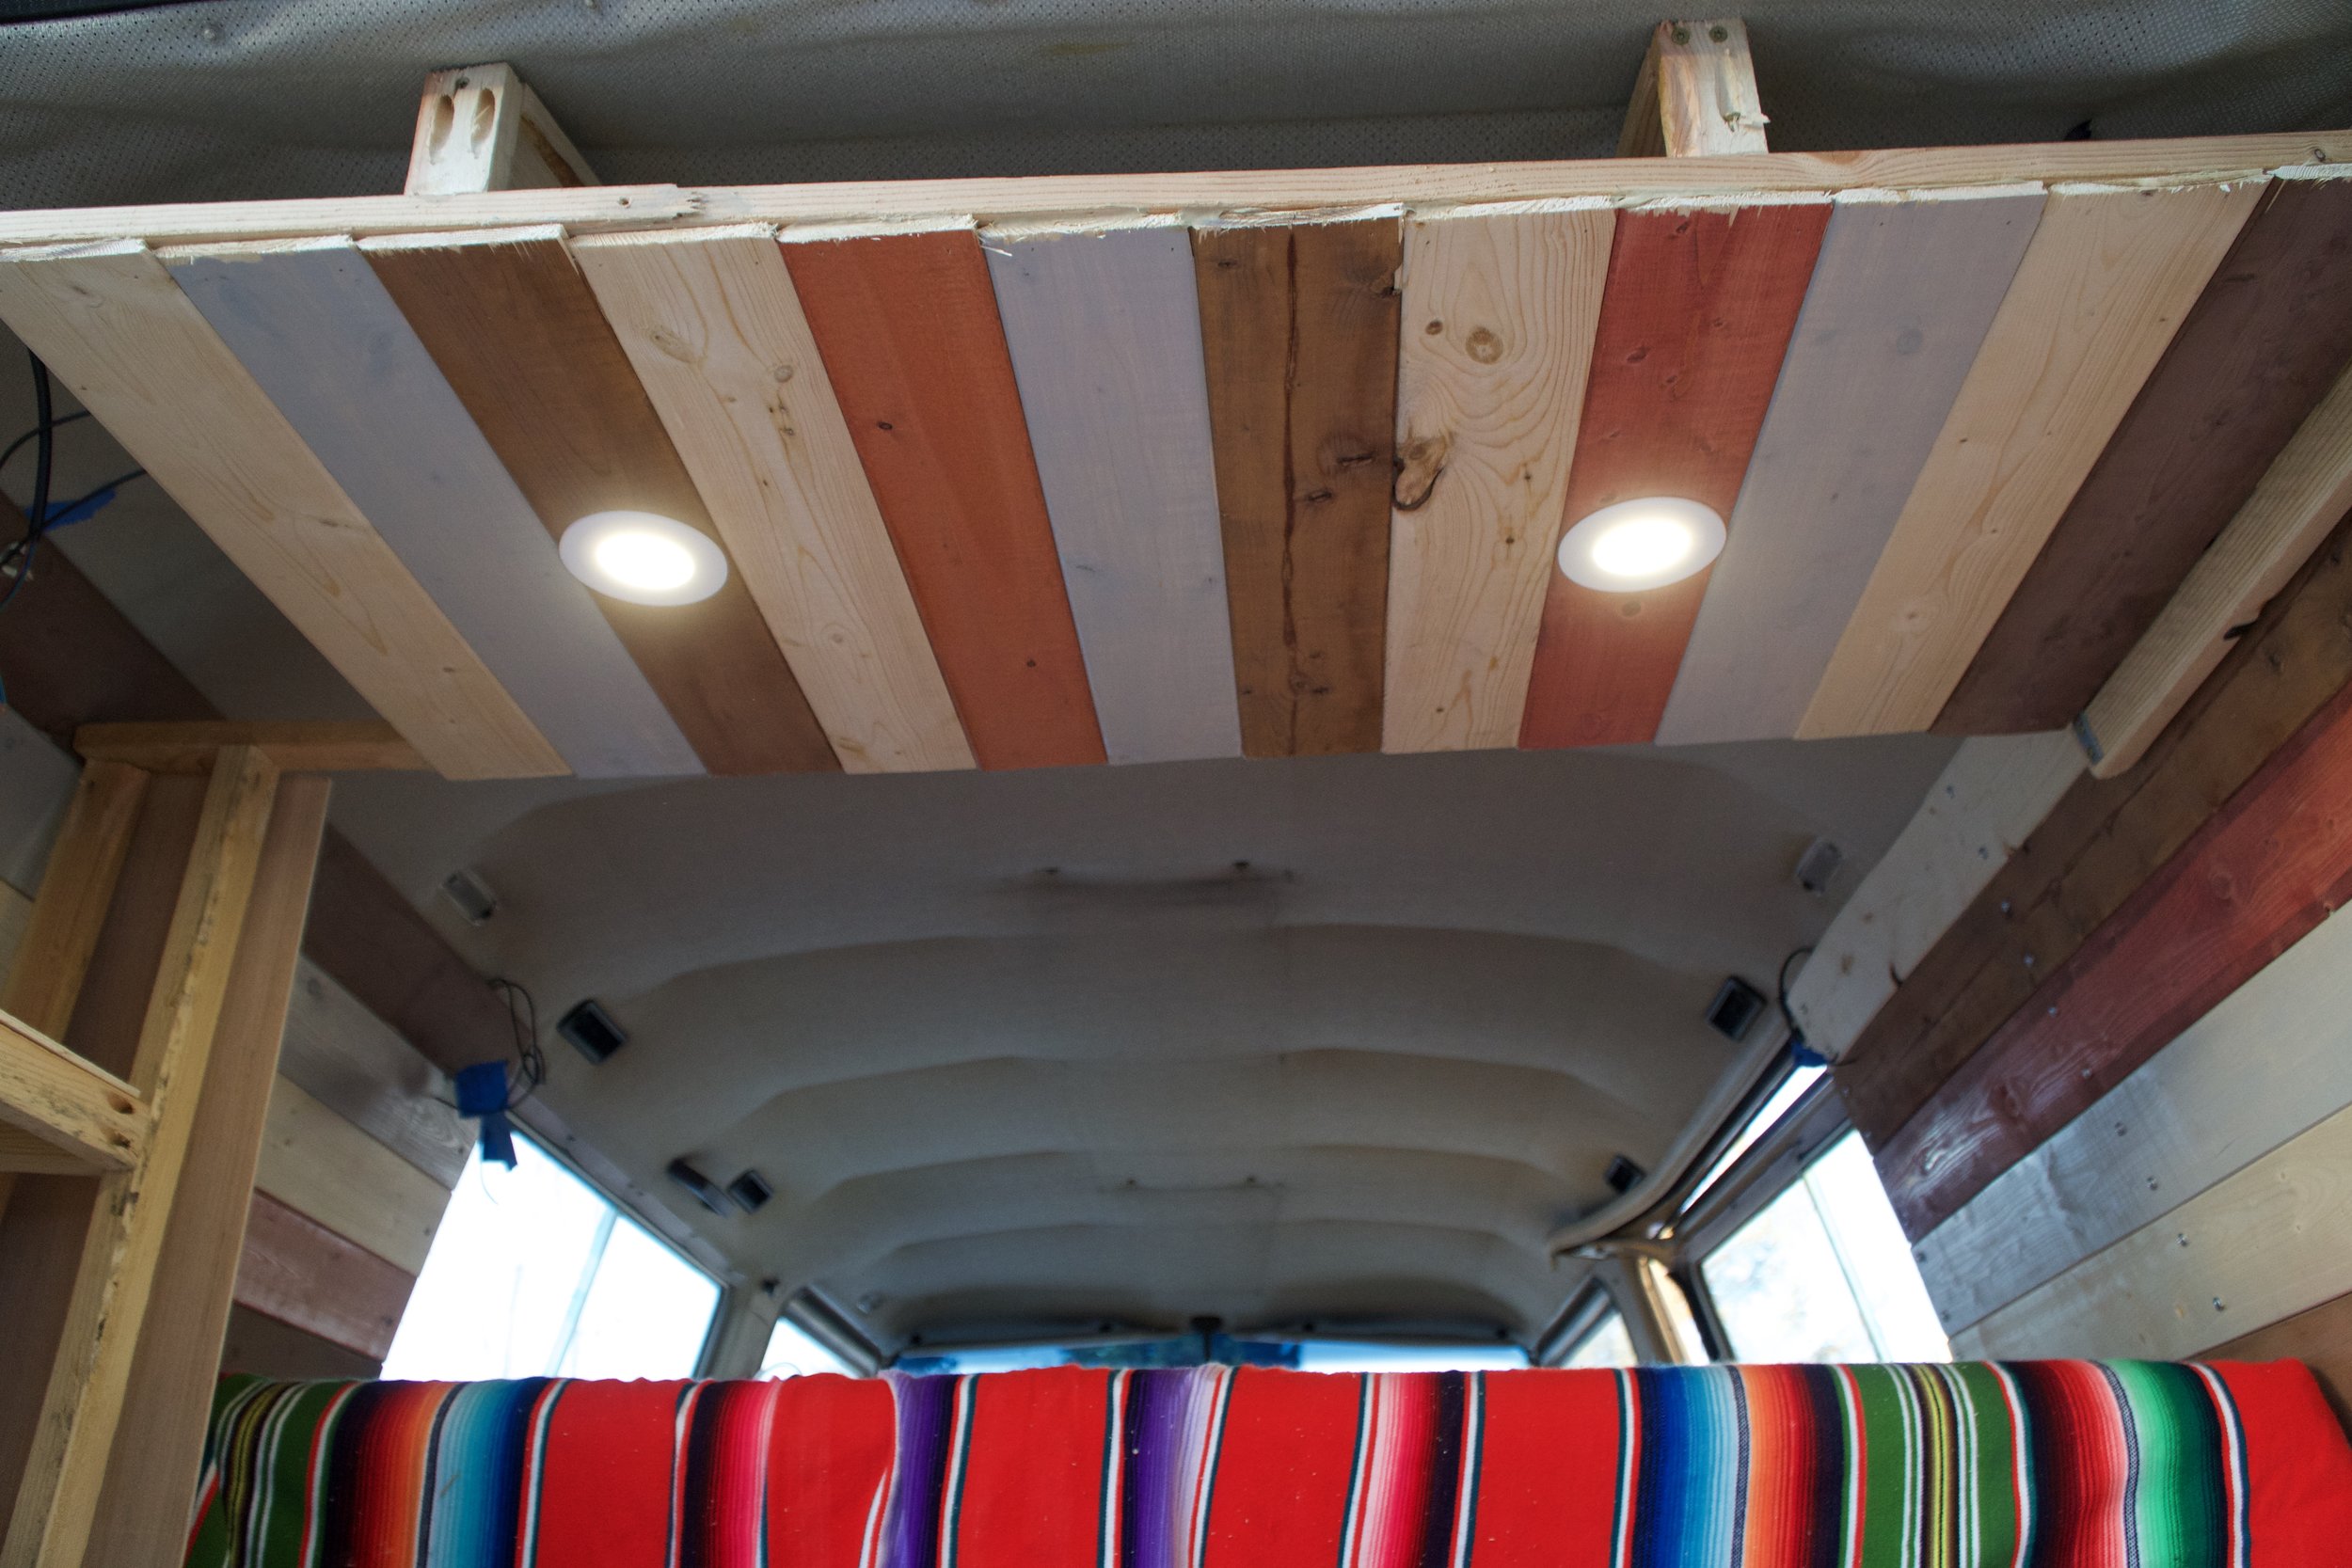
For wiring, we will be using a variety of options. Since most of the appliance have very small draw, I'll be using 16 AWG Lamp wire for these. Lamp wire makes it easy to wire since the positive and negative wires are fused together and nicely insulated together. We will use this lamp cord for all the LED lights and the small sink pump.

The fridge will be on its own separate 14 AWG wire as well as the 12v/USB outlet we bought. We also wired a 1000W inverter to the battery with 6 AWG and all wires for solar and battery terminals (ground, load) will be 8 AWG.
We ran all the wire through the van to their estimated location, I say estimated because, I don't know how many times we change our minds on where the lights are going to go, or the sink pump, switches, etc.. I highly recommend using masking tape and writing down all the accessories names and taping them to the wires to label them.
Below is a diagram of how the van is wired, this will be more helpful than an in depth conversation. Also, check out the video.
Attaching a Solar Panel to the Van
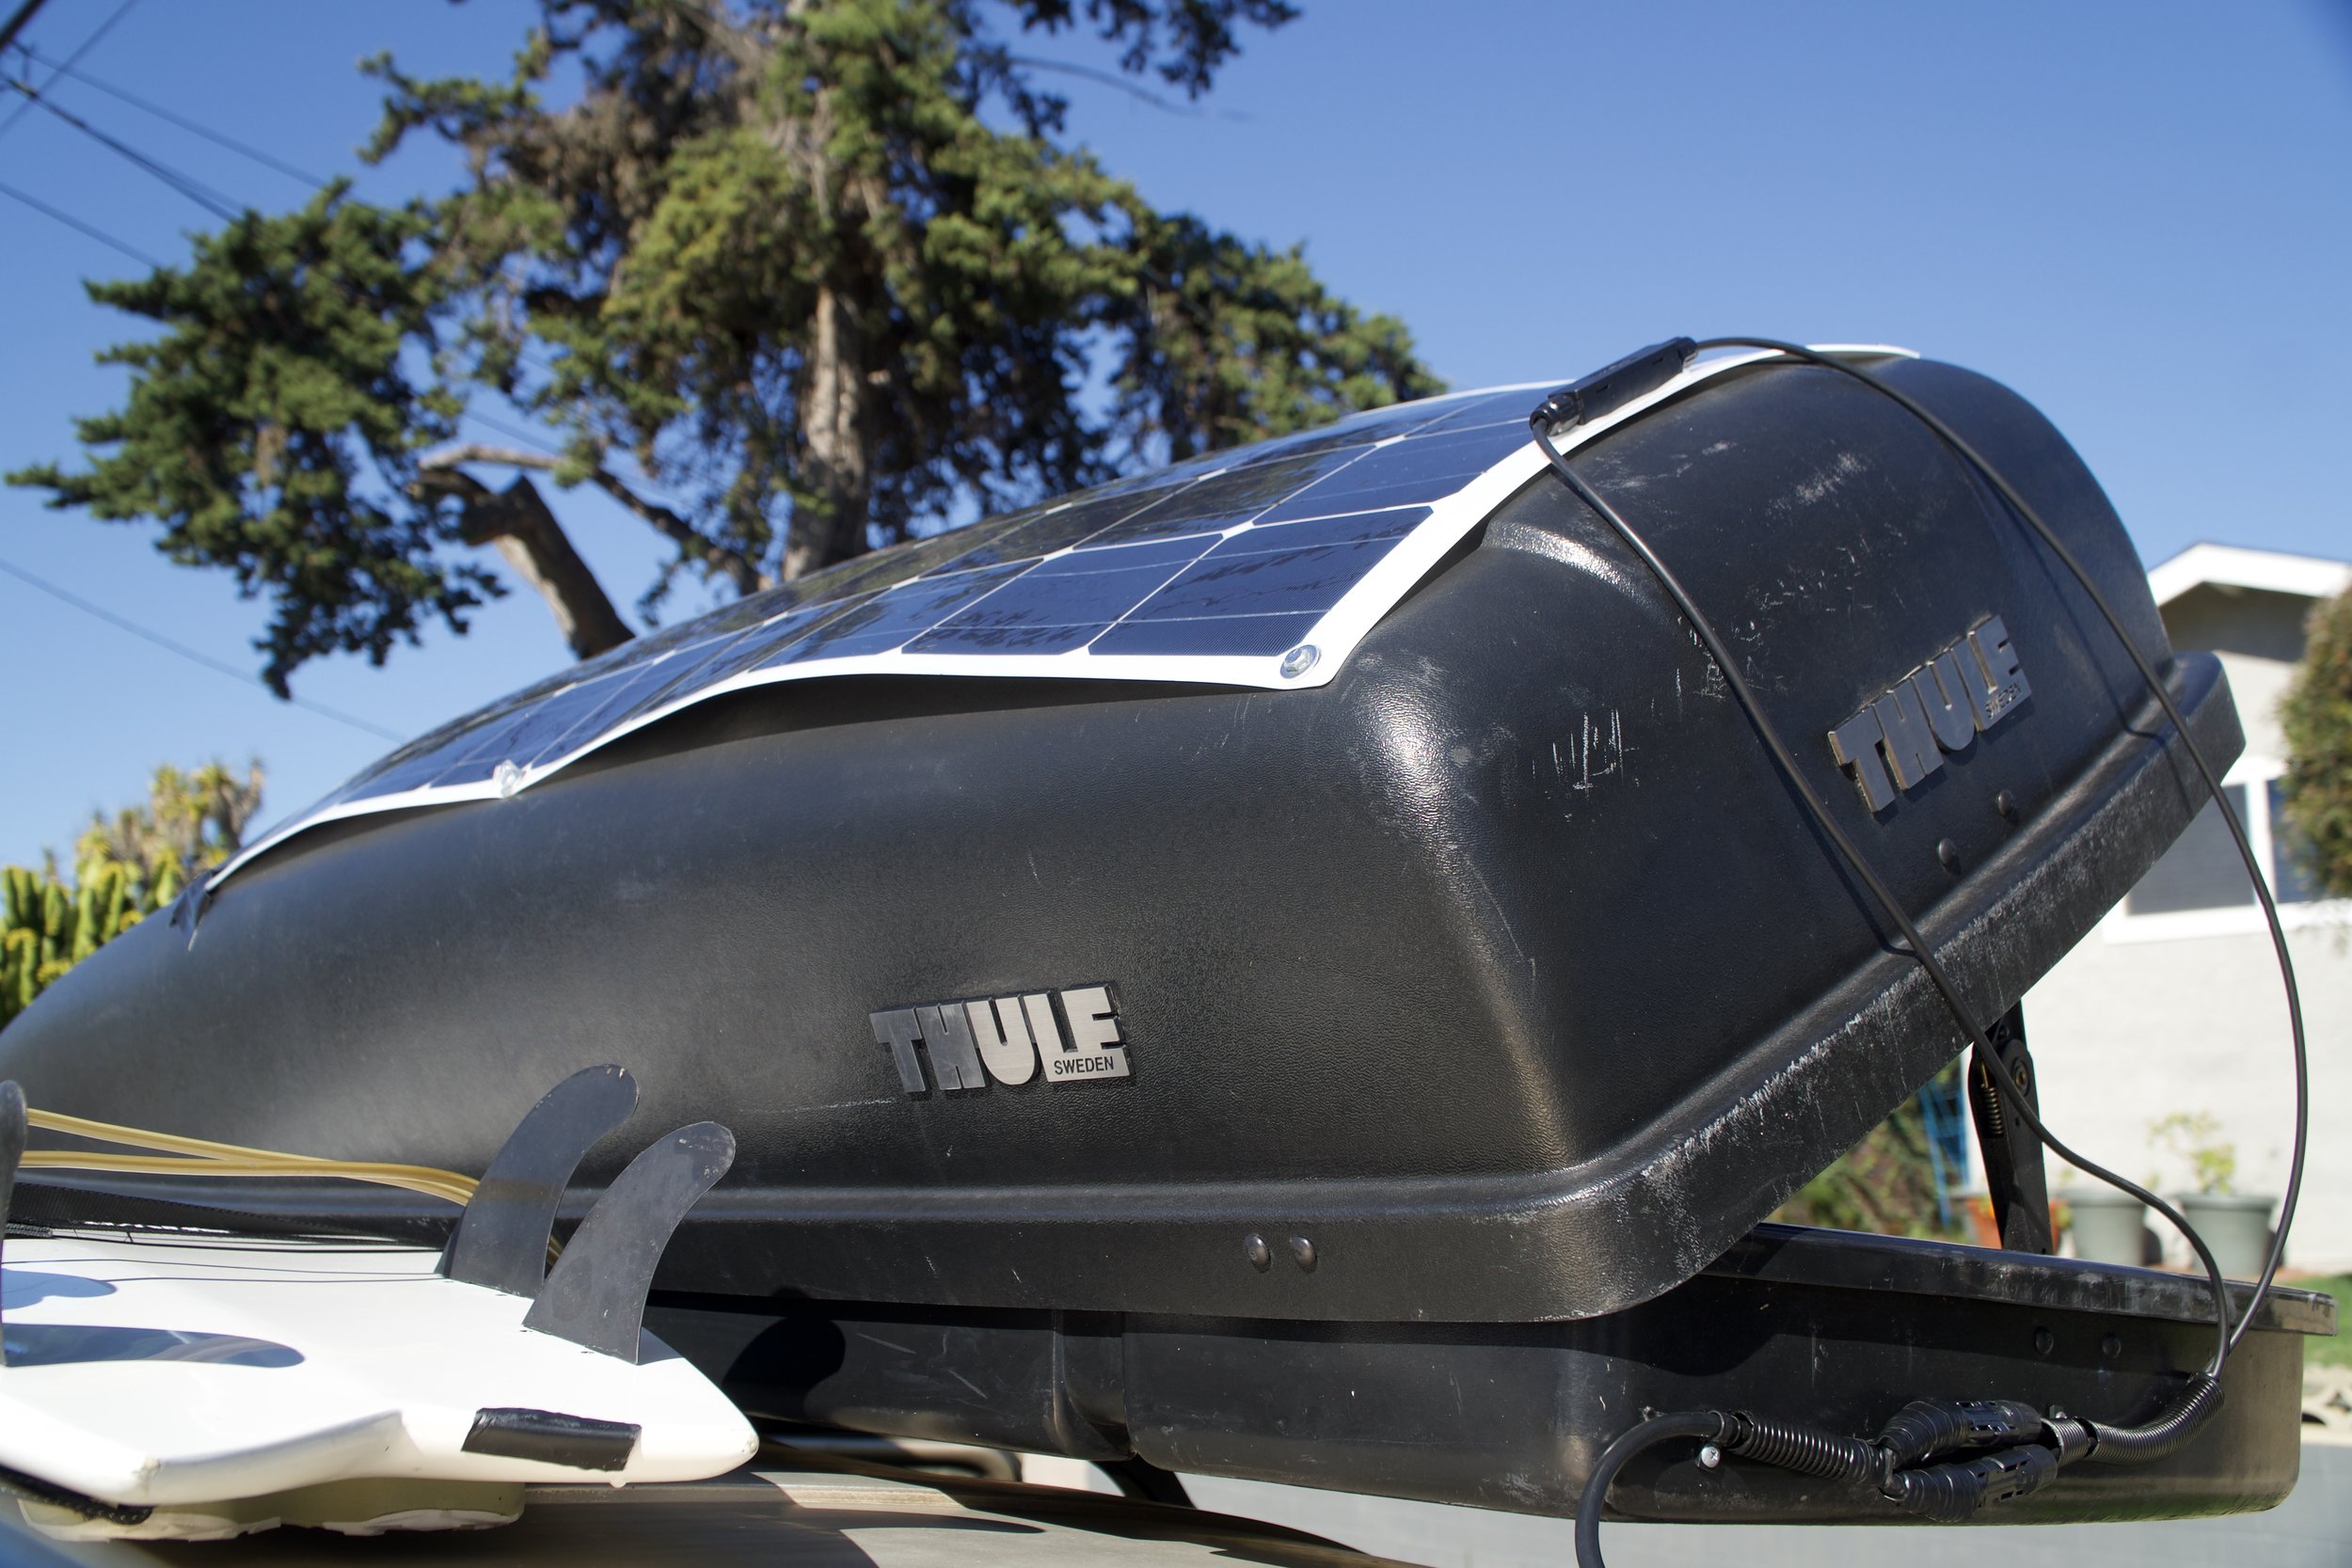
We didn't have to cut a hole in the van for the solar wire, which was awesome! We found an existing hole in near the exterior side vents in the back, popped them off, and ran a cord through the existing hole. Once we decided where to put the solar panel, the question was, how to get it to stay on the roof? @Samvansam recommended we used 3M 4950 and Lap Sealant to attach the lightweight flexible solar panel to the roof. Honestly, I am a bit worried about how light this panel is. So, I know there is a safer option. We ultimately decided to mount it to our roof top carrier, with 6 bolts thru the existing rivets. So that way, it was nice and secure. Plus we have helped a friend @es_dons install his that way. We also used the 3M tape down the center of the roof box for extra secureness on top of the rivets.
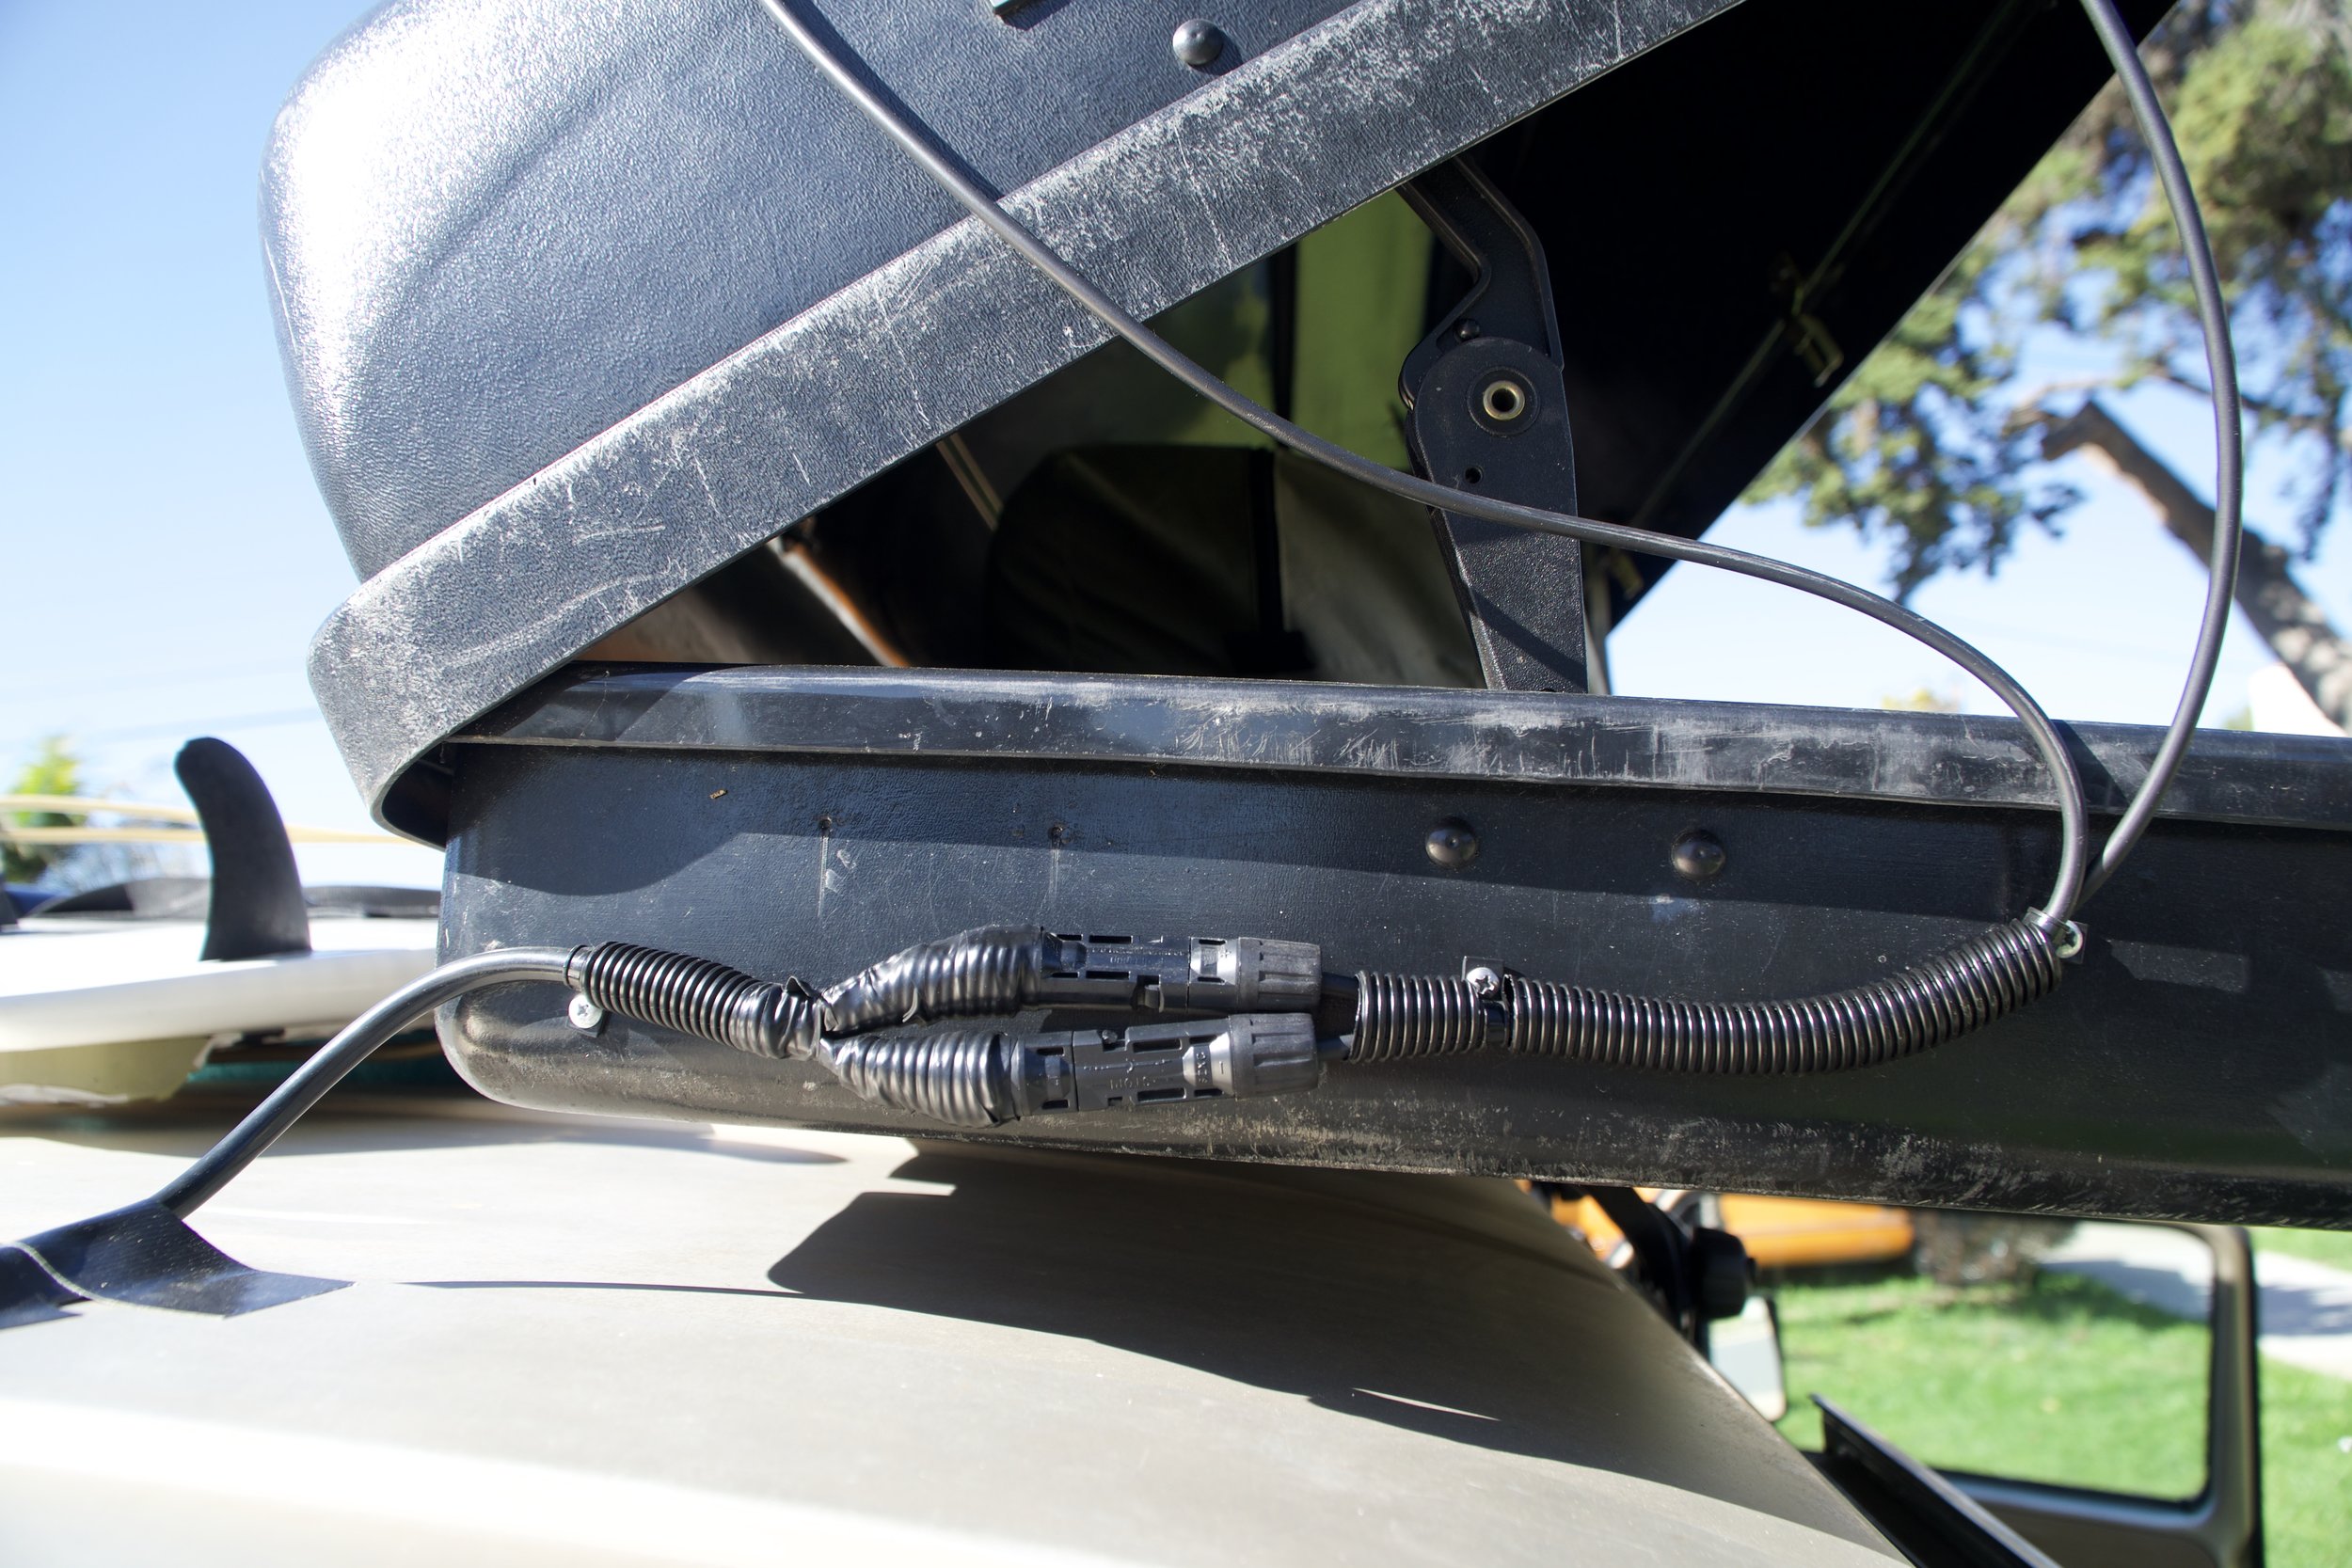

This was a very easy install and I used some plastic wire clamps to cleanup all the wiring.
After everything was properly wired, we plugged it all into the charge controller and instantly started to charge our battery.
Wiring the rest of the van
Now that we have constant power, from the sun, we can charge our battery. I don't wire lights and other appliances until they are 100% ready and sure where the said item will be.
Everything is wired to a small distribution fuse panel. Leave all fuses out of the panel because the fuses act as an “on switch” to the corresponding wires. So keep them “off” and without a fuse, while you are working out the details. That way you don't create a short or electrocute yourself.
At this point, you should just have wires, with labels, hanging out of holes ready to be hooked up. Use wire terminal connectors to connect your wires to their corresponding appliances or switches. Make sure to crimp all wires very tight to make sure no wires become loose. Give it a light tug to be sure on the connection. It would suck for the connection to wiggle loose behind a wall in the future. Once crimped and heat shrink wrapped (optional), put the appropriate fuse into the fuse box and your electronics should turn on. I drew a few diagrams to show how I wired my switches and string my lights together.
With everything working it’s a good idea to look at your charge controller monitor and see how much amperage your systems uses with everything on. This will give you a good idea of how much power you can expect to use everyday. Just remember to park in a sunny spot if yo are going to be using a lot of power. The 180W panel should be able to charge up your system in a few hours.

Enter your e-mail below to receive a free wiring guide to make your electrified life easier.

PREVIEW of easier than Ikea wiring guide to electrify your small budget rig. If you need one that is for multiple batteries there is another one on our home page!
The last thing to be connected to the battery is the 1000W inverter. Luckily this came with the 6 AWG cables and terminal connectors, so this is a straight forward install. You will connect red to red and black to black. You will also have to ground the inverter to the chassis or anything else that is metal near the inverter. In this case I grounded the inverter to the battery bank. I recommend a 100/150 Amp inline fuse on the inverter on the red cable to protect the battery bank from a short these can be found at any car audio installation center and they are a very straight forward install. After it’s hooked up turn it on and give it a test I used a 900W blender to put it to the test and it worked! The inverter can draw a lot of power so use it sparingly.
Here is the Dometic CF-18 Fridge review. This is a great little 12 Volt fridge for smaller vans.