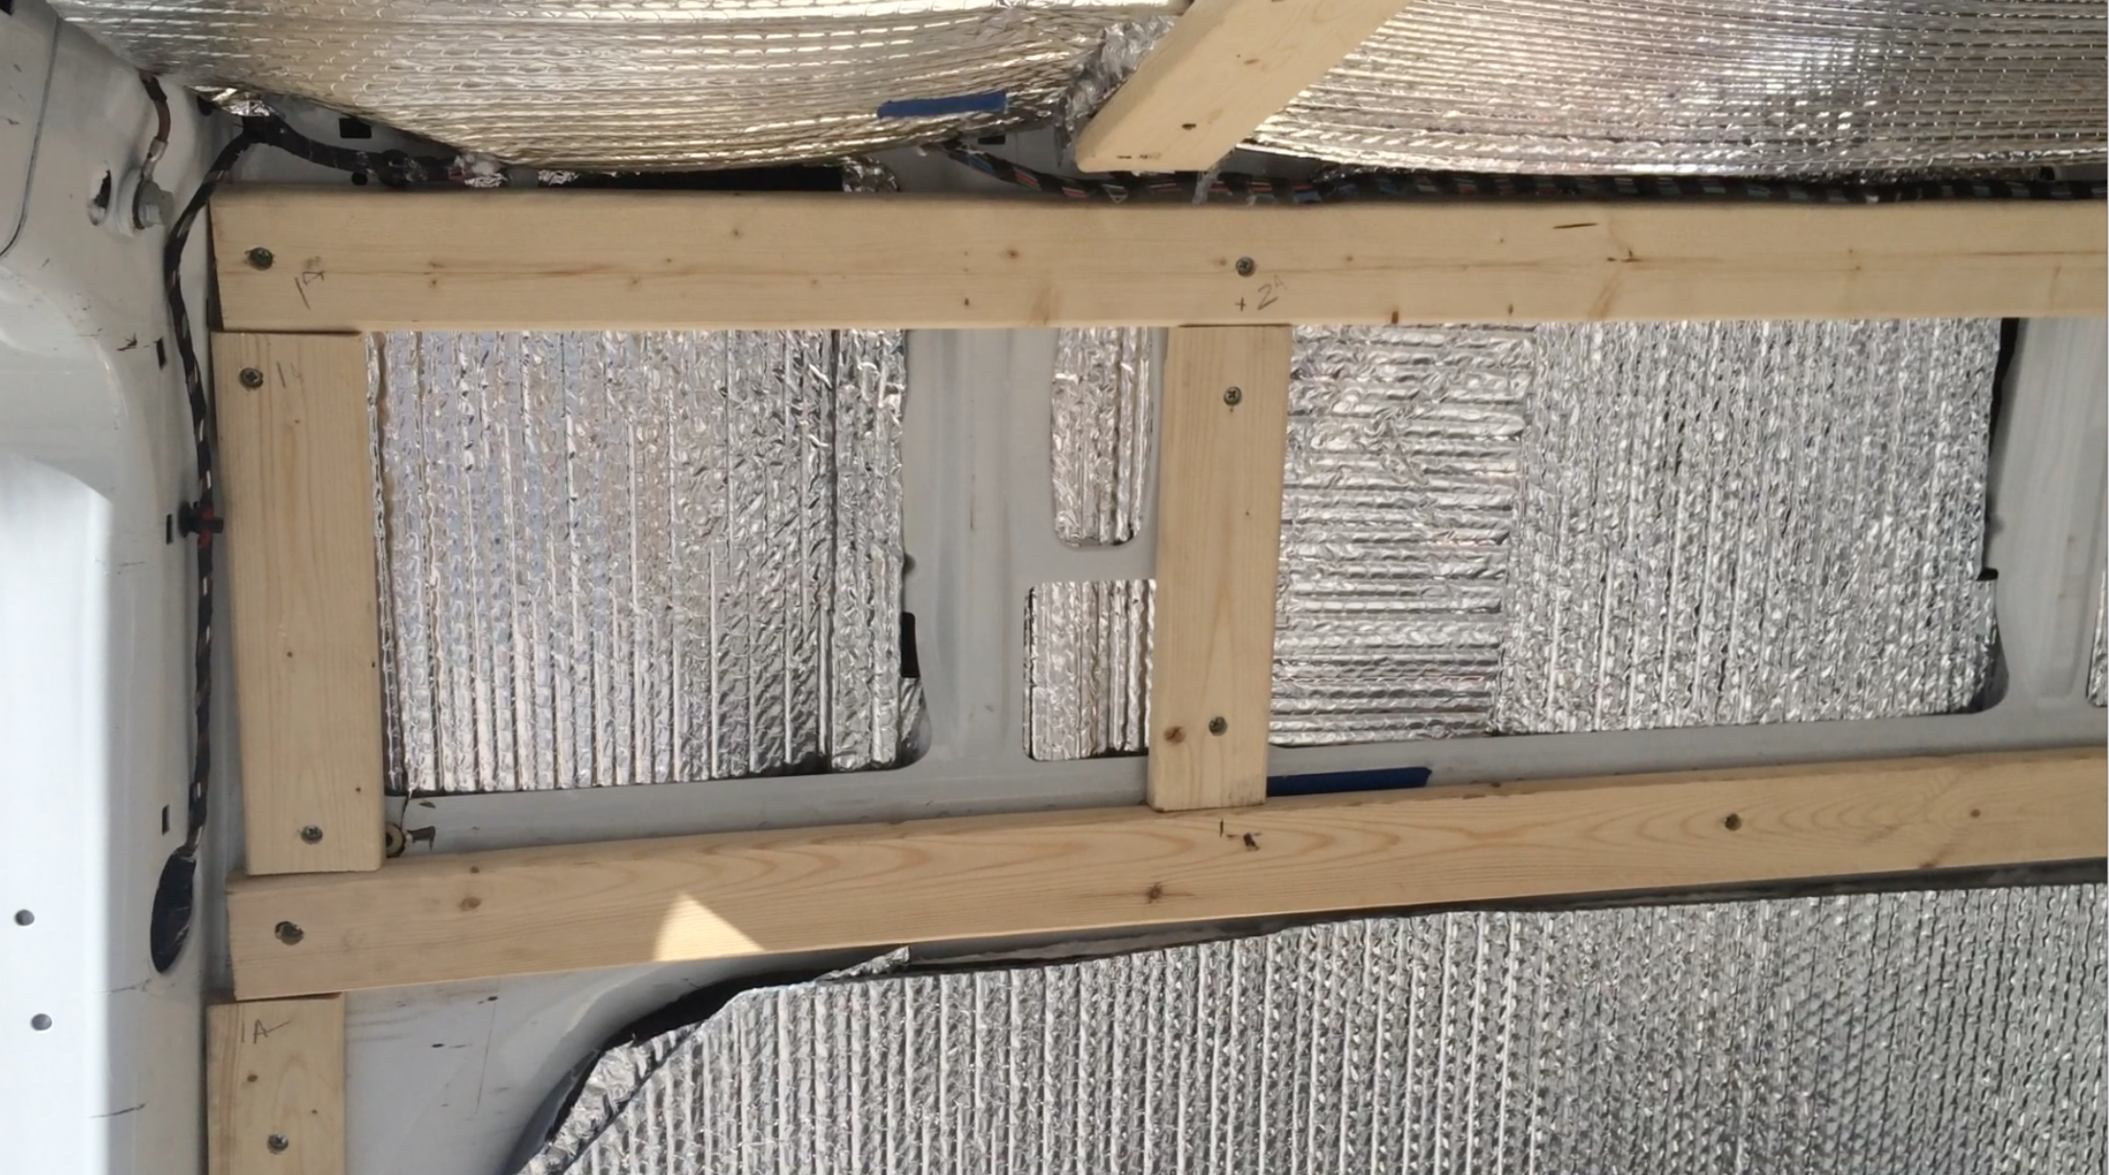
Phase 3.2: Framing
We took 1x3’s and cut them to size to fit across the top of the van, on each one to the ribs that hang down. That way, we would have some wood to anchor our ceiling into.
Once we were done with the easy part, we moved on to the bottom half of the van. We re-used the Embossed FRP White panels that the previous owner had installed. They were cut to size, easy to clean, easy to re-install, and it was going behind the cabinets and under the bed any way.
Before we put the FRP back where it went. We marked up where the metal lies behind it. That way, we could put the framing exposed and it was easier to work with building the cabinets.
Once the bottom framing was finished, we moved on to the upper panels framing them out on each metal rib, like we did on the ceiling. Upper cabinets are going above on the drivers side only. So that should be some good support. Then we ran one 1x3 across the center. All we need to do is anchor our wall paneling to it.