
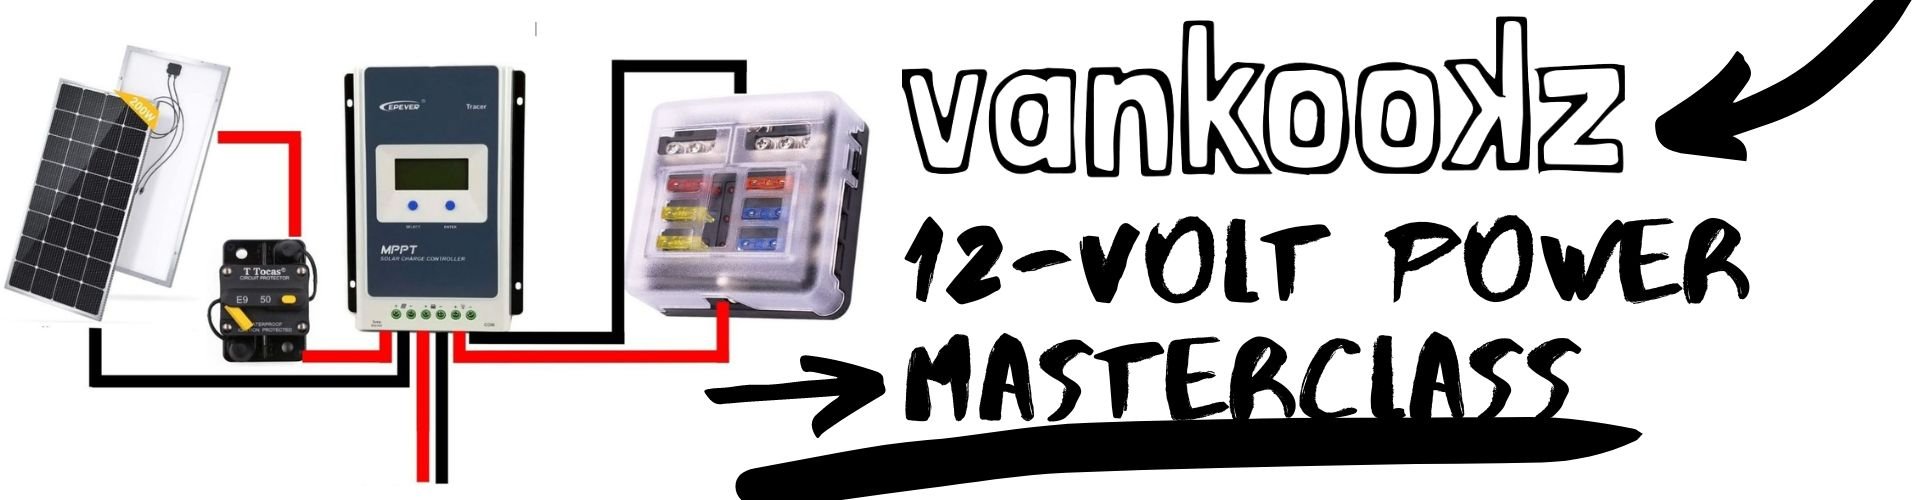
A First Step in any Van Build - Wiring a 12 Volt Power System in your Van Conversion
Insulation and 12-Volt power systems are probably the two most searched and talked about projects in the van conversion world. Maybe because they are some of the first steps in the van build. Installing a DIY 12-volt power system is easier than you would think and we believe that anyone can do it with the plug and play technologies of today. We aren't electricians or anywhere near it, but we have successfully installed 12-volt solar power systems in four vans now. So, we feel know the basics and that what we want to pass on to some fellow kookz. Instead of breaking down every dimension, I will just run through a list of how to easily and successfully have a basic off grid power system in your van.
Electrical Layout Diagram
The very first thing you want to do is have a electrical layout of your van and where everything (fridge, lights, power ports, inverters, light switches etc.) will go. It helps to draw out a layout of the van. Next you will need to figure how much power you will need and what your biggest draw of power will be. For most van lifers, this will be your fridge. Depending on the make and model of your fridge it can use an array of different amperage. We assume that if we are in a pretty sunny location most of the time our fridge alone will need about 100 amp hours of battery, alone, sometimes more if you aren't getting ample sun or the summer heat is requiring your fridge to work harder.
Once that is decided, you can figure out what other appliances will draw power. Usually, for most people, it’s a heater of sorts, and then the roof fan. Your lights, sink pump and small electronics won’t use much battery. Another thing to consider is if you want AC power. If you do, you will need to decide what type of power inverter you are going to use and for what. We use a blender everyday and have to charge laptops quite frequently. We do this on a 1500 watt pure sine power inverter. We can drain a lot of battery on one blend so we tend to do it in the morning or when the sun is out so we can gain back what we used pretty quick. We went with 300 Amp Hours of AGM on this build because we have a large fridge, a 1500 watt power inverter, and we use the roof fan a lot. So, we wanted to never have an issue with our battery bank being insufficient.
Running Wires in The Van
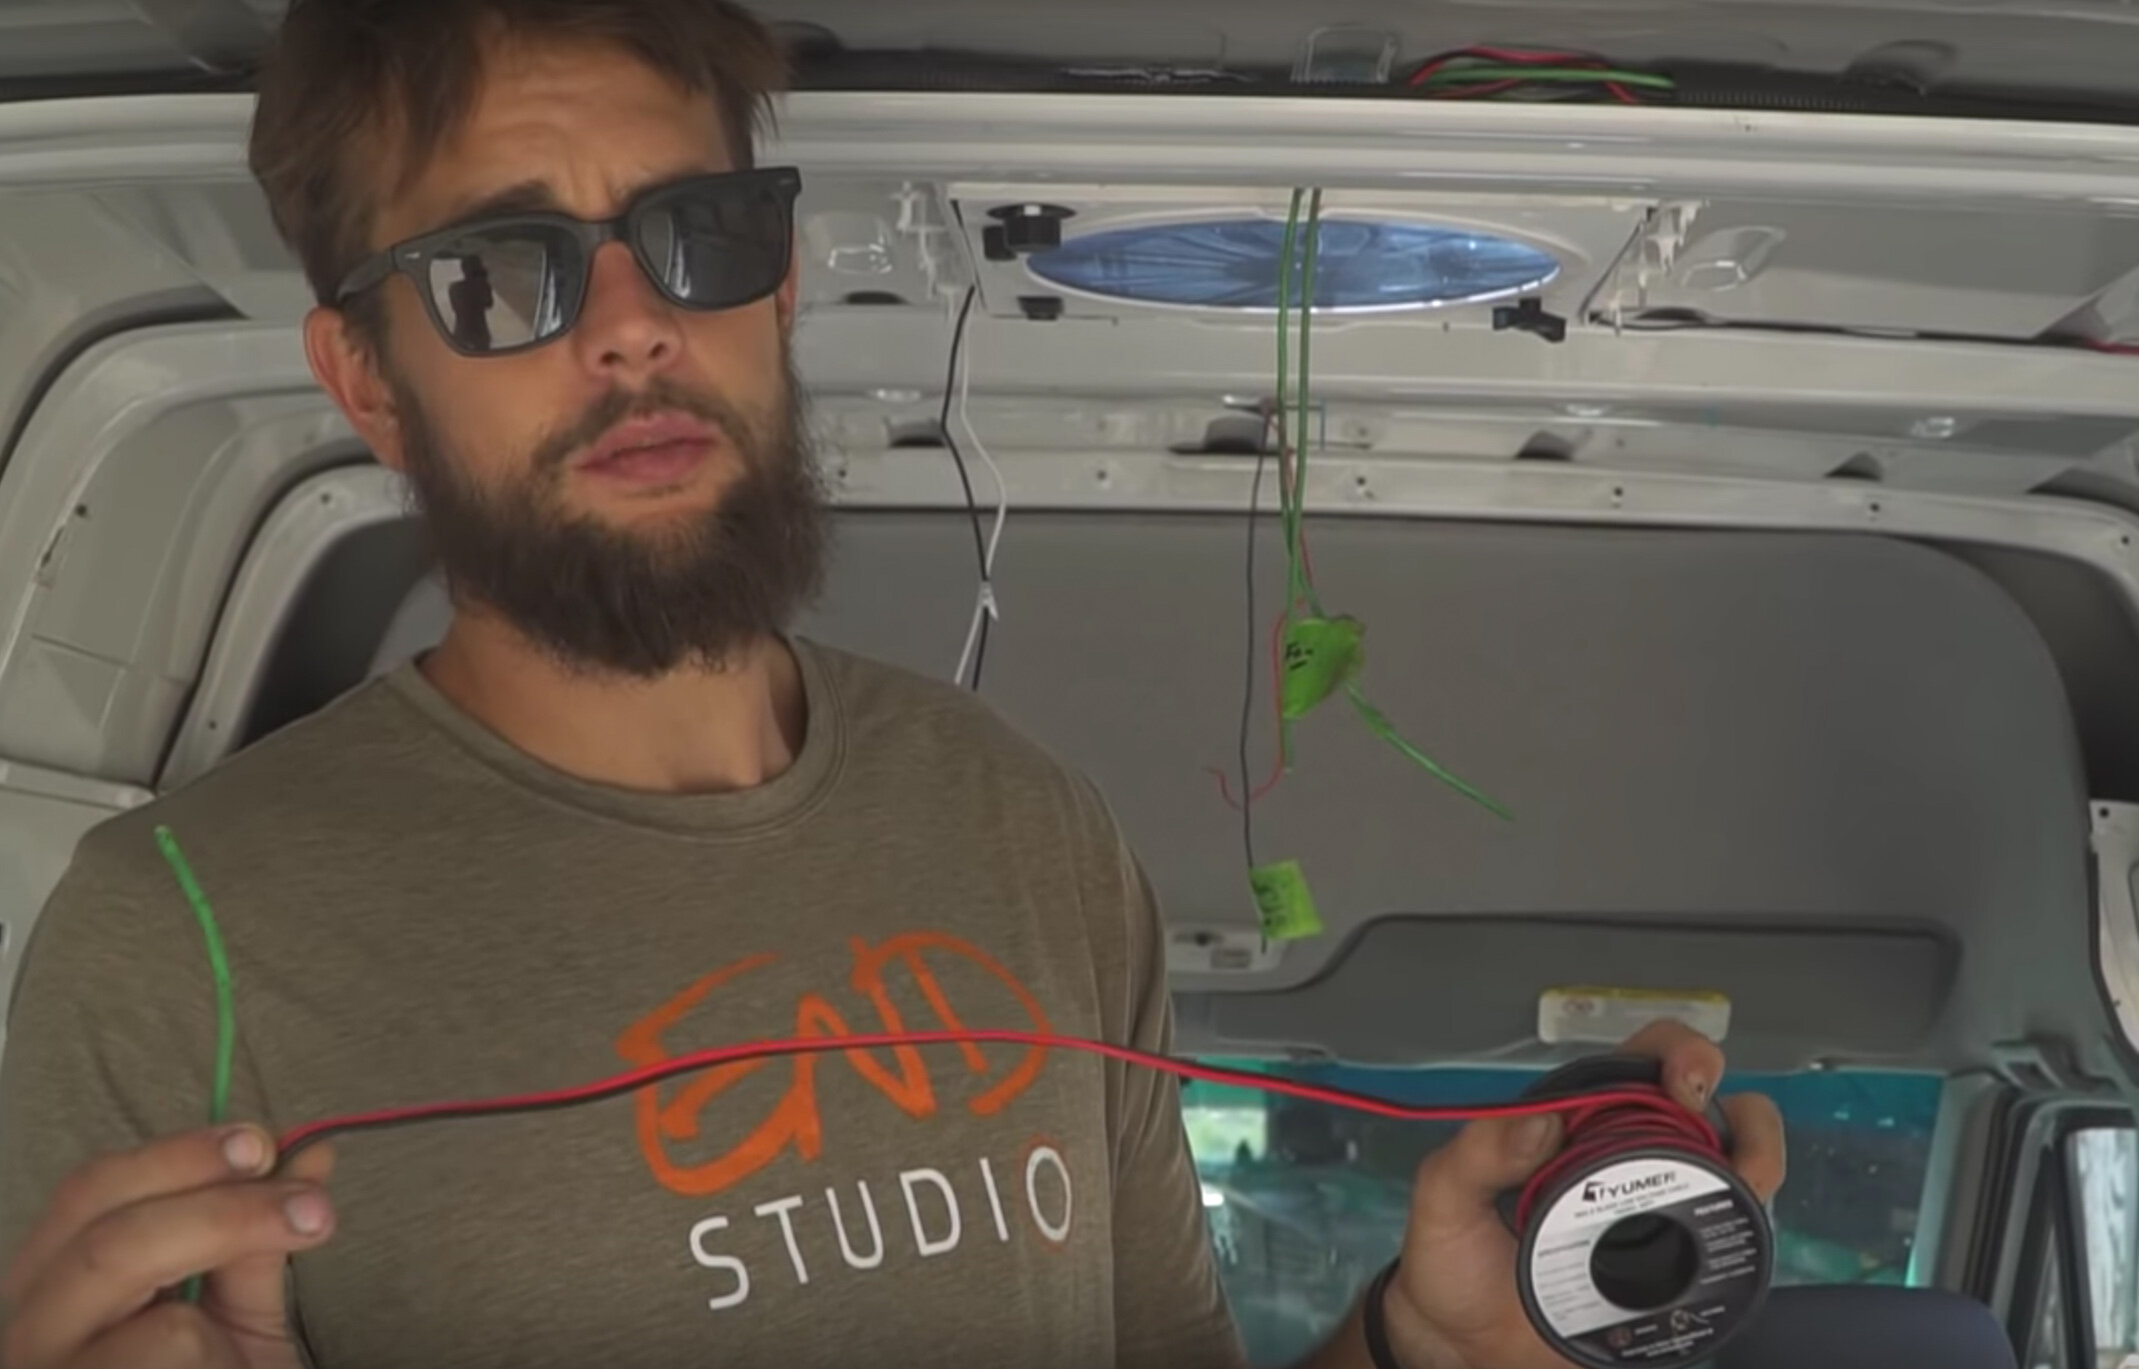
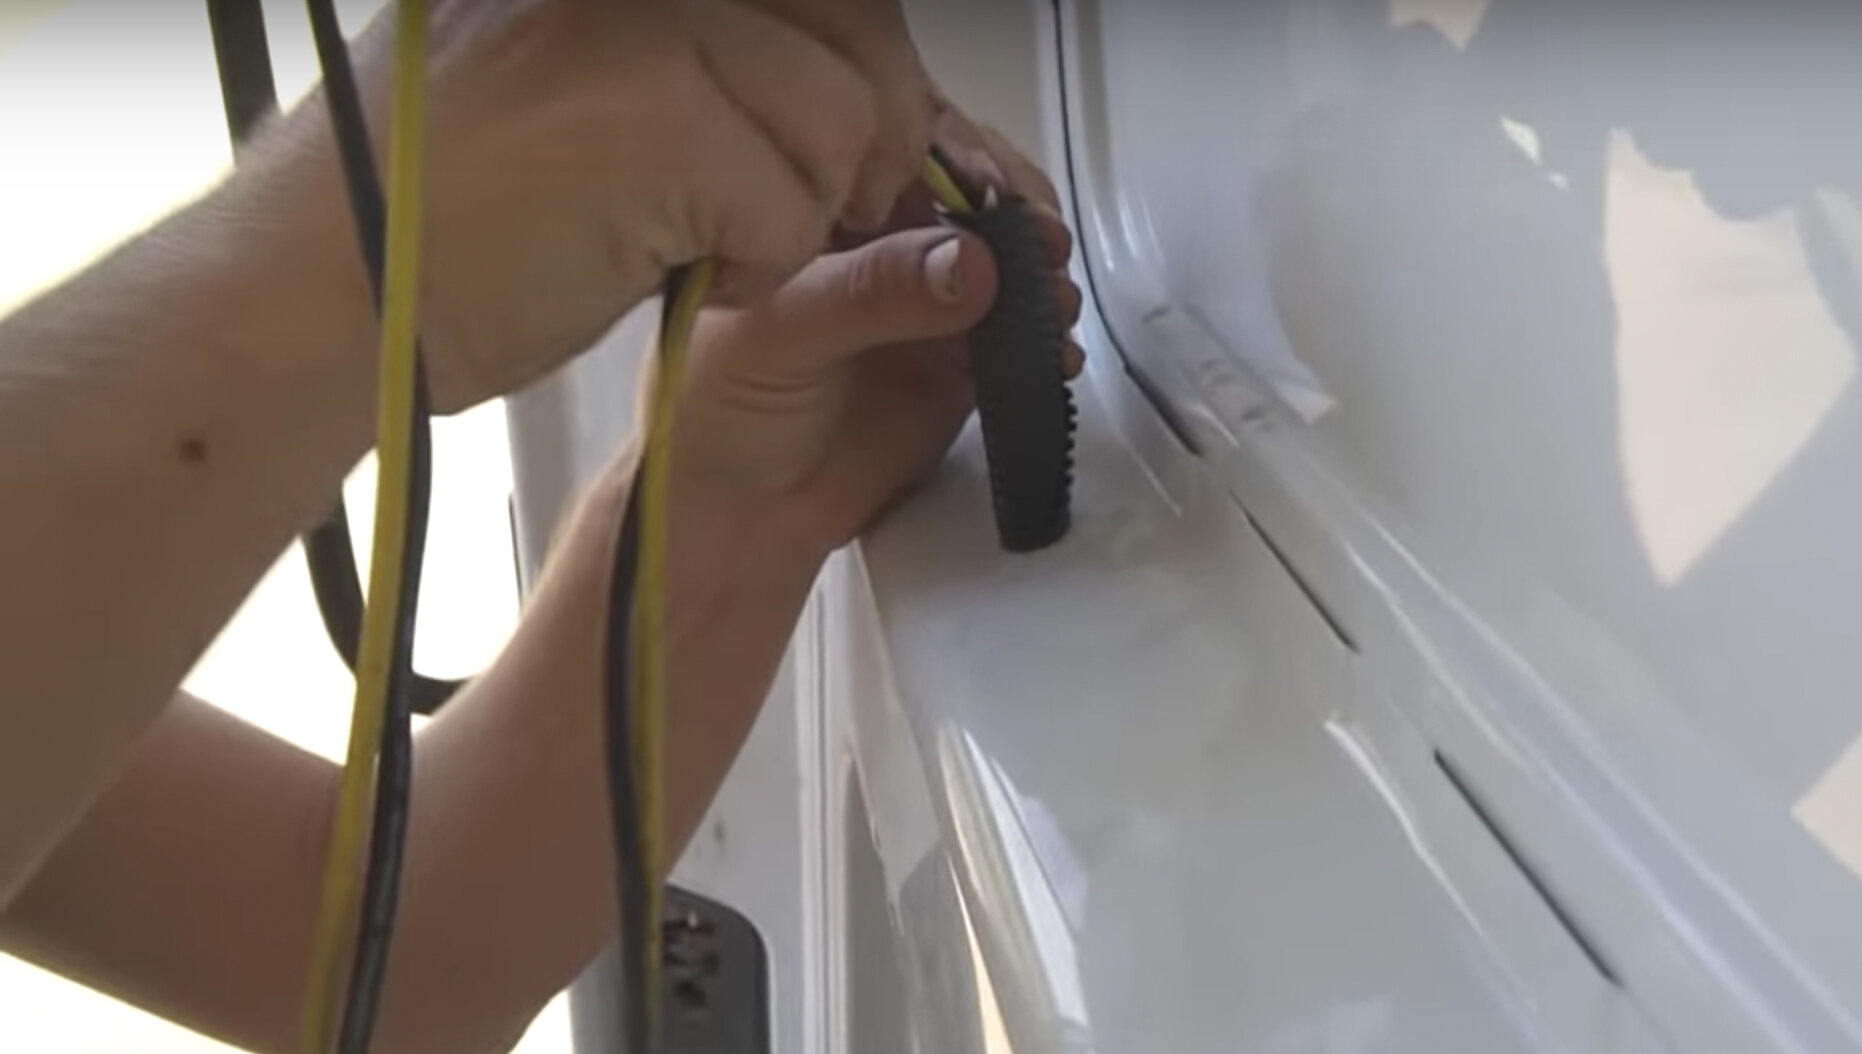
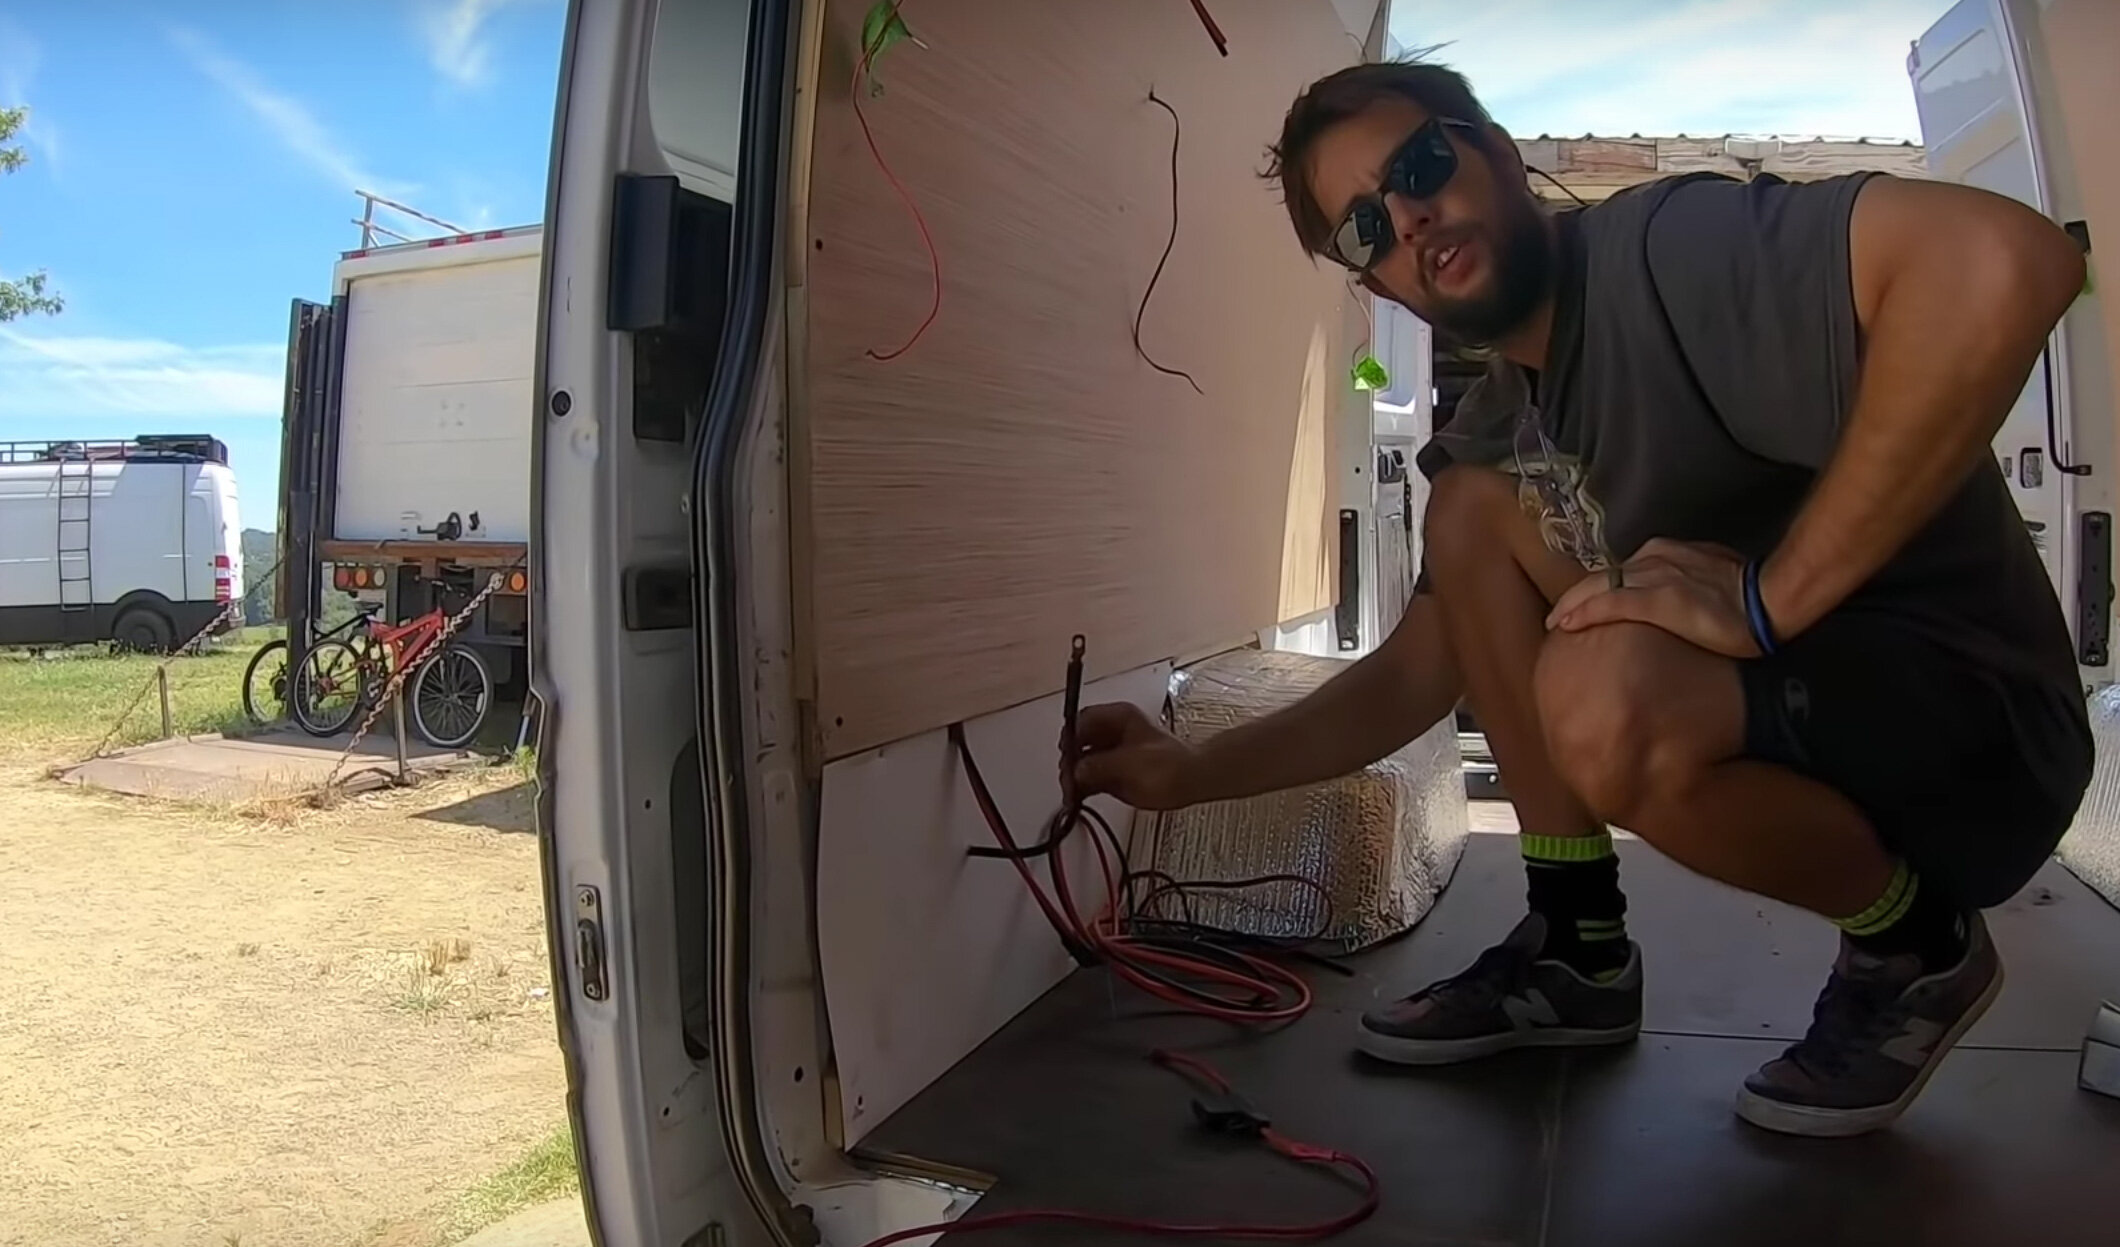
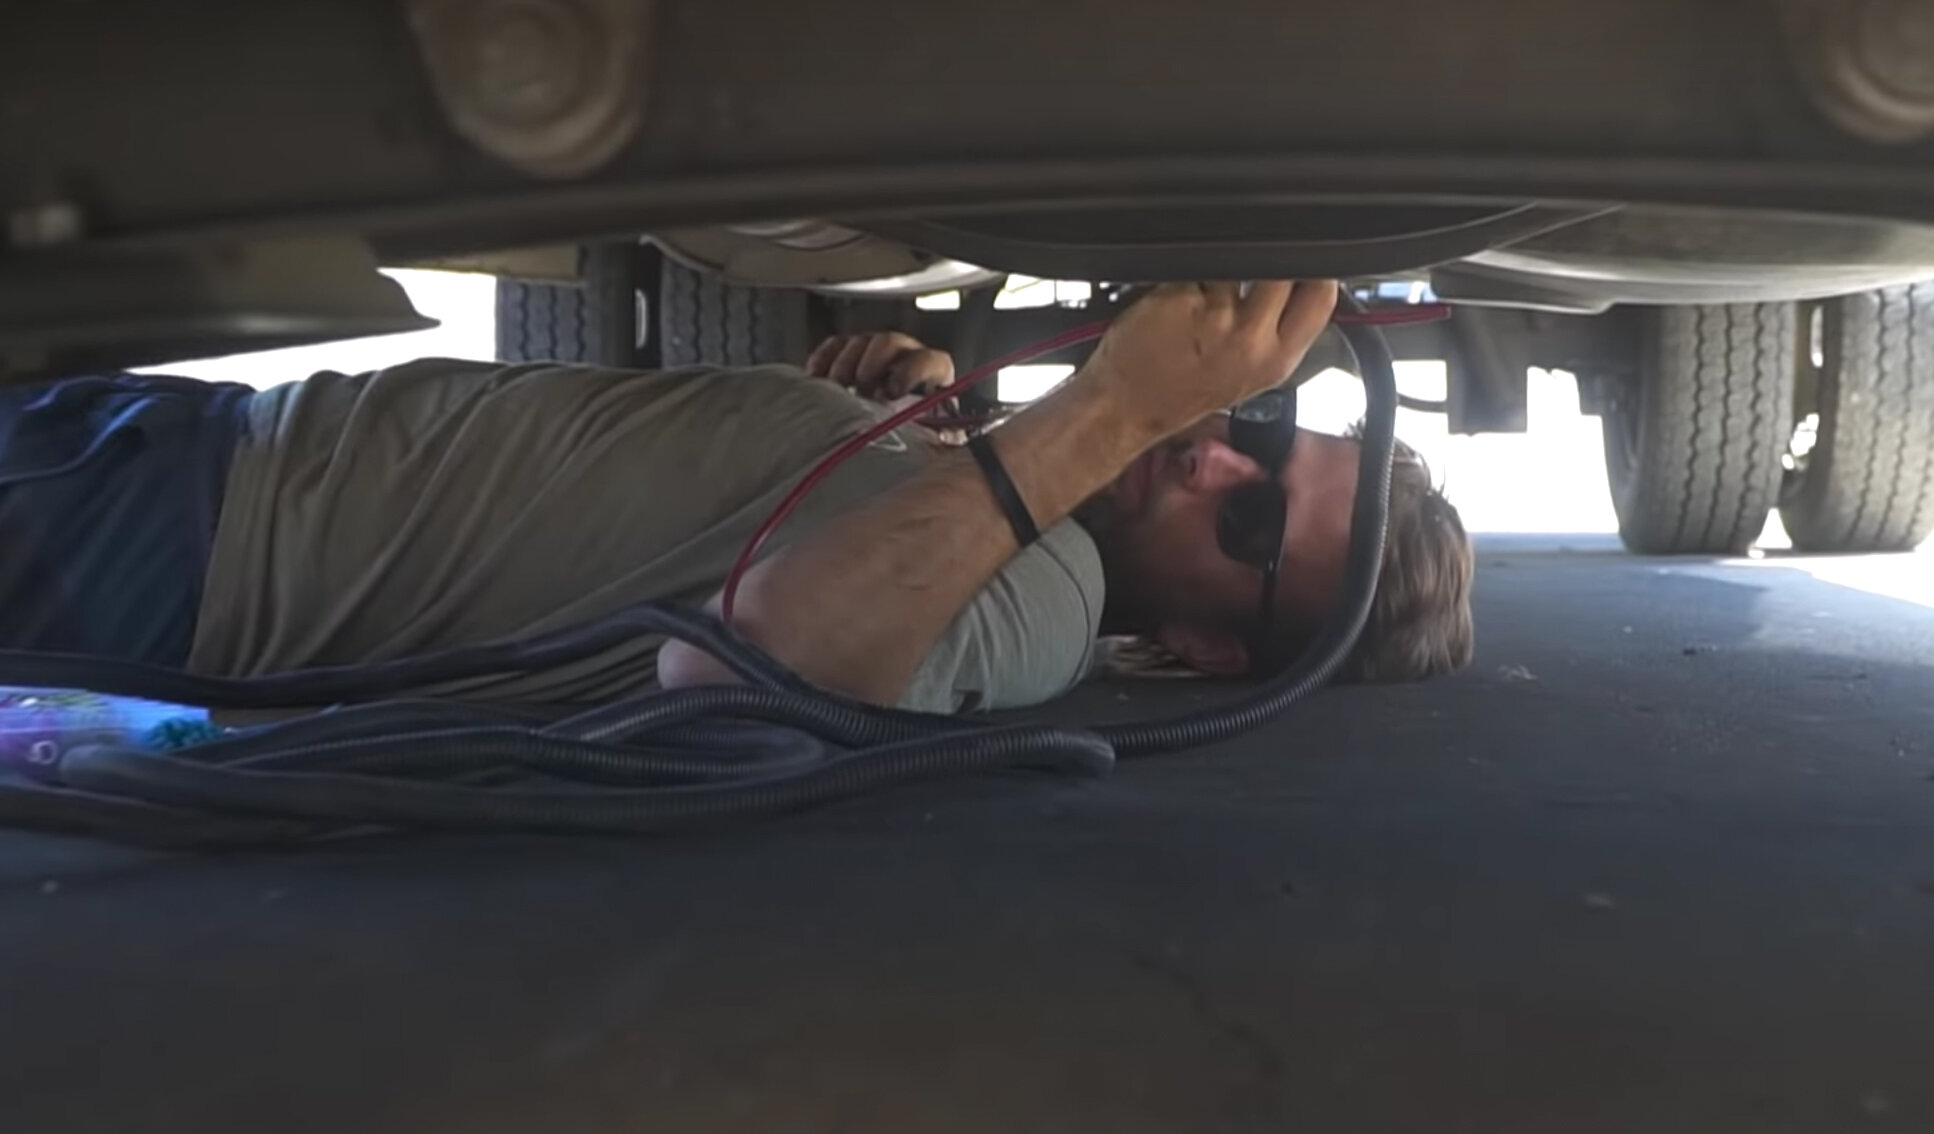
Once you’ve decided on a layout you like, how many amp hours your battery bank will need to be, and where it will go inside your van. Next, you will want to start running wires to all the locations of these accessories. Here, you can leave a good amount of extra wire incase you move the location. You can save some money here by only running 12 AWG wire to the appliances with more draw (Fridge, Heater, Fan, Chargers) and use a 18 AWG wire for all your LED lights. Don't forget to wire for all your switches as well.
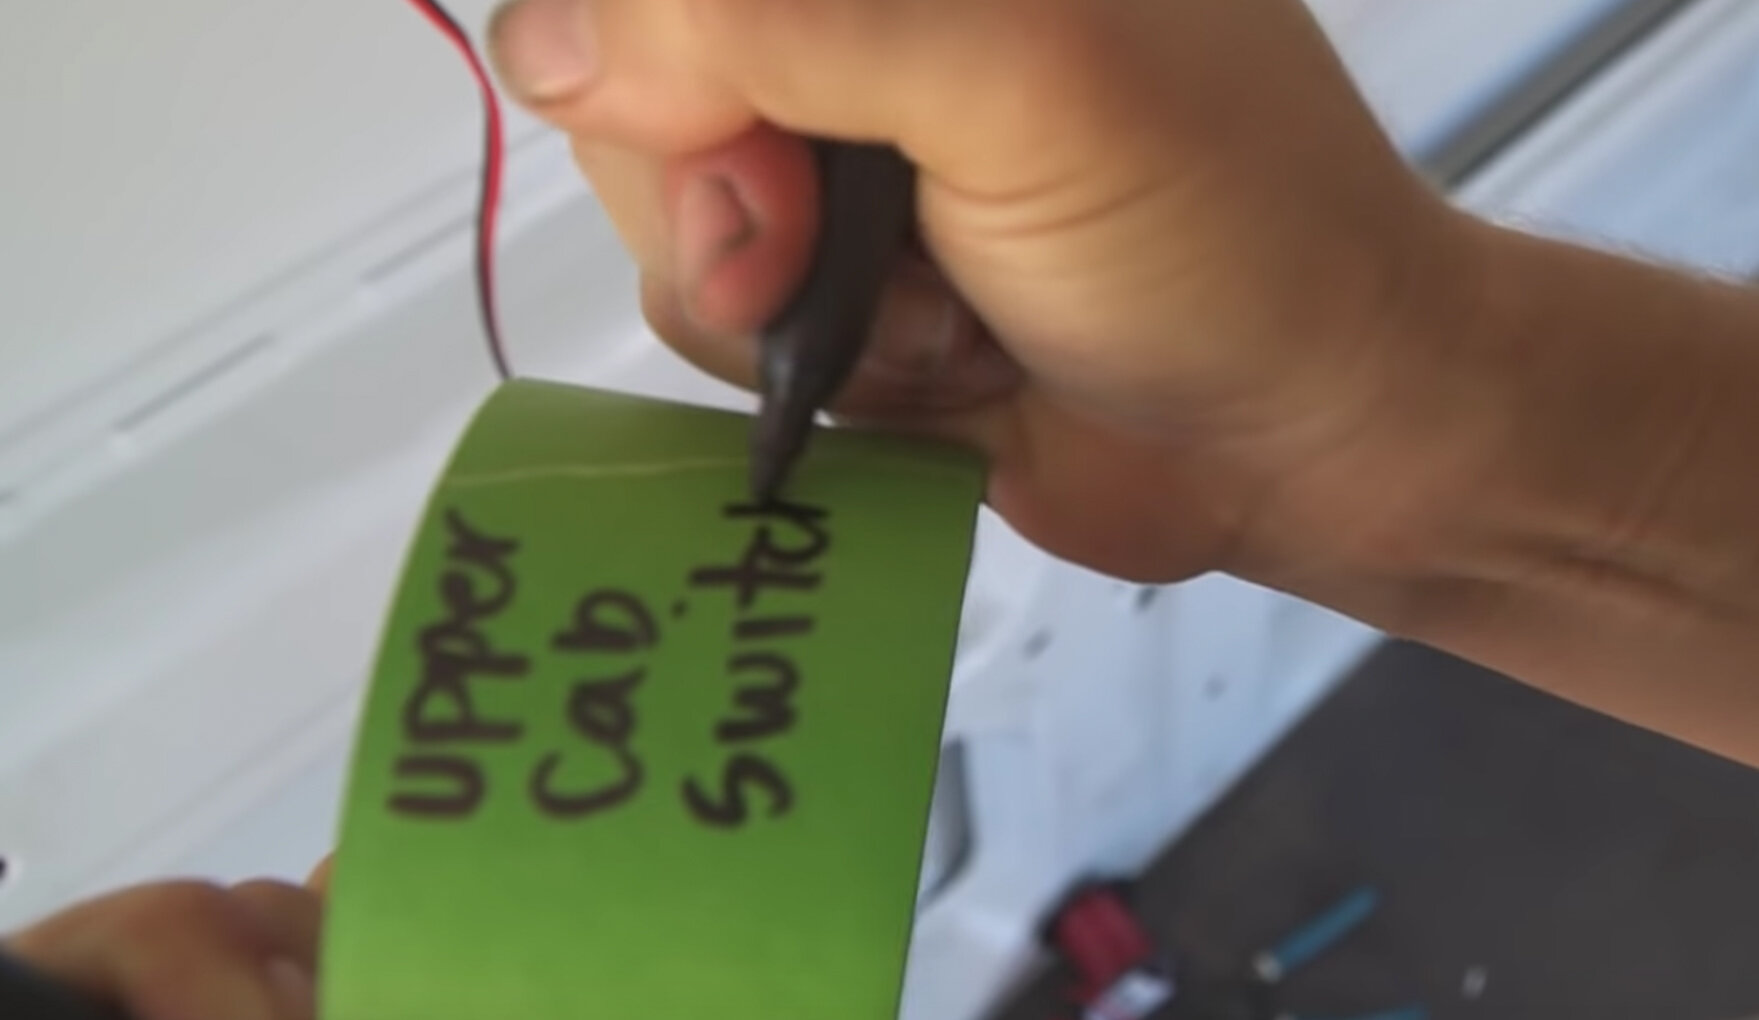
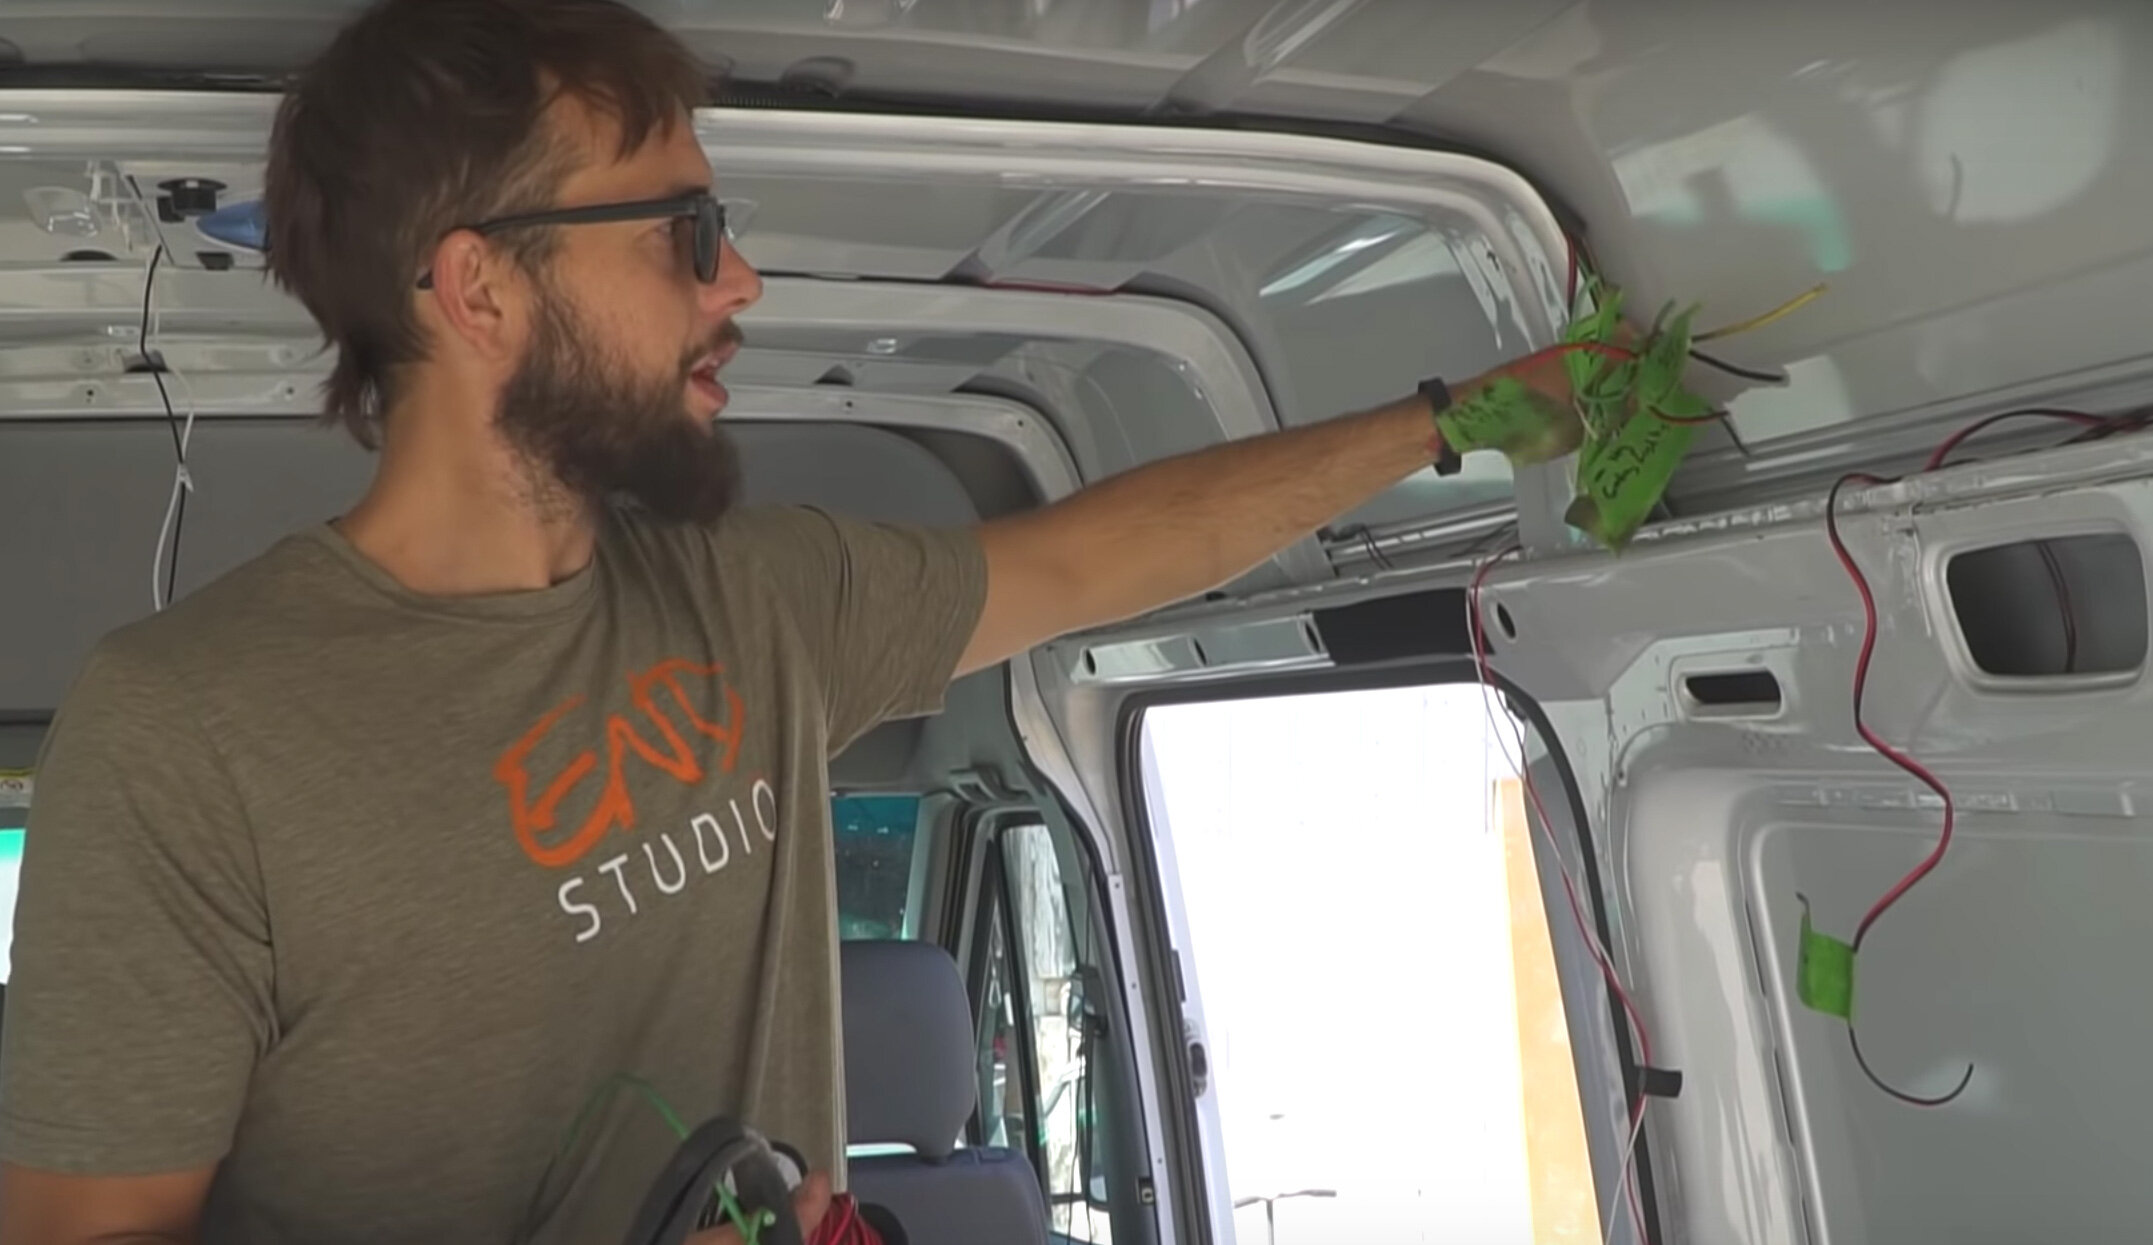
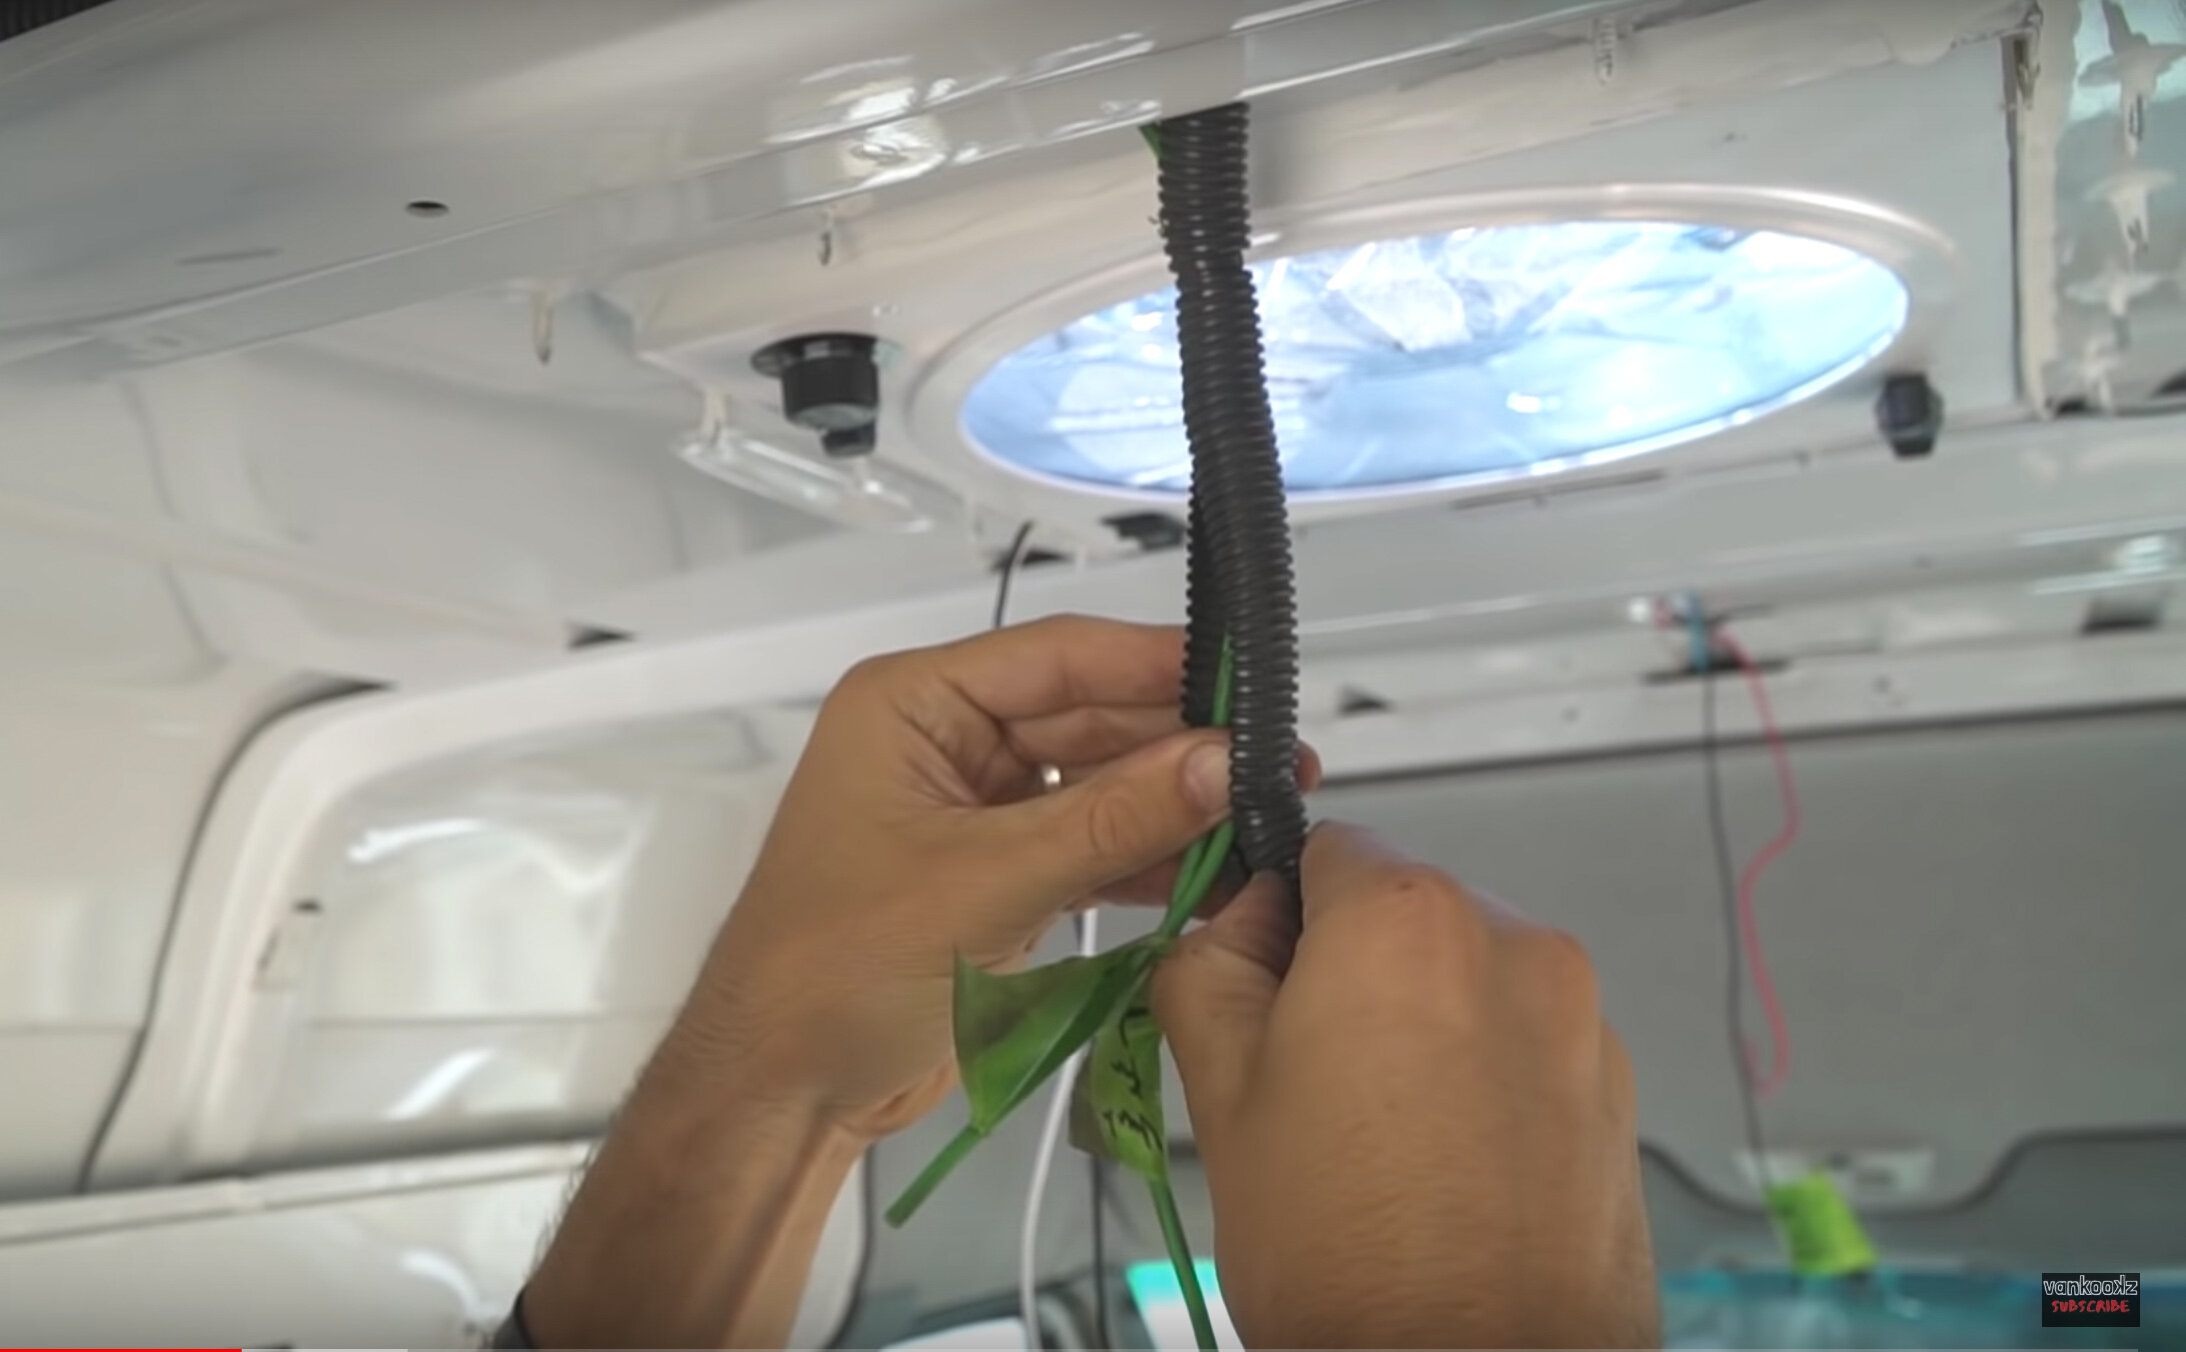
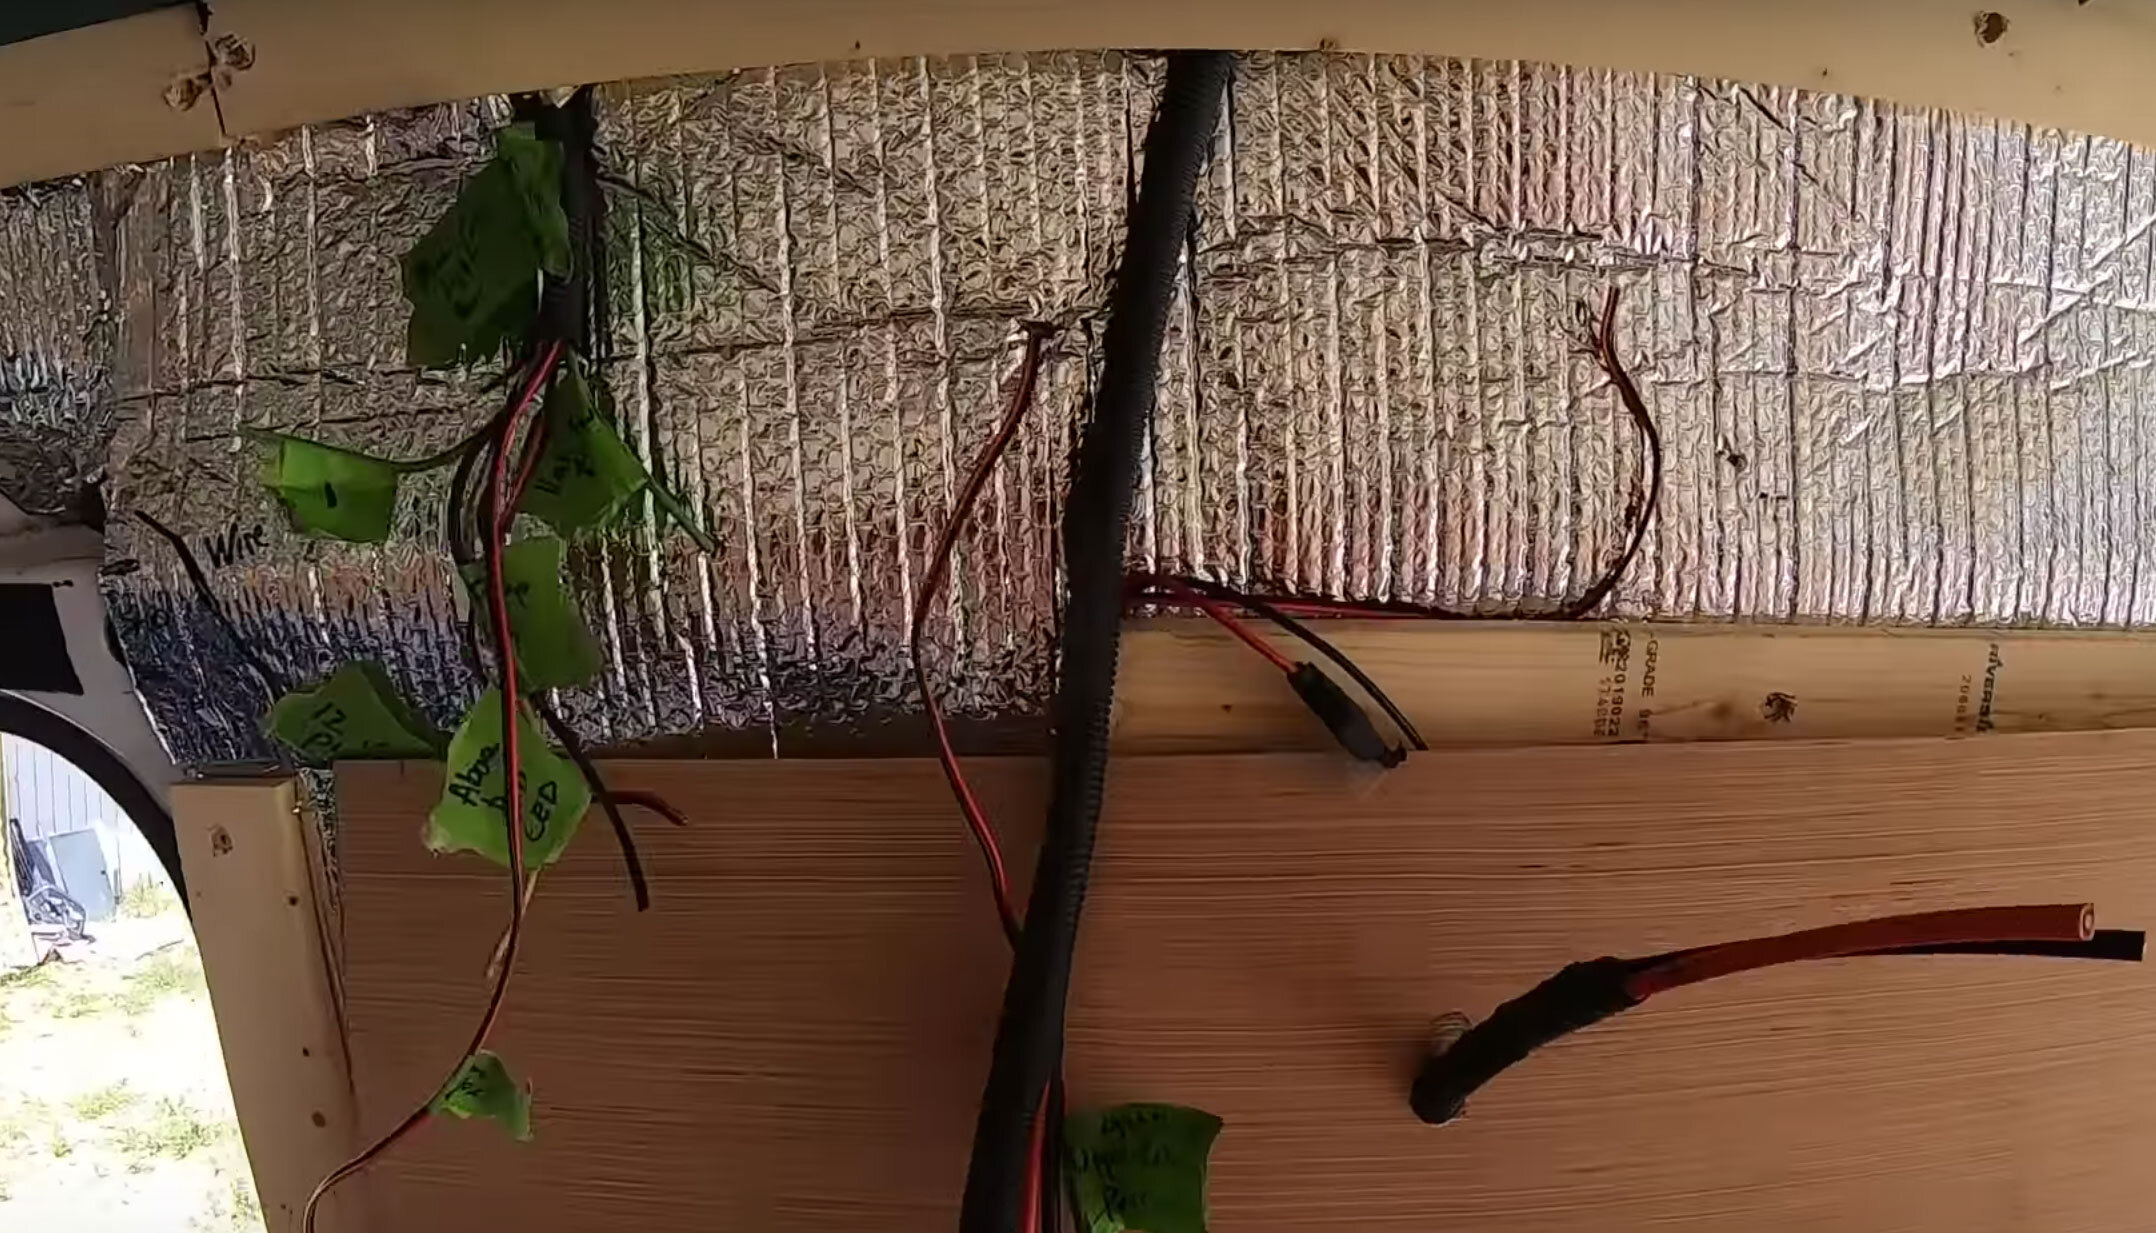
We will do all this wiring in an empty van so it’s one of the the first steps to building the van. It helps to use plastic conduit to contain all the wires and run them to their corresponding location in the van. Use every nook and cranny to store your wires in the van. Every wire will get taped and tagged what it is, so there isn’t a rats nest of wires. You'll want to start all the wires at a central location, where your distribution panel will be. There’s a bunch of different ways to ground each accessory, but for beginners it may be easiest to ground each accessory to the distribution panel. This will require more wire but it will be easier to understand for the first time around. From the distribution panel, you will run red and black wire to each accessory and use tape and sharpie to label what the wiring is and where it will be installed later on in the process.
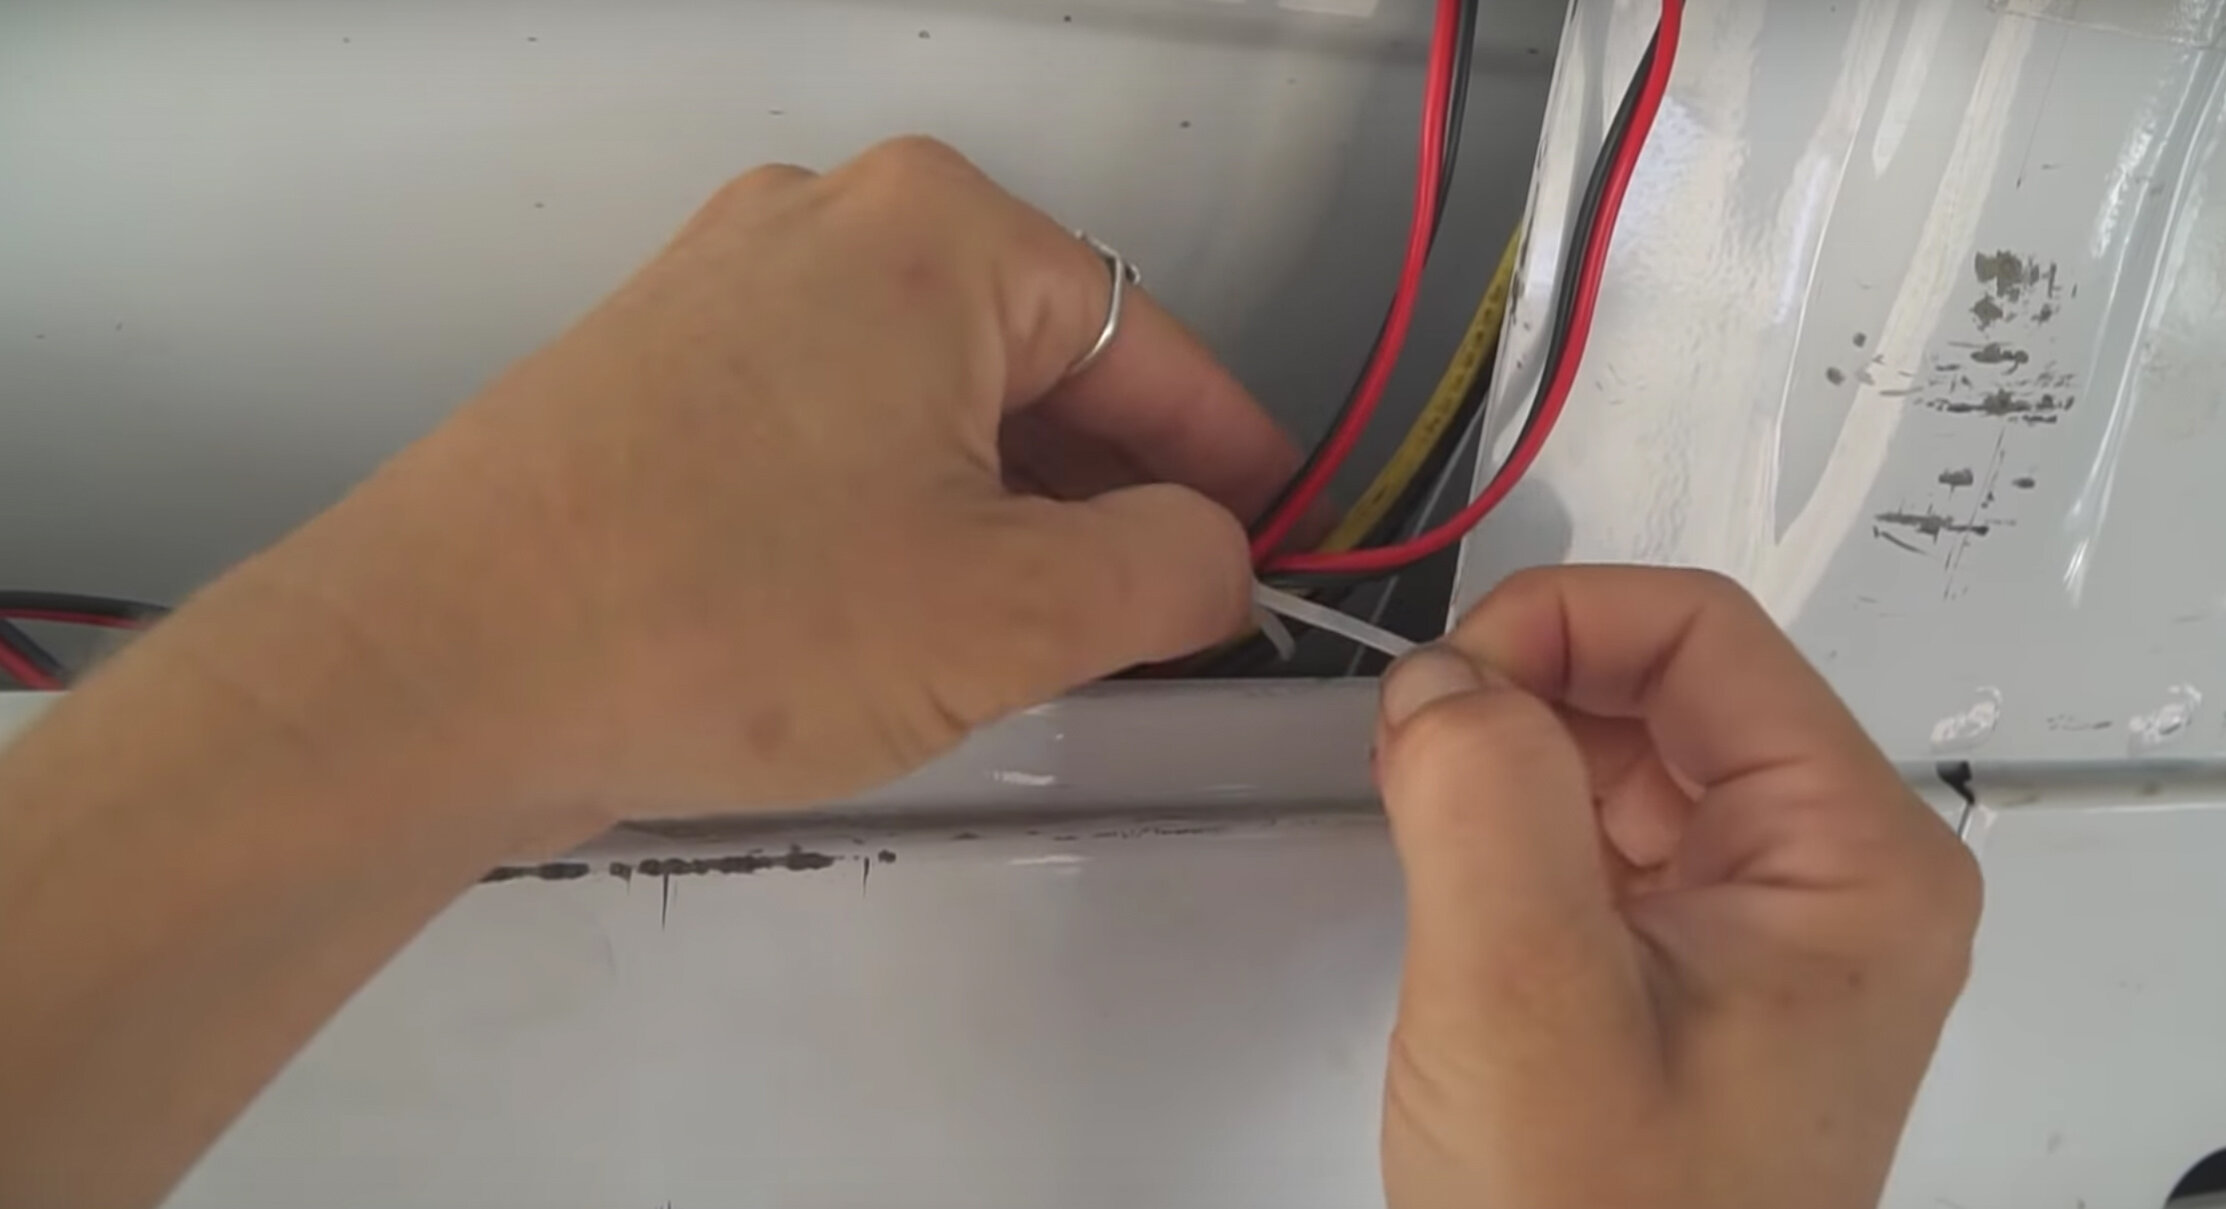
This step is done when you have all your accessories accounted for and wires running from the distribution panel to the accessory. Zip ties and corrugated plastic tubing help clean this step up. Also, some strong 3M tape can help keep wires on the ceiling. Once again, don't forget to wire for all your switches. You will need switches for your lights and your sink pump.
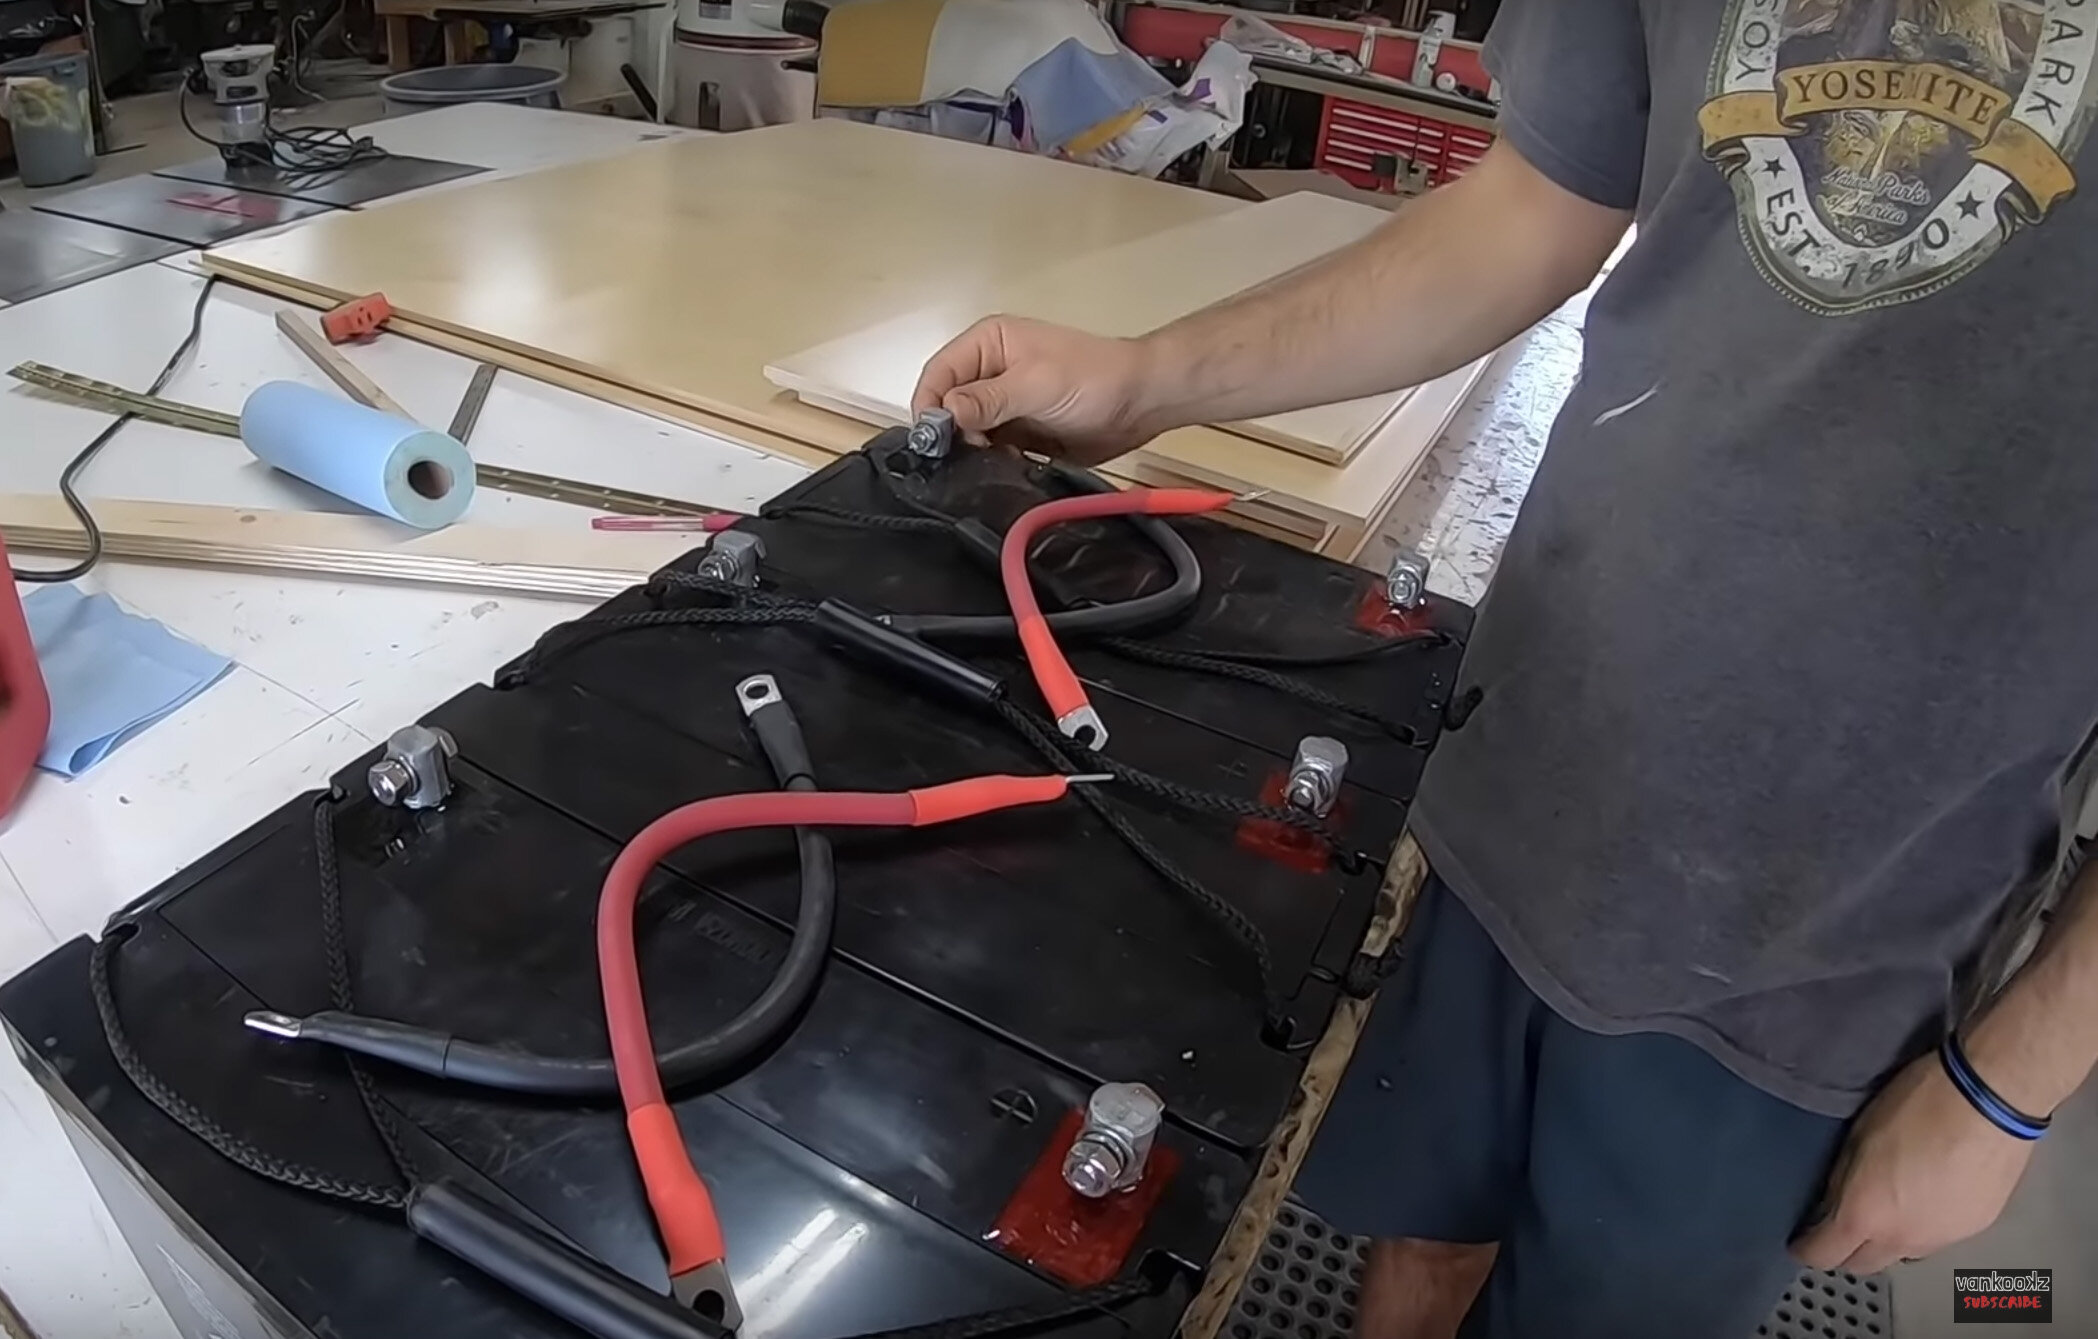
Battery Bank and Solar System
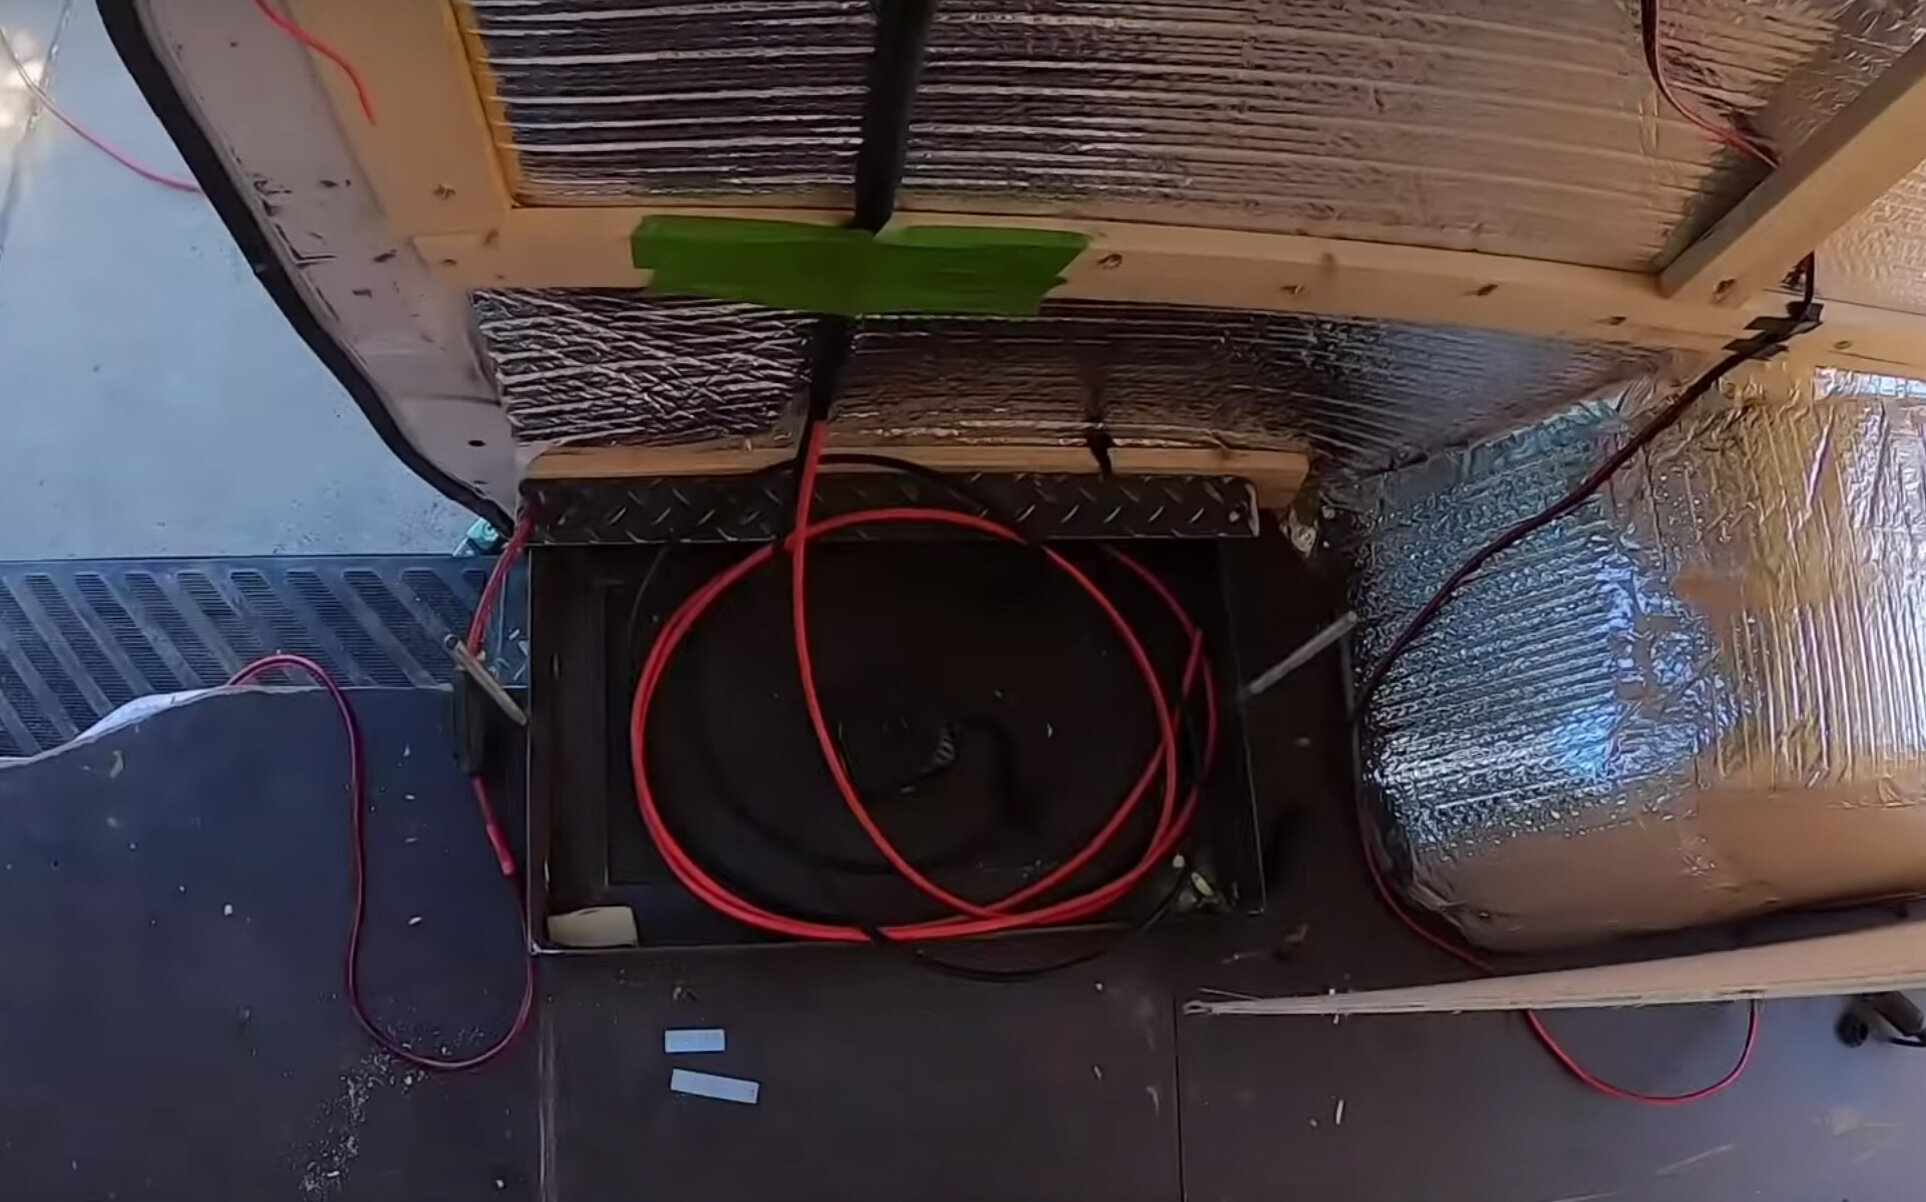
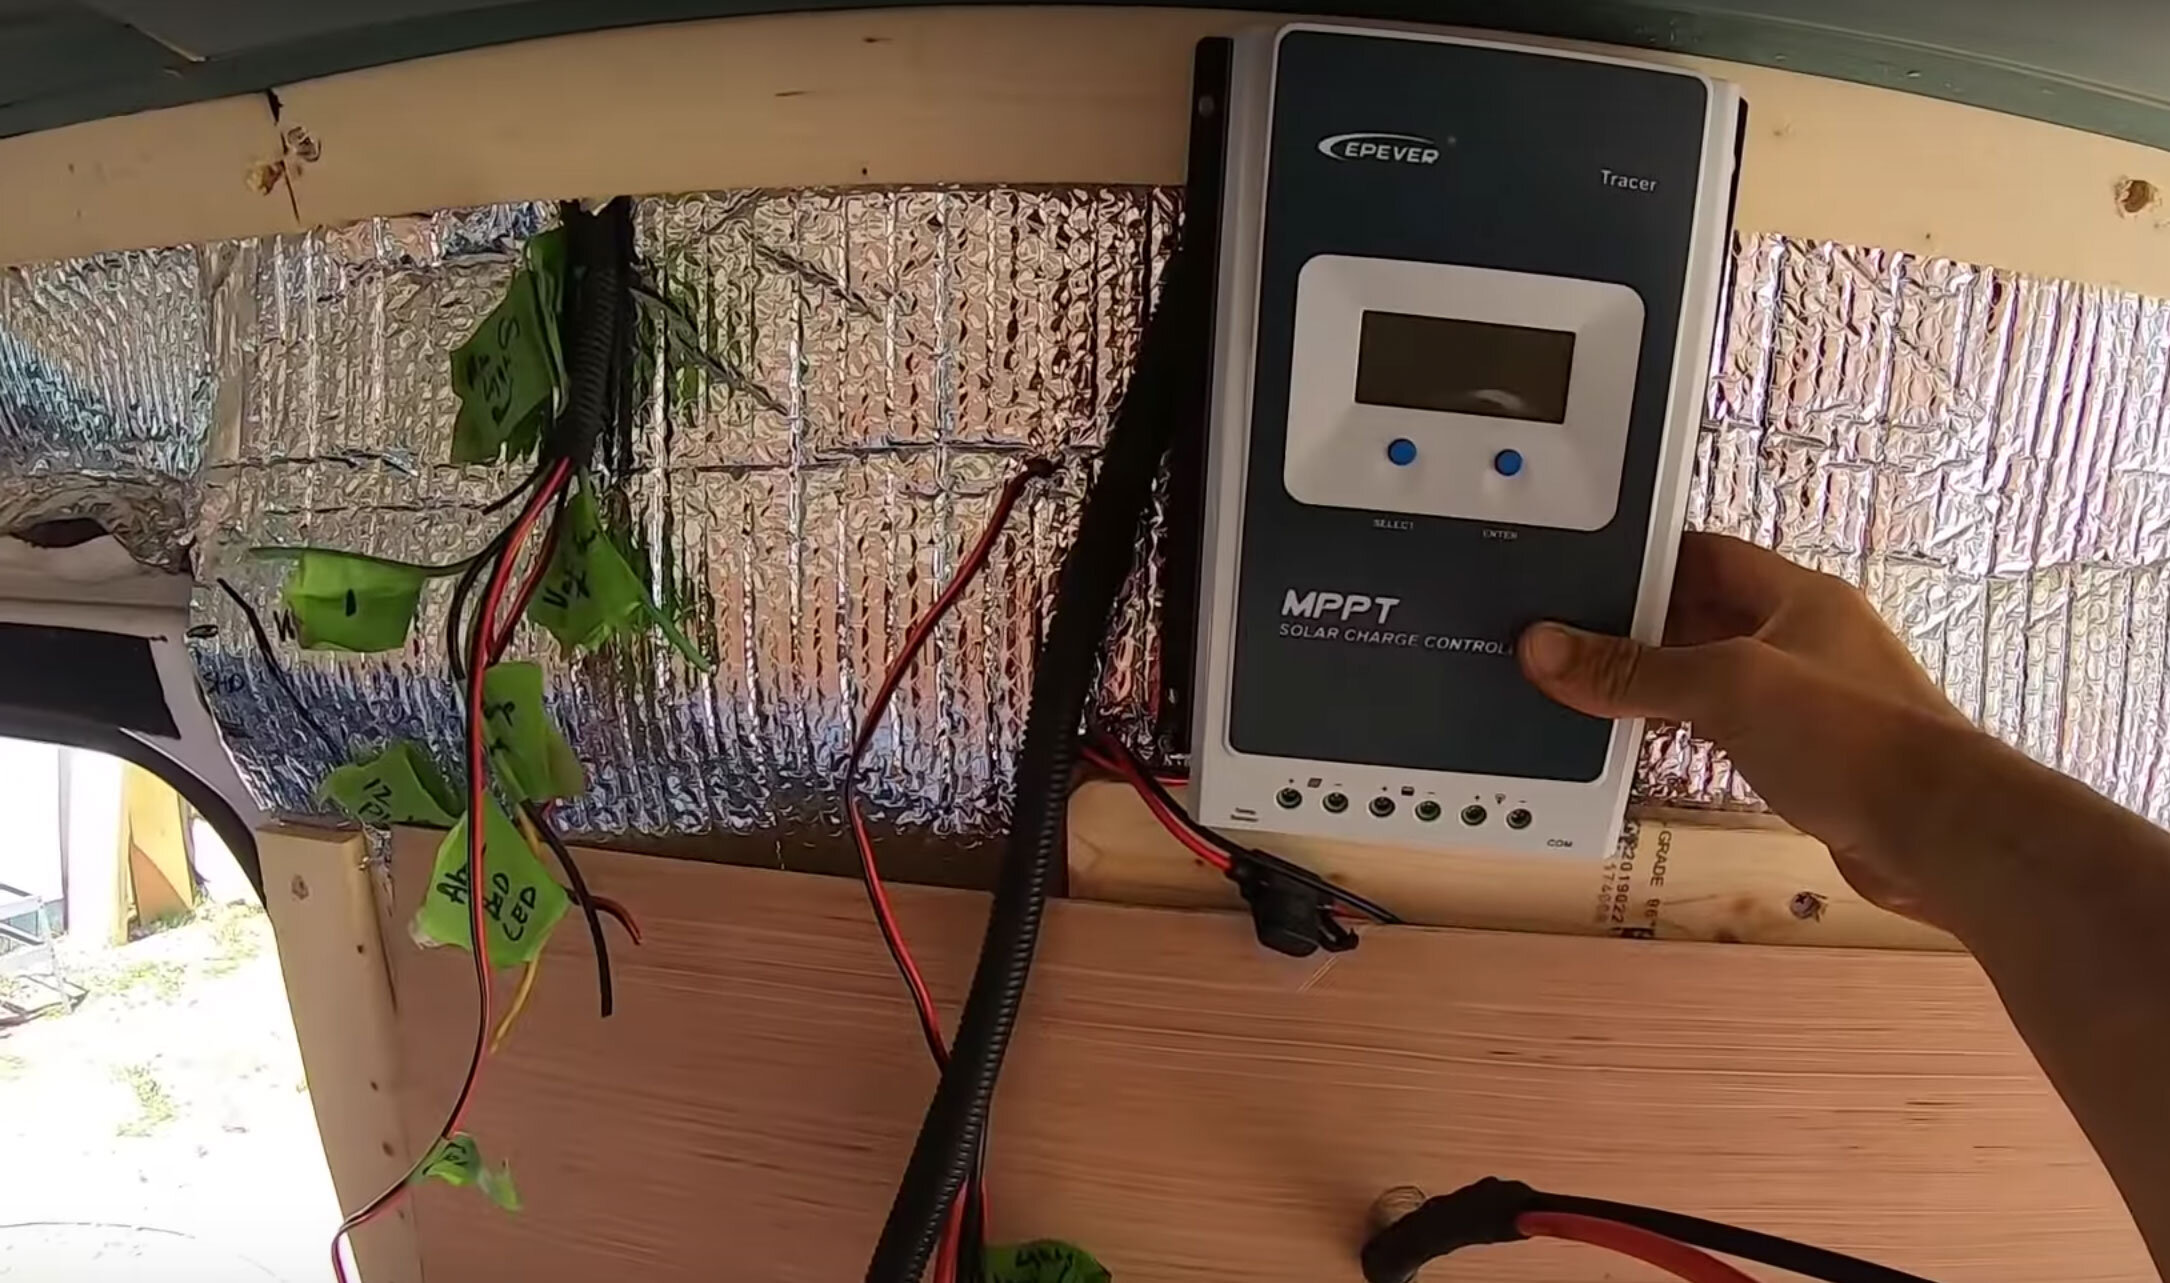
Once you've decided where all your accessories will go and you know where your distribution panel will live, the next step is deciding where your solar panel wiring will come in from the roof to plug into your solar charge controller. This will feed into your battery bank. So, you will need to know how big your bank will be and where it will be located. Your battery bank will take up a decent amount of room and will be very heavy. So, it’s best to leave it on the floor.
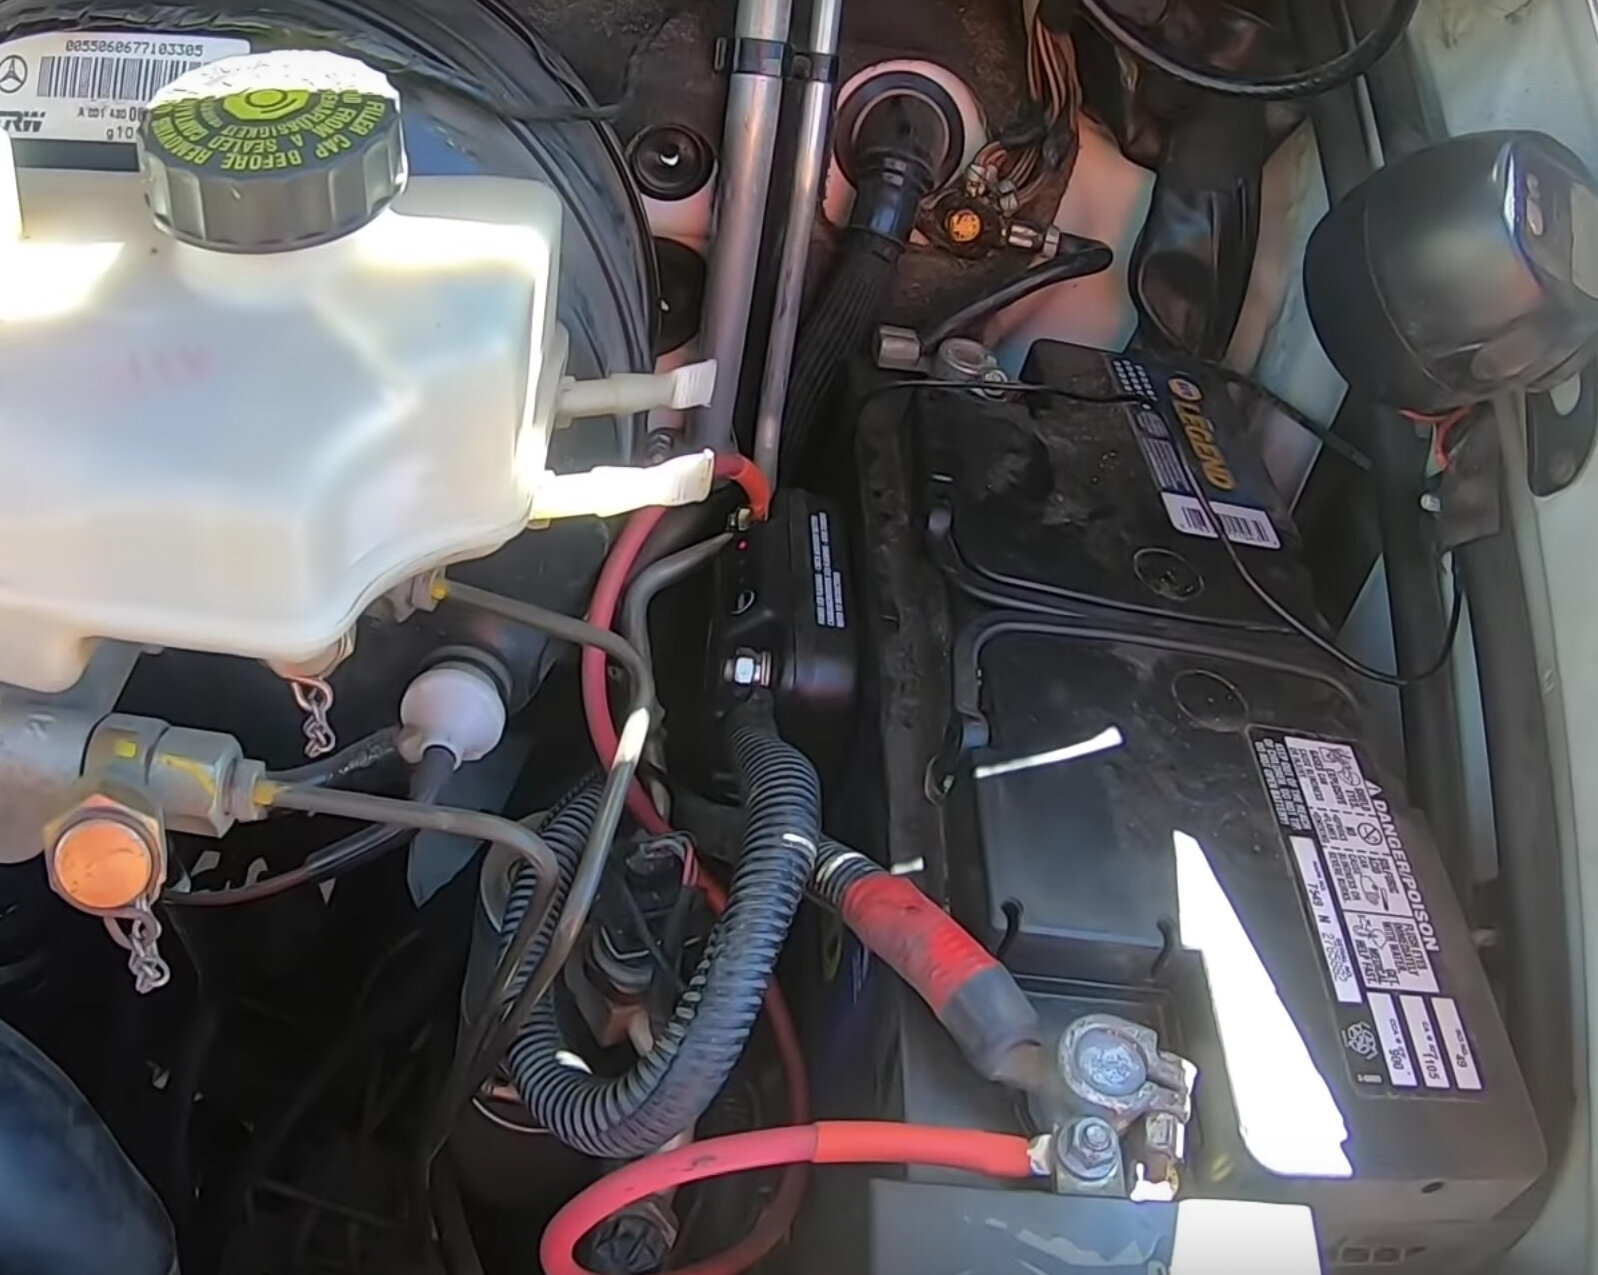
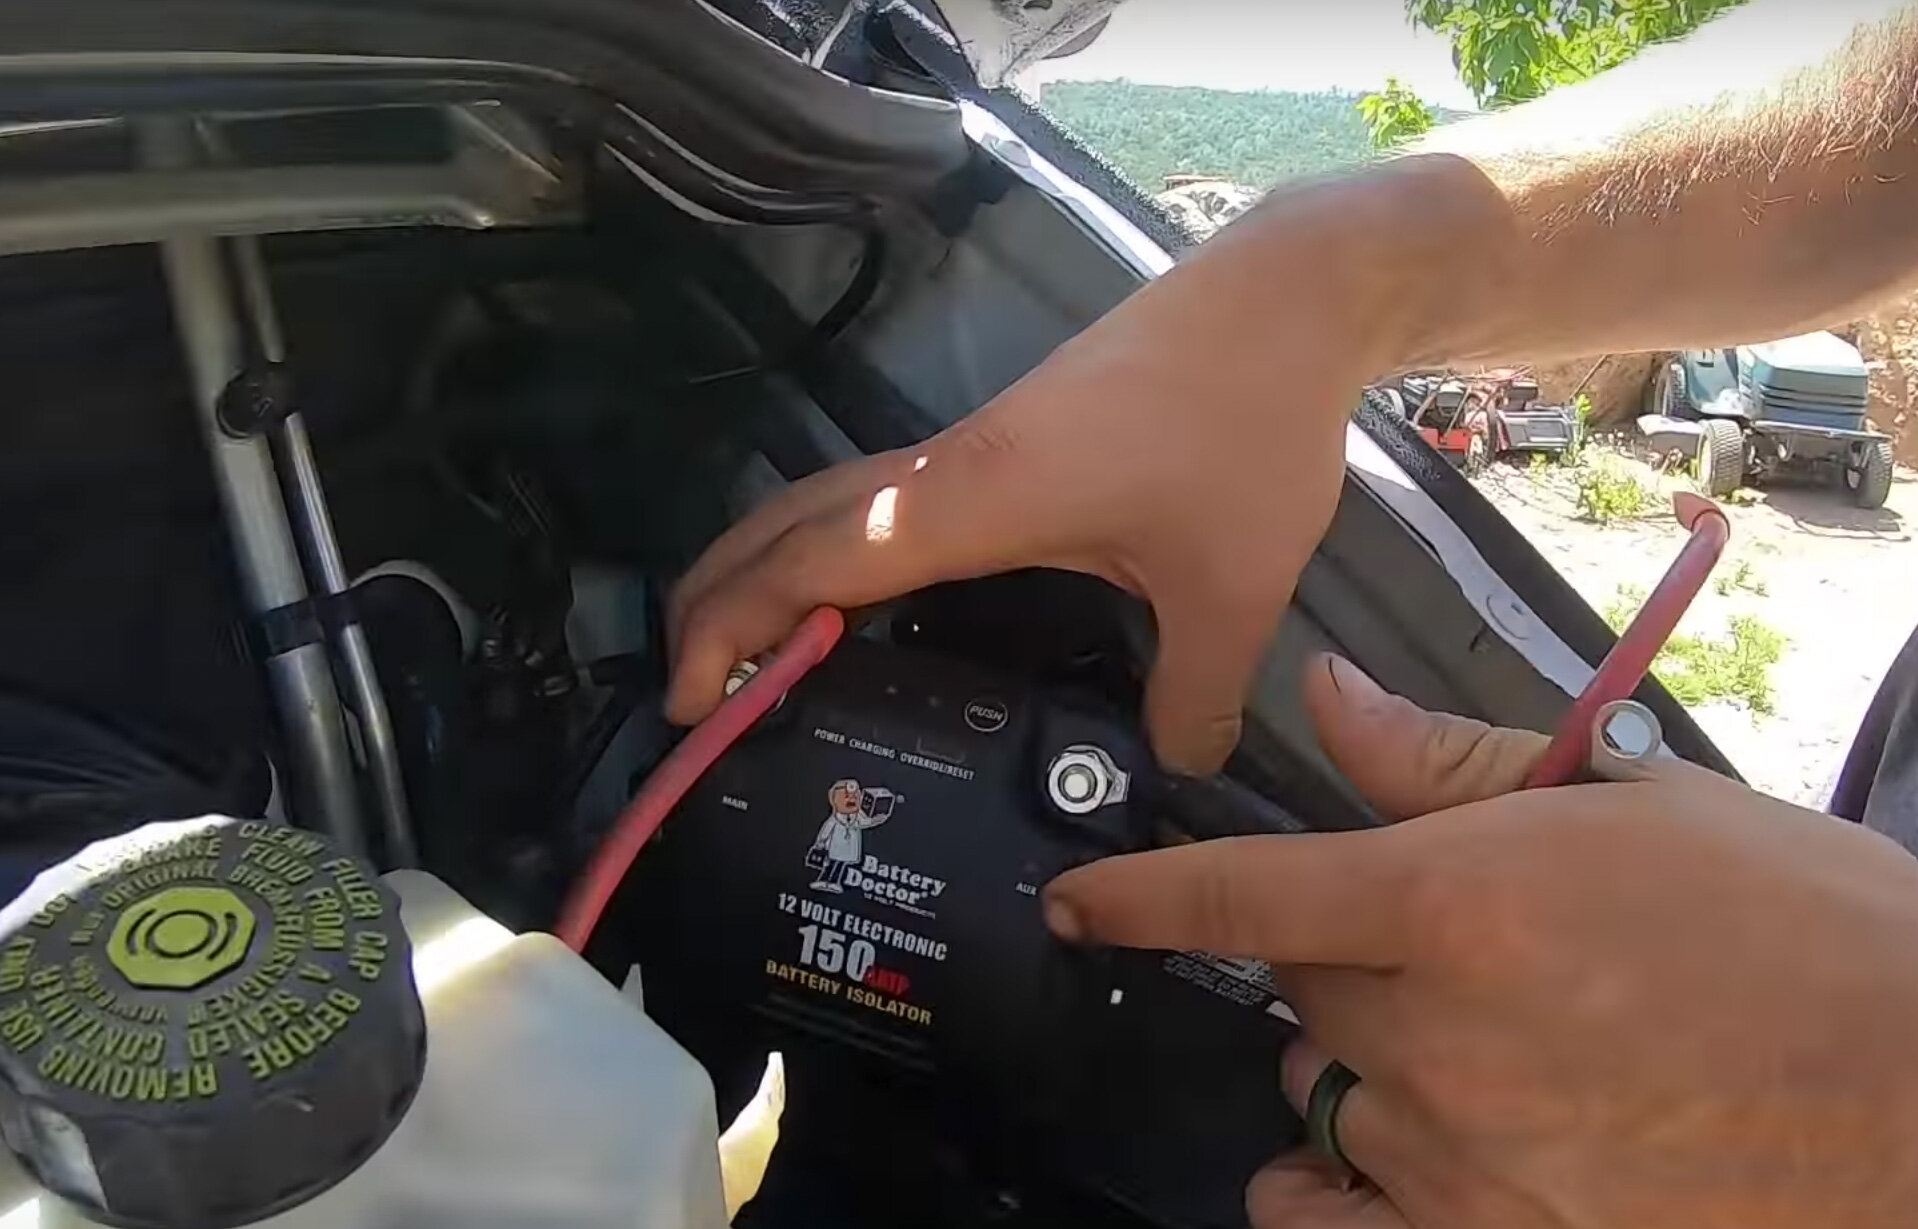
Once this location has been established, you will need to wire the charge controller to the battery bank with 6-10 AWG cables. You’ll want to at least run the cables; so they will be hidden behind the walls. It’s easiest and cheapest to have the charge controller in-line, with the batteries. So that way, you have a shorter distance to run the thick cables. At this point, drilling holes in your roof for your solar panel cables is a good idea. We love to use a weather proof cable port from Amazon. It’s sleek and effective. After you have ran your cables from the ceiling to the location of the charge controller and the wiring form the charge controller to the battery bank, you are ready to start insulating the van. Also don’t forget to cut a hole in the roof for your roof fan to make life easier. You will also want to wire a battery isolator, at this step. So that way, you can charge your system, while your engine is running. This is great to have, if you ever need power, all you have to do is get your engine running. Here’s more info on how to wire the isolator to your vehicle
We’ve used a lot of products in van conversions and here are a few of our favorites and recommendations for this step. Disclaimer: All the links are Amazon Affiliate Links. The price for you does not change, but we get a tiny kick back if you purchase. It helps the website keep existing and it’s a great way to support the Kookz that support the Kook in you. Namaste.
12 Volt Fridge - https://amzn.to/2wovDx9
Diesel Heater - https://amzn.to/2uIzox4
Lights - https://amzn.to/38DgLcs
Roof Fan - https://amzn.to/2UWVTZz
Batteries - https://amzn.to/2P1c4Bp
Solar Charge Controller - https://amzn.to/2HuXJZU
Wiring for Lights and USB chargers (Low Draw) - https://amzn.to/39ElzhN
Wiring for Accessories with more power draw - https://amzn.to/2UWmm9K
Wiring for Batteries/Charge Controller/Battery Isolator - https://amzn.to/37tdZVO
Battery Isolator - https://amzn.to/37wQmM9
Distribution Panel aka Fuse Block - https://amzn.to/37vDi9S
Battery Terminal Kit - https://amzn.to/37wQtr3
Wiring Kit - https://amzn.to/2STGUxb
Solar Wiring Entry Gland - https://amzn.to/2P0bhAV
Split Wire Loom Plastic Conduit - https://amzn.to/2SS0wBF
Enter your email below to download the wiring guide!*
*Don’t worry, we won’t spam you. We just want to know how many people this is actually helping. So that way, we know to make more infographics like these.
