Electrical

Phase 8.2: Wifi Extender

Wifi in your van!

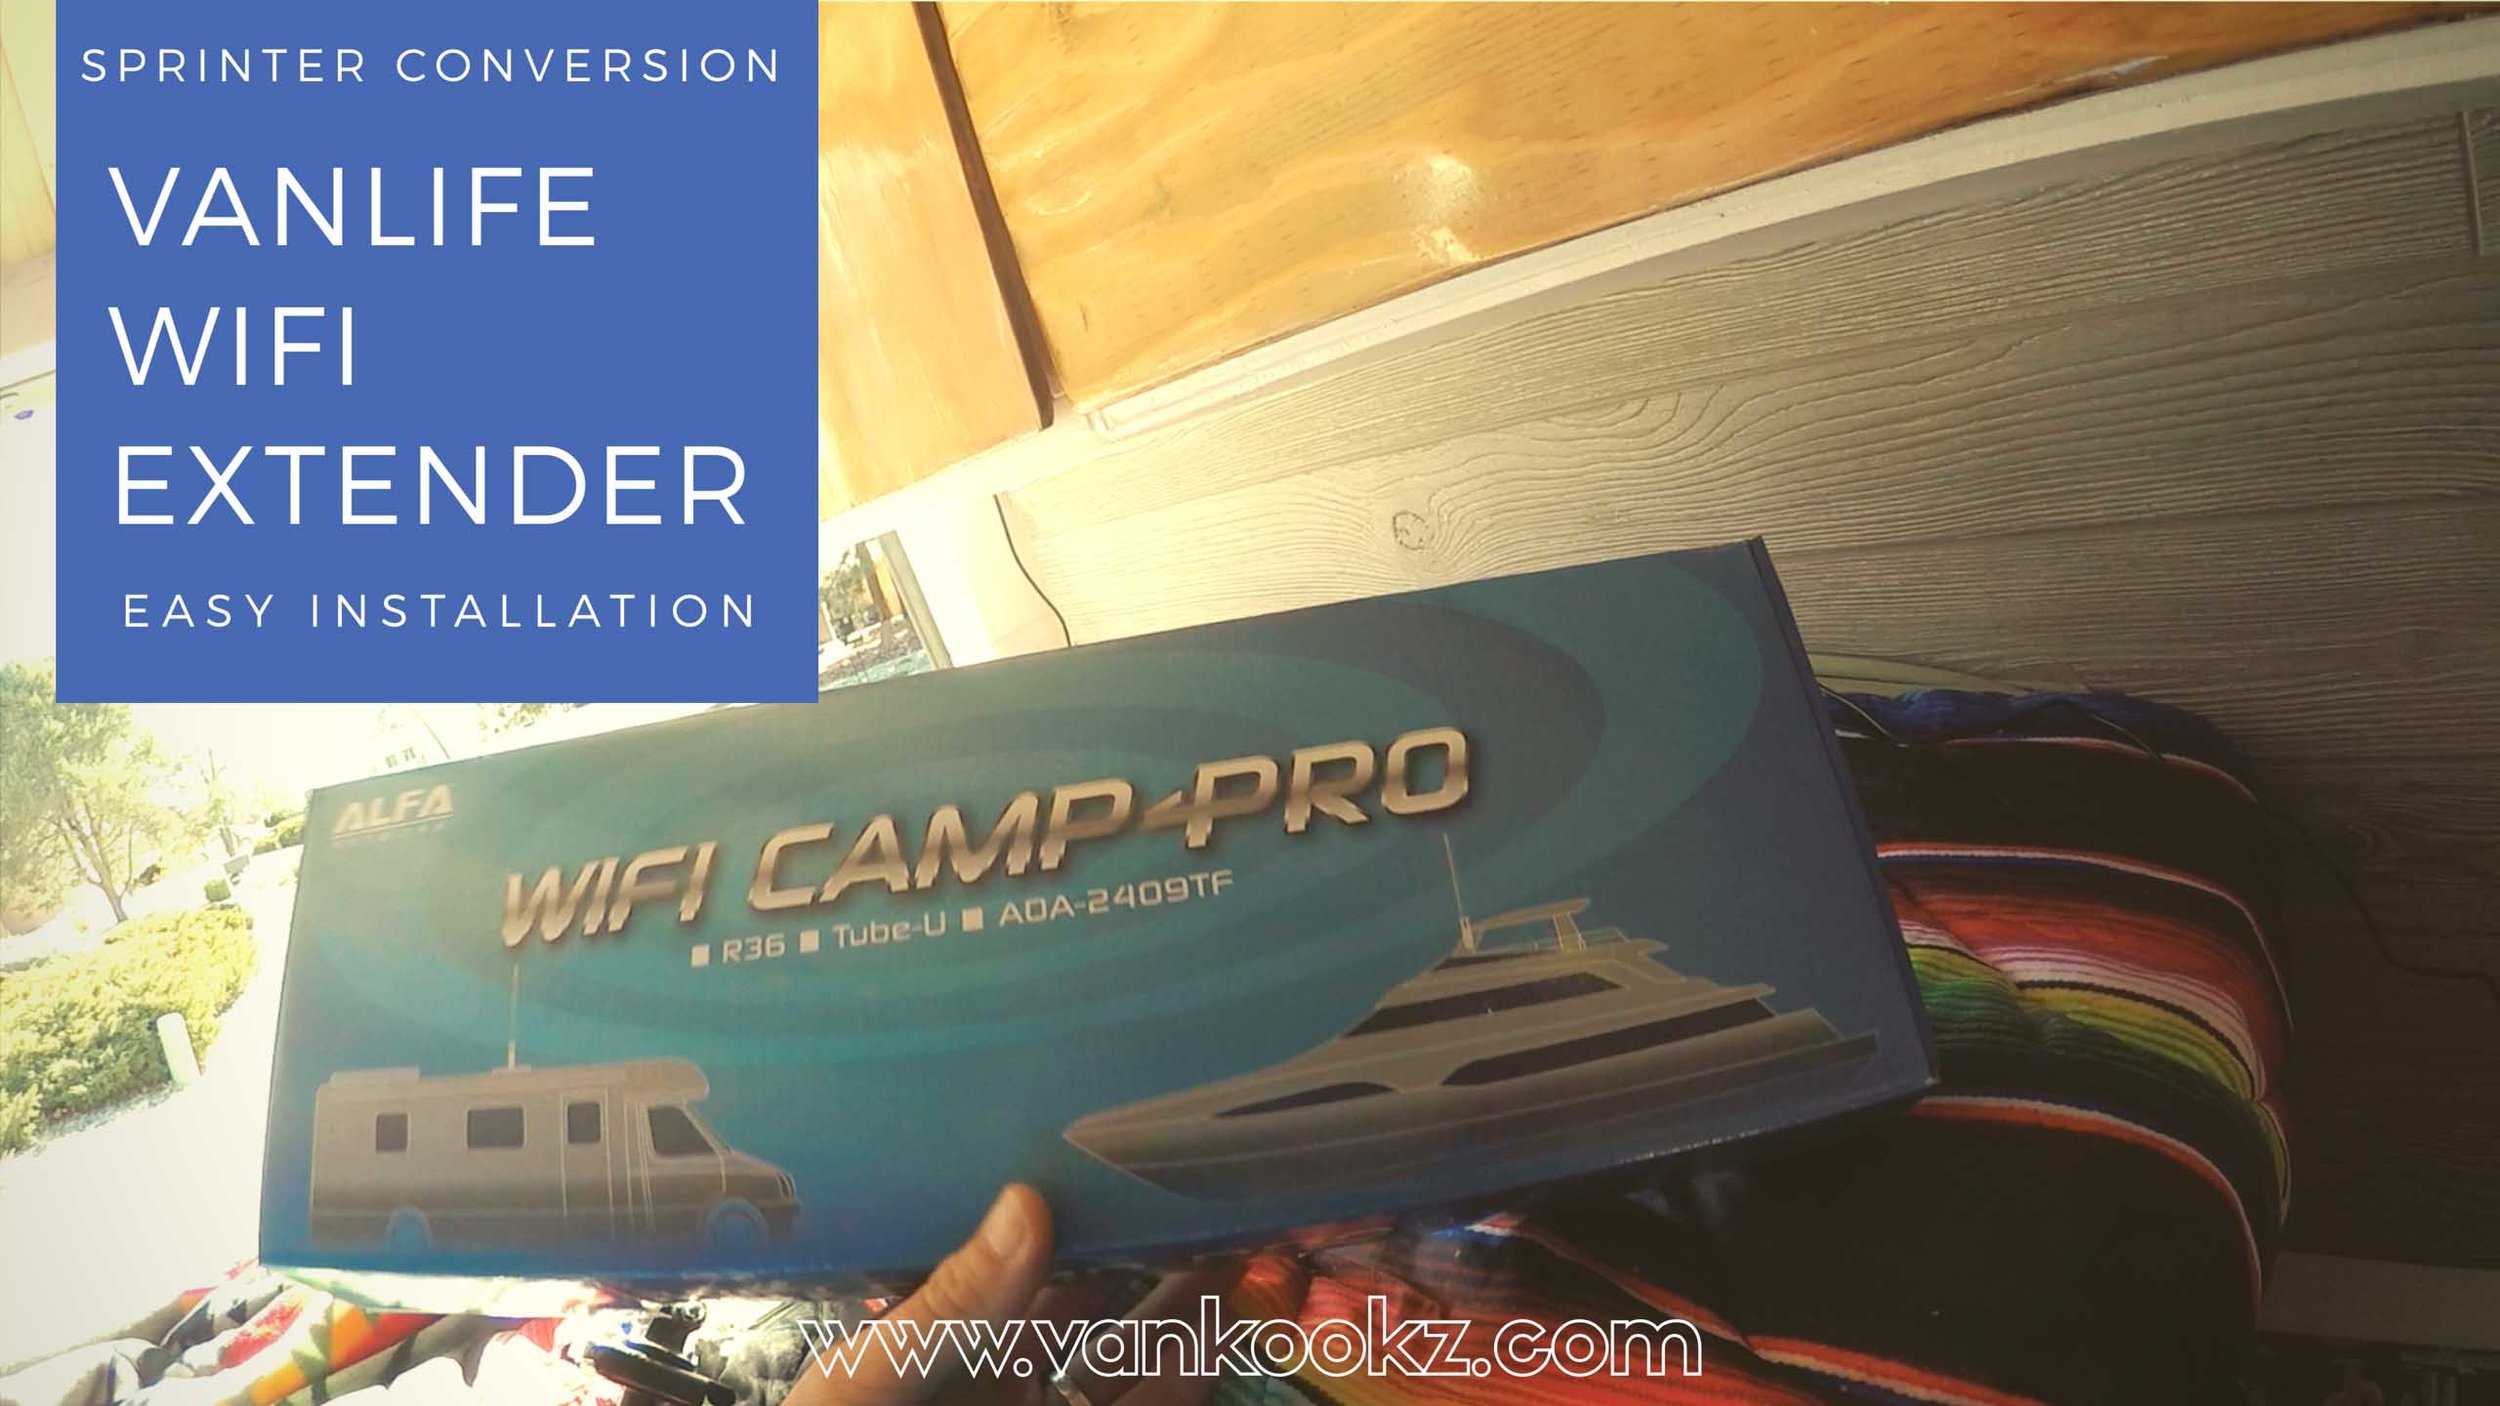
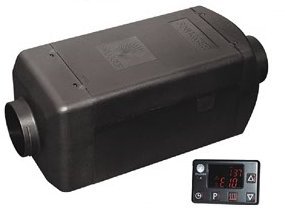
Alfa WiFi Camp Pro long range WiFi repeater kit

Since we have so much insulation and Reflectix in the van walls, we’ve noticed that we get better signal when we are in the cab area or when the slider door is open. So we started researching how we can make that situation better, as we planned on using wifi outside places, but inside our van—stealthy. Aka, not with our slider door open to get better reception. 

After researching, we learned about long range WiFi repeater kits. Most of the ones that we found online were about $350-$400. We almost said, screw it, libraries aren’t that bad anyways, but then we found that Alfa WiFi Camp pro for a fraction of that price, a more reasonable price for something that we aren’t going to use except when we are secretly freeloading on connectable free WiFi. 

So basically, there is an antenna on mounted to the outside of the car. That is hooked up by USB connecting the antenna, outside the van, to the secured wireless router, inside the van. You repeat and create your own wifi signal inside the van. 

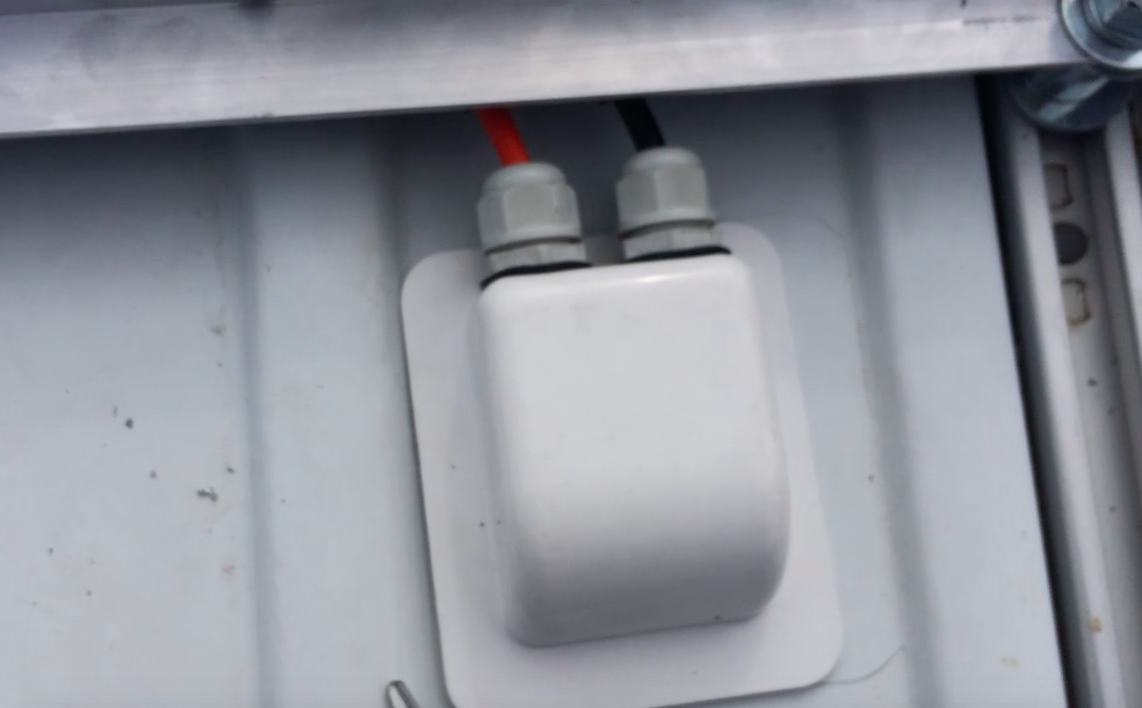
This was the easiest install to date with the van build. We mounted the huge long range antenna  with the provided ZipTies to the solar panel; it took all of 2 minutes. If you mount the antenna sideways, as we did, per the instructions, you should put the self sealing waterproof tape around  the USB area and the part where the Antenna screws onto the base.

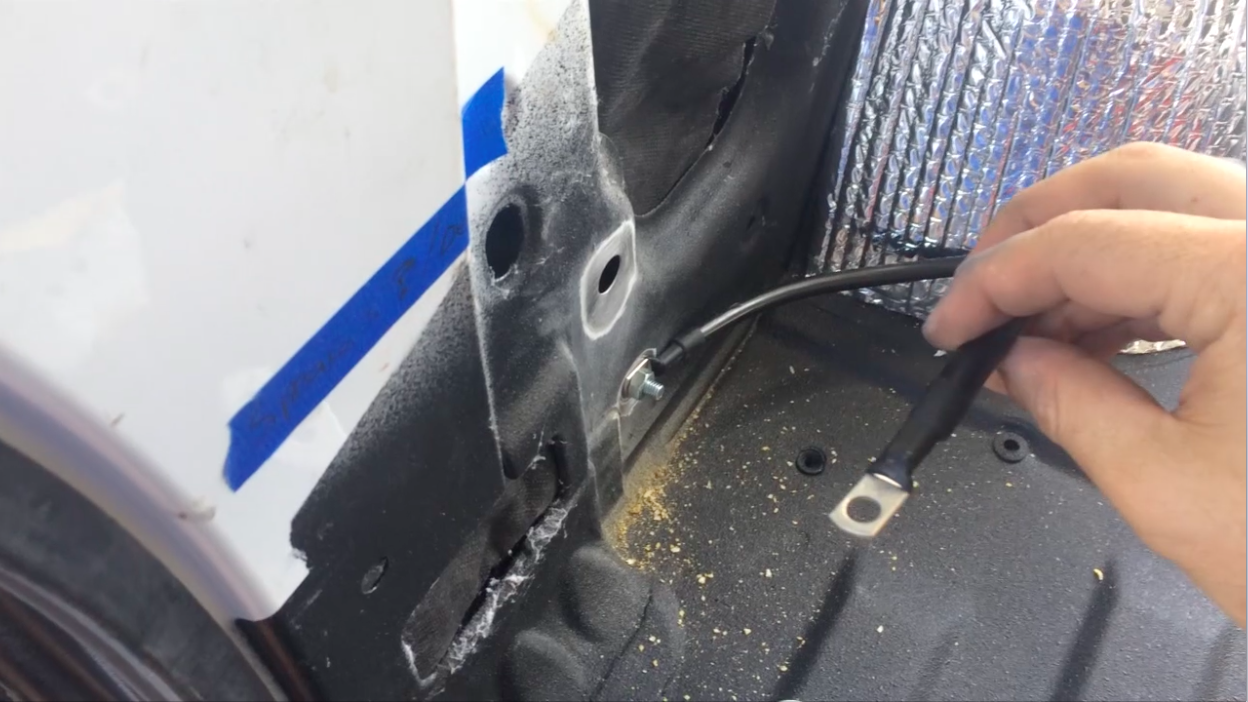
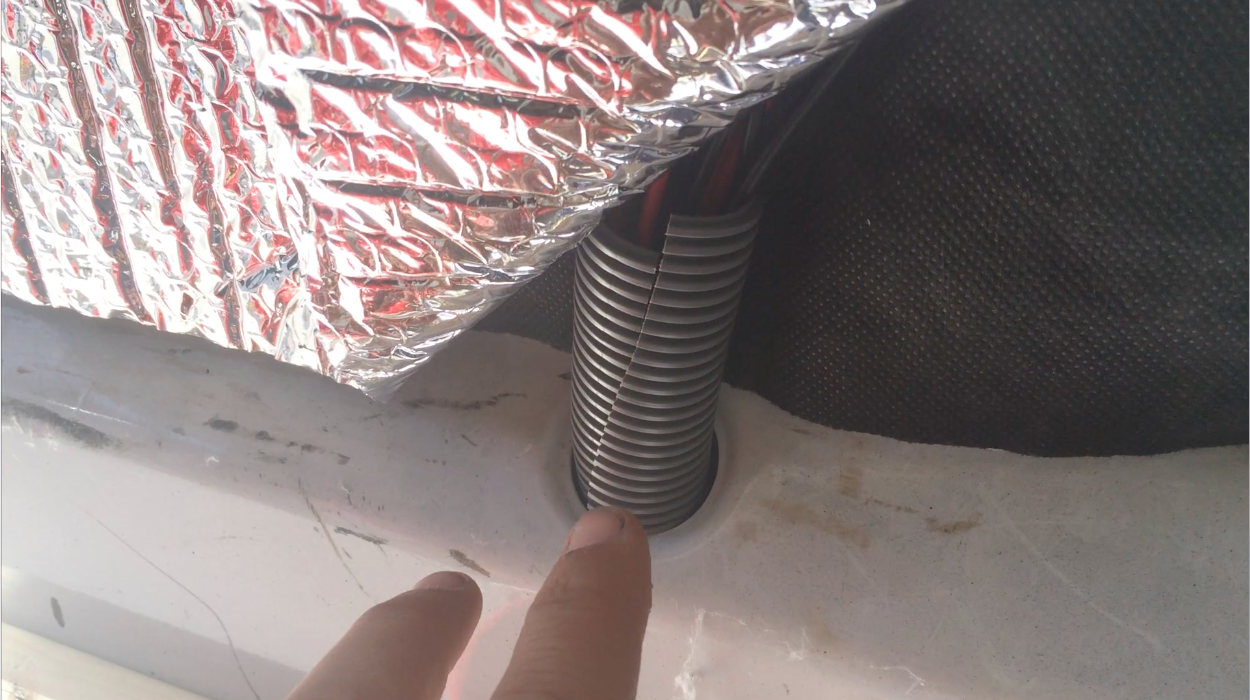
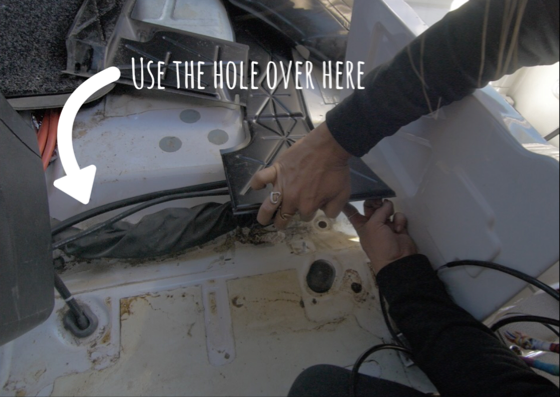
Then, with the USB running coming out of the base of the antenna, I popped the USB cord that needed to connect to the inside WiFi router through the break light area. I used a T25 screw driver to unscrew the top break light. I got a wire clothes hanger, fed it thru the cavity behind the break light from the inside to the outside where the break light was popped out. Once my hanger was expose and poking out, I tied the USB cord to it and pulled it thru to the inside. Once the USB cord slack had been reeled inside, I screwed back on then, butle tapped the break light back into place. Later when I found it to work, I put some lap sealant to really make sure there was no water creeping in there. 

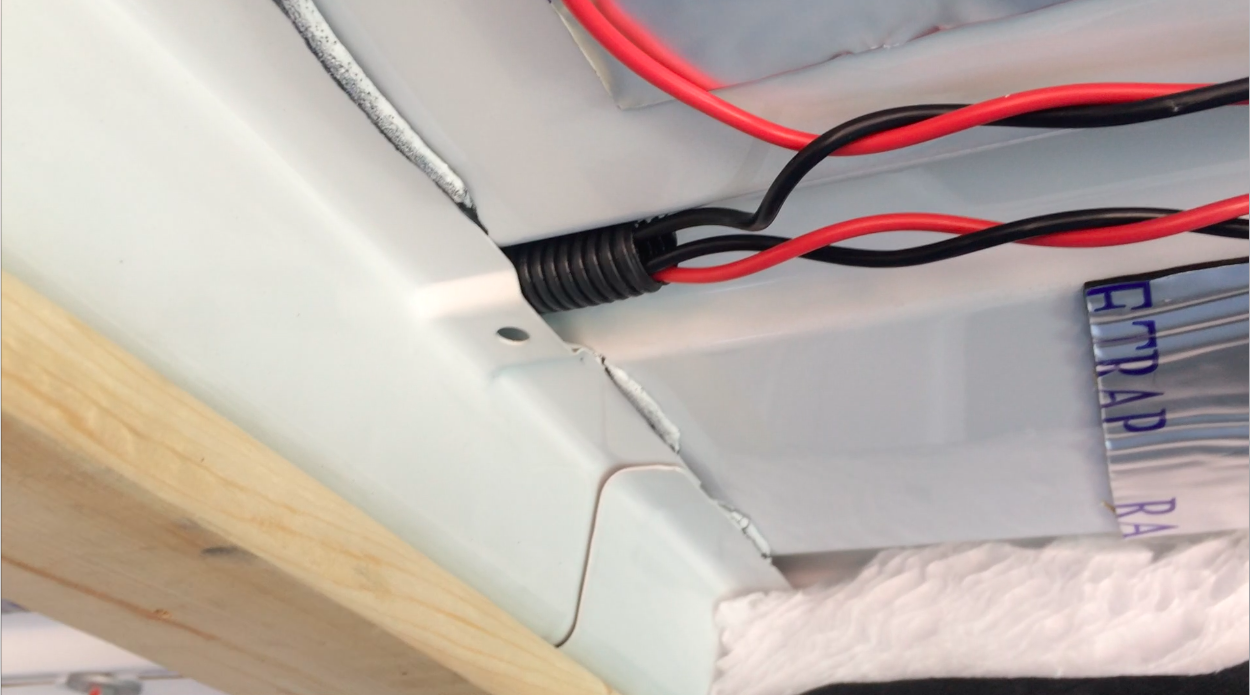
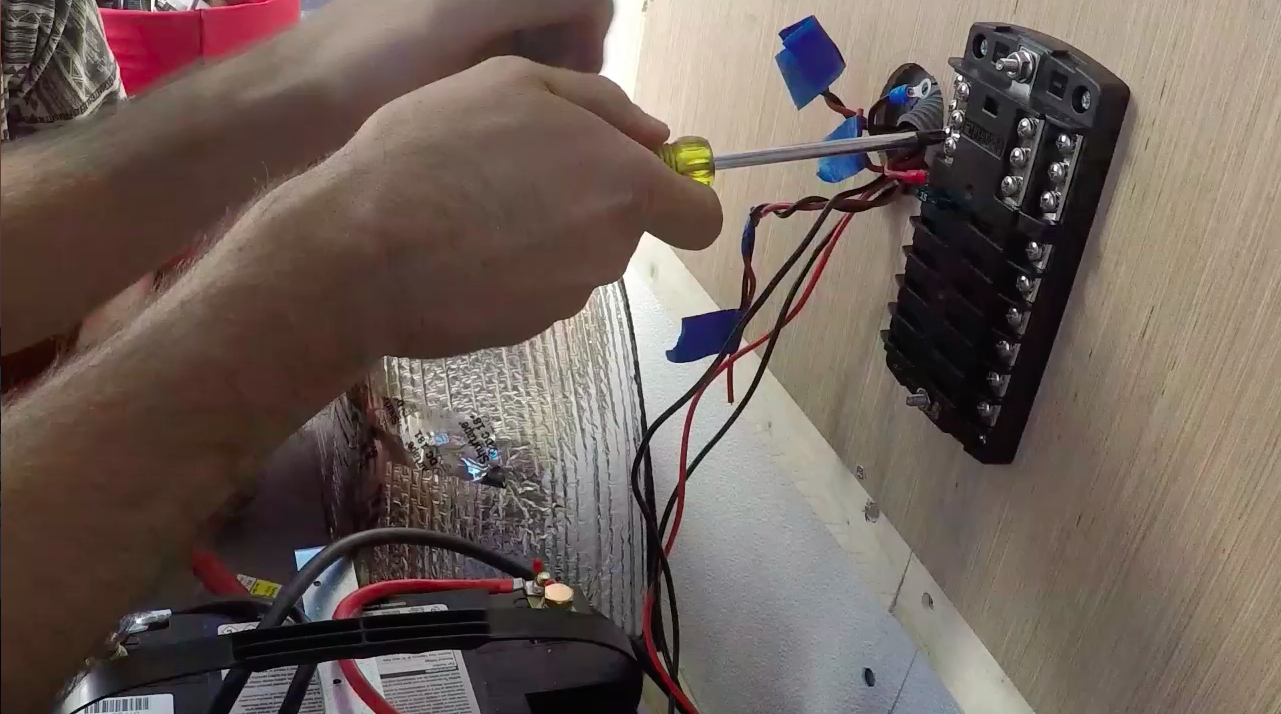
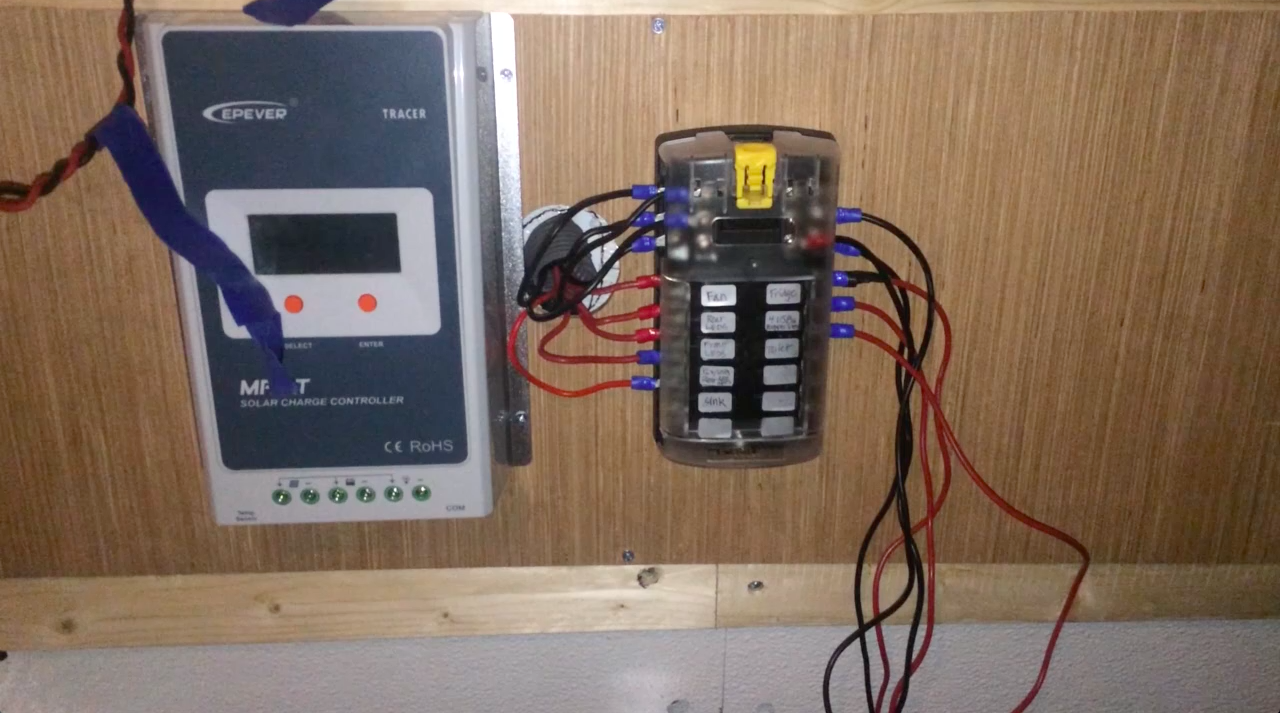
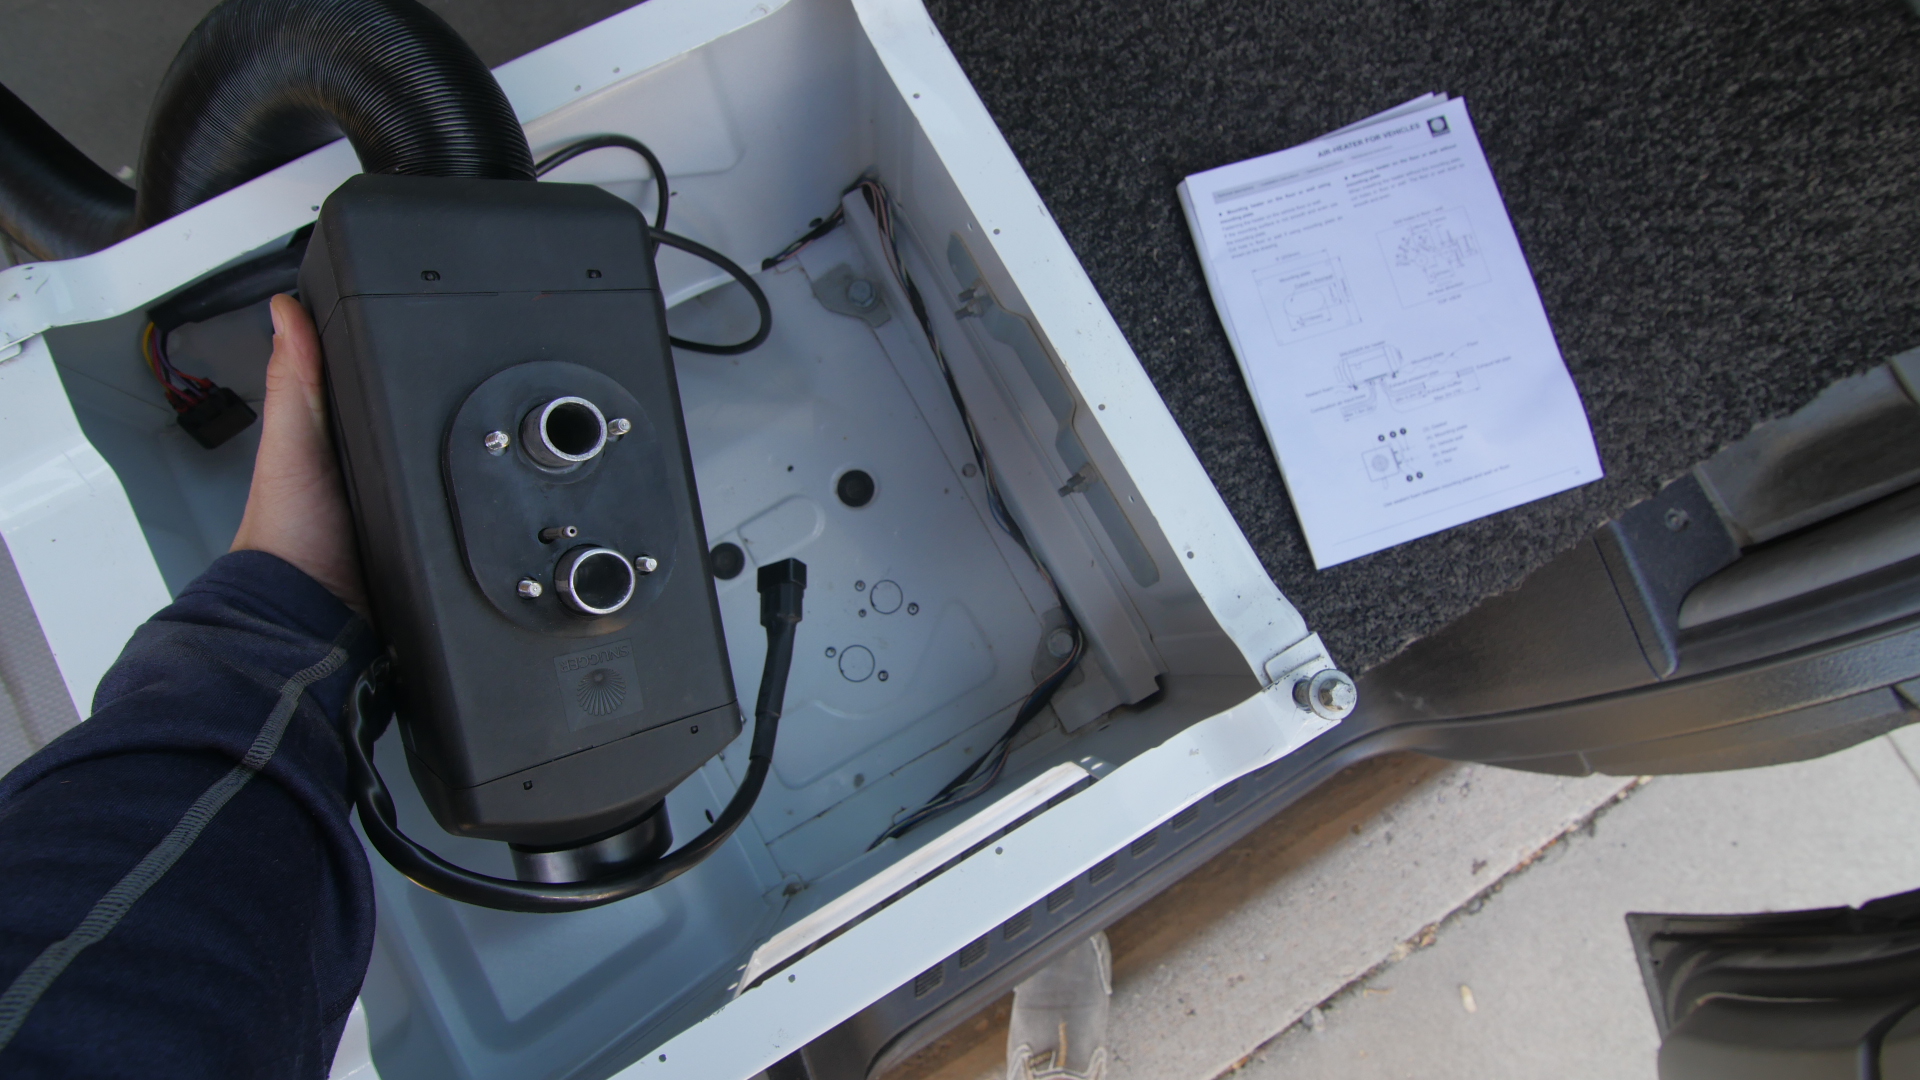
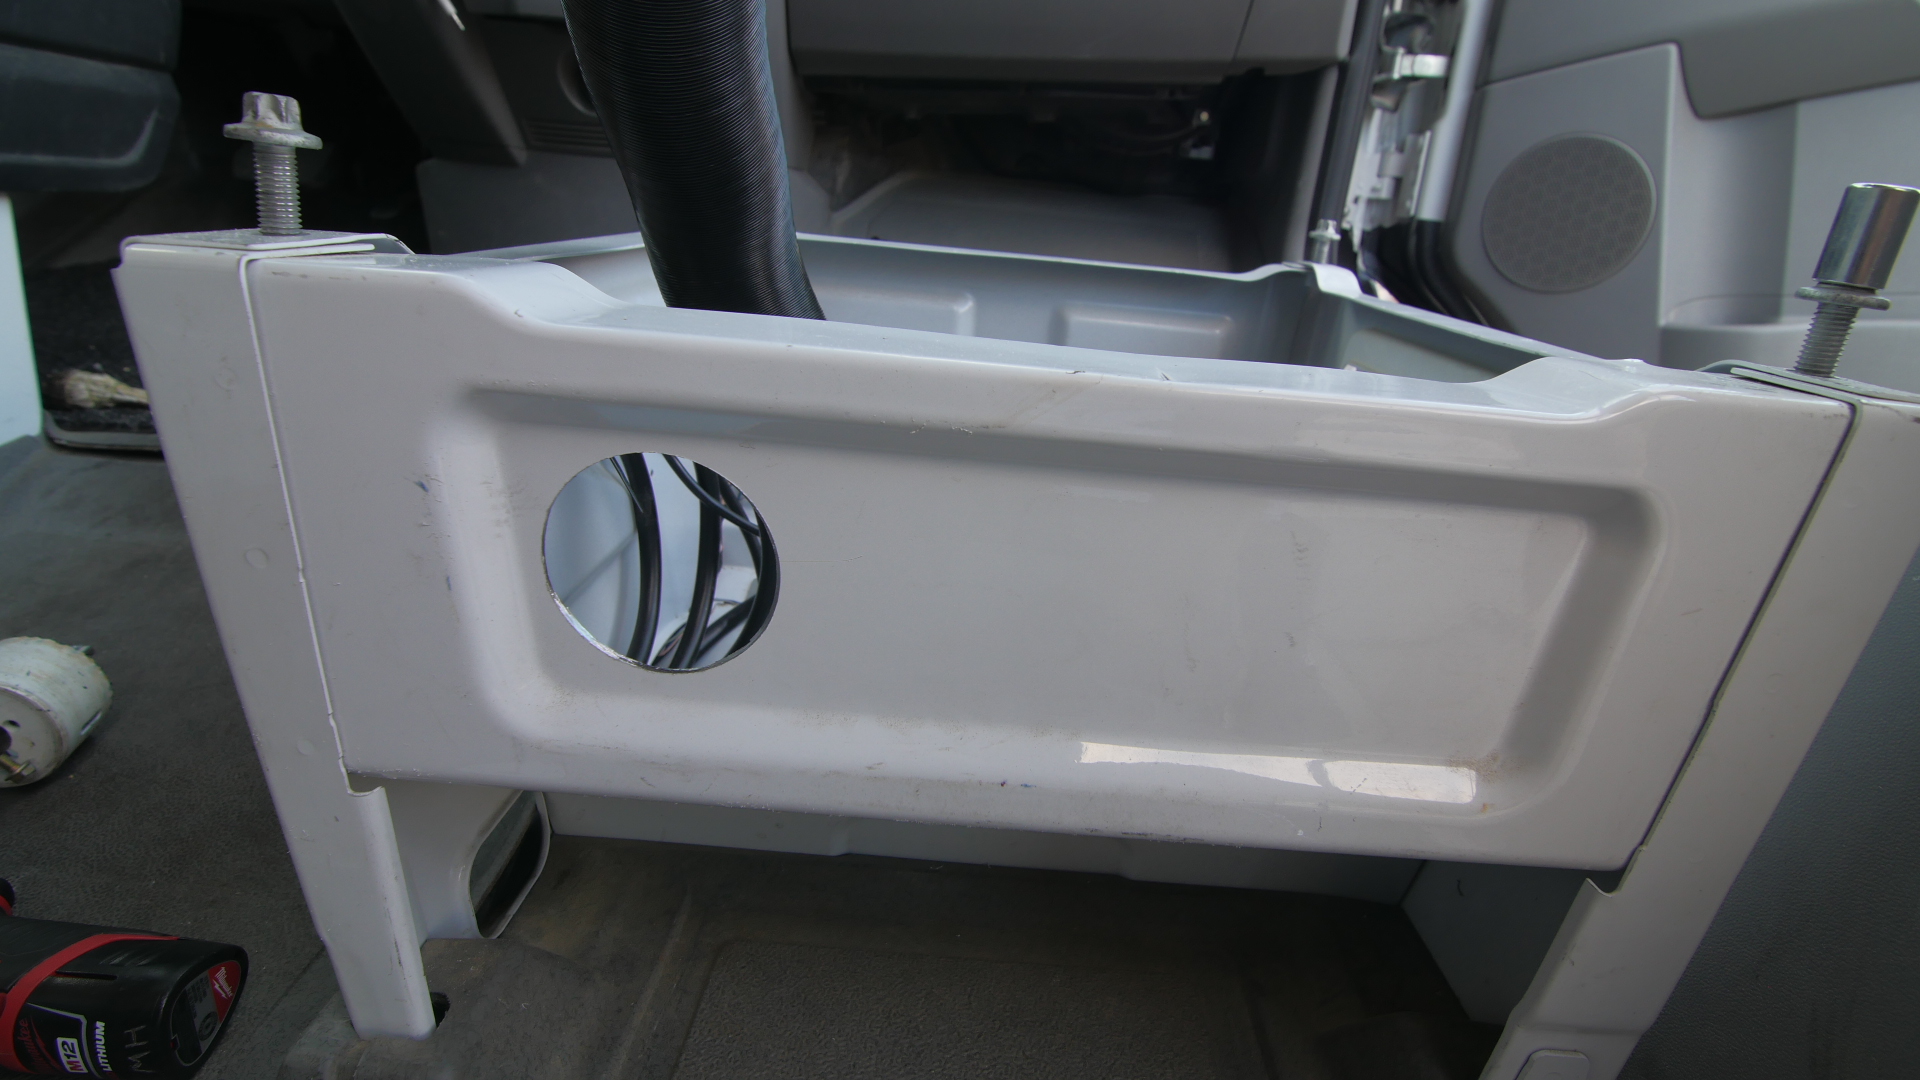
Once we had the wifi Router mounted, we connected the USB. Then, when we want to use it, we pull out the power cord and plug it into the cigarette lighter. 

It isn’t the worst, but I am sure it isn’t the best. We have already used it more than a dozen times. We’ve been able to comfortably and securely use un-secure and open networks from our van, in a parking lot. 

Phase 8.1: Rear View Camera

I don’t know why I avoided DIY’ng this for so long. I think I went and got this project quoted a couple times. It was always some outrageous price. I didn’t care what it looked like. I was going for functionality. Our 144” Sprinter fits into a regular parking spot, the side mirrors are awesome, and the only thing that bothered me was that because I had no windows, I was blind to what was behind me and that was unnerving overtime as I drove. I figured, if I could install the Snugger heater, and it works and kicks ass. I could install a reverse camera, with the help of some YouTube research. And with the help of Amazon Prime, I could get it done cheap and fast.  

I found a couple videos, and as usual, I usually go with a Frankenstein, drawing inspiration from many peoples savvy videos, creating something that works best for me and my situation. 

So, I wanted to spend as little on this as possible, but I did want to be able to reverse without always having to jump out of the van and direct like a dorky parking attendant. Plus, I also wanted to see what was happening, behind me, while we were driving. To do that, I have it powered and running all the time. I do not install it the “correct way,” where you tap your camera and monitor into the reverse light factory wire. So that it pops on only when in reverse.  Mine is on 24/7, with out a switch. I can unplug the cords at anytime we are boon docking and know we don’t need it rather than dealing with a switch. It works out fine and we are really happy with how cheap and painless the install was in comparison to the install quotes we were given. But, that is usually how that goes. 

Originally, I bought this $37.99 Wifi transmitter to pair with the camera.  It was meant to be a plug and play situation, where you mounted the camera, plugged it into this transmitter, download the app and you are good to go. You can check the camera on the app from bed, if you hear something suspect at night.  But, I found the app access to actually be a real pain in the butt. I was really wanting to use it for when I was driving. So this wasn’t going to work, because you had to make sure that your phone connected to the wifi transmitter. The phone always timed out, as well. So it didn’t act as a replacement for rear view mirror, like I wanted it to. It was just distracting and took to long to connect to the wifi, then open the app, then begin to reverse. So we scratched that idea after tolerating it for a bit. 

To get the camera installed, I removed the top brake light and fished the wire thru the cavity behind the brake light in-between and the interior light. I put some butle tape down and some lap sealant where the wires drop in thru the break light slot. We ran the wire down thru the “garage” and under the couch area, added an RCA AV Extension so that it would reach all the way to the front, where the monitor would live. I mounted the E- Sky flip up Reverse monitor  on the dash. Then, I tucked the wires down and around the base of the windshield, out of sight. Those wrapped around by the door. I guided the wires inside the door weather stripping all the way back behind the toilet, where I tapped into the power on the toilet fan. I tapped into the power before the switch for the toilet fan. That way, I would have power no matter if the toilet fan was on or not.

For the price we paid, this is perfect. It does the job for under $50. We can see behind us,  confidently parallel, or reverse into tight spots. Plus, from how we decided to wire it, we use it regularly as a rear view mirror. I have no idea if it is the camera or the monitor that has the mediocre resolution, but I really don’t care about that. Just an FYI, it isn’t the best High Def resolution. But it works! I would do it over again for sure. 

($17.59) Monitor : http://amzn.to/2EAGNSR

($8.95) RCA Plug DC Power Cord AV Extension cables: http://amzn.to/2BAnoyr

($17.99) Rear View Camera : http://amzn.to/2F9lsg9

(37.99) Wifi Rear view transmitter : http://amzn.to/2C6M56V

Phase 4.2: 12 Volt Electrical Install

Free wiring guide for a van conversion

Installing the electrical system in the van is a much easier task than you would expect.  If you’ve come across this, I’m imagining you are doing as much internet research about electrical systems as we did.  We have ZERO experience with electrical-anything prior to this install.  So don't let it scare you, you can do this! 

I’ve attached a few Amazon links for reference.  We bought a majority of the wiring hardware at our local auto stores like, AutoZone and Napa.  We also found that our neighborhood True Value had almost all the electrical parts we needed.  When you are wiring a 12v system, your best bet for fuses, wires, terminals, basically anything will be at the local auto store.  Everything else, except the solar panel and batteries, were bought on Amazon. (You can buy the batteries on Amazon, but they are $100 more. I put the link to BatteryGuys below to get them at the price we got them at. It was really fast shipping too.)

Step 1. The first thing you will need to decide is what appliances and power do you want in your van.  We are running the following 12v devices: 

  1. Fantastic Fan

  2. Truck Fridge

  3. 12 LED Dream Lights

  4. ShurFlo Sink Pump

  5. Snugger Heater

  6. Toilet Fan

  7. 6 USB ports

  8. 1 - 12V Socket

  9. We Also have a 2000W Inverter running off the batteries as well.

Step 2. At first we decided we were going to have 2, 100AmpH Deep Cell AGM LifeLine Batteries, but we decided that we would need 3, so we added one more, which was a good call.  All three batteries will provide us with 150 Amps at 12v. We will charge all the batteries with a 300 Watt mono crystalline CertianTeed Solar Panel from SolarWholeSale.com and a Keyline Battery Isolator while we drive. (Install Video Here).  The large solar panel should have no problem charging the batteries every day and we figure if we were stuck with out solar power and were conscientious with our energy use, we could go for a few days before we needed a charge up.  Our goal is to be 100% off the grid and if we absolutely need it, we will be able to charge up with a battery charger.  

Step 3.  Now that we’ve assessed our needs, what we need to power, and how we will charge and power everything, we can start the fun part.  The first step is to set up your battery bank.  The first thing you will want to do is find a good spot to ground your batteries. 

I used the frame of the interior walls as a ground and put a solid bolt through a hole.  You should always test your ground to get a good connection.  You will need a voltmeter.  To test the ground, attach your cable and get the reading off the volt meter.  Try another area and see if you get the same reading.  If it is different, you will need to establish a better ground connection.  From here, you will want to wire your battery bank in parallel.  Check out my basic diagram below.  Also, when it comes to crimping battery terminals, we just used a vice and it worked very well to crimp the terminals and get proper connection on the battery cables.  Always pull on your crimps to make sure that the connection is strong. 

Step 4.  Once you've got the battery bank wired up, you are ready to start wiring the van.  We used about 180 feet of 14 Gauge Black and Red Wire.  What we did while we worked on the first stages, was tape-off everywhere in the van that we wanted our outlets/appliances/lights.  We seem to be changing plans everyday. So this was a tough part for us and took quite a bit of planning.  Once we decided where everything was going, we measured and cut the wire from the fuse box to be to where the switches and accessories will be.  We were extra careful and we insulated our wires anywhere they had a chance of rubbing up against metal and possibly becoming damaged.  We used about 20 feet or more of the plastic conduit  to protect the wire and about 20 feet of the foam pipe insulation as well.  We also used left over reflectix and electrical tape to create our own insulation in other areas.  (See Video) After you measure and run all the wiring to its location, make sure you label every cord.  I used masking tape and a sharpie and wrote what every cord went to on both ends.  

Step 5.  You can now install wire terminals on all the positive and negative wires and connect them to your fuse box we used the Blue Sea Fuse Box  and it works out great.  The Blue Sea is nice because it has 12 ports which is about all you need.  After you have all your wire terminals installed and determine where you will put each positive wire.  You can connect your ground anywhere to the Blue Sea Fuse box it doesn't have to correspond to any specific area you just need to ground the negative on the bus bar.  ***NOTE!  While doing this, do not have the fuse box connected to the battery and never have any fuses in fuse box with live wires.  The fuse is basically a switch and once you plug it in, it will be live. 

Step 6.  If you haven't installed your solar panel, you may want to consider doing this now.  I have a page for a DIY solar rack for under $100 here.  After the solar panel is all hooked up, I recommend getting a set of cables with build in MC4 connectors here.  As well as this port for your cables to go through your van roof.  Drill the holes for the cables.  Install your charge controller next to your fuse box. Do not hook anything up.  We went with this charge controller it comes with a monitor that tells you what your current load is pulling, it has super fast shipping, from this seller, because it isn't shipping from China, like a lot of other sellers, and it has been working amazing for about a month. I will check back in to update later.  

Step 7.  Now, you will begin tying it all together.  First, disconnect the ground cable from your battery bank.  Now, you will want to start setting up the ground work for your fuse box to connect to your batteries.  What I did, was I installed a switch to power down my load so I can completely shut down the system.  I did this by using 6AWG Wire, 120 Amp Fuse, and a few battery terminal connectors.  Check out the Diagram Below(+++++).  

Step 8. There is still more cutting, striping, and crimping in your future so don’t even think about putting those wire strippers away.  Measure and cut the wire from your positive and negative terminals of your choice on the battery to your charge controller.  Although it’s not mandatory, you will probably want to buy a 150 Amp Fuse. I found some at my local car audio store. 

Step 9. Connect the wires into the charge controller and then connect the MC4 connectors on the roof.  Positive first; then, Negative.  After that, you should see a reading on your charge controller about whats happing with your system.  This was a happy moment in the van build.  

Step 10.  Connect your inverter to your Battery Bank.  This may be the last of the cutting and crimping.  I used a 200 amp fuse here and a 2000W inverter. 

Phase 2.4: Climate Control - Installing a Snugger Diesel Heater 

Unboxing the Snugger Diesel Heater 

The instruction manual that comes with the Snugger seems to be quite ambiguous (or maybe it's just how overwhelming and intimidating it all seems). There are a lot of diagrams but there really aren’t many instructions, which scared me. Usually, I go to YouTube for help, but we found no install video’s of the Snugger Bunk Heater. So, we were on our own.  

The design is pretty much the same as the Webasto diesel heater and the Espar diesel heater so I could still use most of the how-to videos out there on the more popular diesel heaters. The Snugger is the more affordable one of the three and least popular on YouTube installs.  It has different color wiring. So, some of the videos online couldn’t walk me thru that part. 

We unboxed everything and thought holy moly what have we got ourselves into with all this stuff?! 

But, as it turns out, Snugger's kit includes things for all scenarios into their kit. So, if there are things in the Snugger Box that you aren’t using, don't worry. 

We laid all the wiring out to see what we were dealing with. It seemed to be one huge cable. On one side, it had one cable with a bunch of wire colors with silver connector pieces coming out of it. The other side of that wire split off into three wires. One for the fuel pump, one for the controller, and one that goes to our battery system via our Blue Sea 5026 Fuse Block. On each end of those three wires, there are differing color wires with silver connector pieces on them. 

These, you have to connect thru the backside of a quick-disconnect piece, creating one side of a quick connect piece. You will create both sides of the quick-disconnect connectors doing so by matching the corresponding colors with the corresponding holes, as laid out in the diagram that accompanies the installation guide (This was floating around loose in the box and we almost missed it. It was a xerox’d black and white copy of pictures of the connectors with red, yellow, orange, etc labels were shown for each wire going into their respective connector pieces). It is really easy (once we found that piece of paper). ***Do not connect the purple and black wire to a quick connect until you send it thru a hole in the van because it will not fit out the hole with the connector piece on.***

Now, to hopefully the last holes we will have to drill into the van!

We debated about where to put this. But, in the end, we went with the tried and true under the passenger seat. It is enclosed in its very own space, which is a huge plus. Also, there is so much cord that there was really no excuse not to utilize it and putting it next to the wheel well would be locating it right next to our batteries thus, needing about a  6” of wiring, not six feet! Also, it saves space. After a couple of cold mornings, we realized that insulating our van, without a heat source kinda turns our van into a cooler. Since we already kind of had a layout, there were only two places it could go.

On first thought, under the lounge area of our layout, we could place it next to the rear driver side wheel well to keep the fuel line simple and on one side, but once we got under there and measured, we realized it might be kind of difficult to fit it in such a tight space, with a shaft near the area we were planning to install, and near the tires I wasn’t sure about rocks or road debris hitting the installed area. This scenario was also going to take up a lot of precious storage room because it needed to be enclosed, if it were around other loose items so they don’t go up in flames.

On second thought and last minute change (We do this a lot. Some how following this little last minute gut instinct hasn't steered us down a path we don't like), we decided under the passenger seat seems to be build for it, as it seems to be in its own enclosure, that isn’t flammable.  There is a groove that seems to hold the shape of the Snugger. Plus, we had watched video after video of installs about the under the passenger seat because that is really all we could find. So, we knew dropping the piping down in that area was good to go. It was just the maneuvering the fuel line from the passenger side to the driver side that I was trying to avoid. It seemed complex going from the passenger side to the driver side over mufflers and drivetrain. It sounded too complex. But, as we have told our selves before with this build that if we put in the hard work now, it makes everyday living easier. So, we decided on the heater going under the passenger seat. So we got to removing the passenger seat.

After the seat is removed (refer to our post about our Swivel Seat install here. Follow the instructions until the seat is removed), you can put your car on blocks or send your tiny wife under there. Let’s be real, this heater is for not very cold resistant Dani who impulse bought the heater and promised she would head up the headache. So, she’s stoked to get under there and figure it out to make sure she has heat. We just threw down the box that the solar panel came for Dani to move around on under the van. It worked out great!

We cleaned out the area where the heater would go and then stenciled out where the heater was to be mounted and drilled some pilot holes. We decided not to use the mounting plate and just drill the holes needed. 

While Kevin was looking for the correct hole saws, I ran the wiring underneath the floor piece to the battery (the controller wiring went this way as well, because we were mounting our controller near there) and the fuel pump wiring dropped down beneath the car in a stock hole. This involves lifting up the cabin floor and unscrewing the wiring protection plate. Under that black plate and underneath the stock wiring, there are two holes that go to the underneath of the van. The one closest to the driver seat is the one that you want to drop your fuel pump wiring down. You’ll want to get a little rubber grommet for the hole to protect your wire. Because we didn’t know the size, we got a couple different sizes at True Value for about $0.27 each. 

**Hopefully, you followed the tip in the beginning about sending the wire down that hole first before connecting the quick connect to the ends of the wires. We blew it and jumped the gun on that one.**

In the video, I point to this hole. When I got under there, I realized there was a way better hole that dropped that fuel pump line right inside the fuel tank's heat shield area making it easy to run to the fuel pump wiring to the fuel pump.

In the video, I point to this hole. When I got under there, I realized there was a way better hole that dropped that fuel pump line right inside the fuel tank's heat shield area making it easy to run to the fuel pump wiring to the fuel pump.

Once that was fed thru, I got under the van and fed the fuel wiring where I thought it would be best. I made sure to protect it with some heat resistant sleeves (I bought mine locally after I didn't pre-order this because I didn't plan for the last second change of plans. I should know better by know :) ) I tried to give some detail on video. It’s hard to give a good perspective in such a tight space, but I hope it makes since because it wasn’t as hard as I was anticipating it to be. All of it was way more intimidating that it actually was. If you had all of these things ready you could get it done pretty quickly without stopping to look for these things:

  • 5/16 drill bit

  • Small flathead (to get into tight spaces for tightening the clamps)

  • 1 1/16 Hole Saw

  • Small Zipties

  • 1/4" Black Wire Conduit 10 ft

  • 3' of Heat Sleeve (for Fuel Line coverage over Hot items)

  • #10 Socket

  • Bracket for muffler (we made this)

Once the wiring was in and Kevin was back with the hole saws, we started drilling out our sharpie template. 

We filed sharp edges of the hole smooth, vacuumed any metal debris to avoid rust, and then we painted the fresh cuts with primer. Then, we put the Snugger in it’s new home. I got under the van and attached the clamps, nuts, and pipes to their fittings. 

The black intake tube goes next to the fuel line. I clamped it and then I ran it forward, over the box in the doorstep, behind and protected by the mudflap. 

The silver hose is the exhaust. It should run towards the rear and exits to the side, not just remain under the van, but exit out. There has to be at least 8" from the beginning of the exhaust to the muffler. Essentially, you want more exhaust tube after the muffler to quiet the tiny jet engine exhaust sound. (Apparently, there is also a certain amount of back pressure that the unit needs so the exhaust tubing shouldn't be extended too much past what is supplied.)

With all the fittings attached to the bottom side of the Snugger, Kevin added the hot air duct to the Snugger, cut off the excess (once he had his hot air vent measured out) then he cut the hole, and attached the vent! 

We then, moved over to the fuel pump and mounted that on the beam above the fuel tank and at a 30 degree angle, with the wire connection pointing up and towards the front of the van. 

Then, we grabbed the fuel line that we ran thru the frame. We strung two clamps over it, shoved a rubber fuel connection on the fuel line, and put the other end of that connection to the fuel pump. (If the fuel line seems like it is having a hard time going into that rubber piece, get a hair dryer or a heat gun and warm up the rubber piece and get it pliable--they should go right in after). Then, we slid the clamps up and into place, over the connections.  We clamped them down and connected the quick connect power wire to the pump.

On the other side of the fuel pump, we did the same rubber and clamping connection. We also added the same black plastic split wire looming. On the other end of the fuel line coming out of the fuel pump, we put the Dorman Fuel Line Connector 800-188 piece that we ordered from Amazon on the end of the fuel line and connected it to the Aux Fuel adapter. **This particular Dorman part took forever. I have no idea why, it was supposed to be Amazon Prime, but mine was held up for some unknown reason. Long story short, I tried every place in town trying to get it so I could finish, as this was the one thing holding up our install, but everyone claimed they had to be special ordered coming from the East Coast?! So we just waited patiently till it arrived. So, I highly recommend ordering this ahead of time, if your Sprinter has the aux fuel line adapter. This part allows your fuel line to easily plug into that Aux fuel line. Apparently, this aux adapter starts in models 2008 and up, but I have a 2007 and there was one there! (Another reason we ordered—no drilling into the fuel tank, yay celebrate!) So, I would check to see if you have an Aux fuel line before you write it off. 

Once, all the underbody stuff was finally finished, we moved into the van. We connected the power to our Blue Sea Fuse Block, connected the remote to its quick connect partner. Then, connected the quick connect at the unit. Then, we power'd it up for a test run before we put our seat back on. It takes a couple minutes to get the fuel thru the line. Ours was blowing out cold for like 5 minutes till it finally got some juice thru that long line. Then, we could hear it fire up. It got cozy real quick! It was pulling 12 amps at warm up and then chilled at around 2.7-3 amps (our lights were running too).  

You can find the snugger heater here - http://amzn.to/2hHxeHf

Phase 4.1: Electrical - Battery Bank and Battery Isolator

Vankookz free wiring diagram

A great way to charge dual batteries while on the road is through a battery isolator.  An isolator basically sends a charge to the auxiliary battery, from the alternator, after the starter battery is charged.  I bought the Keyline Dual Battery Isolator on Amazon.  This kit is great. It comes with tons of battery cable. I recommend it for the amount of wire they give you alone.  

So, this is a very easy set up. I will walk you through step by step.  This seems like a daunting task but it’s actually quite easy and I enjoyed learning along the way.  For once, a convenient placement for battery right at arms reach under the driver seat.  This makes the job so much easier.  

  1. Disconnect the car starter ground cable.

  2. Make sure you have a solid ground connection on your auxiliary battery. Check by putting it in two different grounds and checking a volt meter to see if the volts remain the same.

  3. Get 2 x 100 Amp inline fuses either here from Amazon or at your local car stereo store.

  4. Measure all the wire distances. You will need to cut them. You need one positive wire running from your Isolator to your starter battery. The other positive will run from the isolator to the auxiliary battery. Be sure to give yourself ample room.

  5. Strip, crimp, and heat shrink your wires, with the provided terminals. I didn't have a crimper for the large terminals. So, I used a vice and it worked great.

  6. Connect all your inline fuses to your wires.

  7. Connect the isolator ground, then starter battery terminals, and last, connect the auxiliary battery terminals.

  8. Connect the ground terminal back on the starter battery.

  9. Start the car and check to see that the light is on and the isolator is sending power. Use a volt meter to check that the battery voltage is above what it was when you first checked your ground connection. Mine was charging around 13.9

  10. After this, make sure that the isolator cuts off by turning the car off and turning the head lights on for a sec (to speed up the process otherwise you have to wait till the volts drop below 12.8 and the isolator will stop charging. **Don’t forget to turn your lights off. ;) You will hear a light humming noise once it stops your isolator should cut off. You should see the isolator light turn off. Check the batteries voltage. It should be down to 12.8 or below and should remain constant.