2.3 Fan Installation: FanTastic Fan
This was by far the most nail bitting experience. I know van-life builders everywhere know what I am talking about. Cutting a hole in your van isn’t something anyone looks forward to. But, I was looking forward to cooling off with a fan, and getting natural light in the van thru the fan, and ventilating my smoke signals from letting my coconut oil get too hot. So, we pulled out the Jig Saw and got to cutting.
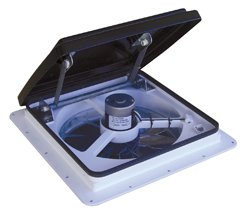
We chose the Fan-Tastic 801200 Vent after hearing nothing but amazing reviews across all channels on this little dude. It has the manual opening vent, quiet operation, low draw (>.02A), 3 speeds and reversible airflow. It is one of the base models. We didn’t need the rain sensor or remote control models, as we’d rather spend our extra money elsewhere.
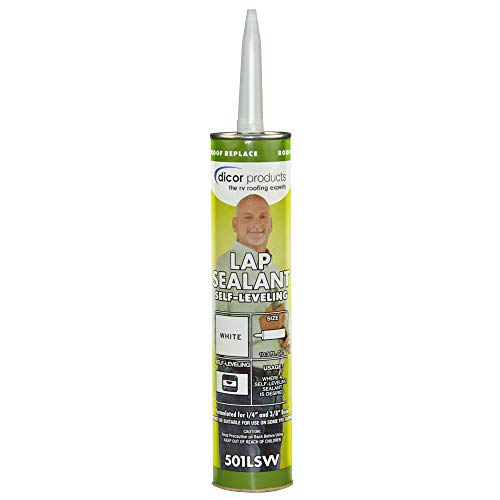
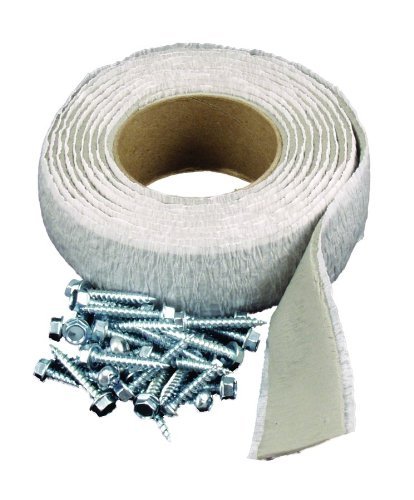
Put these two items in your shopping cart if you purchase from Amazon:
In researching, you’ll wanna use this stuff specifically rather than a typical silicone sealant. It is made for RV installation; so, you’ll have less chance of leaks.
After our Amazon Prime orders arrived, we unboxed and started making a stencil.
Once we were happy with our stencil, we traced it to the roof where we wanted it. We measured it with measuring tape to make sure it was correct and then placed the fan on the traced line to double, triple check.
Then, we sunk some pilot holes on the inside corners of the box. Next, jigsaw it out with a “metal fast cut blade” (make sure this bade fits your type of jigsaw before grabbing it!) Get 5 or multiple. They will come in handy. I promise. File down the fresh sharp cut-out in your van. Once the hole is filed, clean the area with alcohol. When the area is clean and dry, place the putty tape flush with the hole, all the way around.


Then, sink that Fan-Tastic Fan in its’ new home on top of the putty. Then, make sure it is square and make sure the vent opens aerodynamically to protect yourself when you forget to put the fan down before driving.
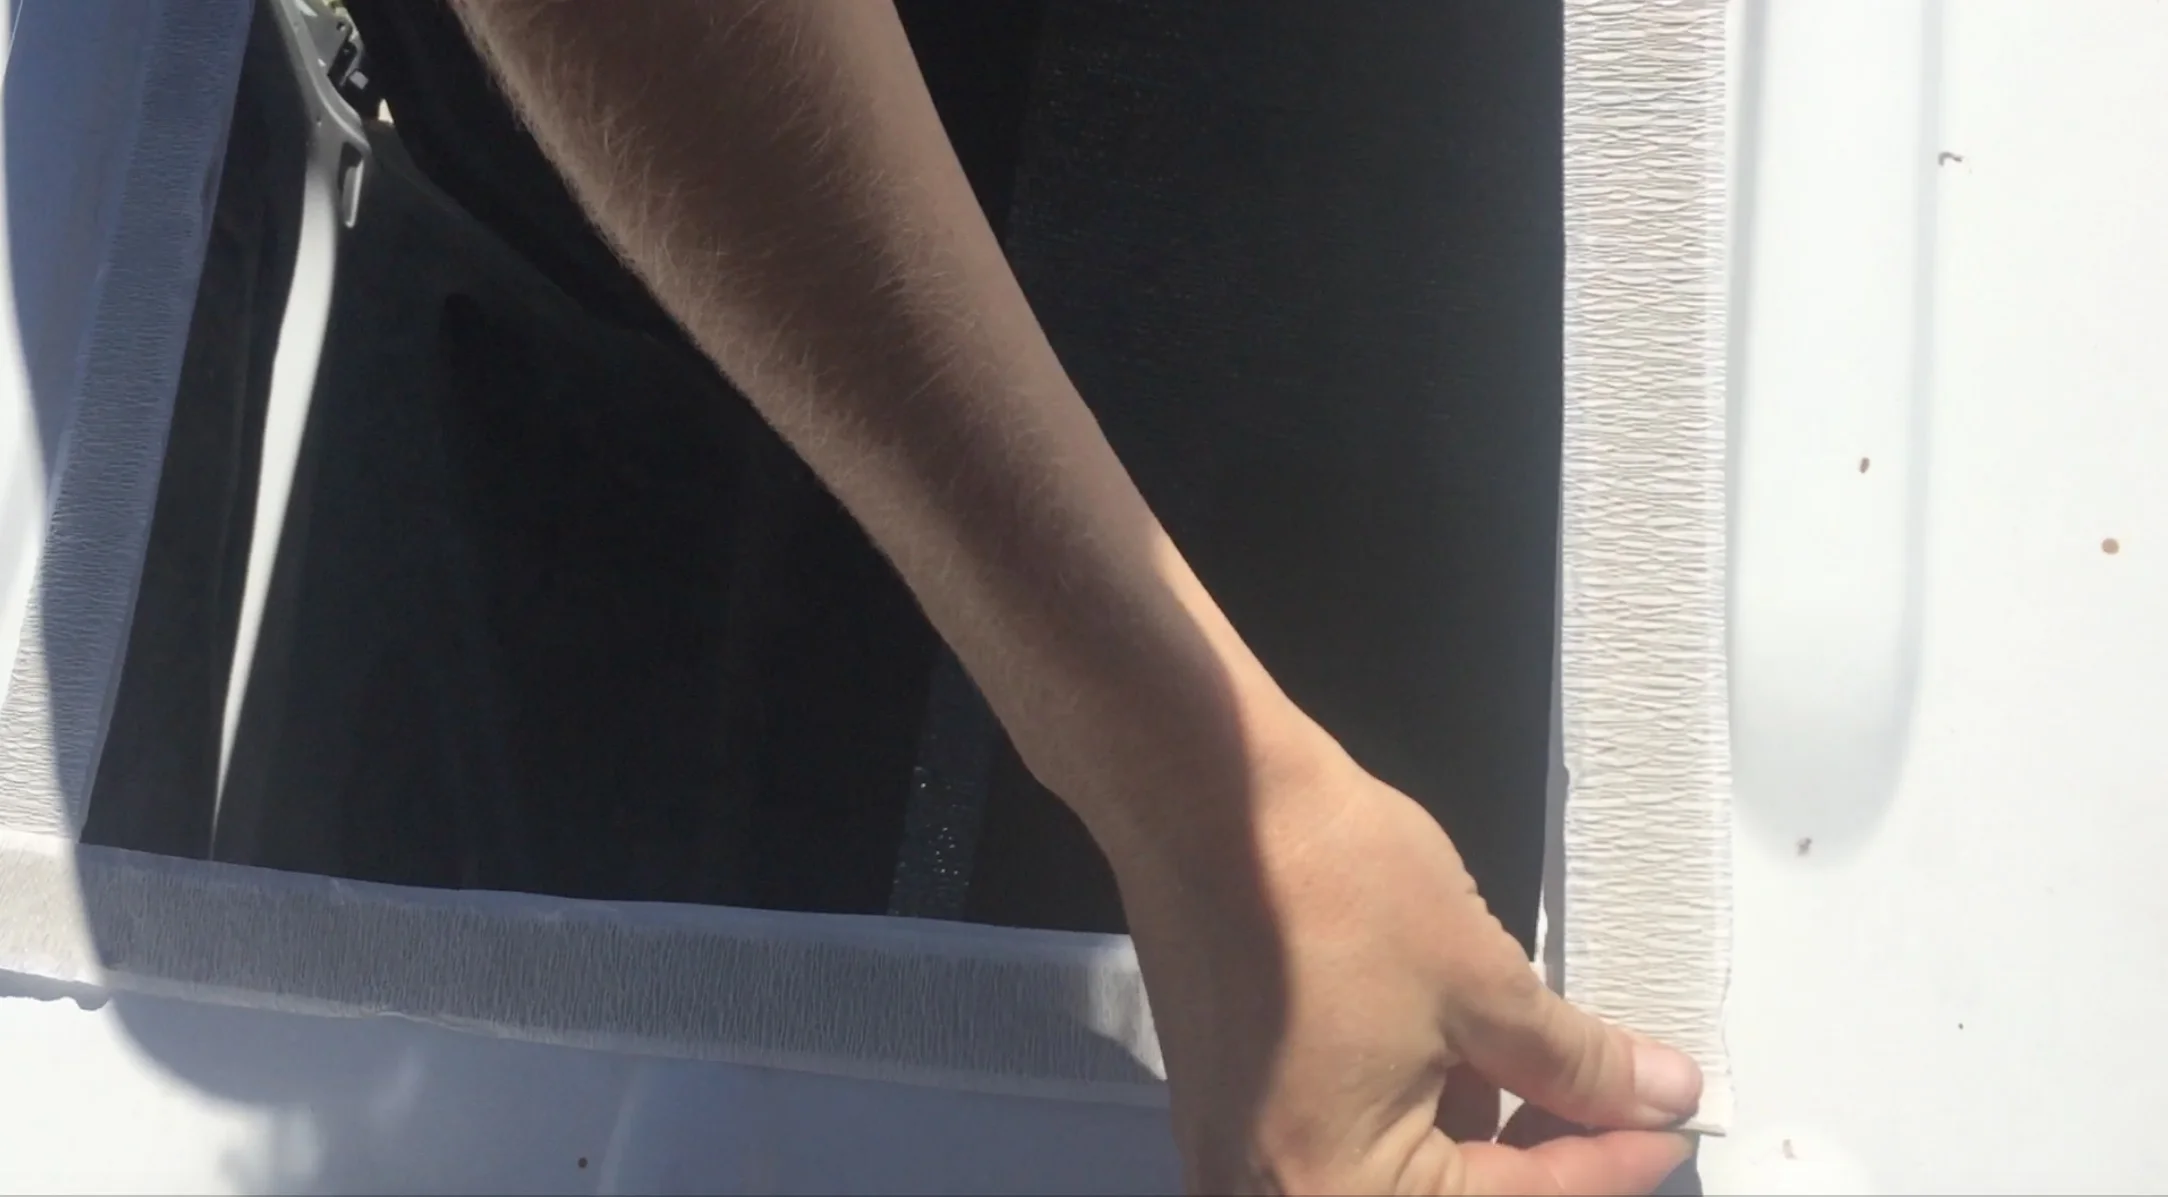
You can pre drill if you want. We didn’t. Screw it into place and lap seal the edges, top, and bottom (interior side) of screws to further protect against leaks.
We left the wires hanging for future electric install.