
Tongue and Groovy Walls
We weren't sure what to do at this step. Usually we aren’t the biggest fans of tongue and groove walls.
If you aren’t sure what to do yet either, it is ok; it’s a step you can to put off for a bit, until you have all your wiring dialed.
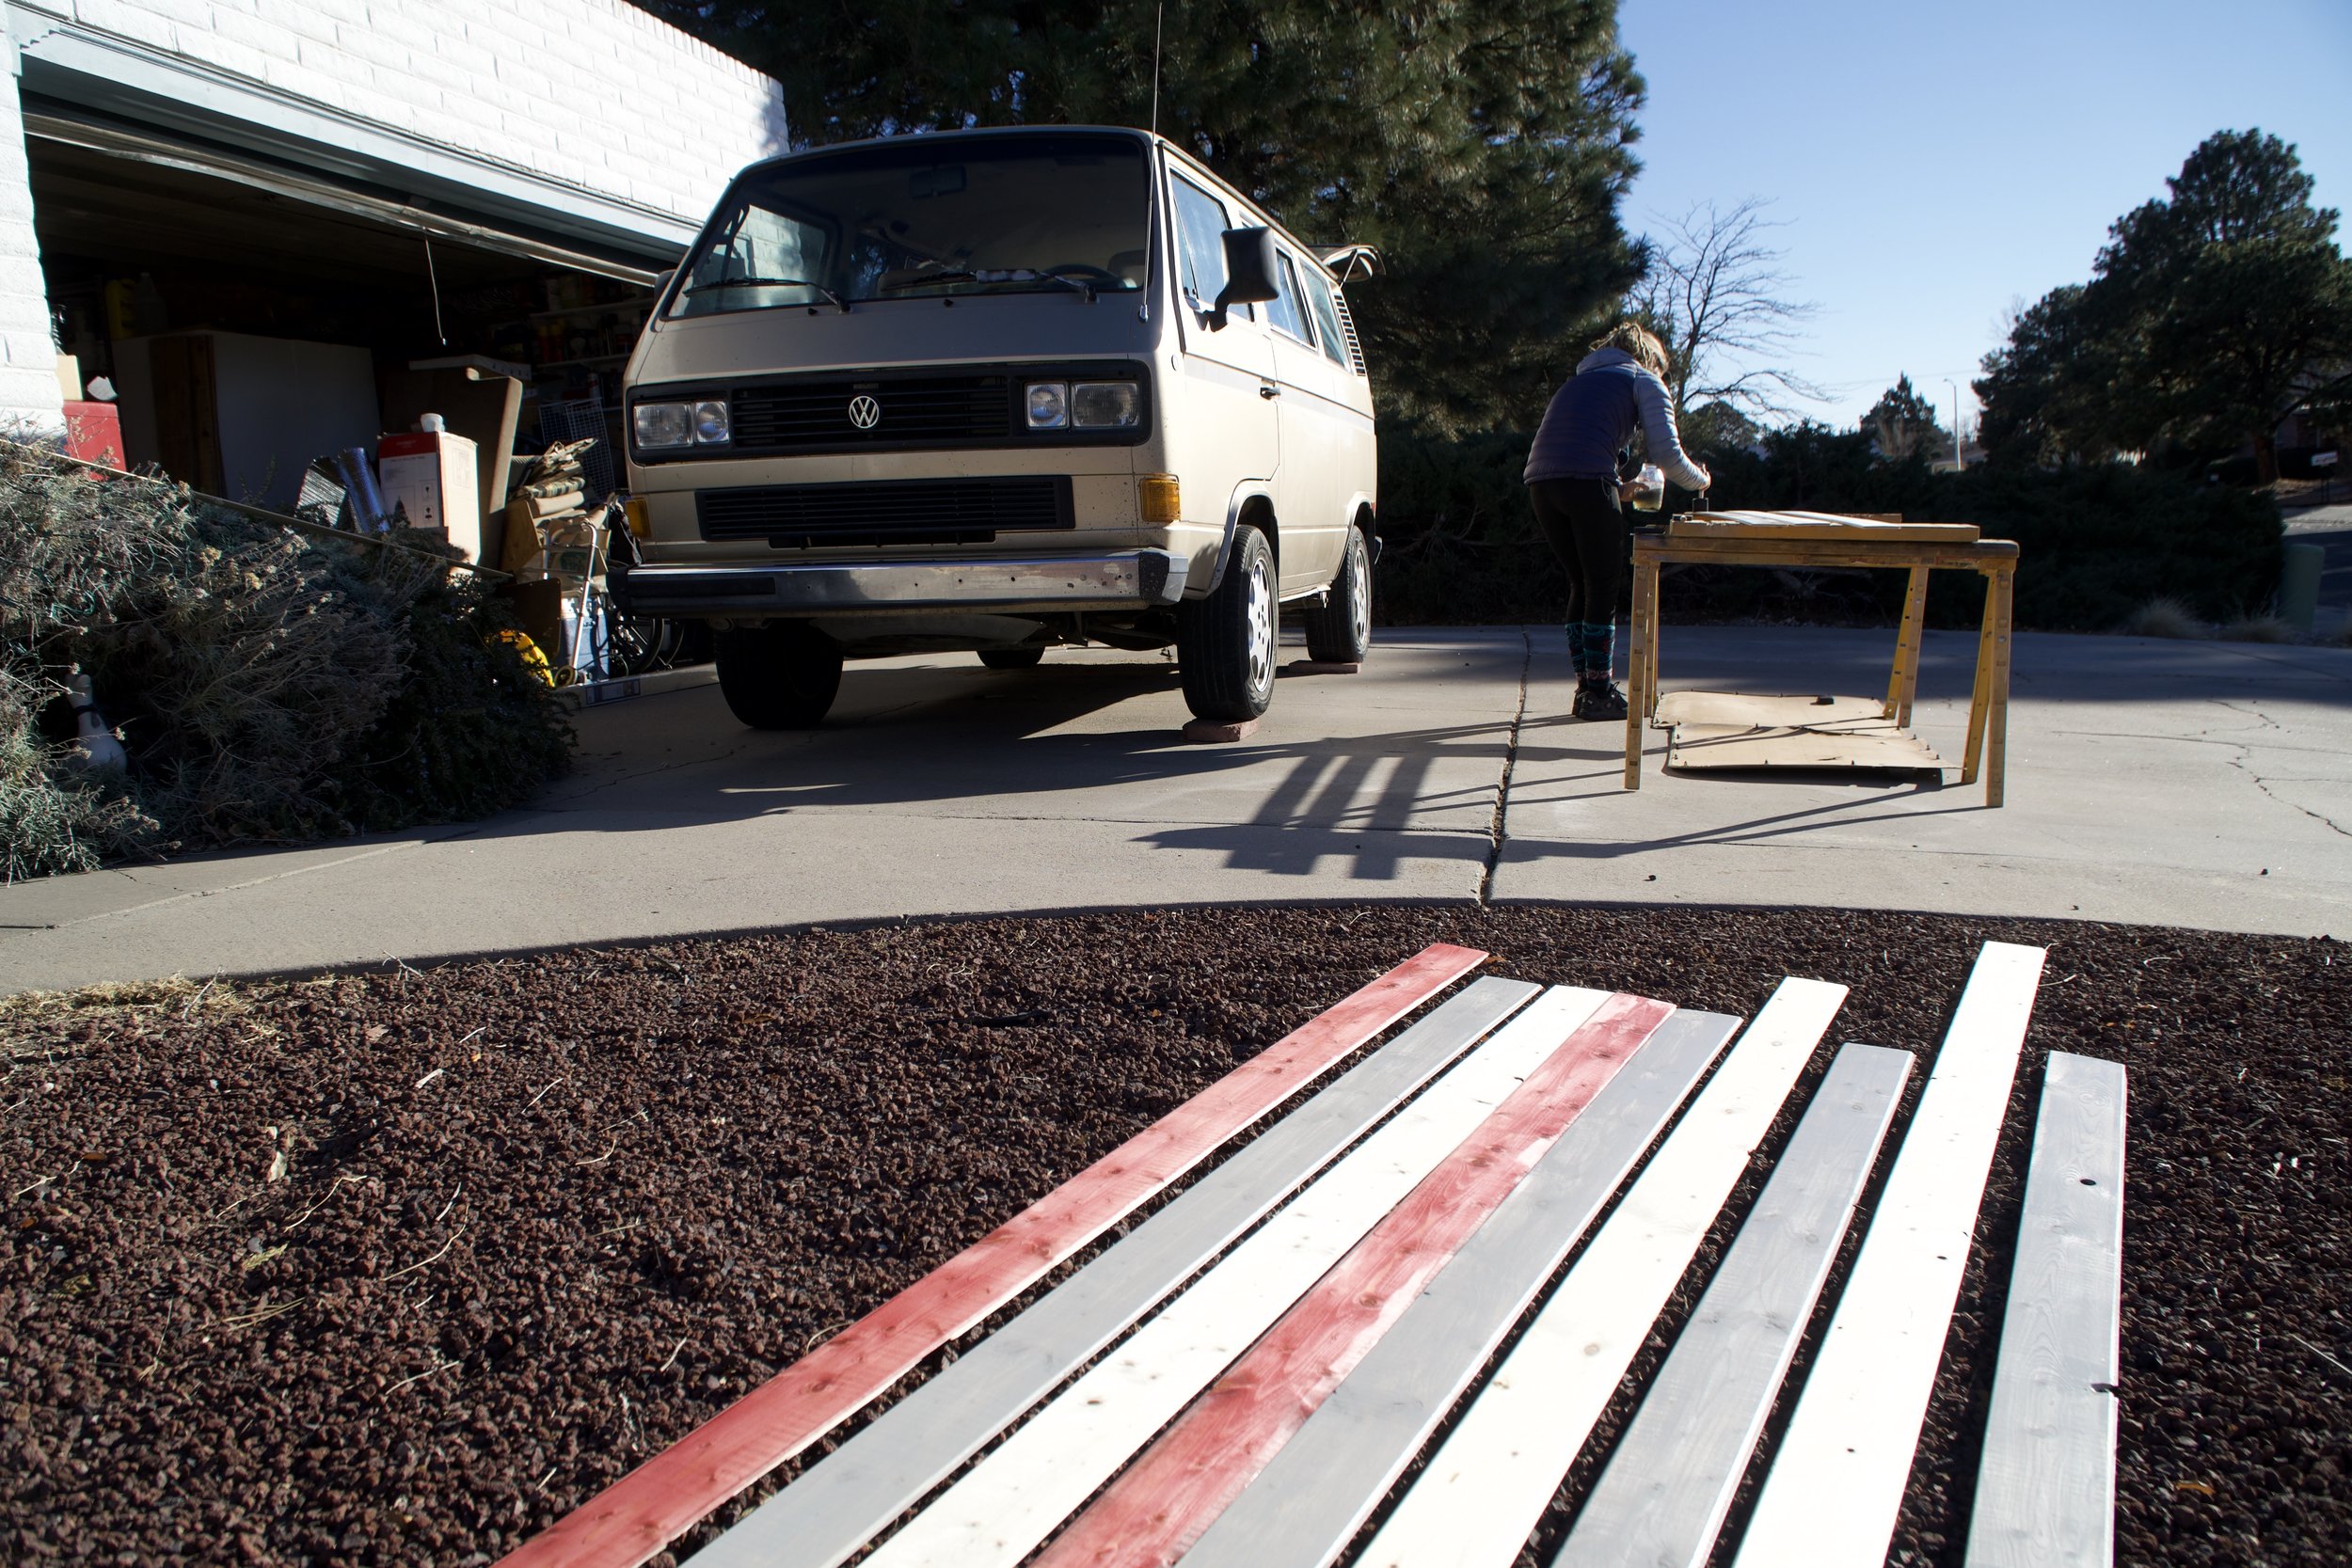
We wanted to do something creative, but keep it simple. So we decided that tongue and groove would be an easy and really affordable route. We did a mosaic type roof on our current Sprinter van and we thought a tongue and groove wall, with various stains and finishes, would give the van some character we were looking for.

For stains, we went with a few left over colors from our Sprinter and a new budget technique that we concocted out of vinegar and steel wool. “Check out this link to see how to do it” We were really happy with the turn out from the steel wool and vinegar. It was our favorite color.
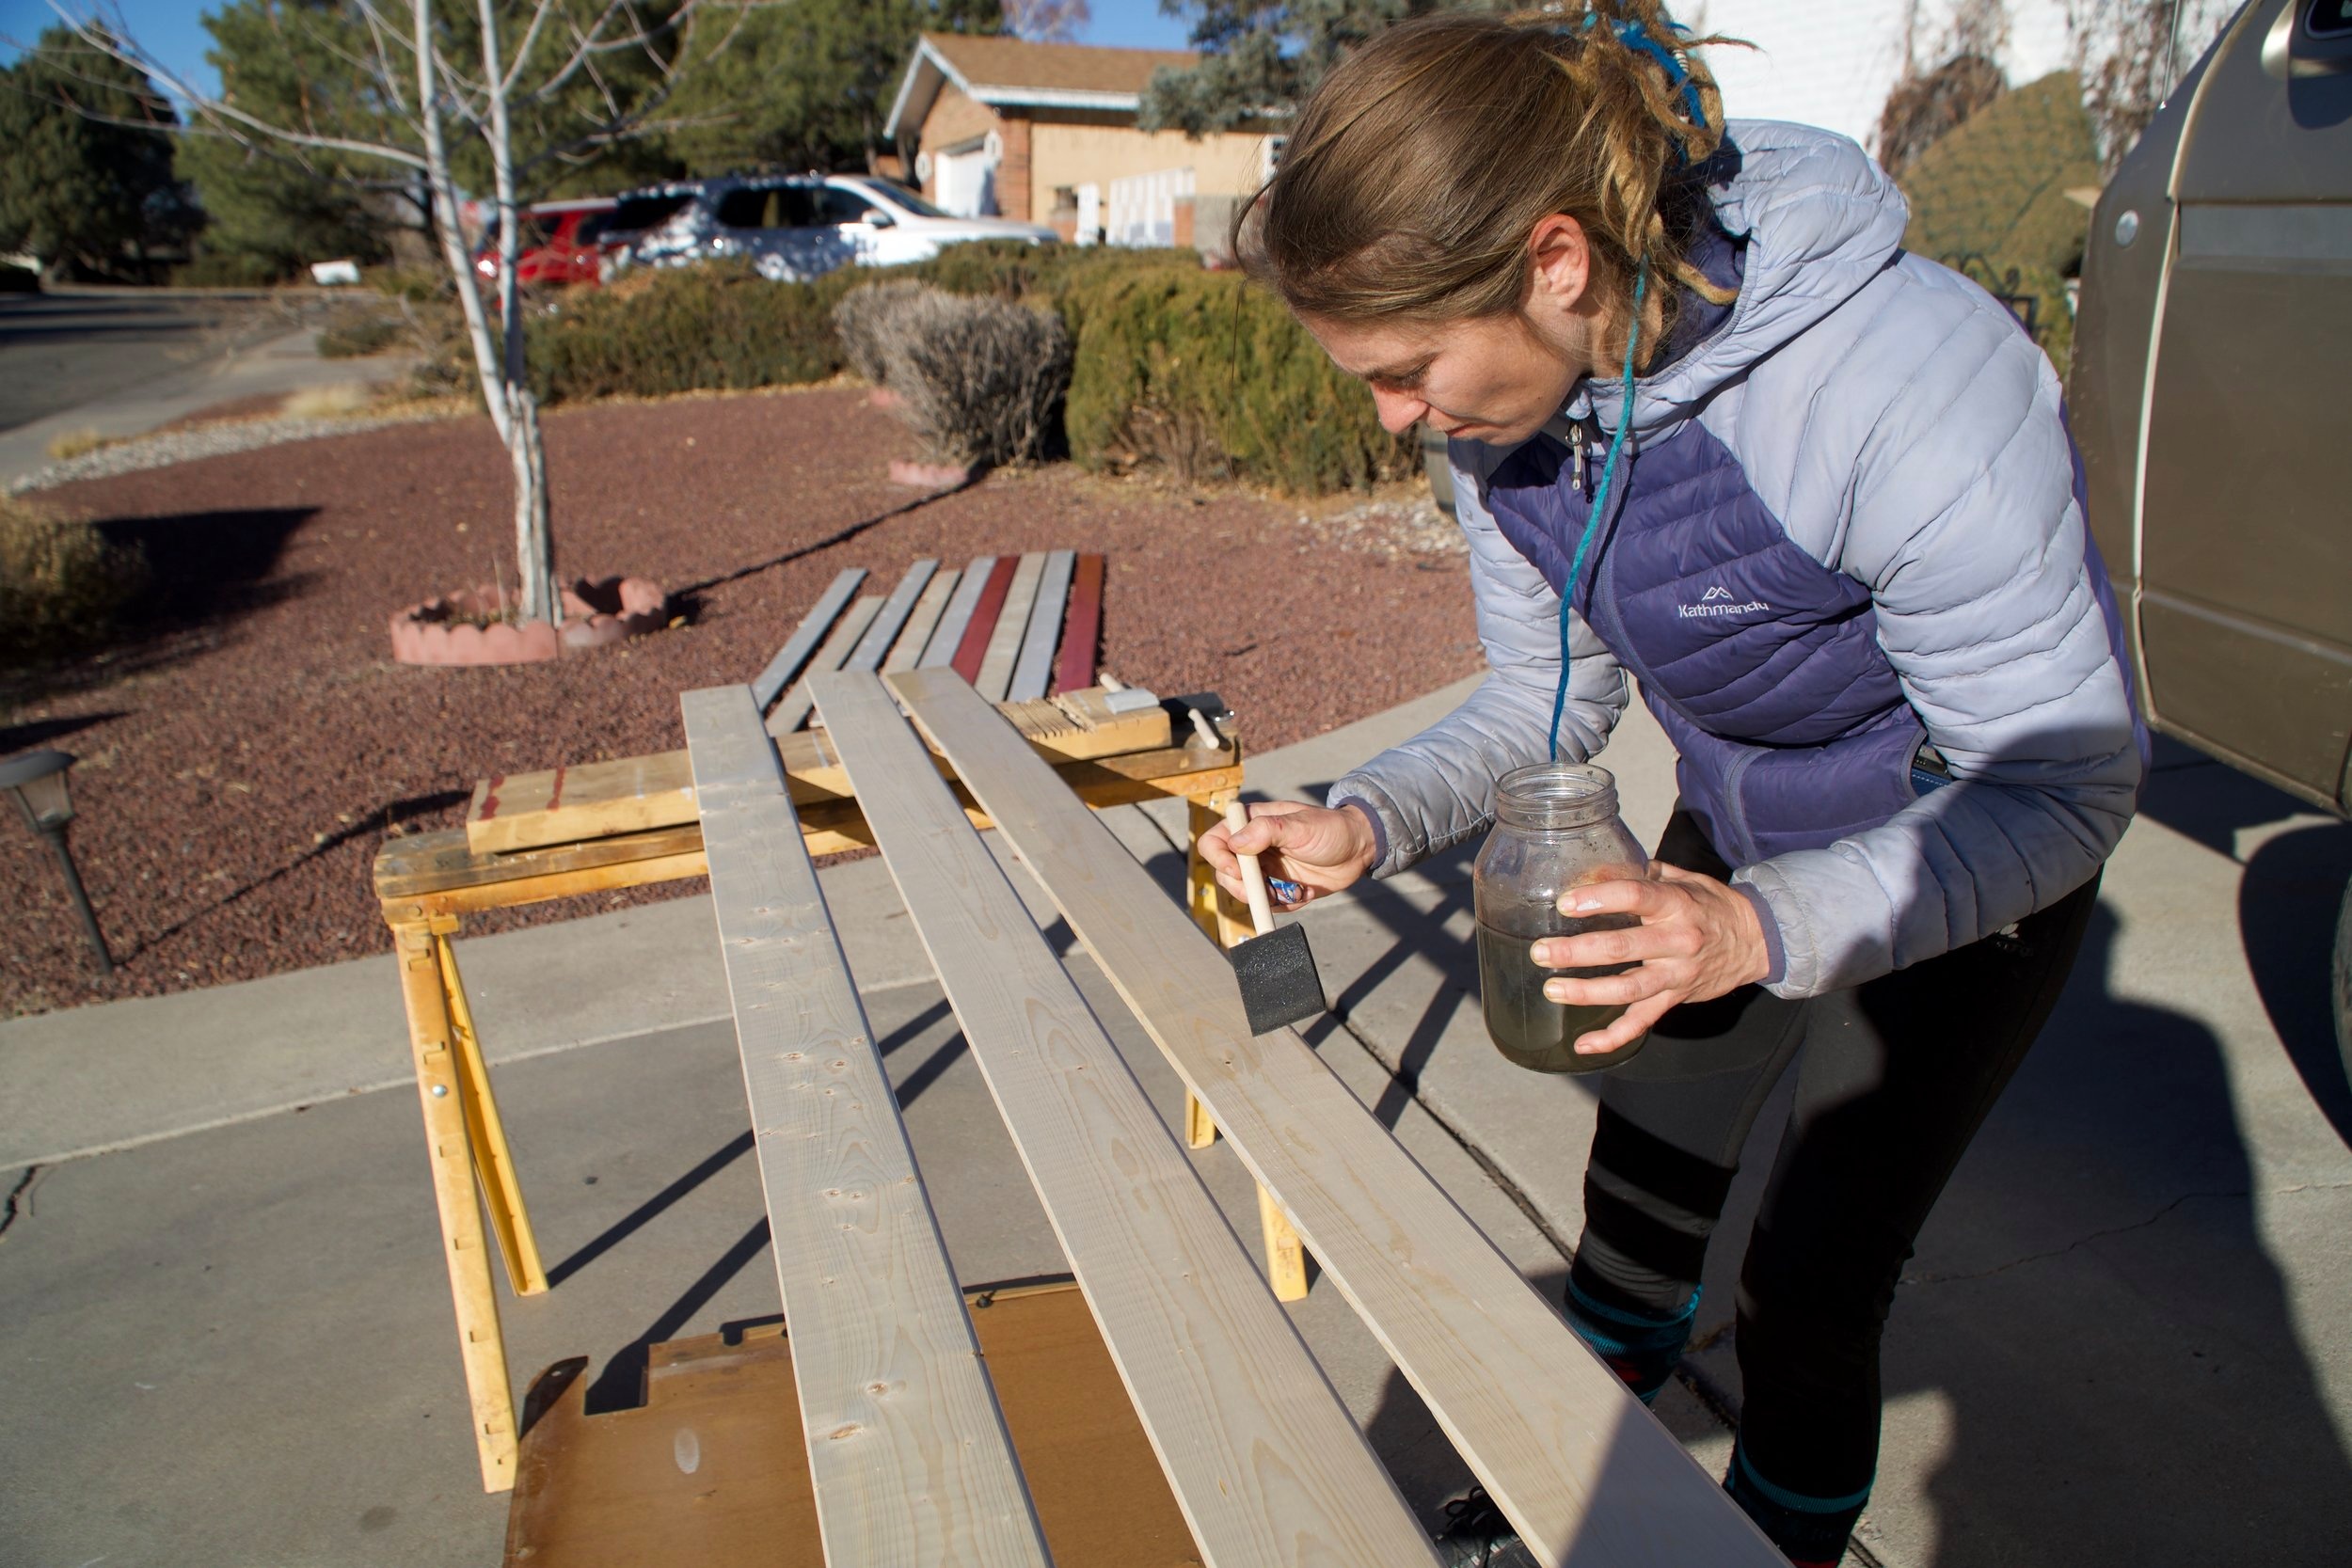
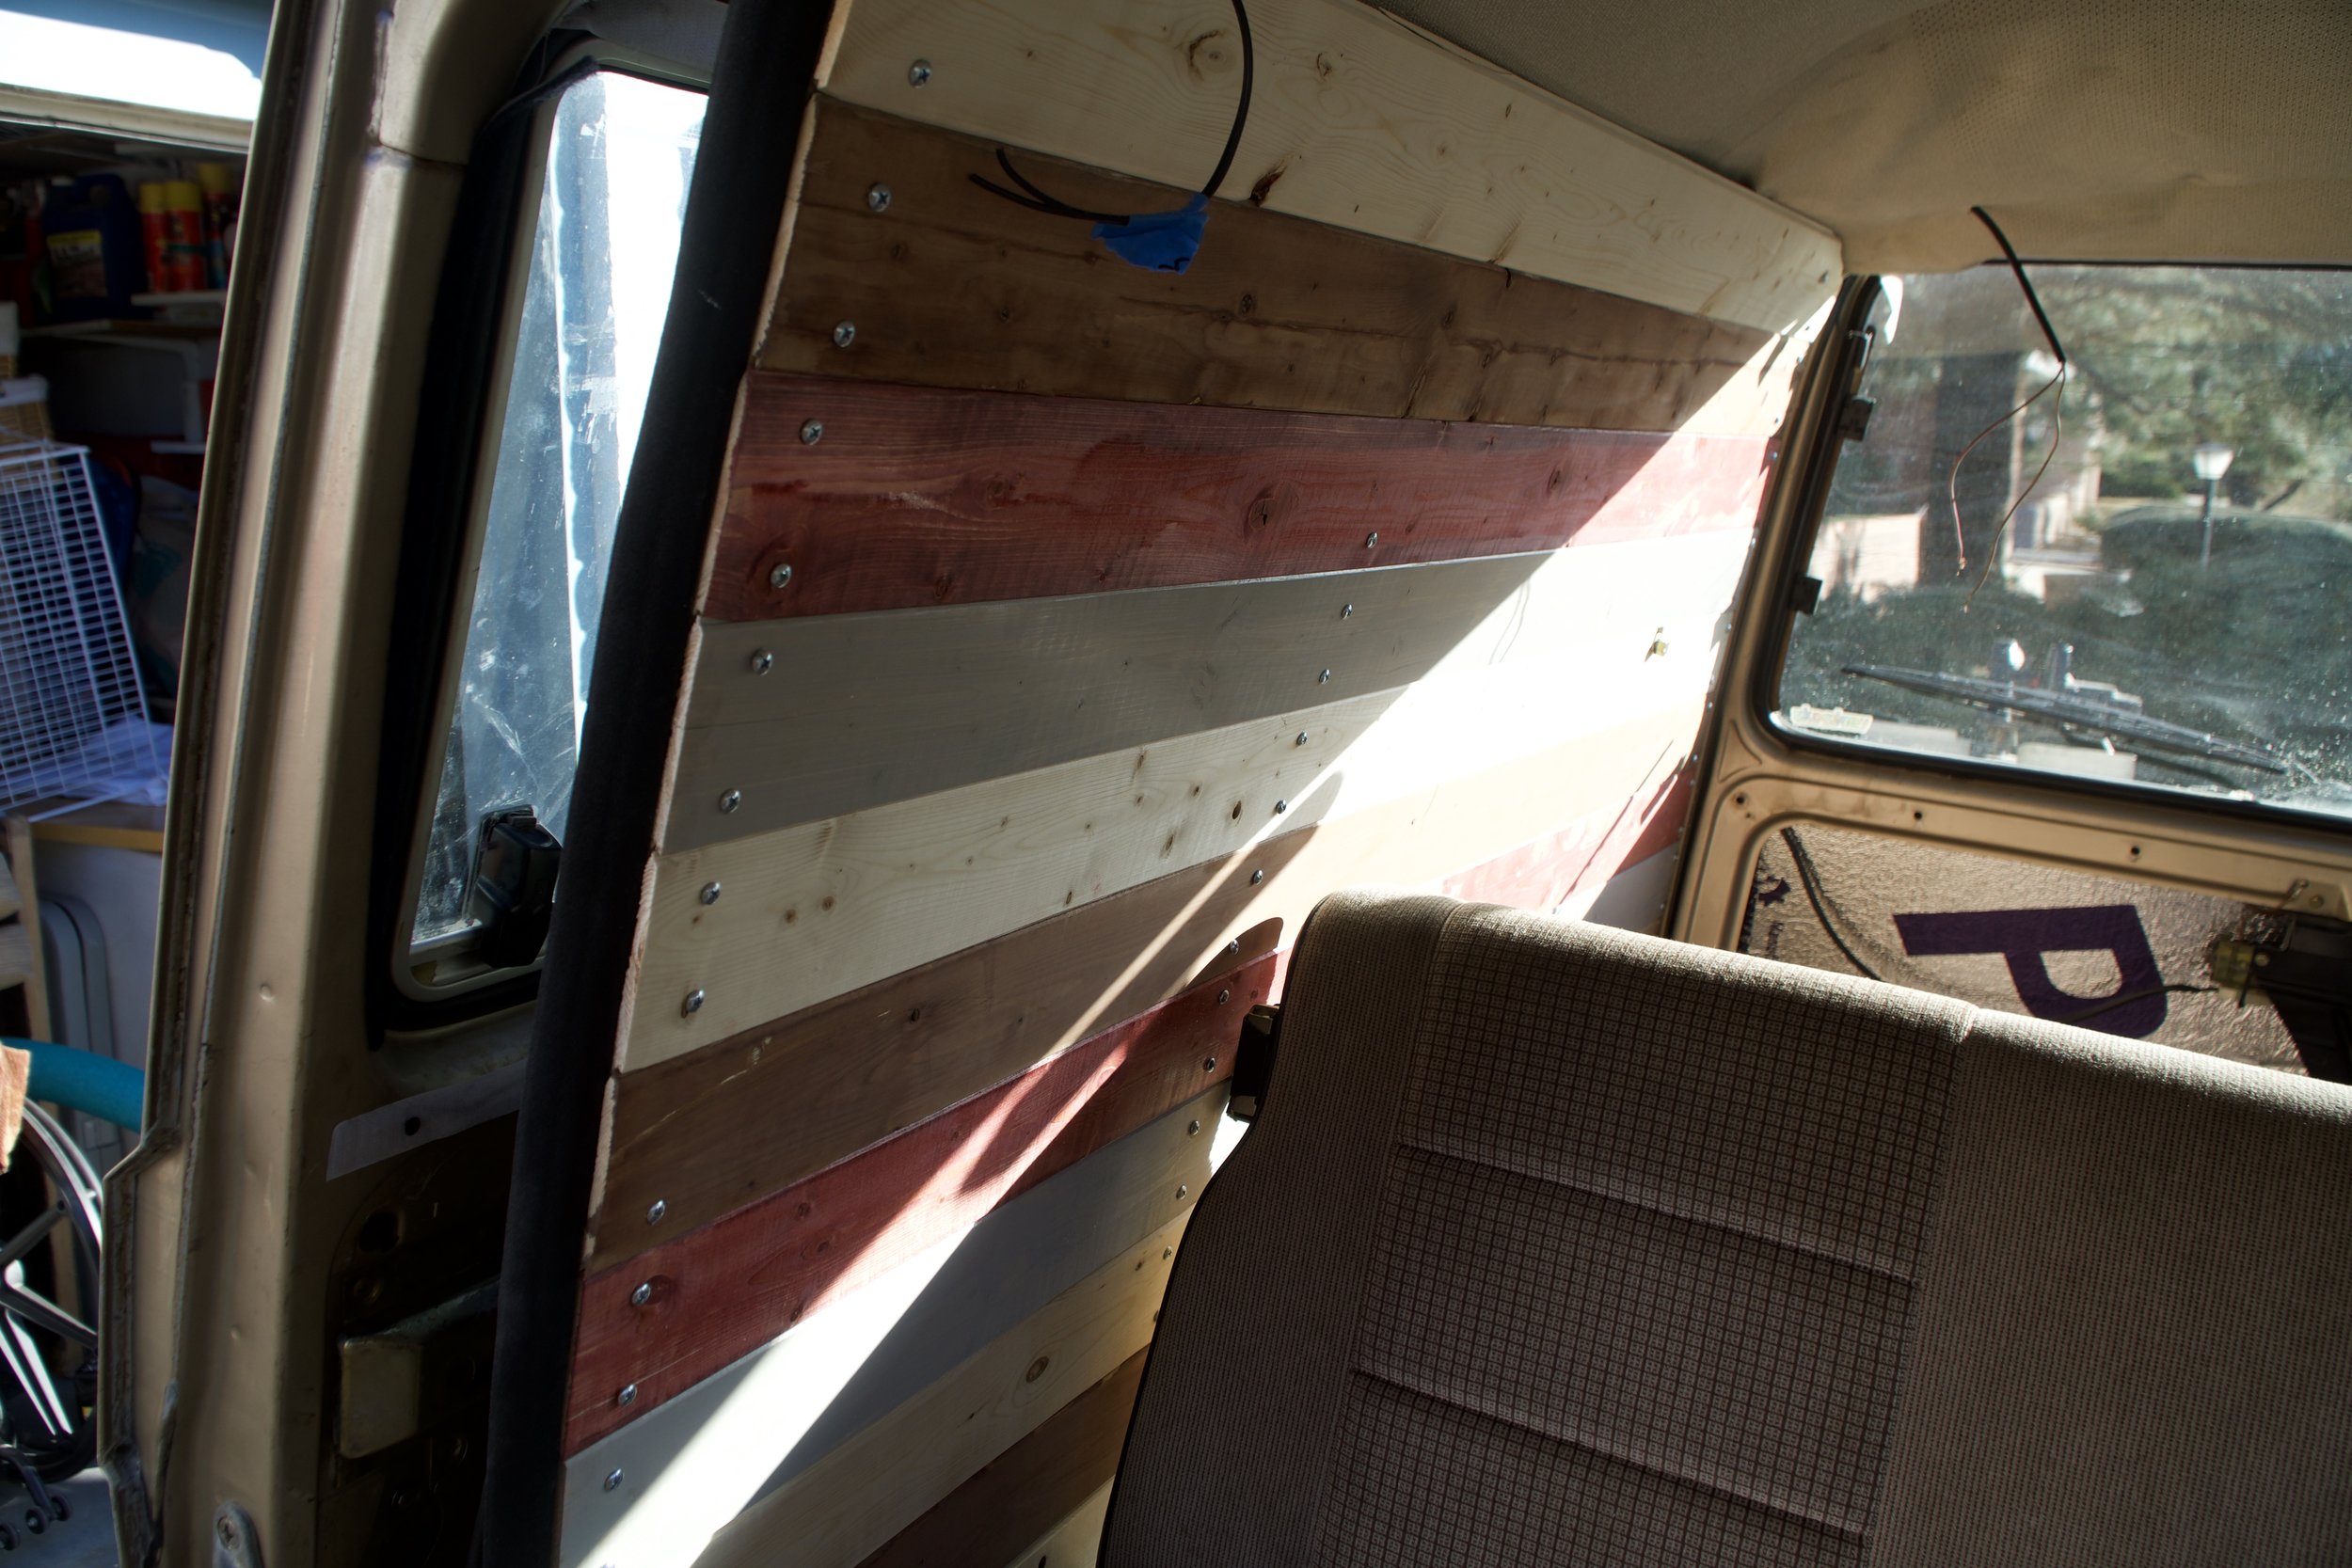
We cut and measured each piece, as we attached it to the van. We used 3/4 inch self tapping metal screws and attached directly to the body of the Vanagon. This took a bit of time. I highly recommend pre-drilling all of your holes to make this step easy.
To cover up the existing windows and create a full wall, we cut out some of the Insulation foam board to fit the window. Then, we sprayed some 3M 90-Spray Adhesive to some Black Out fabric, cut to size, and stuck it to the window piece. As the tongue and groove got closer to the window, we inserted that piece. That way, from the outside it looked like a black dark window.

Make sure you don't cover anything you wanted up with the boards. In the VW, there are lots of places to anchor to, or seat belt bolts, so make sure you aren't covering anything important up.

A helpful tip is to mark where things are, with tape, as you cover up the walls. For instance, this van has windows and we didn't want to attach any cabinets where the windows were. So, we used masking tape to show ourselves where the windows are behind the wall. We also used the masking tape to mark good points of contact for our walls.
This is a tedious process, but worth every bit of work and keeps you from guessing where stud-like items are. The new walls look amazing and will really pop once we get our cabinets installed.