DIY Custom Cabinets in a 1987 VW Vanagon

VW westfalia custom campervan cabinets diy remodel VW van

Another daunting van task was the custom cabinets and what to do with the “kitchen”.  We wanted to make life, as easy as possible. We planned for a single pull out drawer and one door front on the cabinets. We were planning on leaving everything else open and easy to access.  

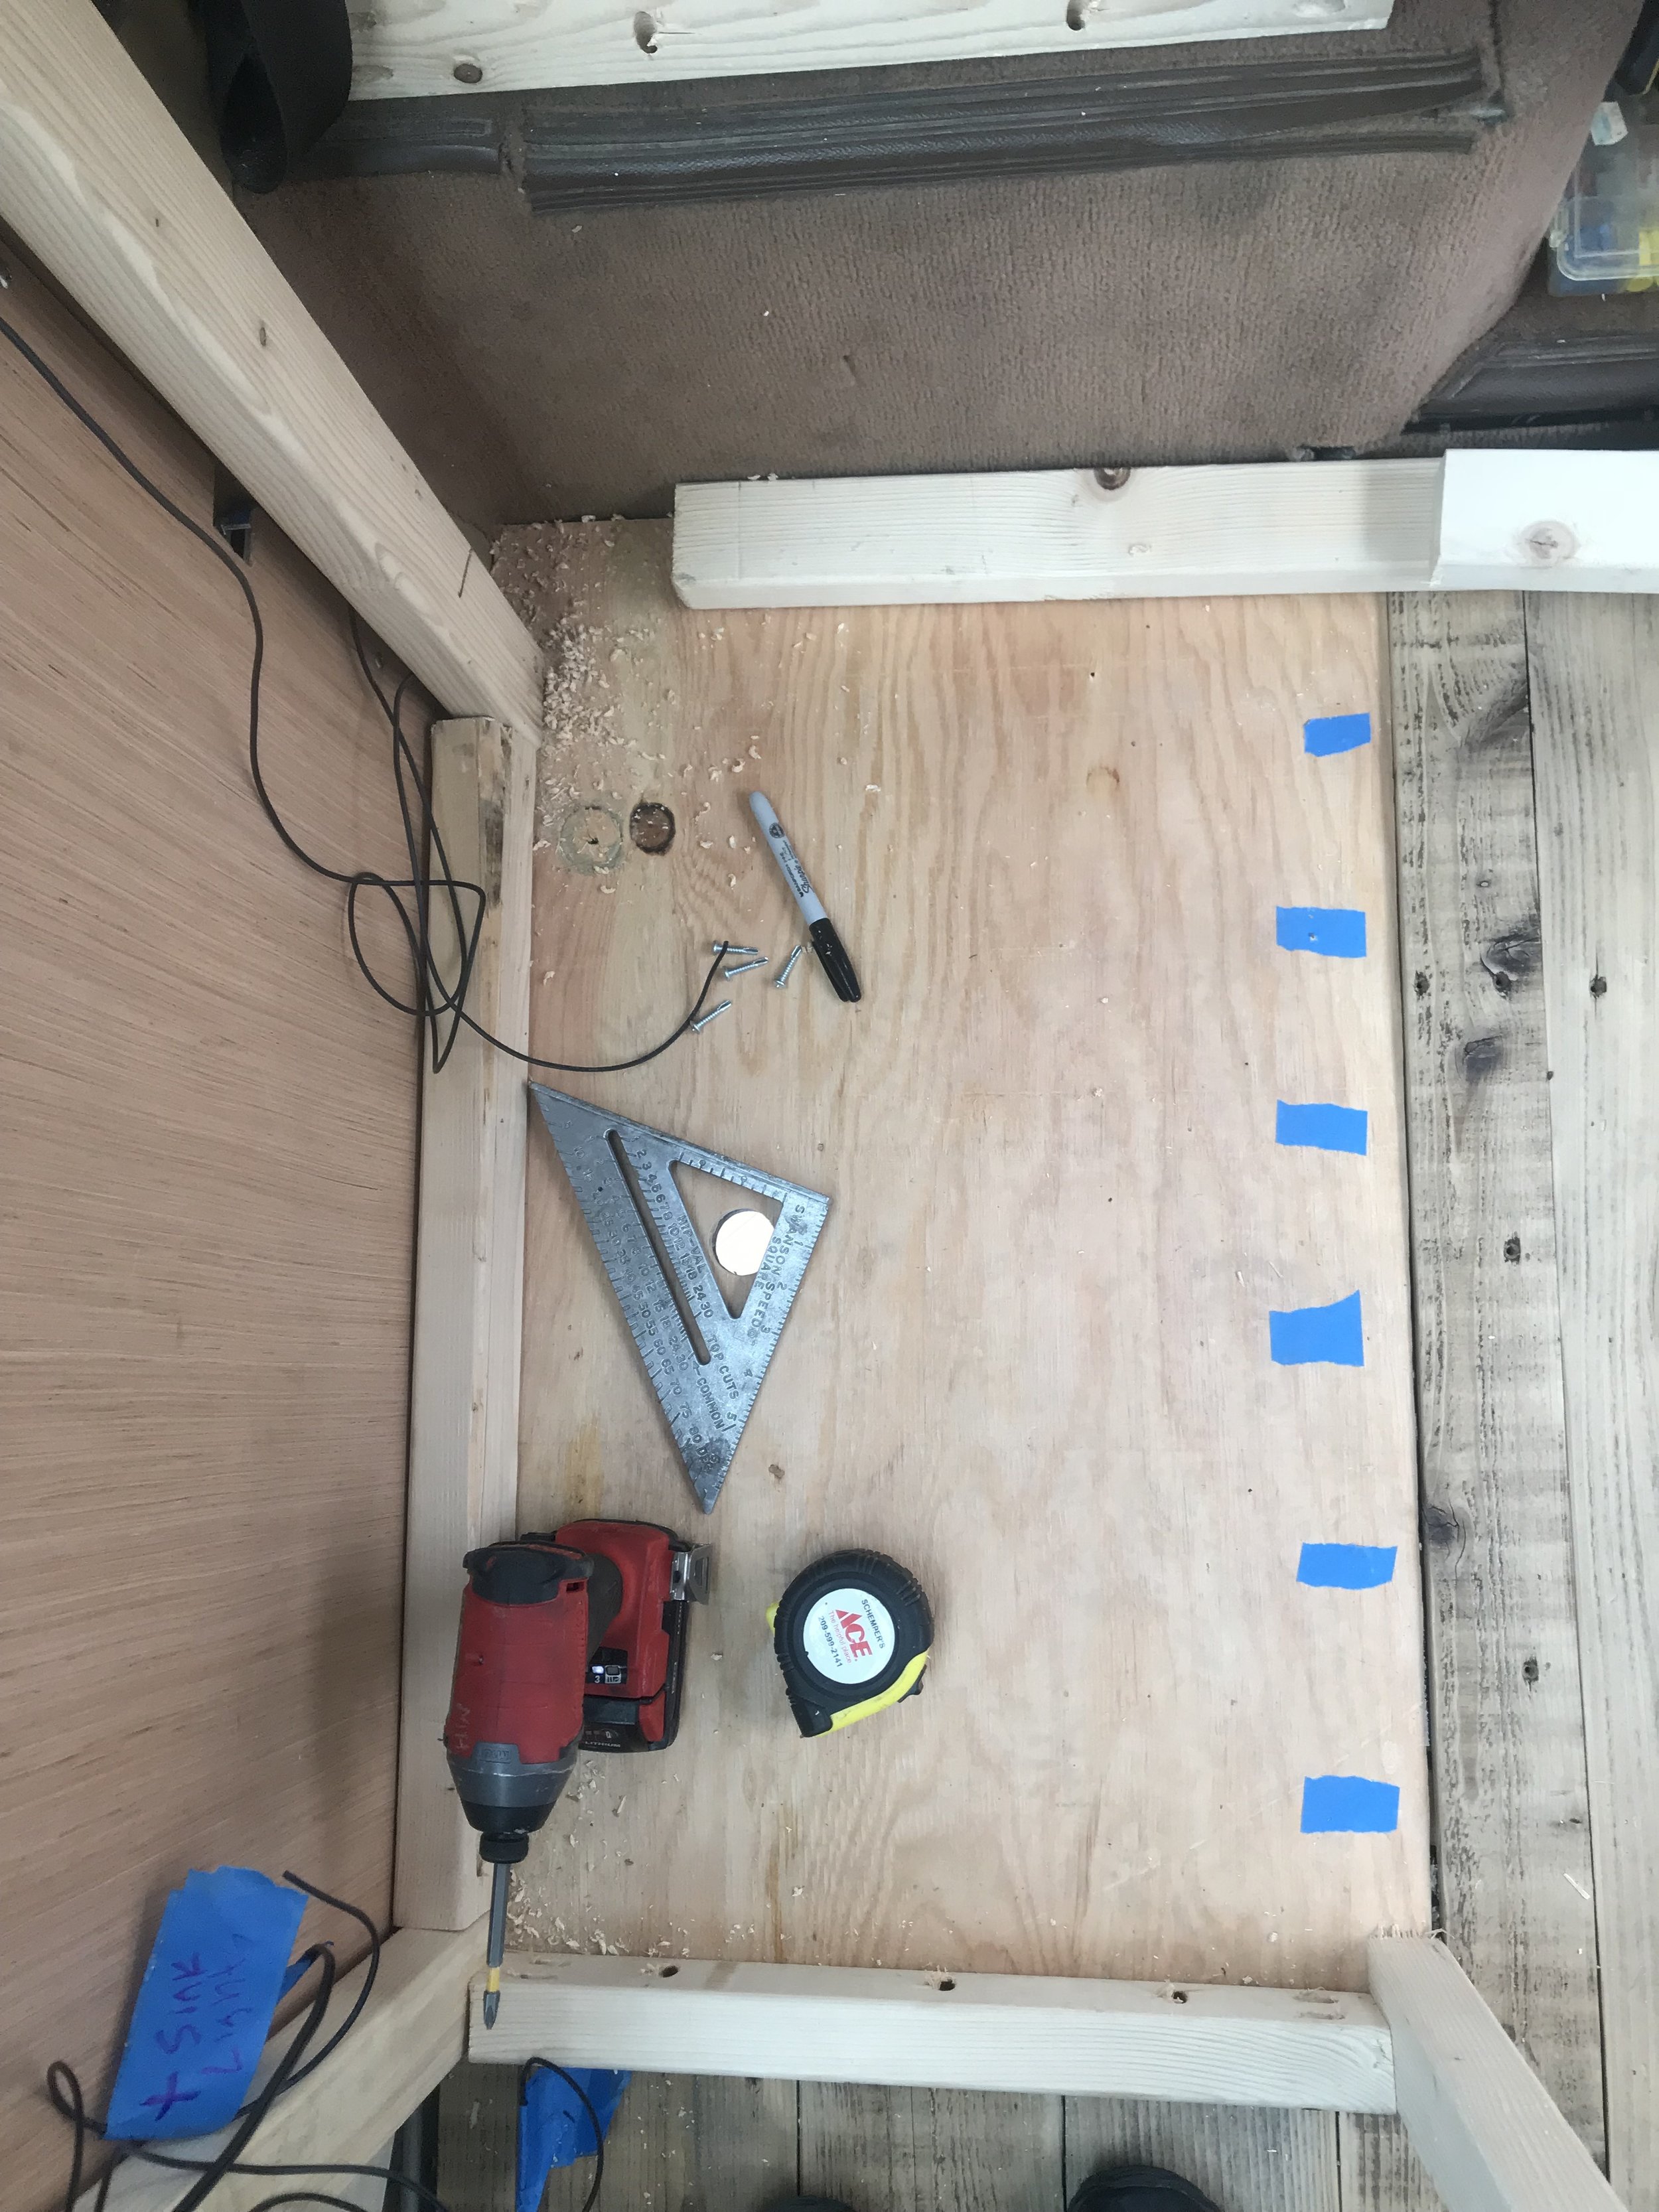
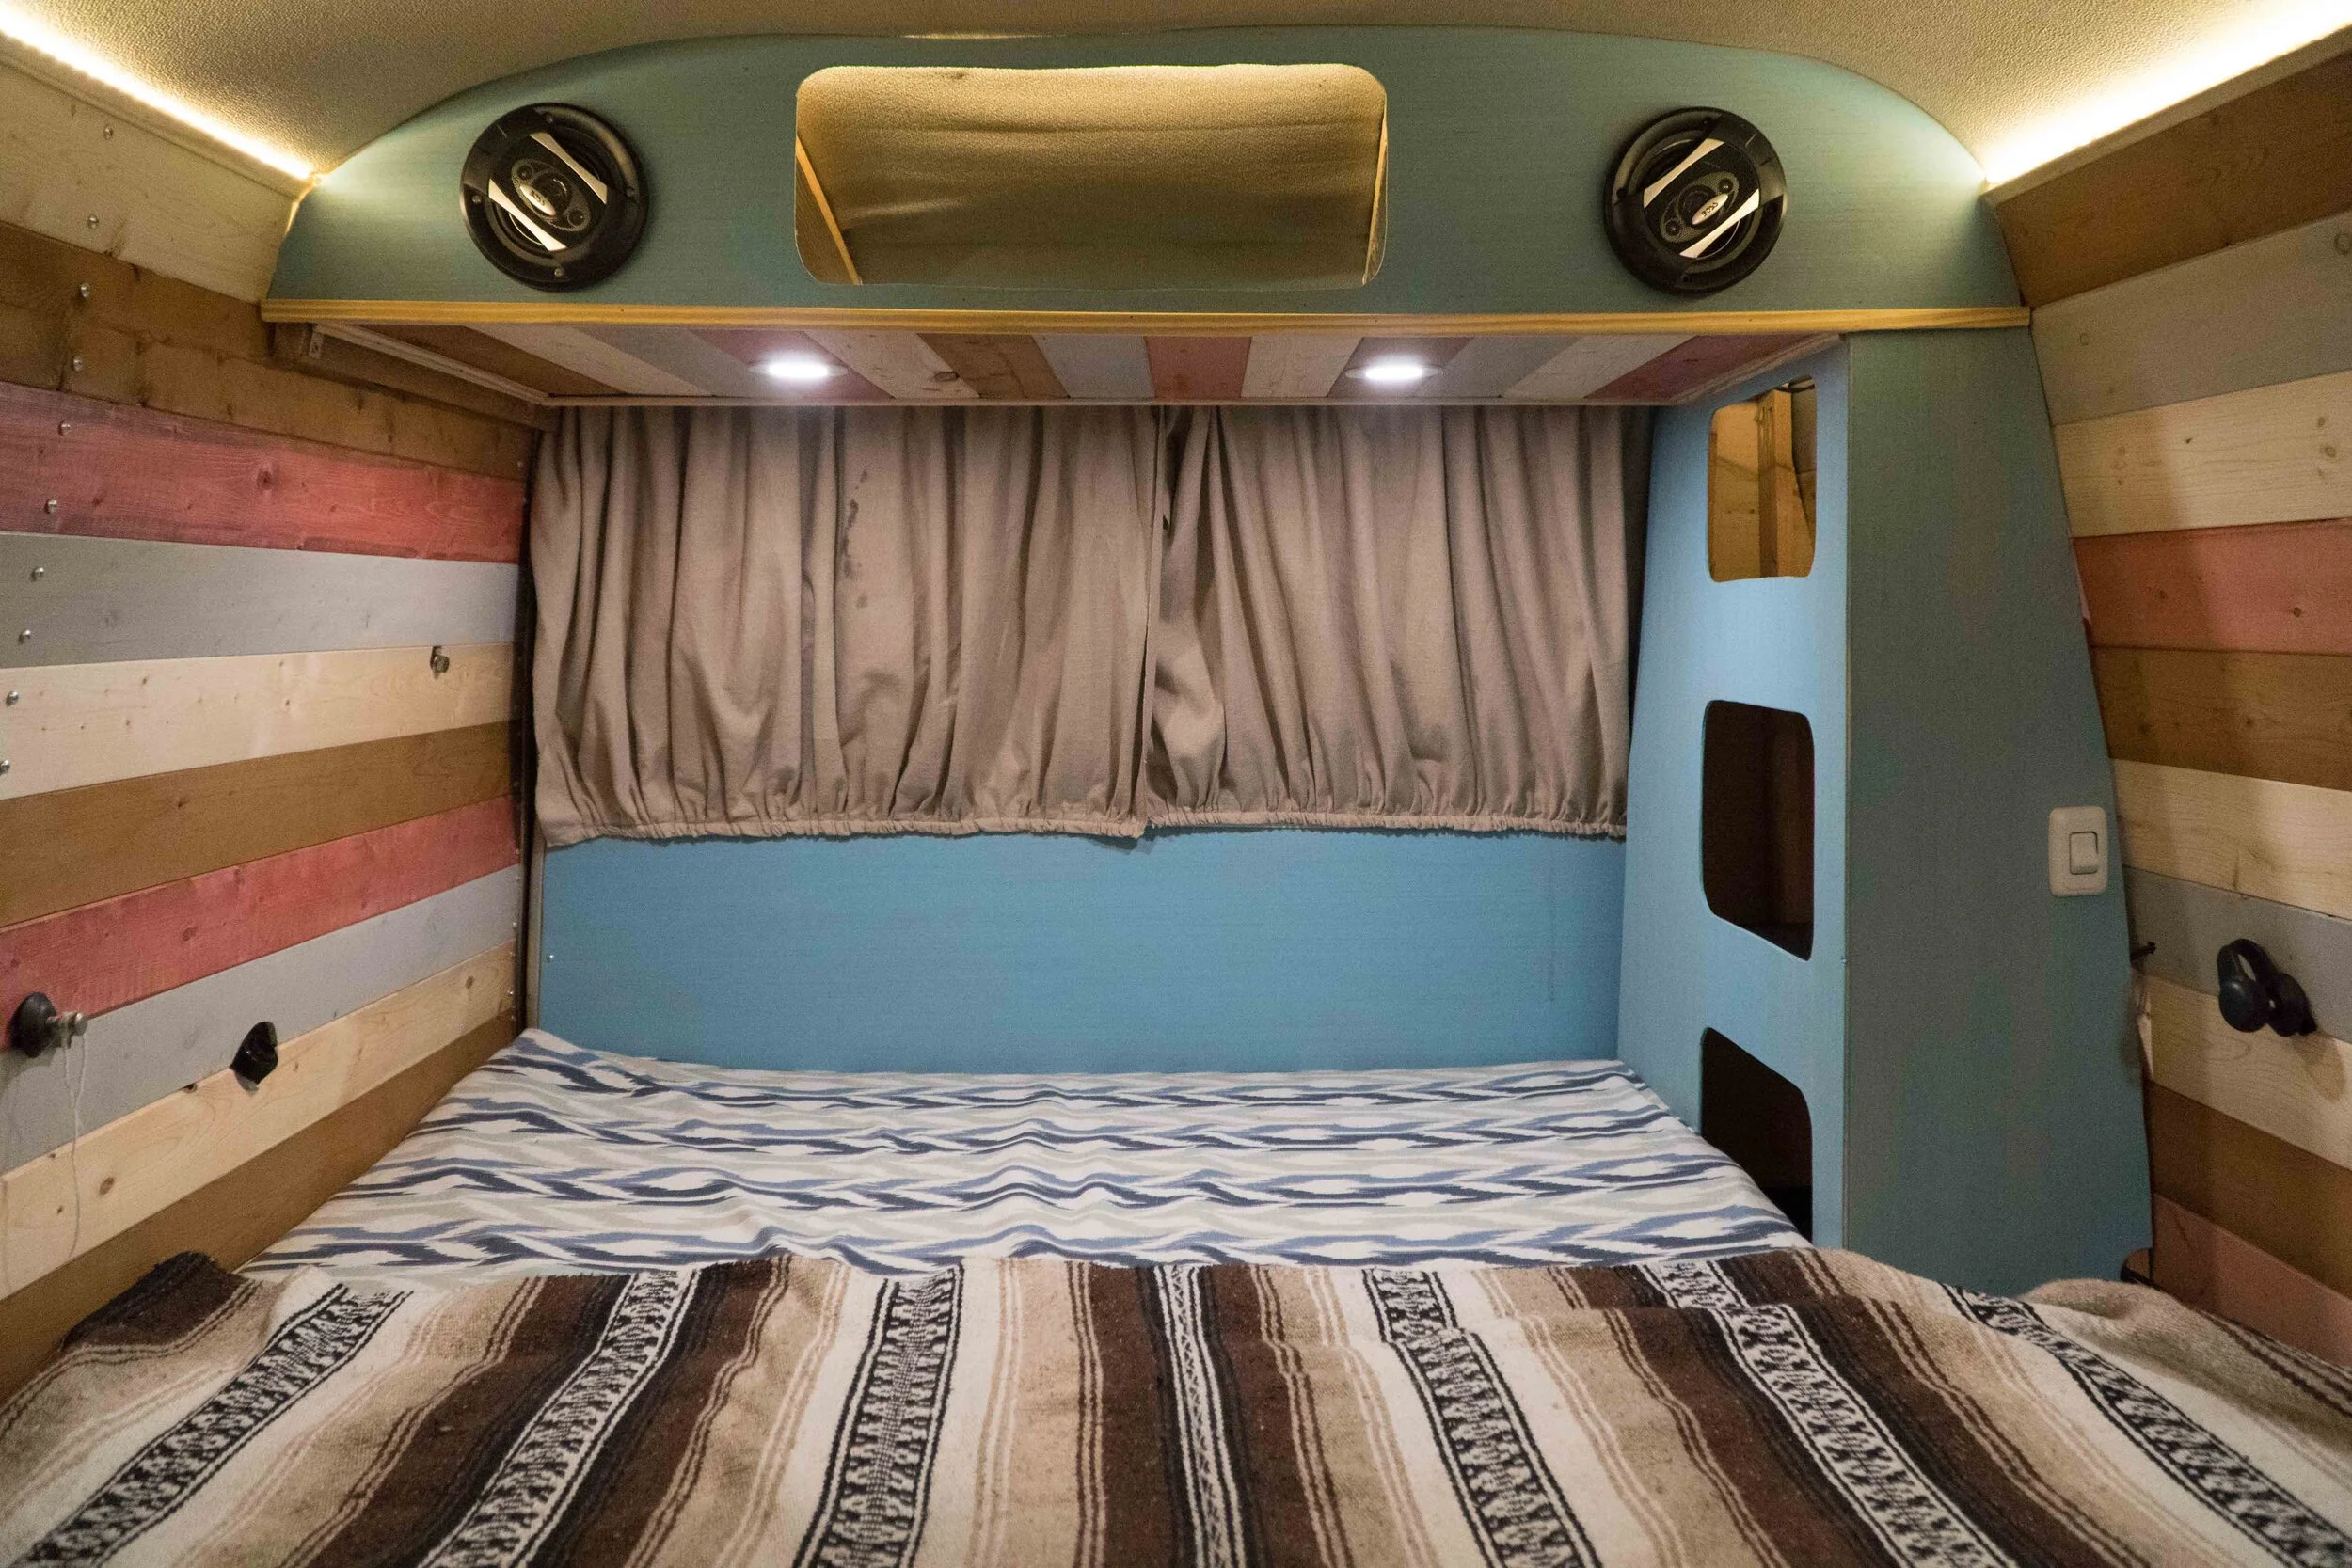
For the rear cabinets, we knew we wanted a small back cabinet with an over bed storage to hold additional clothes since the van is so small.  We decided to go with how the Westfalia layout tends to come stock, but kooked it out.  We used our favorite Kregg Pocket Jig to assemble the cabinet frames, without using millions of L-brackets.  

VW Westfalia Cutom Cabinet DIY VW Campervan remodel -.jpg

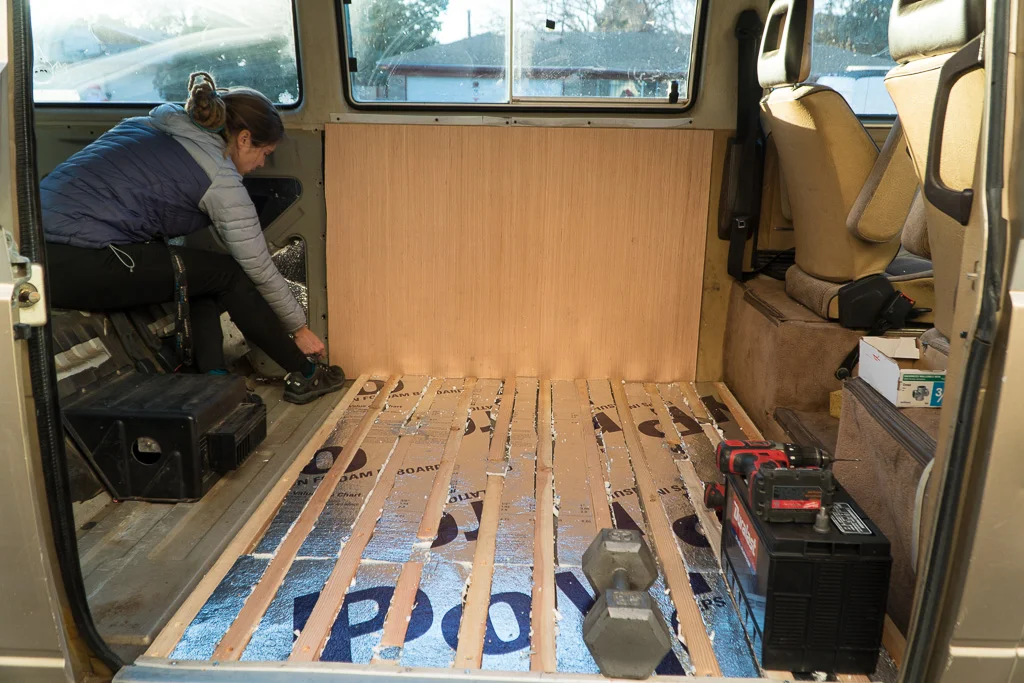
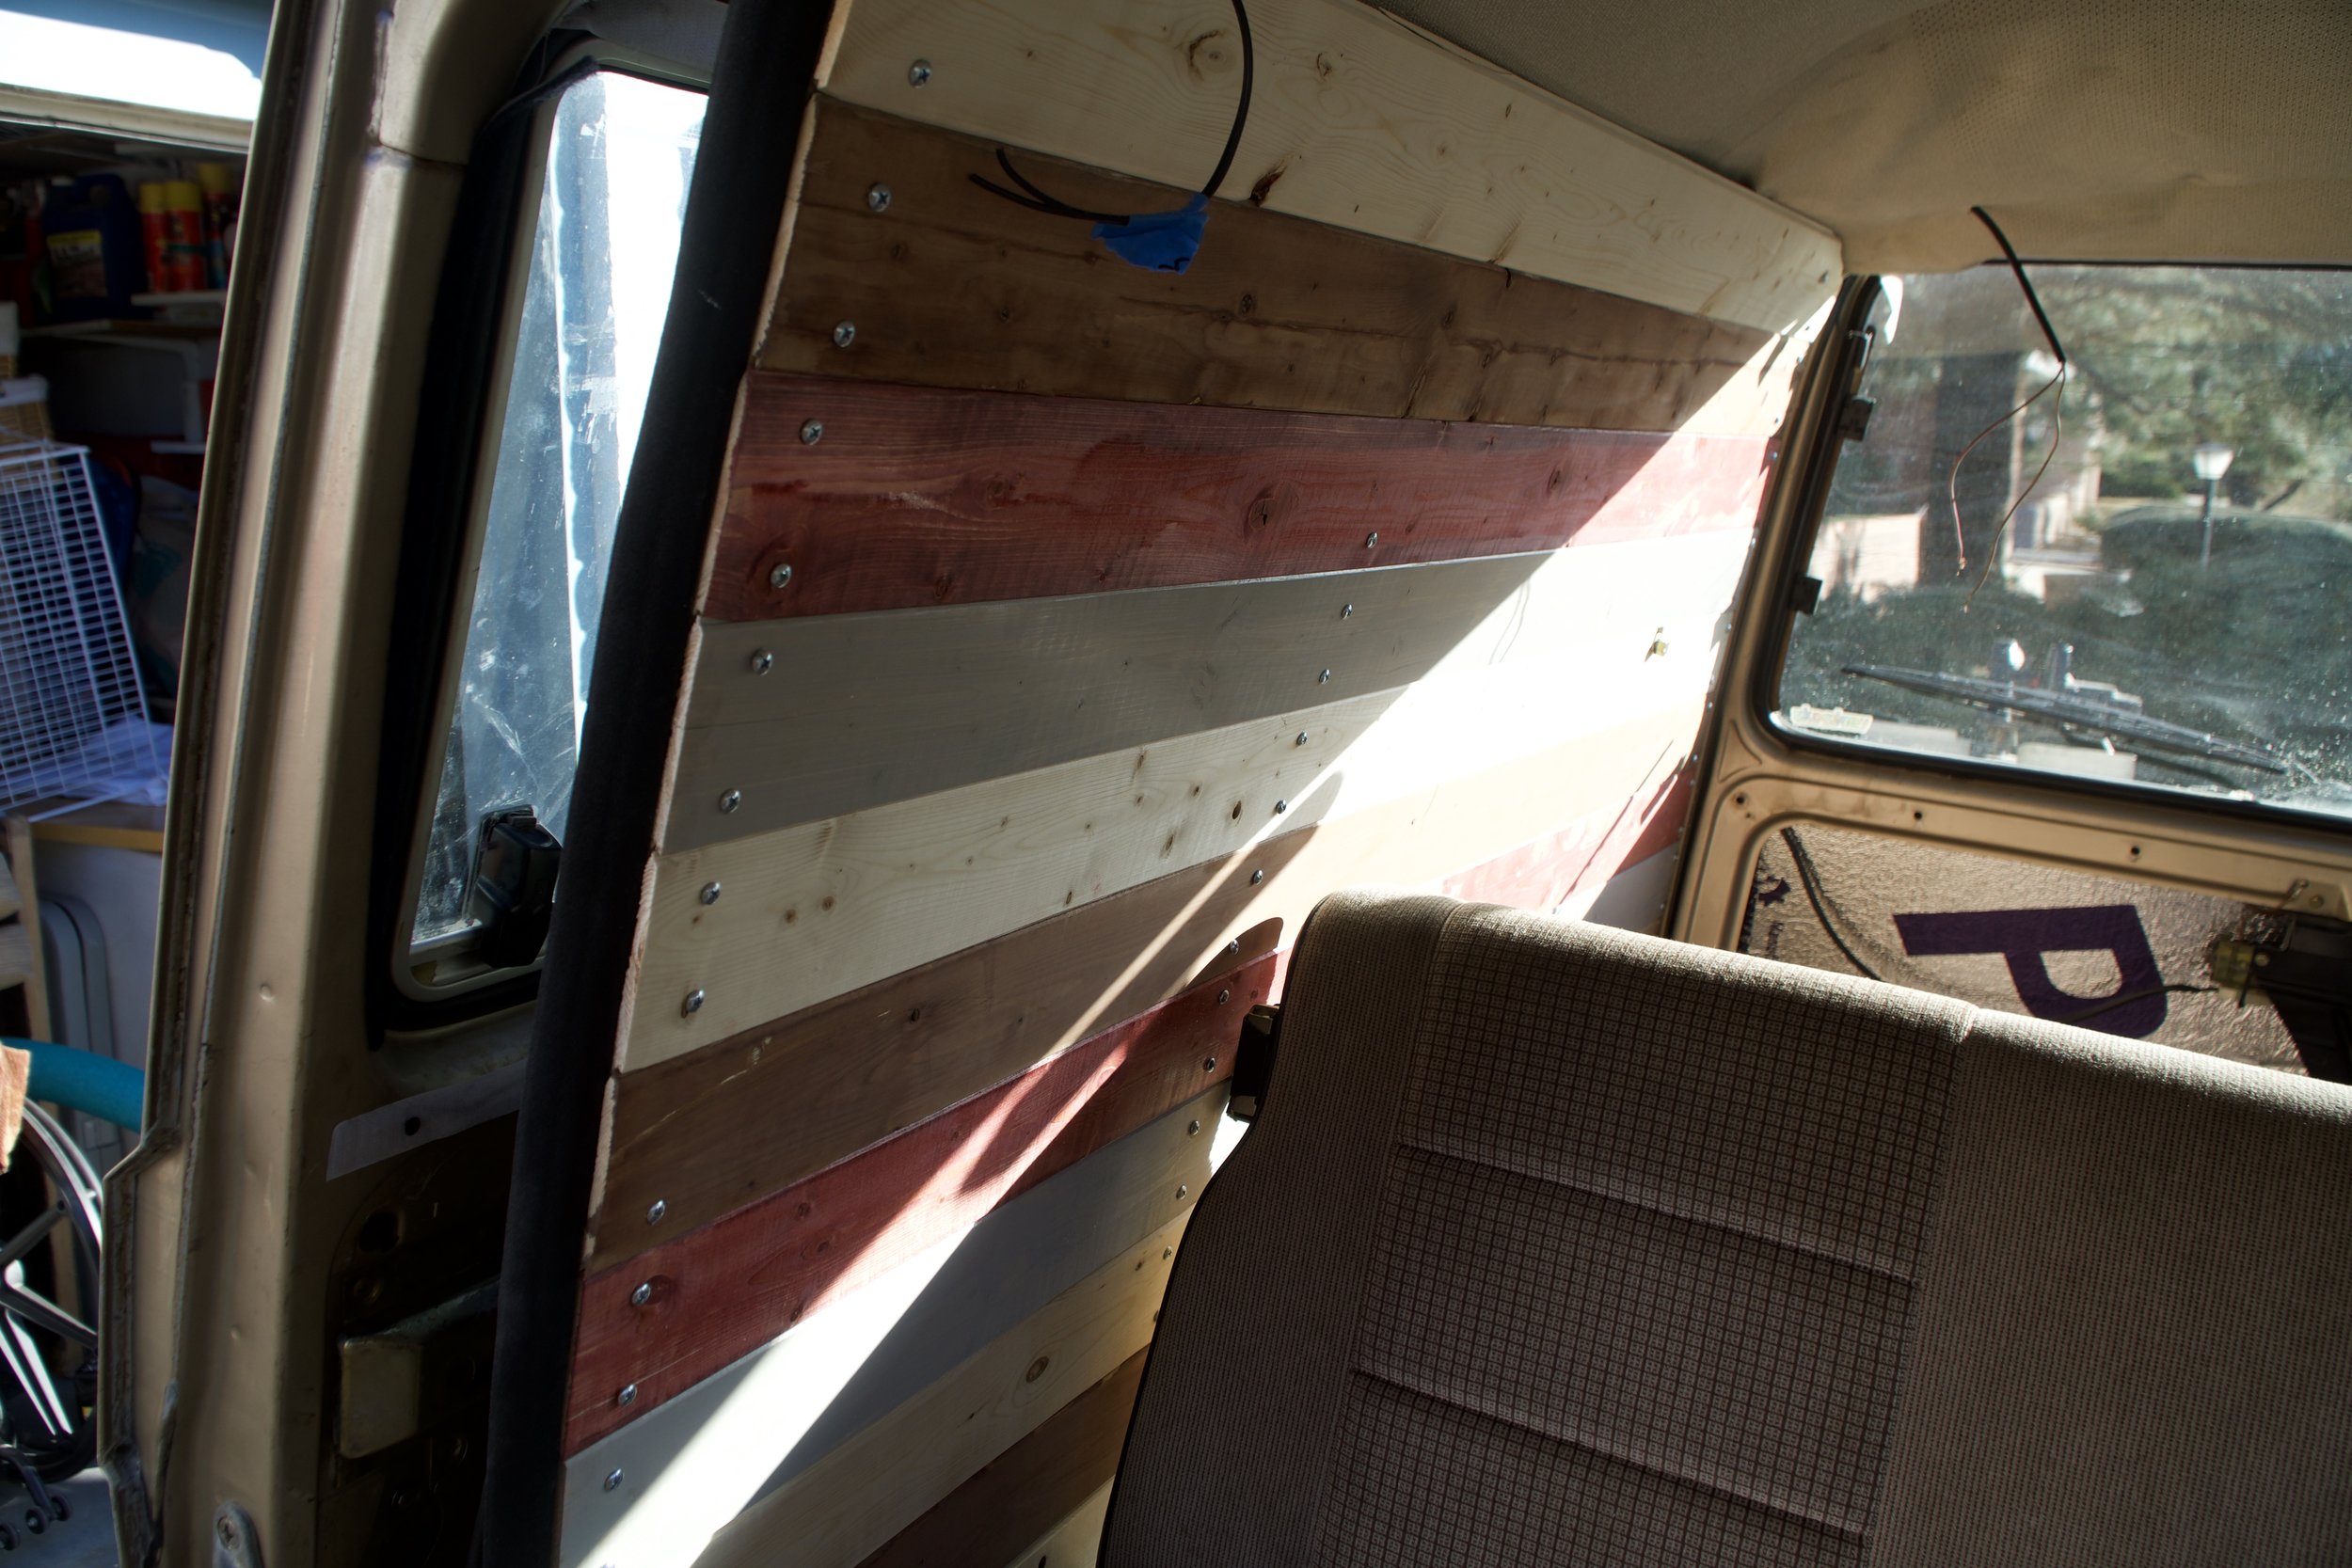
We attached all frames to the van, using self tapping metal screws.  We used thin furniture grade plywood for all the fronts and used a jigsaw to cut out all the ovals.  We painted the walls a nice Vintage Aqua stain. 

VW Westfalia Cutom Cabinet DIY VW Campervan remodel -1.jpg

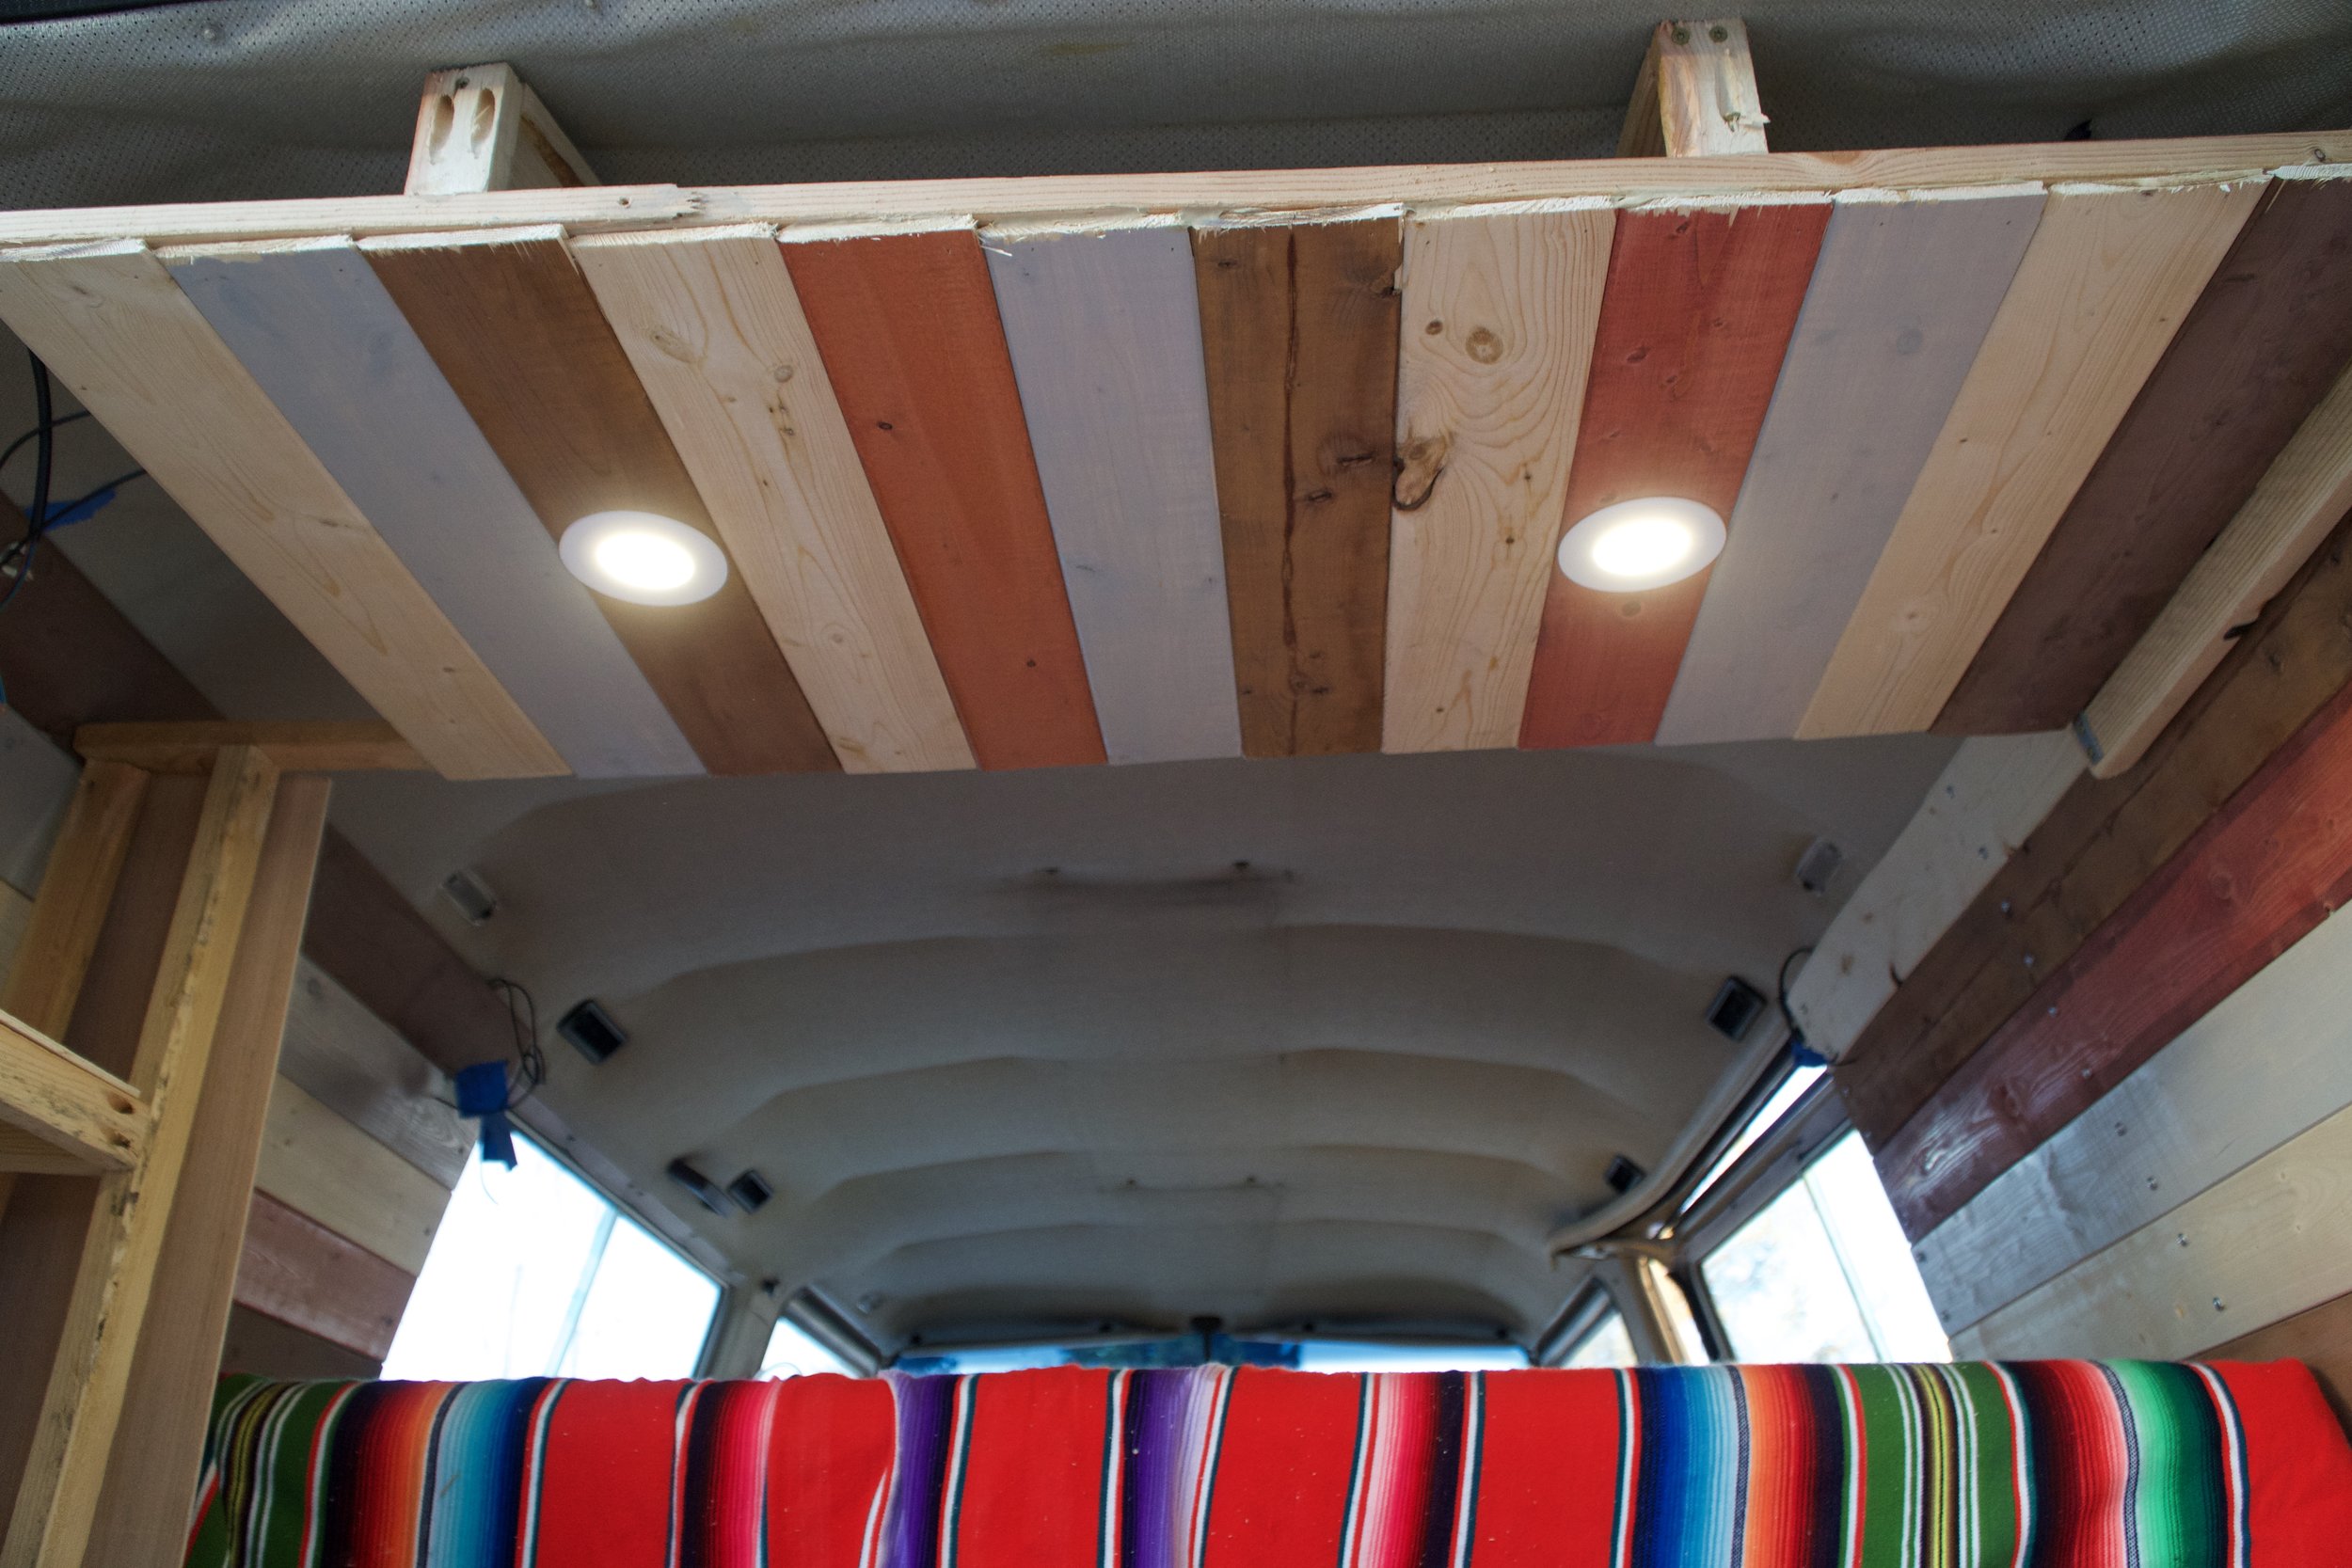
We left a nice area to hang jackets and put shoes in the far back drivers side corner.  On the over head storage, we used our scrap tongue and groove pieces and it really added some flare to the van.  The van came with some 6” Boss Speakers that we put into the front of the overhead cabinet, as well as, a LED light strip to light up the inside. The whole cabinet looks really pro and we are pretty impressed with ourselves. 

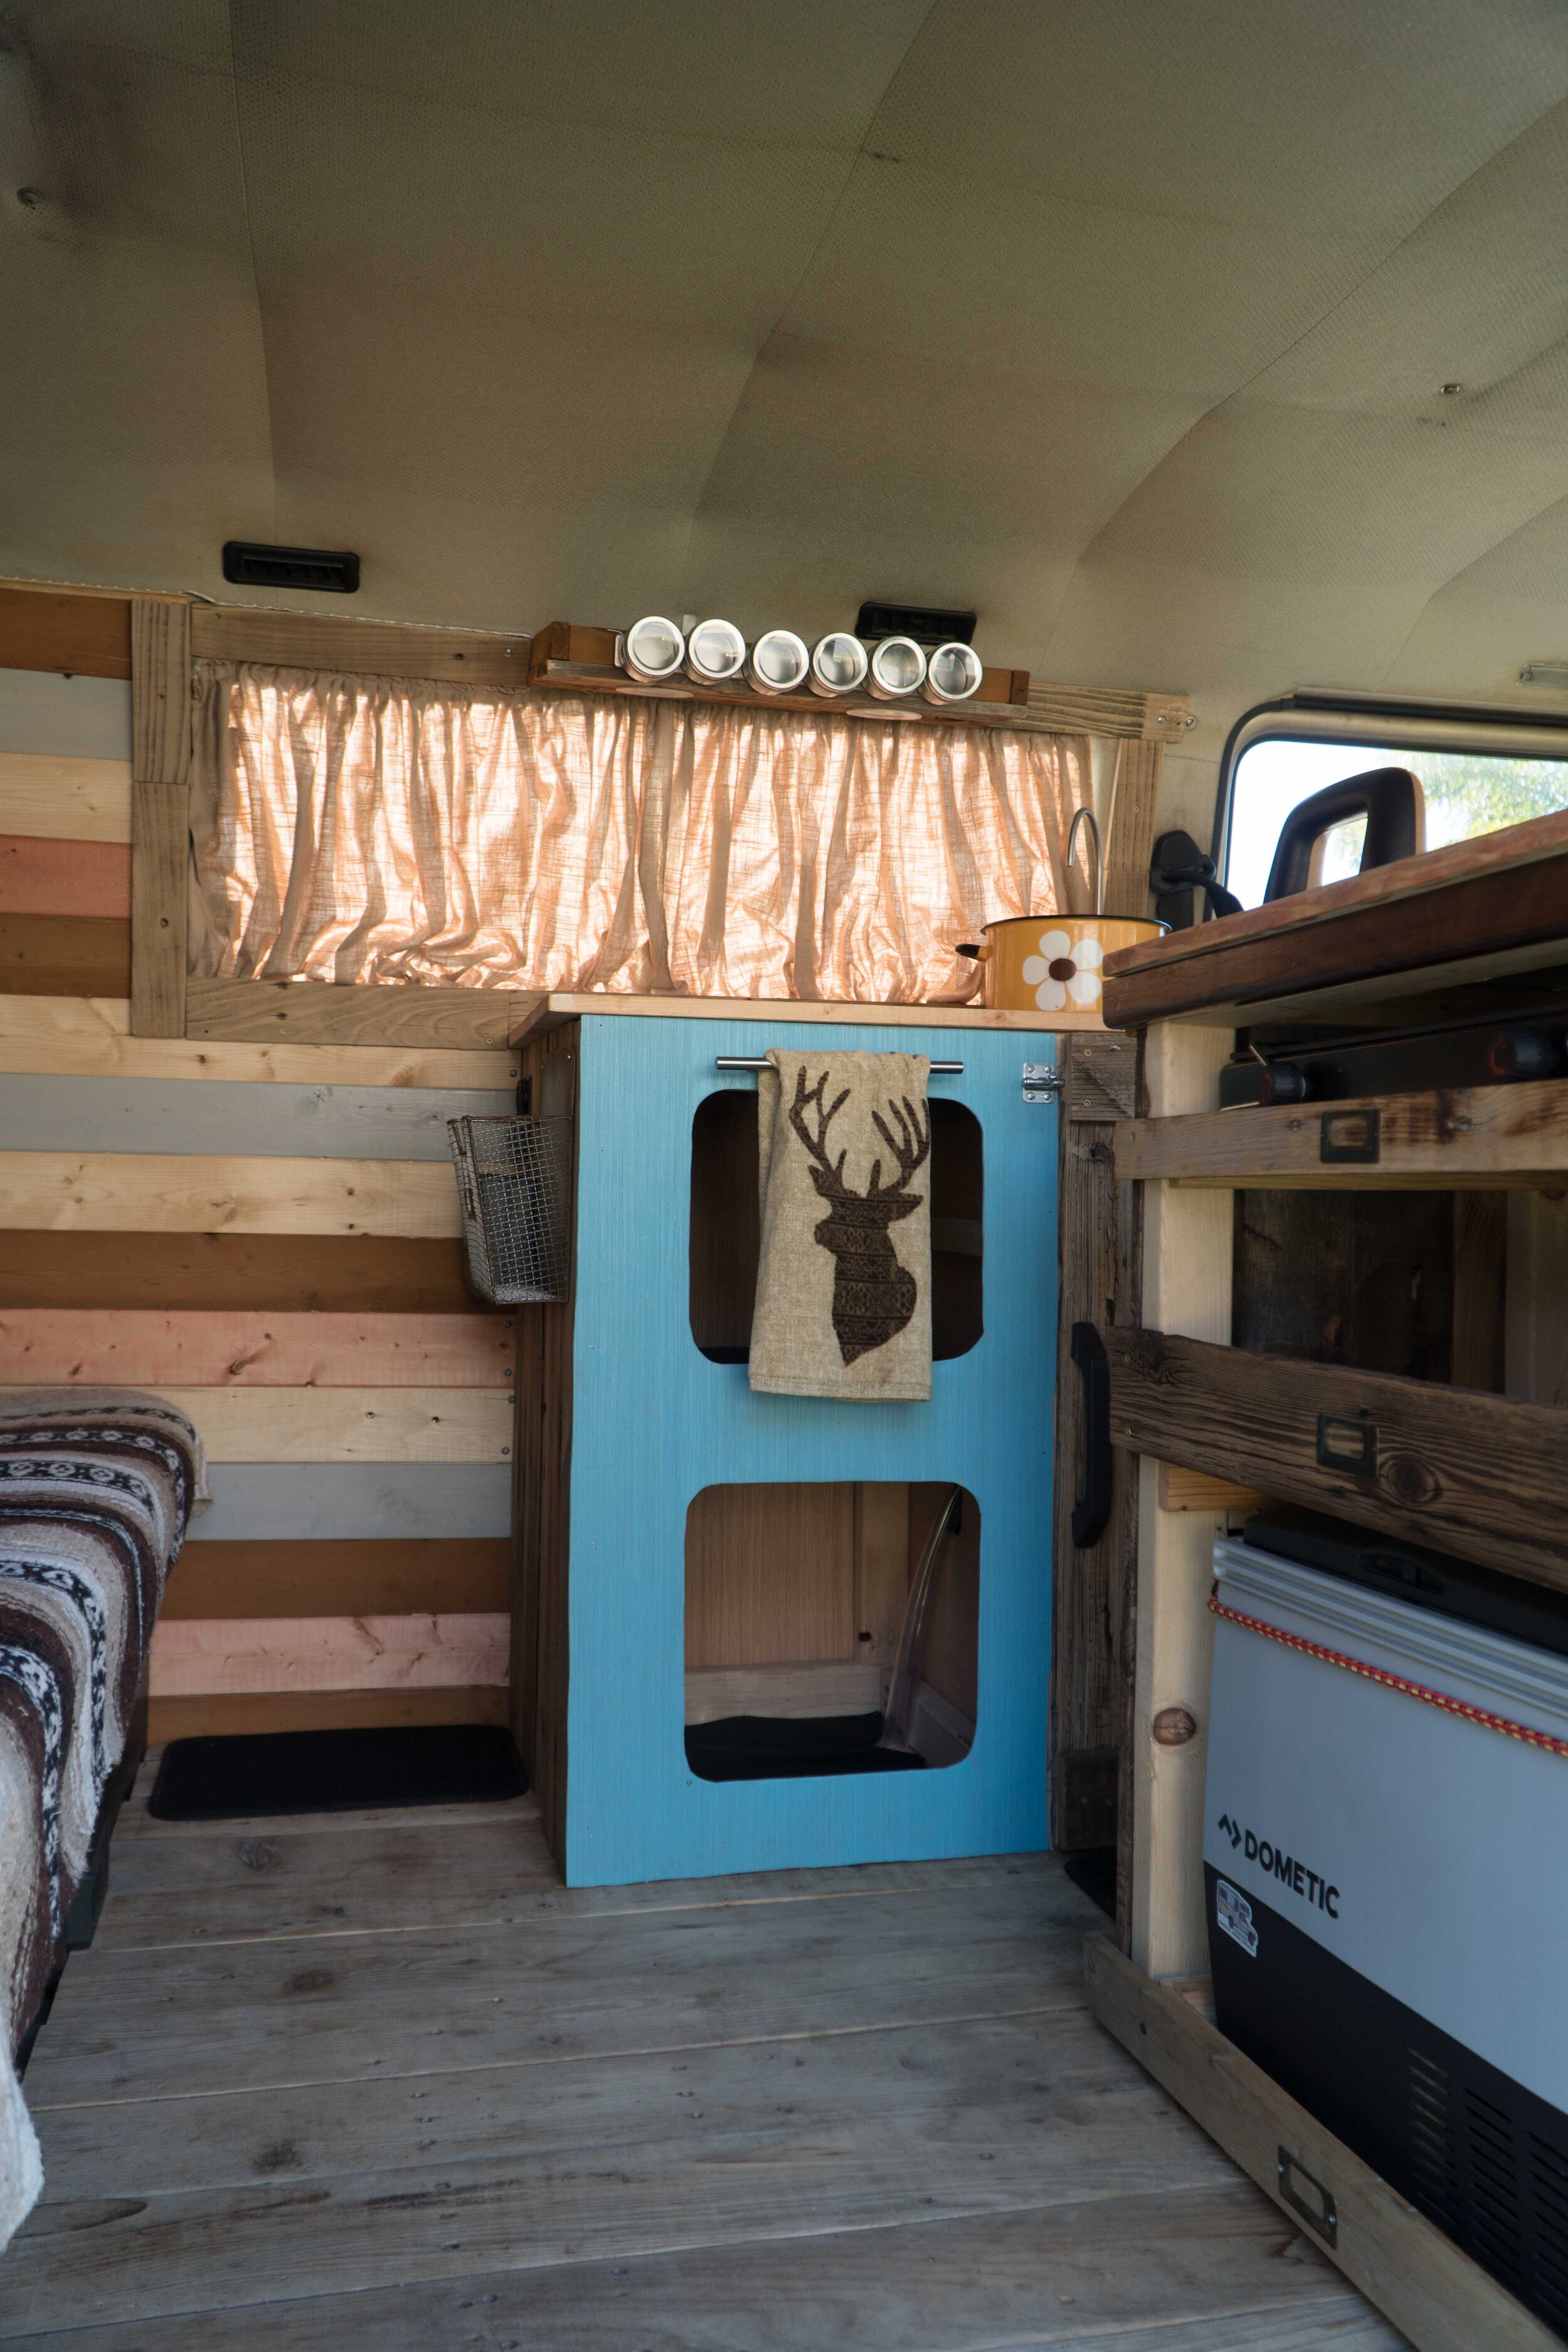
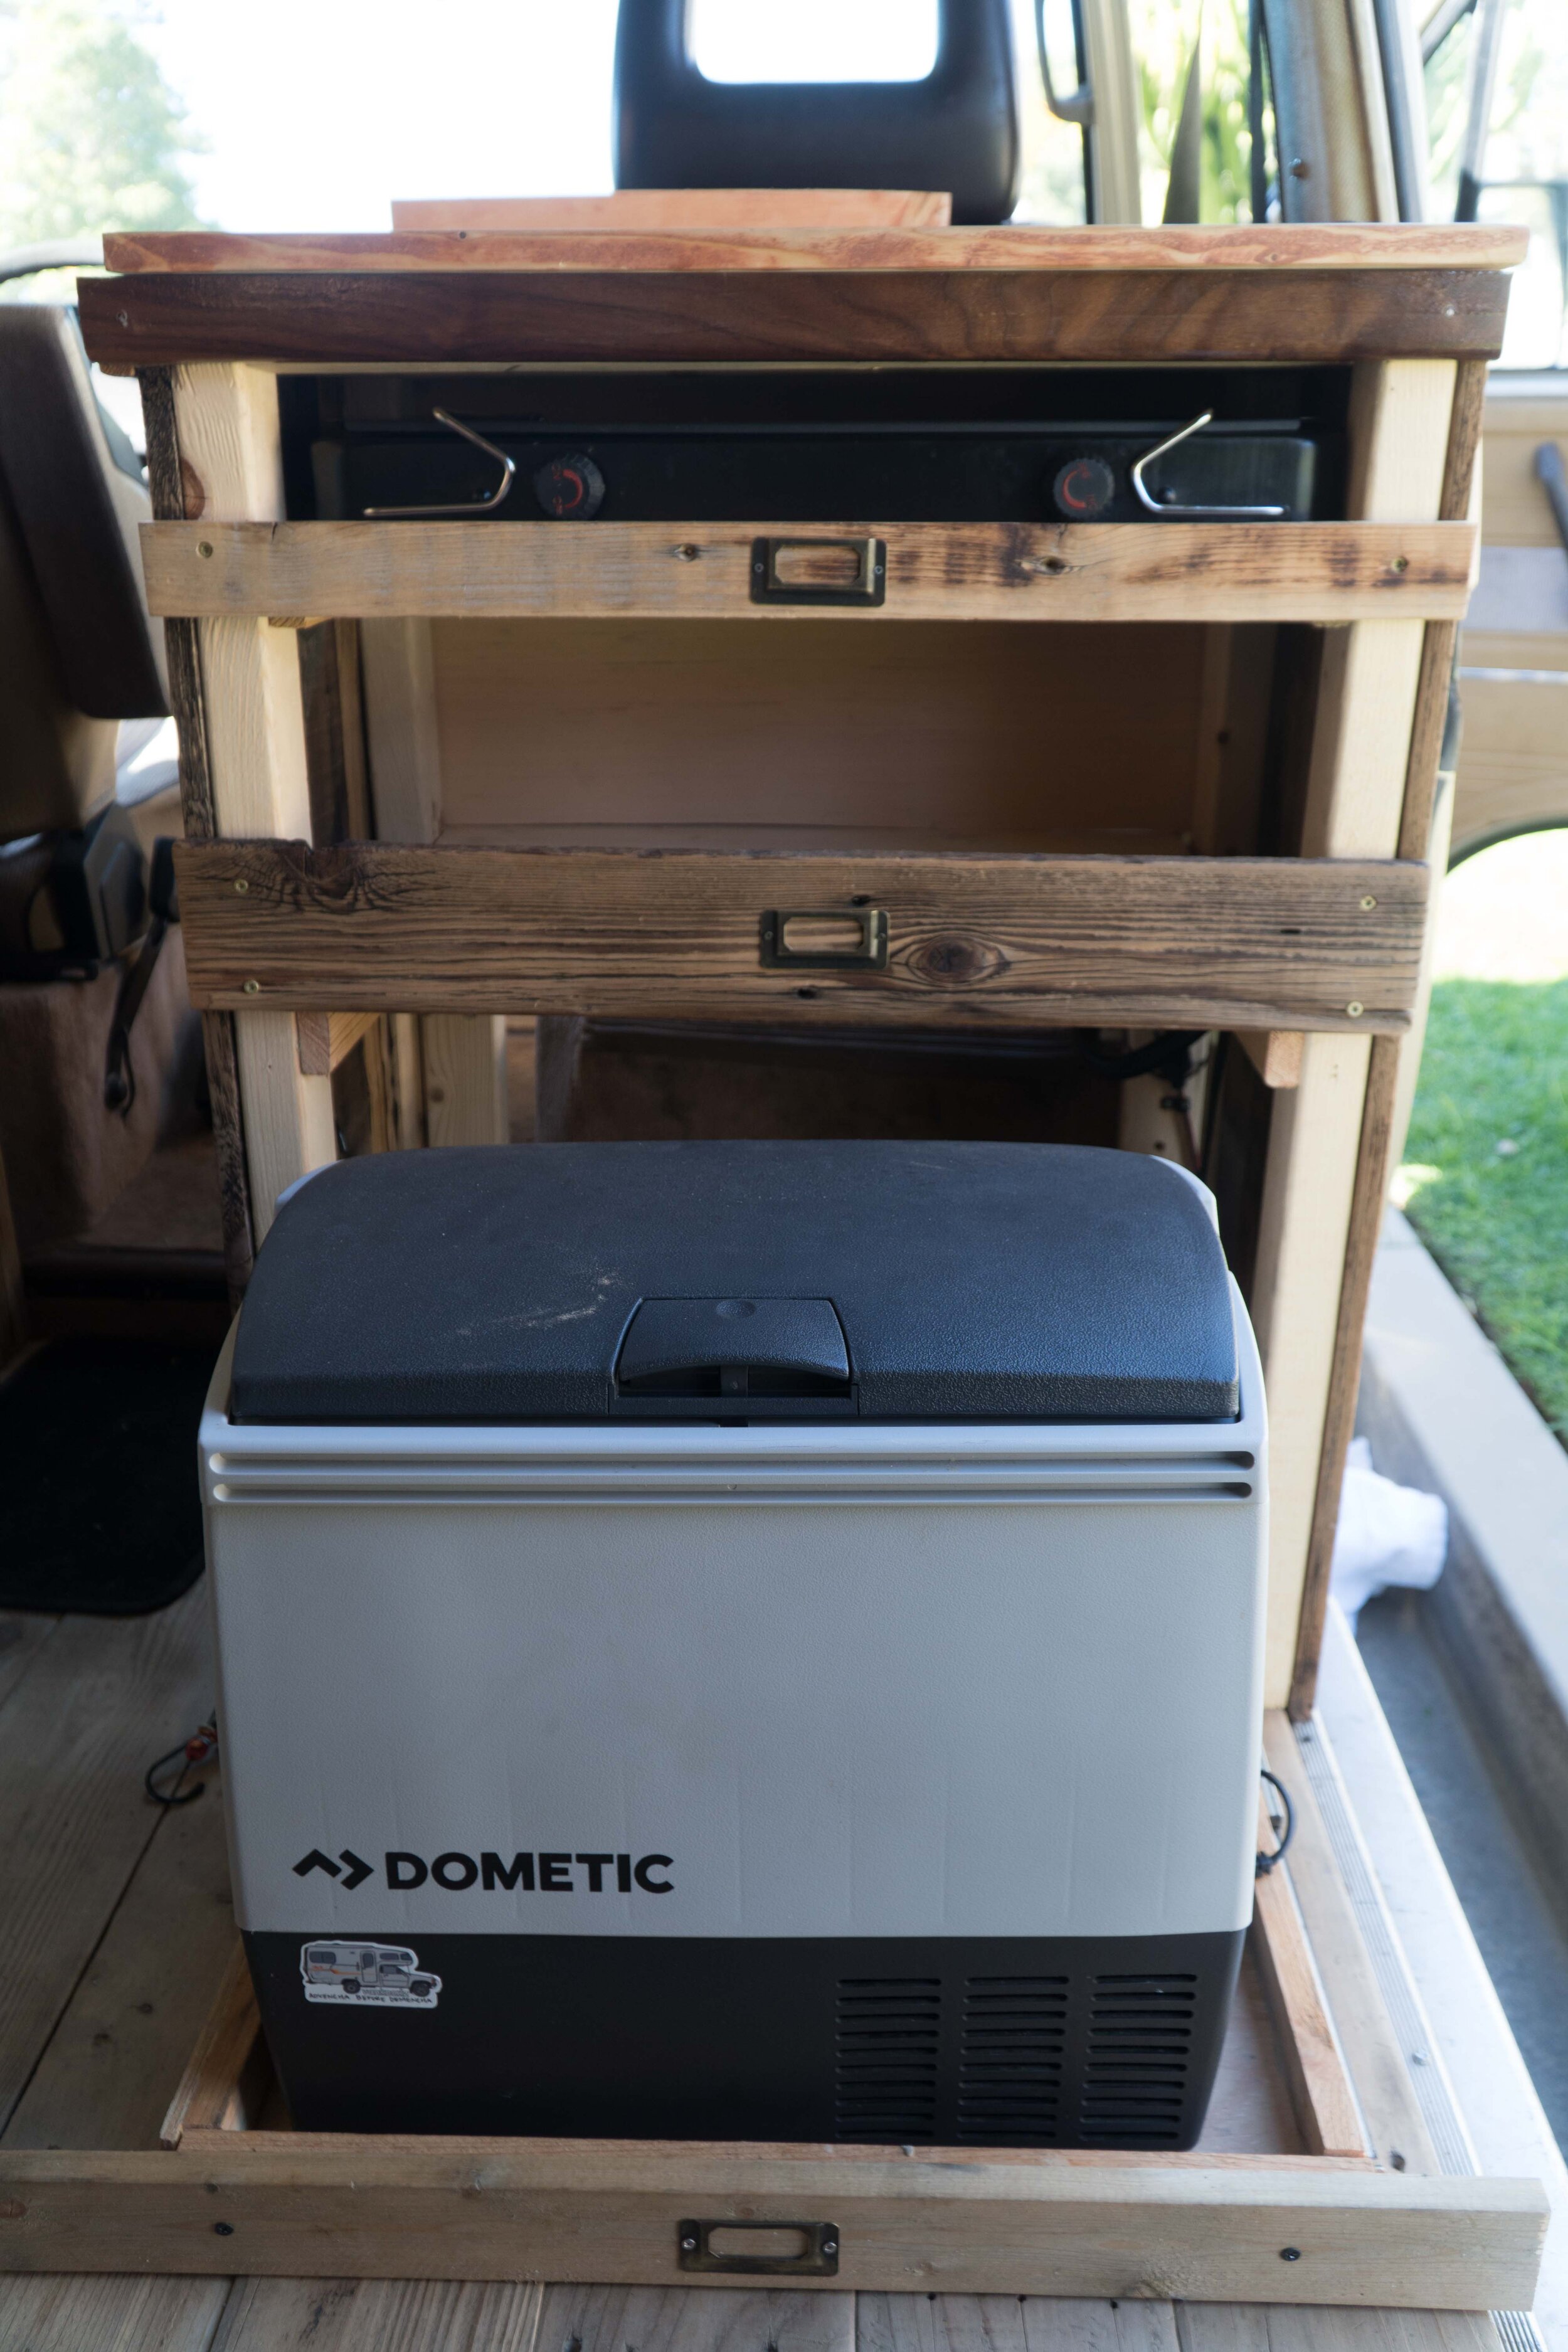
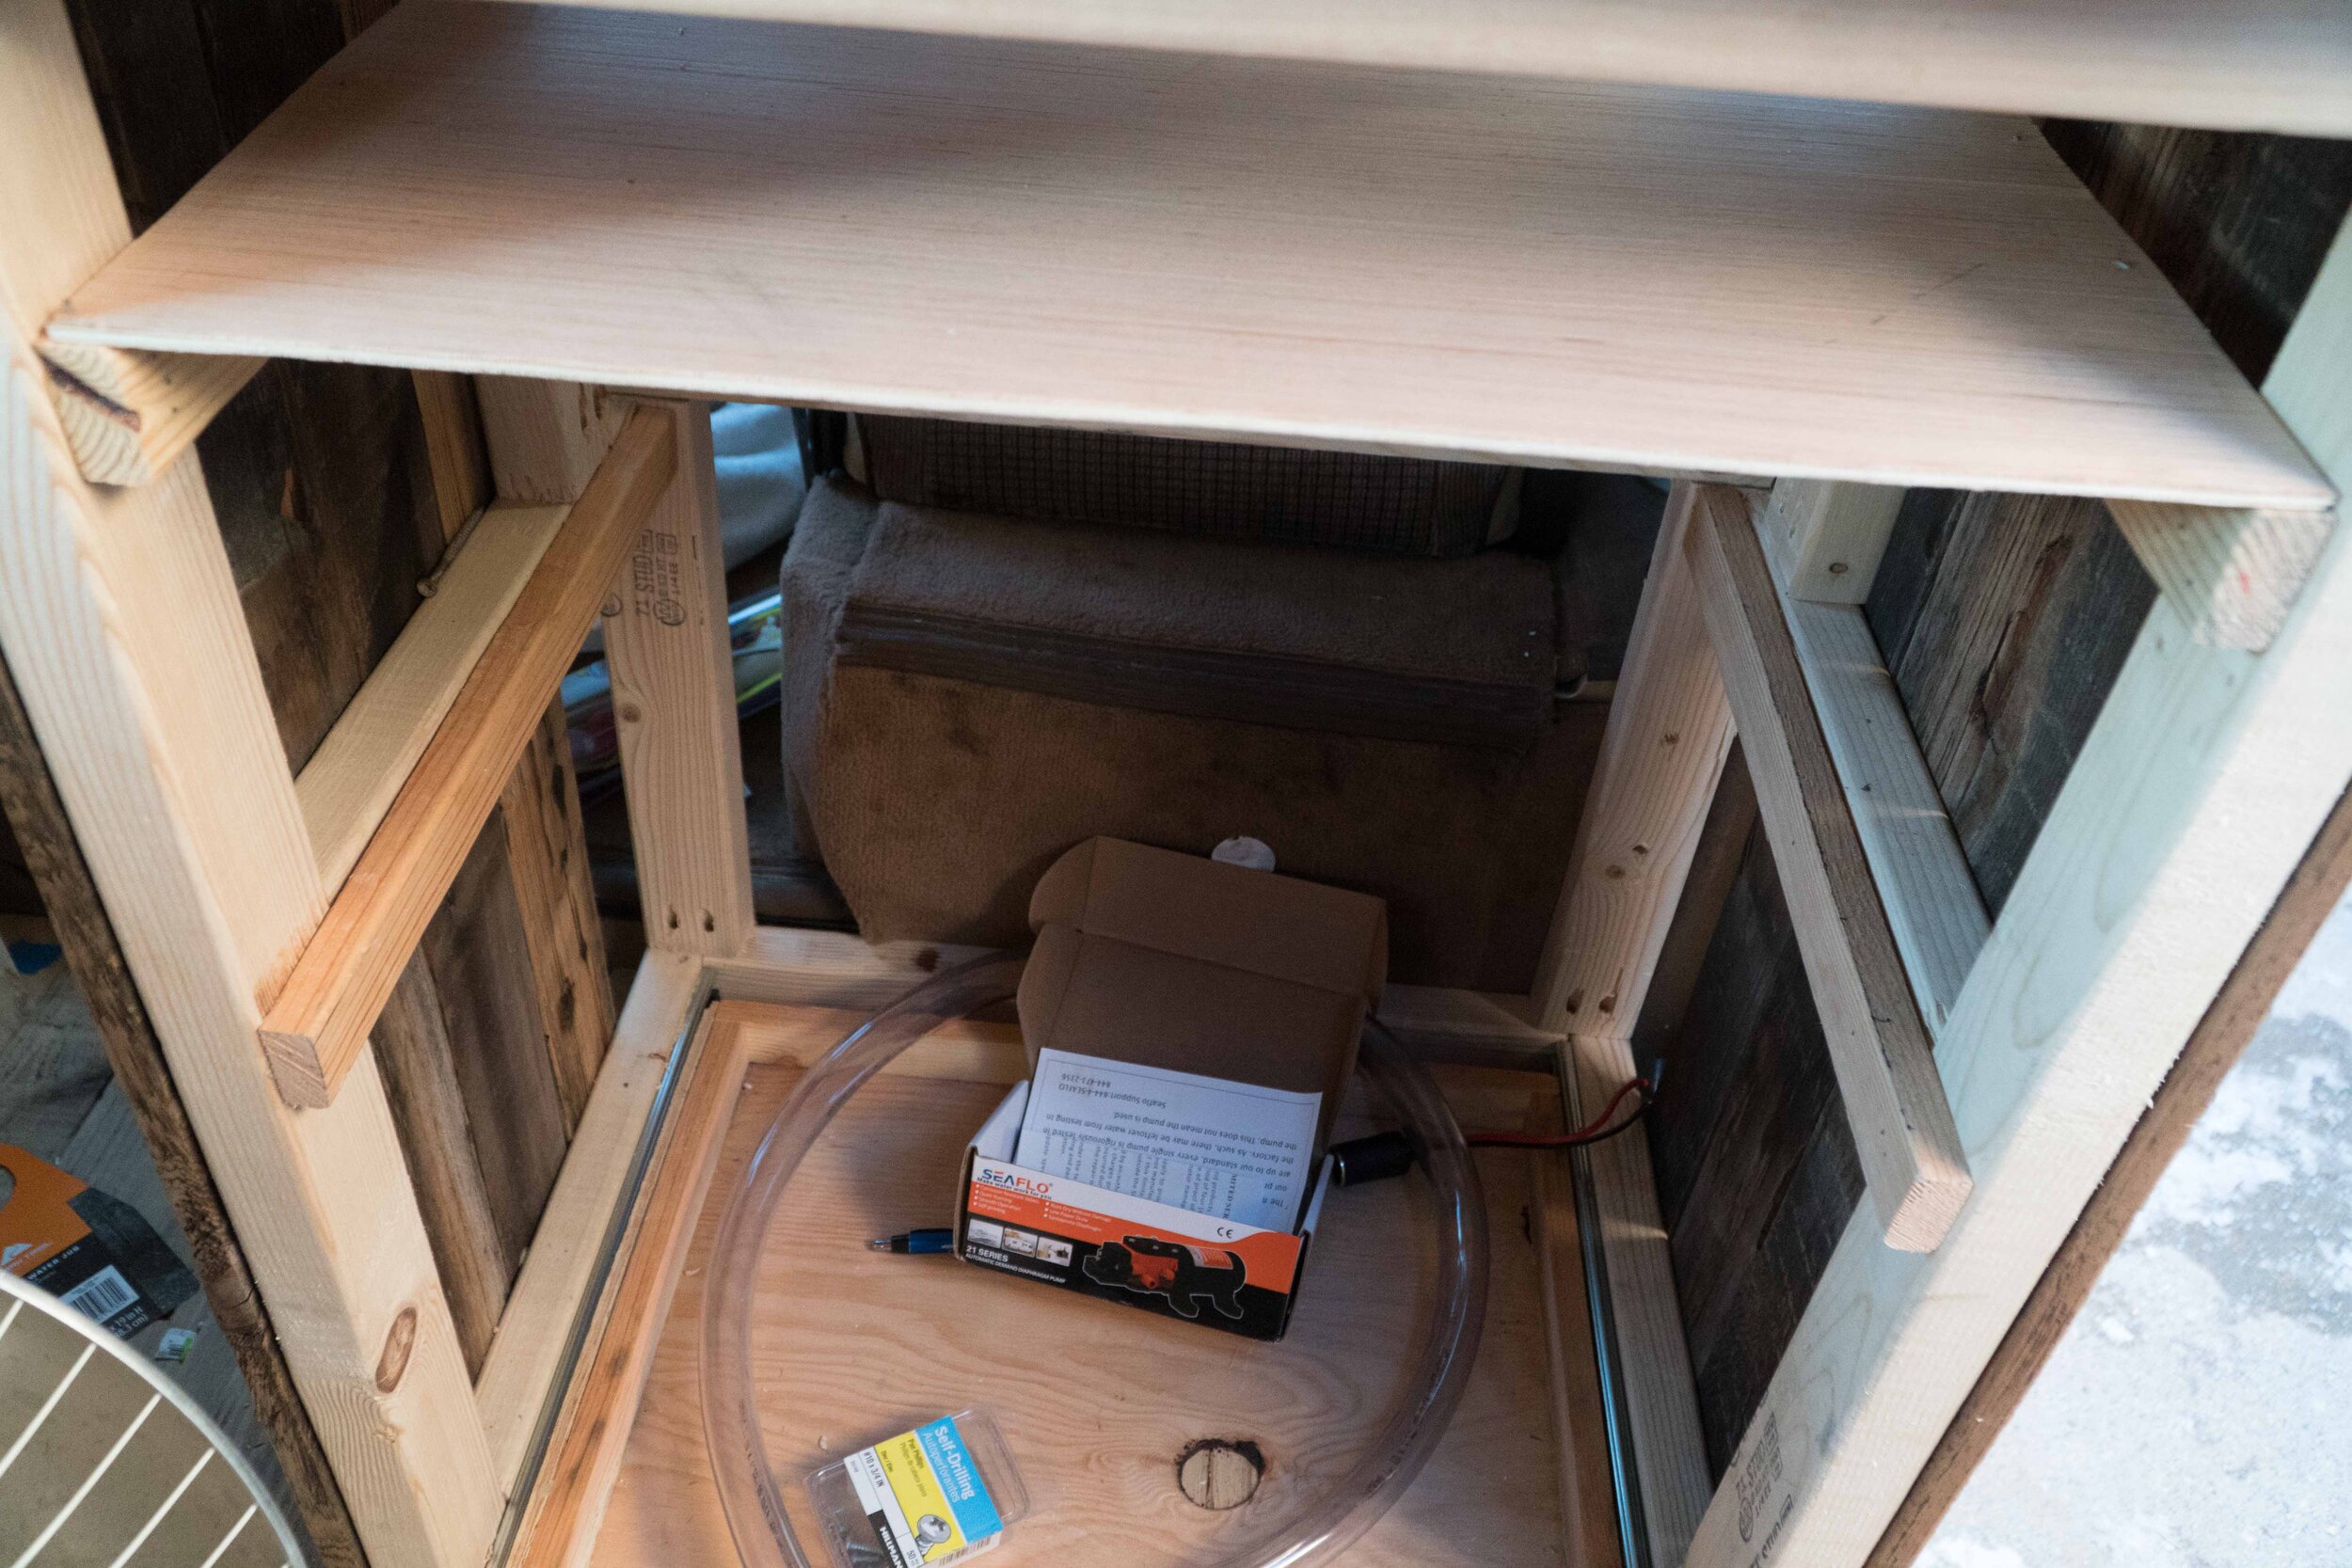
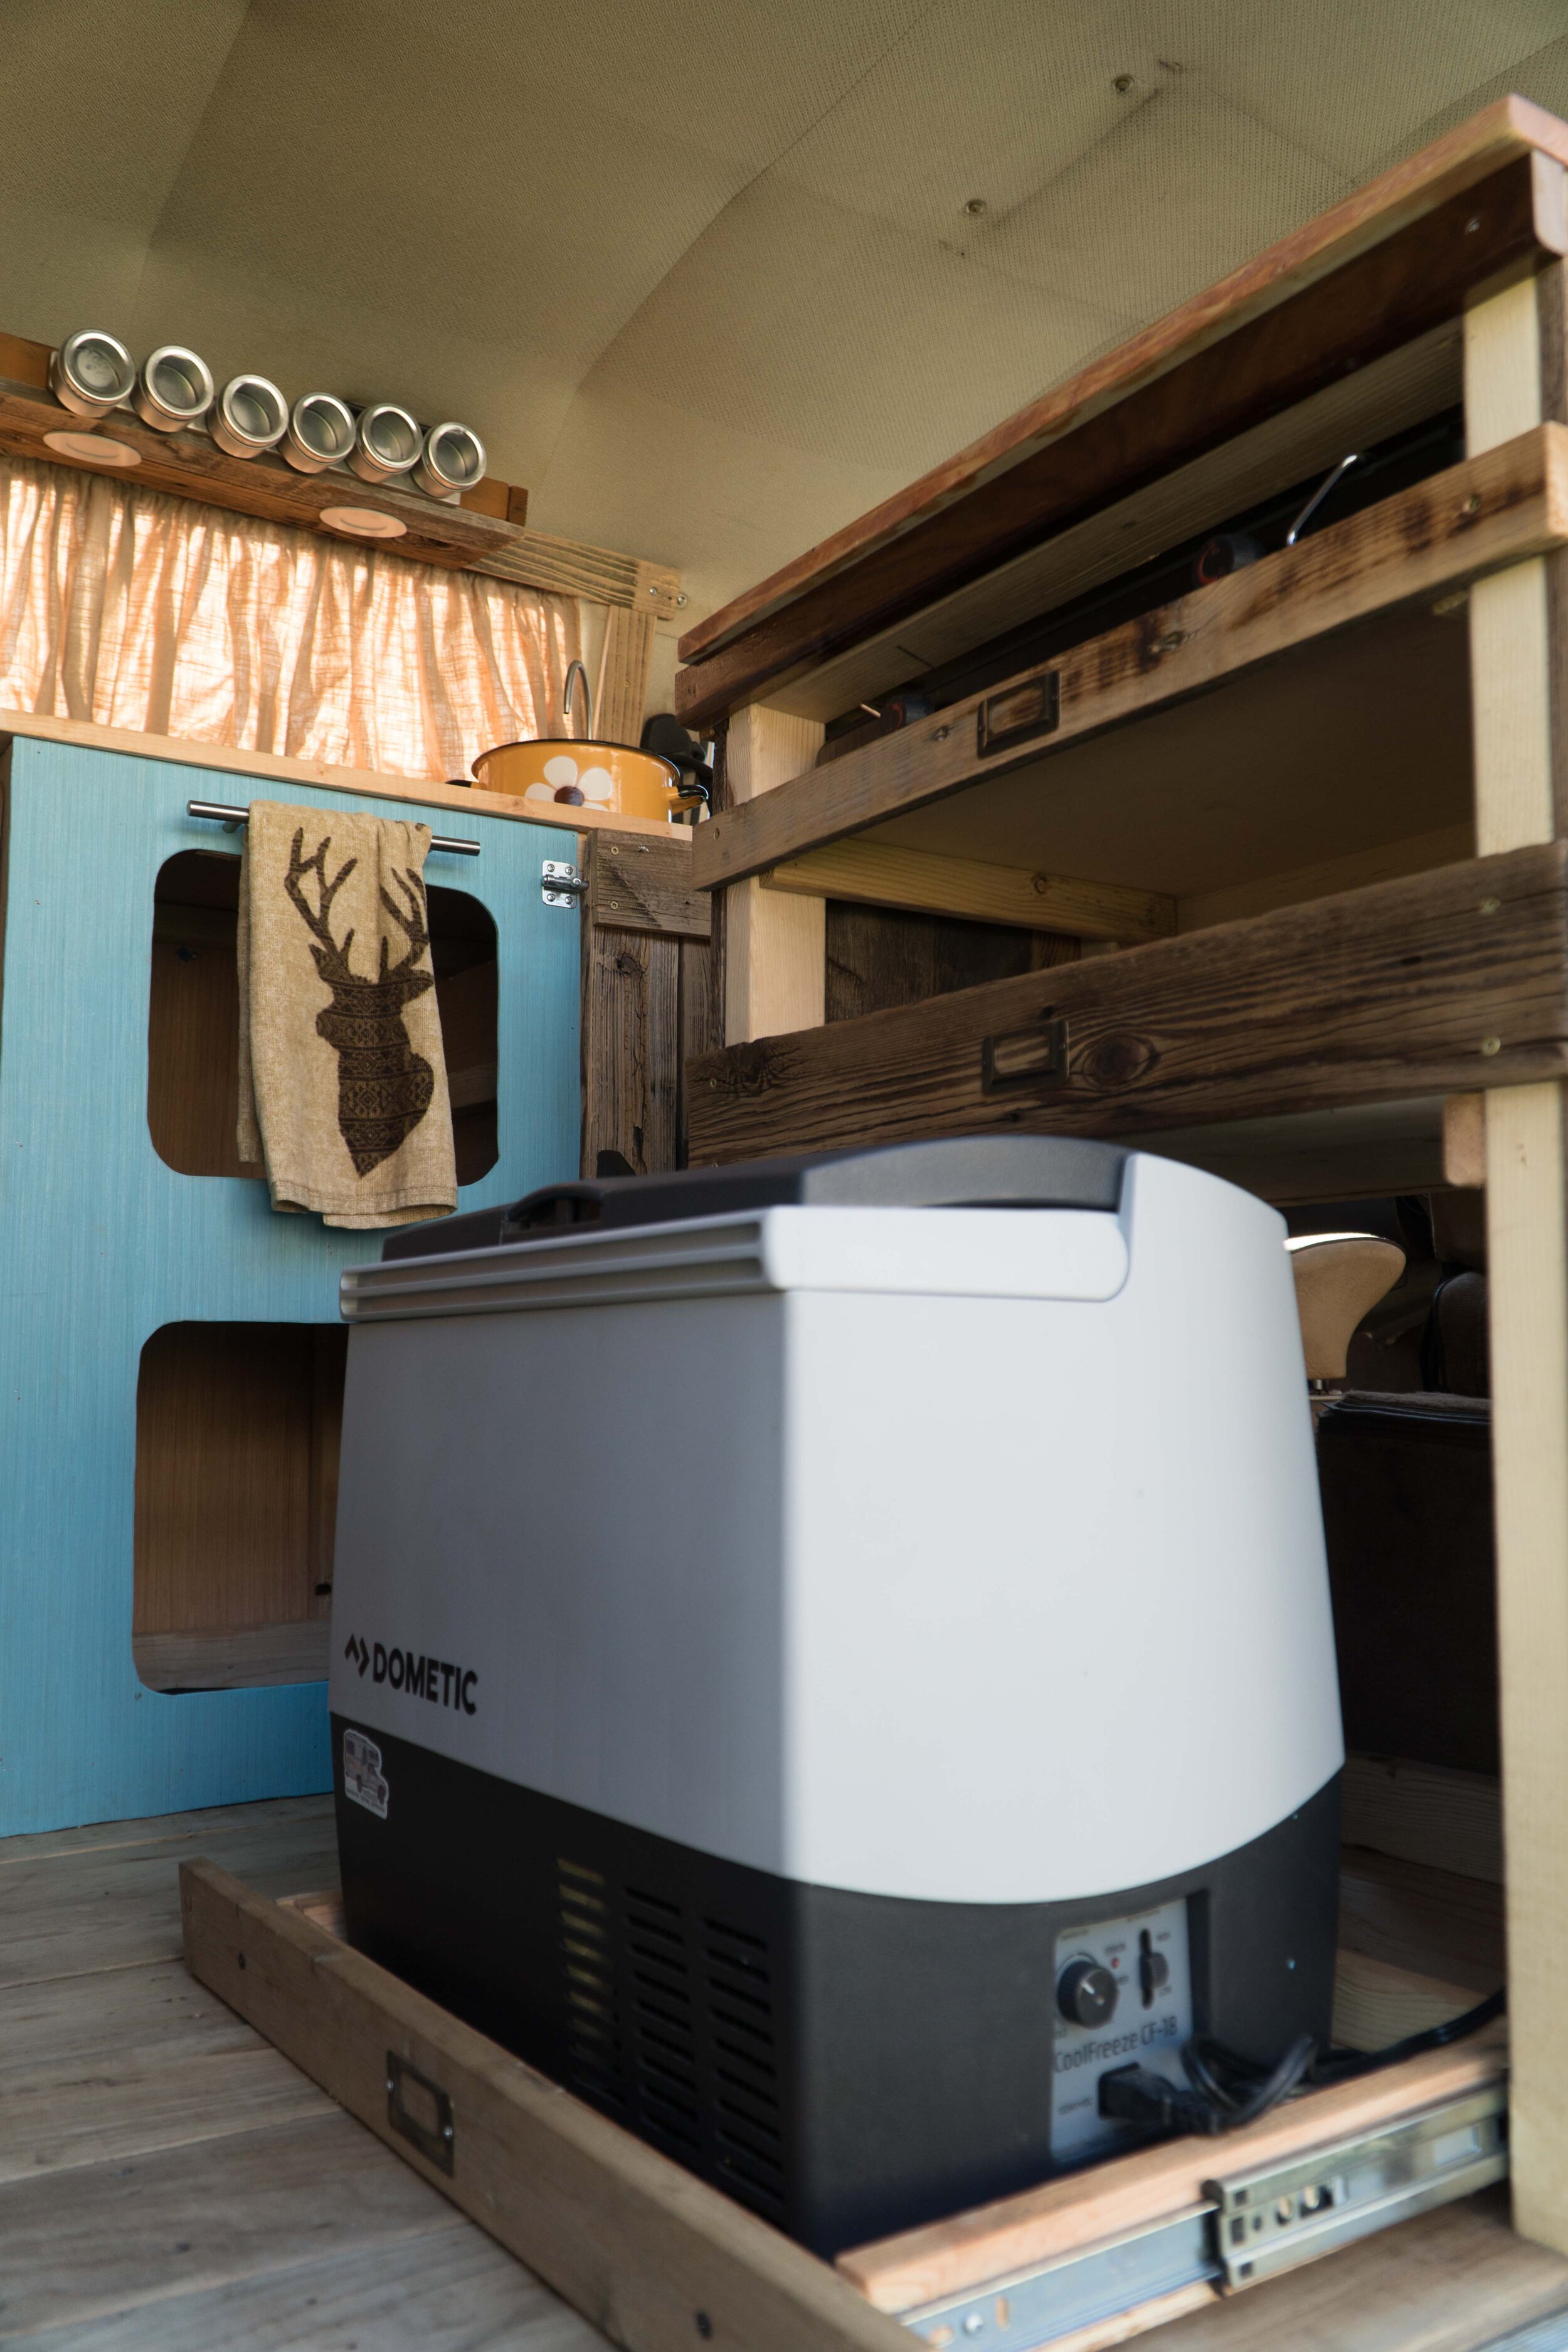
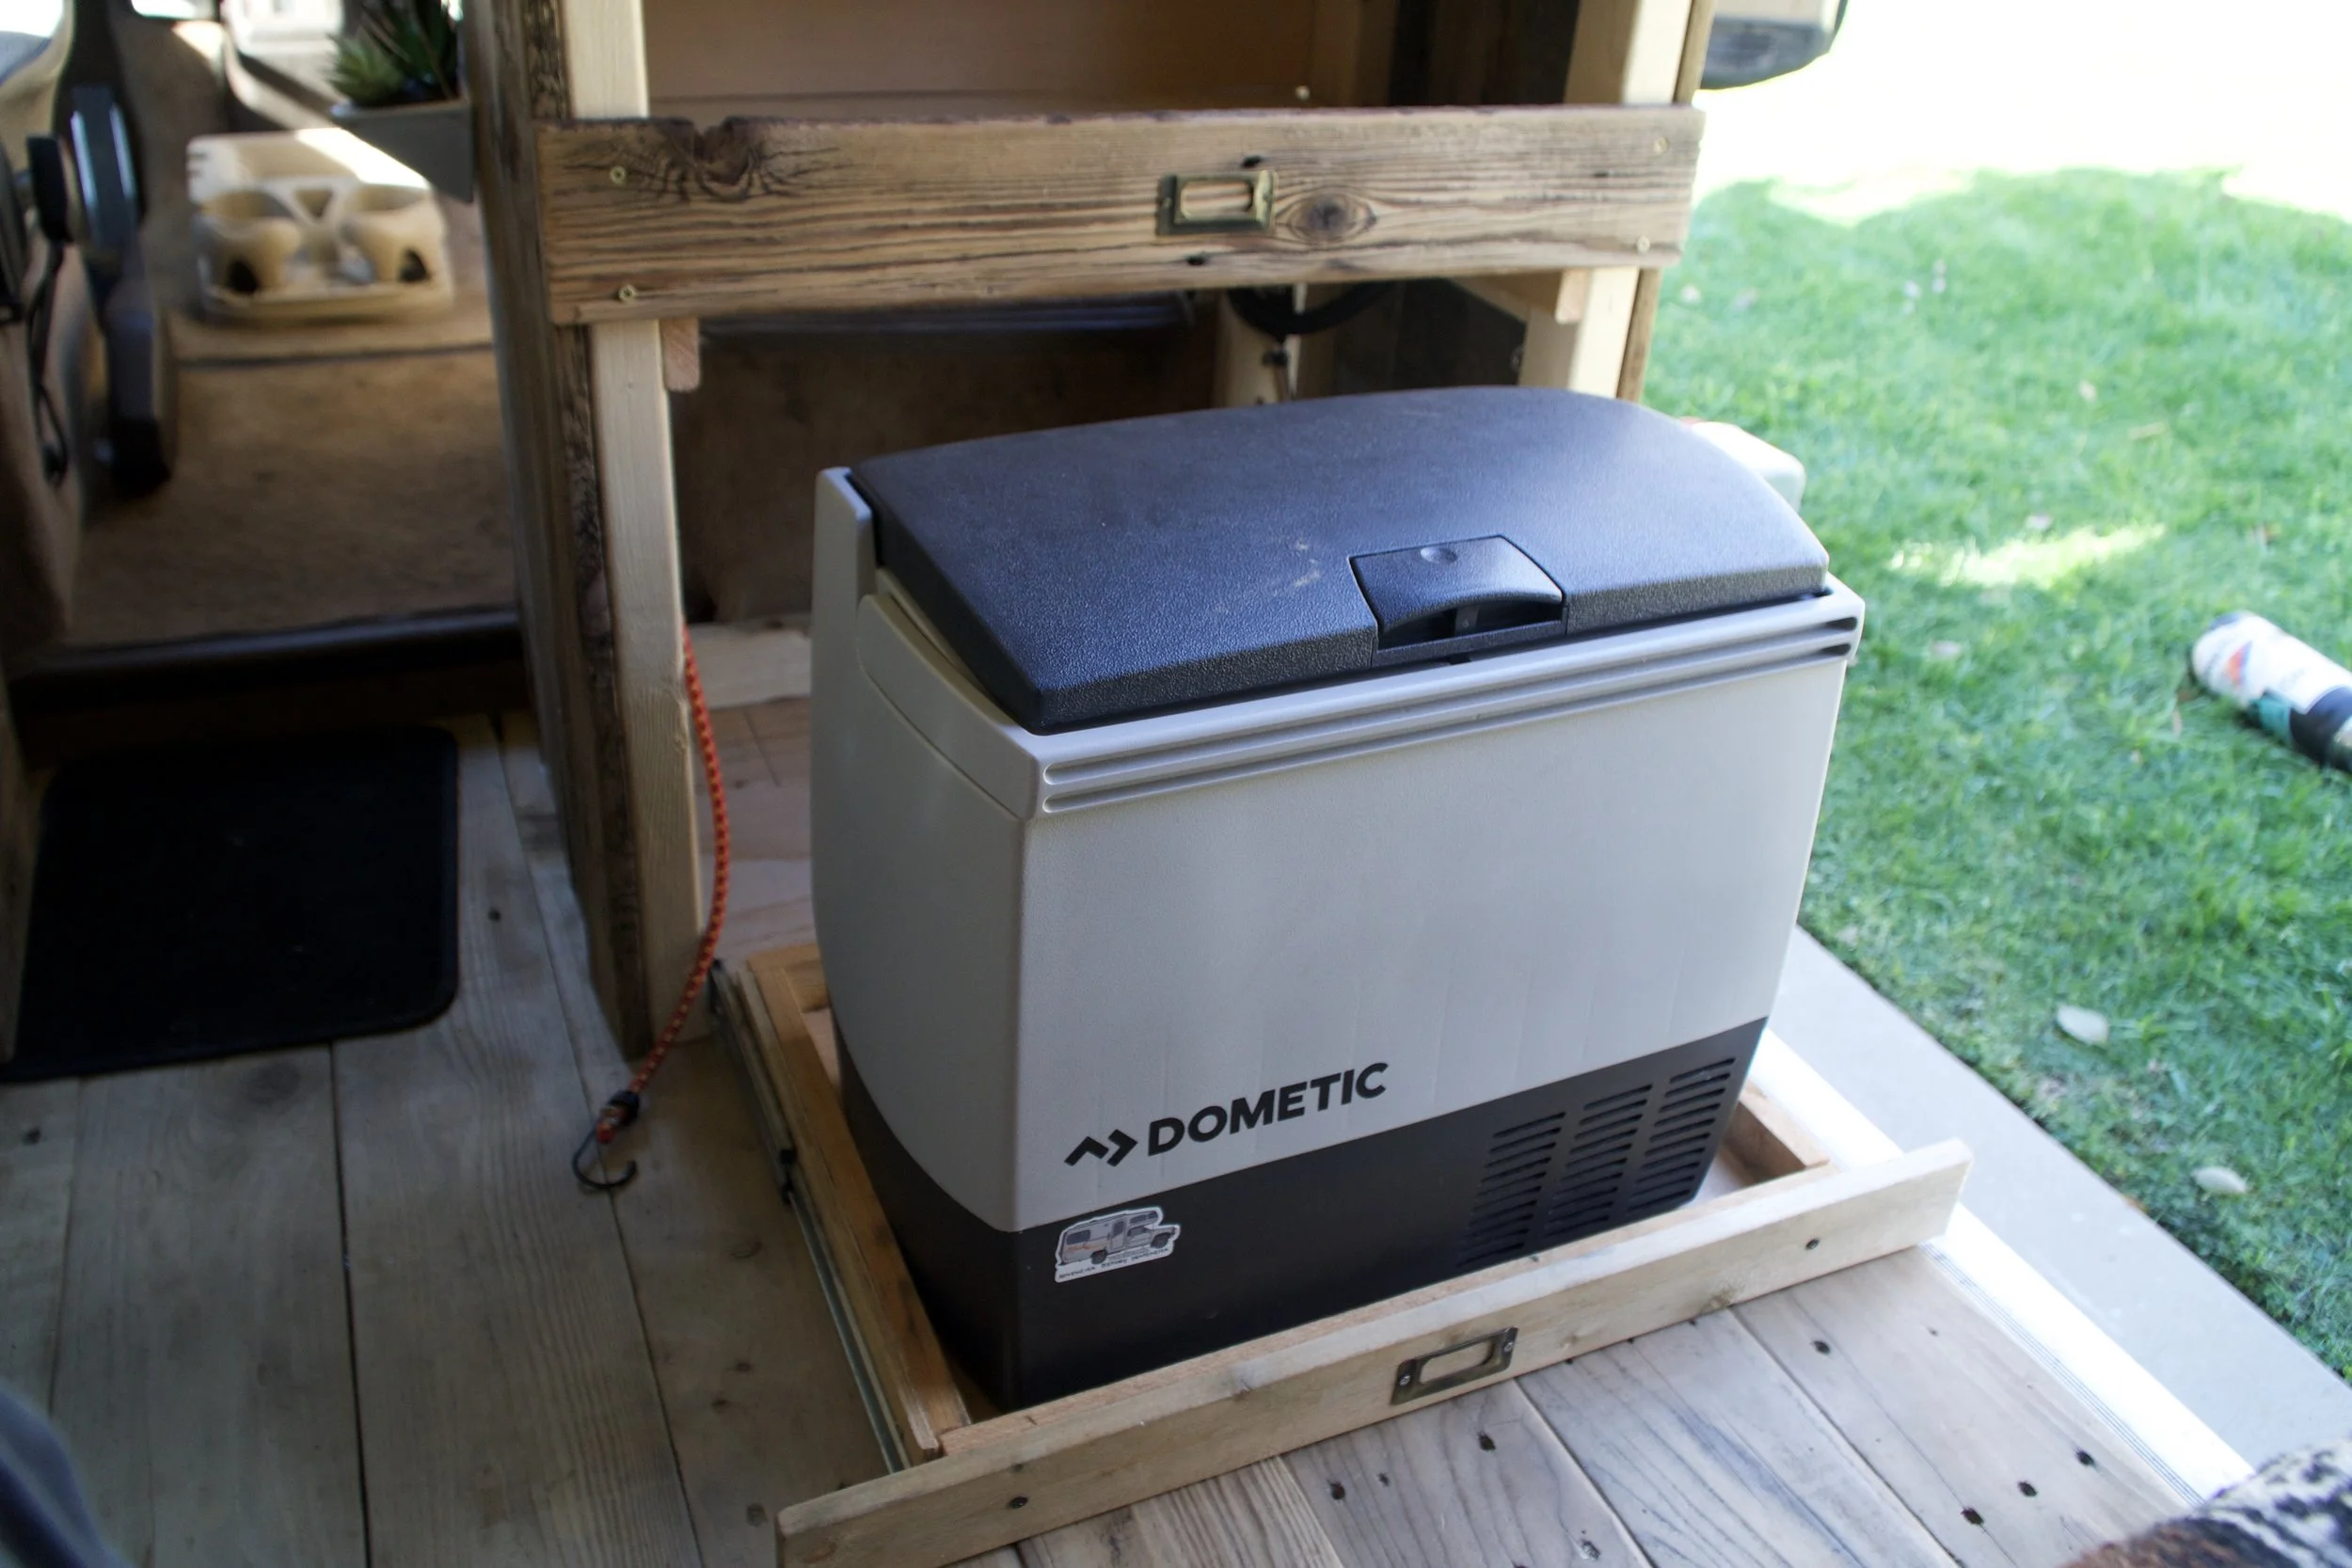
The kitchen was the next step in the build process.  We have a small area. So, we needed something very efficient.  We went with the fridge on a slide out drawer with plenty of food storage above it as well as a place to store the cooktop.  

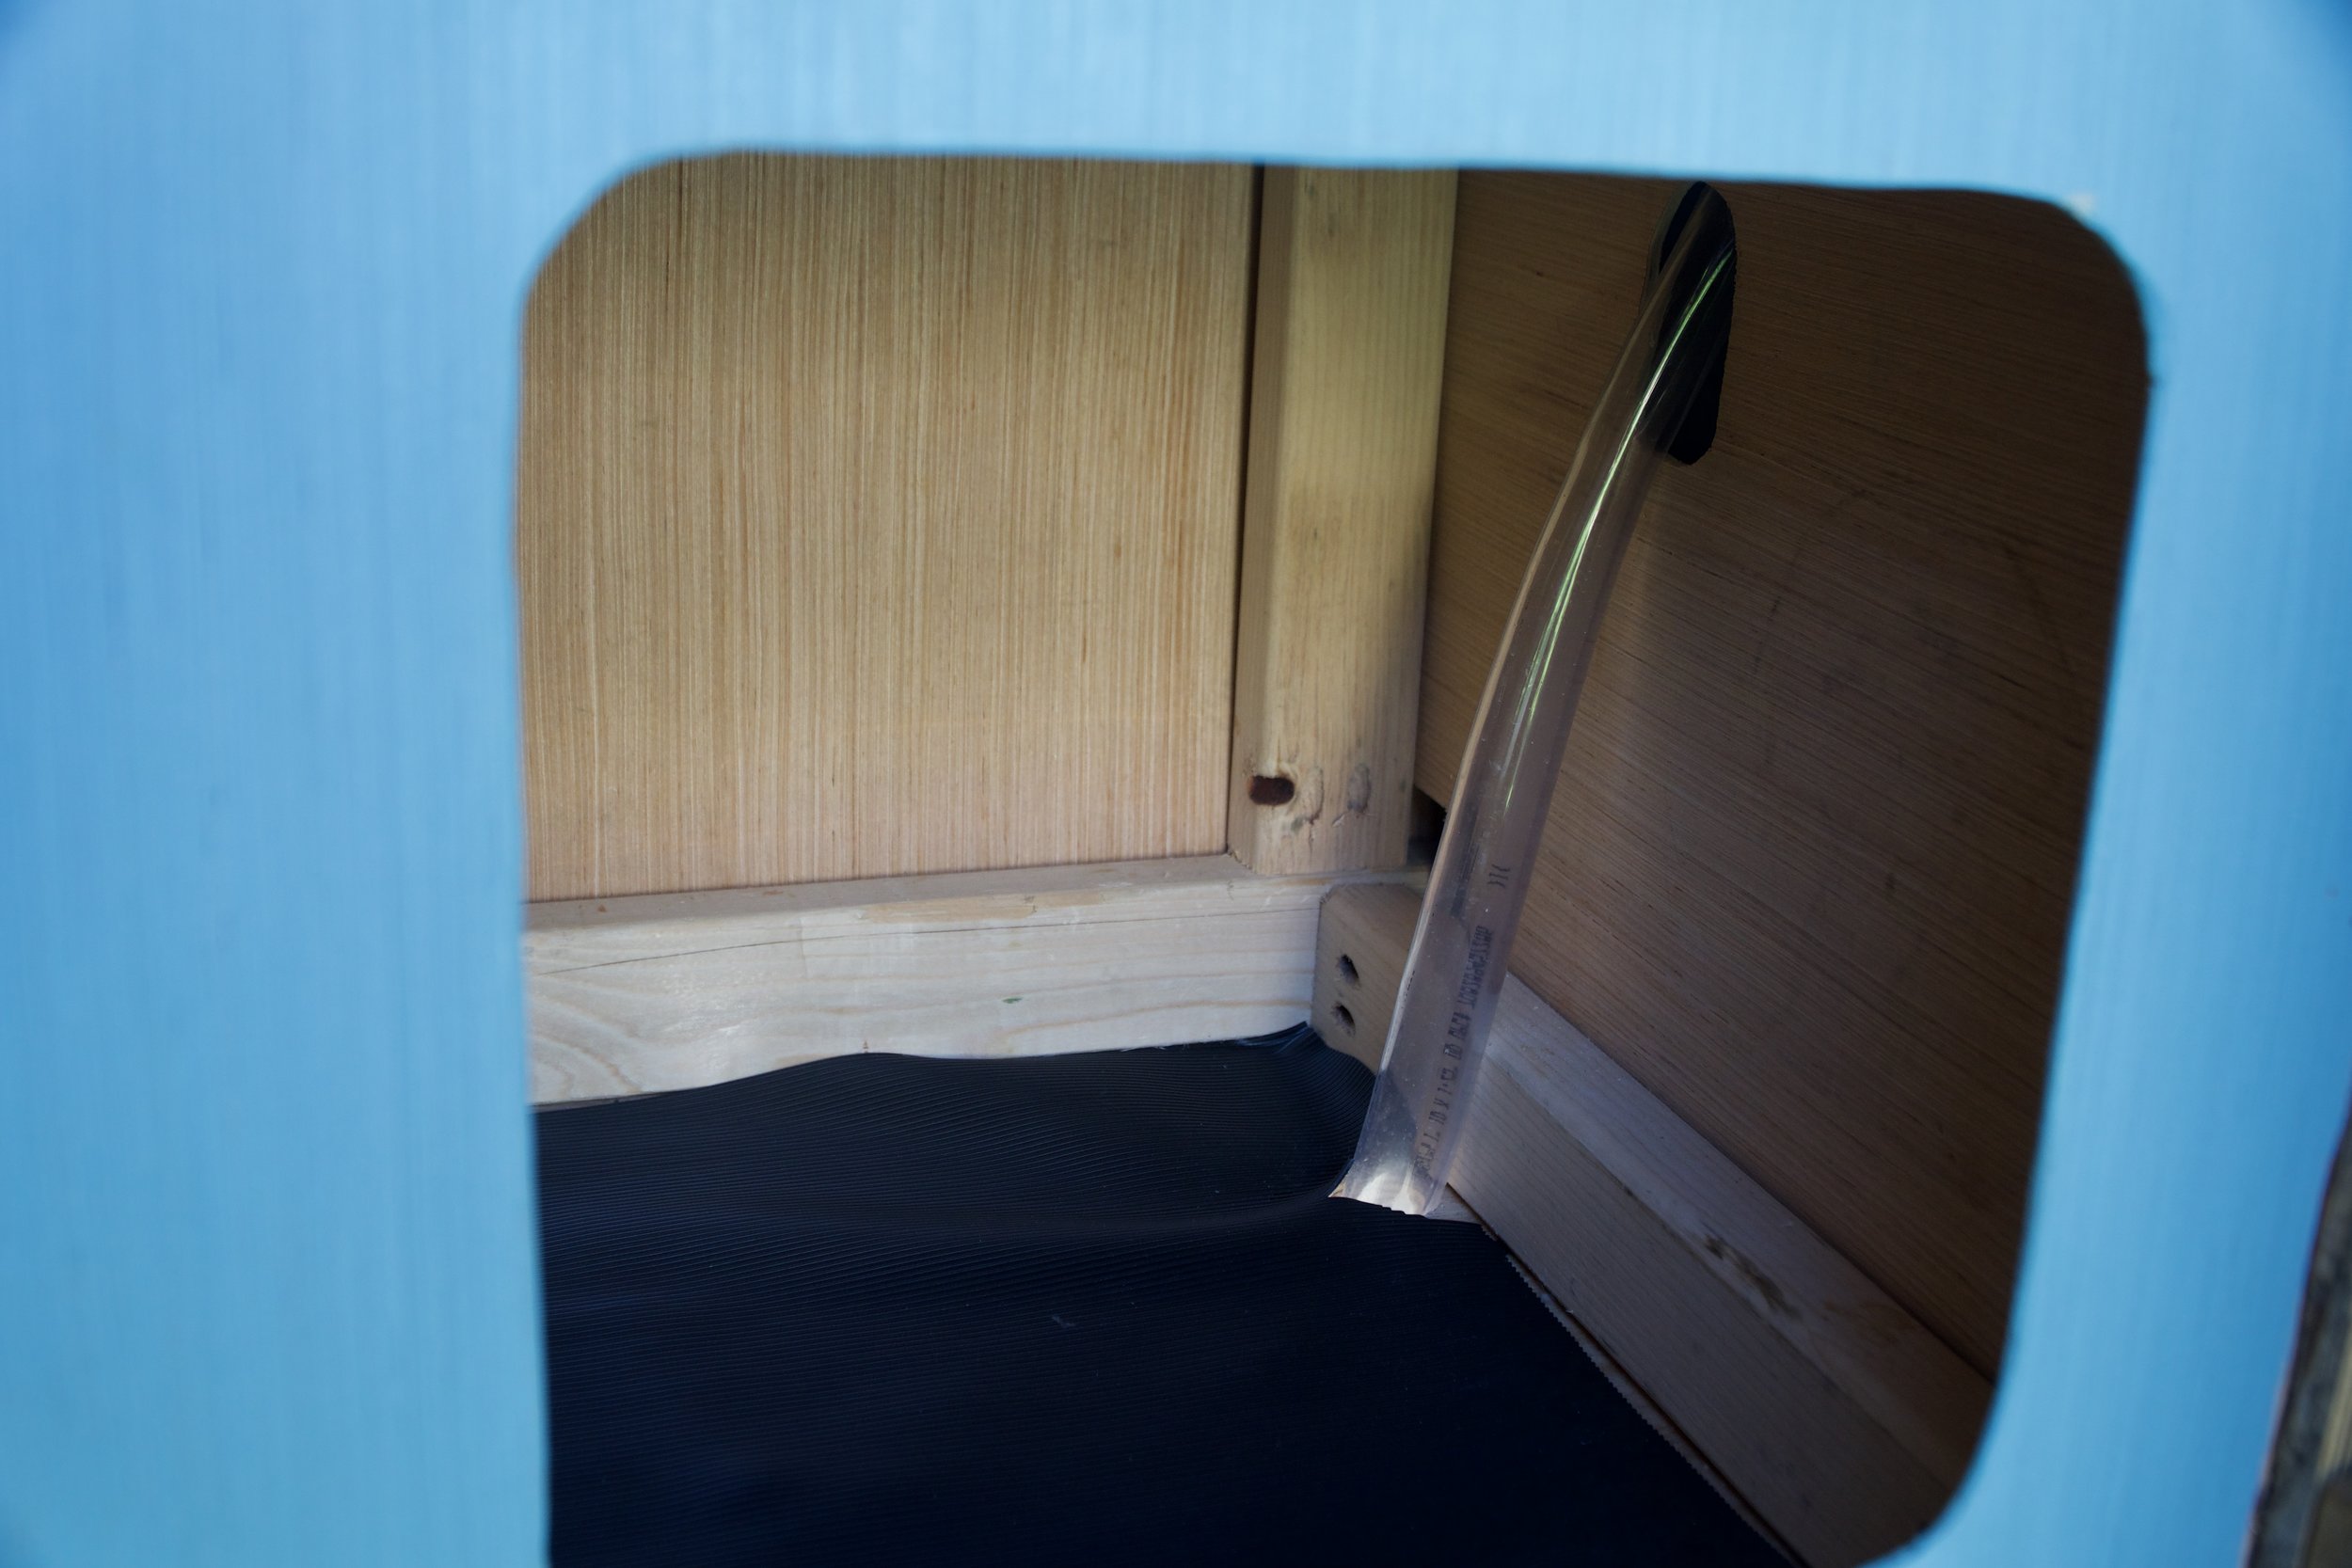
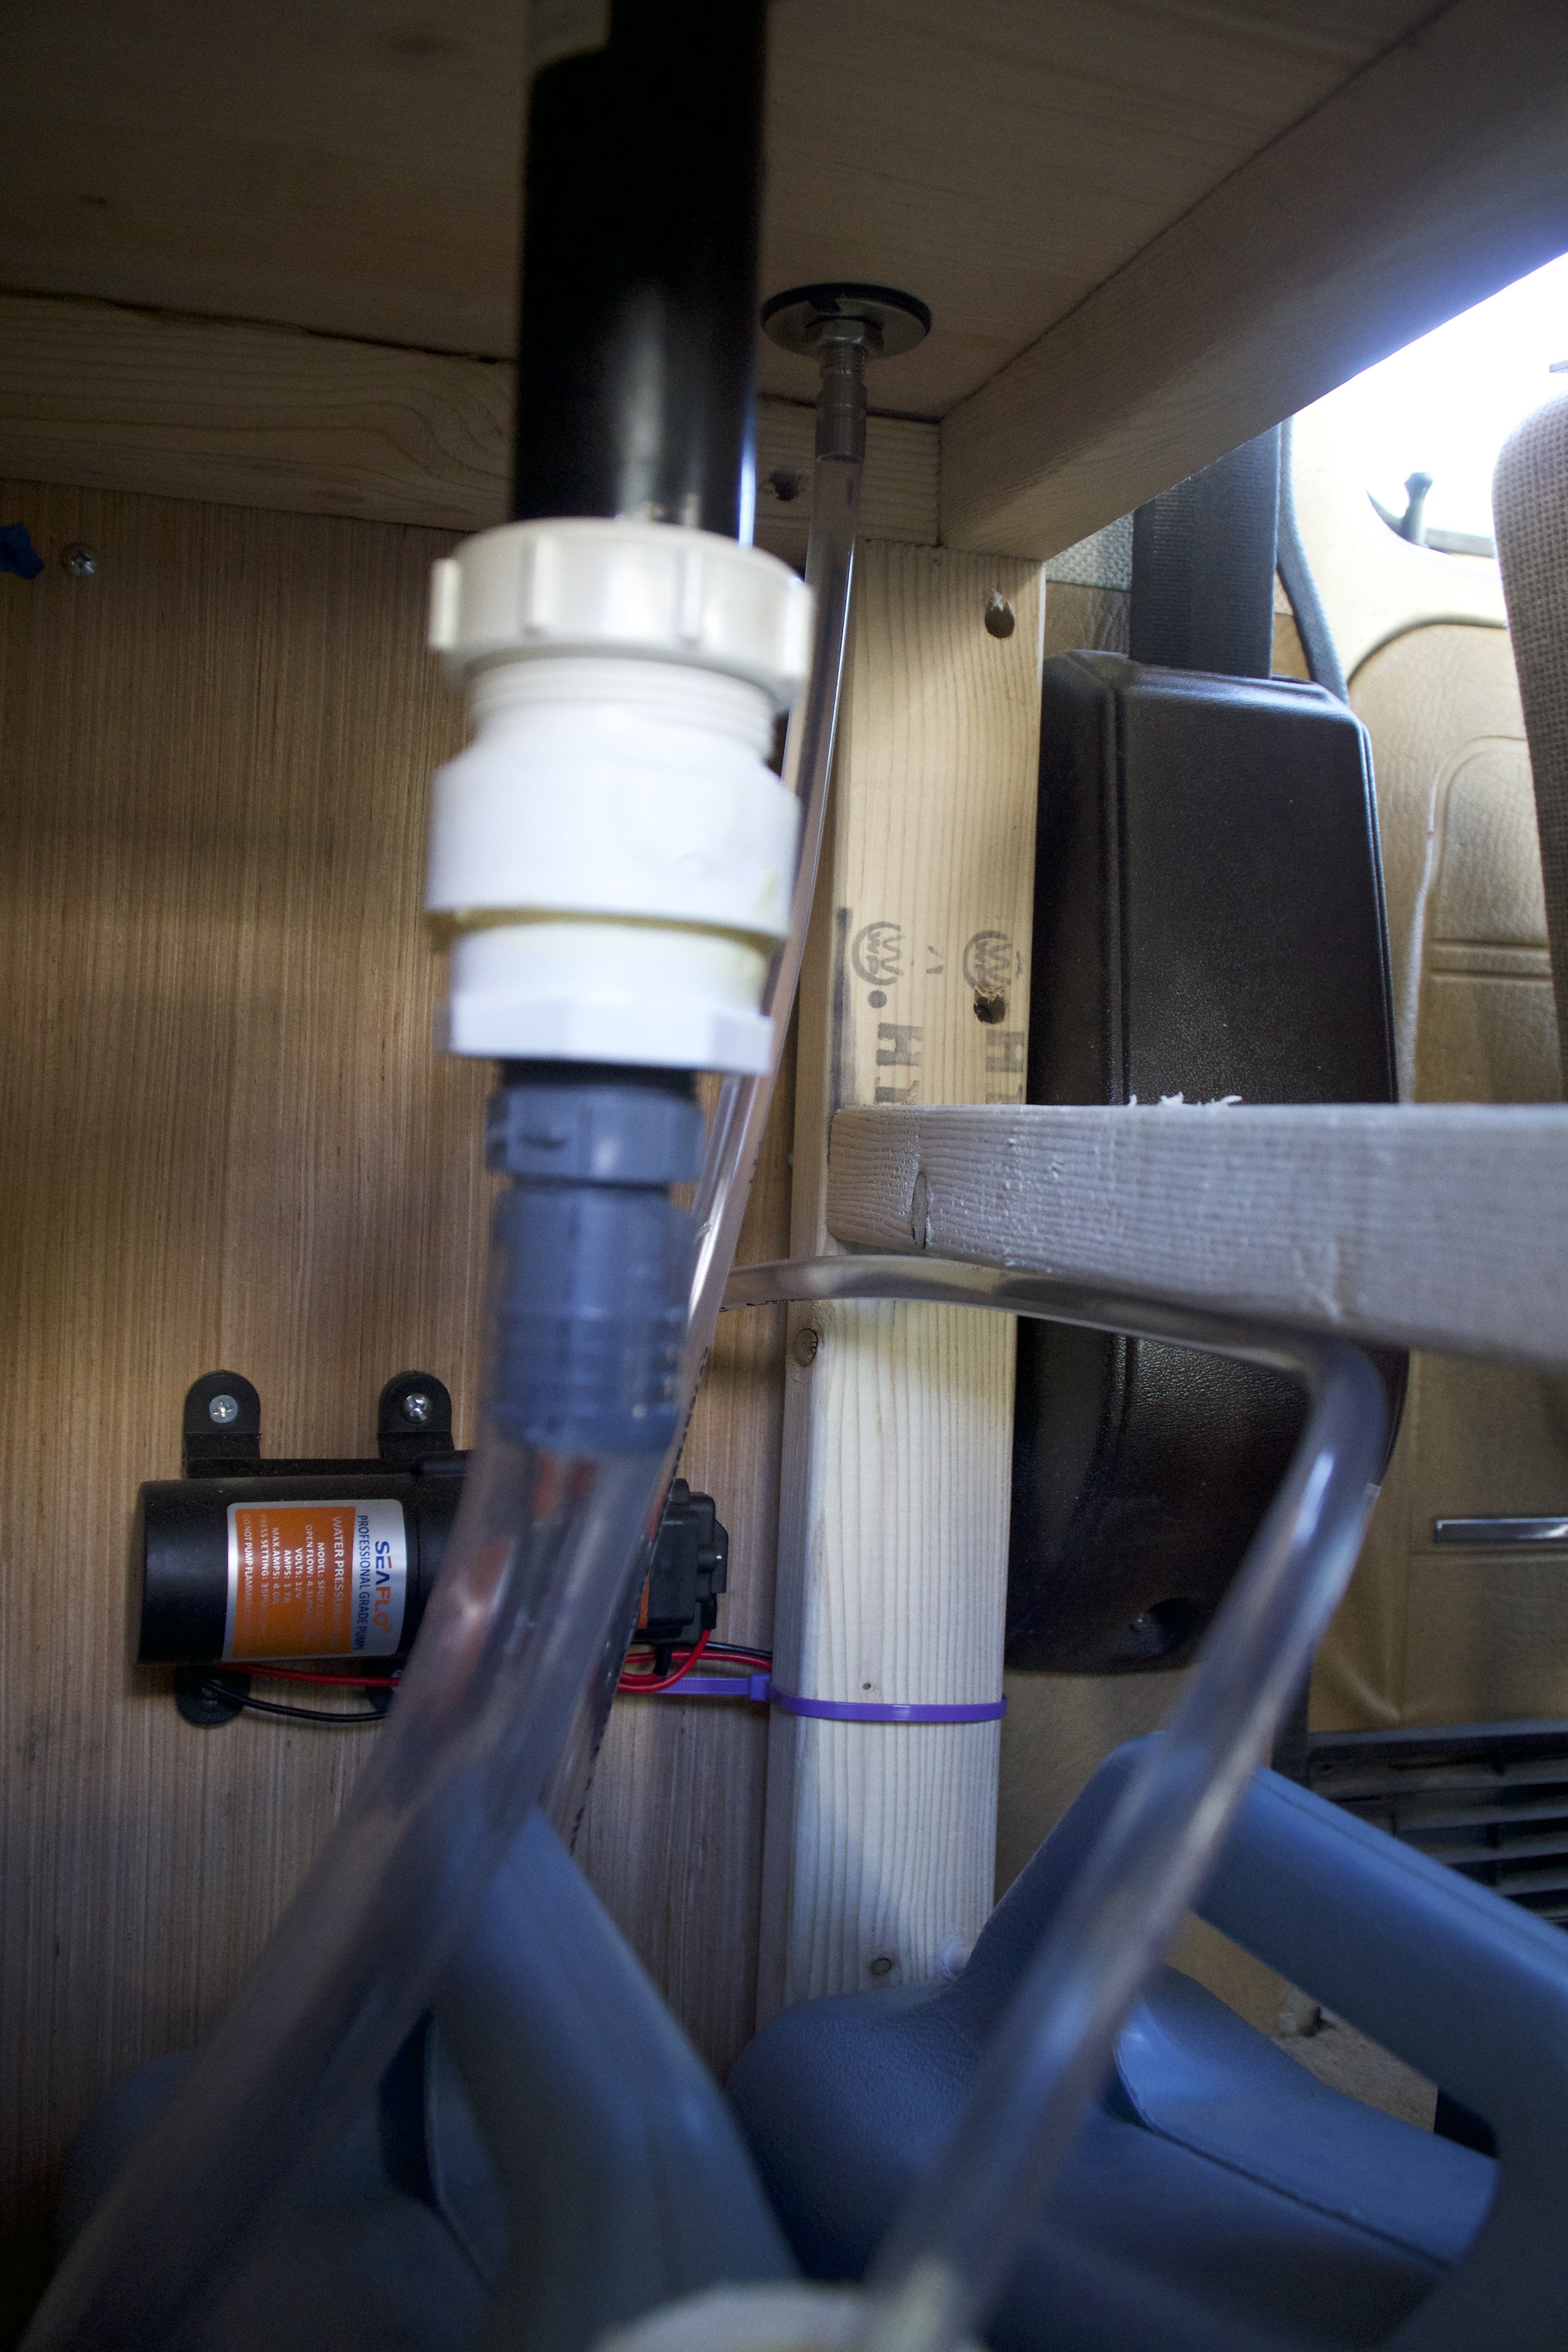
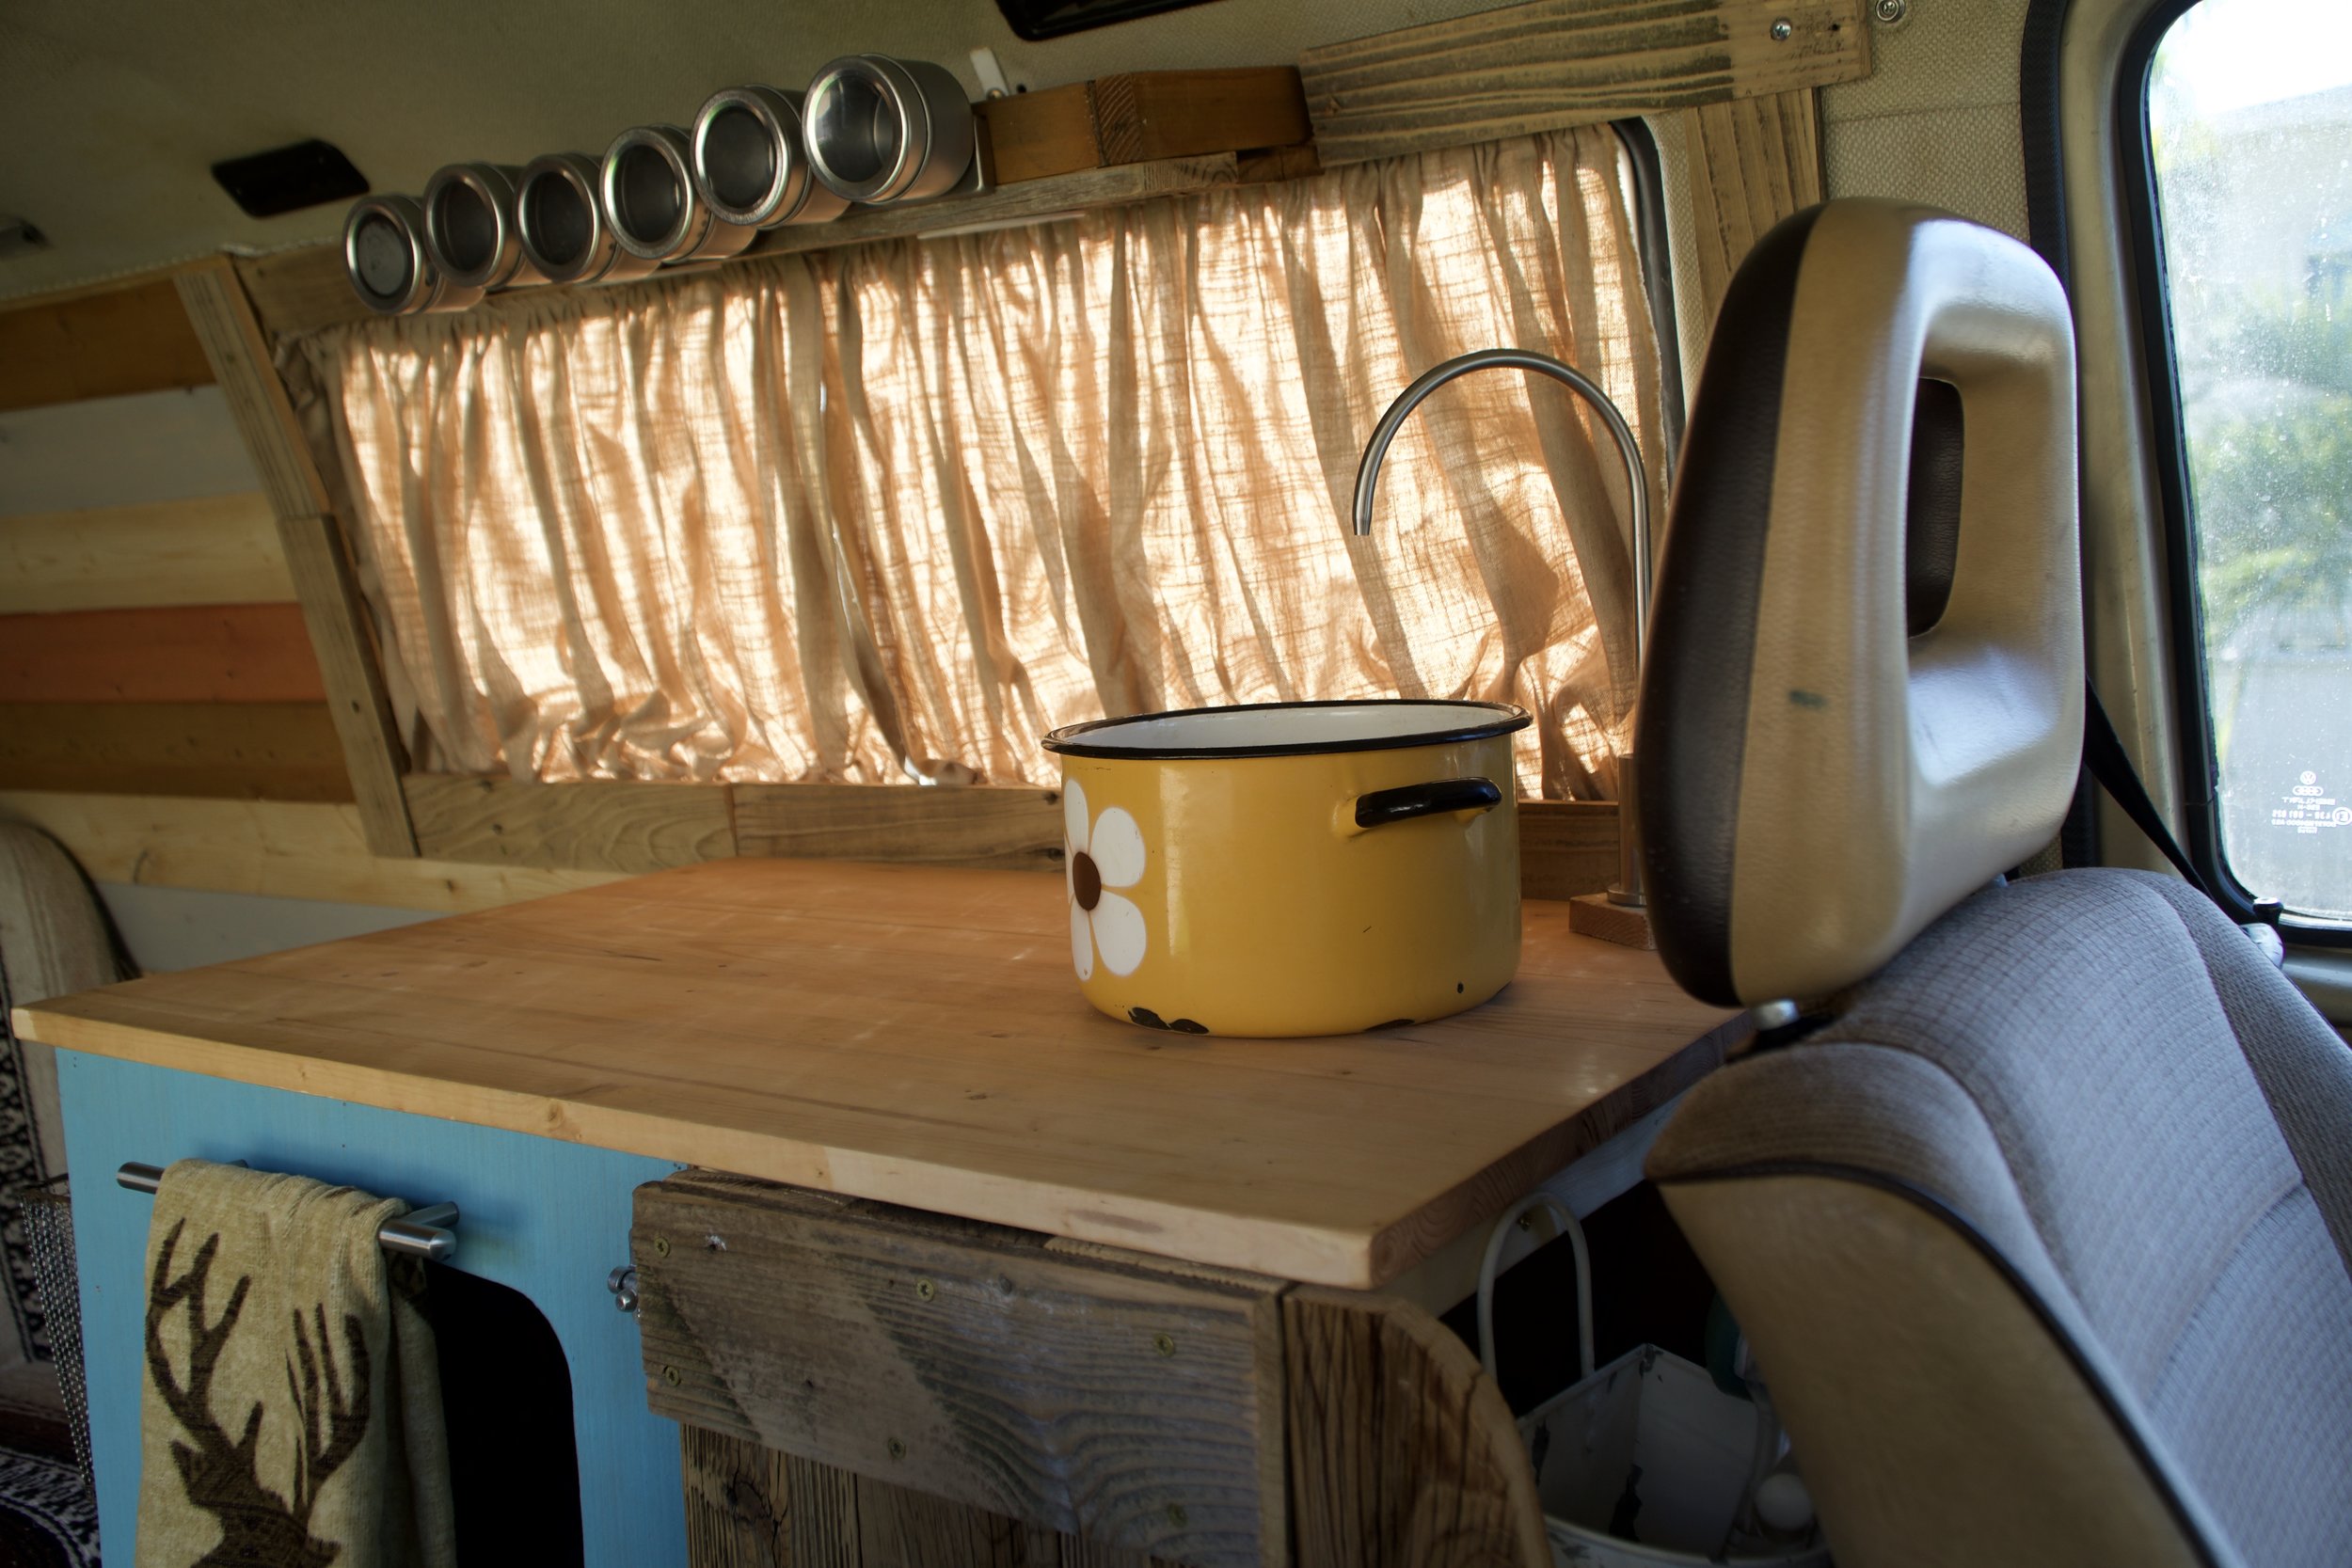
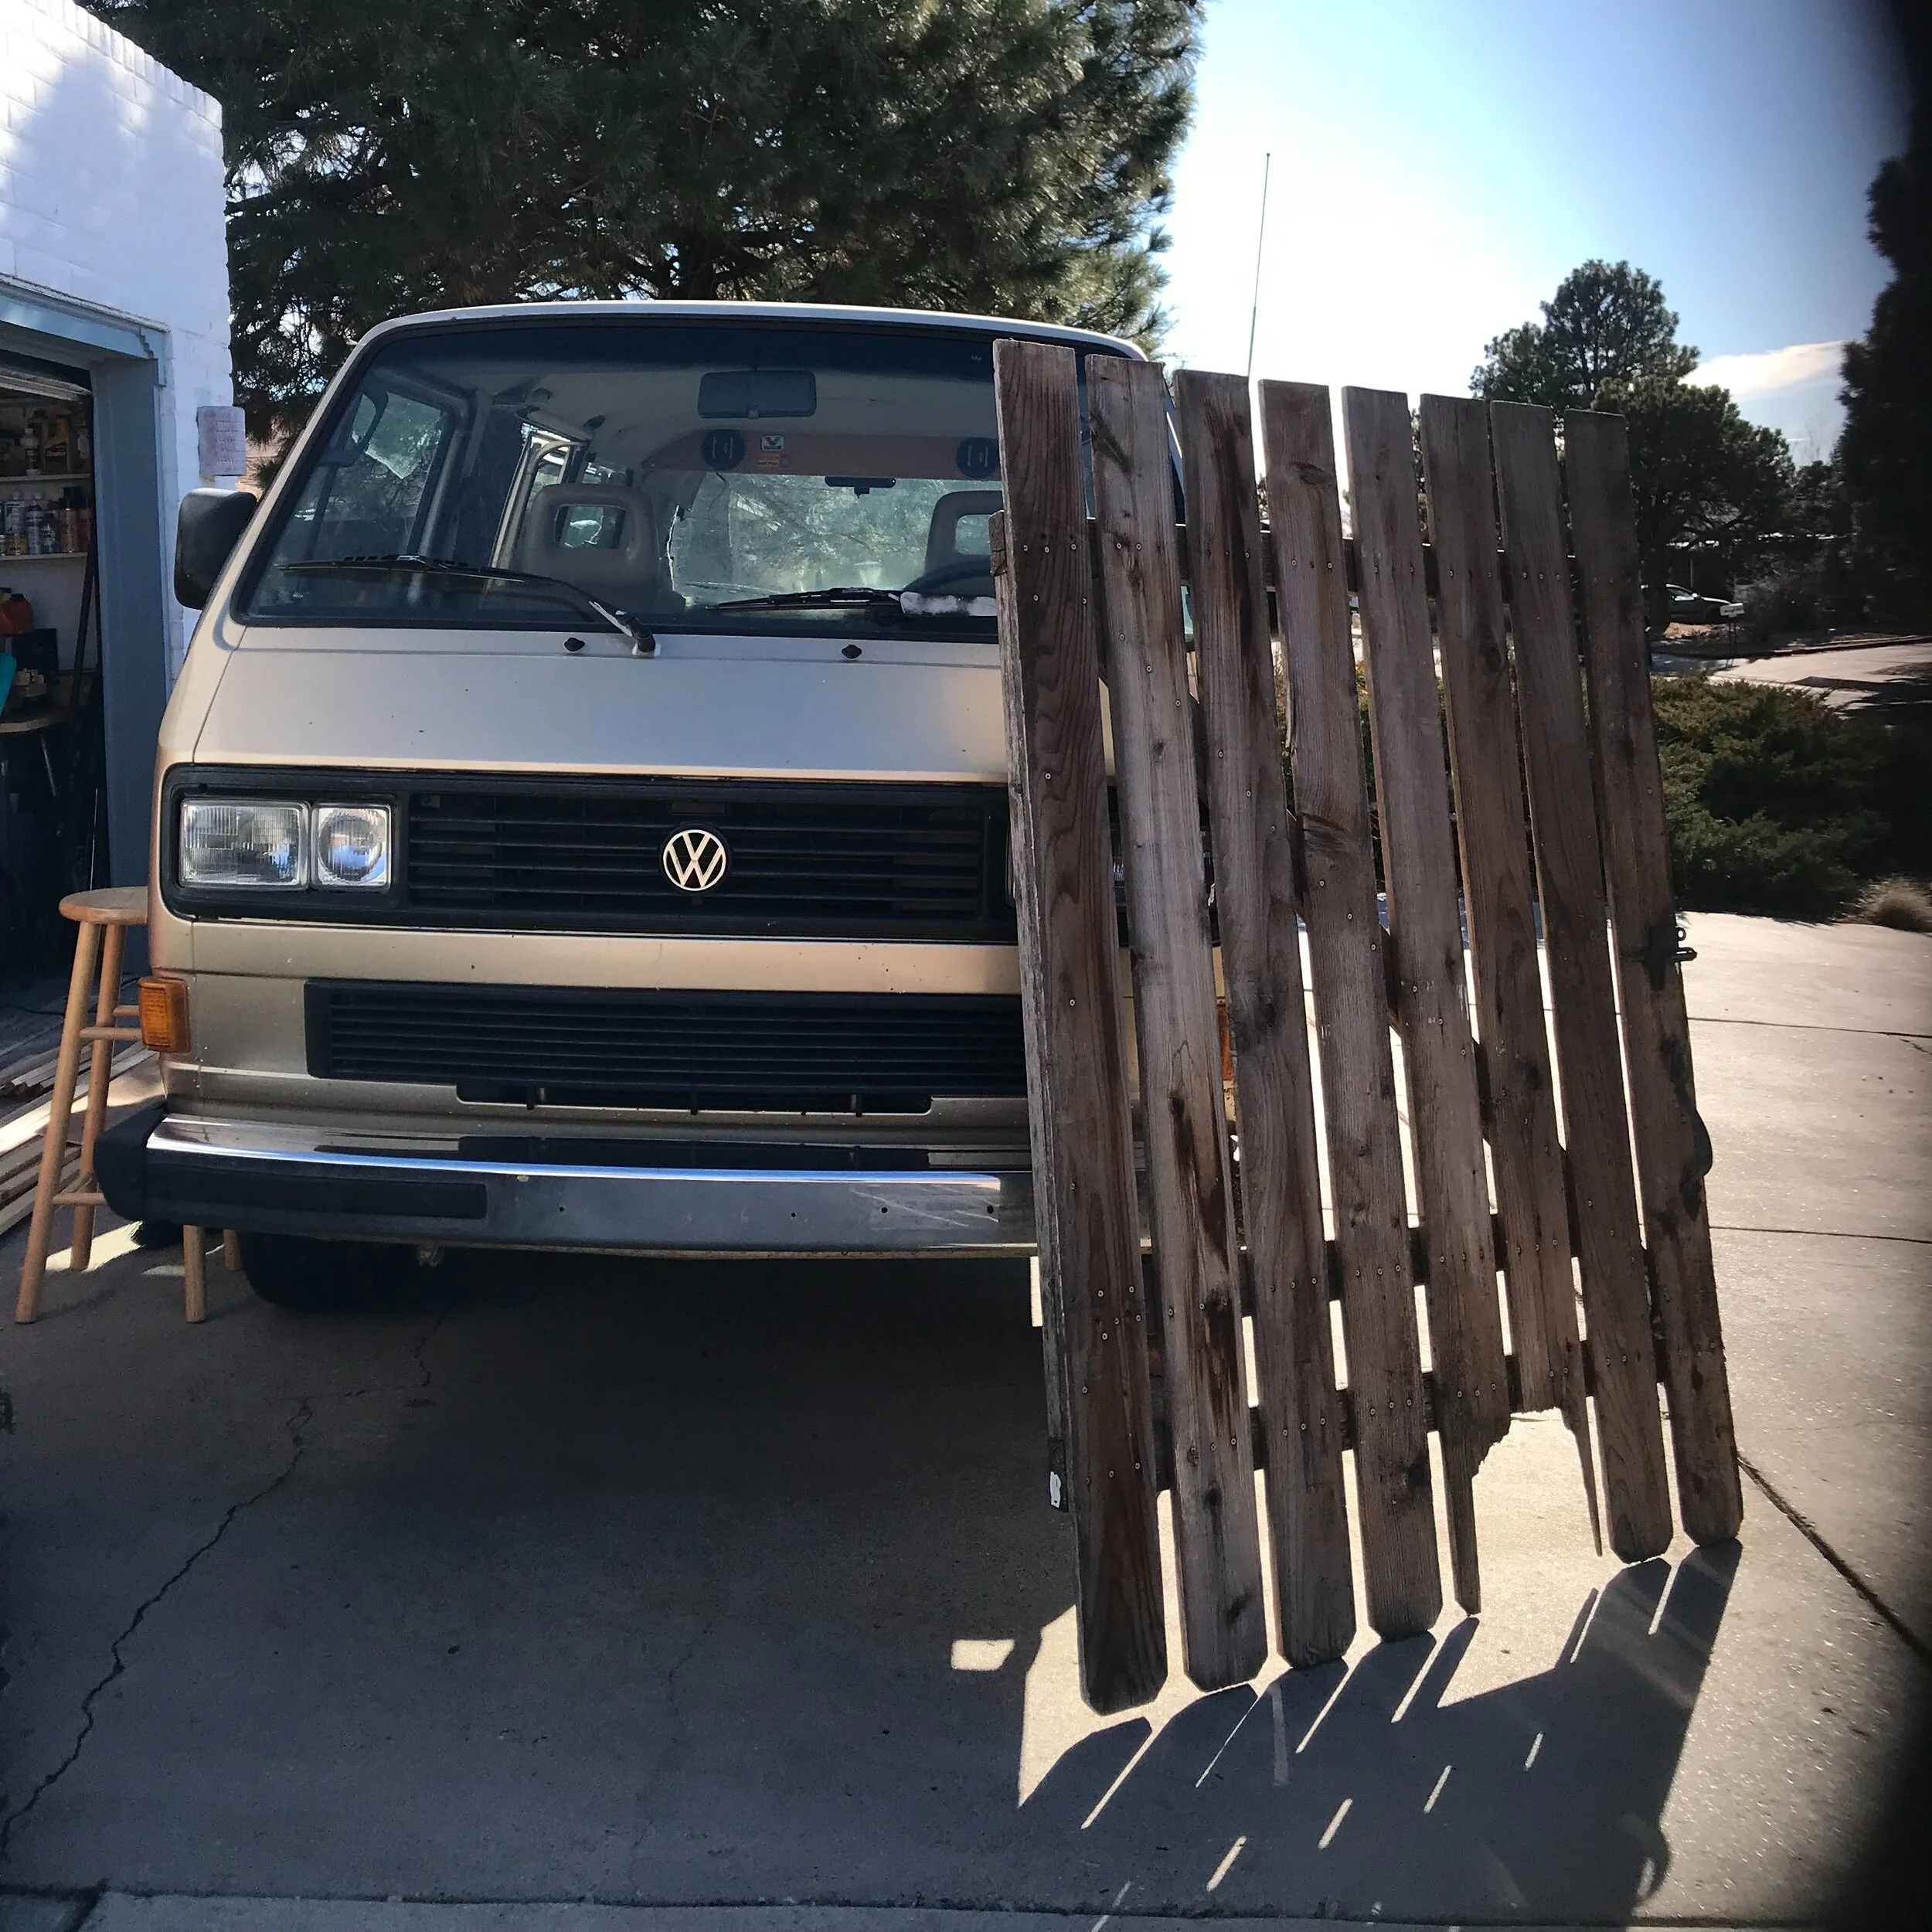
We used an 8 foot stainable project panel that we got from Lowe’s for around $30 for all the countertops.  On the other side, we wanted to have a sink and we wanted some additional counter space along the window.  We also needed storage for our 12 gallons of drinking water, as well as, plenty of storage for larger items such as propane tanks and Mr. Buddy Heaters.  We left the storage open and added a nice rustic door with our left over fence pieces to cover up the water jugs.   

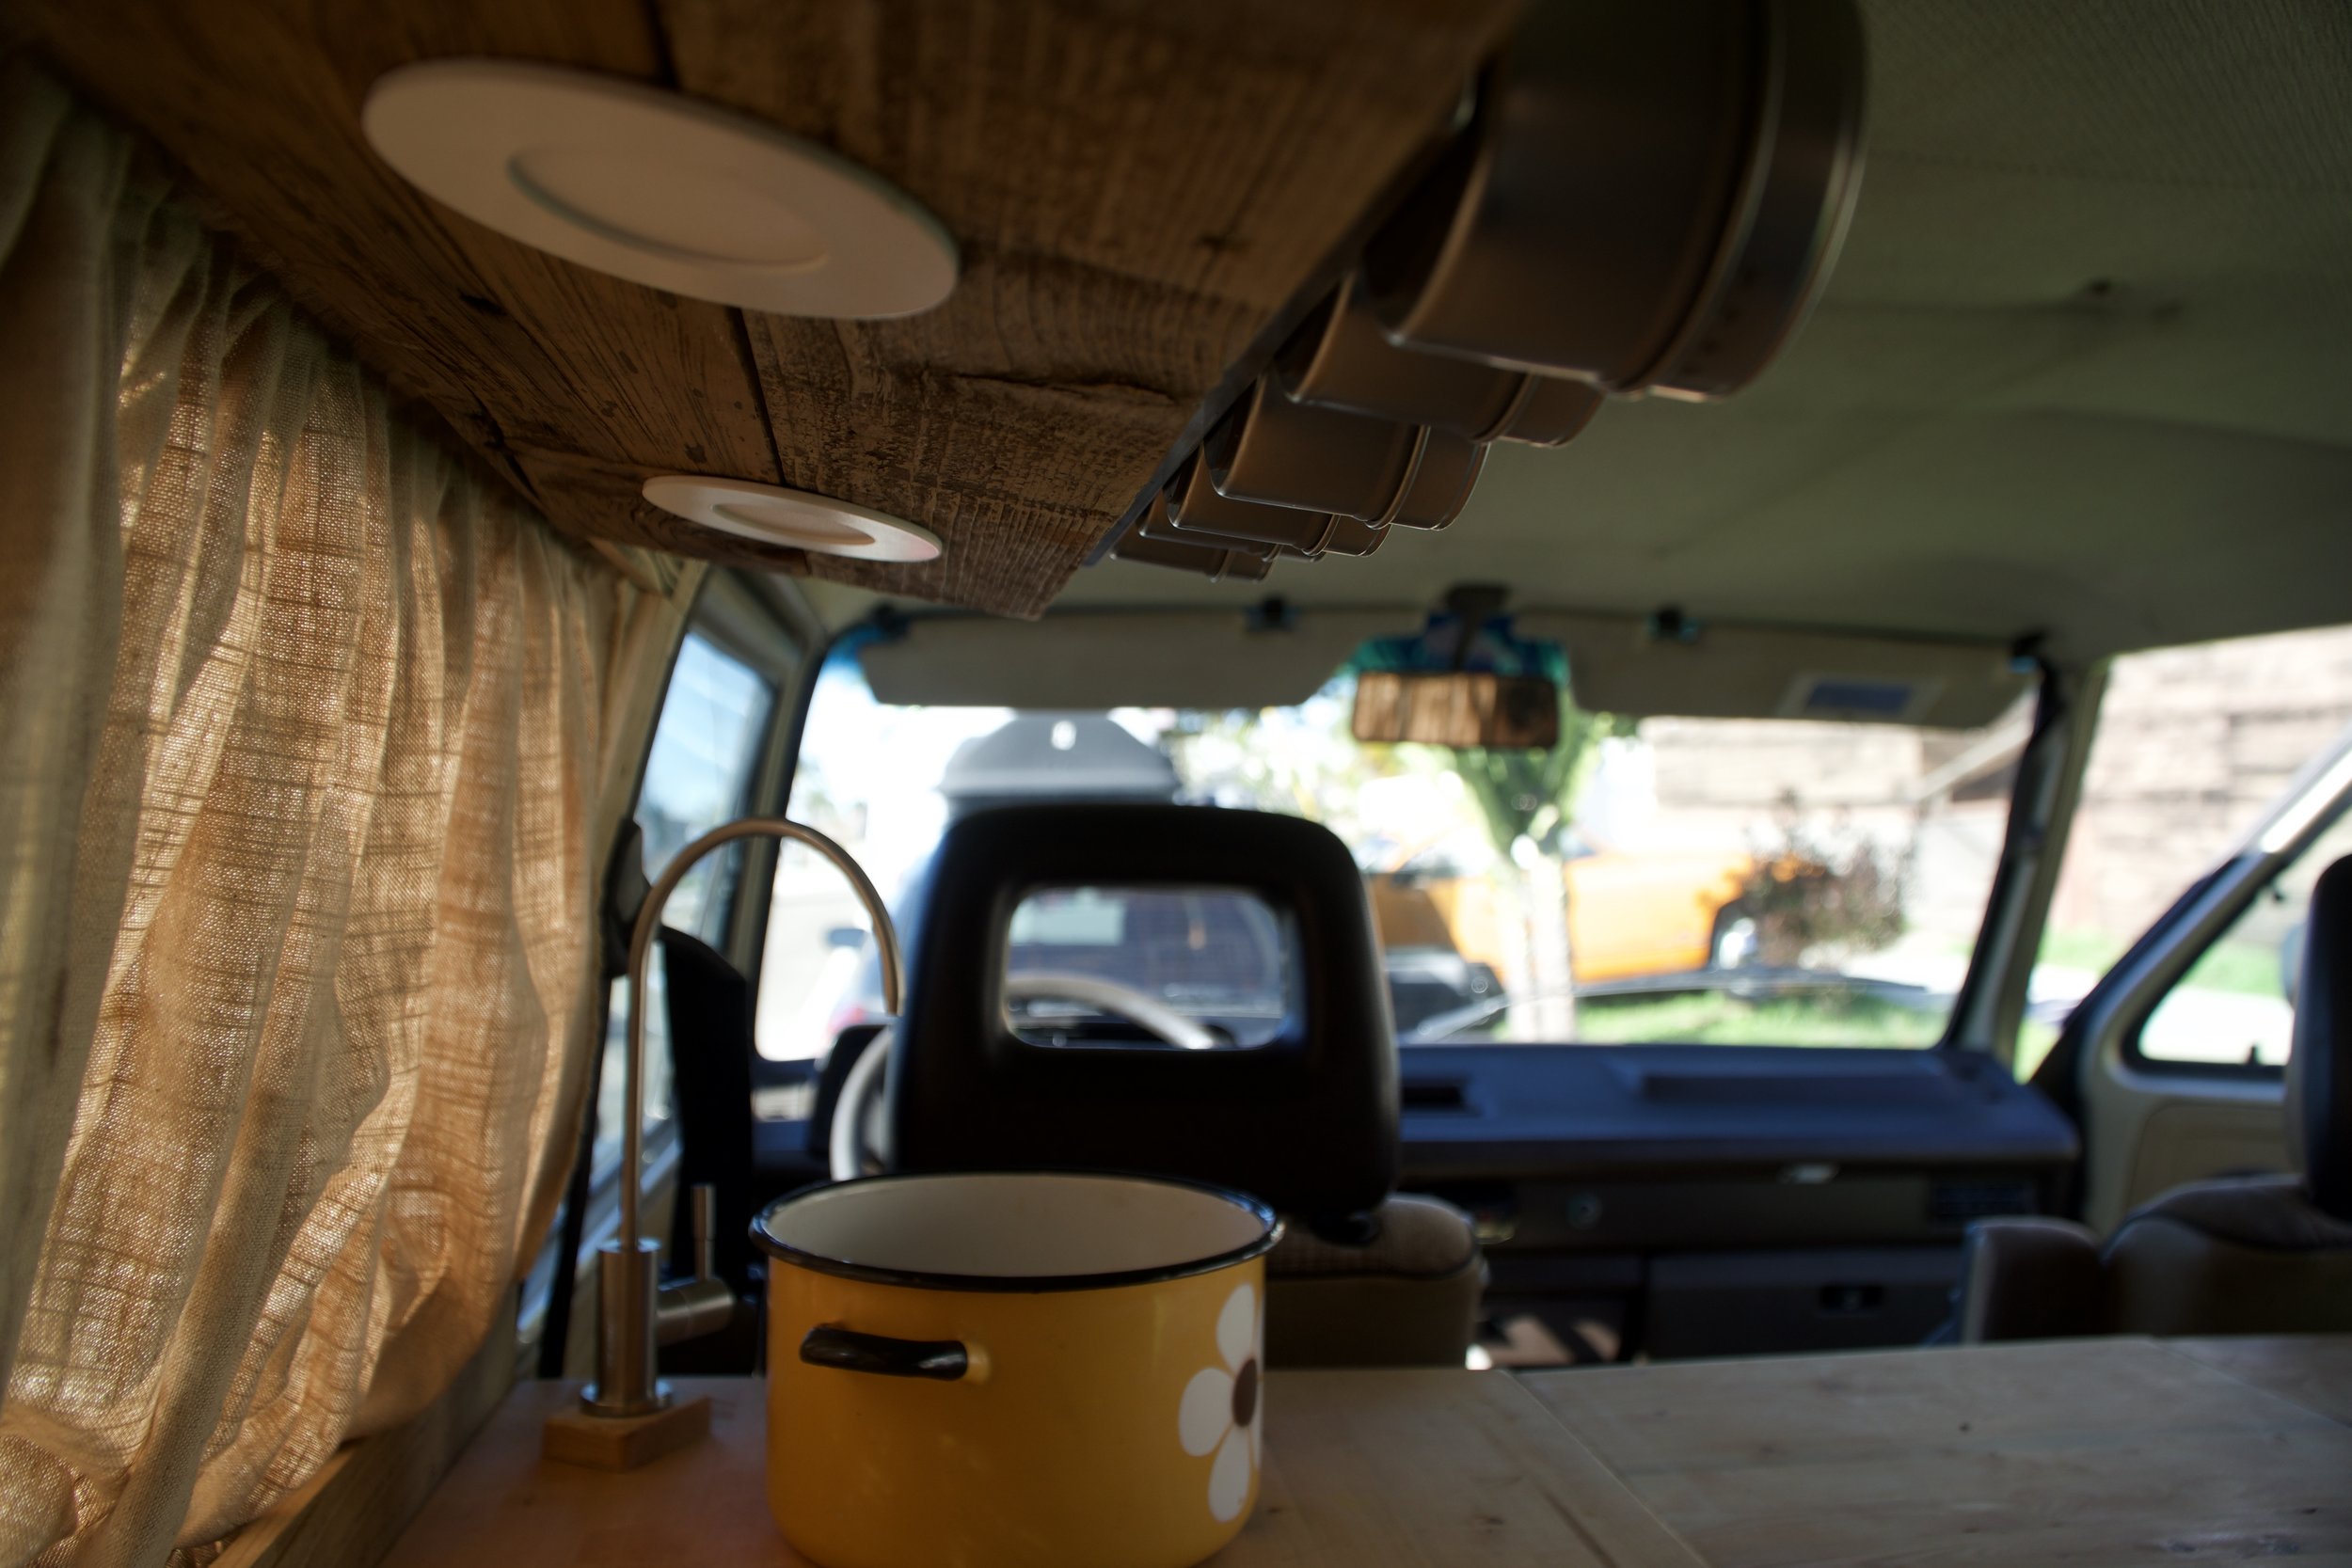
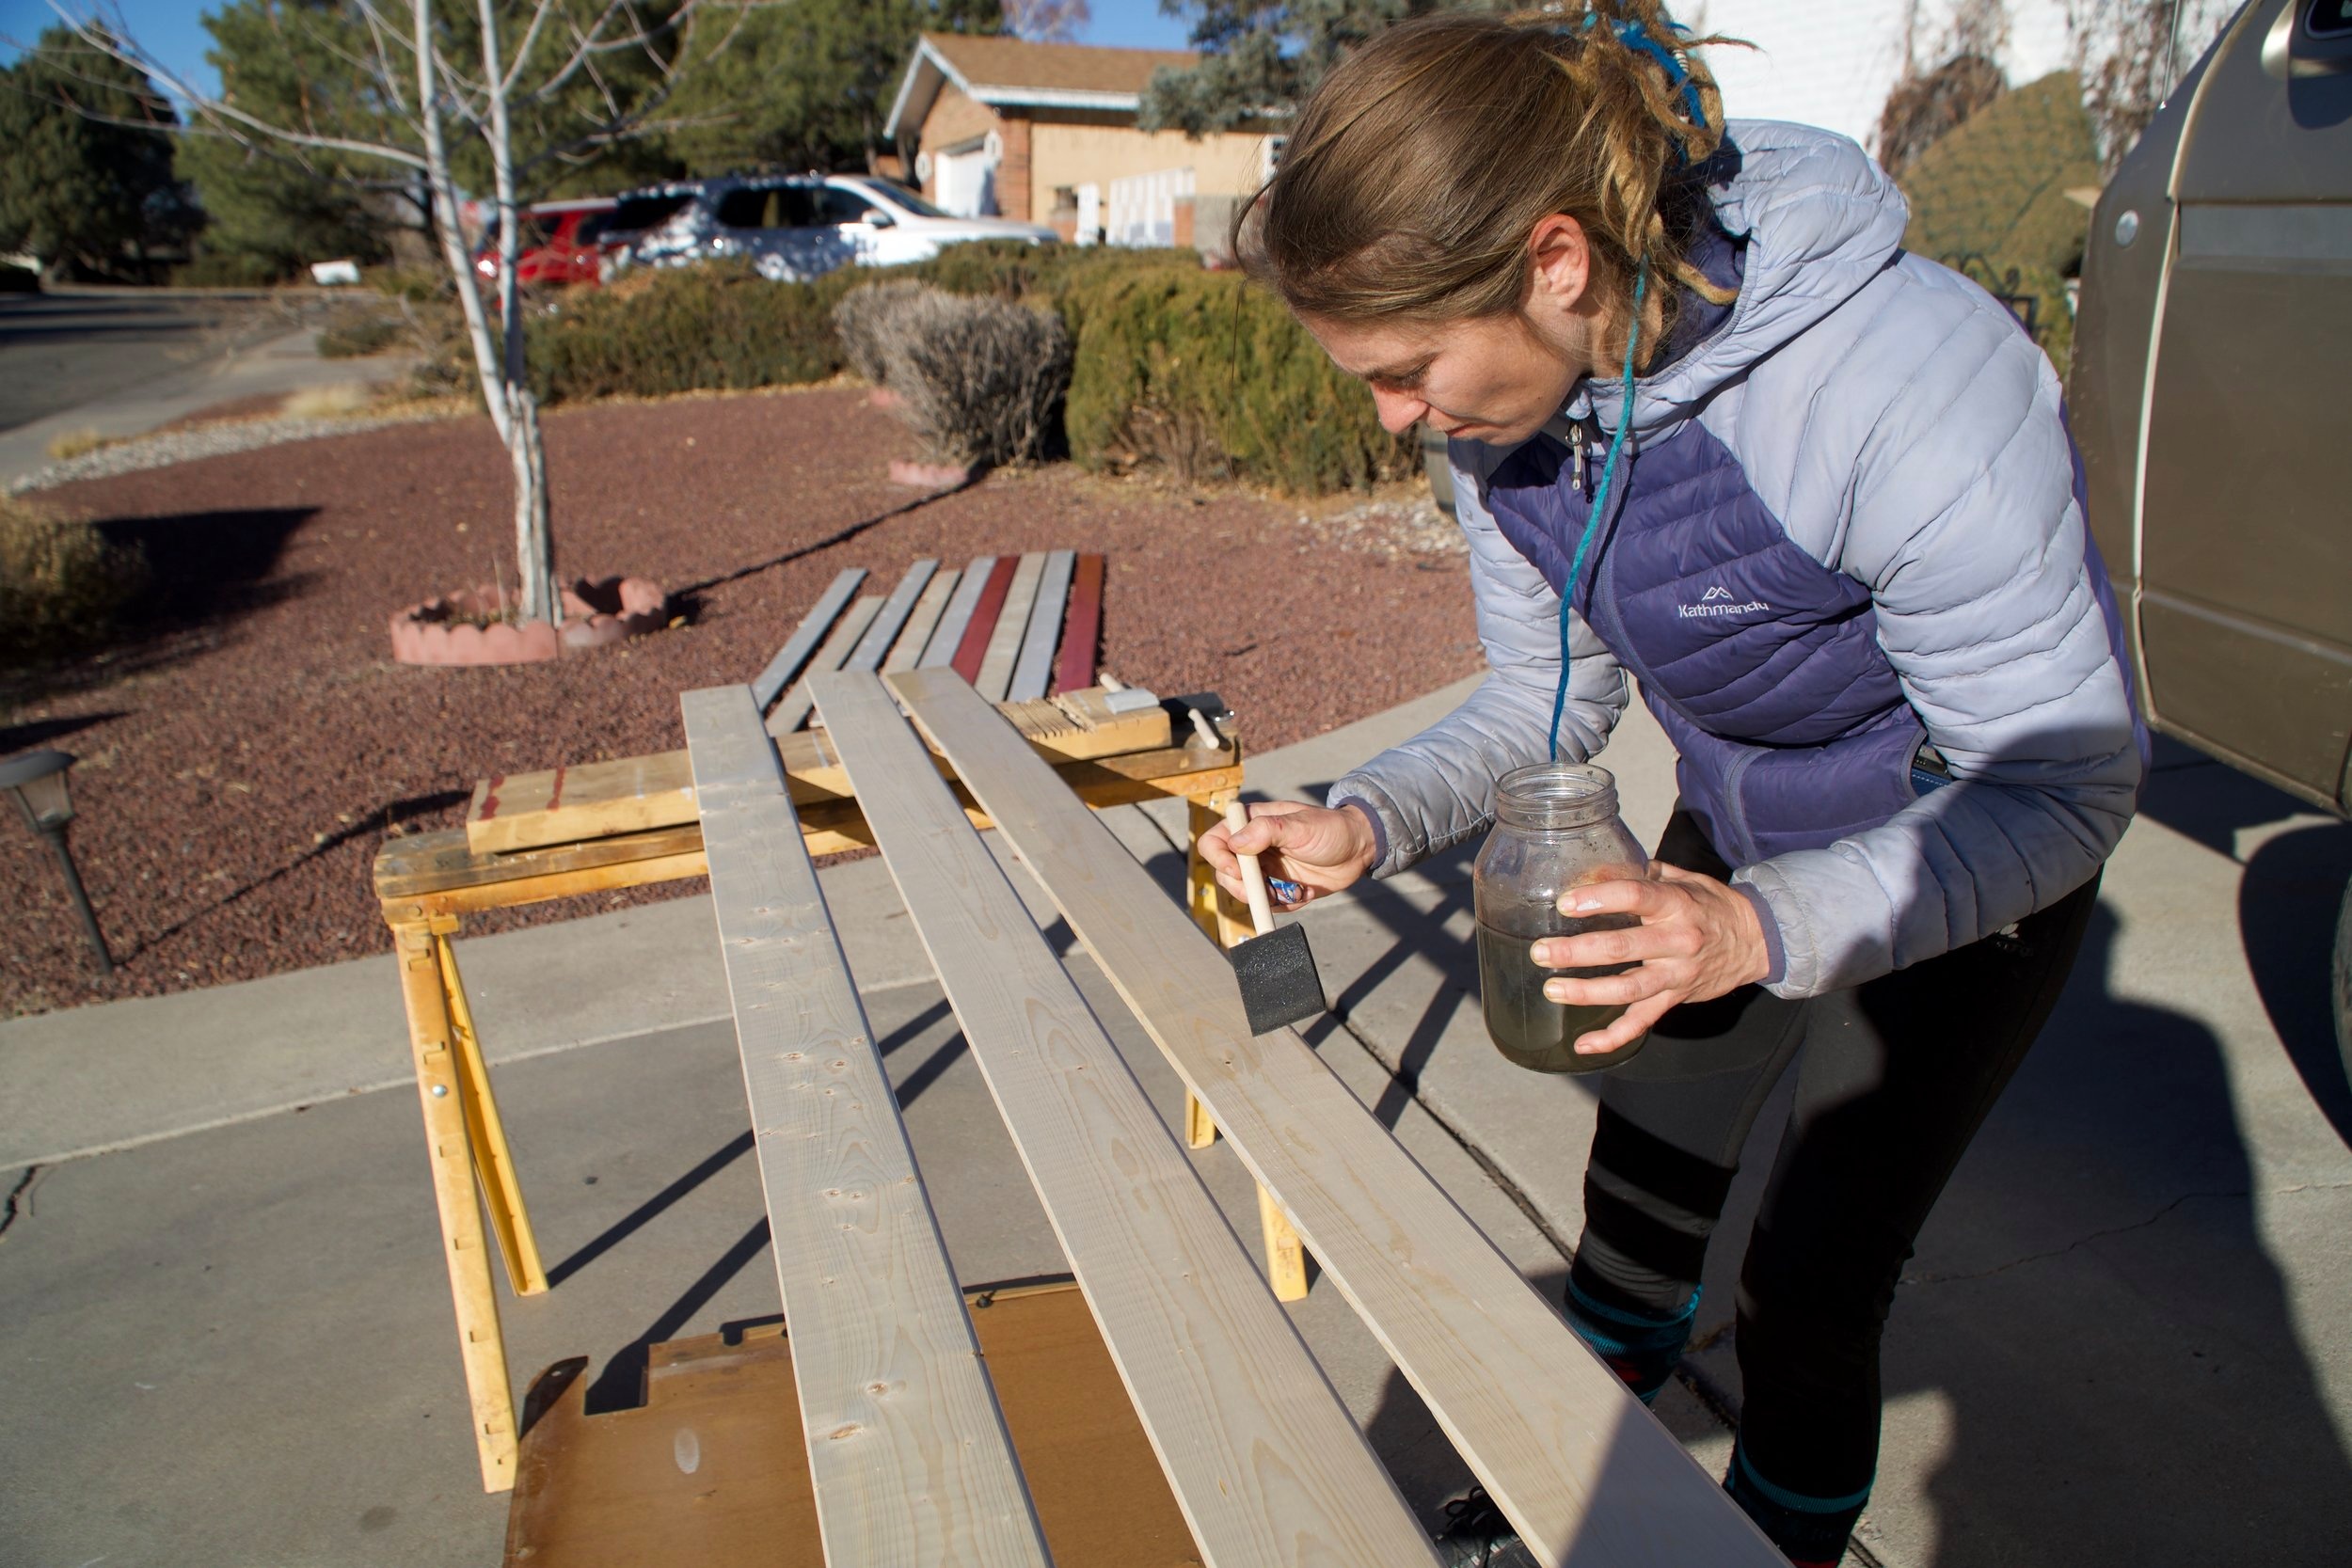
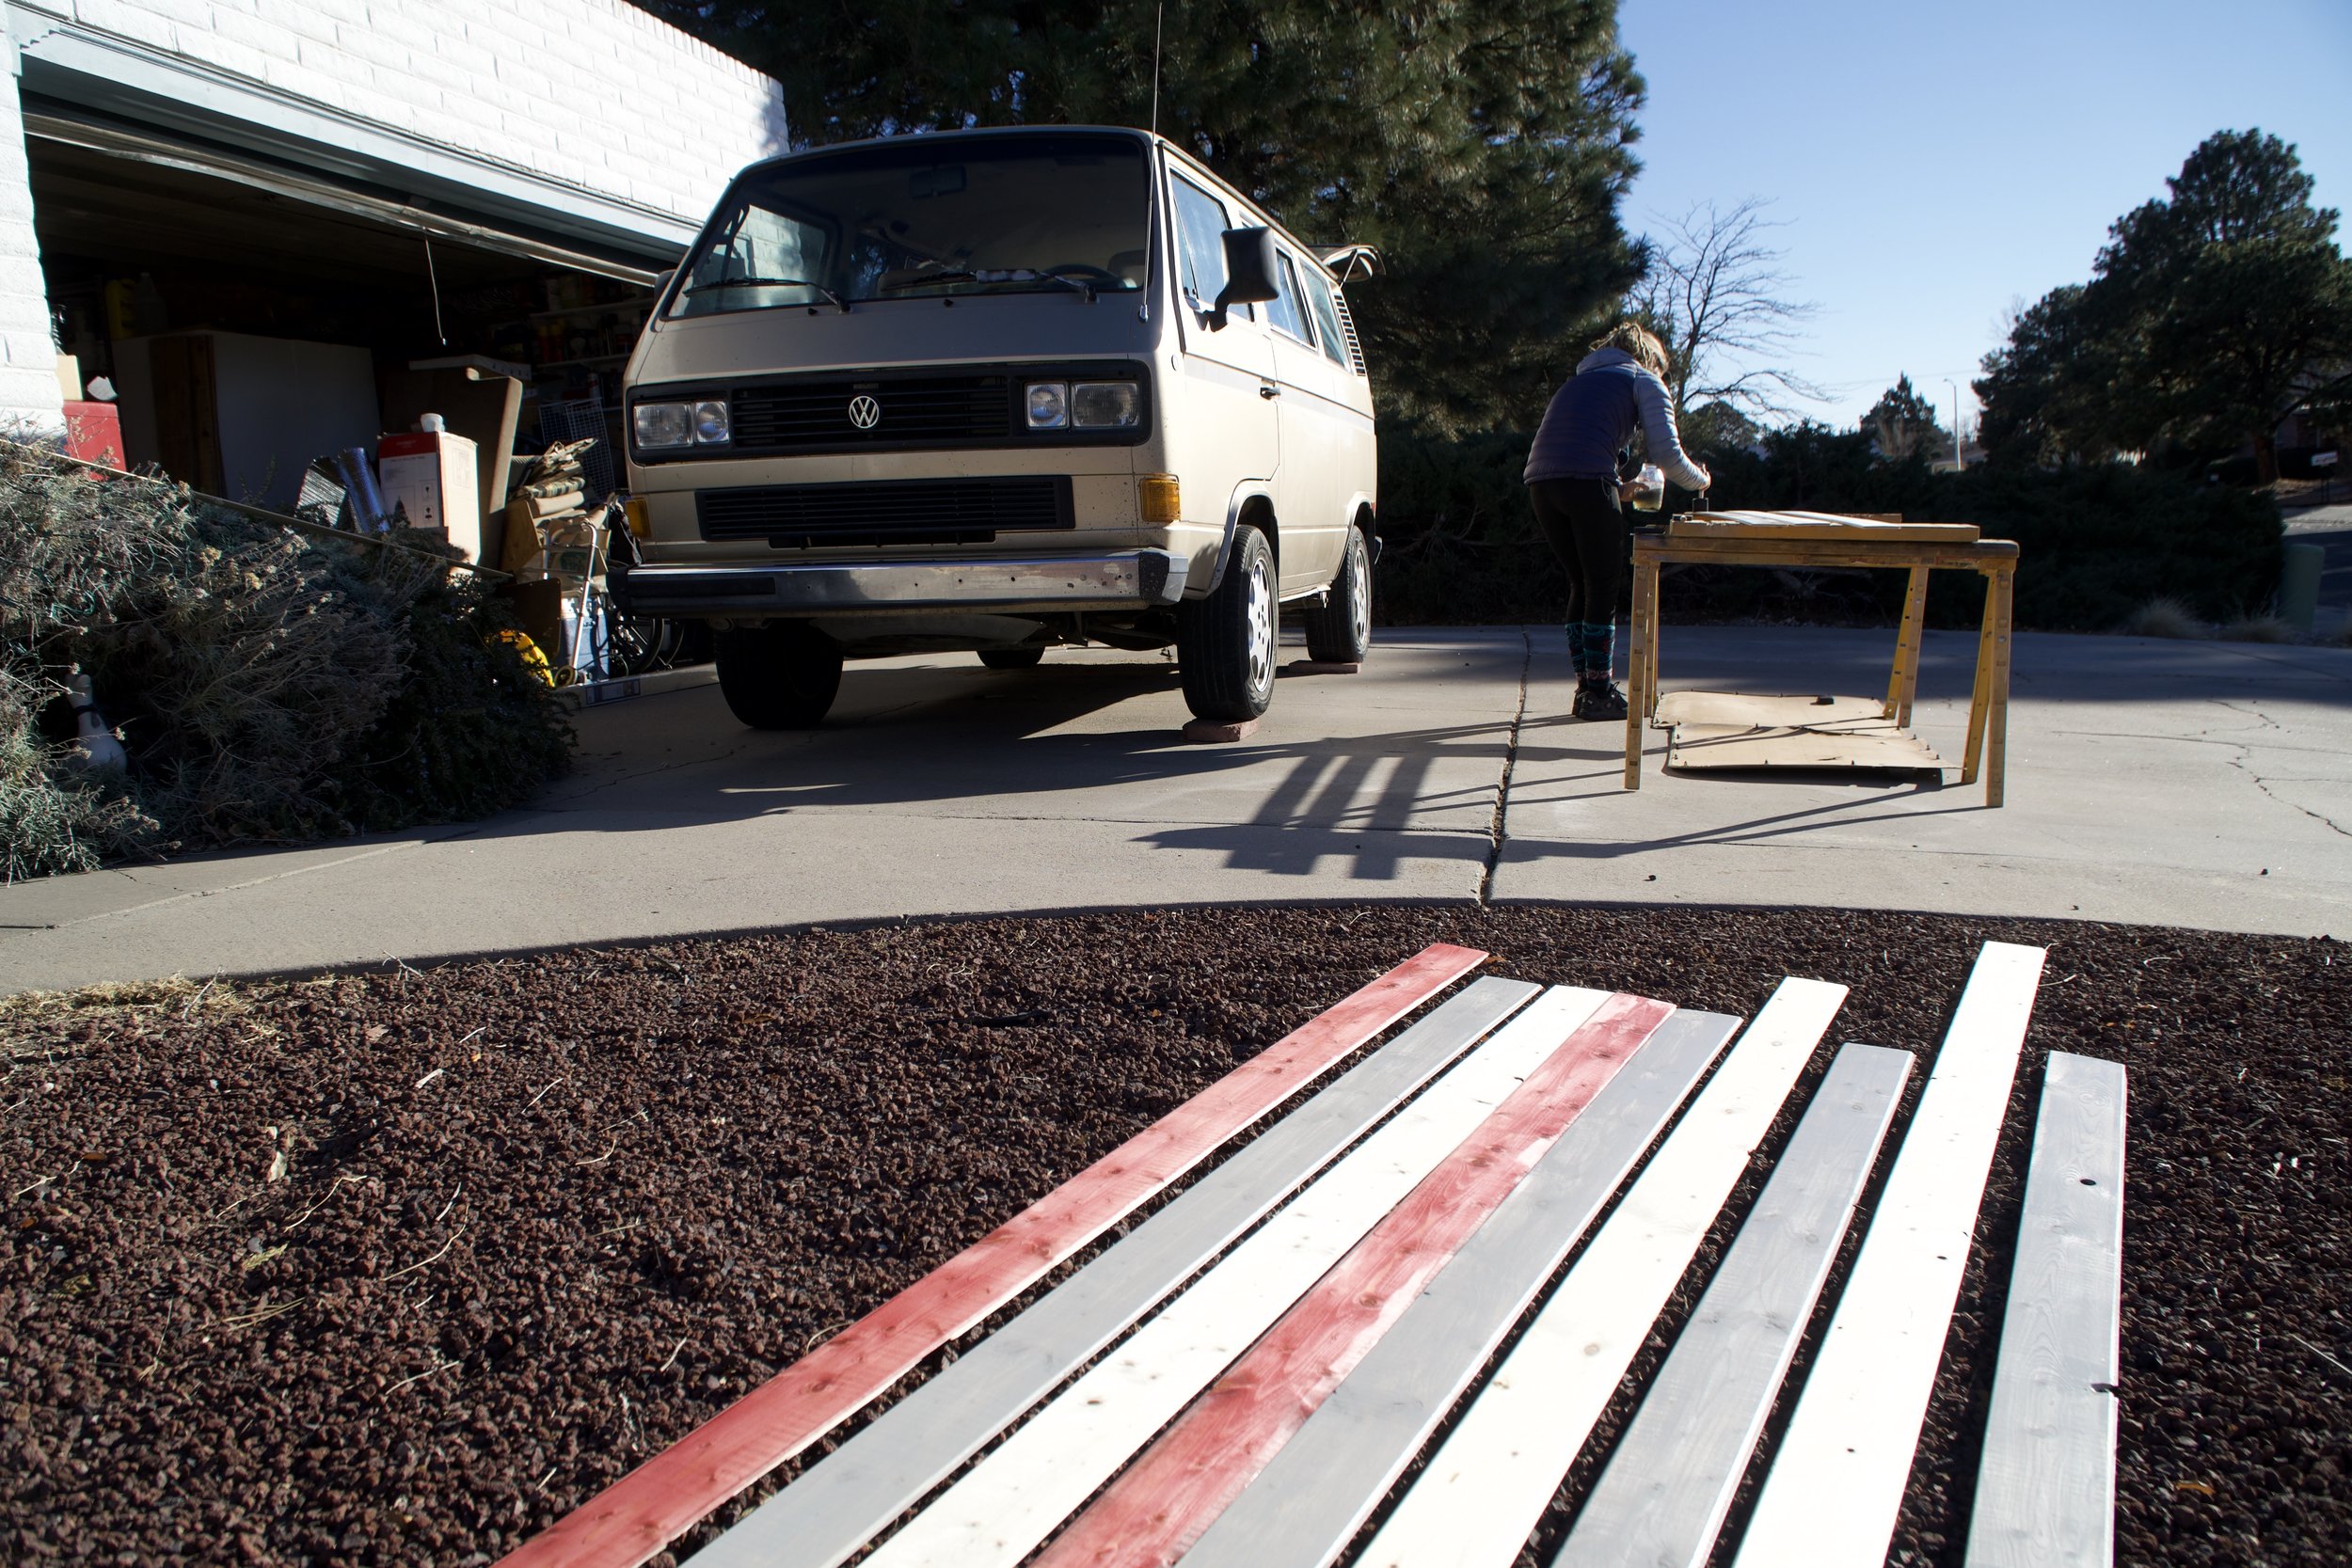
We found more old wood behind the ditch. So, we sanded it down and decided to use it for all the siding for the kitchen cabinets.  We also made a small shelf for spices and fruits above the kitchen sink.  

Once again simple, cheap and easy was the motto here.  We used large L-brackets to hang the shelf and Kevin added some nice lights to accent the countertop nicely.  We utilized the existing holes that once held a handle to fasten to the shelf to the wall. 

We wanted to make the cabinets easy to build and easy to use and we think we did a great job on this.  We really felt the with the Sprinter that we went above and beyond, on all the drawer systems. Doing a simple build, with little or no moving parts seems to be the way to go in the future.

Simple DIY Sink set up in VW

In our Youtube episode, you can see how we convert the 70’s vintage pot into a sink as well as some electrical tips.

How to buiild a VW van complete guide

DIY Sink in a Van

We wanted a simple, easy, and budget friendly plumbing set up that allowed us to have as much running fresh water, as possible with out compromising too much space.  We figured if we used all our tanks for fresh water and had our gray water dump out the van floor, then, we wouldn't have to sacrifice space to carry around gray water. Then, we would be maximizing the room under the sink for fresh water. 

We purchased two of the infamous, slim, 6 gallon, BPA free, Reliance containers.  We use these for our freshwater tanks.  For our grey water, we drilled a 1-1/4” hole in the floor of the van and ran a 1-1/4” silicone tube to the drain assembly and out the floor of the van (see picture).  

We wanted a small DIY sink and were originally thinking to use a stainless steel bowl but we figured that was too lame. So, Dani took on the sink project.  She found a sweet little pot with a hippie flower on it and it was a perfect fit for the van. 

She put a 1” hole in the center with a metal hole saw and then used a bar sink strainer which was a great fit for the small sink.  Figuring out the proper assembly for the tail piece was a pain in the butt. Thanks to the folks at our neighborhood True Value, we were able to figure it out!  

DIY Sink

We used a small little Seaflow sink pump that pumps just enough water for our little water spout we have food grade tubing for the sink and pump.  And again, the greywater drains out of the bottom of the van.  
The sink drain assembly was honestly the most confusing part of all the plumbing.  We bought a bar sink drain that connects to a 1-1/4” Flanged Tailpipe. Then, the flanged tailpipe goes into a 1-1/4” to a 1”  where we added a nipple that connects to our 3 foot 1” tube. That 1” tube drains out to the bottom of the van.  We have a picture with everything labeled, as well as, amazon links for the entire set up below.
Plumbing can seem like a confusing task, but it can be as easy or as difficult as you want. We went with the easiest and cheapest way possible.

Very Simple, Easy, DIY Off Grid Electrical system for our VW Vanagon

Easy, Replicable, DIY Electrical System for an Off Grid Van, RV, Bus, Car, or Tiny home

Wiring 12 volt VW Vanagon

The VW Vanagon is pretty tight on space so having some massive battery bank is out, unless you are a very power hungry camper.  We are not, so we are going with a simple DIY set up that anyone can mimic and thrive off the grid. 

Things we need to electrify: 

200 Amp Marine Battery, from Auto Zone, that will be powered by a 160 Watt Mono Flexible Solar Panel.  Our biggest power draw will be our Dometic CF-18 Fridge/Freezer which will most likely be running 24/7.  Other than that we will only be dealing with 12 volt LED Lights and a sink pump so we will keep the draw very low.  

One of the most important things, when planning your 12 volt system, is to decide what accessories (lights, sink pump, and ceiling fan) you will want to be running, as well, if you want a fridge (which we believe is mandatory). Also, think about what you would like to plug into a 110V Plug (Computers, blenders, chargers, camera batteries).  Once you decide what you will want to be running, then, you can decide on battery bank size and solar panel wattage.  

Fridge great pic moved out.jpg

In this van, we will have a Dometic CF-18 fridge/freezer that is very efficient and will use about 0.3 - 0.6 amps, when the pump kicks on, and that kicks on every 15-20 minutes. It has a high/low battery draw switch. We always keep it in “low” because the fridge is so efficient even on low. 

We have a few LED lights and a sink pump that have little draw on the battery.  We will also have a power inverter that we will rely on to charge our computers and power our 900W Ninja blender.  Since the two main draws our the inverter and the fridge, we will at least need 200 amp hours of battery and 160 watts of solar to power our lifestyle.  

Luckily, the big ole 200 amp battery fit under the existing couch perfectly. So, we put together a little brace to hold it in place. So that way, it’s not sliding around everywhere while driving.  

From here, we will wire all the appliances to a small little Fuse Box and run the cords from the fuse box to the proper appliances.  I’m using a mixture of wires.  For all the small low draw items I’m using a 16 gauge, lamp wire, with two wires in one, which makes wiring so easy!  For the fridge, I actually bought a wiring kit with a female 12 volt power hook up. 

I’ve added a few of my drawings below to show how I planned to wire my appliances.  The toughest part here is deciding exactly where everything will go, physically in the van, like switches, lights. outlets, and really anything related to power. You have to sort that out first.

For wiring, we will be using a variety of options.  Since most of the appliance have very small draw, I'll be using 16 AWG Lamp wire for these.  Lamp wire makes it easy to wire since the positive and negative wires are fused together and nicely insulated together.  We will use this lamp cord for all the LED lights and the small sink pump.  

Vanagon Solar Power

The fridge will be on its own separate 14 AWG wire as well as the 12v/USB outlet we bought.  We also wired a 1000W inverter to the battery with 6 AWG and all wires for solar and battery terminals (ground, load) will be 8 AWG.  

We ran all the wire through the van to their estimated location, I say estimated because, I don't know how many times we change our minds on where the lights are going to go, or the sink pump, switches, etc.. I highly recommend using masking tape and writing down all the accessories names and taping them to the wires to label them.  

Below is a diagram of how the van is wired, this will be more helpful than an in depth conversation.  Also, check out the video. 

Attaching a Solar Panel to the Van

We didn't have to cut a hole in the van for the solar wire, which was awesome! We found an existing hole in near the exterior side vents in the back, popped them off, and ran a cord through the existing hole.  Once we decided where to put the solar panel, the question was, how to get it to stay on the roof?  @Samvansam recommended we used 3M 4950 and Lap Sealant to attach the lightweight flexible solar panel to the roof.  Honestly, I am a bit worried about how light this panel is. So, I know there is a safer option.  We ultimately decided to mount it to our roof top carrier, with 6 bolts thru the existing rivets. So that way, it was nice and secure. Plus we have helped a friend @es_dons install his that way.  We also used the 3M tape down the center of the roof box for extra secureness on top of the rivets.  

This was a very easy install and I used some plastic wire clamps to cleanup all the wiring.  

After everything was properly wired, we plugged it all into the charge controller and instantly started to charge our battery.  

Wiring the rest of the van

Now that we have constant power, from the sun, we can charge our battery.  I don't wire lights and other appliances until they are 100% ready and sure where the said item will be.  

Everything is wired to a small distribution fuse panel.  Leave all fuses out of the panel because the fuses act as an “on switch” to the corresponding wires. So keep them “off” and without a fuse, while you are working out the details. That way you don't create a short or electrocute yourself.  

At this point, you should just have wires, with labels, hanging out of holes ready to be hooked up.  Use wire terminal connectors to connect your wires to their corresponding appliances or switches. Make sure to crimp all wires very tight to make sure no wires become loose. Give it a light tug to be sure on the connection. It would suck for the connection to wiggle loose behind a wall in the future. Once crimped and heat shrink wrapped (optional), put the appropriate fuse into the fuse box and your electronics should turn on.  I drew a few diagrams to show how I wired my switches and string my lights together. 

With everything working it’s a good idea to look at your charge controller monitor and see how much amperage your systems uses with everything on. This will give you a good idea of how much power you can expect to use everyday. Just remember to park in a sunny spot if yo are going to be using a lot of power. The 180W panel should be able to charge up your system in a few hours.

Enter your e-mail below to receive a free wiring guide to make your electrified life easier.

Enter your e-mail below to receive a free wiring guide to make your electrified life easier.

PREVIEW of easier than Ikea wiring guide to electrify your small budget rig. If you need one that is for multiple batteries there is another one on our home page!

PREVIEW of easier than Ikea wiring guide to electrify your small budget rig. If you need one that is for multiple batteries there is another one on our home page!

The last thing to be connected to the battery is the 1000W inverter. Luckily this came with the 6 AWG cables and terminal connectors, so this is a straight forward install. You will connect red to red and black to black. You will also have to ground the inverter to the chassis or anything else that is metal near the inverter. In this case I grounded the inverter to the battery bank. I recommend a 100/150 Amp inline fuse on the inverter on the red cable to protect the battery bank from a short these can be found at any car audio installation center and they are a very straight forward install. After it’s hooked up turn it on and give it a test I used a 900W blender to put it to the test and it worked! The inverter can draw a lot of power so use it sparingly.

Here is the Dometic CF-18 Fridge review. This is a great little 12 Volt fridge for smaller vans.

DIY Cheap and Easy Van Flooring in our VW Vanagon

DIY Cheap & Easy Van Flooring

There are so many options for flooring these days at the home improvement stores that it can get overwhelming and expensive.  Luckily for you, the Kookz got your back.  We are going to show you how we put flooring, framing, and insulation in our VW van for around $20.

Step #1 - Remove everything!

We started off first by removing all the seats.  Since we are only keeping the folding back seat, we will recycle the other two.  We were also lucky to start with a bare floor and we didn’t have to worry about a heavily glued down sub-floor so this made step one easy.  


Step #2 - Frame your floor

The next step was to create some wood slats to secure our floor.  We used one inch slats and set them in-between the bumps in the floor.  Be careful where you drill here!  Get under the van and make sure you aren't drilling into any parts when you attach the slats to the van floor.  I used one inch self tapping metal screws and countersunk all my screws int the framing so the the floor would lay on flush.  Also, I recommend getting under the van and put lap sealant (https://amzn.to/2tKYOGd) on all your screw heads underneath to seal them from potential water damage.  

Step #3 - Insulation 

Next, we insulated the floor.  We didn't insulate our current van’s floor enough and it’s our #1 regret.  For insulation, we used 1/4” inch ploy board in-between each slat we though raising the floor up a bit with a air/insulation gap would be nice.  We cut and glued the poly board into place and let the glue dry overnight.  

Insulating your van floor
Van Floor Insulation finished subfloor

Step #4 - Attaching your floors/subfloor

For floors, we are planning on using a recycled gate.  We found this in the scrap yard pile in the back yard. We sanded down all the slats and we really like the distressed effect.  Plus, it’s real wood!  We pin-nailed and liquid nailed all the wood floor pieces to the previously installed slats.  We also cut our subfloor out of 1/4” plywood where all our countertops would be.  Since you can’t see the reclaimed wood floor underneath our countertops anyways, it wouldn't be worth wasting the wood since we only had a finite amount.  We attached the subfloor with pin nails and liquid nail. 

The old Gate we found and used for a reclaimed flooring in our VW.

The old Gate we found and used for a reclaimed flooring in our VW.

Here we are using a piece of plywood where the cabinet is going to go. That way, we make sure that we have enough visible matching flooring pieces from the Gate we found.

Here we are using a piece of plywood where the cabinet is going to go. That way, we make sure that we have enough visible matching flooring pieces from the Gate we found.

Simple, Cheap, and Chic DIY Walls in a Van

Tongue and Groovy Walls

We weren't sure what to do at this step. Usually we aren’t the biggest fans of tongue and groove walls.

If you aren’t sure what to do yet either, it is ok; it’s a step you can to put off for a bit, until you have all your wiring dialed. 

We wanted to do something creative, but keep it simple. So we decided that tongue and groove would be an easy and really affordable route.  We did a mosaic type roof on our current Sprinter van and we thought a tongue and groove wall, with various stains and finishes, would give the van some character we were looking for.  

Tounge and groovy landing pic.jpg


For stains, we went with a few left over colors from our Sprinter and a new budget technique that we concocted out of vinegar and steel wool.  “Check out this link to see how to do it”  We were really happy with the turn out from the steel wool and vinegar. It was our favorite color.

We cut and measured each piece, as we attached it to the van.  We used 3/4 inch self tapping metal screws and attached directly to the body of the Vanagon.  This took a bit of time.  I highly recommend pre-drilling all of your holes to make this step easy. 

To cover up the existing windows and create a full wall, we cut out some of the Insulation foam board to fit the window. Then, we sprayed some 3M 90-Spray Adhesive to some Black Out fabric, cut to size, and stuck it to the window piece. As the tongue and groove got closer to the window, we inserted that piece. That way, from the outside it looked like a black dark window.

Tounge and Groovy - Window inserts.jpg

Make sure you don't cover anything you wanted up with the boards. In the VW, there are lots of places to anchor to, or seat belt bolts, so make sure you aren't covering anything important up.  

Tounge and groovy walls window insert.jpg

A helpful tip is to mark where things are, with tape, as you cover up the walls.  For instance, this van has windows and we didn't want to attach any cabinets where the windows were. So, we used masking tape to show ourselves where the windows are behind the wall.  We also used the masking tape to mark good points of contact for our walls.  

This is a tedious process, but worth every bit of work and keeps you from guessing where stud-like items are.  The new walls look amazing and will really pop once we get our cabinets installed.